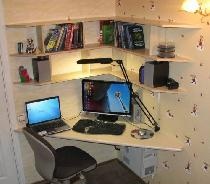
In small apartments and houses it is not possible to allocate a separate room for a study. In this case, zoning the space helps. Let's look at how you can design a work corner with a floating computer desk without bulky legs, soft lighting and wall slats.

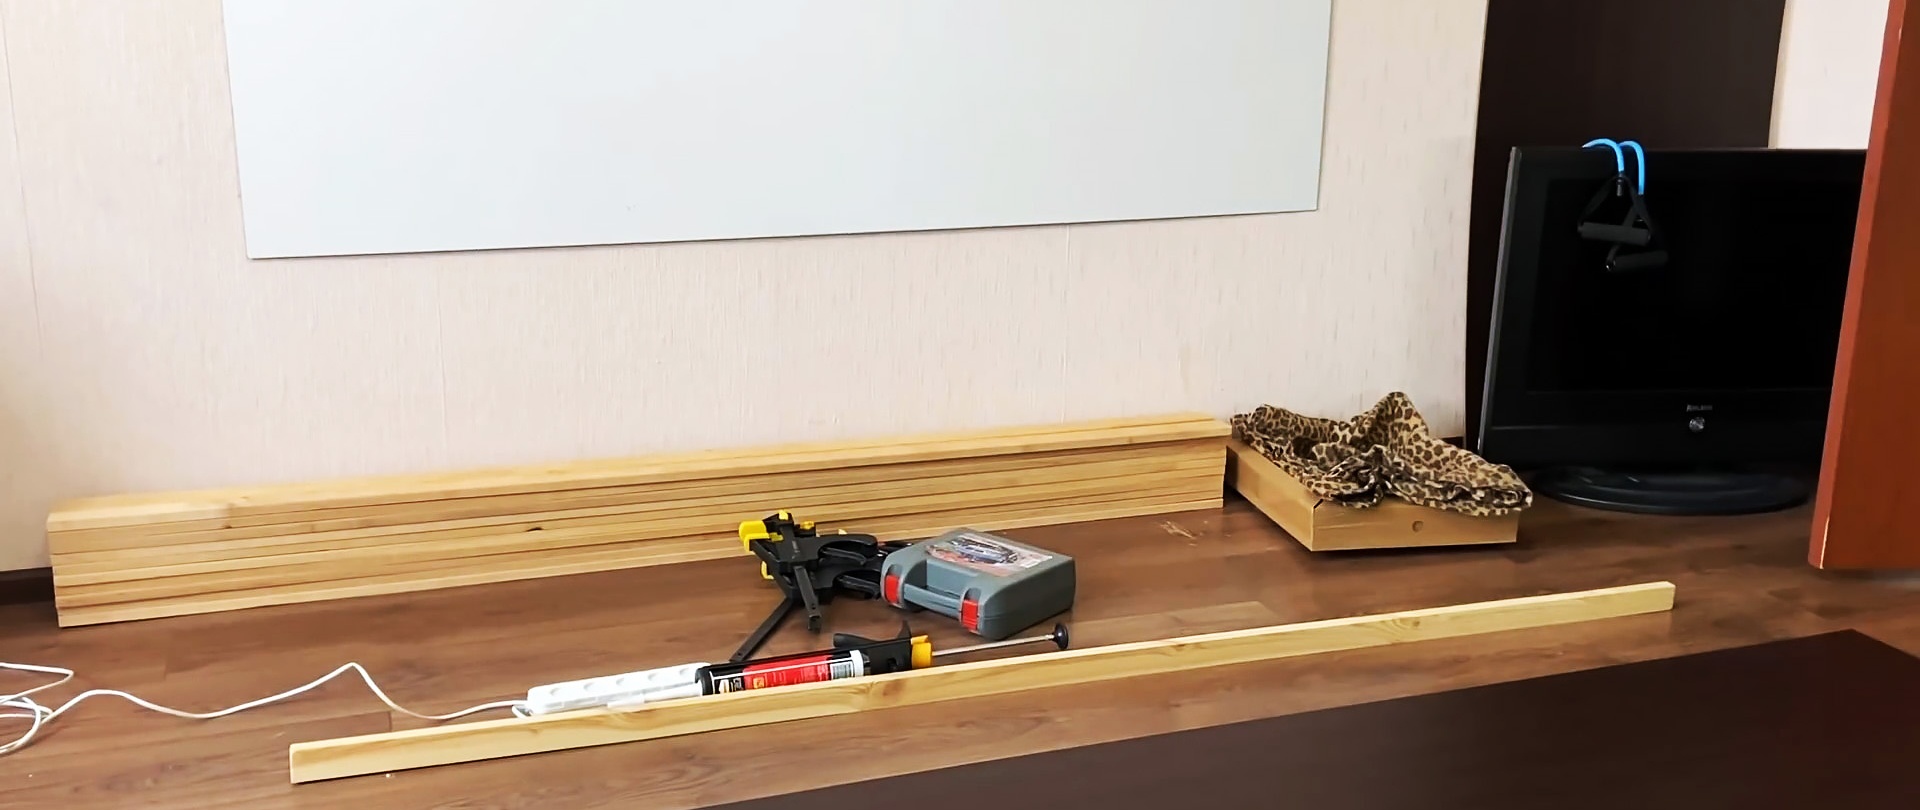
Materials:
- Black laminated chipboard;
- rail 15x40 mm or wider;
- liquid Nails;
- furniture panel according to the size of the tabletop;
- ball guides for drawers with closers – 2 sets;
- mounting corners – 2 pcs.;
- socket block with switch.
High-quality and durable drills on AliExpress at a discount - http://alii.pub/5zwmxz
Table manufacturing process and workplace equipment
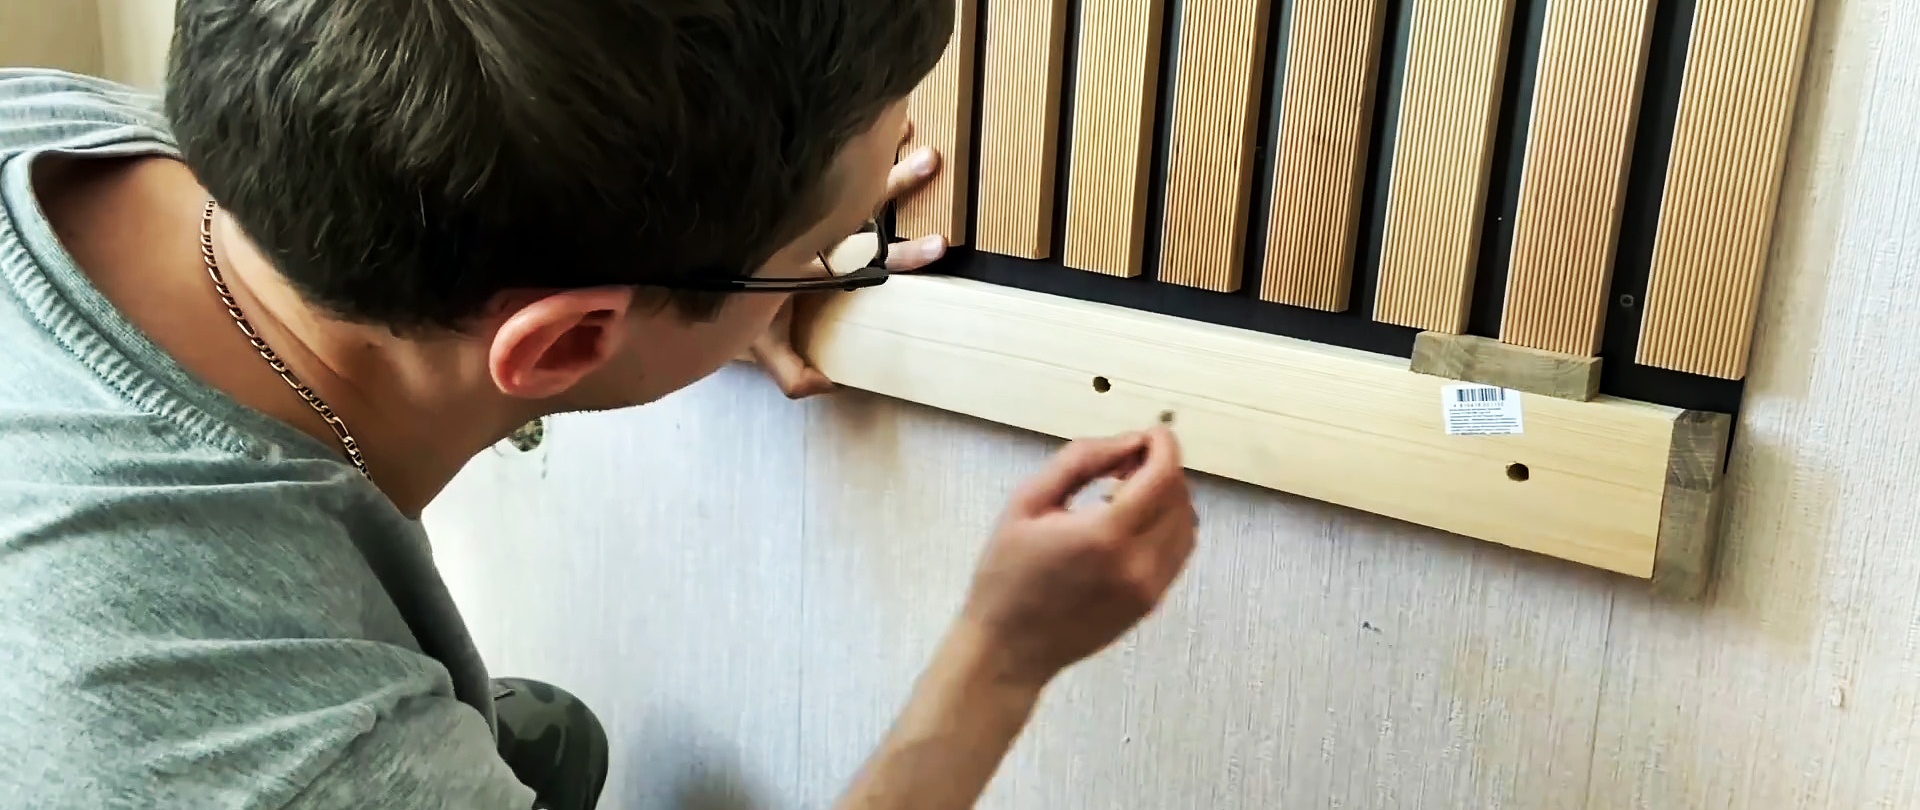
A horizontal line is marked on the wall along which the tabletop will be located. It is placed at a height depending on the user’s height, namely the recommendations according to GOST. For example, for a person 175-185 cm tall, the table should be 70 to 80 cm high. After this, you can start assembling decorative wall panels. They are made from black laminated chipboard.The width of the panel should match the tabletop. Make the height from the ceiling to the bottom of the future table, taking into account the thickness.
Slats are vertically glued to the base of the chipboard panel and nailed to the back with staples. However, the length of the slats should not completely cover the chipboard, but only reach the beginning of the future tabletop. The gaps between the slats can be maintained by applying the same slats sideways.


The finished panel is screwed to the wall exactly vertically. For convenience, it can be made of two halves. In this case, the first rail on the second one will be screwed indented to the required clearance. The screw caps are covered with black stickers.

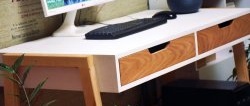
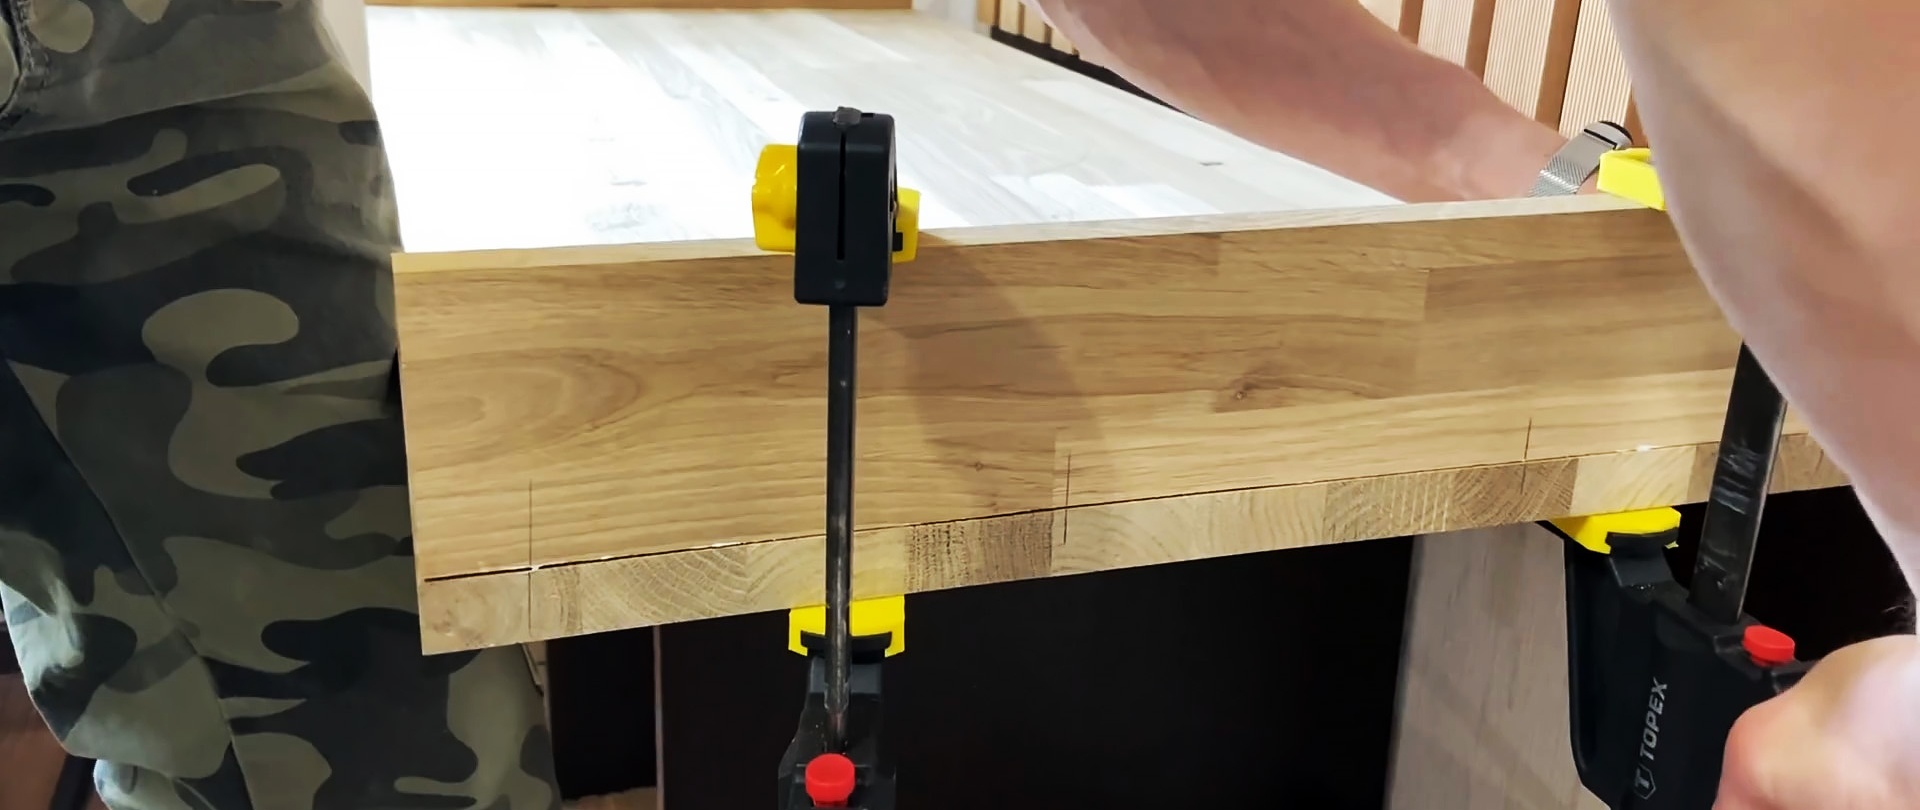
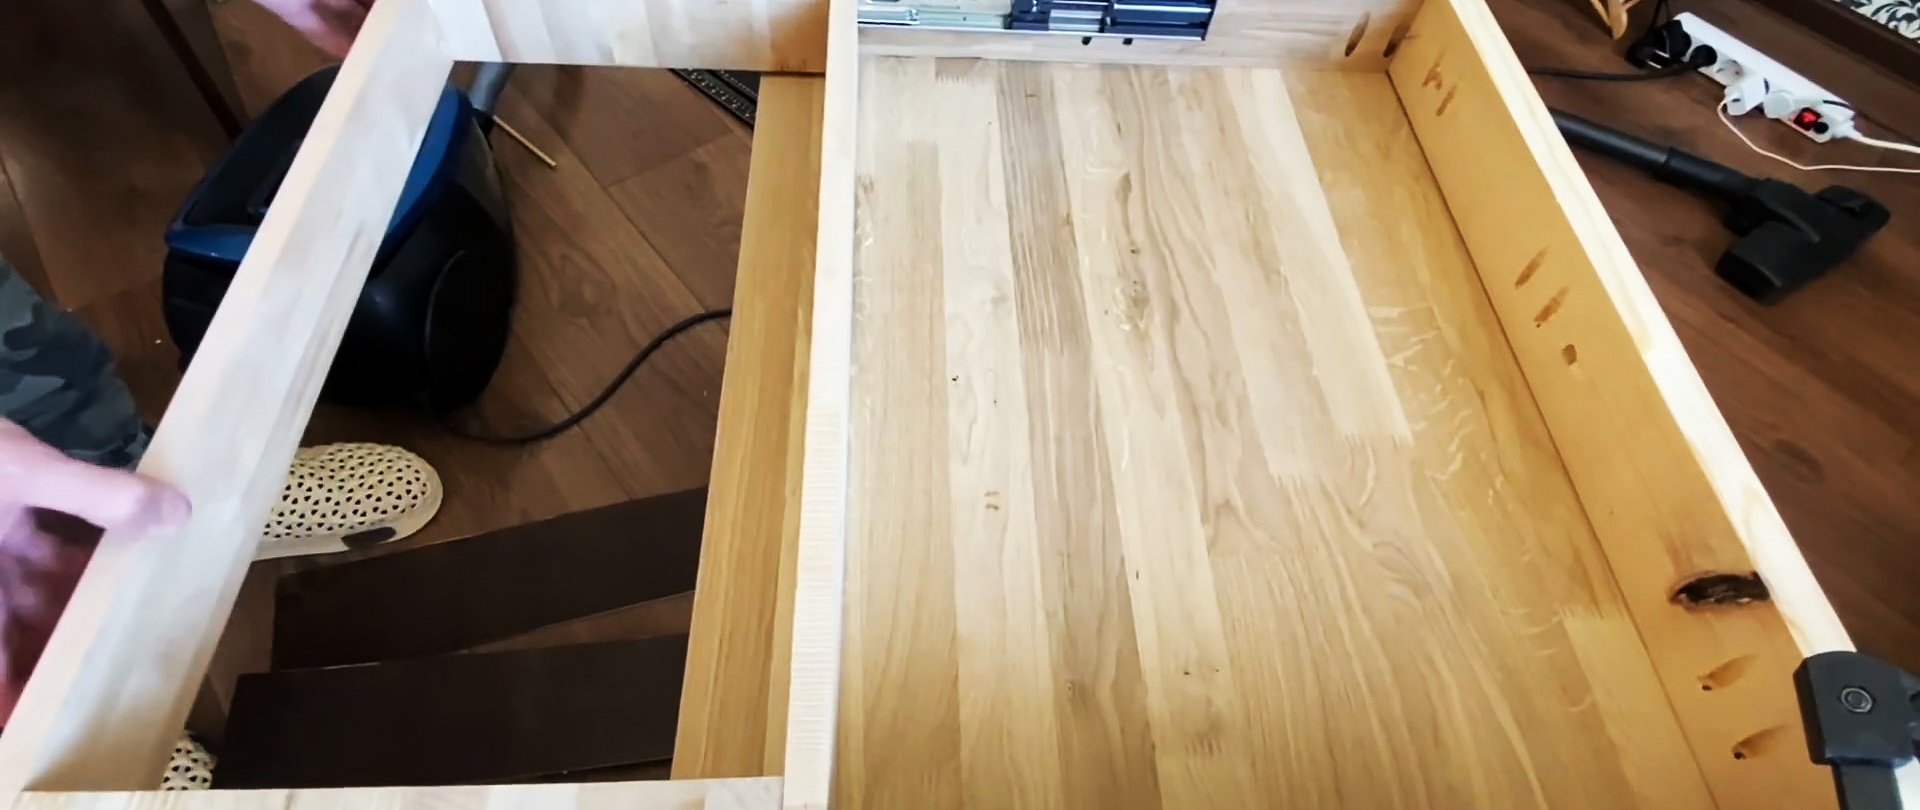
A tabletop is cut out of a furniture panel. You also need to cut another shield to make the left and right side walls of a comfortable height for it. In the future, this will allow you to install drawers on them.


They are attached to the tabletop with glue and a bias screw.

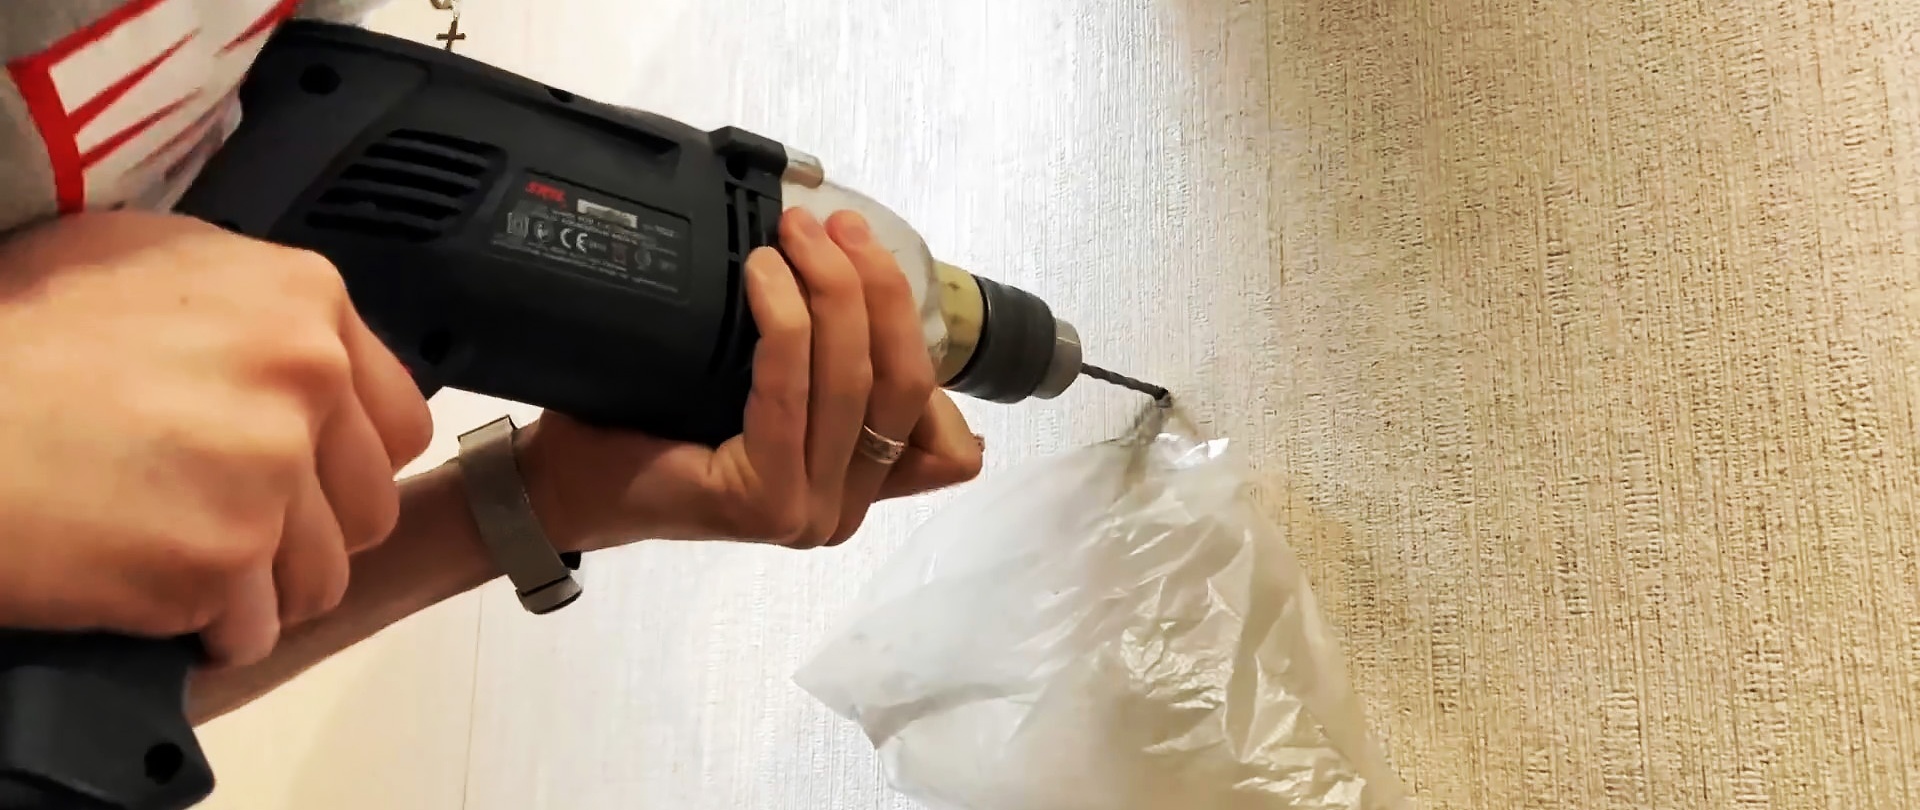
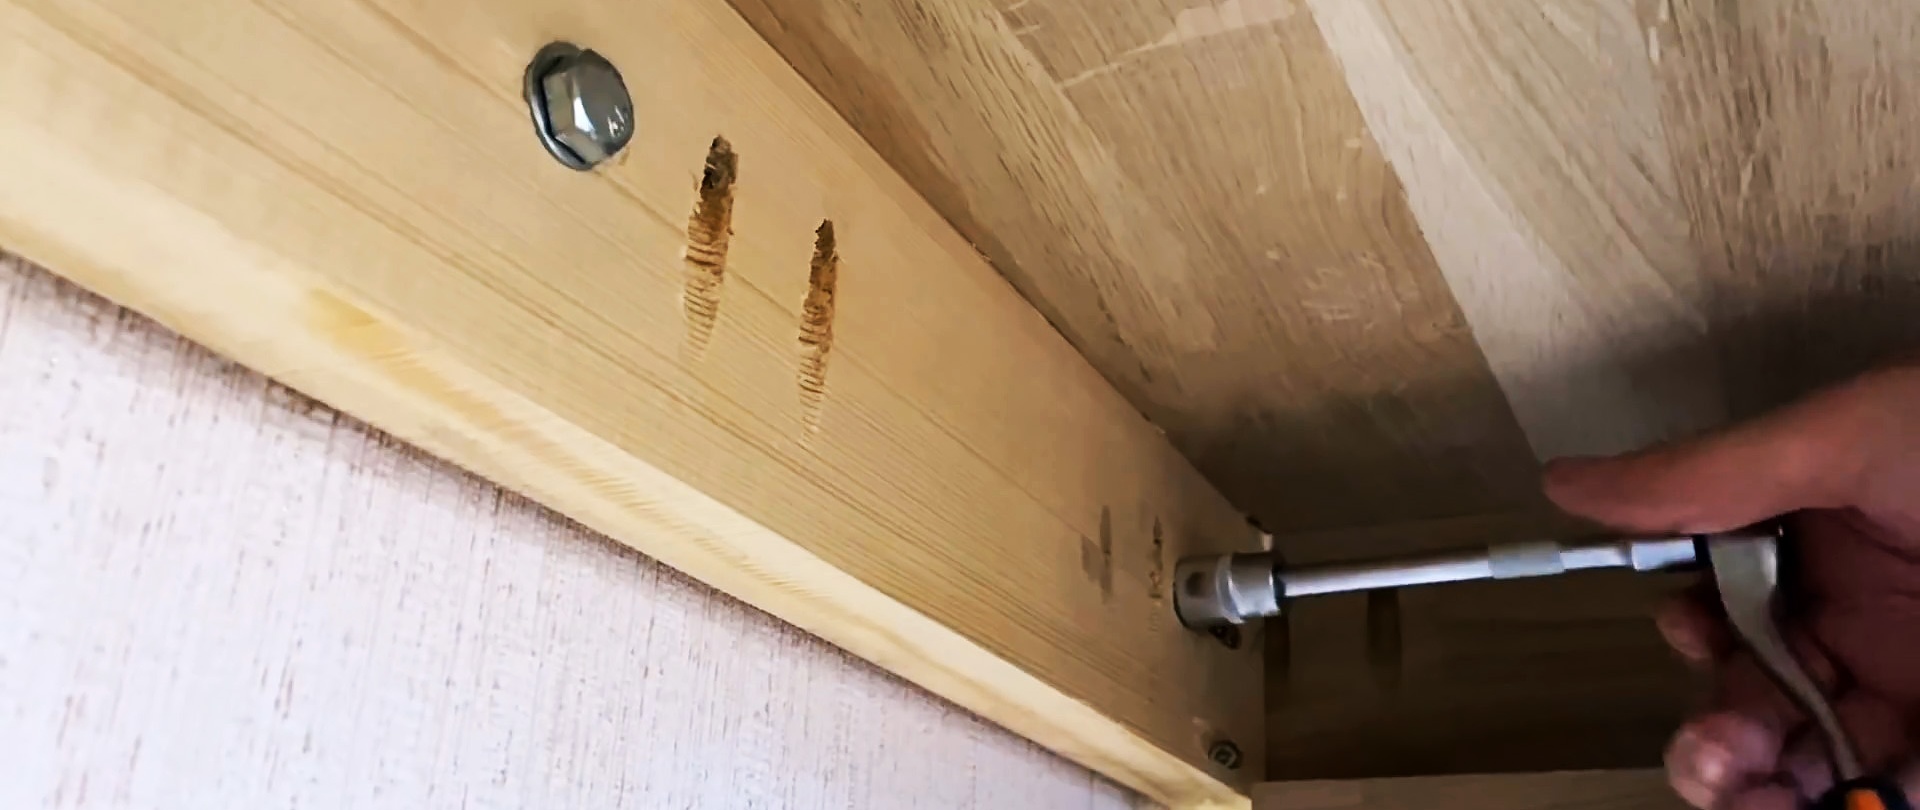
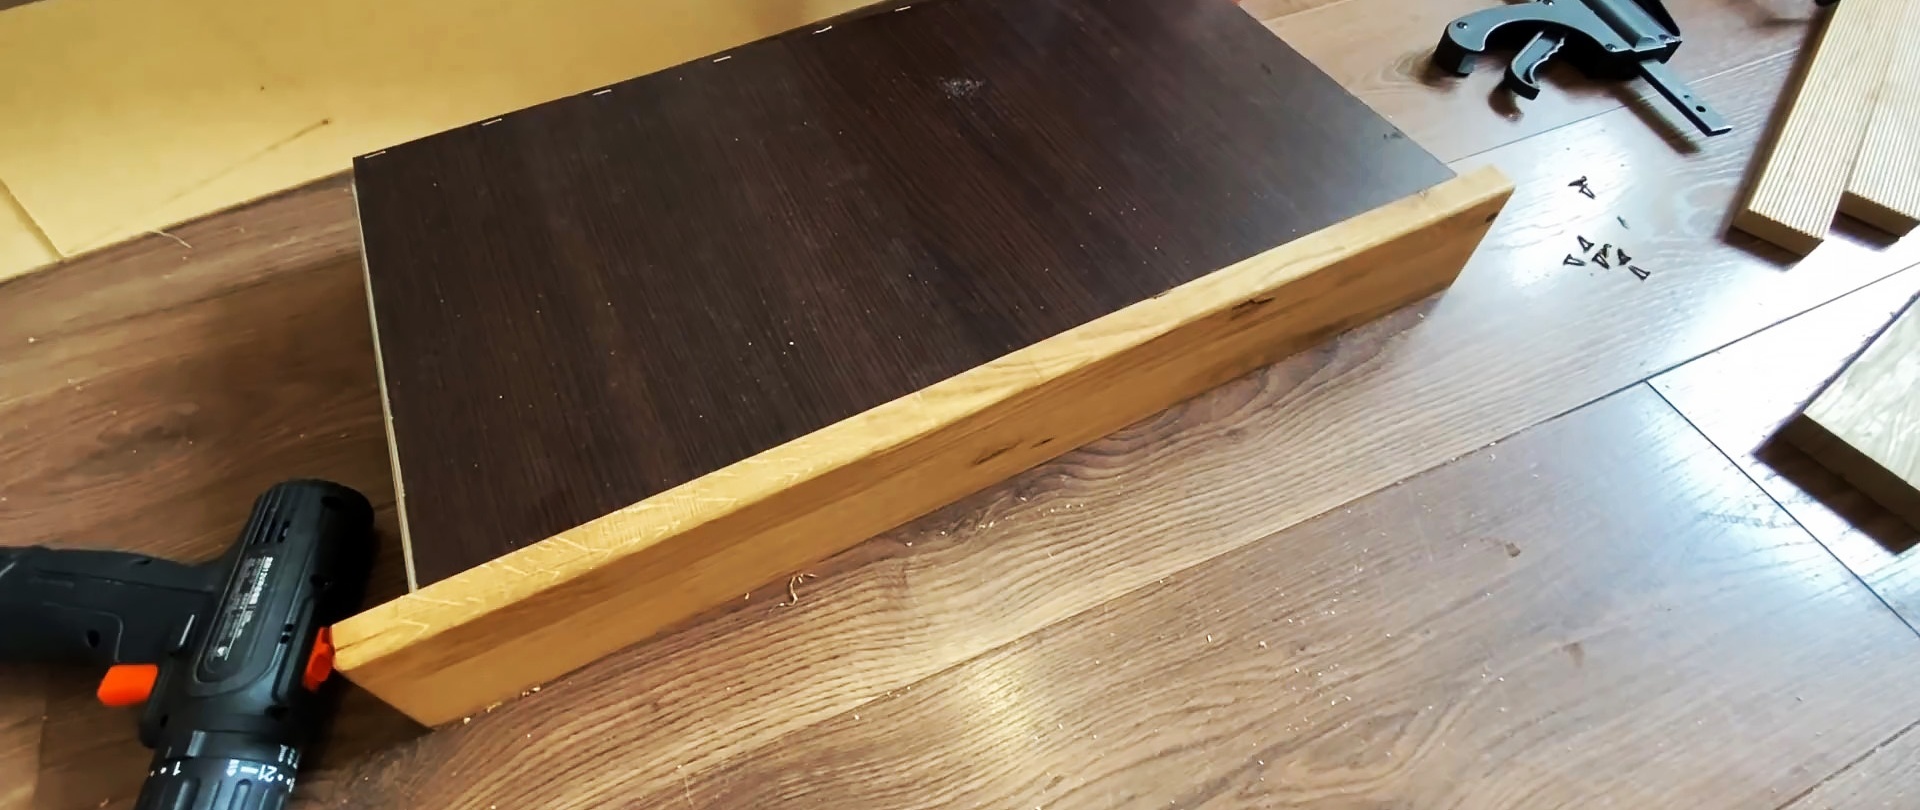
In order to save money, the back side of the table is made from an ordinary large-section board. It needs to be screwed to the wall under the slats with anchors. Then it is removed and screwed to the tabletop.
A crossbar is installed under the tabletop to secure the drawers. Ball guides with closers are attached to the sidewalls and to it.
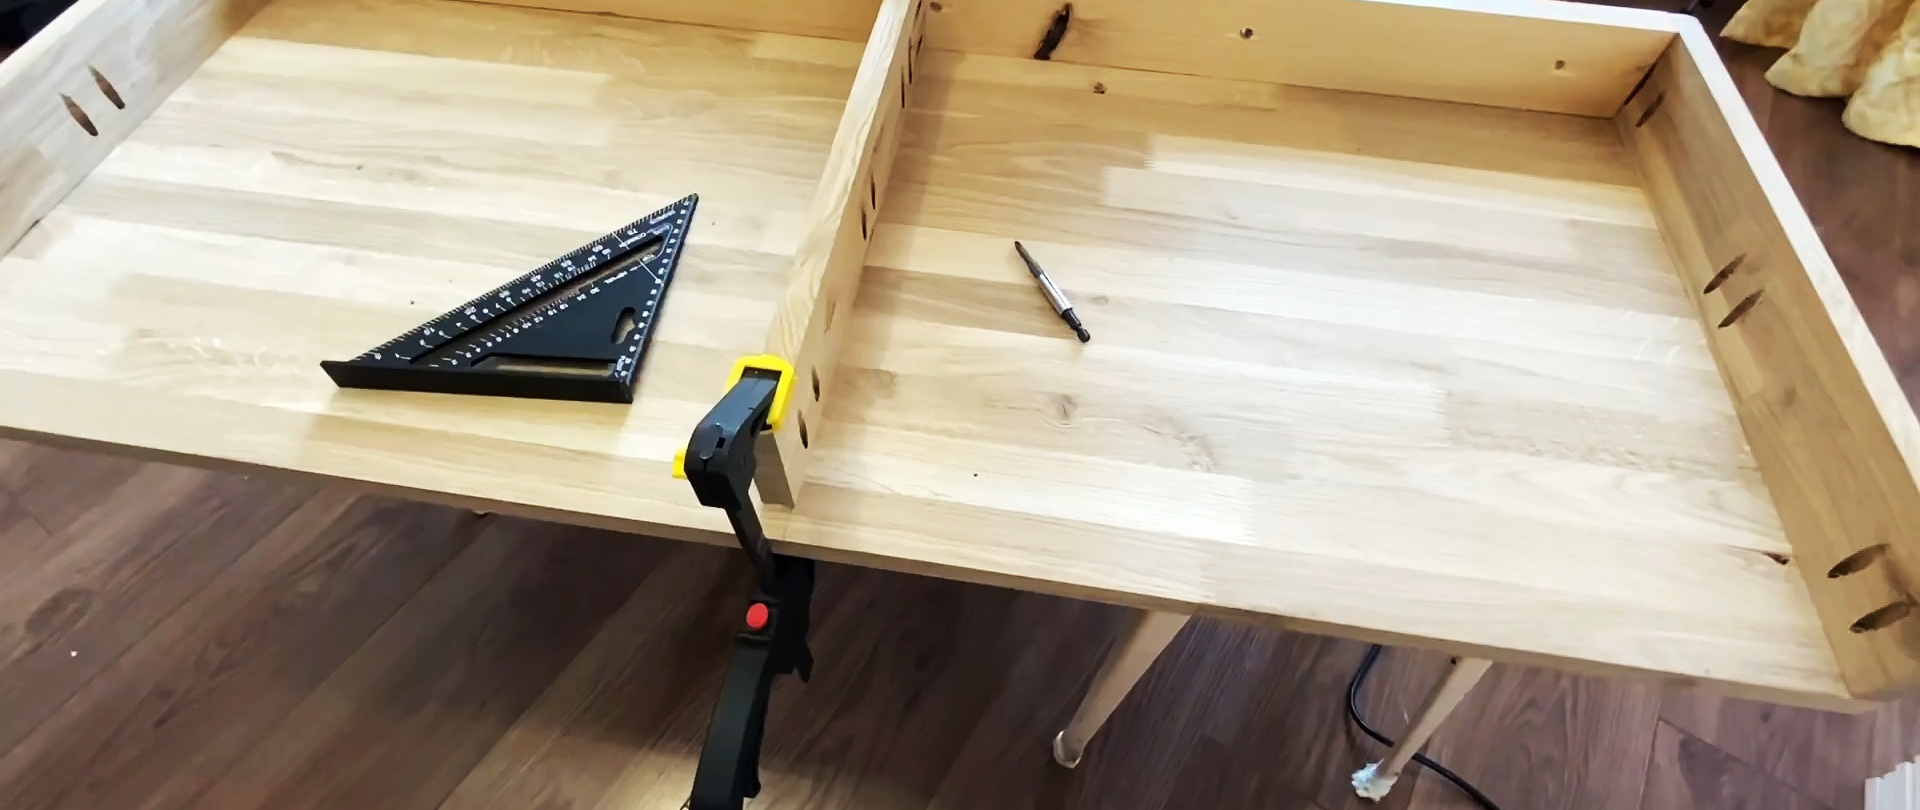

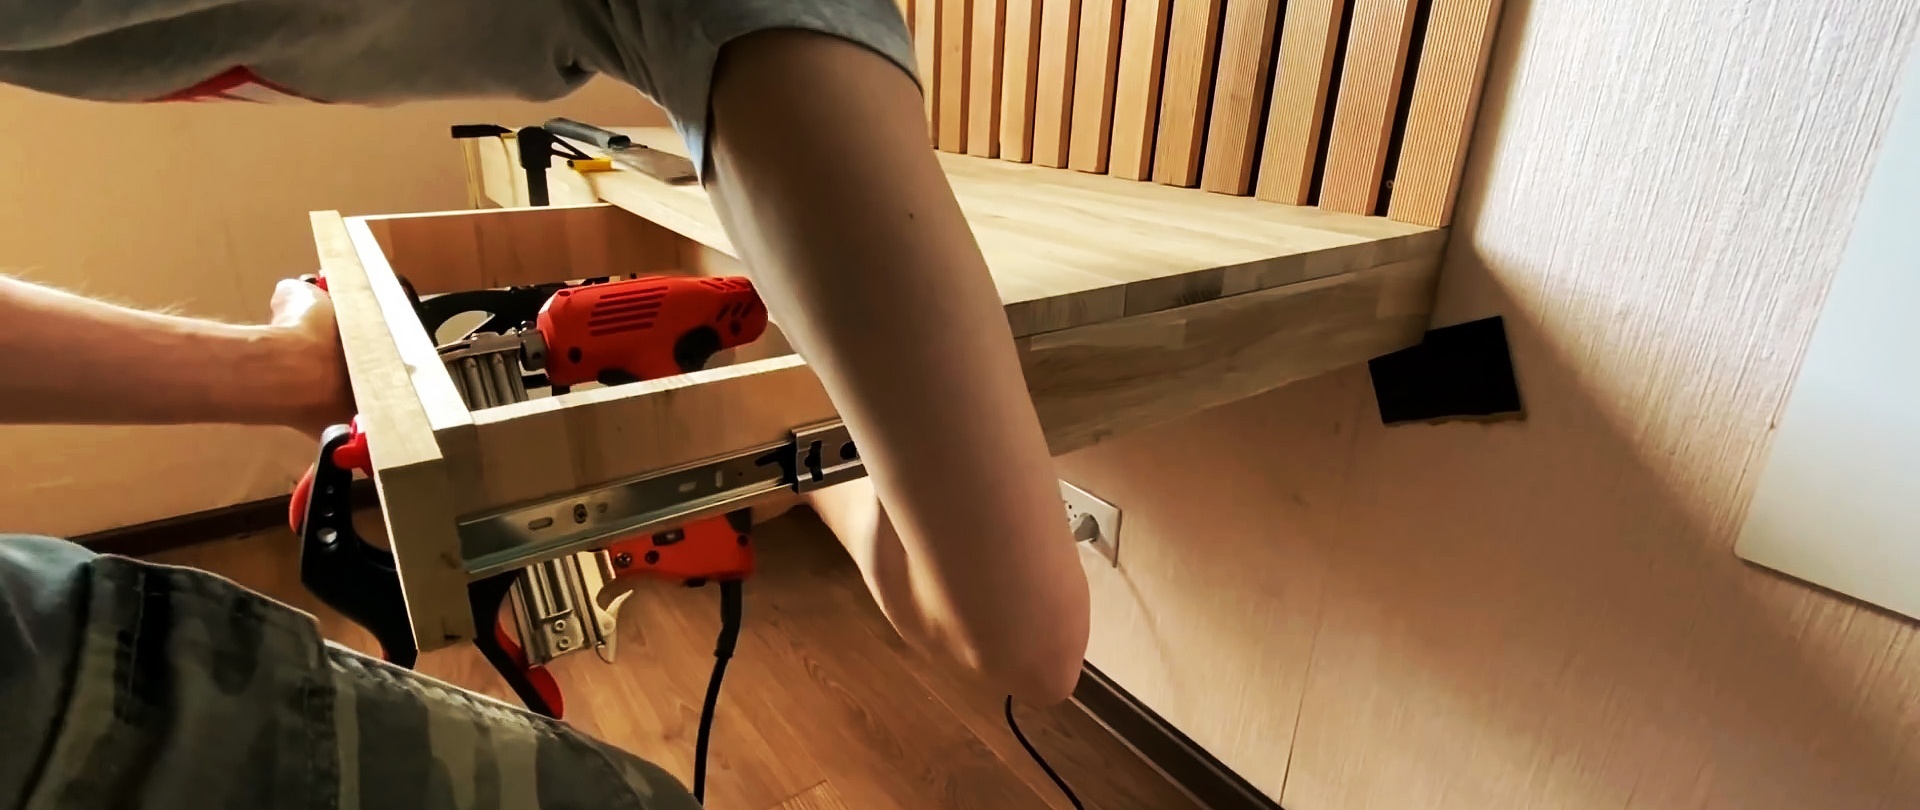
Next, the blanks for the boxes are cut. They are assembled into frames that are screwed to the guides, taking into account the gaps.
Then you need to strengthen the table with reinforced mounting angles from the inside. After that, it is screwed to the wall with anchors without boxes yet. They are installed next.

Facades made of panels are installed on the boxes. They should be pressed against the frames with clamps, and then screwed from the inside. The gap between the two facades should be kept to a minimum.
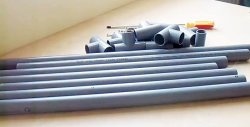
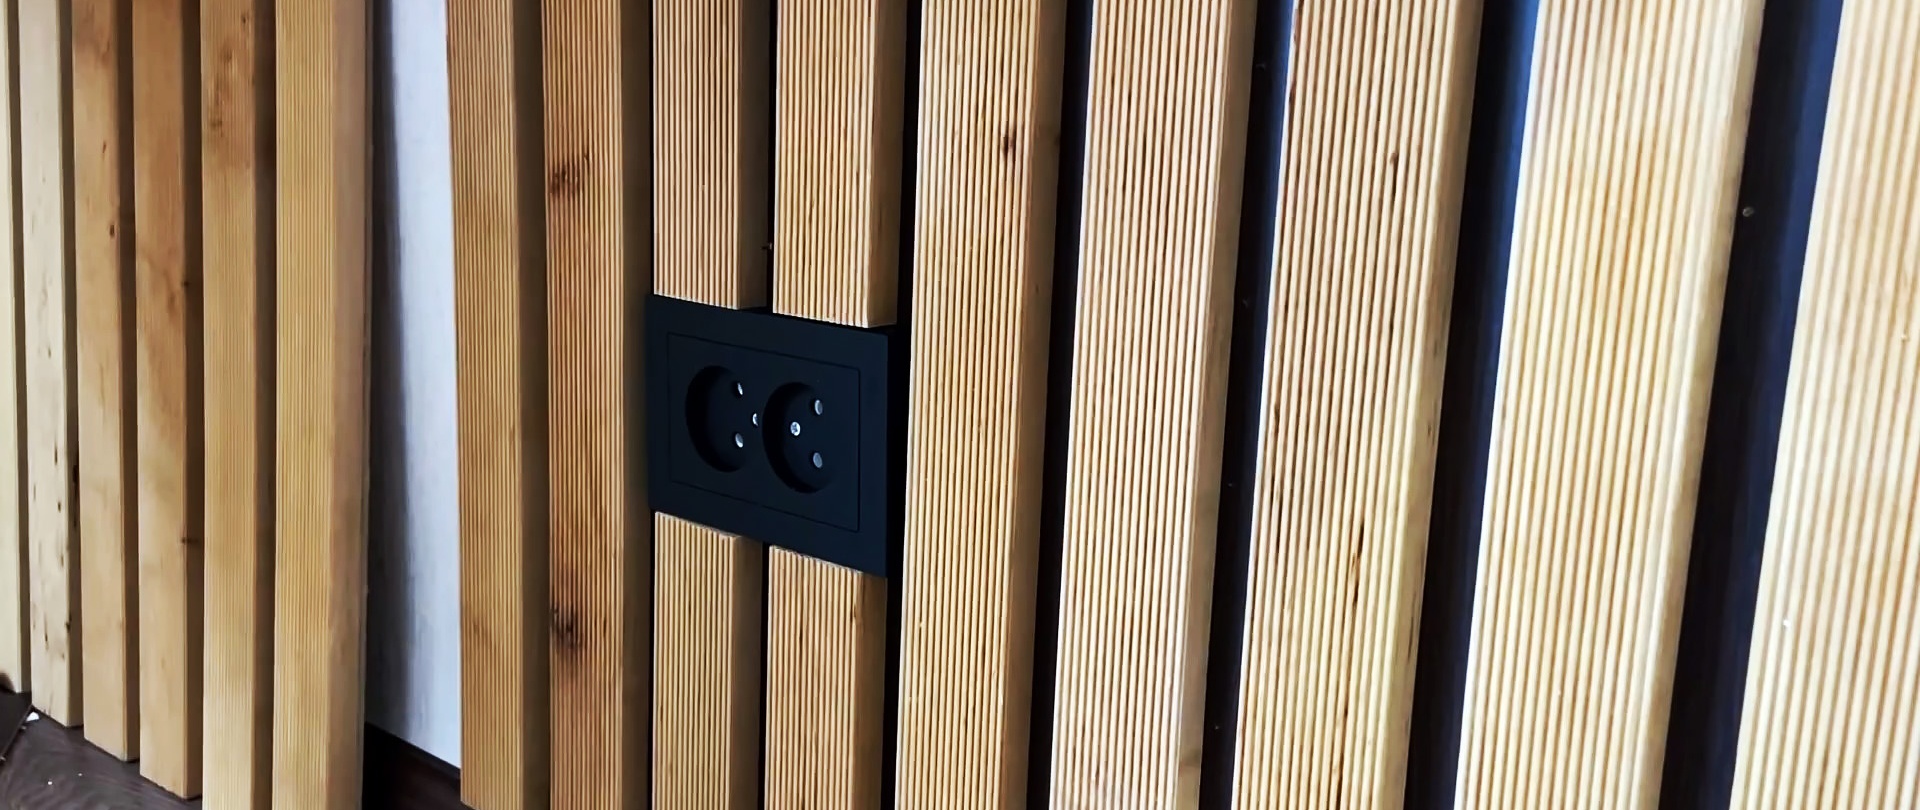
For convenience, a block of sockets with a light switch is embedded into the table.You can make lamps from PVC pipes and paint them with black paint. Store-bought sconces of a similar style will also work. They are hung on a wall panel, and their dark wires will not be visible against the background of black chipboard. The sconces are connected via a switch in the countertop.


The corners of the table are milled in place. After which it is polished and impregnated with oil along with the slats. Under the table, the same wall panels are assembled as above. If they cover the socket, then it can be removed without any problems, it will not be superfluous.
The final touch will be nailing the bottom onto the boxes using the remaining chipboard scraps.
As a result, we get a comfortable, beautiful workplace. The table is held quite securely and rigidly on the anchors. Drawers allow you to store a laptop and writing materials in them, thereby not cluttering the countertop.