Do it yourself
Life hacks, master classes, useful tips, recipes.
home » Handicraft techniques » Decoupage » Decoupage master class » Decoupage snowflakes for Christmas tree
The New Year is coming soon and we want to create some kind of toy or decoration for our New Year's guest - a Christmas tree with our own hands. Technological toys look very good decoupage.
Let's consider a detailed master class with a step-by-step description of the entire process.

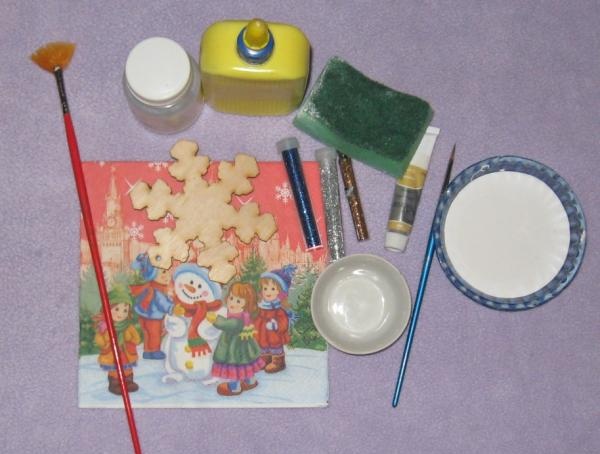
Materials and tools that we will need:
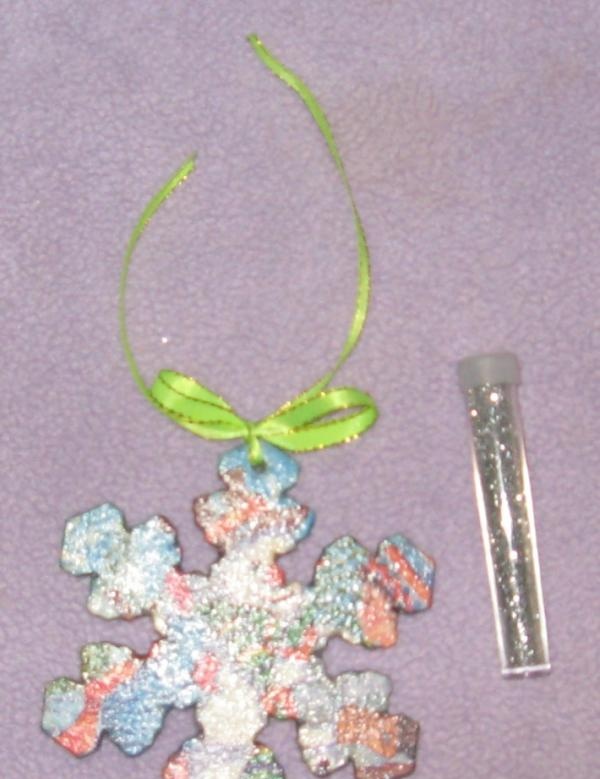
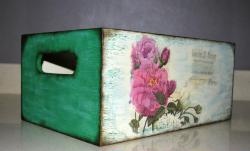
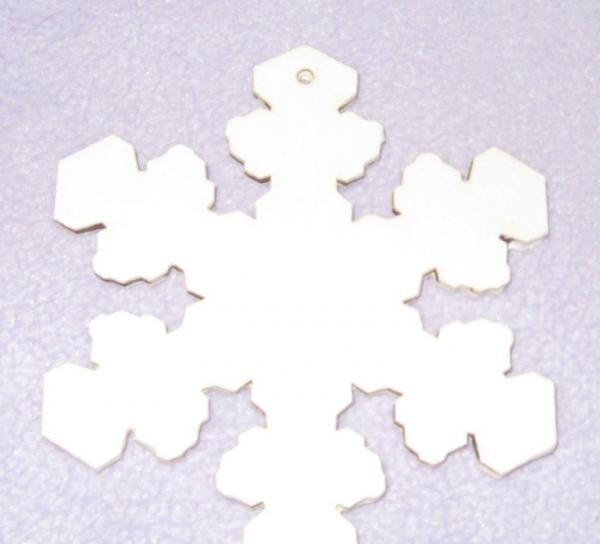
• Finished and processed plywood snowflake blank;
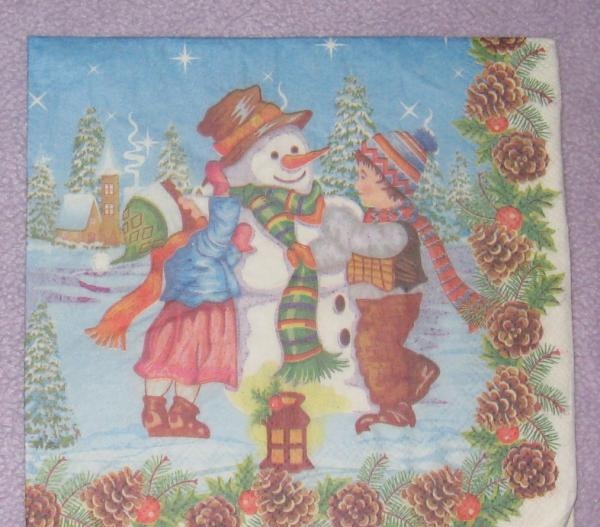
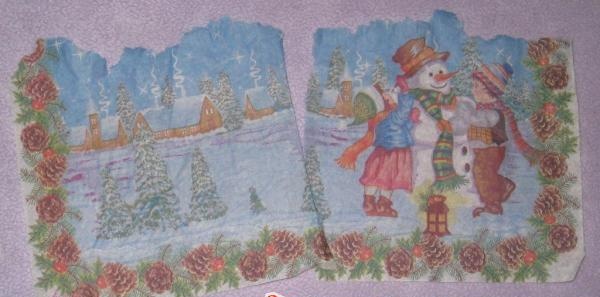
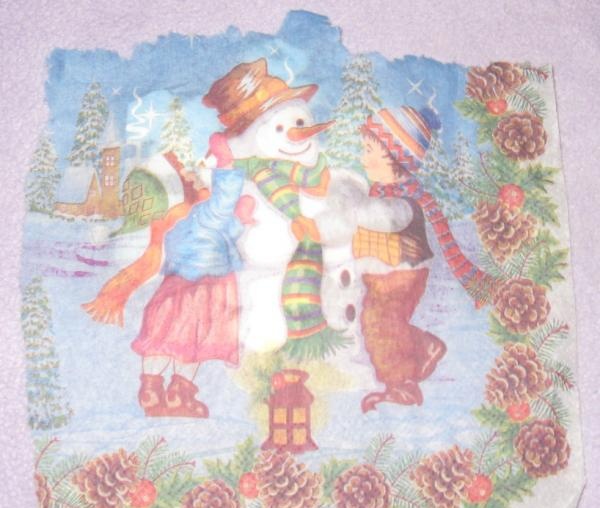
• New Year's napkin for decoupage;
• PVA glue;
• Acrylic glossy varnish;
• Gold acrylic paint;
• White acrylic paint;
• Decoupage brush and artificial paint brush;
• Dry and liquid glitter;
• Foam sponge;
• Two small bowls.

Materials for snowflakes


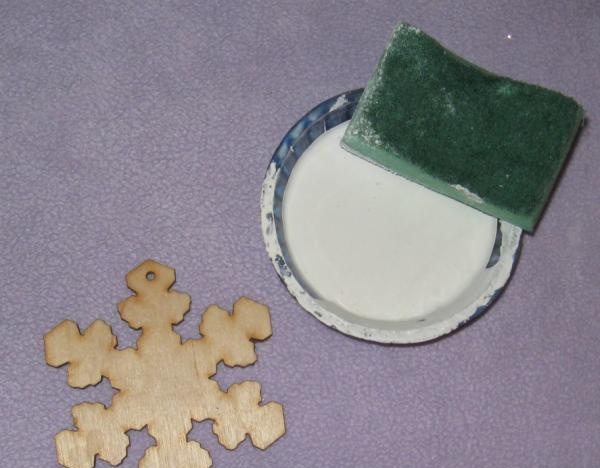
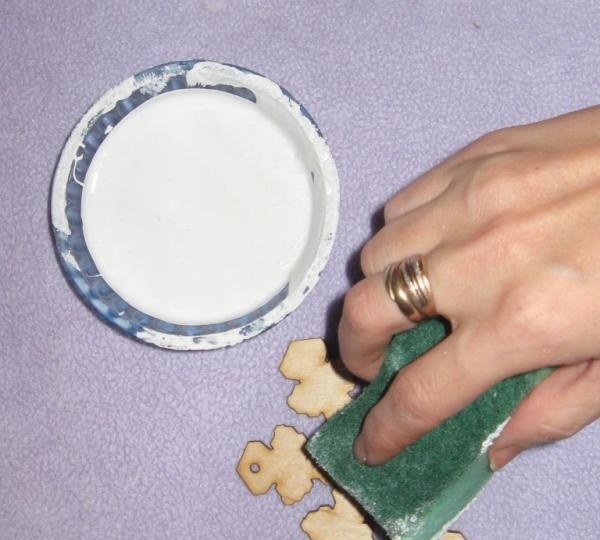
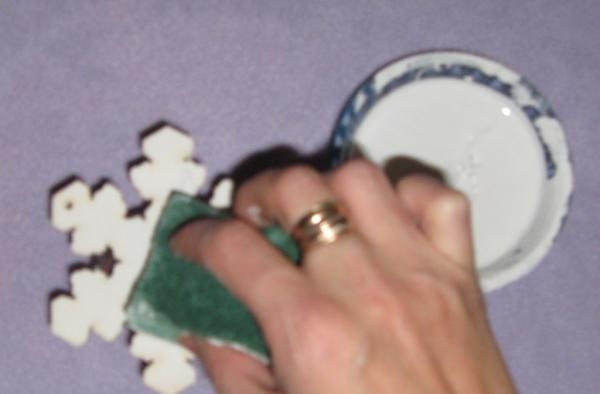
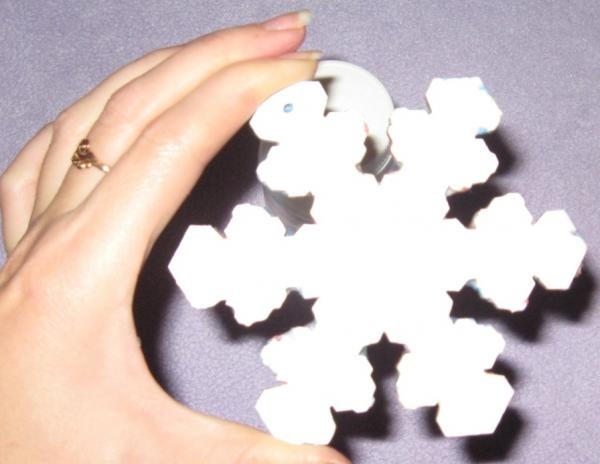
Pour white paint, take a kitchen sponge, dip it in the paint and paint the surface of the snowflake on one side.

Pour white paint

paint the surface of the snowflake


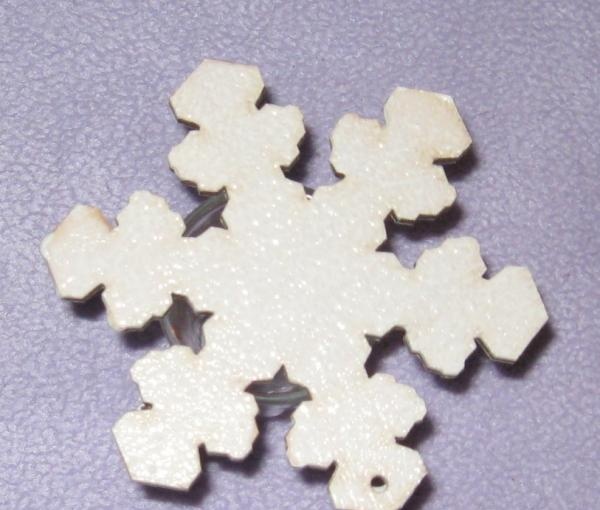
Let the snowflake dry for about an hour. Then we apply a second layer of white paint and leave it for an hour and a half.

Let the snowflake dry

apply the second layer


While one side of the snowflake is drying, prepare a napkin. We unfold it, carefully tear off the drawings we need.

preparing a napkin

Let's unfold it

remove the top layer


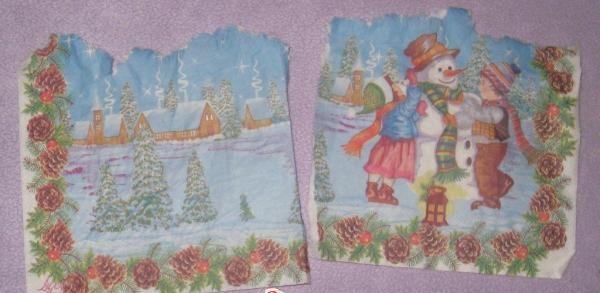
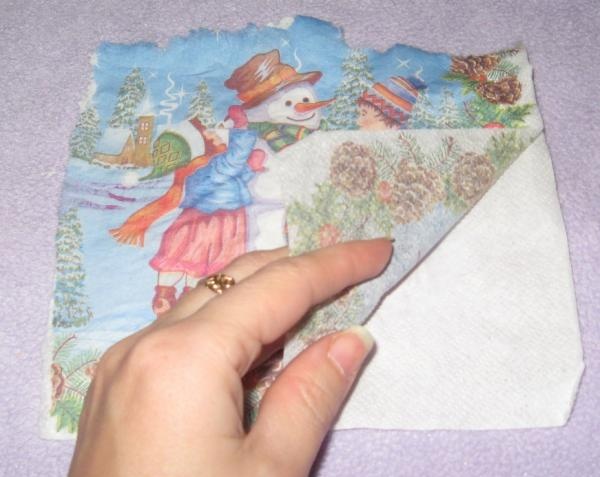
Remove the top layer from both parts. Drawings for decoration are ready.

tear off carefully

paint the reverse side


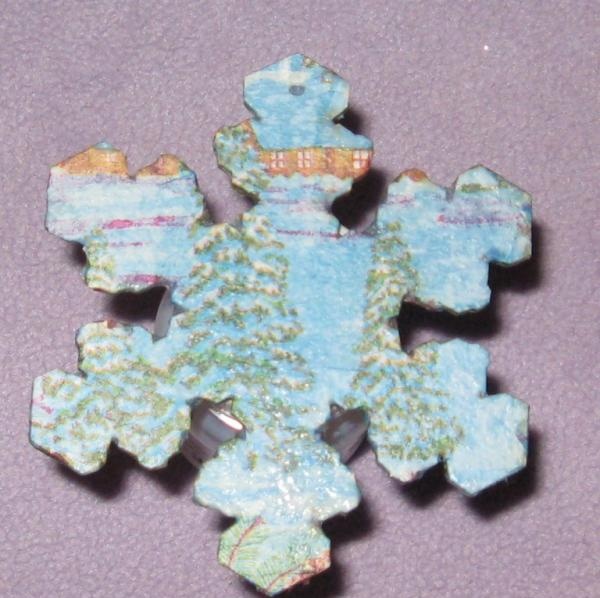
Now we paint the back side of the snowflake with two layers of paint with a drying interval. The snowflake is dry, you can start decorating. Place the image on one side. In a second container, dilute PVA glue and water in equal proportions and mix well.

Overlay the picture

PVA glue with water


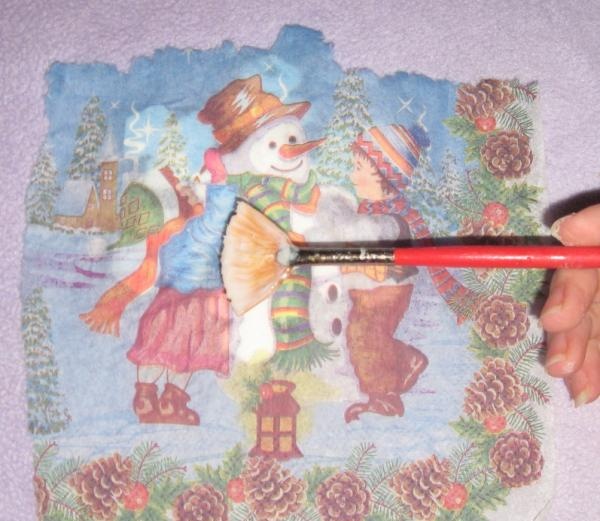
Take a decoupage brush, dip the brush in glue and, starting from the middle, glue the napkin onto the snowflake. Carefully tear off the edges and brush well along the edges of the toy with a brush. Leave the snowflake to dry for two hours.

glue the napkin onto the snowflake

Turning the snowflake over


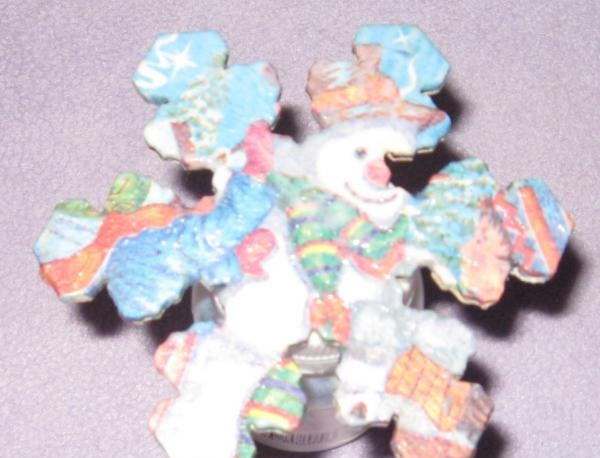
We turn the snowflake over and now decorate the other side.

Now decorate the other side

coat the ribs


We also seal the edges and coat the ribs, and also leave for two hours. When the snowflake is completely covered, cover it with a layer of acrylic varnish, let it dry, and apply another layer of varnish. So about 3-4 layers of varnish on both sides. And we paint the ribs with gold acrylic paint using a thin artificial brush.

leave for two hours

let's tie a ribbon


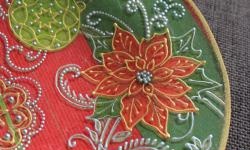
When the very last layer of varnish has not yet dried, sprinkle with dry glitter, and when the surface is completely dry, apply dots with liquid glitter.
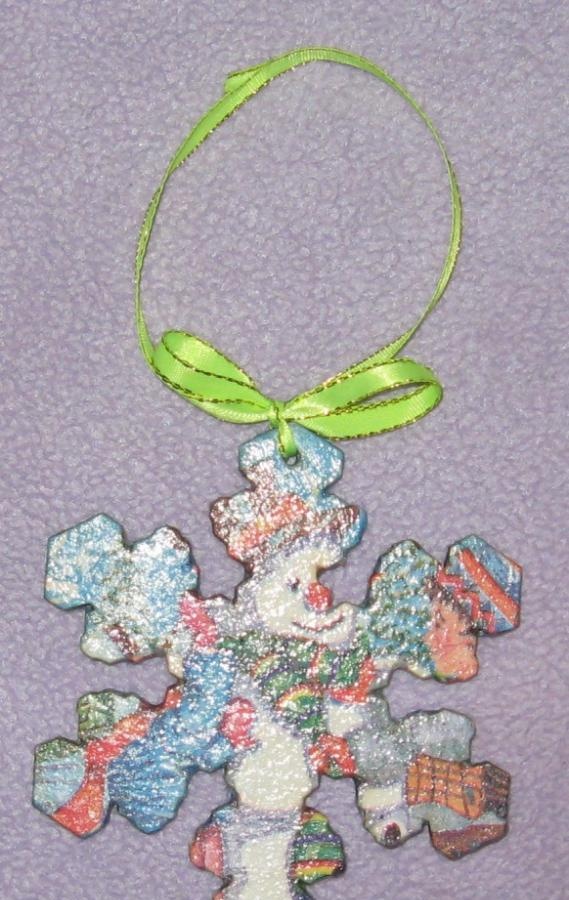
The Christmas tree toy is ready! Thanks everyone and good luck in your creativity!

sprinkle with dry glitter
come back
Comment
  • bowtiesmilelaughingblushsmileyrelaxed relaxedsmirk
    heart_eyeskissing_heartkissing_closed_eyesflushedrelievedsatisfiedgrin
    winkstuck_out_tongue_winking_eyestuck_out_tongue_closed_eyesgrinningkissingstuck_out_tonguesleeping
    worriedfrowninganguishedopen_mouthgrimacingconfusedhushed
    expressionlessunamusedsweat_smilesweatdisappointed_relievedwearypassive
    disappointedconfoundedfearfulcold_sweatperseverecrysob
    joyastonishedscreamtired_faceangryragetriumph
    sleepyyummasksunglassesdizzy_faceimpsmiling_imp
    neutral_faceno_mouthinnocent
5+two=
Comments (0)

Rooster decoration | Do it yourself

How to make a turbo brush for a trimmer that washes everything

A new way to quickly obtain seedlings from any tree with your own hands

Necklace "Green Rhapsody" | Do it yourself

«Do it yourself - with your own hands» - a site of interesting homemade products made from scrap materials and items at home. Step-by-step master classes with photos and descriptions, technologies, life hacks - everything a real master or just a craftsman needs for needlework. Crafts of any complexity, a large selection of directions and ideas for creativity.

We recommend reading

Washing machine error codes