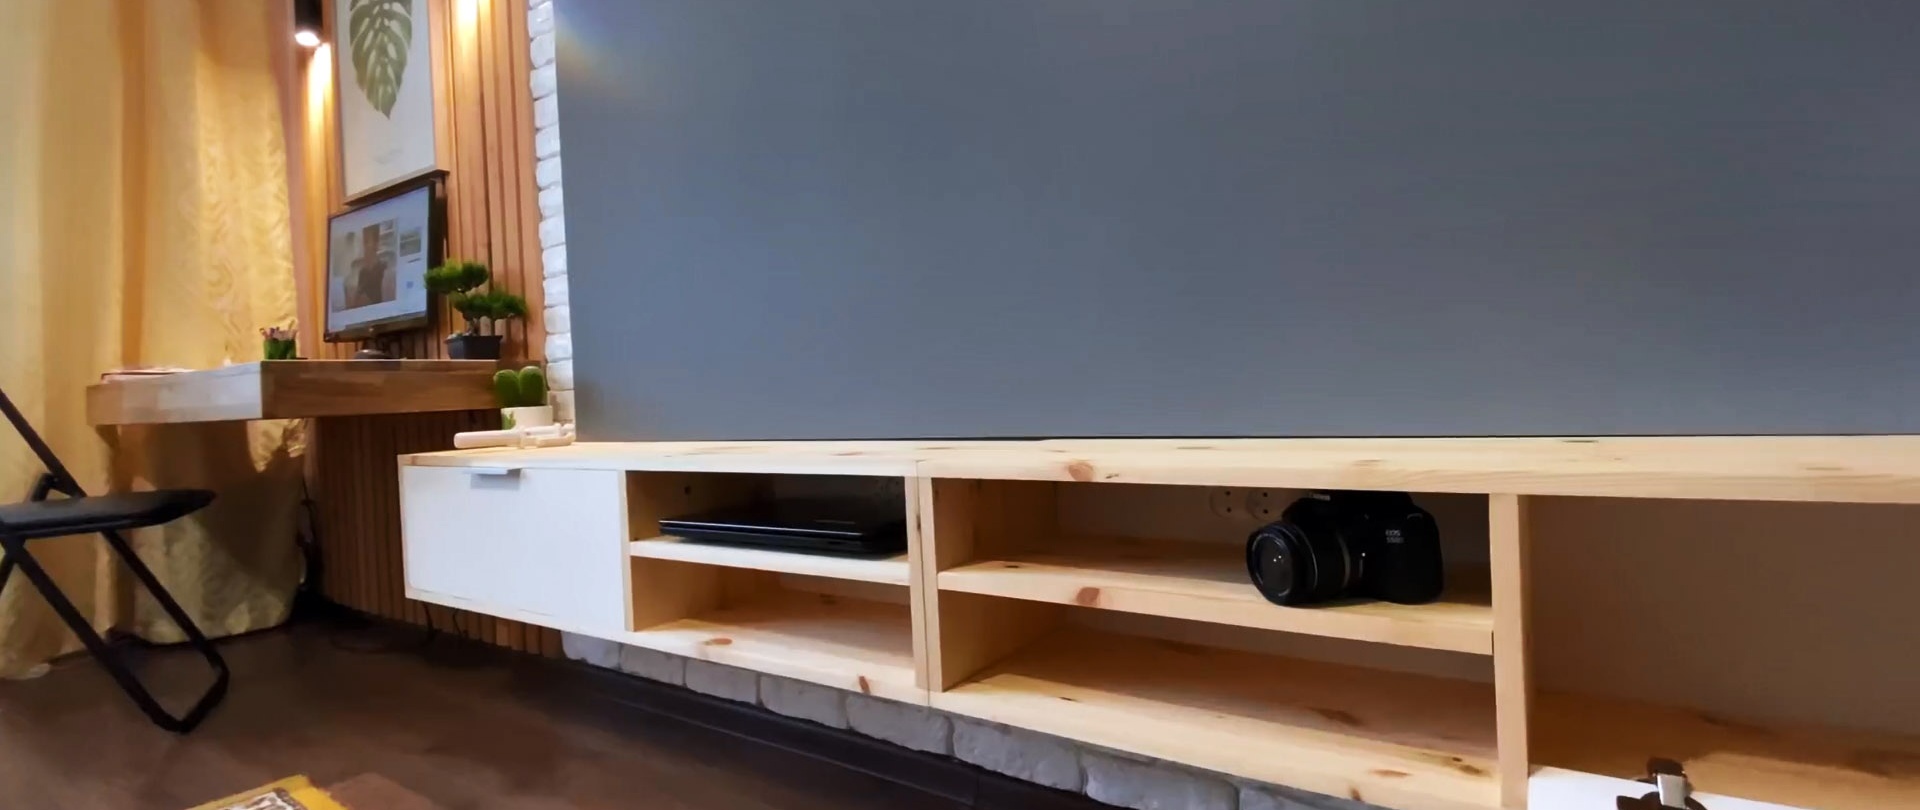
The interior of a room with a TV will become more harmonious with a hanging cabinet, giving the space airiness and visually expanding it. The cabinet is attached directly to the wall, so it does not need support legs. It will not only decorate the space, but also increase the efficiency of its use, and also simplify cleaning, since dust will not accumulate under it. To make it you need ordinary materials and knowledge of the basics of carpentry.

Will need
Materials:- Pine furniture board;
- multilayer plywood;
- aluminum end handles;
- screws are different;
- thin fiberboard;
- furniture canopies;
- electrical outlet and wires;
- LED Strip Light;
- dowels made of strong wood, etc.

The process of making a hanging cabinet
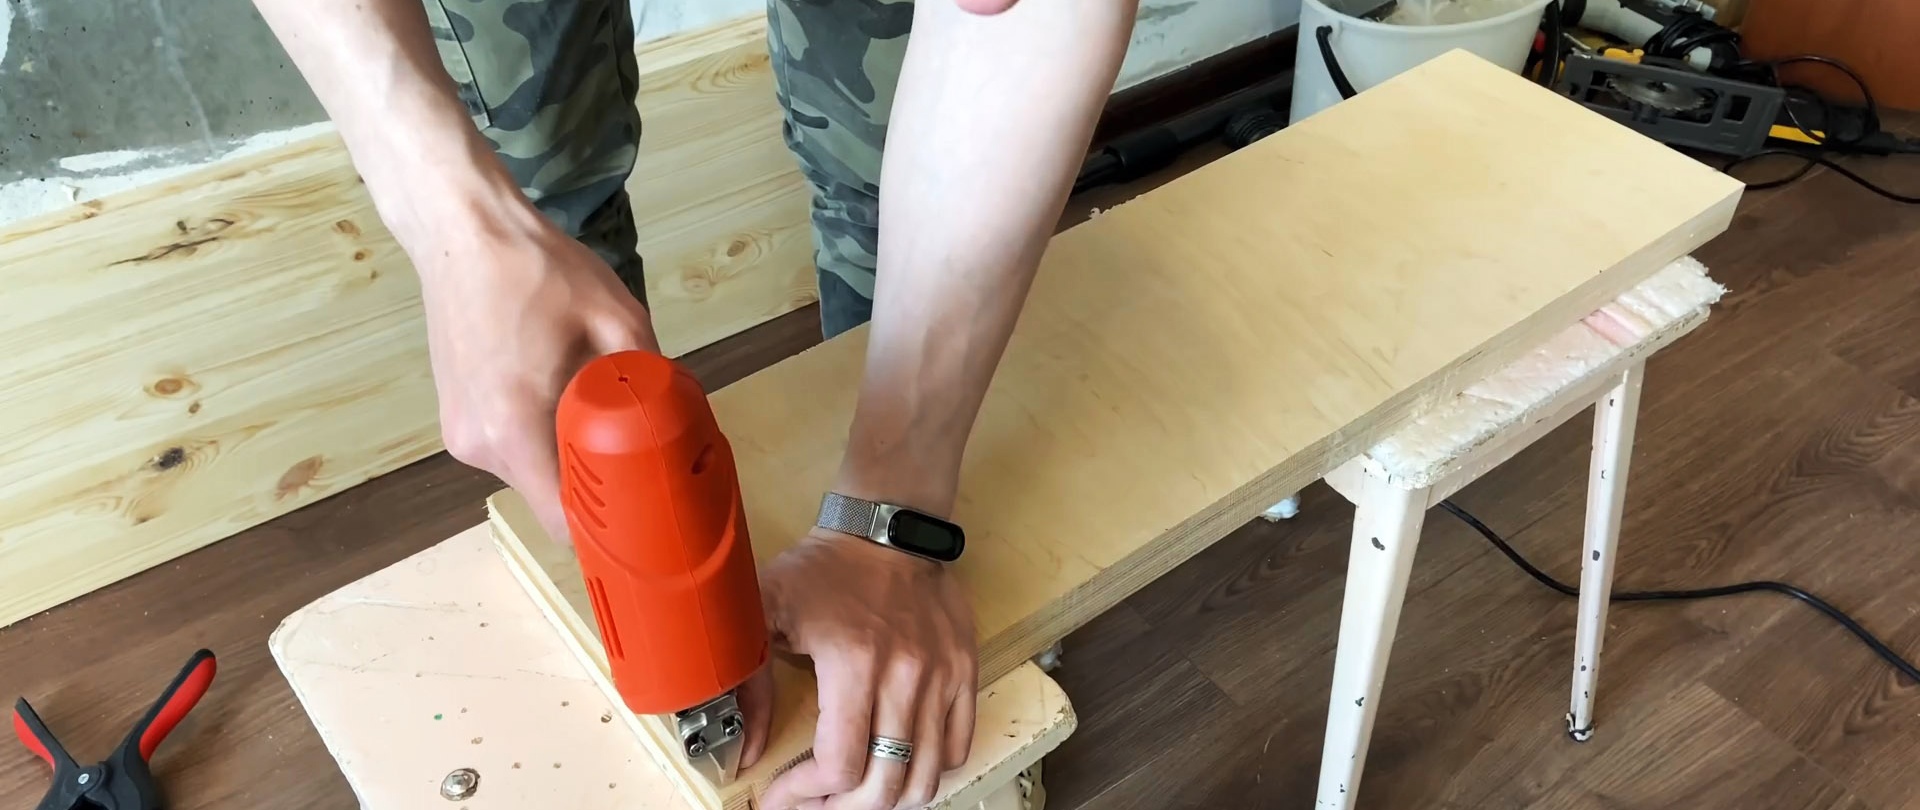
On pine boards along one edge in the longitudinal direction we make a groove with a router.

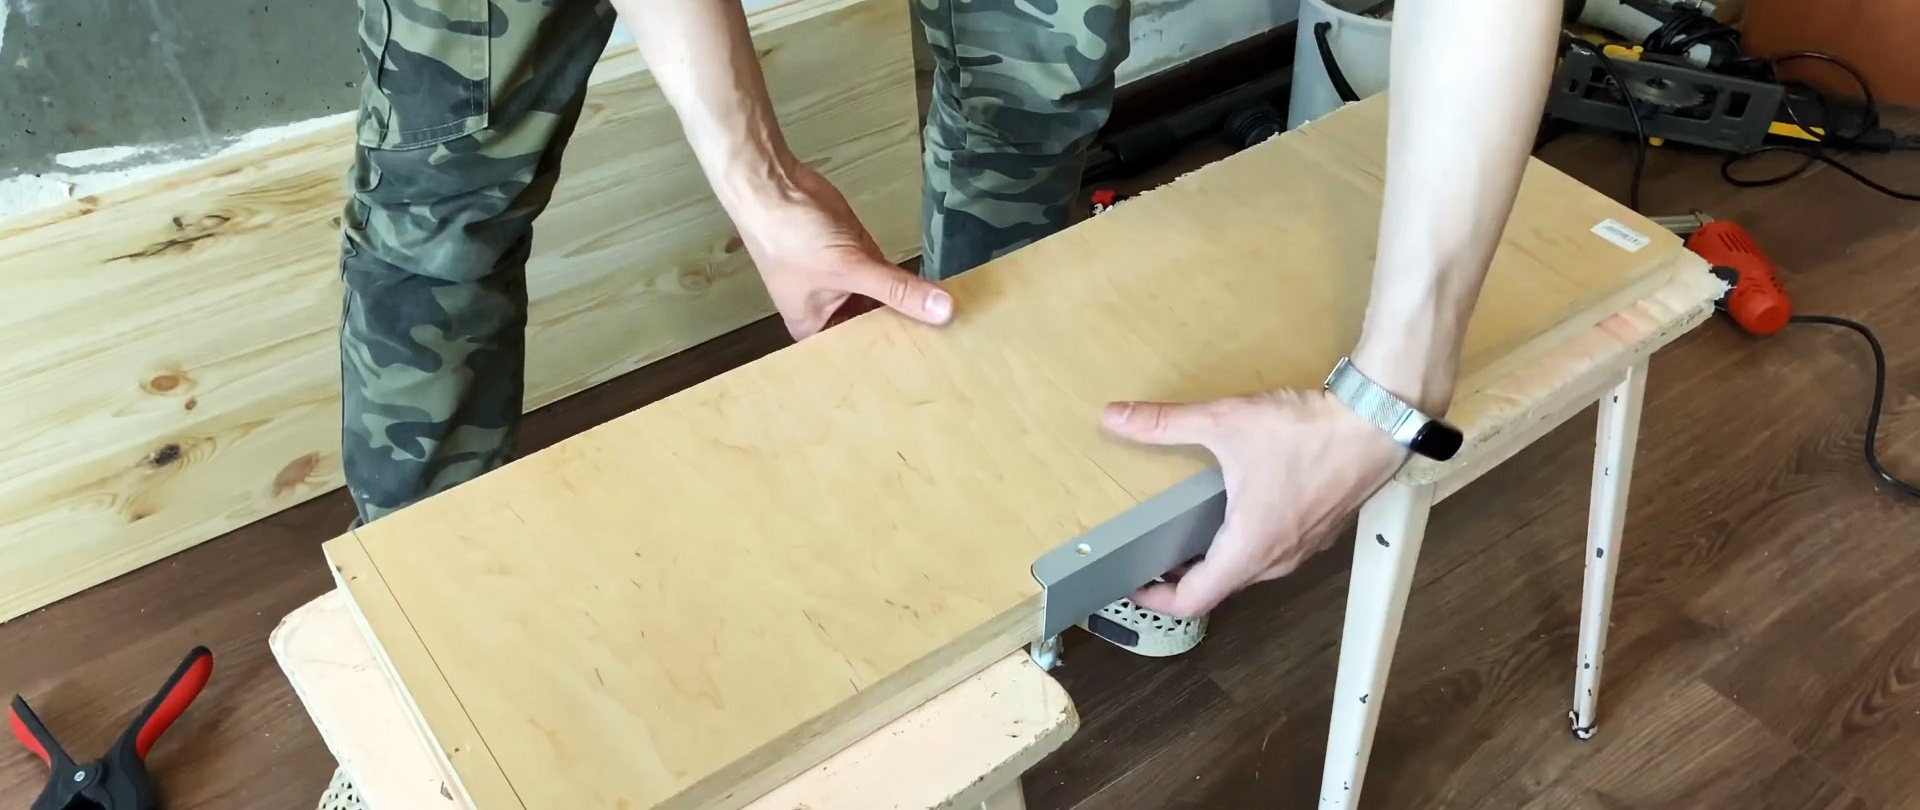
We cut door blanks from multi-layer plywood using a jigsaw along the installed guide.

We fasten the door blanks with small nails using a nail gun.
We finally mark the doors and find the center of one of the long sides. We try on the end handle and mark the place of its attachment.
We adjust the offset of the cutter on the router according to the thickness of the handle and make recesses on the door blanks. We correct them with the blade of a construction knife. We secure the handles to the doors with screws.
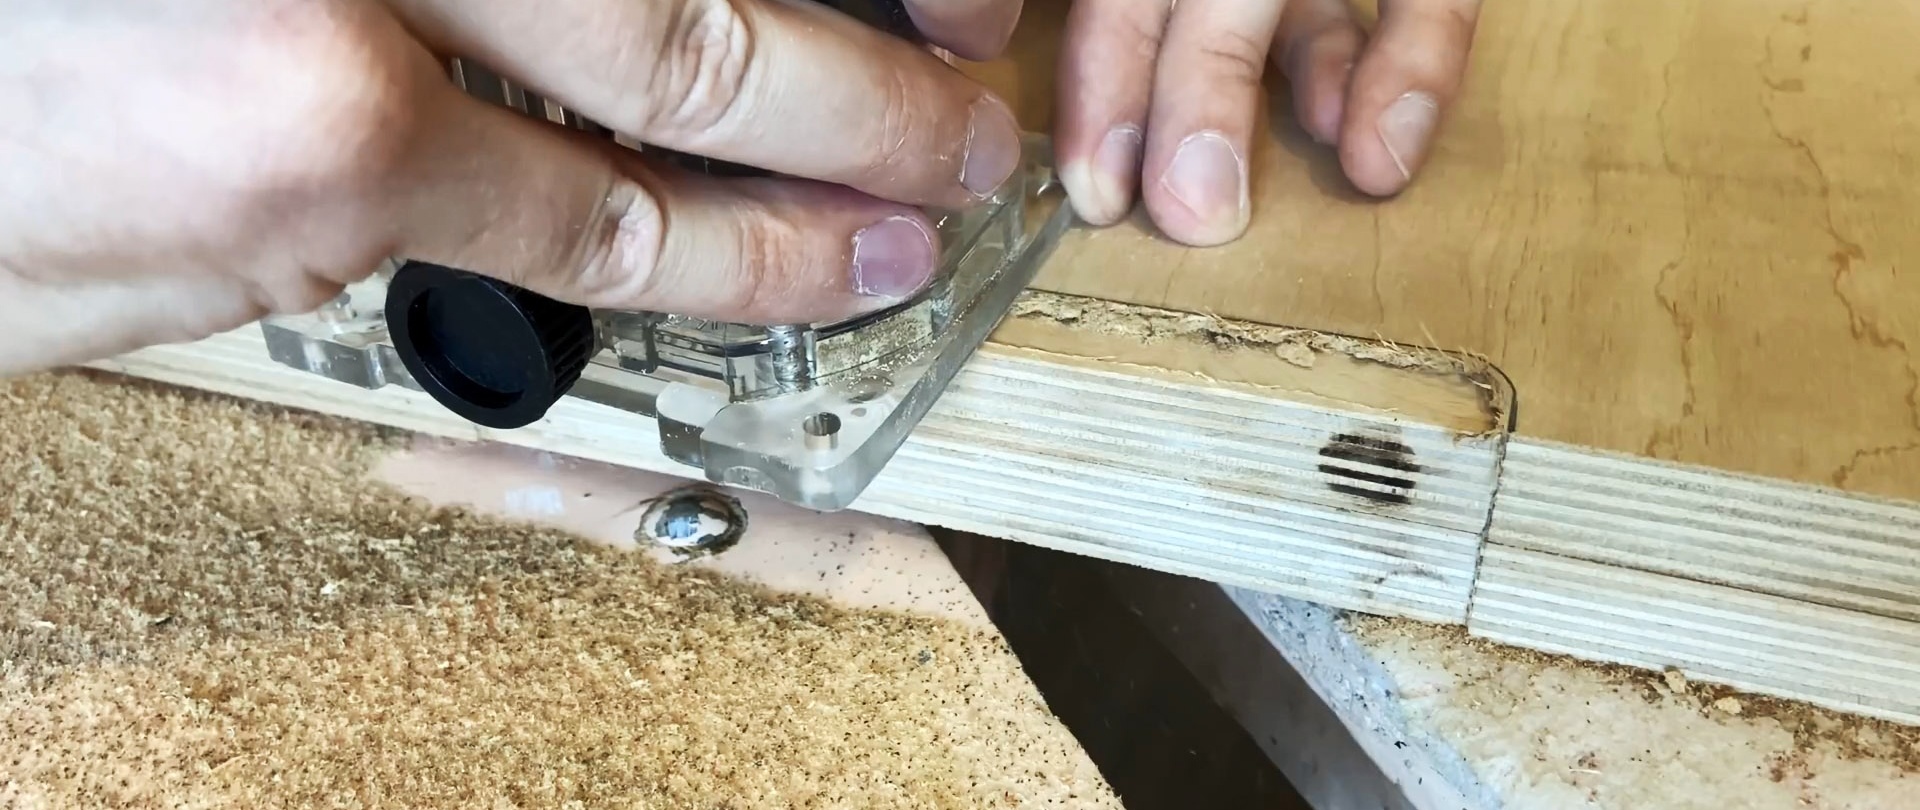

We saw the pine board into equal parts. We compress them with clamps and sand the ends with sandpaper.
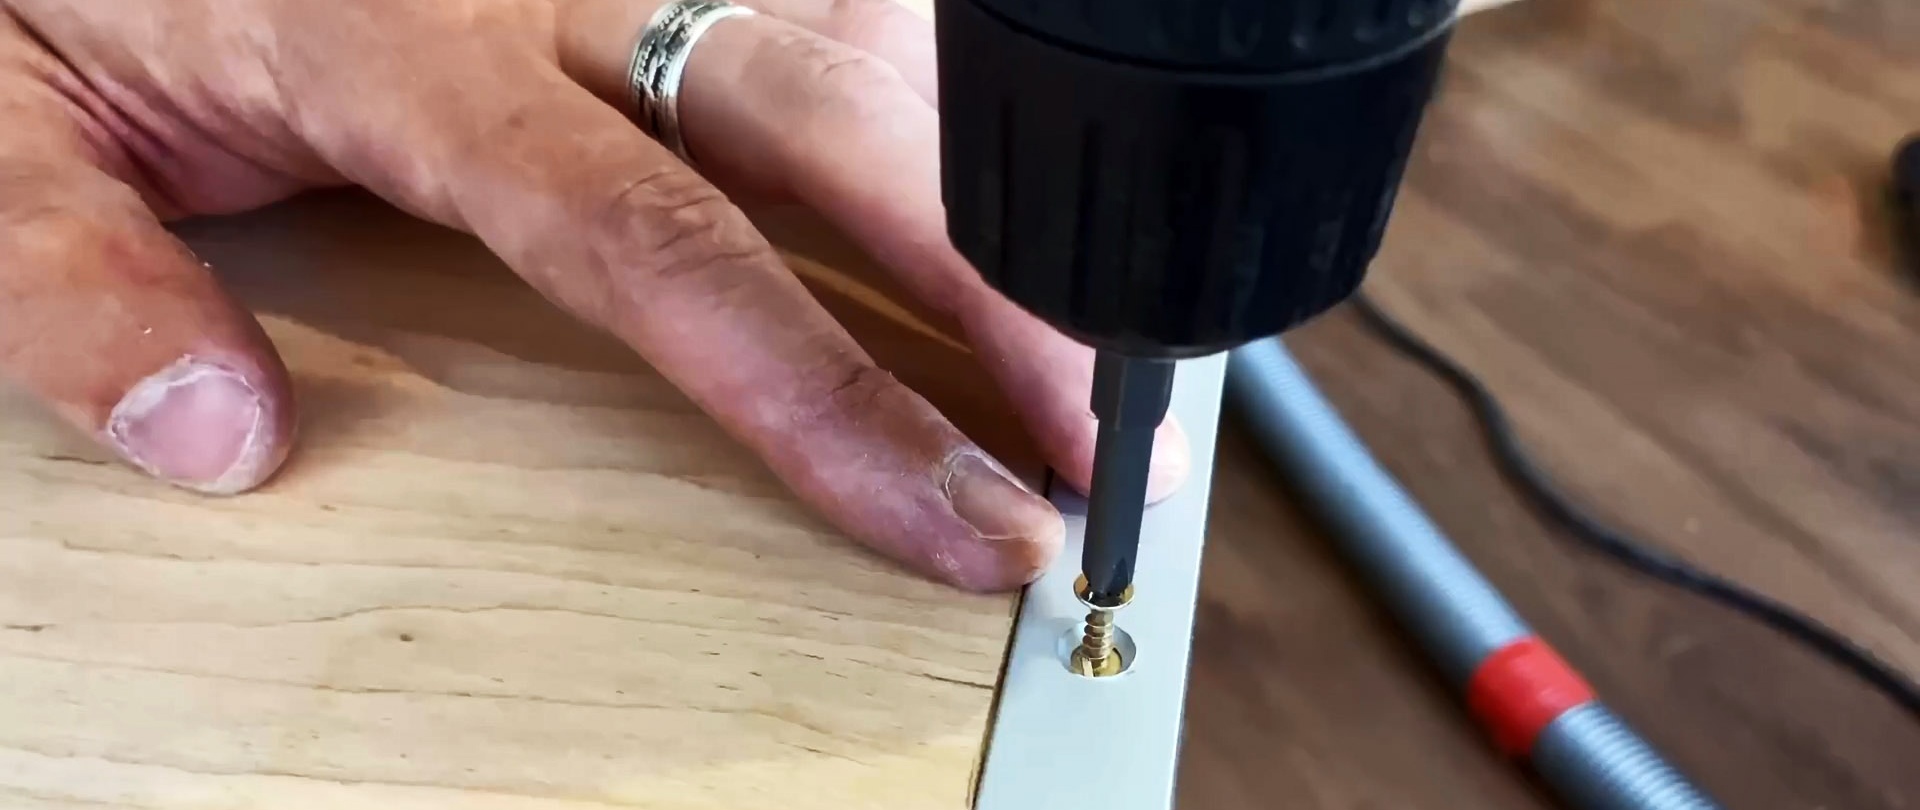
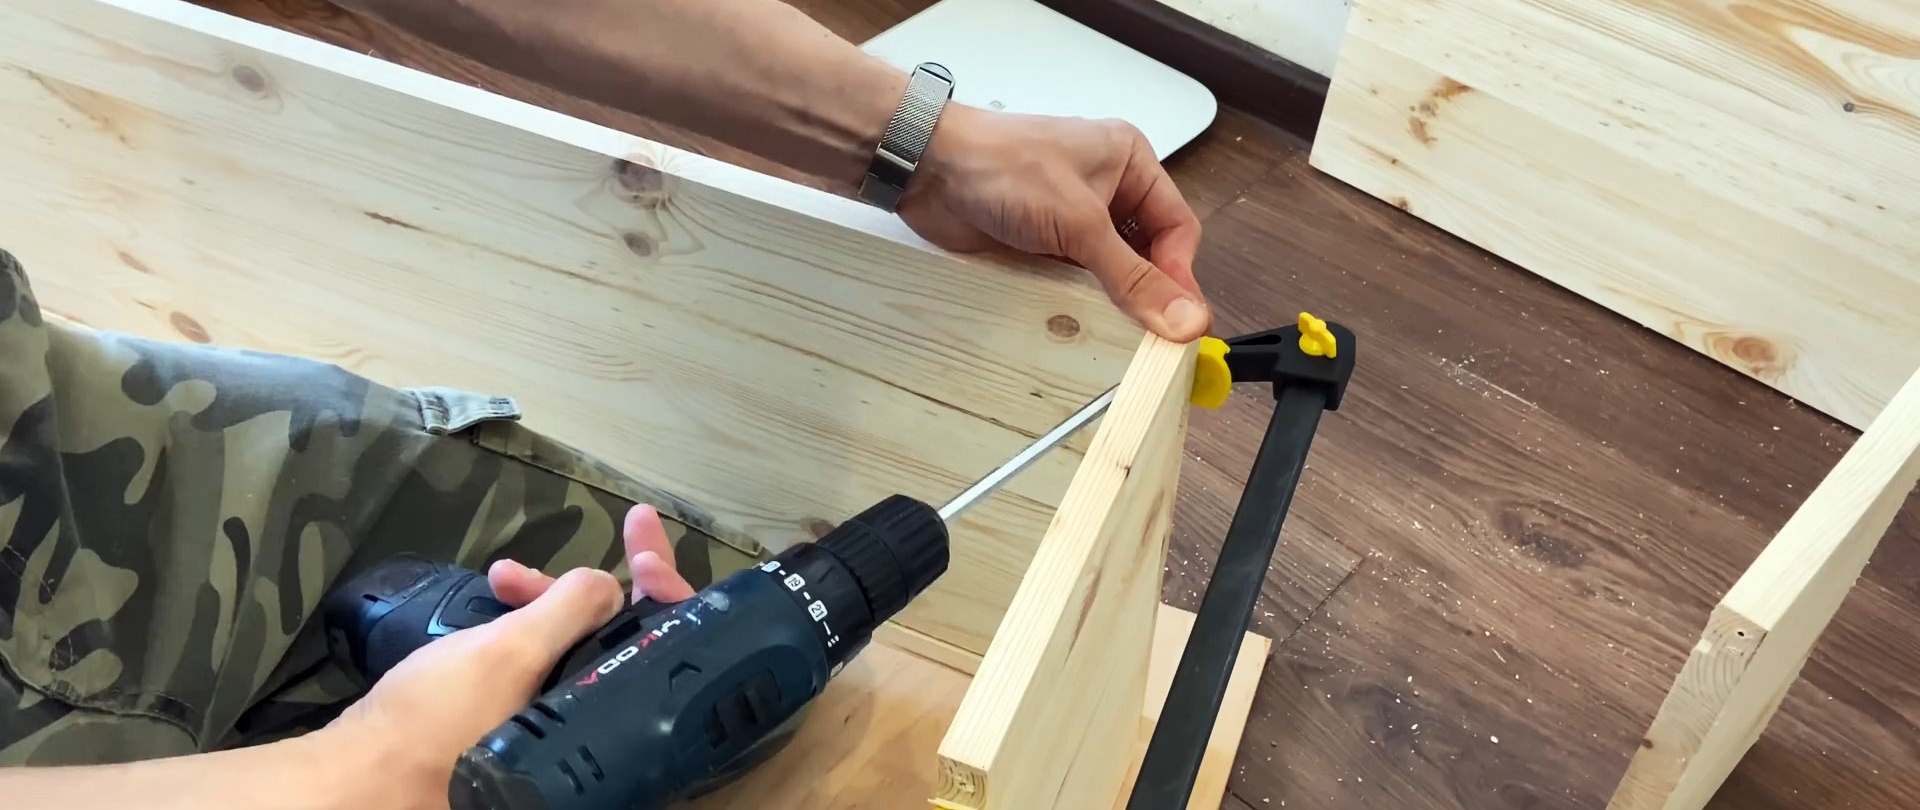
We pre-fix the sides of the cabinet to the base using a corner template, clamps and a nail gun. Then we strengthen the connection with screws.


You can use another method of connecting the sidewalls to the base. Using an angle drilling jig, we perform side drilling in the mating parts.
Apply glue to the end of the sidewall and install it in place on the base. Then, at the angle of the drillings, we fasten the parts of the cabinet body with screws.
We drill holes in a scrap piece of pine board at an angle for half a dowel. We drive them into the inclined holes until they stop and use a hand saw to cut off the protruding half of the dowel.
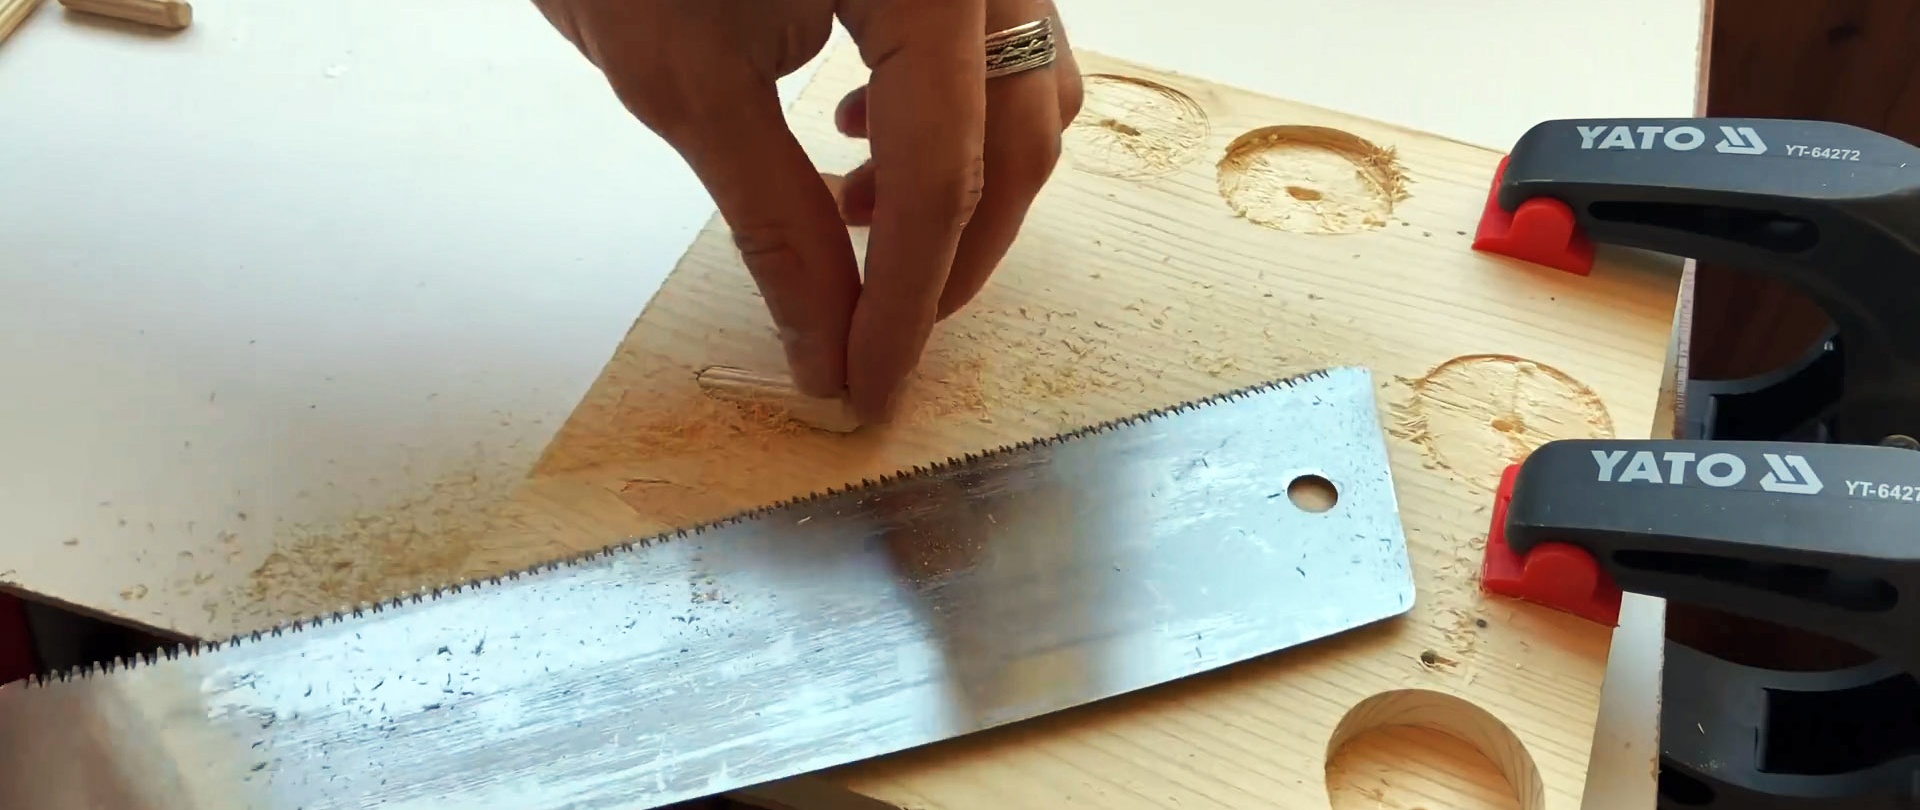
We insert the conical halves of the dowels into the inclined holes in the base of the cabinet using glue.
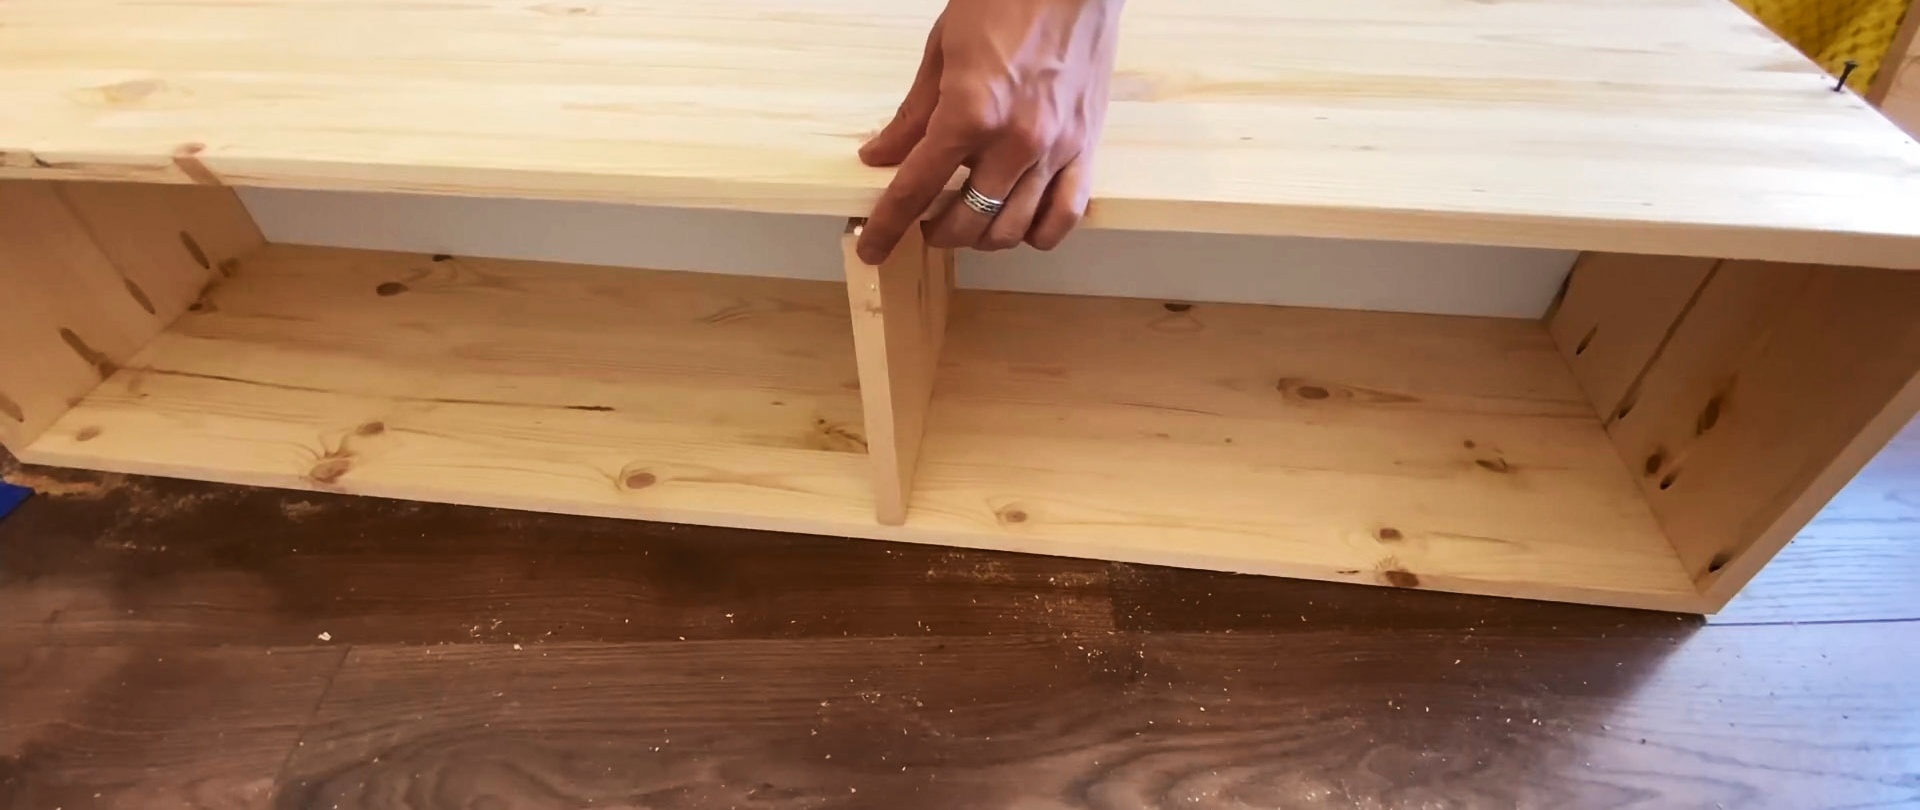
We install the middle wall of the cabinet with a guaranteed gap between it and the door. We make a mark, apply glue to the contact surface and put the wall in place according to the mark. We strengthen the parts with screws screwed in at an angle.
We cut thin chipboard to size and install it in the grooves of the cabinet body parts. We fix the chipboard to the walls with a stapler.
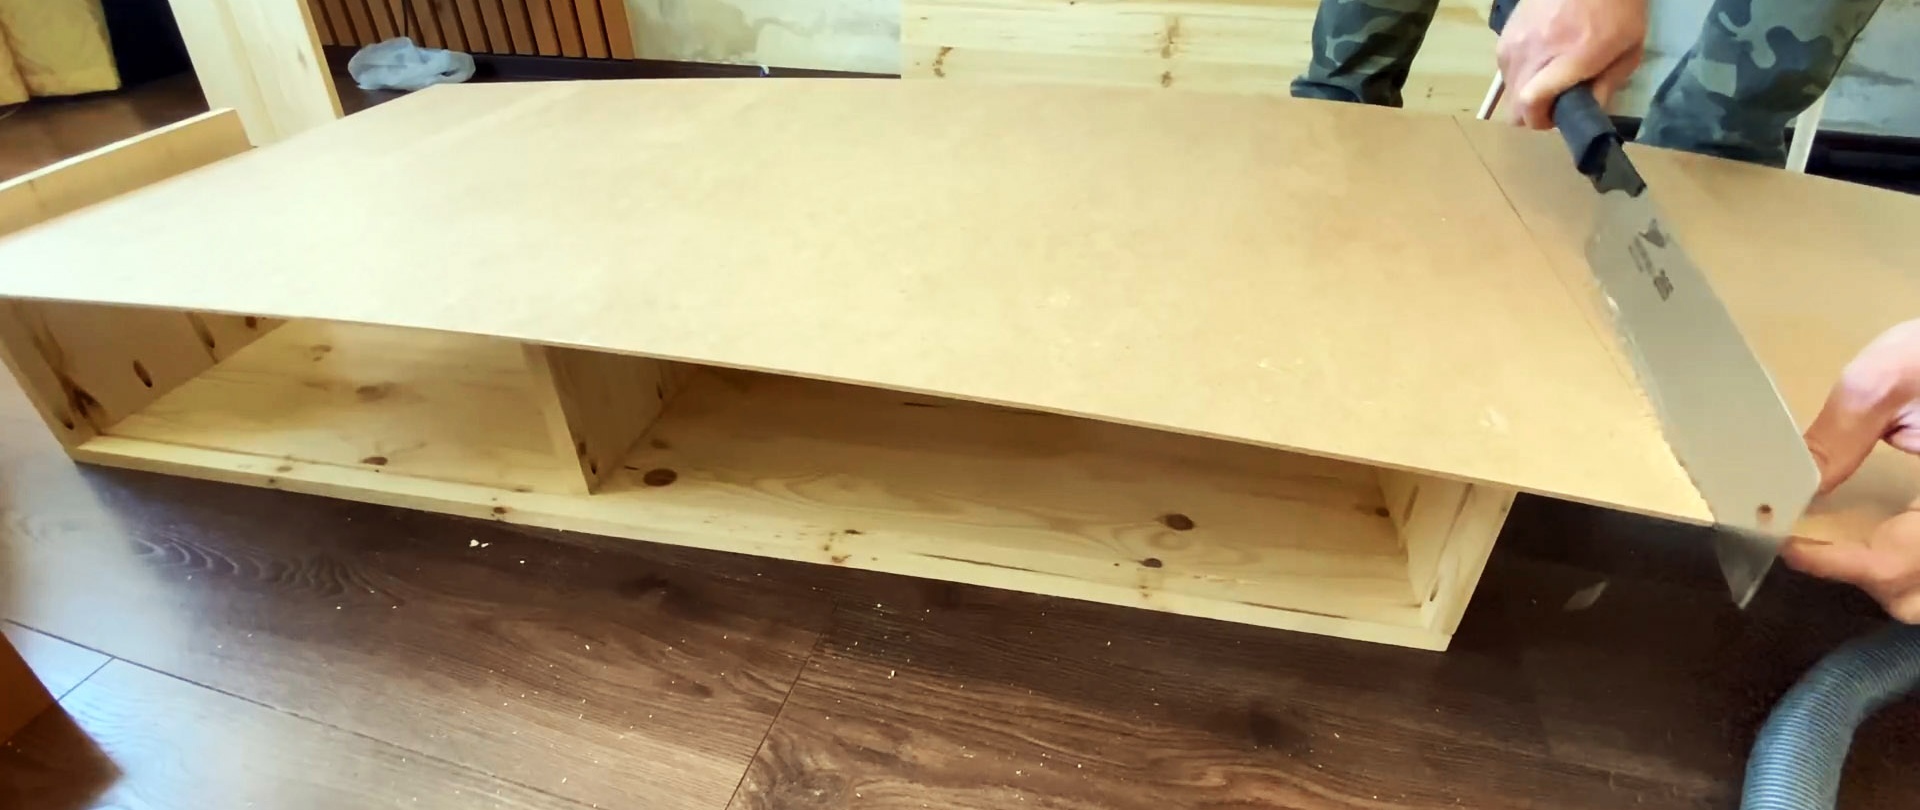

Apply glue to the upper ends of the transverse walls and install the top of the cabinet. We fasten it to the transverse walls with screws.

Two wooden beams with a beveled long side on each, using the internal dimension of the cabinet along the length, are marked and cut with a hand saw using a magnetic stop.

In one wooden block, we drill the side sockets using a jig, apply glue to the contact surface and press it to the top board of the cabinet with clamps so that the side cut is inside. We insert screws into the sockets and finally secure the timber to the cabinet.
We insert shelves into the compartments of the cabinet, cut them in place and fasten them with screws to the side walls of the cabinet.

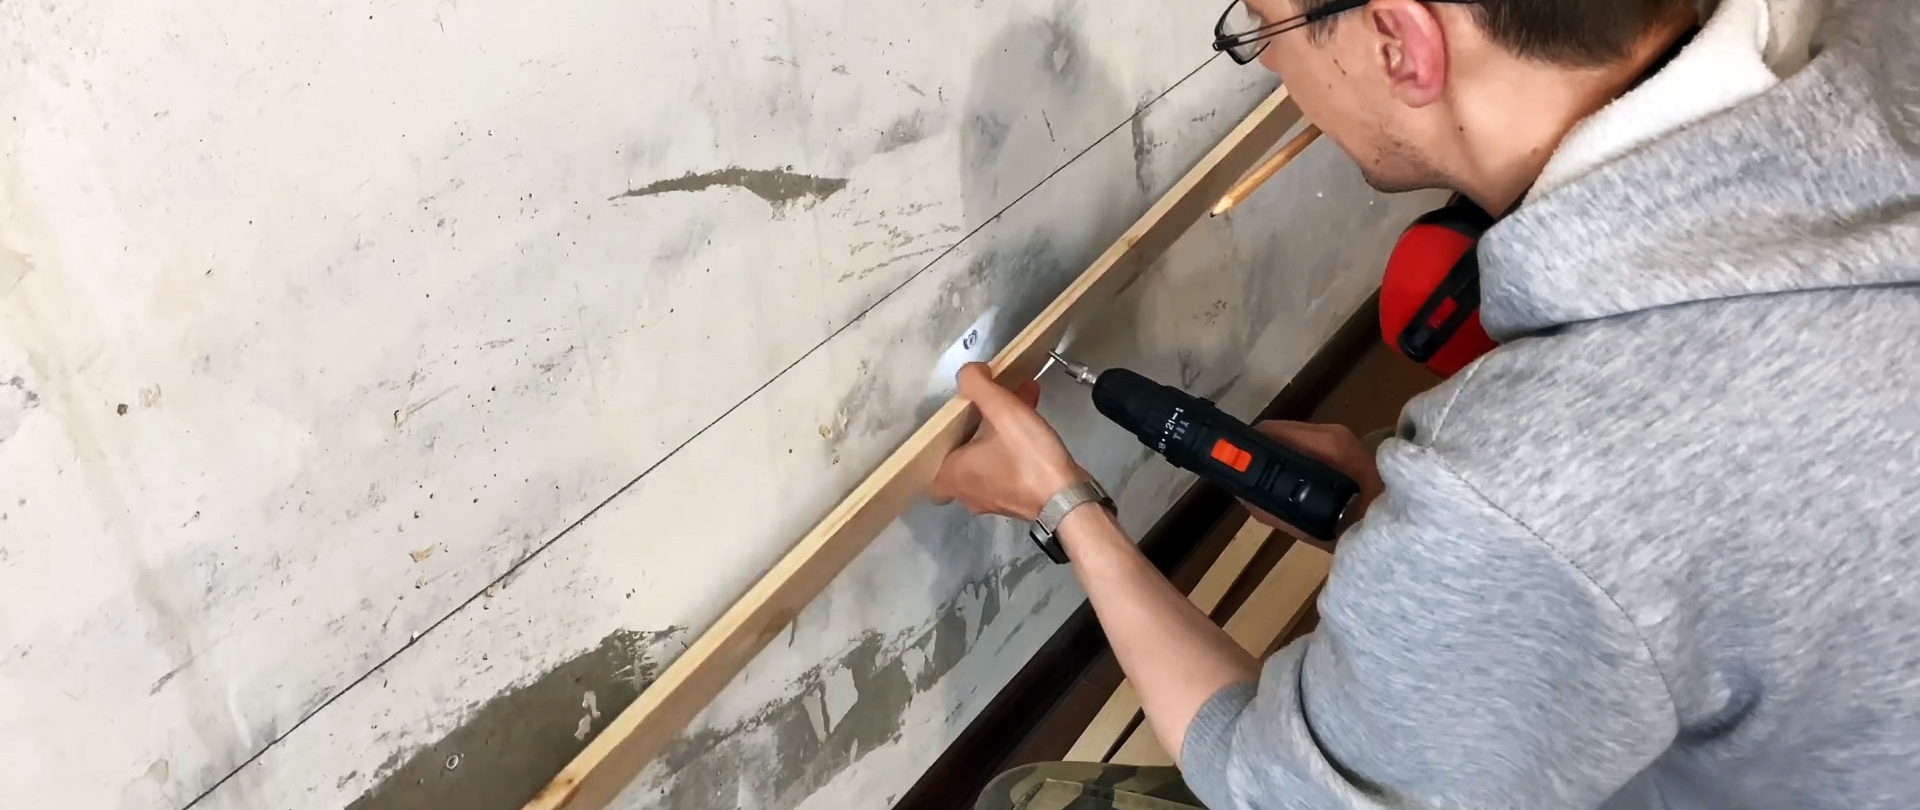
We mark a horizontal line on the wall, drill holes and fasten to it with screws a beam with a beveled side on top directed towards the wall.
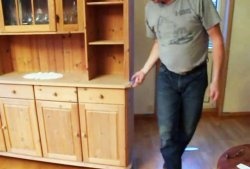
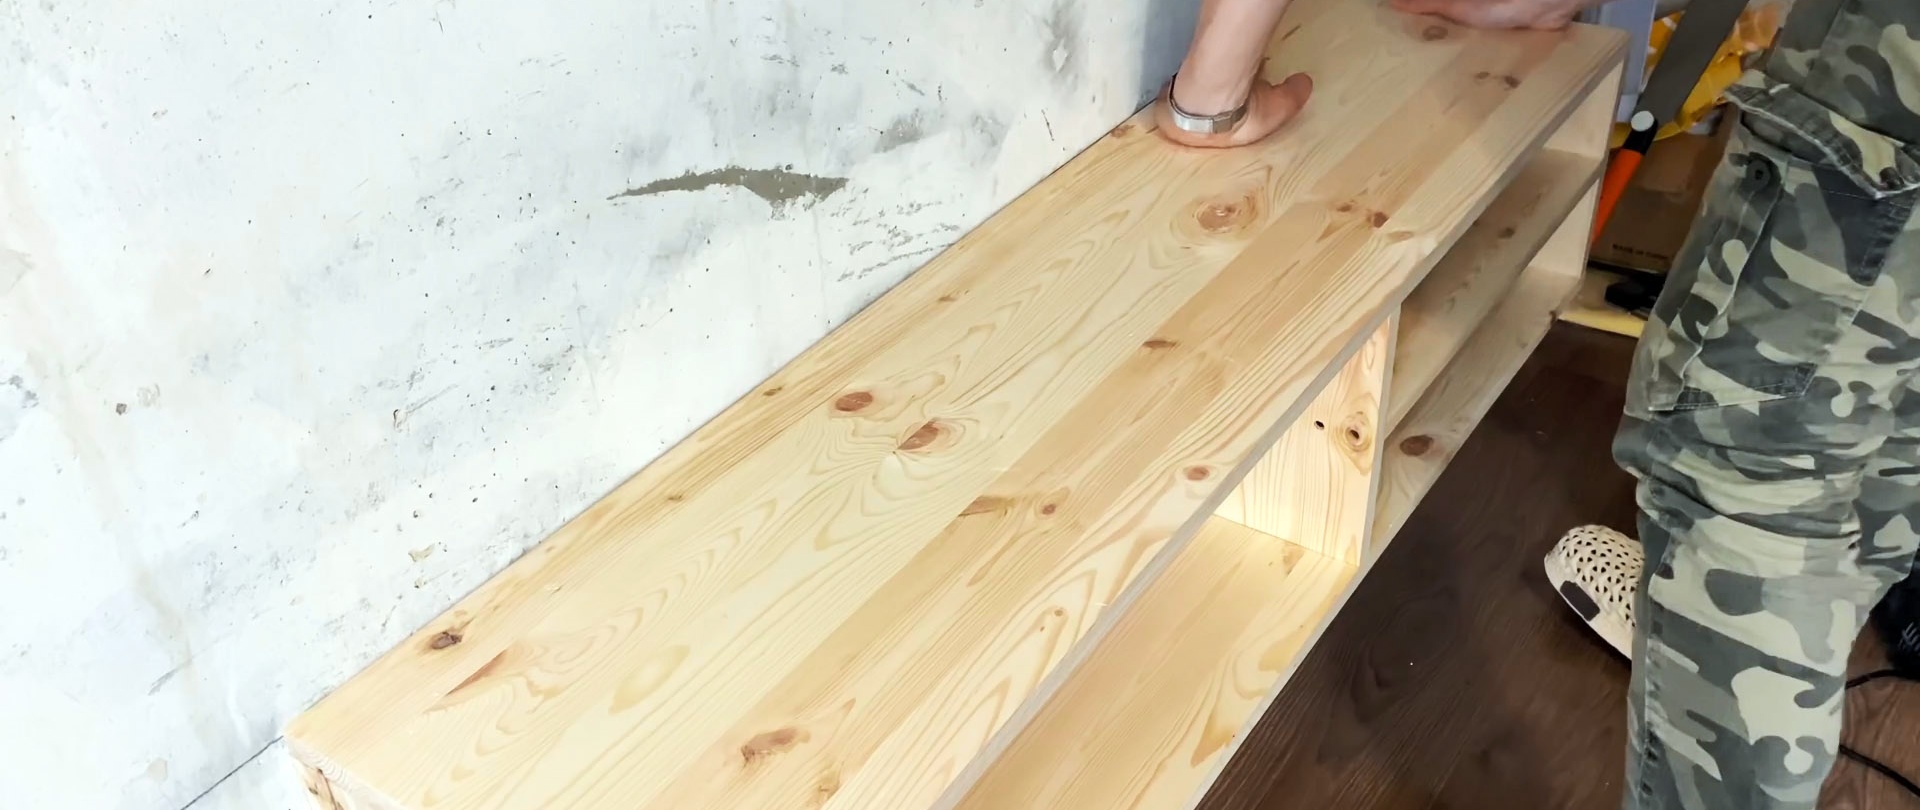
We hang the cabinet on a beam attached to the wall, and our hanging shelf is ready not only to decorate the interior, but also to be useful in a utilitarian sense.

All that remains is to sand the outer and inner surfaces of the cabinet, rub it with impregnation, install the doors, painted white on the outside with a spray gun, and adjust the canopies.

You can also turn on the voltage for beauty, install a socket at the bottom of the cabinet and power the LED strip located under the cabinet.