Today I will show you how to make a simple table from several boards and attach it to the wall. Everything we need is, as usual, lying idle under our feet.
Materials:
- Edged board.
- Beam.
- Metallic profile.
- Self-tapping screws.
- Bolts or screws with nuts.
- Stain and varnish.
Tools:
- Electric planer (or a regular one).
- Hammer and drill.
- Screwdriver or screwdriver.
- Sandpaper or angle grinder with a flap wheel (grinder).
Making a countertop
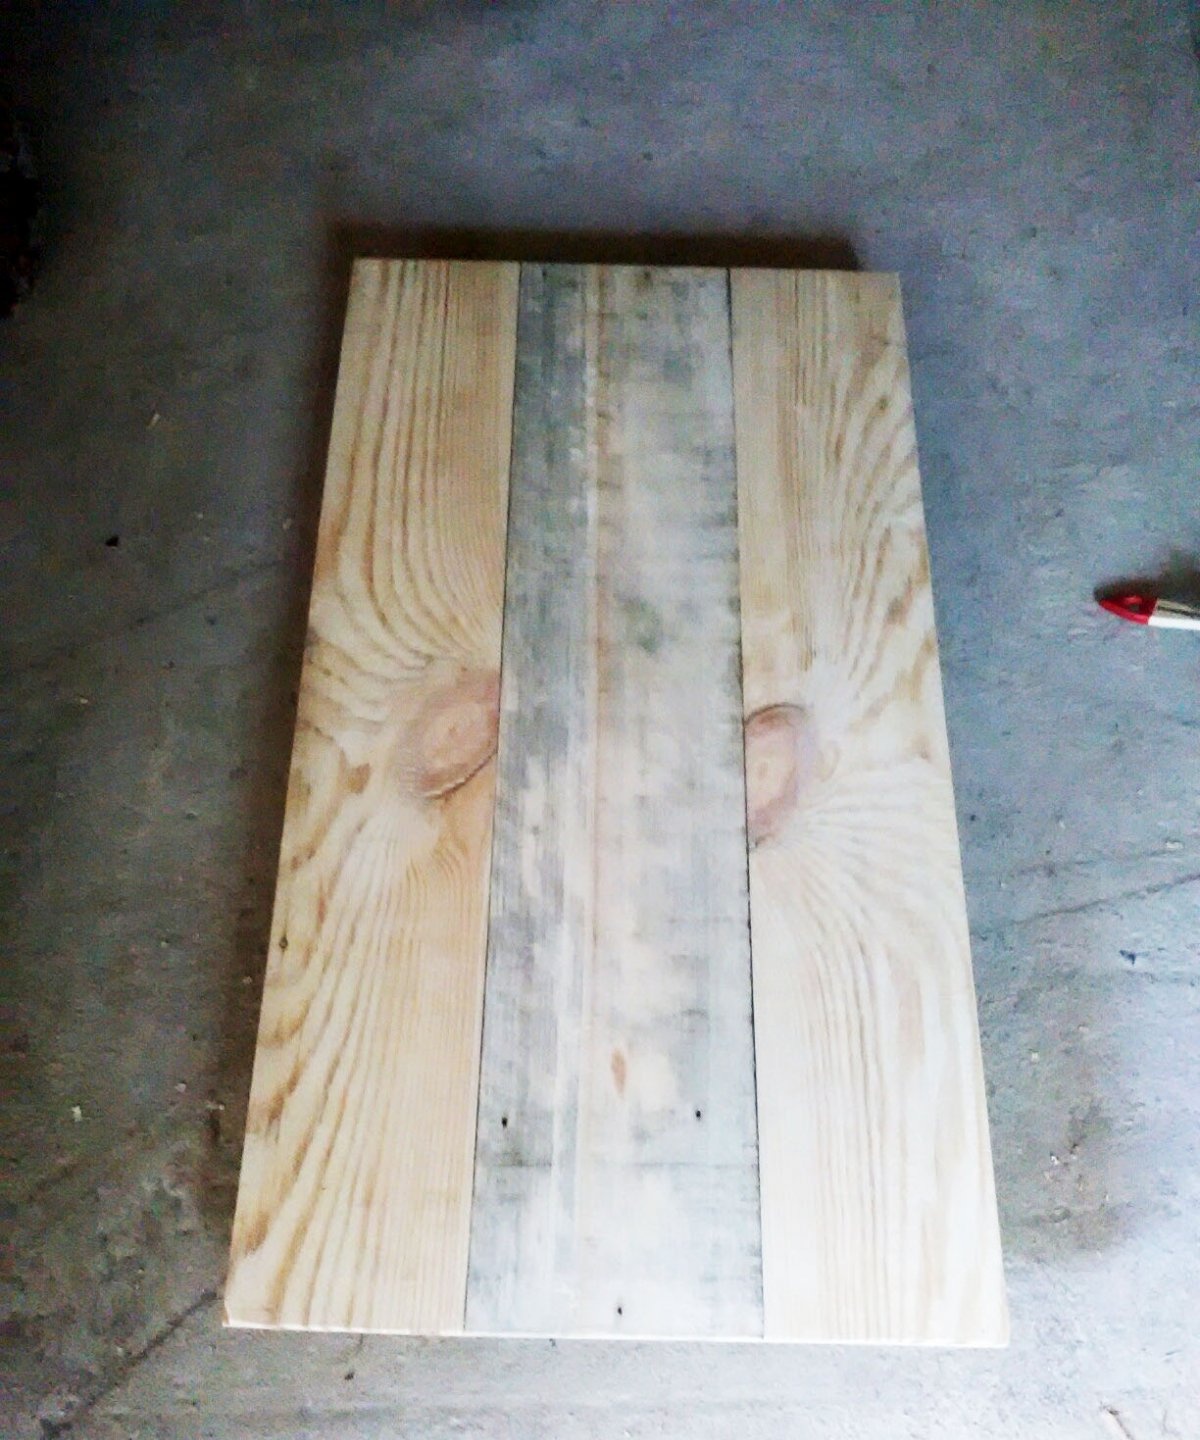
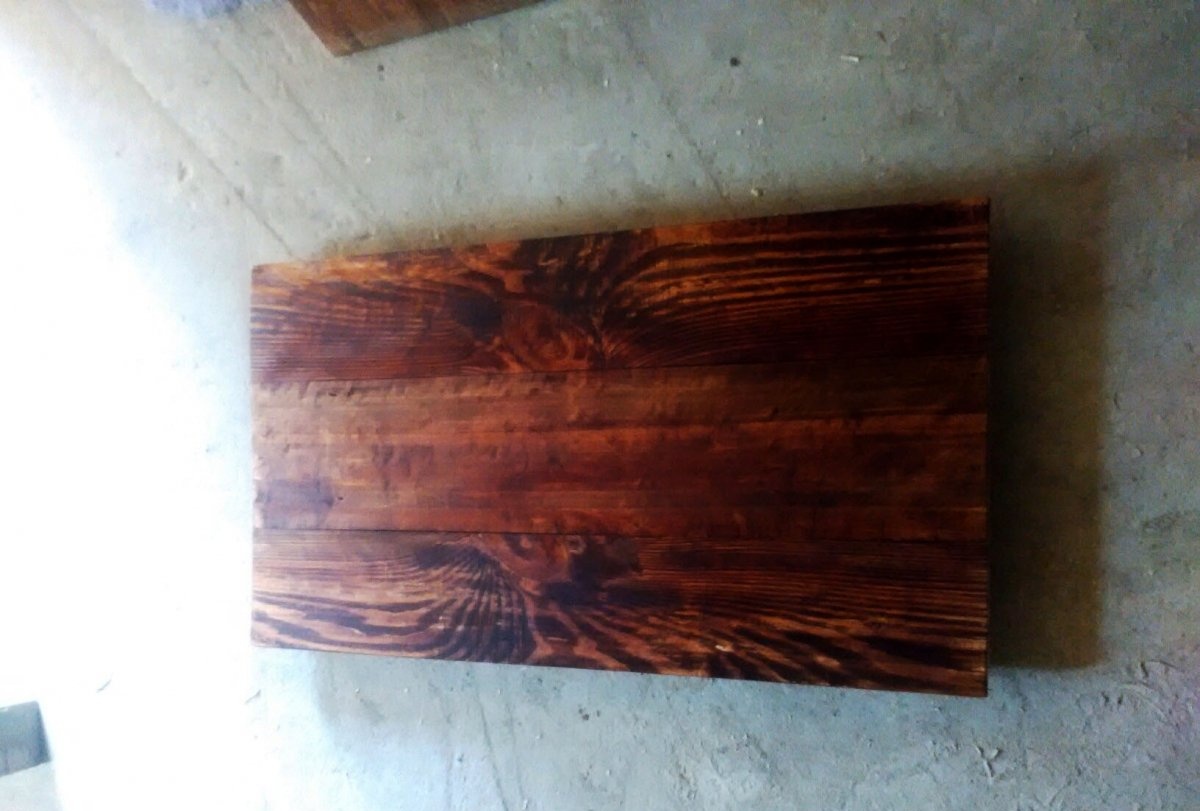
First, let's make the table itself. We will make it from three boards 90 cm long, 15-17 cm wide and 20 mm thick. I chose these sizes based on the dimensions of my kitchen; of course, any table can be made. I found two pine and one aspen boards.
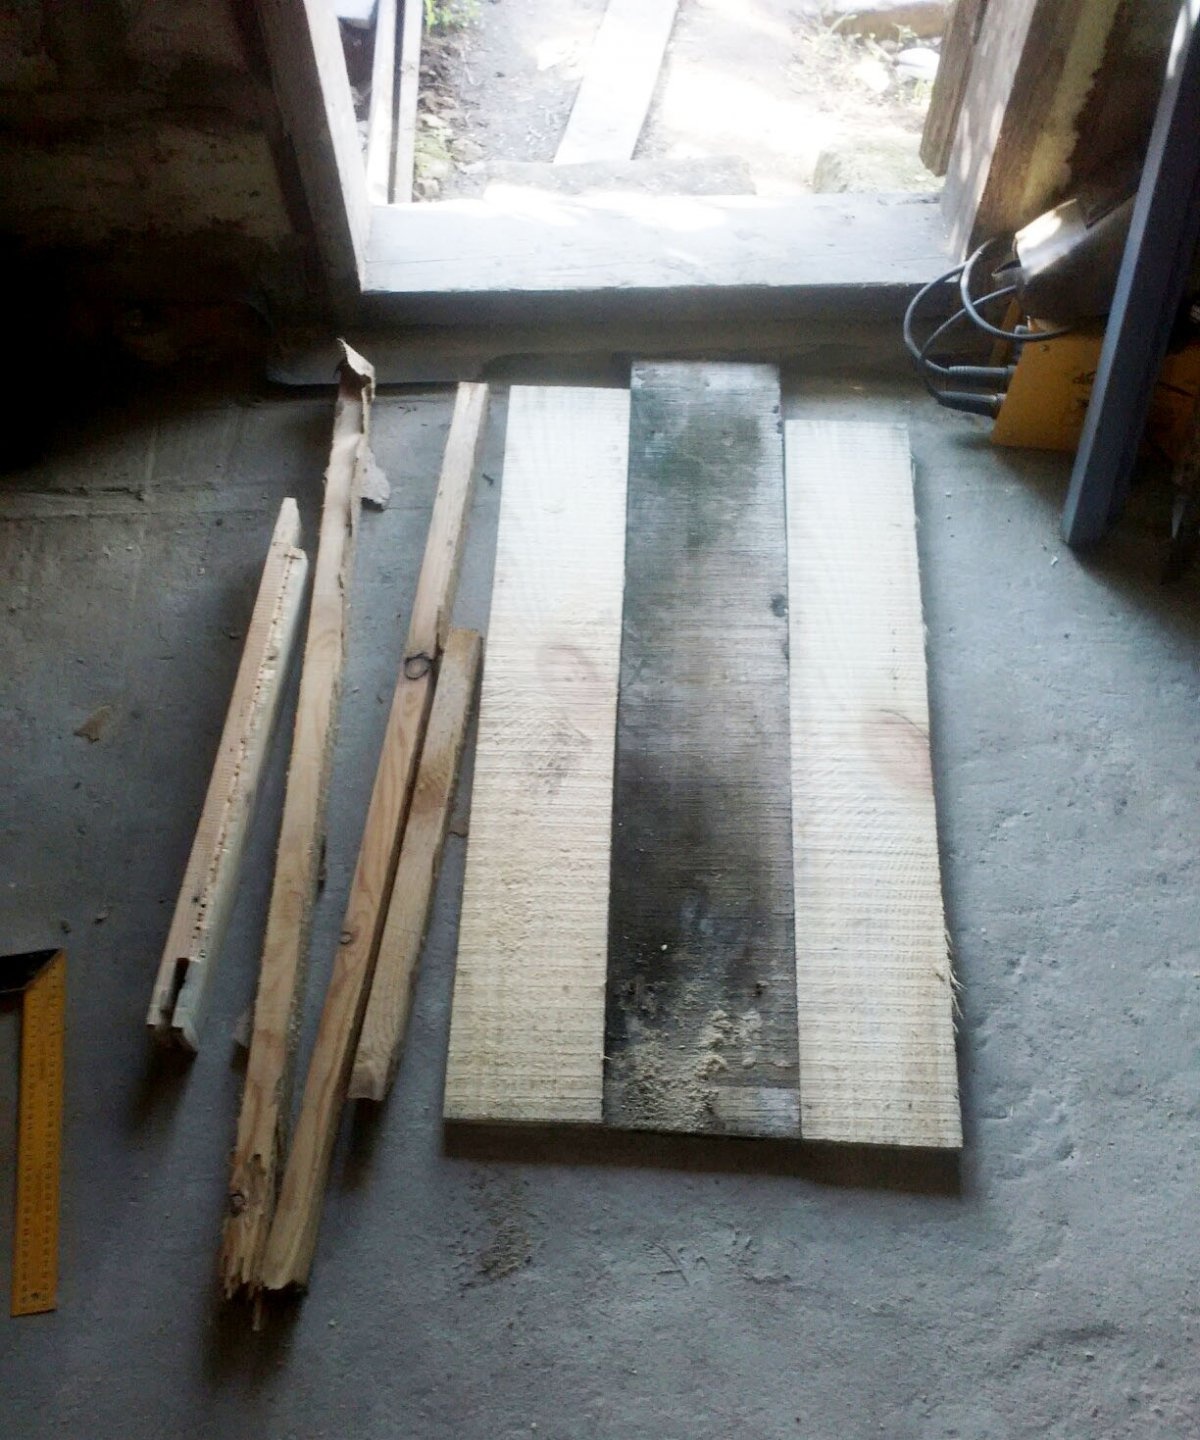
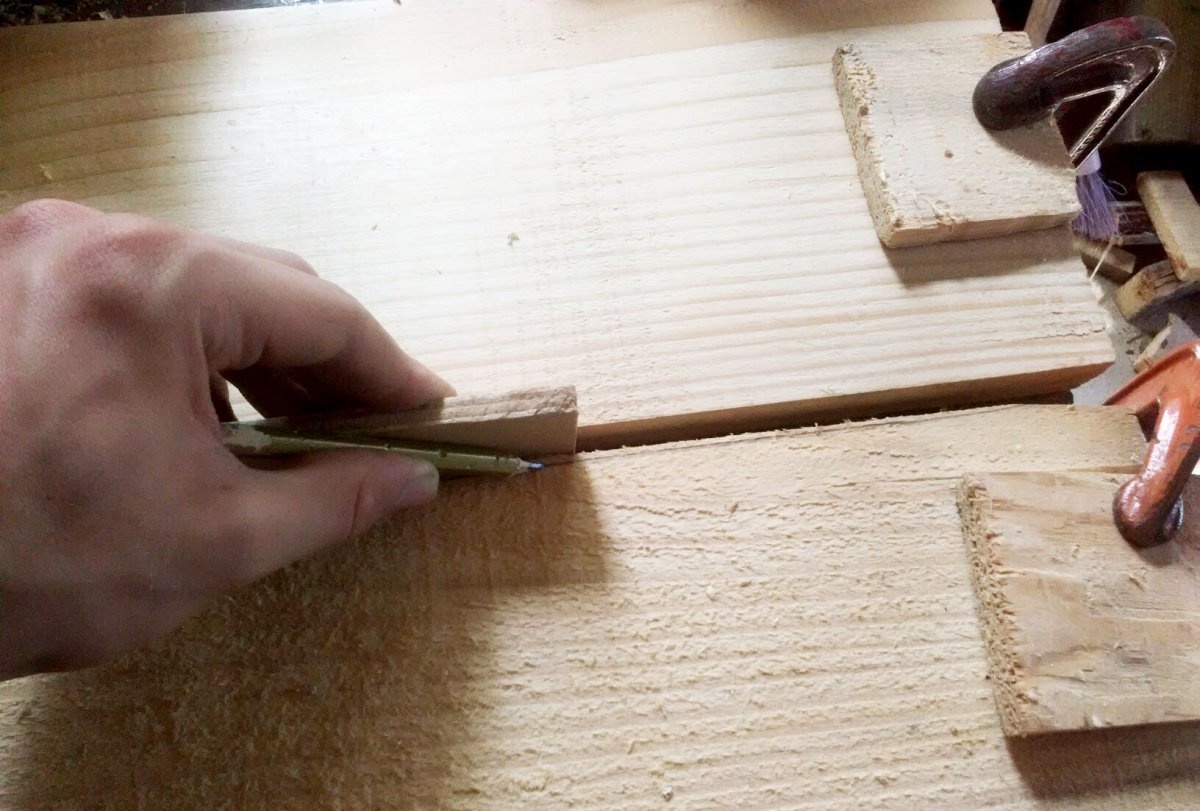
I sawed everything down to a length of 90 cm and planed it with an electric planer. The ends must be adjusted to each other so that there are no large gaps. We use the old-fashioned method for this. We fix two boards on the workbench, leaving a small distance between them. We insert a strip into it - I took plywood - and press a pencil against it and draw it along the entire length. In this case, the batten should move along one board, and leave the pencil on the other. Next, we plan the board along this line and get tightly pressed boards.
Here, however, my crookedness showed up and small gaps still remained. It is better to use a hand plane. Well, okay. After the planer, we sand the front side of the table with sandpaper; for speed, you can take a grinder with a petal disc.
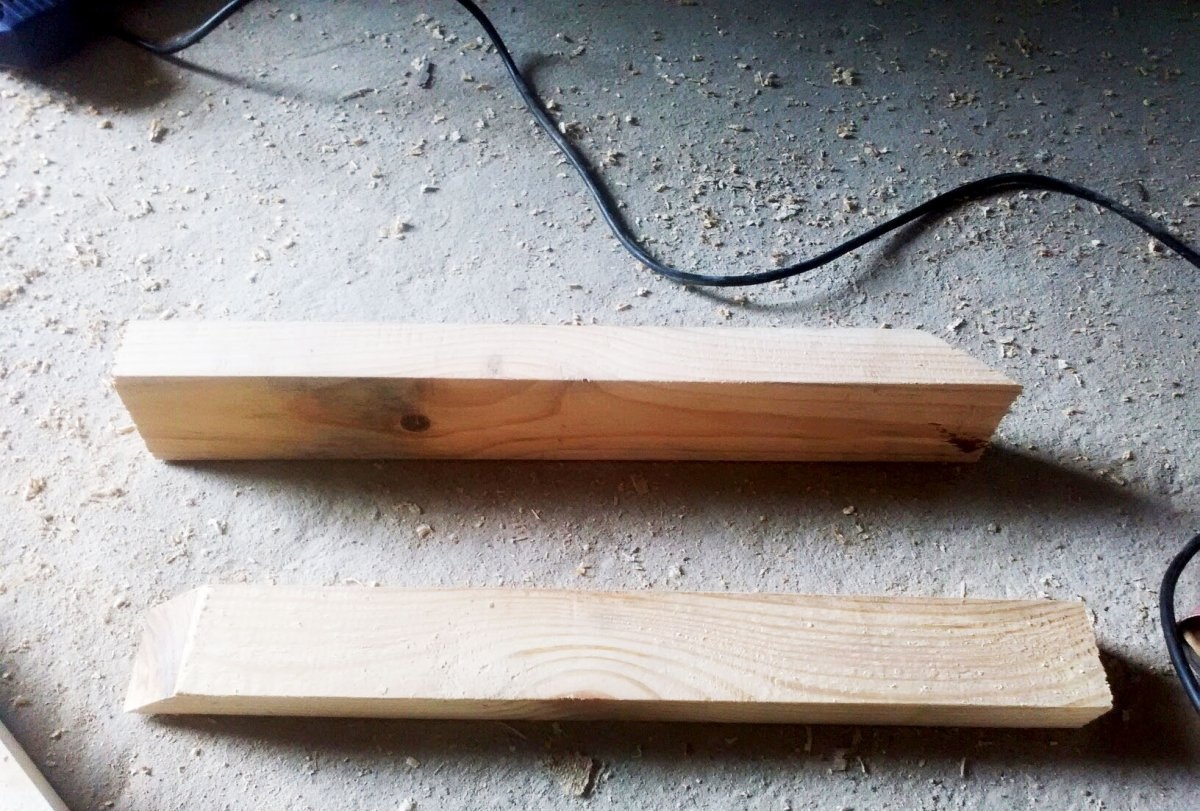
We cut out two blocks and use them to tighten all three boards. I cut the edges at a 45 degree angle. With a table width of 60 cm, I cut out about 50 cm of beams so that they would not interfere with my legs.
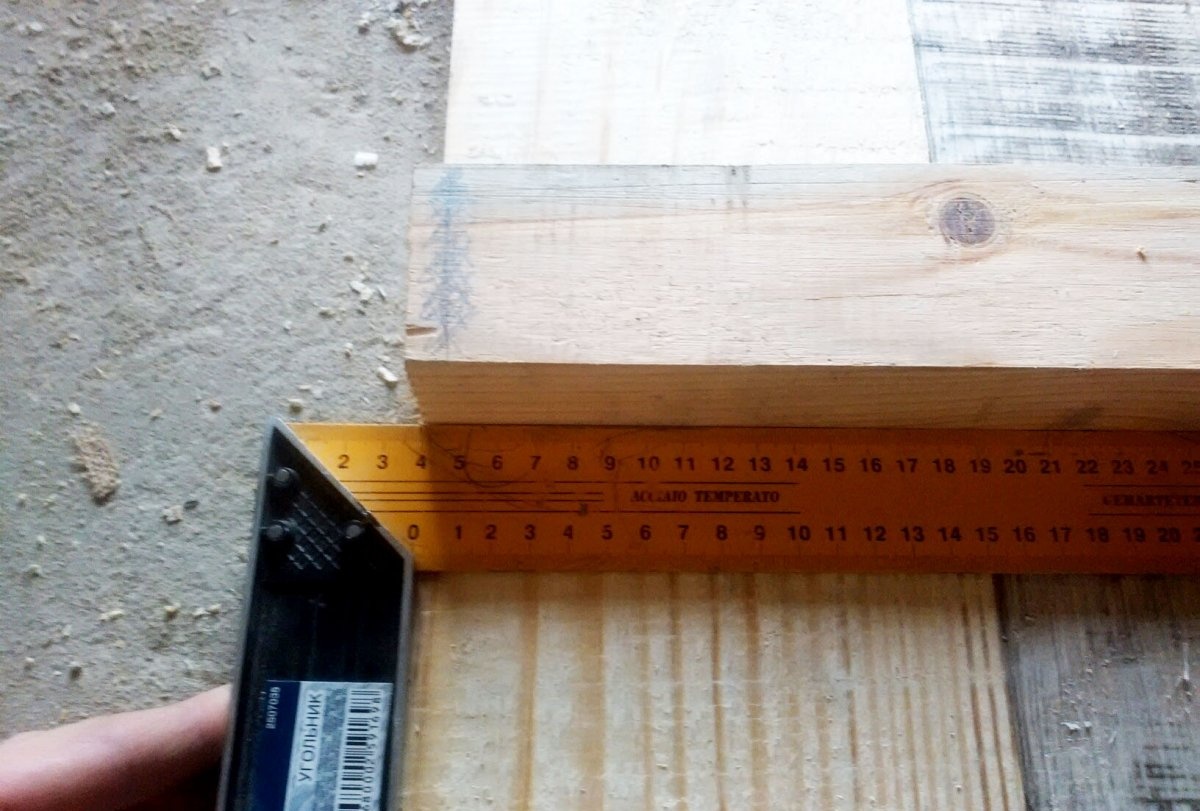
I stepped back 30 cm from each edge and screwed the boards to the beams using black self-tapping screws, two per board. They need to be aligned with a square.
If the length of the table is more than one meter, it is worth screwing small slats along the very edges so that the boards do not “float”.
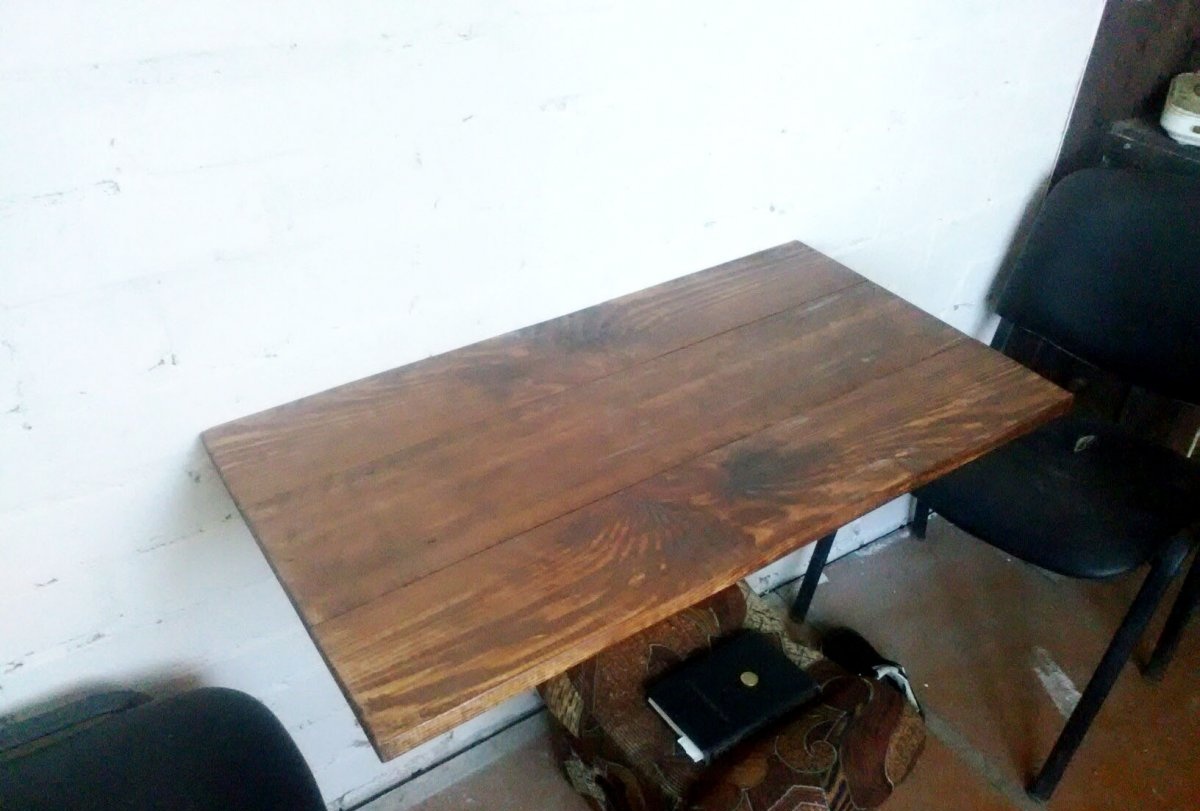
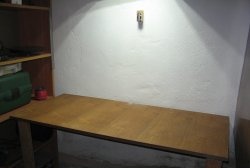
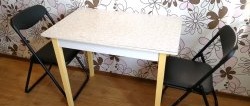
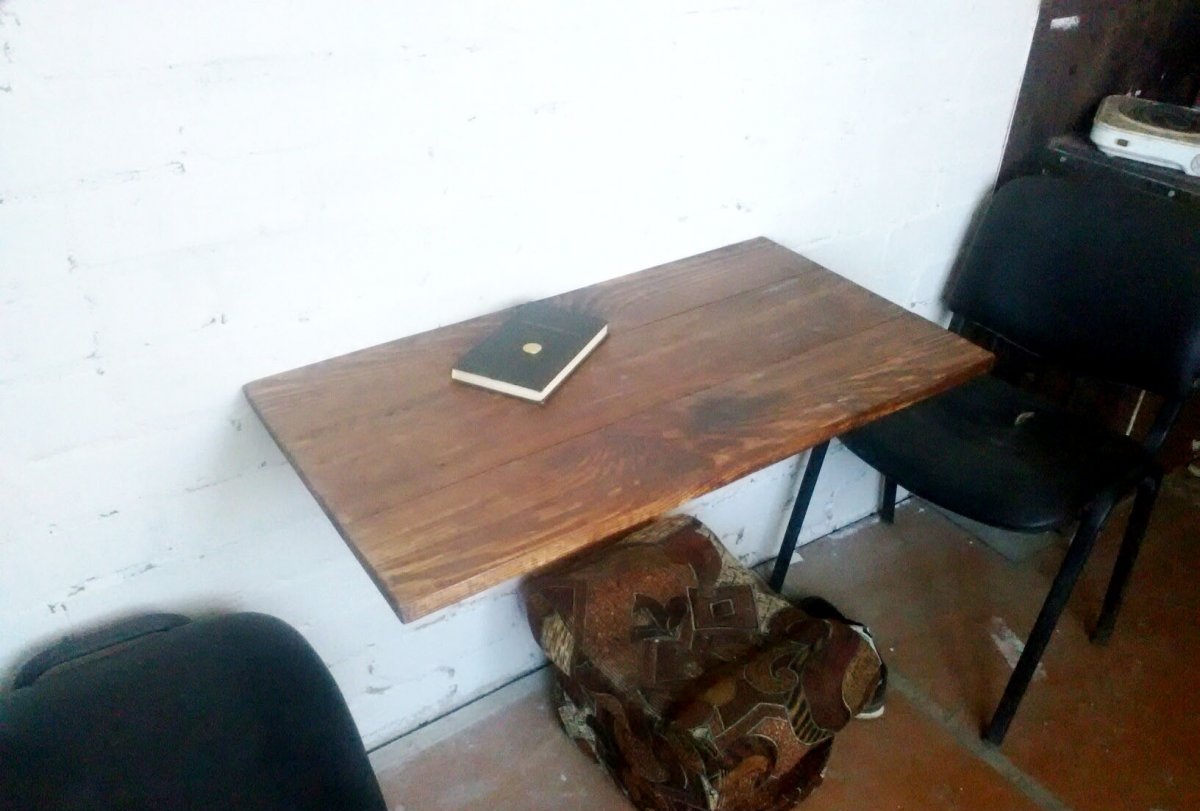
The tabletop itself is already ready, all that remains is to paint and varnish. I painted it with Mocha stain and coated it with regular clear wood varnish. Once the varnish has dried, it is worth going over it lightly with fine sandpaper, from 400 grit (zero).
Wall mount
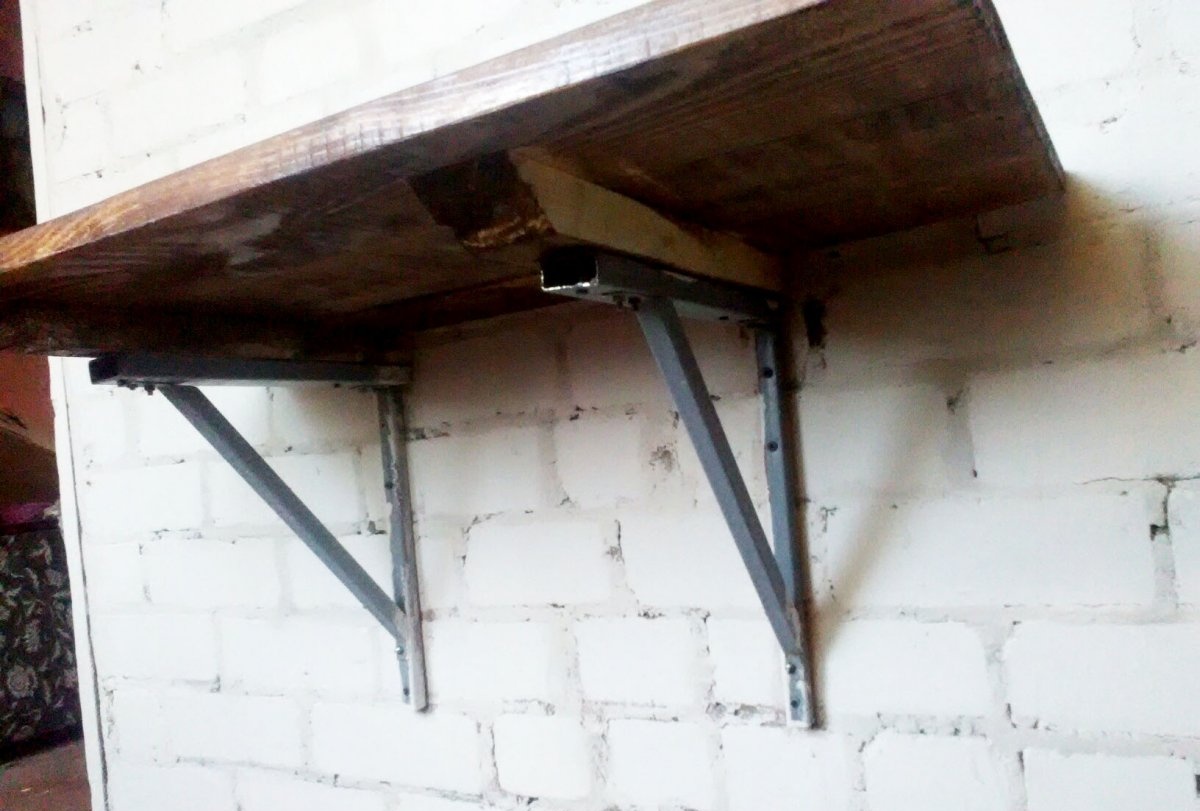
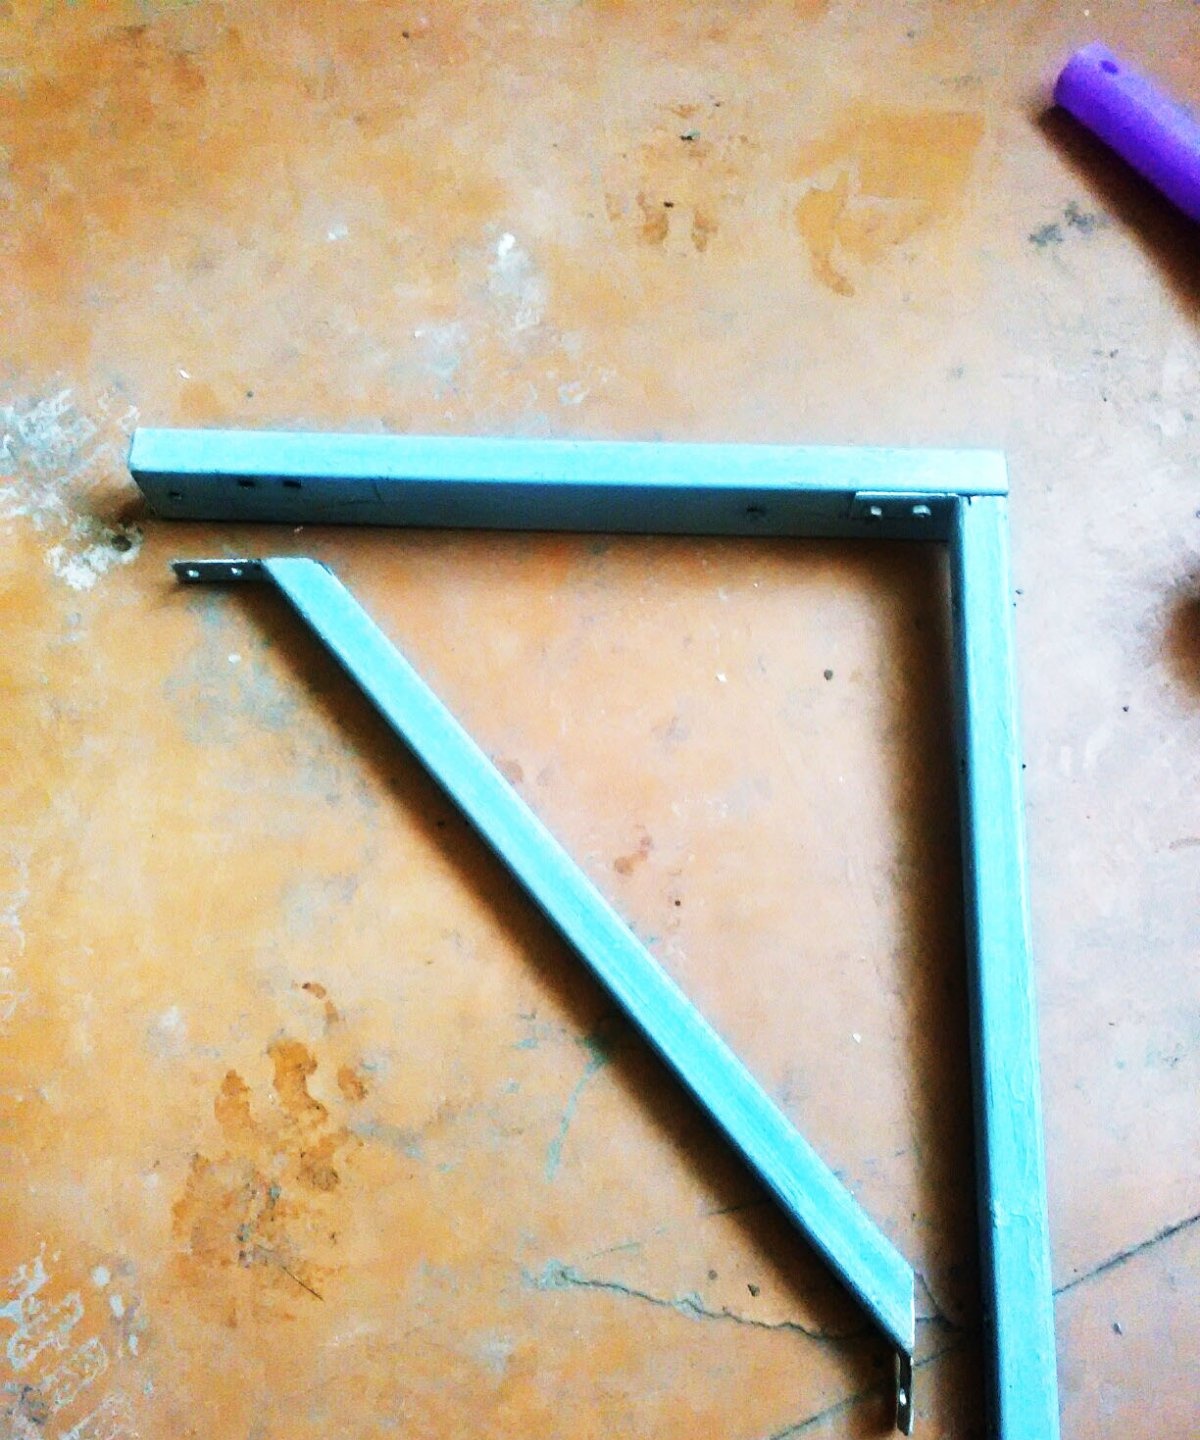
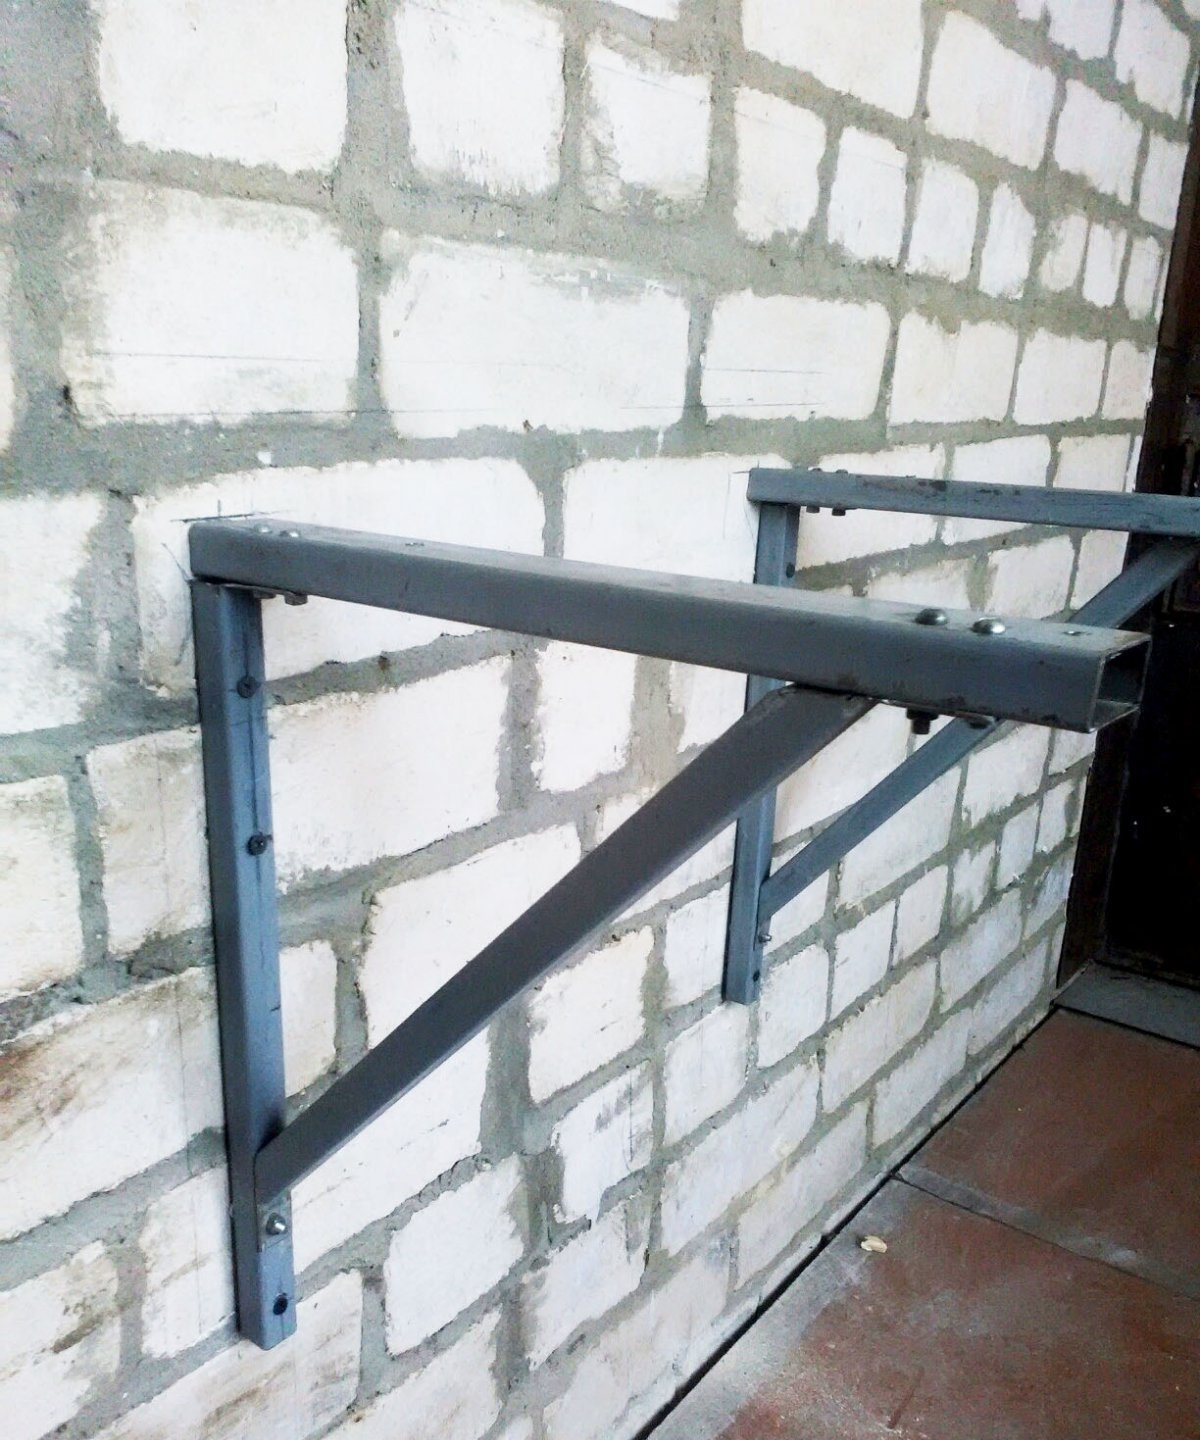
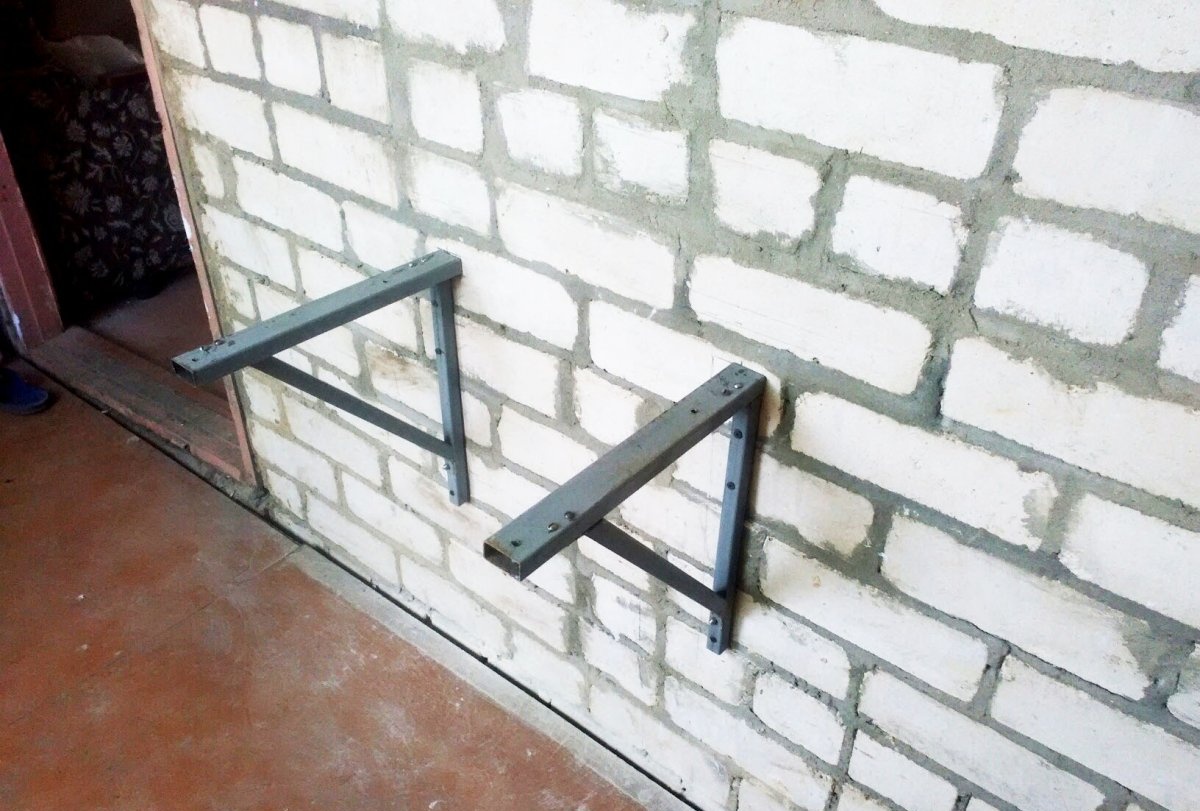
For fastening we will make two corners from a metal profile.
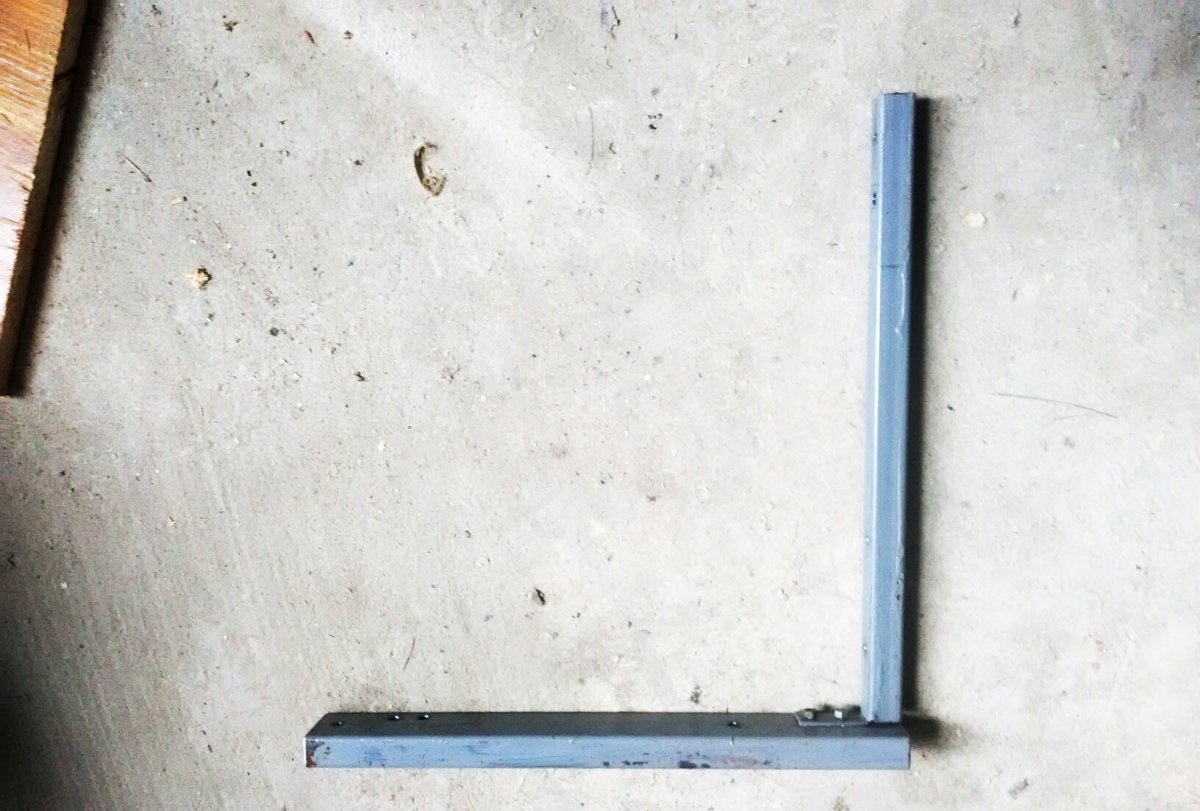
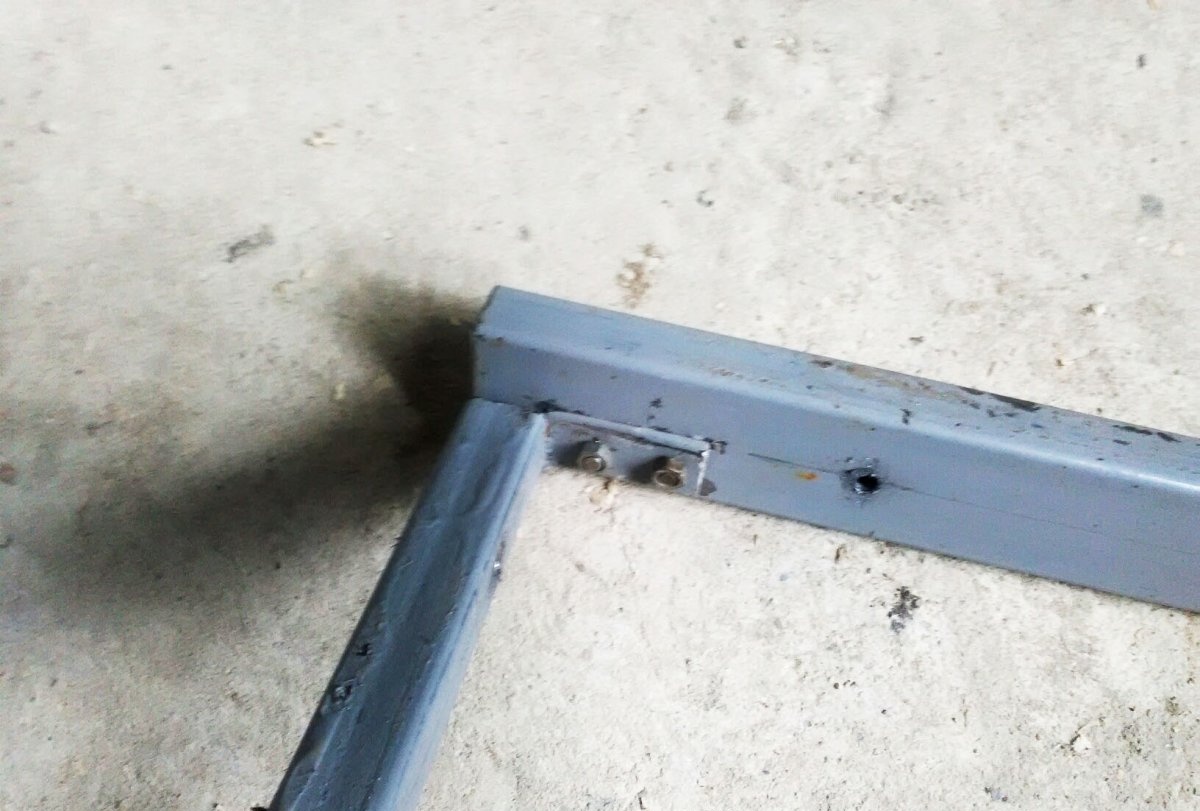
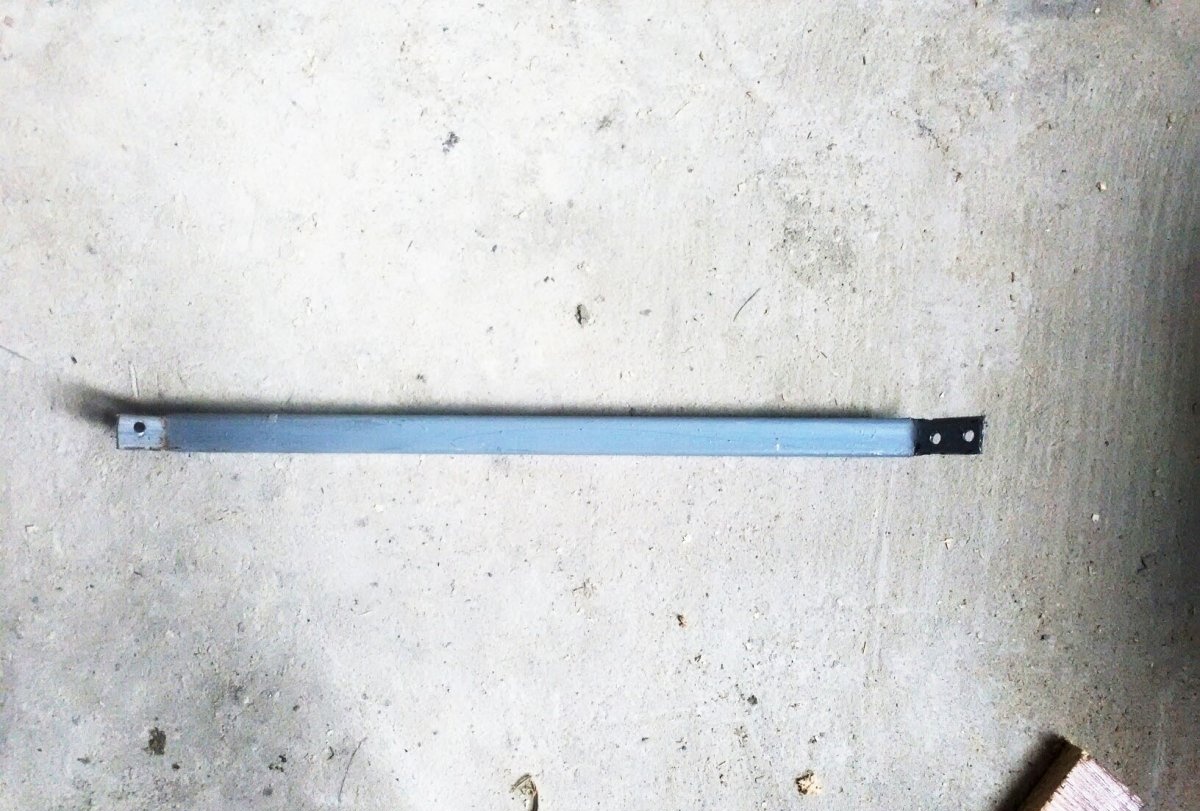
We make three holes in the profile for fastening to the wall and two for fastening the table. And also for the third support, we will install it later.
We drill the wall, this requires a hammer drill, but I was able to drill out the sand-lime brick with a regular drill with a concrete drill bit. You need to drill carefully and shake out dust from the hole. The diameter should be about 10-12 mm and the length about 9-10 cm.
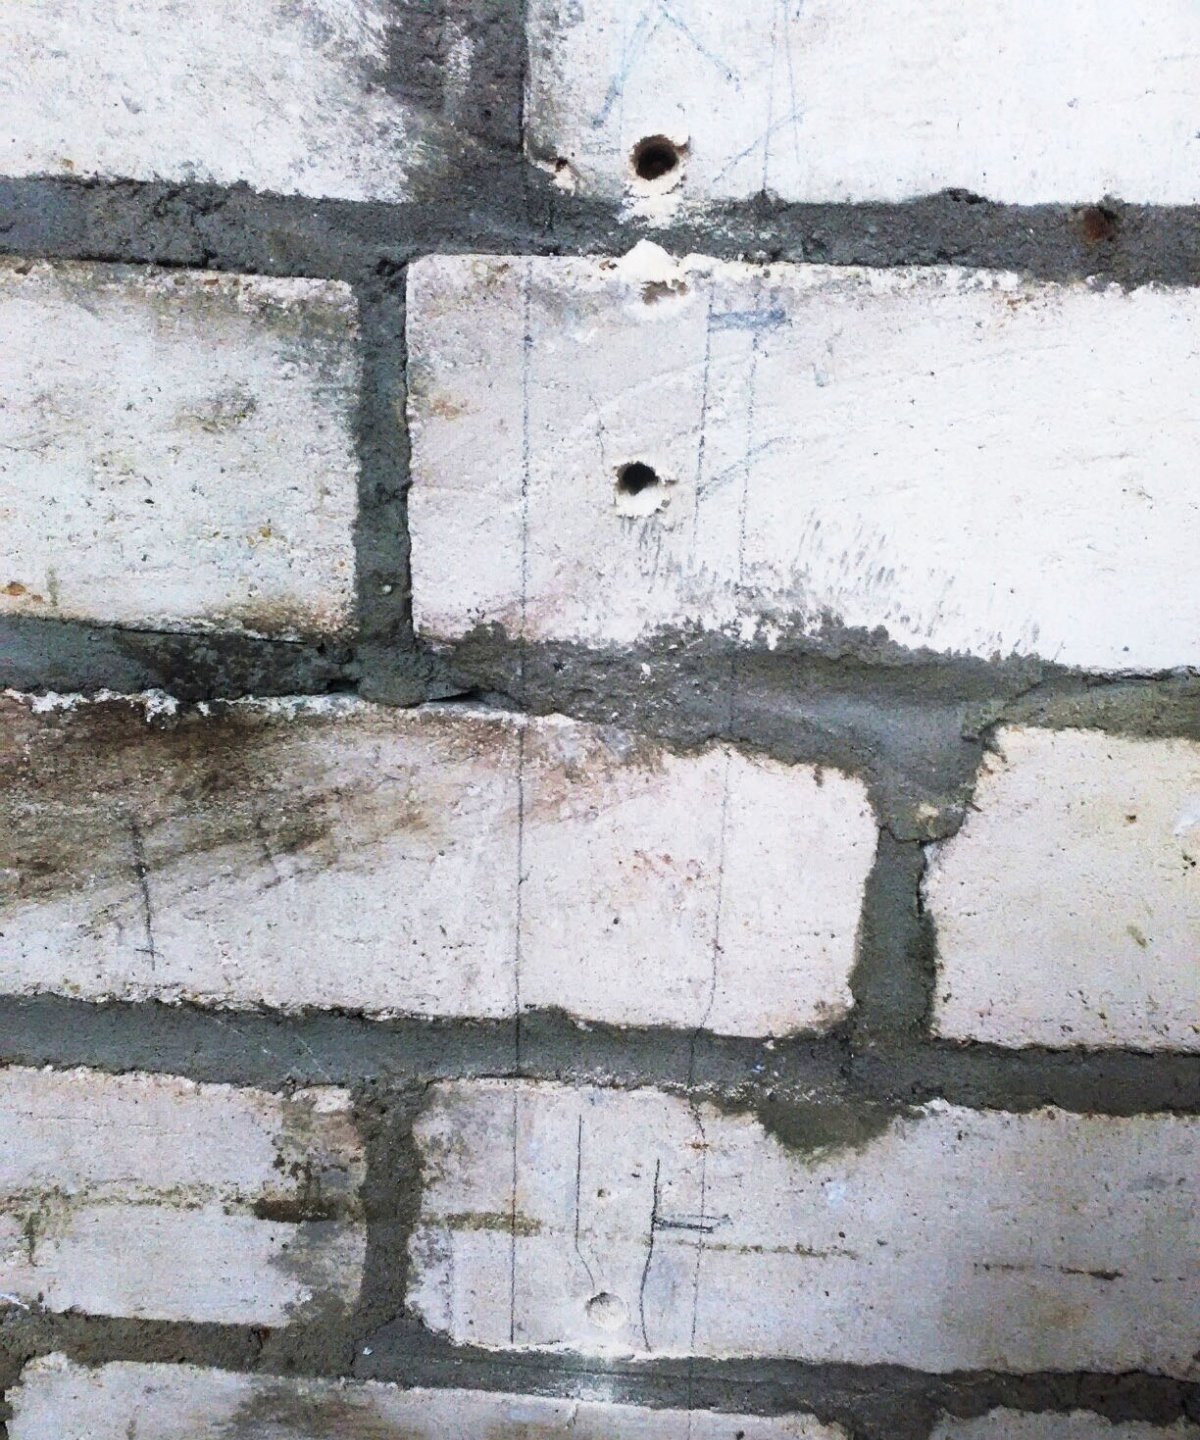
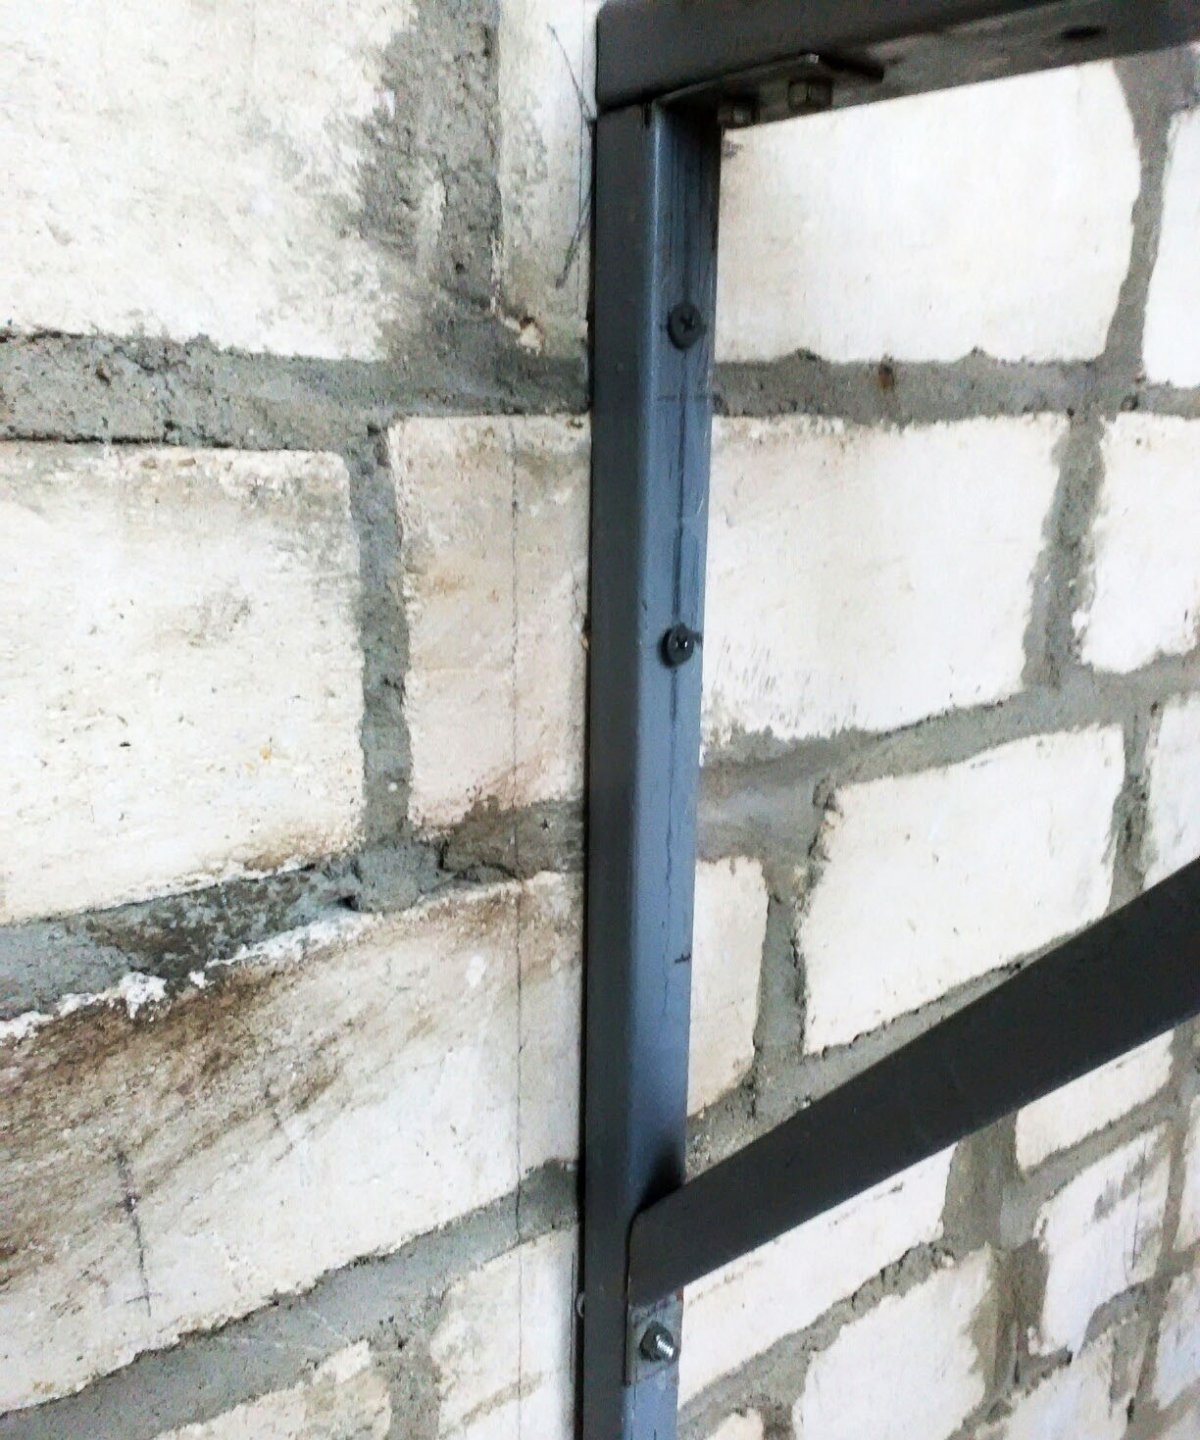
We drive wooden dowels into them; don't use plastic ones - they may not hold up. And screw it onto black self-tapping screws with a length of at least 70 mm.
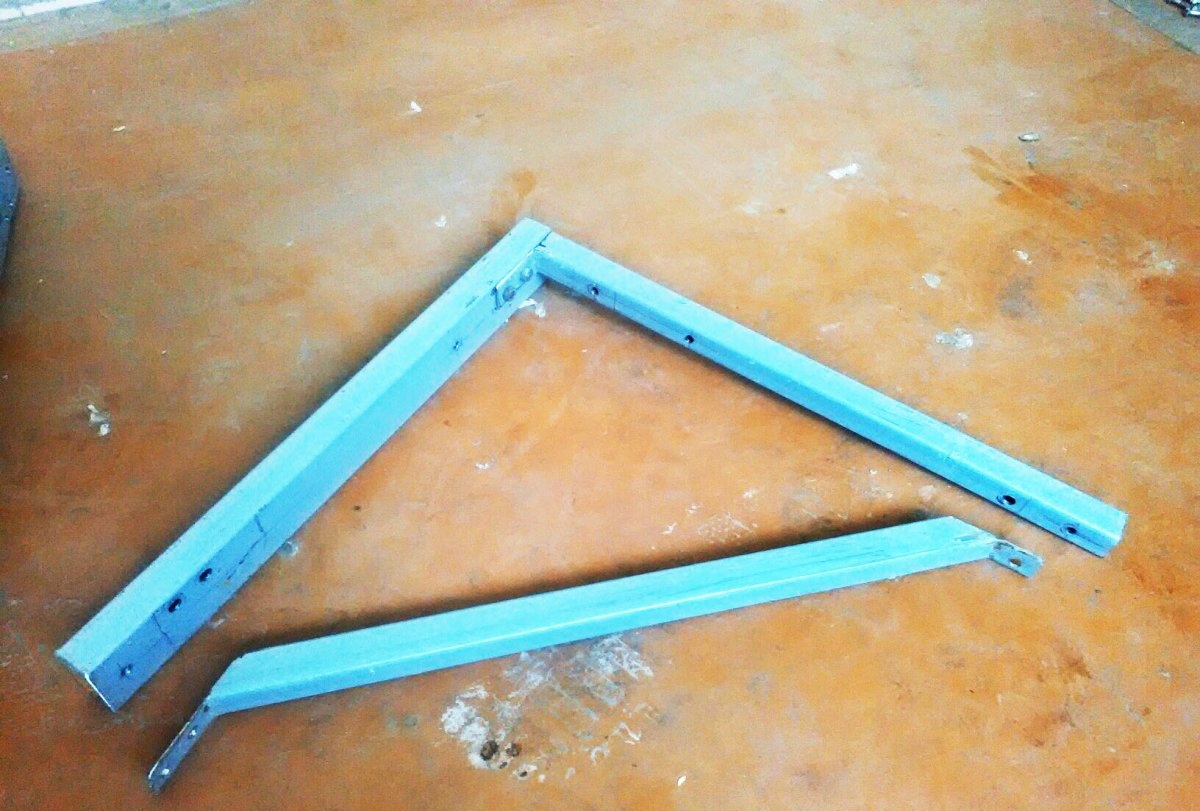
After this, you can screw in the third support. This is what she looks like:
Both corners must be level during installation.They should be at the same distance from each other as the table bars.
All that remains is to screw the tabletop onto the corners using the same screws.
This completes the making of the table. It looks natural and atmospheric, and of course it is very strong and reliable. He withstood more than one blow from his fist!