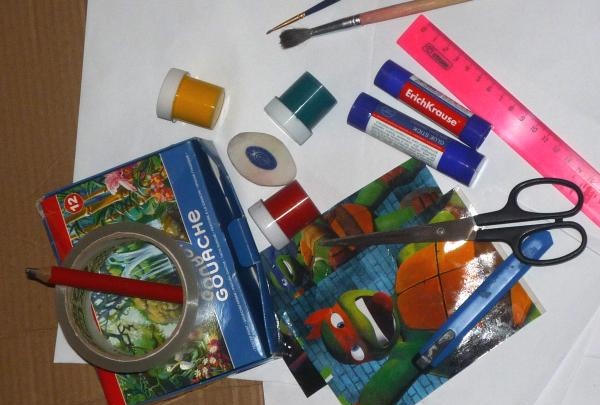
For it we will need:
1. Whatman paper or 13 landscape sheets of A4 format;
2. Cardboard (the area must match the area of the sheets);
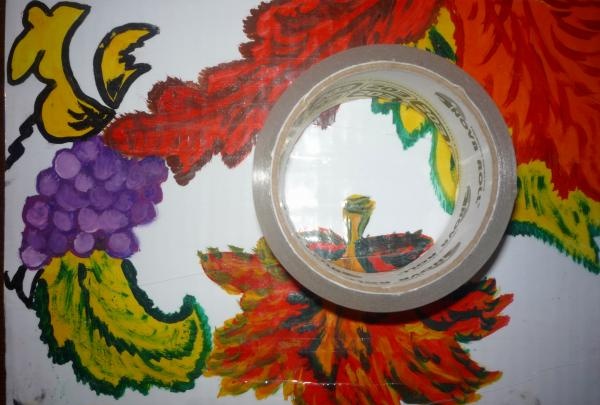
3. Scotch tape (for pasting the picture);
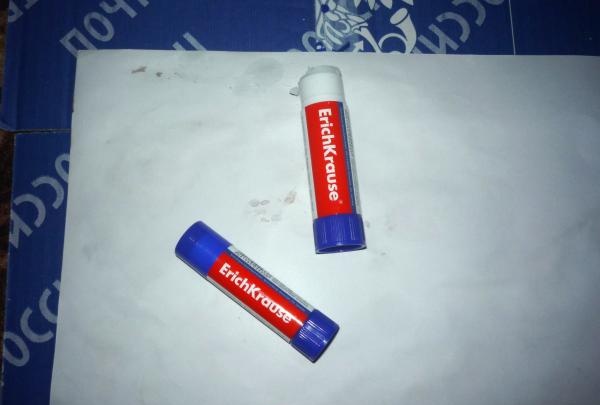
4. Glue pencil (glue paper to cardboard);
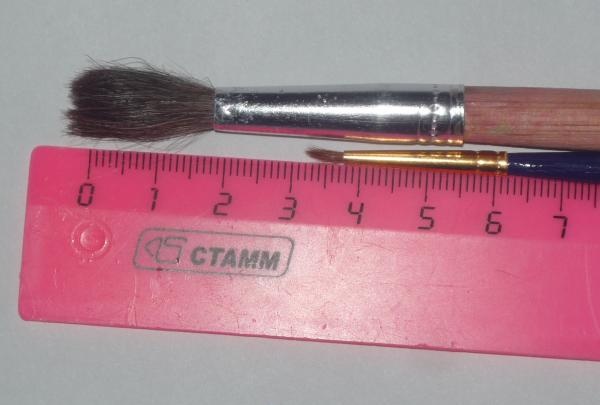
5. 2 brushes – large and small;
6. Gouache or watercolors;
7. Ruler (for measuring individual parts of the puzzle and the evenness of the sides);
8. Scissors;
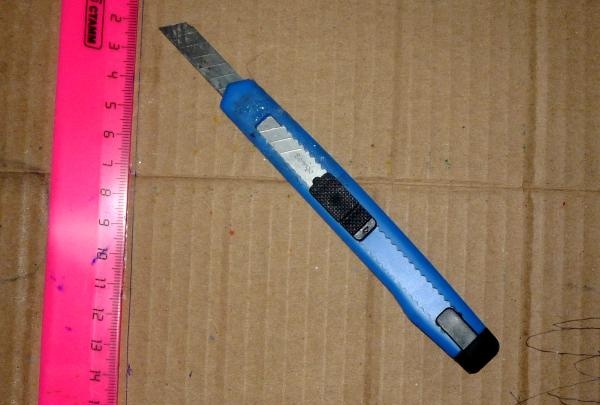
9. Stationery knife;
10. 13 photographs – from birth to one year (format 10*15);
11. A little patience, inspiration and imagination.
The first thing you need to decide is what photo format will you use?
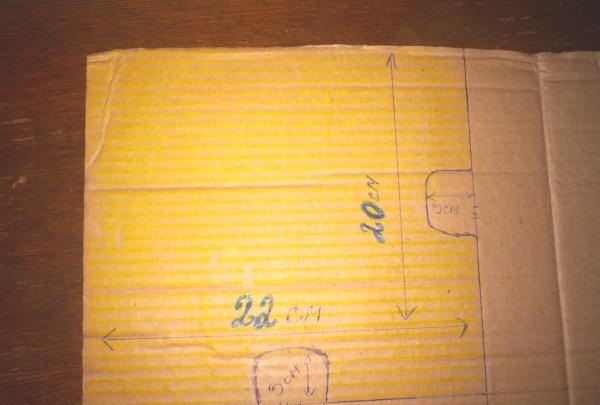
Determination of sizes. The total volume determines the dimensions of individual parts, protrusions and photographs.
Our puzzle turned out to be of this size:
• General: 60*88
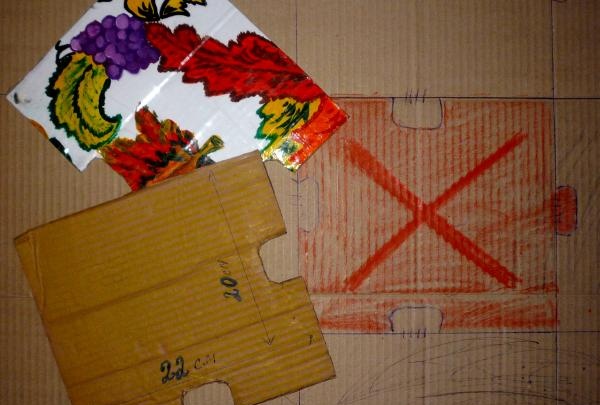
• Individual puzzles: 20*22
• Protrusion: no higher than 3 cm.
• Photograph: 10*15.
Only strict adherence to the specified parameters will give us a beautiful and high-quality drawing.
Don't make our mistakes:
• We advise you not to make 2 internal projections facing each other - in this position the photographs will not fit on the platform.
Step-by-step work planning:
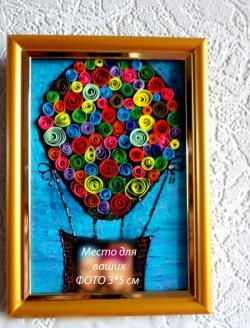
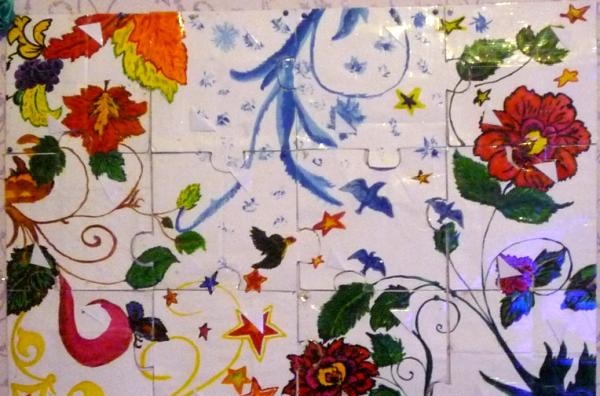
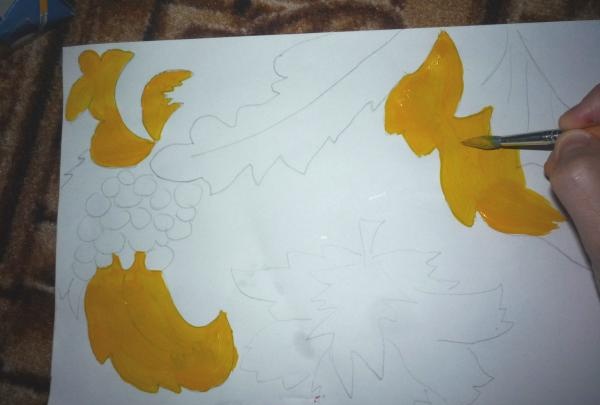
Stage 1. Selecting a picture. It is better to choose pictures consisting of separate compositions: they are easier to perceive and look more beautiful if they are supplemented with photo inserts. Our choice is a composite composition reflecting the changing seasons. We looked for motifs and individual parts of the drawing on the Internet.

The child for whom the collage is being made was born in September, so the first season of the year in the puzzle is autumn.
Stage 2. Organizing the area for drawing. If you work not with whatman paper, but with A4 sheets, you need to glue the sheets on the wrong side with tape.
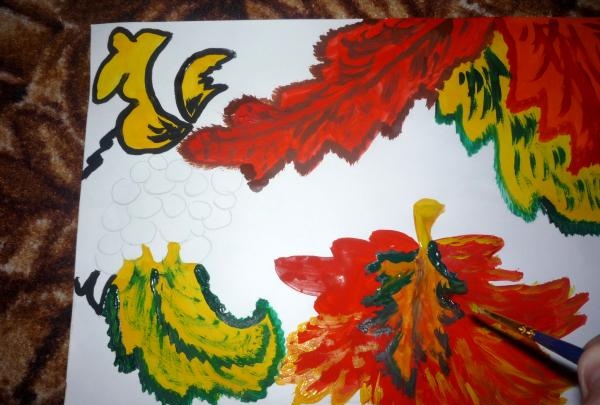
Stage 3. Drawing. Unconfident brush users can first apply the design with a pencil.
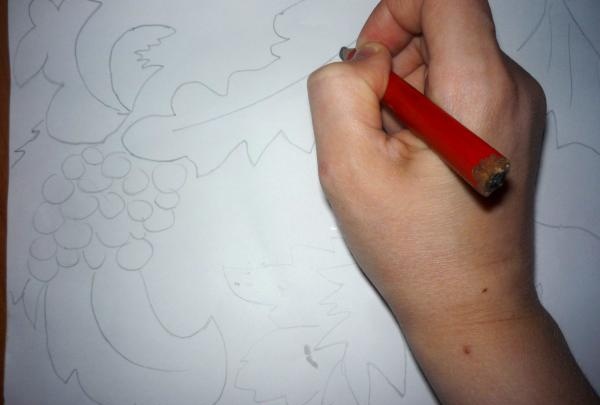
After marking the contours, we will need 2 brushes of different sizes: for large and small objects.
Stage 4. Creating the base of the puzzle. We will take cardboard as a basis, which we will glue to the paper from the wrong side.
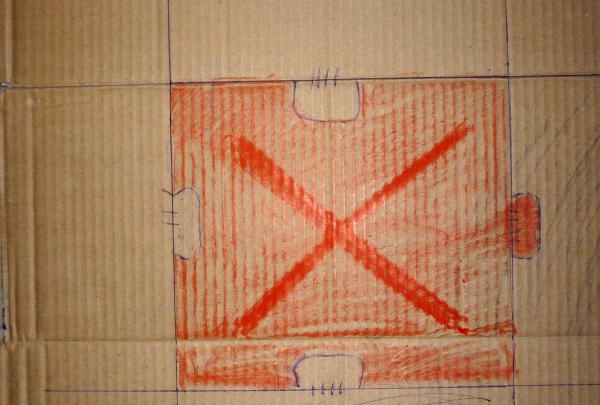
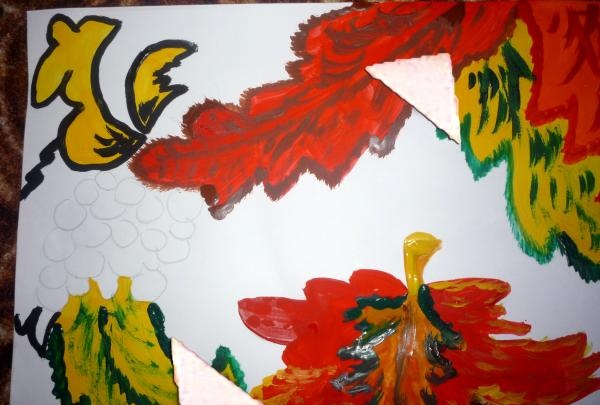
Stage 5. Drawing the contours of the puzzle. After everything has dried, we turn our creation over with the cardboard side up and draw the outlines of the puzzles with a pencil or pen.
Stage 6. Separation of parts. Cut with a stationery knife along the marked contour. To ensure maximum pressure and accuracy of the blade, we use a ruler.
Stage 7. Home “lamination”. We cover the puzzles with tape.
Stage 8. We plan the placement of the photos and attach the corners of the photo holders made from the 13th album sheet.
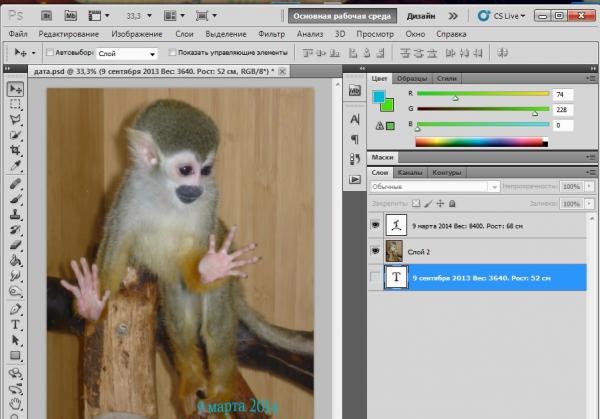
Stage 9. Preparing photographs.You can make captions for photographs in the graphic editor Photoshop, or write all the data by hand, thereby adding a small compositional element to the appearance of the collage.
Step 10. Attach the collage to the wall using power buttons. We insert the photo into the previously prepared corners and show our work to our child.
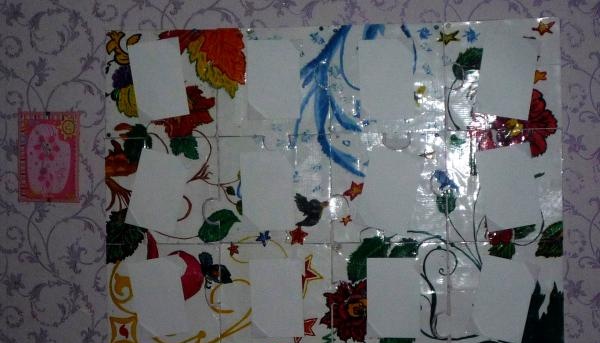
By the way, you probably noticed that there are 13 photographs and 12 puzzles. The extra photo is the first photo of your child, on which you can write the birth dates and all indicators (it needs a separate frame). The first puzzle will be the baby's first progress in gaining weight and height.
P.S. Our daughter was delighted and showed her gratitude as best she could: she gently touched my cheek with her lips. We hope that your children will not remain indifferent to the work done by their parents.