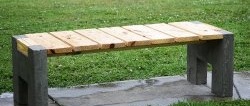
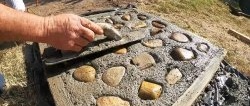
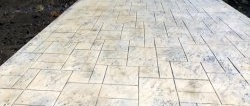
The gray smooth concrete surface evokes boredom. But it can be given the appearance of brickwork, stone pavers, wooden flooring or slate slabs. Moreover, this can be done in color and then the attractiveness of the concrete surface increases by an order of magnitude. Implementing such an idea is not so difficult, and it does not require expensive materials and tools.

Will need
Materials:- Siding waste;
- old furniture board;
- acrylic and universal silicone sealant;
- self-tapping screws or self-tapping screws;
- flat synthetic belt;
- a tube of Vaseline;
- a piece of box-shaped plastic profile;
- two-component polyurethane compound.
The process of making a polyurethane stamp for art concrete from siding
We assemble the stamp matrix from two pieces of old siding, taking into account that the length of the entrance and exit locks should be the same length.We remove unnecessary peripheral fragments of siding and arrange the required matrix shape in plan, taking into account the width of the gaps between the siding parts.

We cut the internal stiffeners to size and process them and the parts of the siding around the perimeter with sandpaper, necessary for the layout of the matrix.

Using a circular saw, we unravel the old furniture board into strips of a given width. According to the size and configuration of the matrix, we cut blanks of the appropriate length from strips of furniture board. We remove the protruding places from the bottom of the matrix, finally sand the base of the matrix with sandpaper, lay it on a flat surface and draw a contour taking into account the width of the locks. Apply acrylic sealant using a gun along the contour of the matrix and the complemented fragments marked on the base.
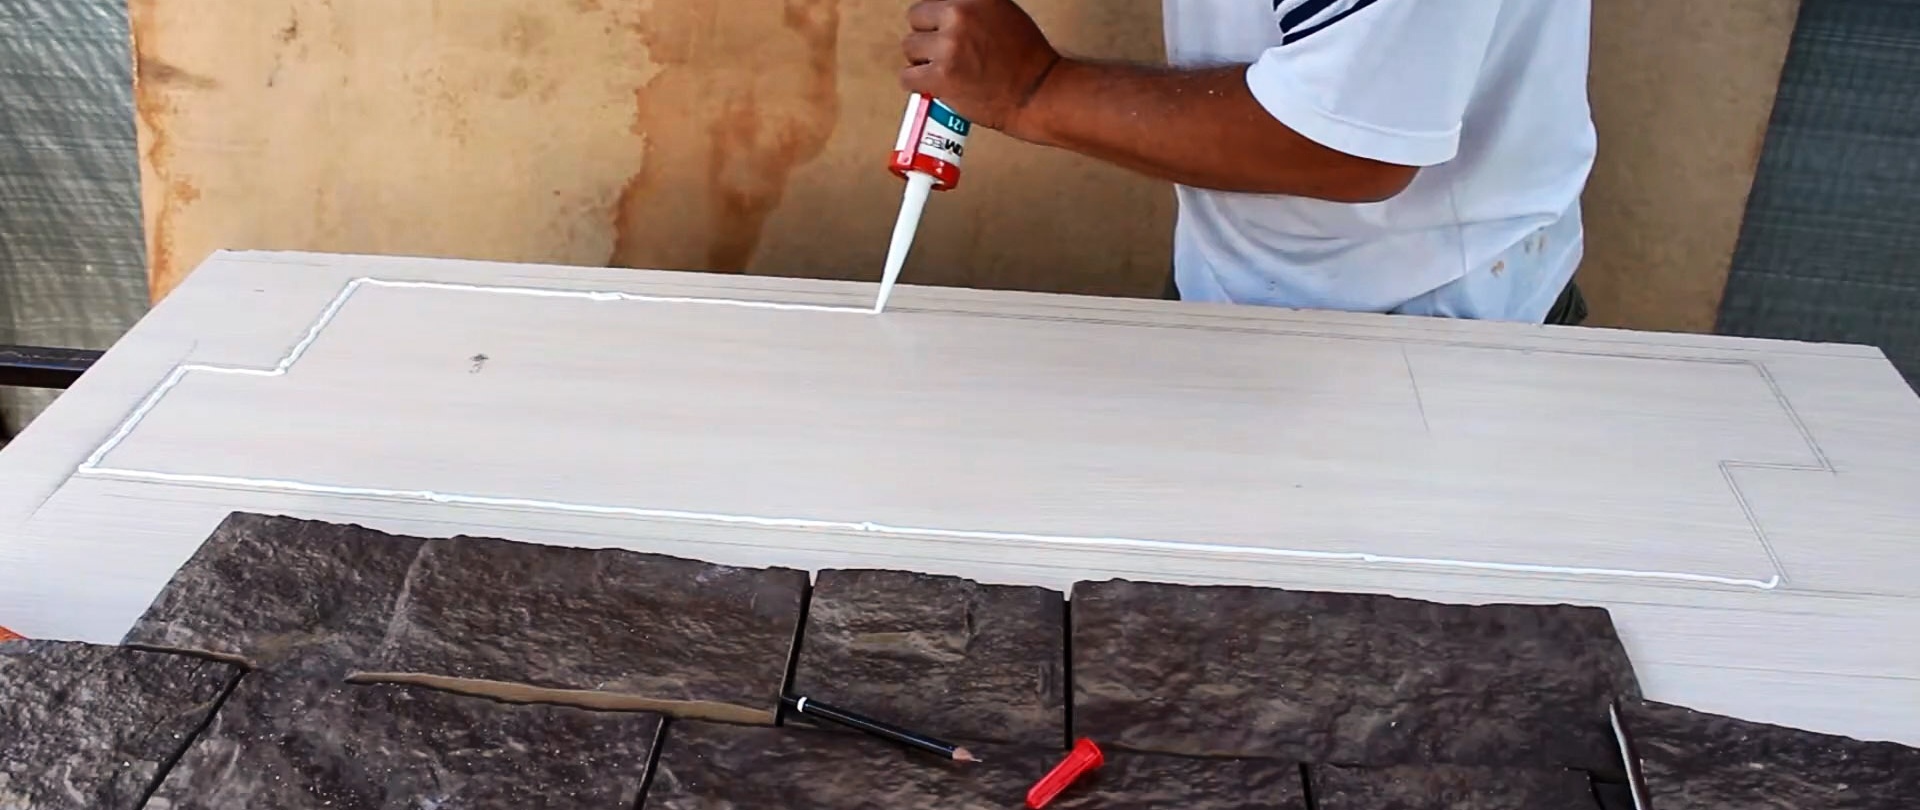
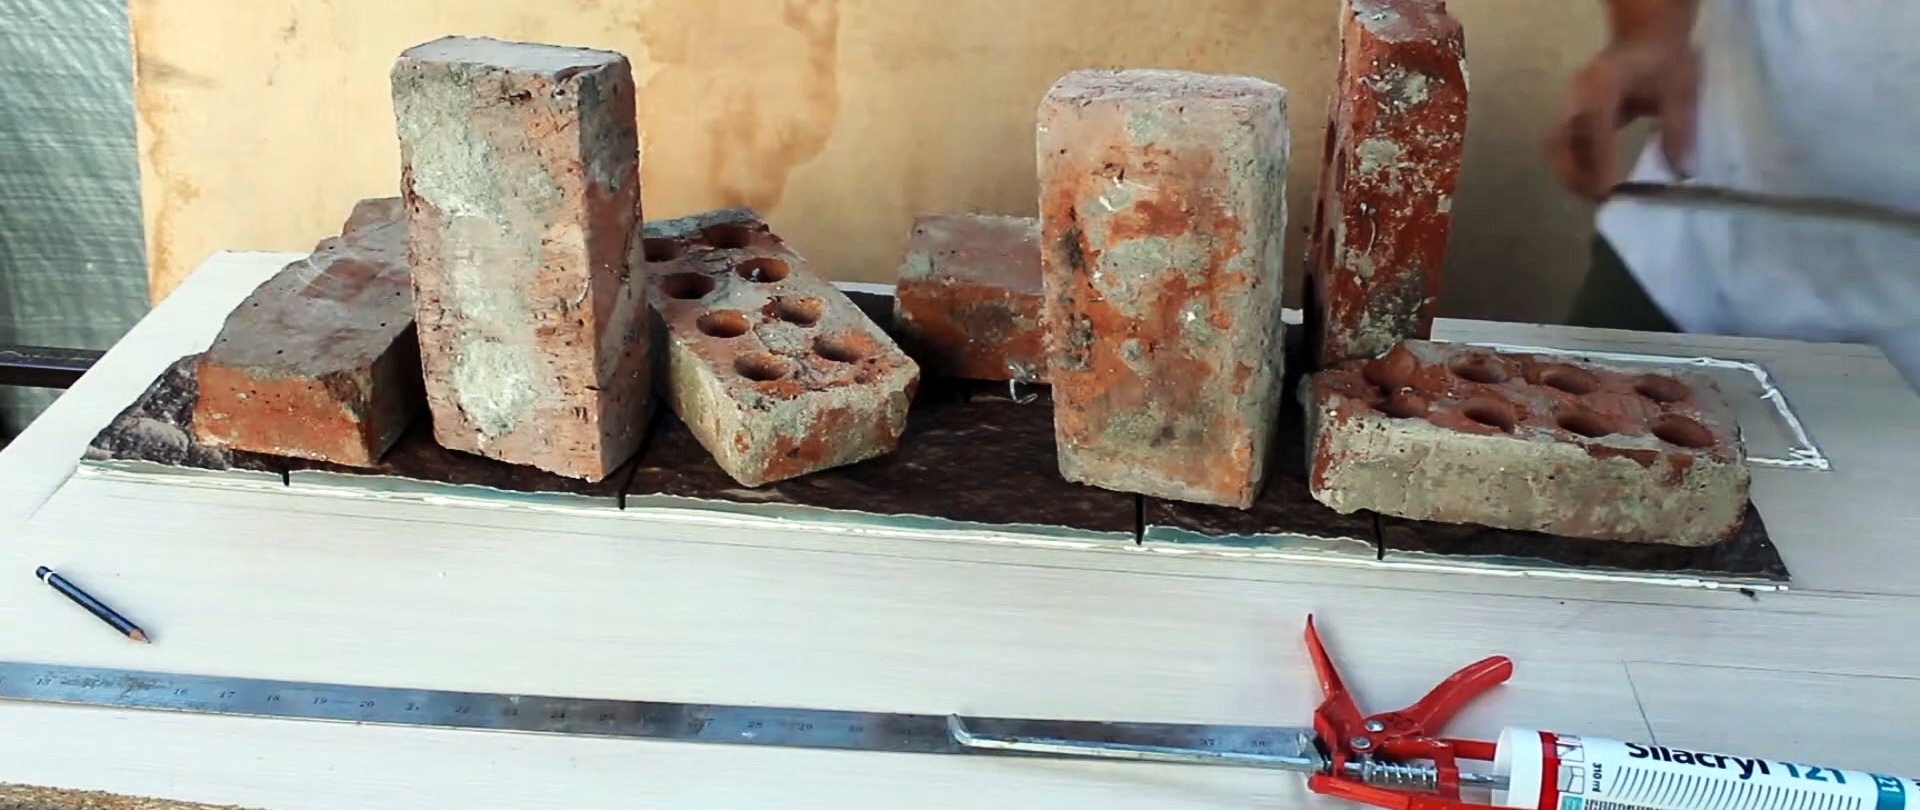
We lay the matrix and additional parts on the base with acrylic sealant applied along the contour marks. We press the matrix to the base with weights and additionally seal the perimeter of the matrix and base with acrylic sealant. We maintain the resulting system until the sealant hardens and remove debris from the surface.
We frame the matrix along the resulting perimeter with pieces of strips from solid furniture of the appropriate length, having previously applied universal silicone sealant to the acrylic sealant.

After the silicone sealant has dried, remove the excess and secure the frame of wooden pieces around the perimeter with silicone and screws, sealing them outside, inside and at the joints with silicone.

We cut a flat synthetic belt into several parts and make rings out of them, fastening the ends with a stapler.
We check with a level gauge whether the matrix is installed horizontally in the longitudinal and transverse directions.
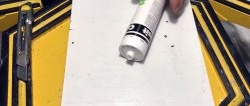
Lubricate the surface of the matrix with Vaseline using a brush and brush.

We evenly string the rings from the belt onto a piece of box-shaped plastic profile, which we place on the matrix in the longitudinal direction so that the bottom of the rings touches the surface of the matrix.
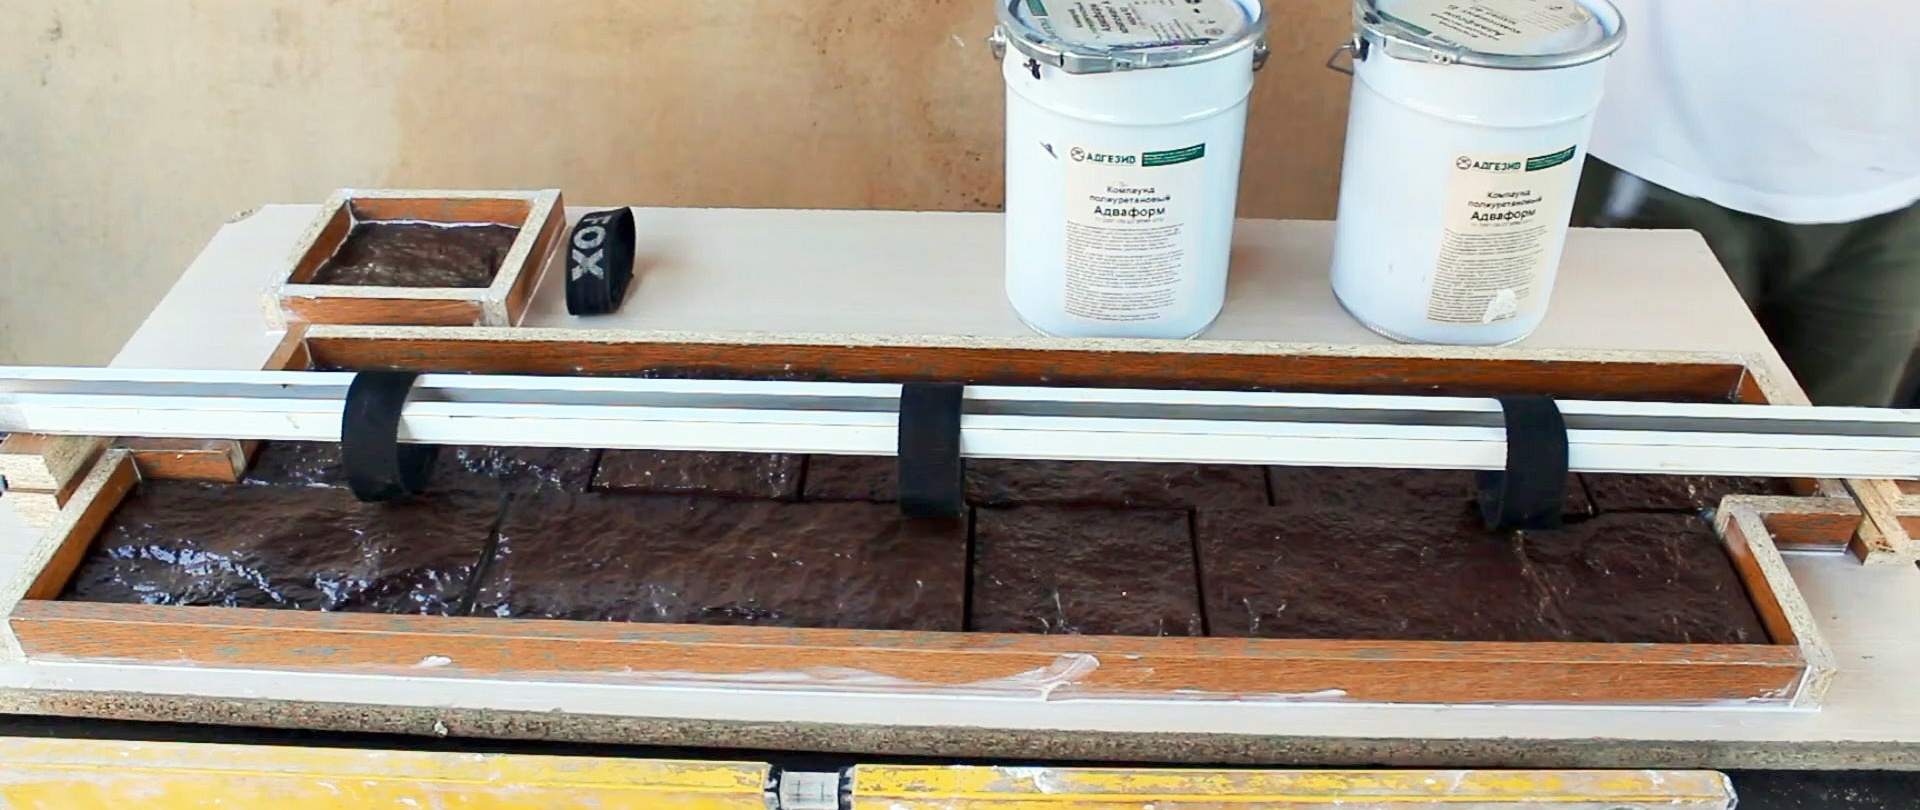
We mix a two-component polyurethane compound in the required proportion and fill it with the surface of the matrix up to the upper edges of the fence made of wooden slats.

We maintain the resulting system until the polyurethane hardens and after that we remove the rod, unscrew the screws from below that hold the strips and remove them.
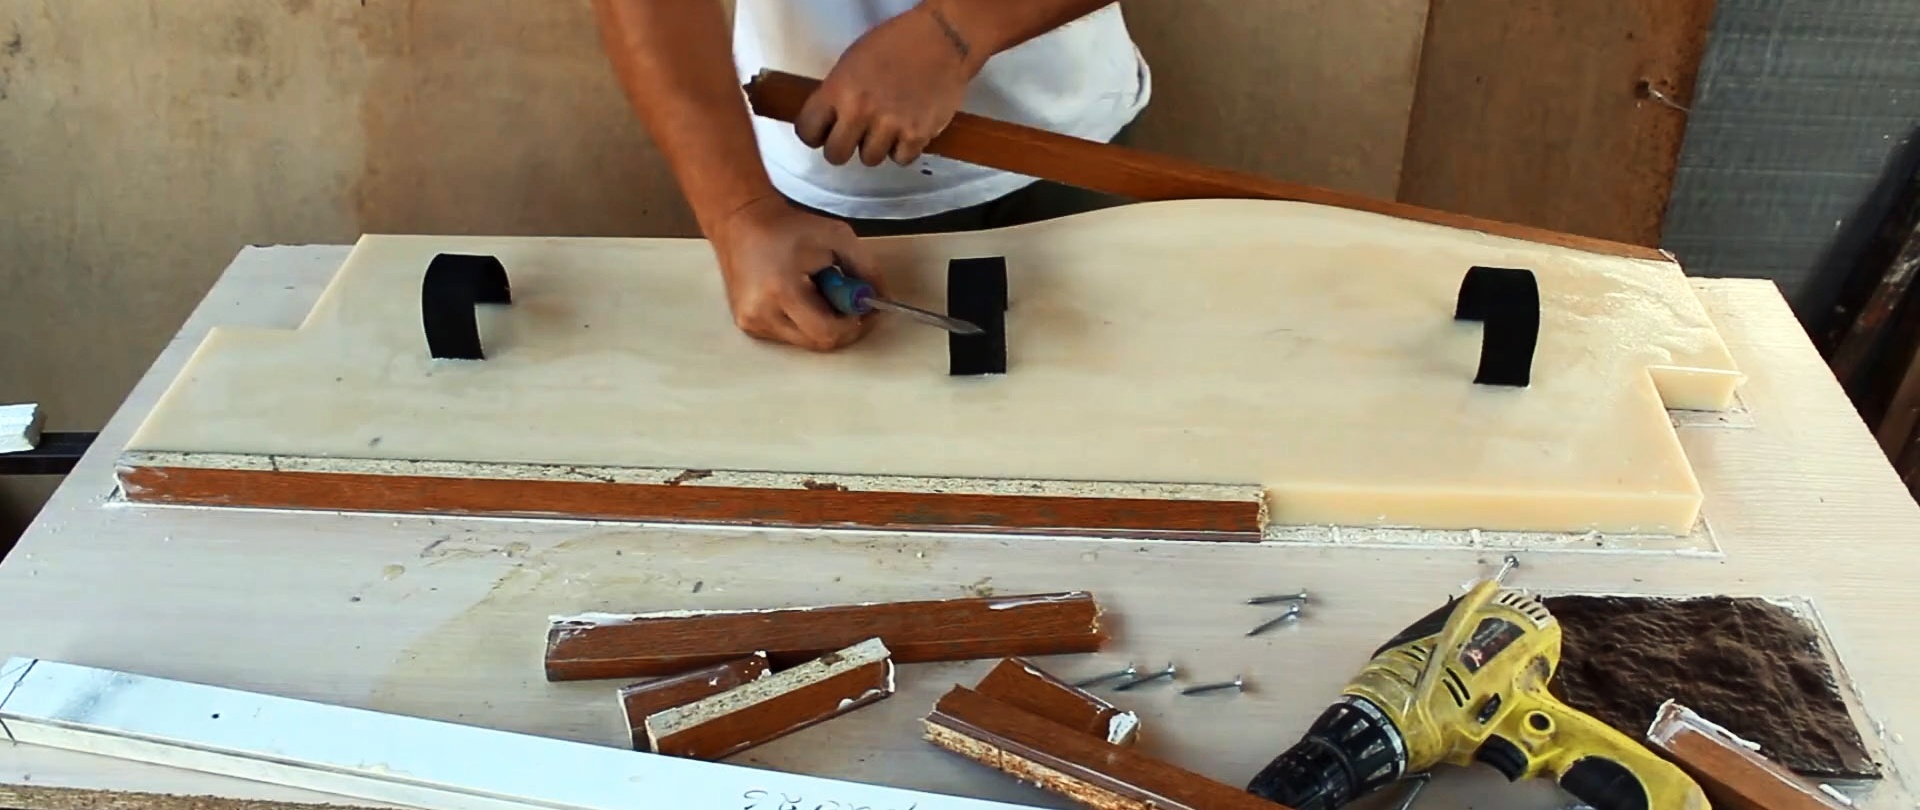
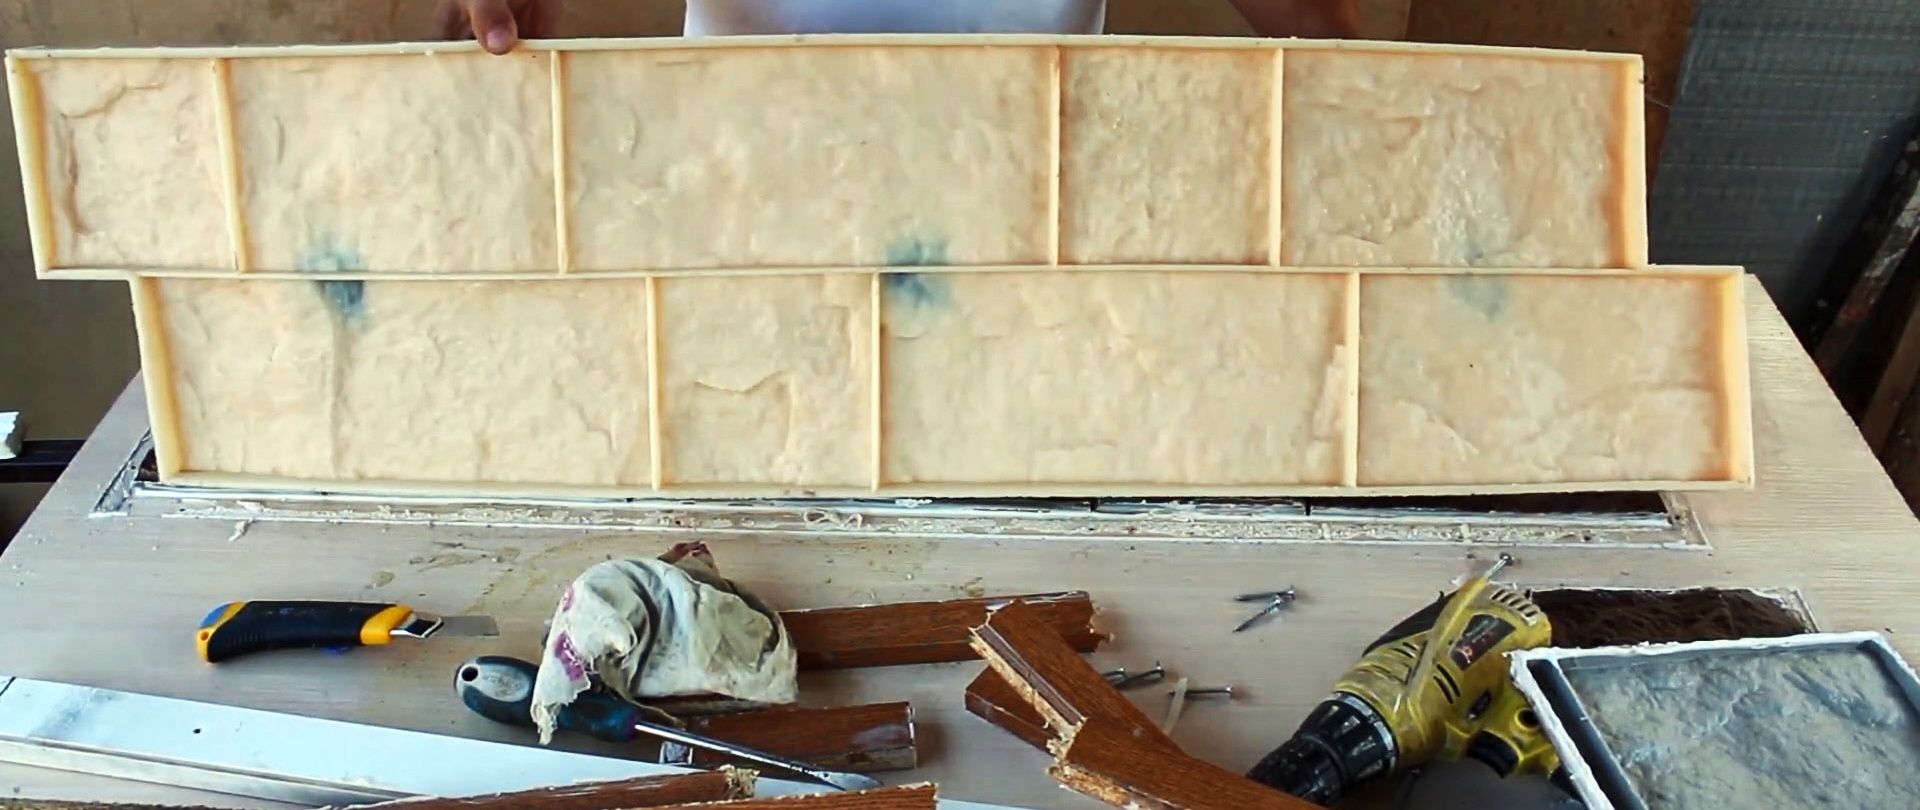
The result is a stamp for printed concrete.