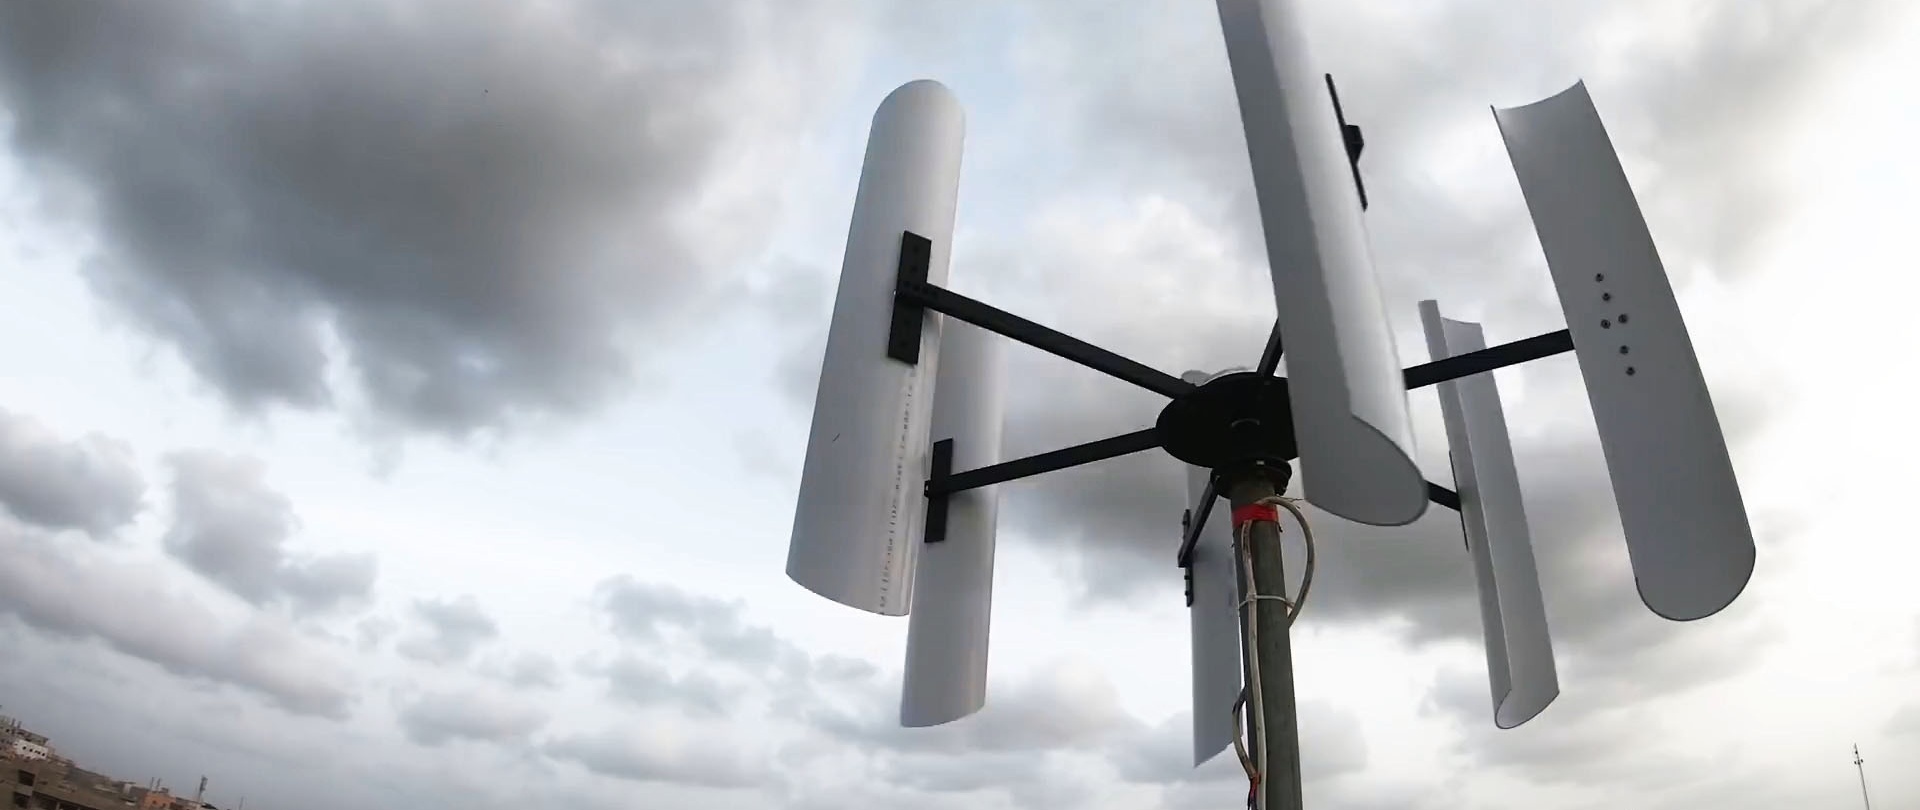
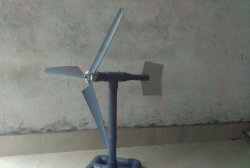
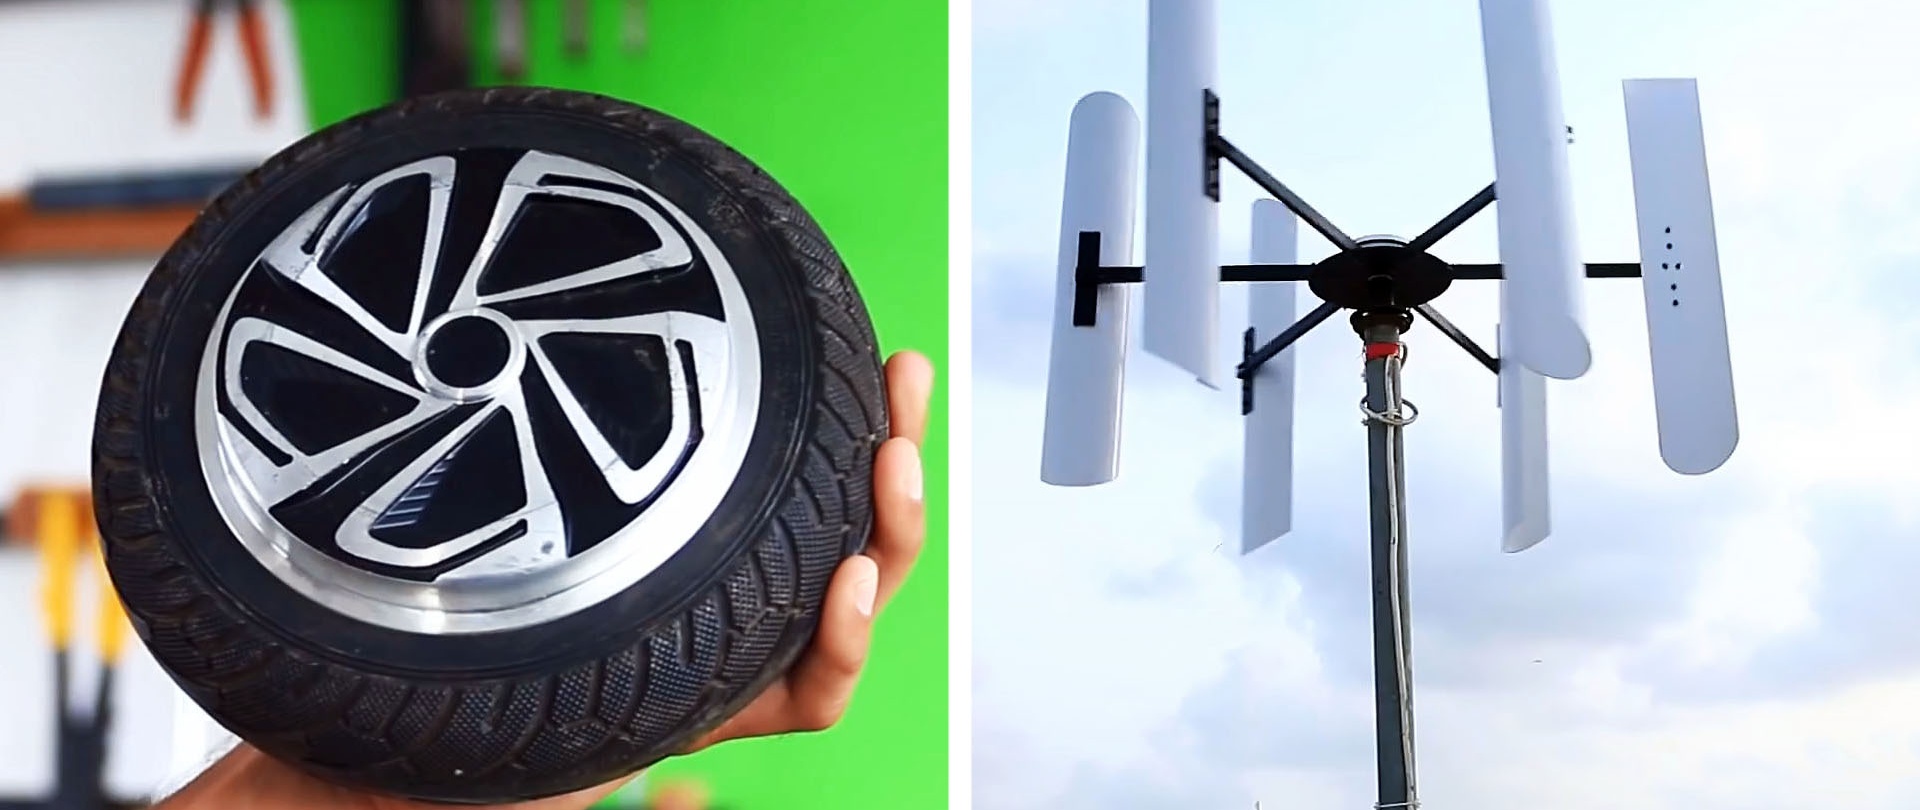
Most often, wind generators are made with a horizontal axis, which works only if there is a tail blade that turns the propeller in the wind. However, there is an alternative design with a vertical axis that can instantly absorb wind from any direction, thereby ensuring stable rpm. You can make such an installation to obtain free electricity using a motor-wheel from a hoverboard.
Materials:
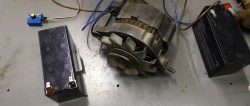
- Motor wheel from a hoverboard;
- Sheet steel;
- blank for turning work 30-40 mm;
- thin profile pipe;
- steel strip 20-30 mm;
- screws, nuts;
- plastic pipe 110 mm.
Wind generator manufacturing process
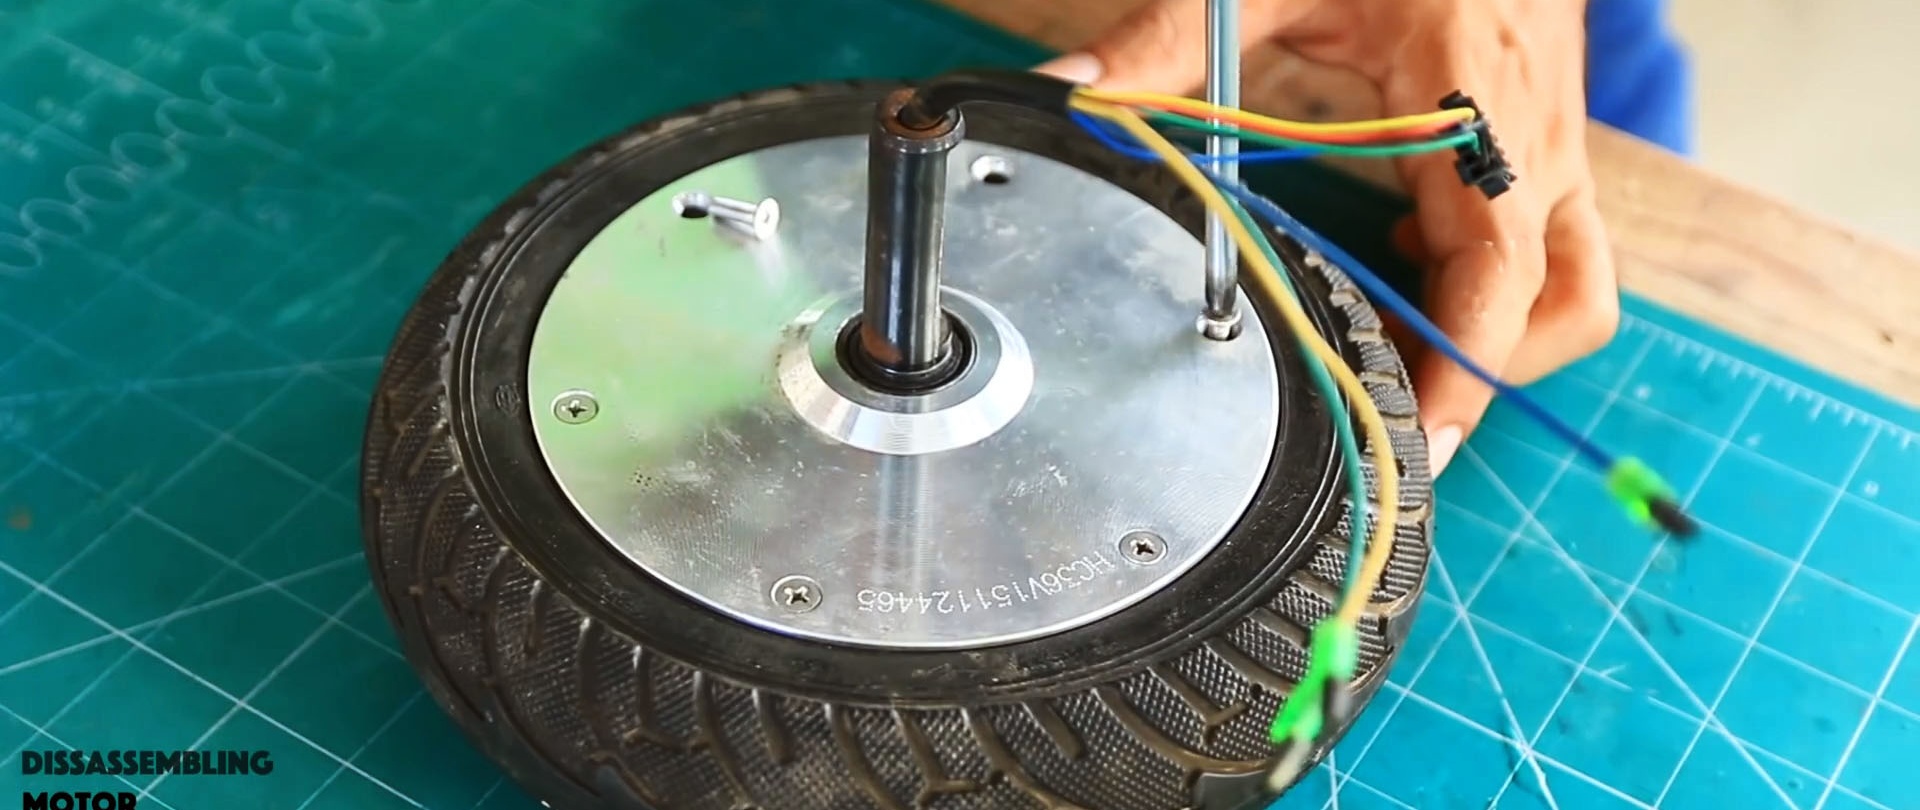
The electricity-generating device in the proposed system will use a motor-wheel from a hoverboard. It needs to be disassembled to remove the tire.

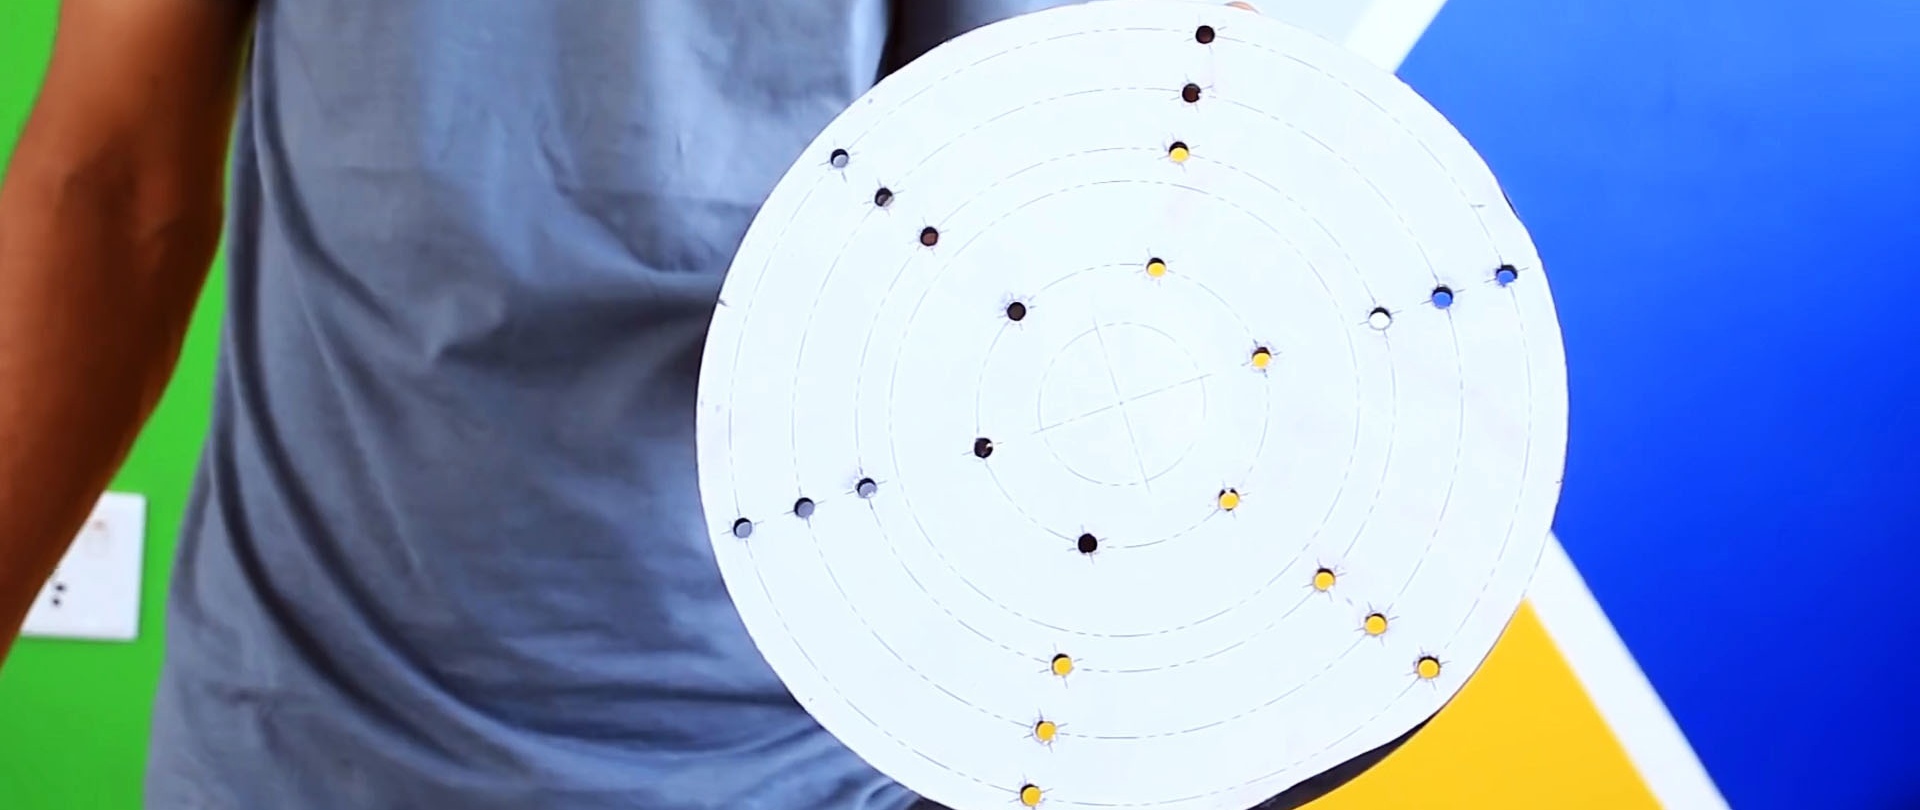
Then you need to cut out a disk from sheet steel on which the generator blades will be attached.

It is drilled for the installation of 6 brackets and a motor-wheel axis.
After this, the engine cover is screwed to the disk.
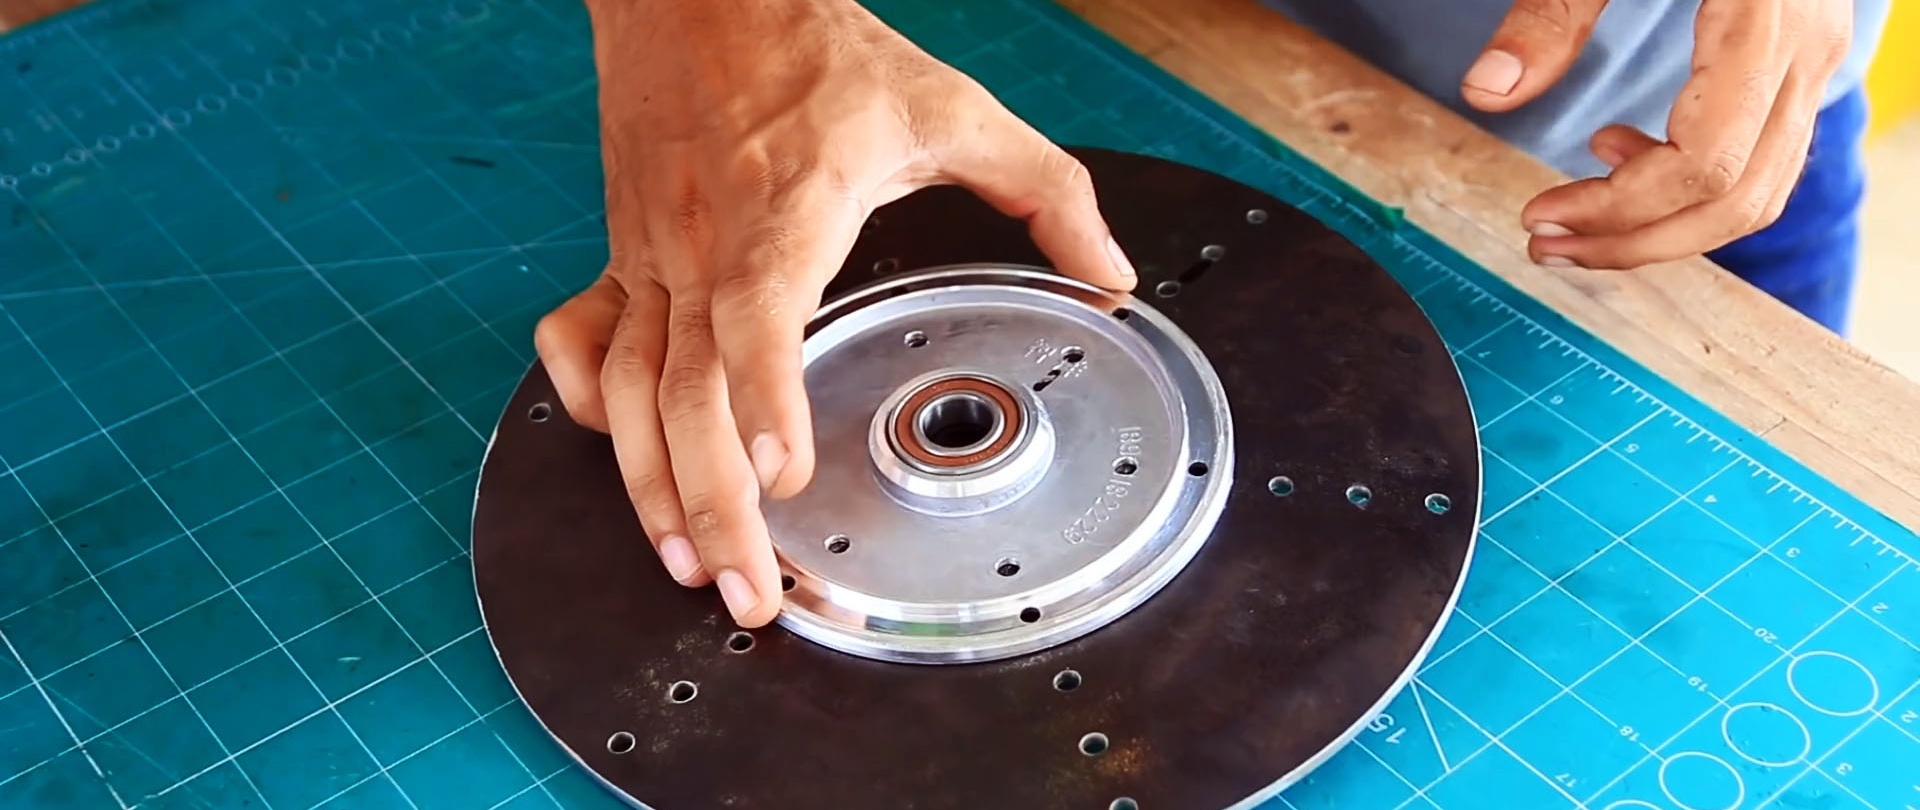
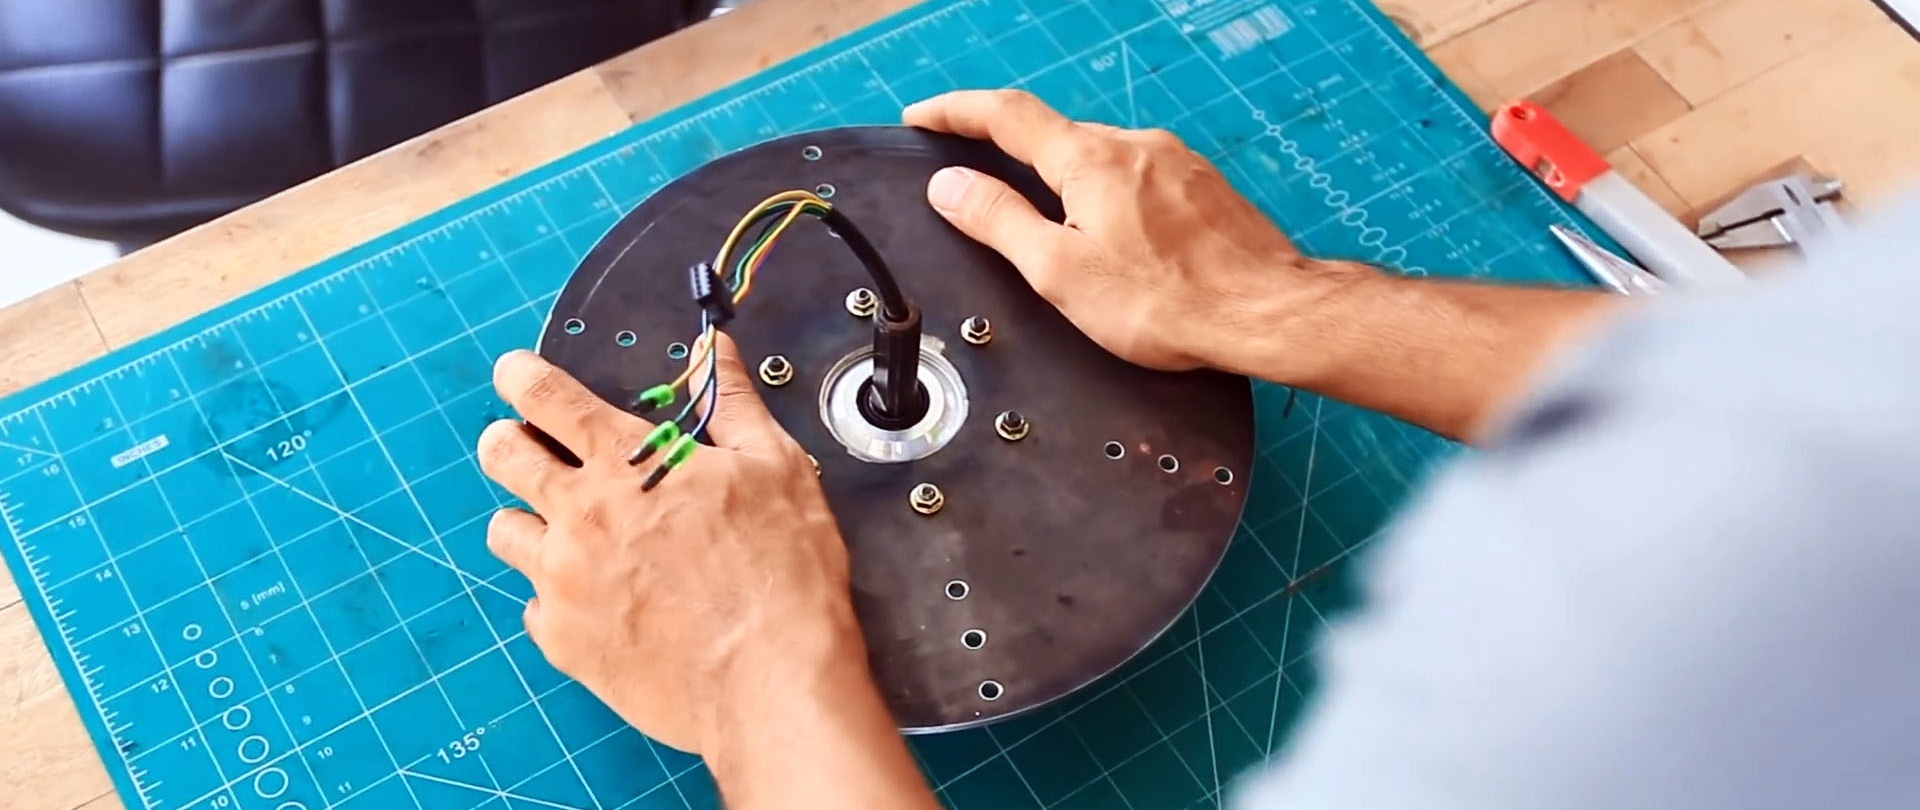
The motor is reassembled with the disk screwed to the cover.

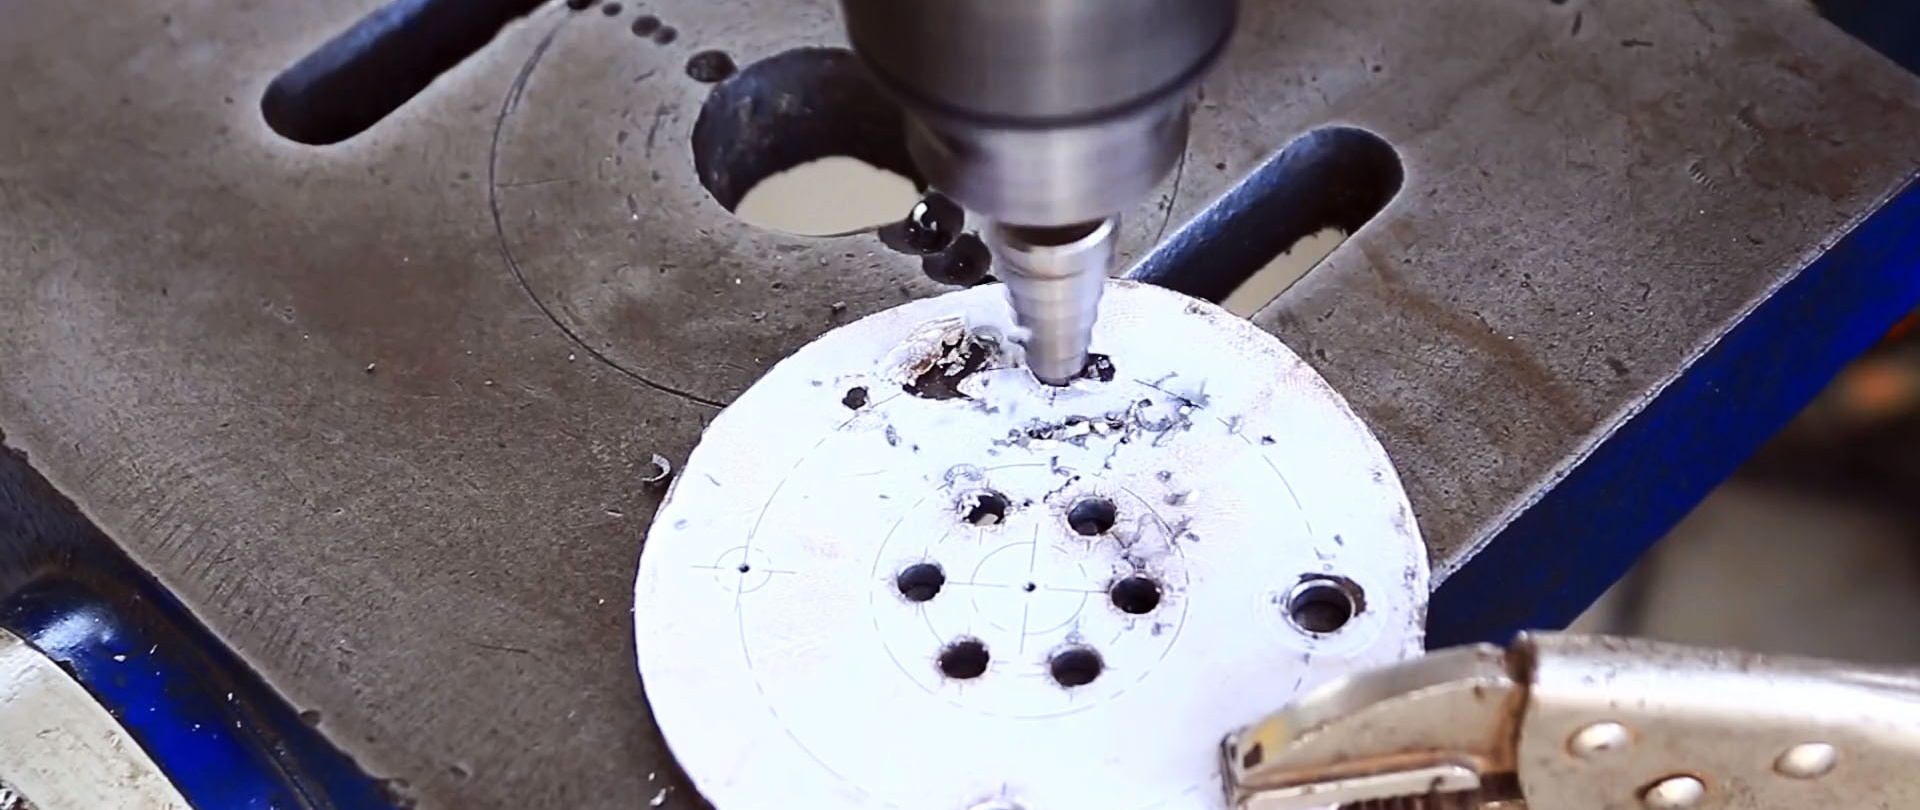
Then you need to start attaching it to the pole. To do this, you need to grind the sleeve and drill it as in the example. It will be clamped with a bolt on the side of the engine axis.


A small disk is screwed to it from below, which will be attached to the pole.
6 blanks are cut from a profile pipe for attaching the blades.
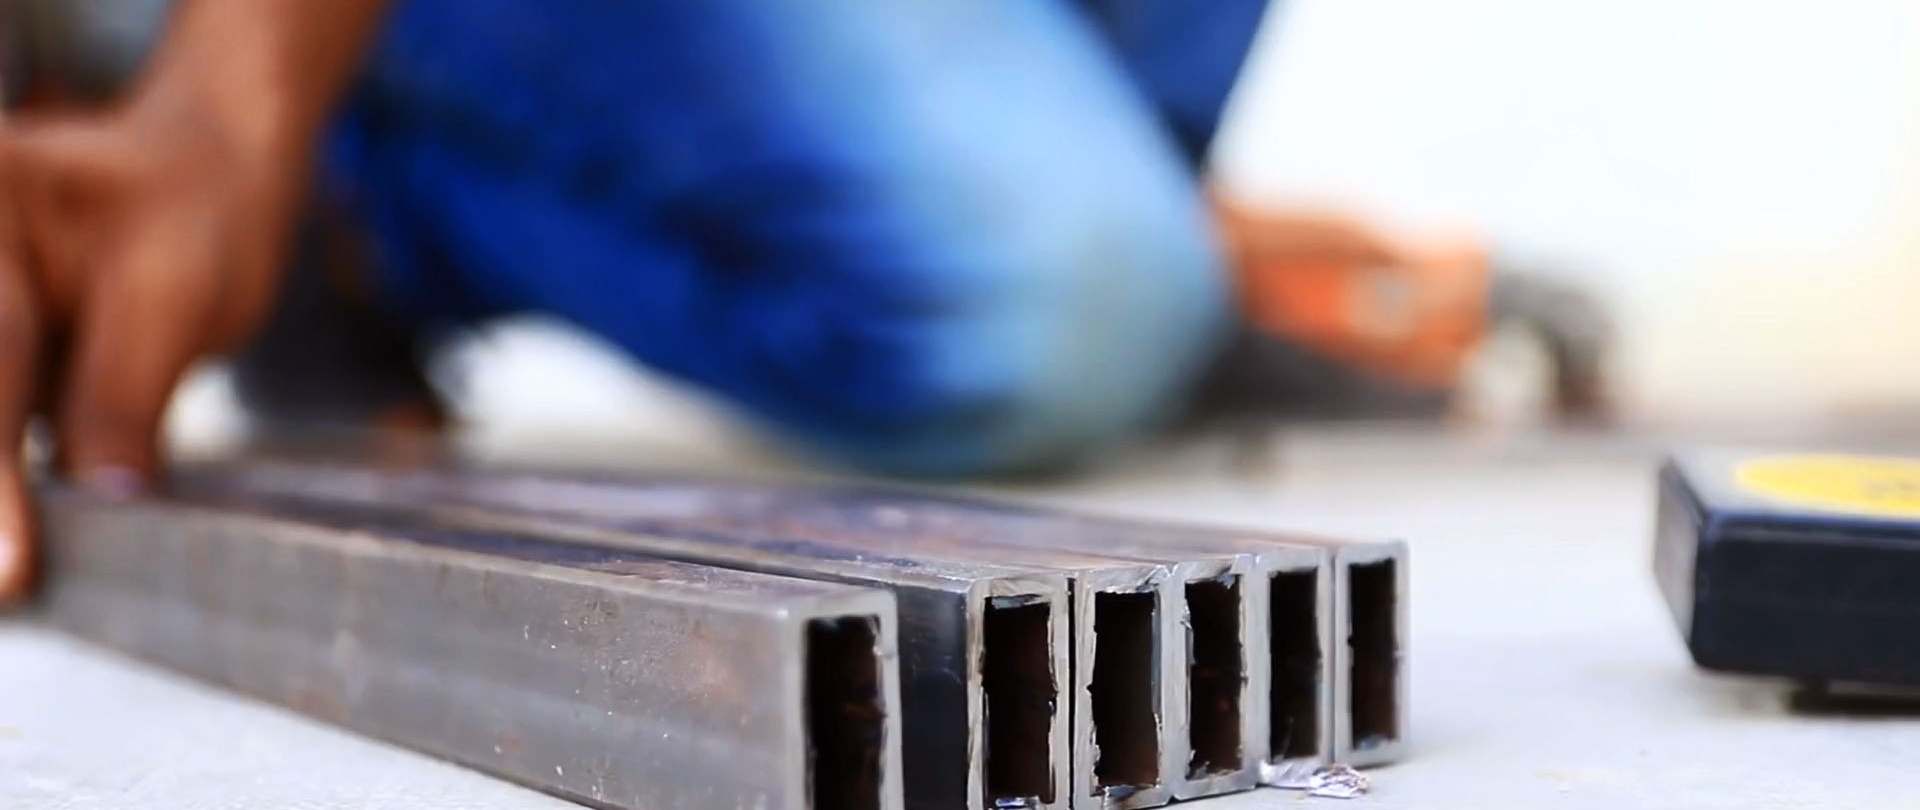
They need to be drilled from the edge to screw to the disk on the engine cover.


4 strip sections are also prepared. They are needed to be installed at right angles at the end of the blade tubes.

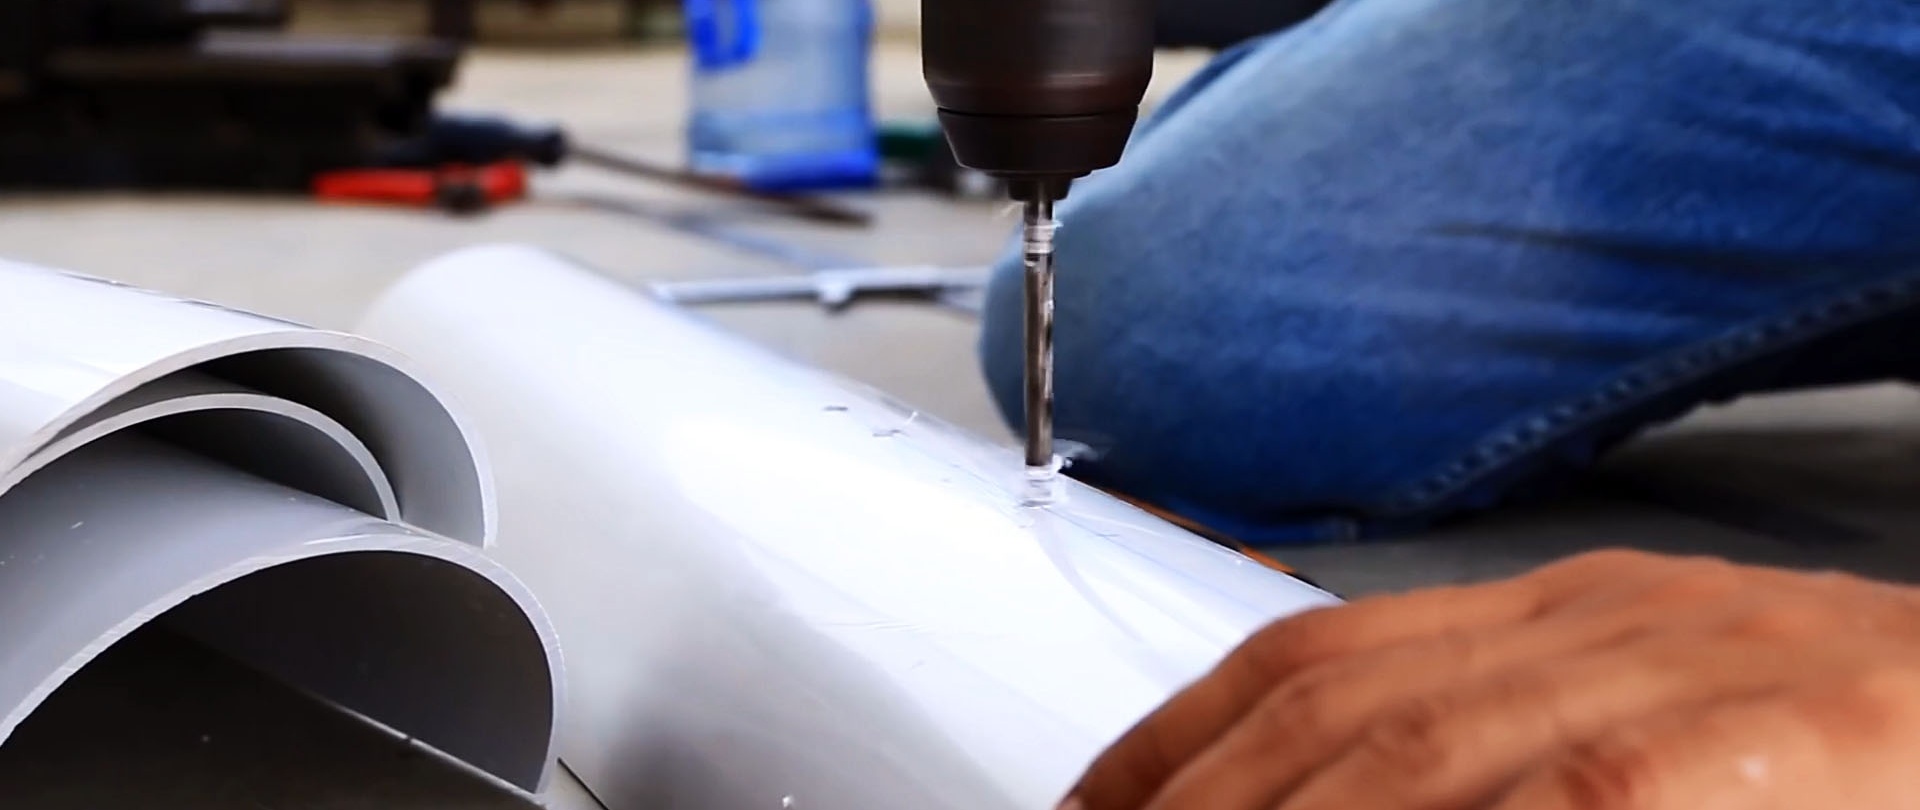
Next, the blades are made from the halves of a plastic pipe. You just need to cut it lengthwise.

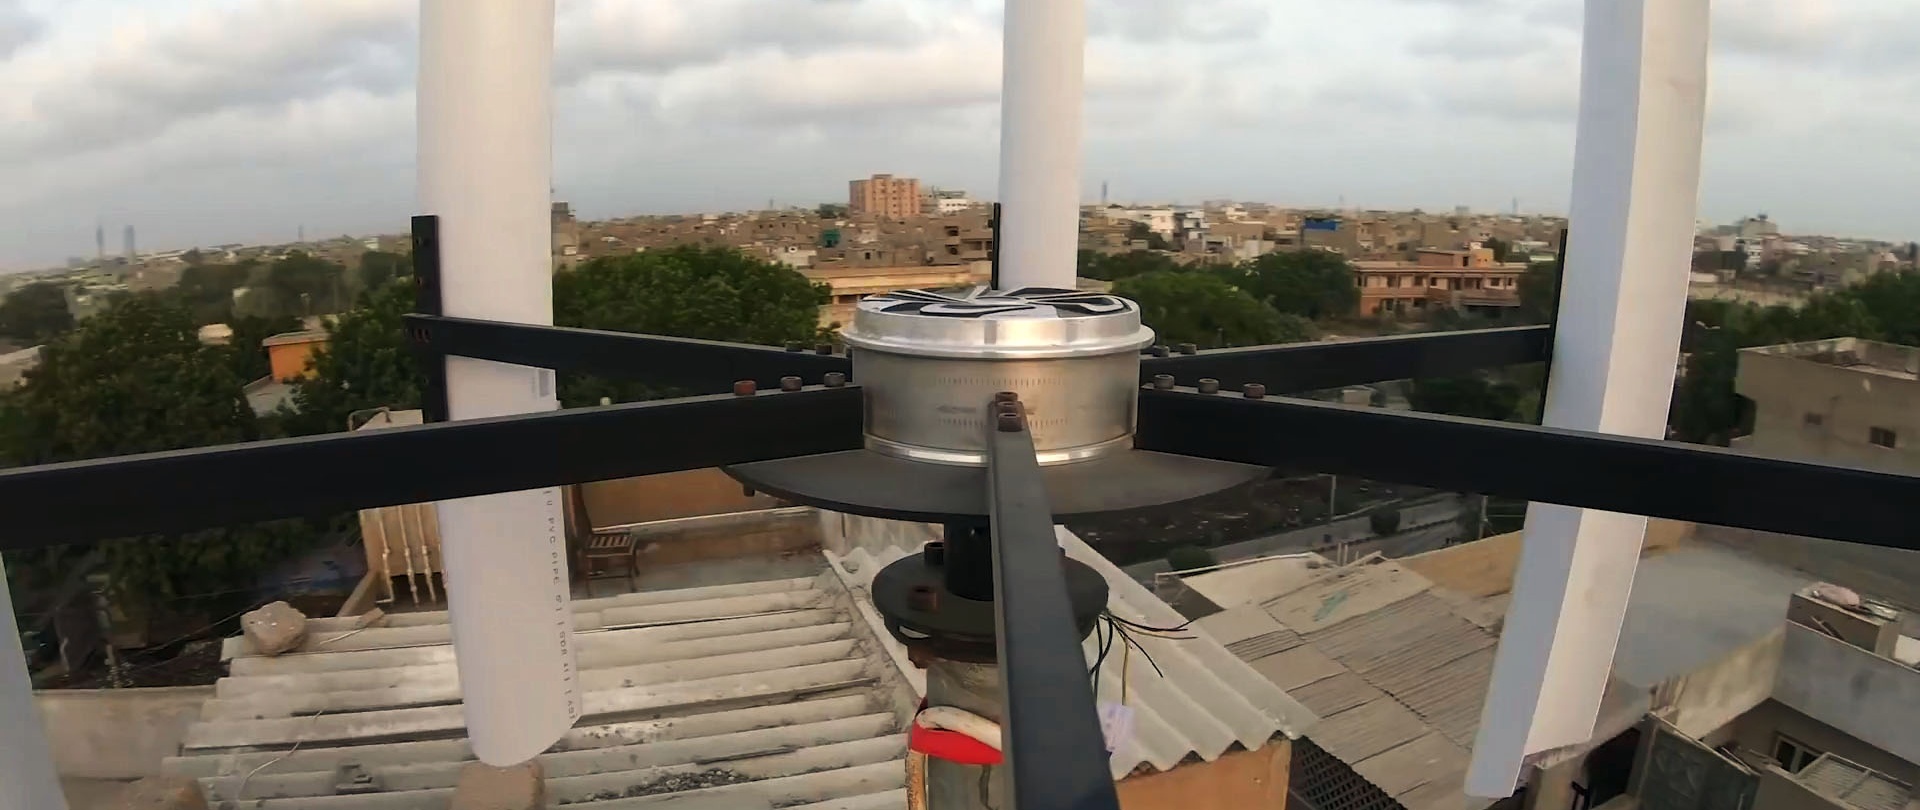
The generator is then assembled. A bushing is clamped onto the motor shaft, and a smaller disk is screwed to it. After this, the generator is installed on the pole.


Next, tubes and brackets from the strip are screwed to it. Blades are already installed on them.

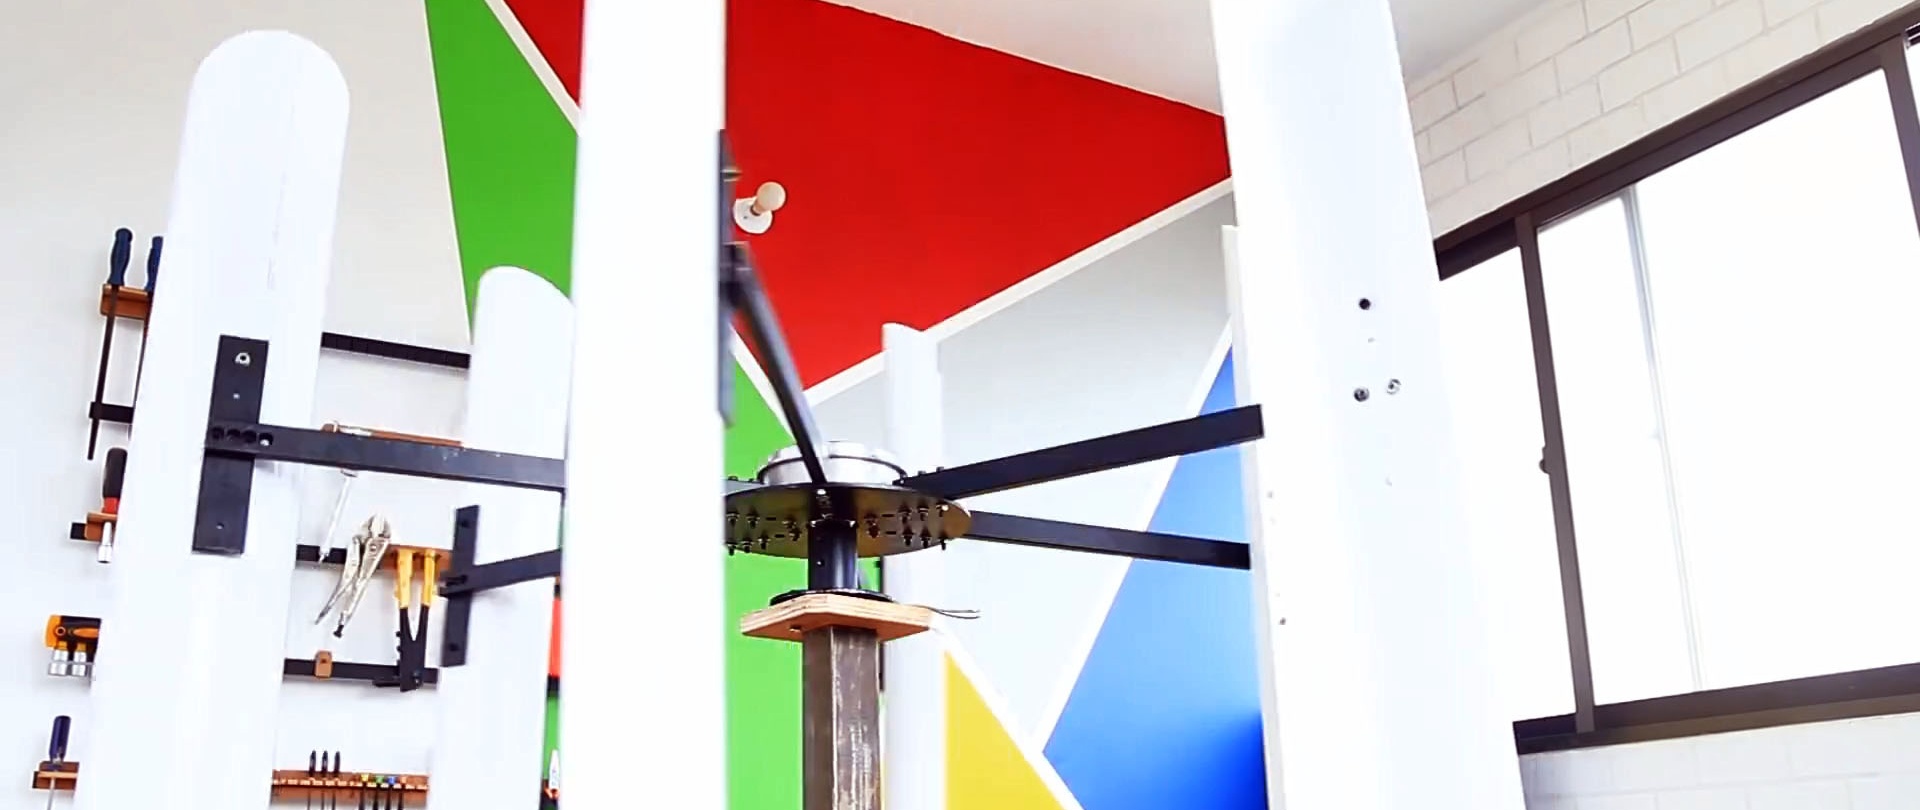
This design does not require a wind-directed tail. Some of the blades are always turned towards the wind, so the generator will rotate no matter which direction it blows from. This design gives stable speed, but rotates relatively slowly compared to a classic impeller, but this is still enough to generate electricity. All that remains is to connect the controller and battery to the generator.