The aquarium pump motor is completely waterproof and is also equipped with a permanent magnet. Due to this, you can make a small wind generator from it, which does not need to be additionally protected from precipitation. Of course, it will not be powerful enough, but its performance will be enough to recharge batteries or LED lighting.

Materials:
- Submersible aquarium filter or pump;
- motorcycle spoke;
- sheet aluminum;
- moisture-resistant plywood;
- diodes – 4 pcs.;
- capacitor 1000 uF 50 V;
- bolt and nuts M10;
- bearings – 2 pcs.;
- plastic pipes 20, 32 mm;
- fan blade;
- sheet plastic.
Wind generator manufacturing process
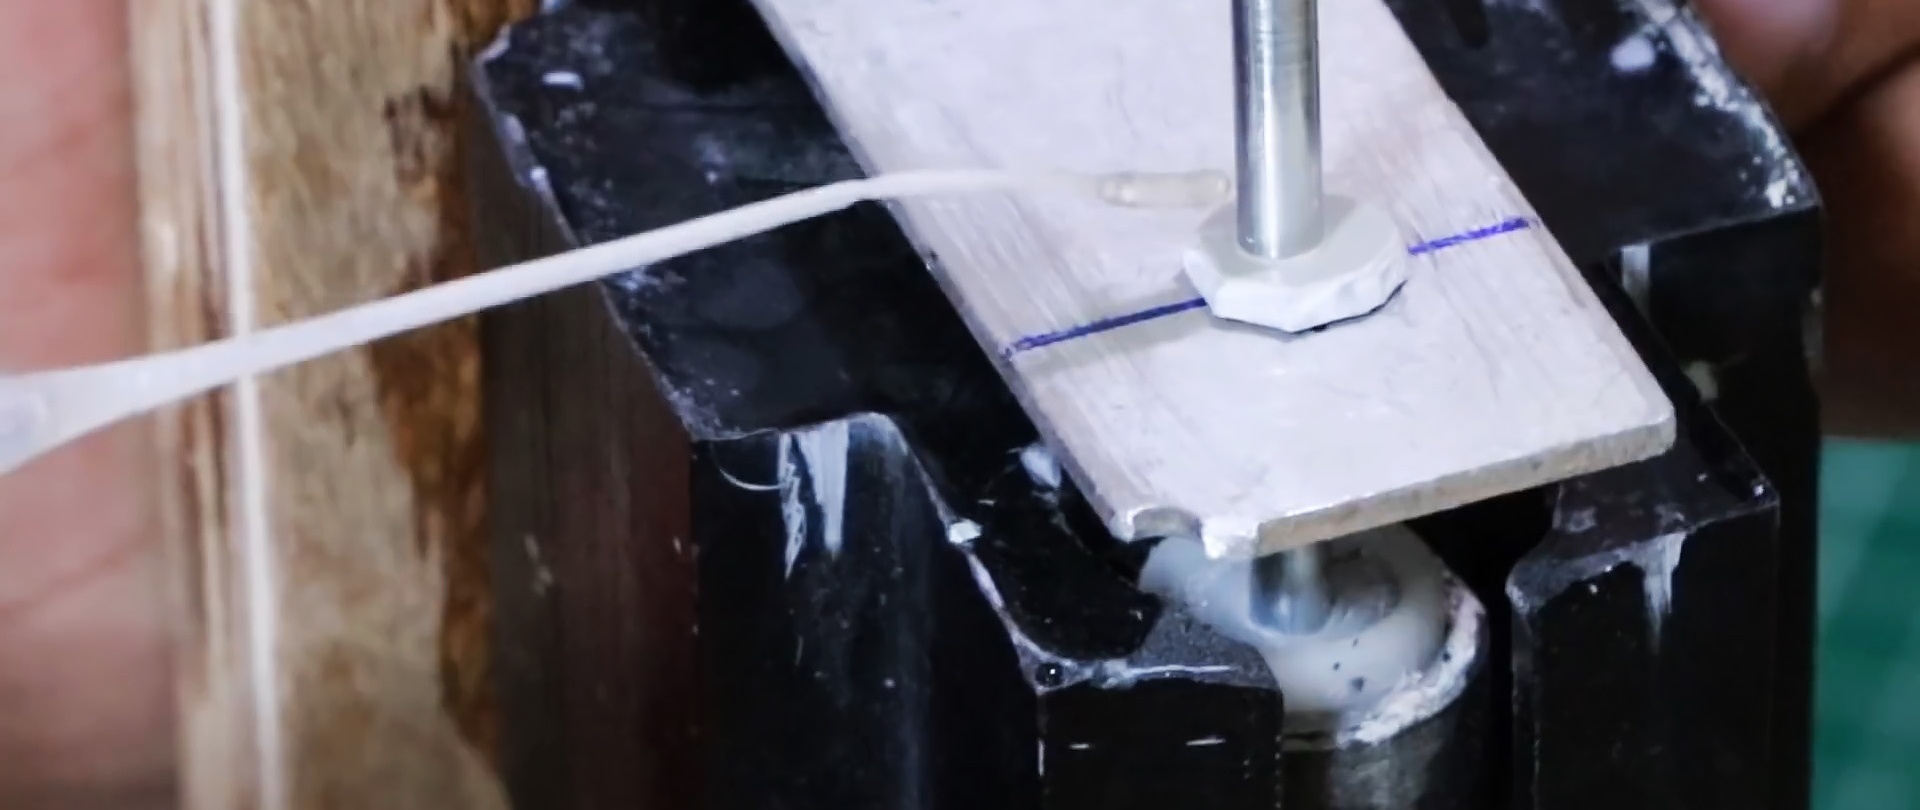
It is necessary to cut out the motor stator from the aquarium filter head housing without damaging the sealed shell. It is best to do this with a hacksaw or drill.

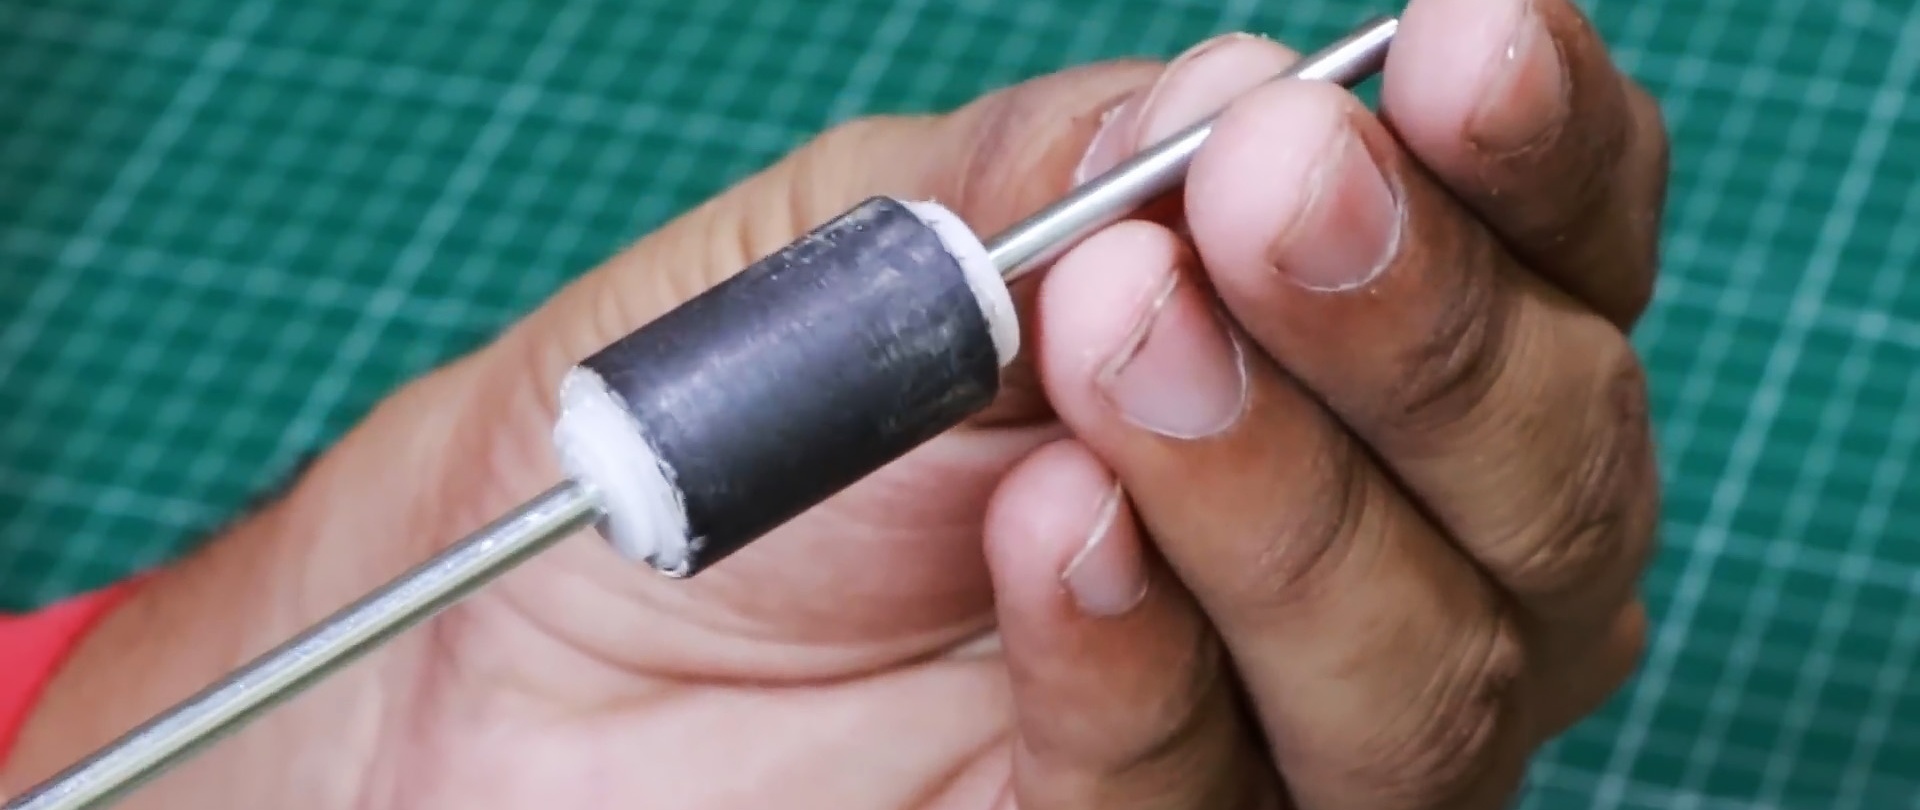
Next, instead of the thin short standard axle of the pump rotor, you need to install a long one, from the spokes of a motorcycle wheel. To do this, the rotor is drilled out and it is inserted tightly.

2 corners are cut out of sheet aluminum and bent to mount the rotor.

Then the stator is glued to a base made of moisture-resistant plywood with superglue.

The rotor is wrapped in corrugated cardboard and placed in the stator. This will allow you to maintain the same gaps. Then you need to try on and drill aluminum corners for the axle. After this, they are fixed to plywood.

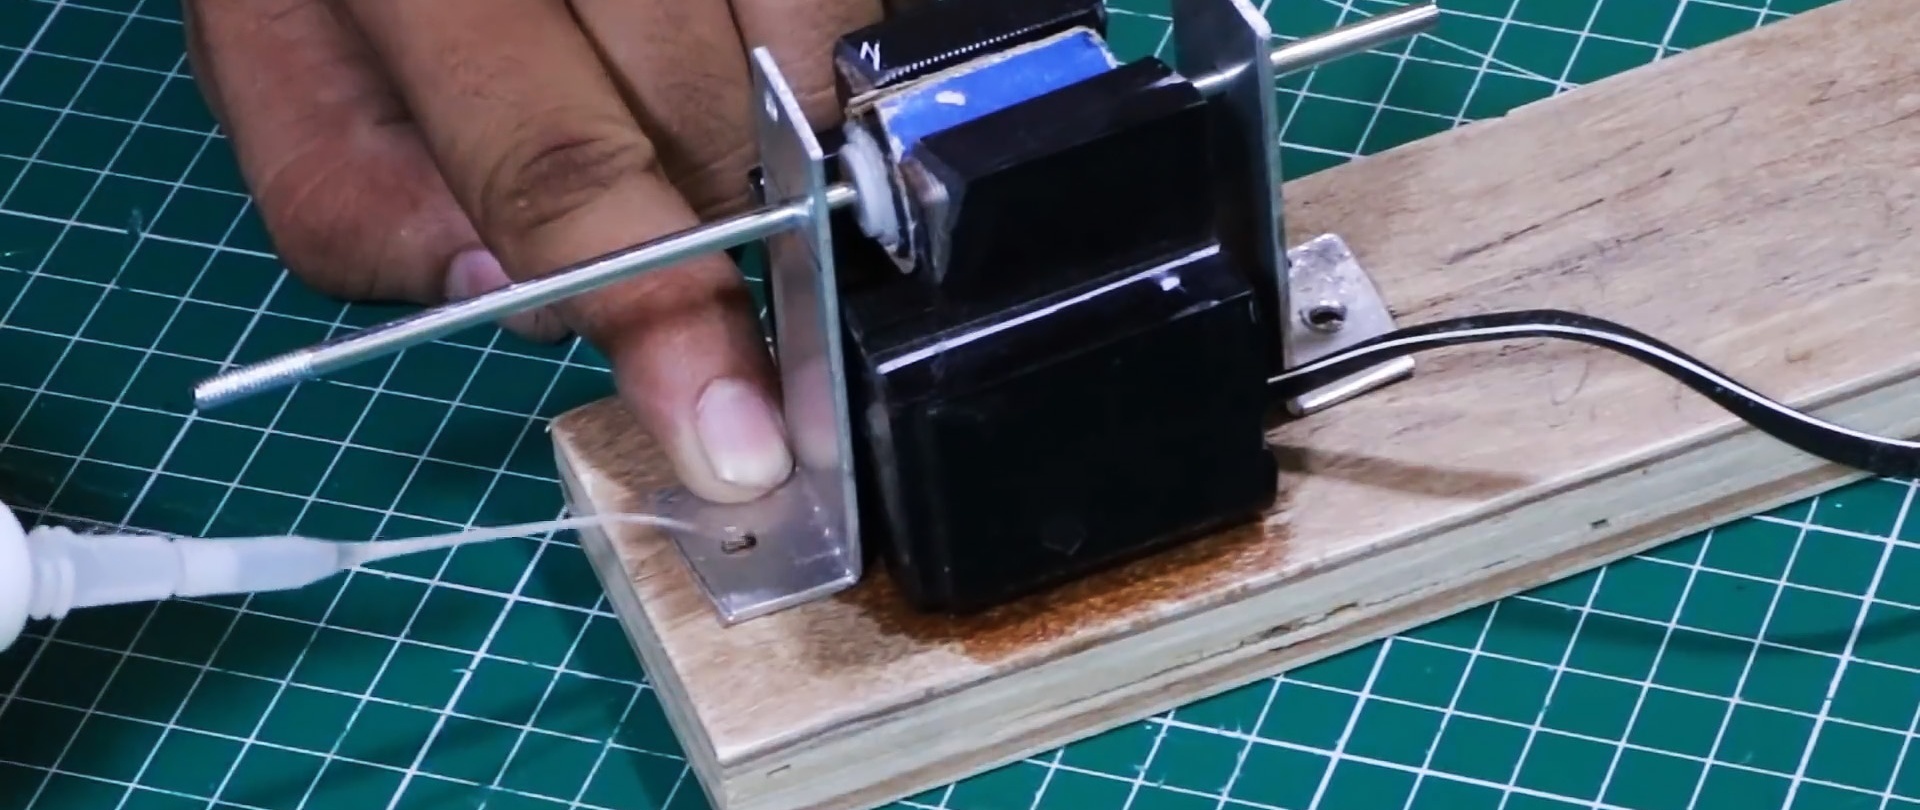
To prevent the axis from moving, stopper washers cut from plastic are pulled onto it close to the corners. For reliability, they should be additionally glued.

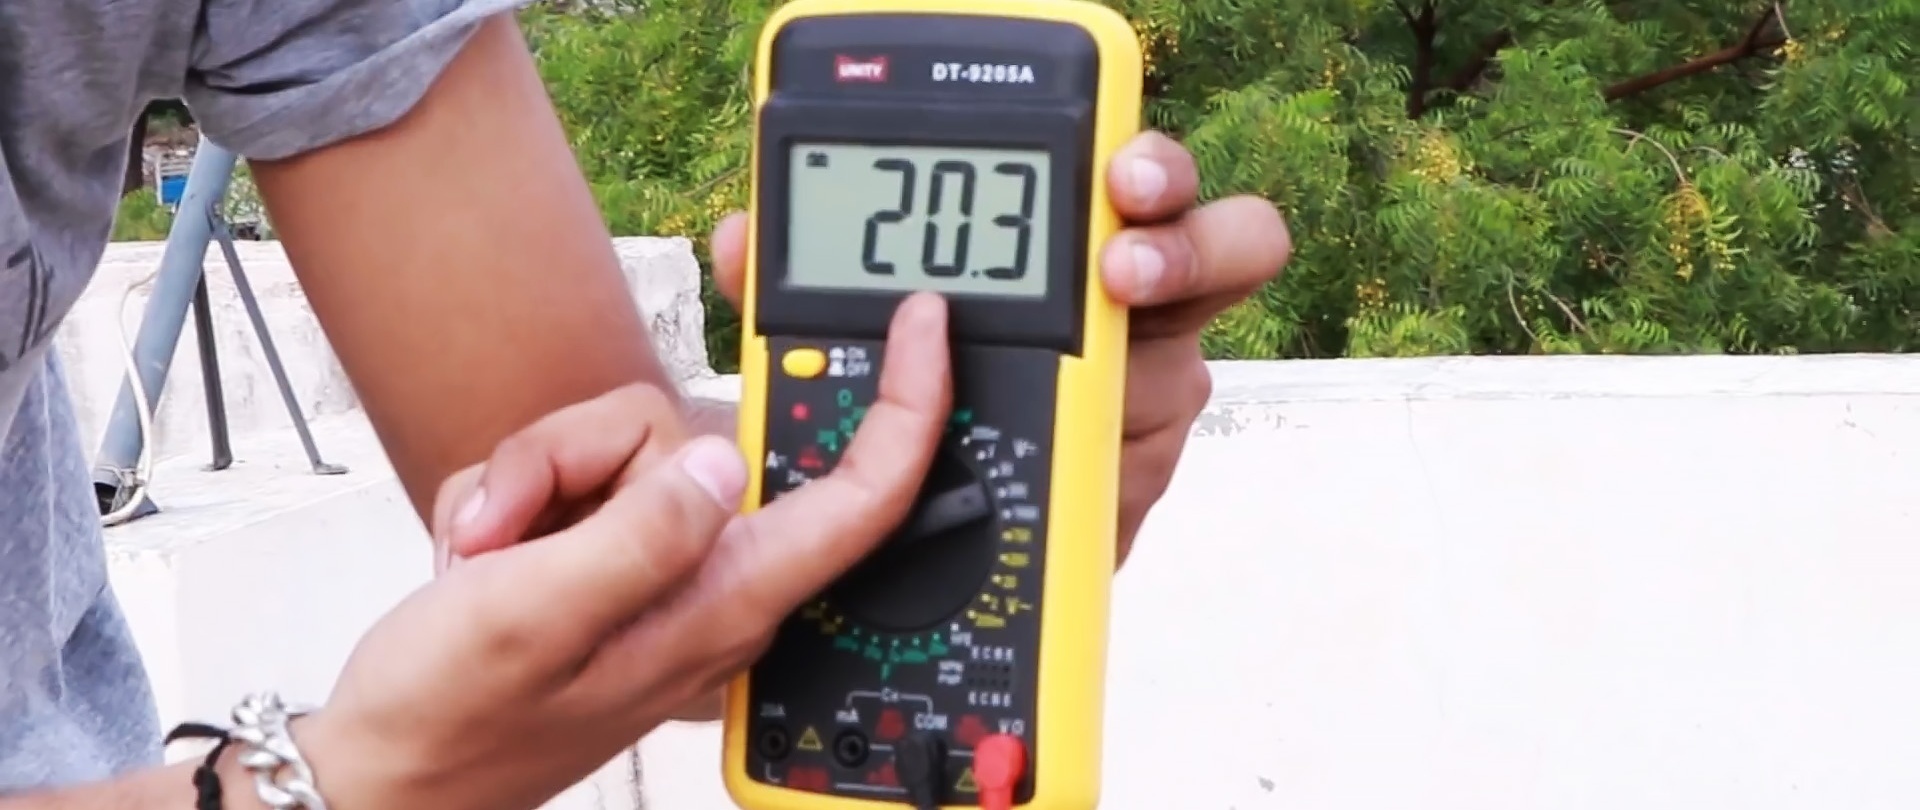
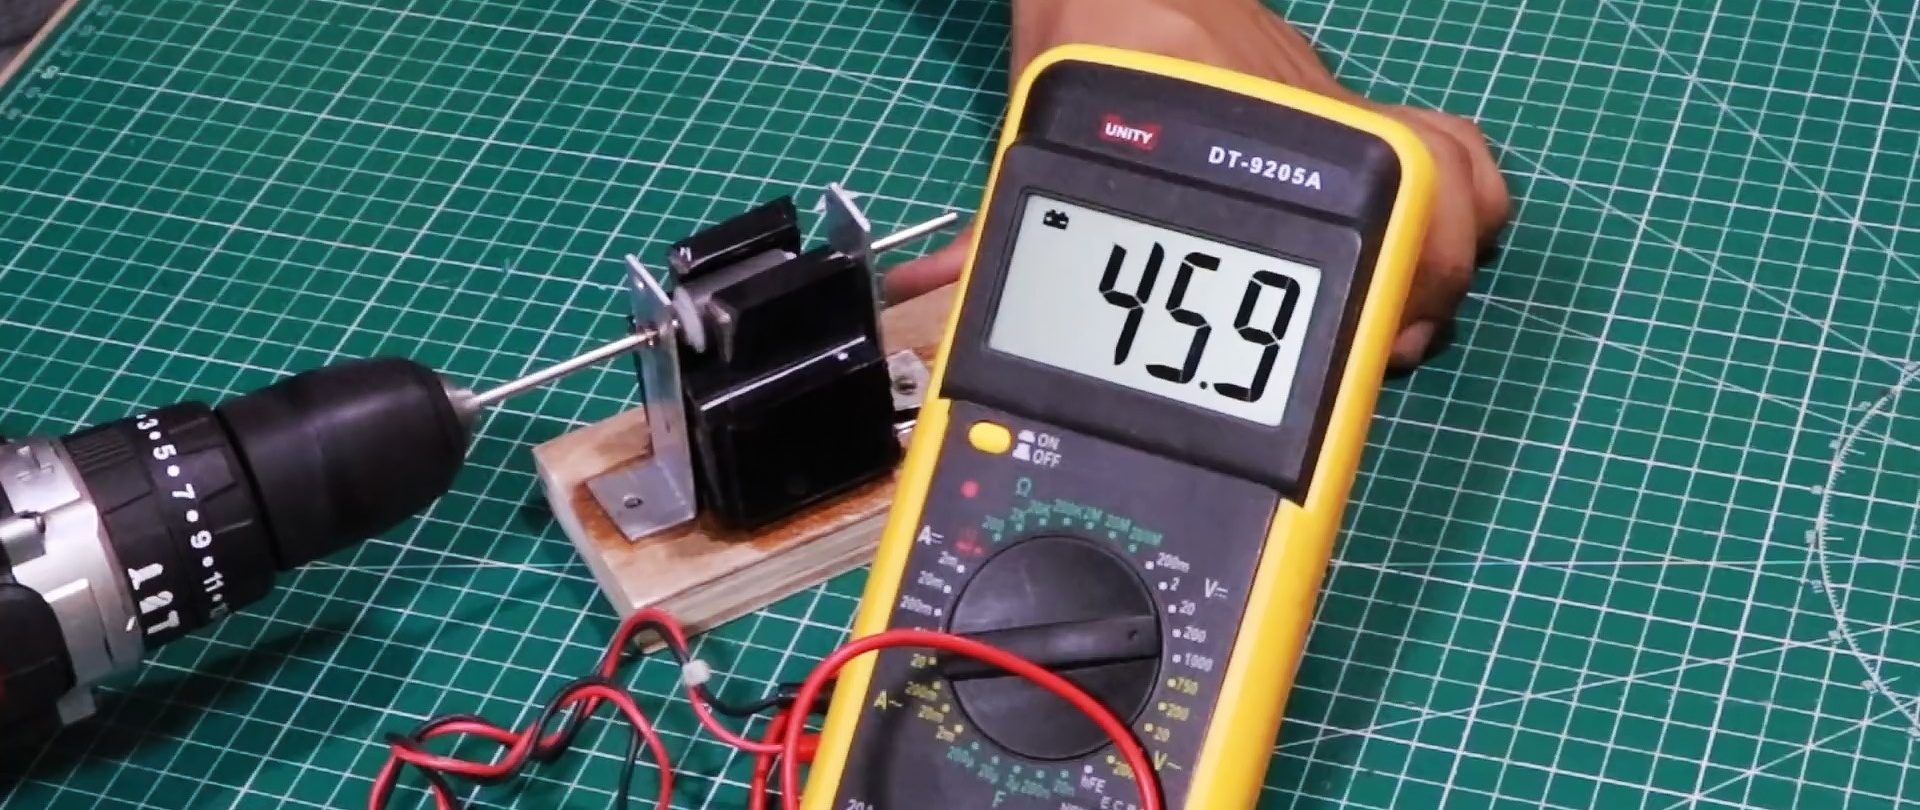
When the rotor spins, such a generator is already capable of producing alternating electricity, the value of which directly depends on the speed of rotation. To turn it into constant, you will need to connect a diode bridge. It is made of four diodes. They are connected together by cathodes and anodes, as in the photo. The diode bridge is connected to the generator wires.

To smooth out the ripple current coming out of the diode bridge, a capacitor must be added to the circuit. With it, the installation will already be able to operate as a full-fledged wind generator.

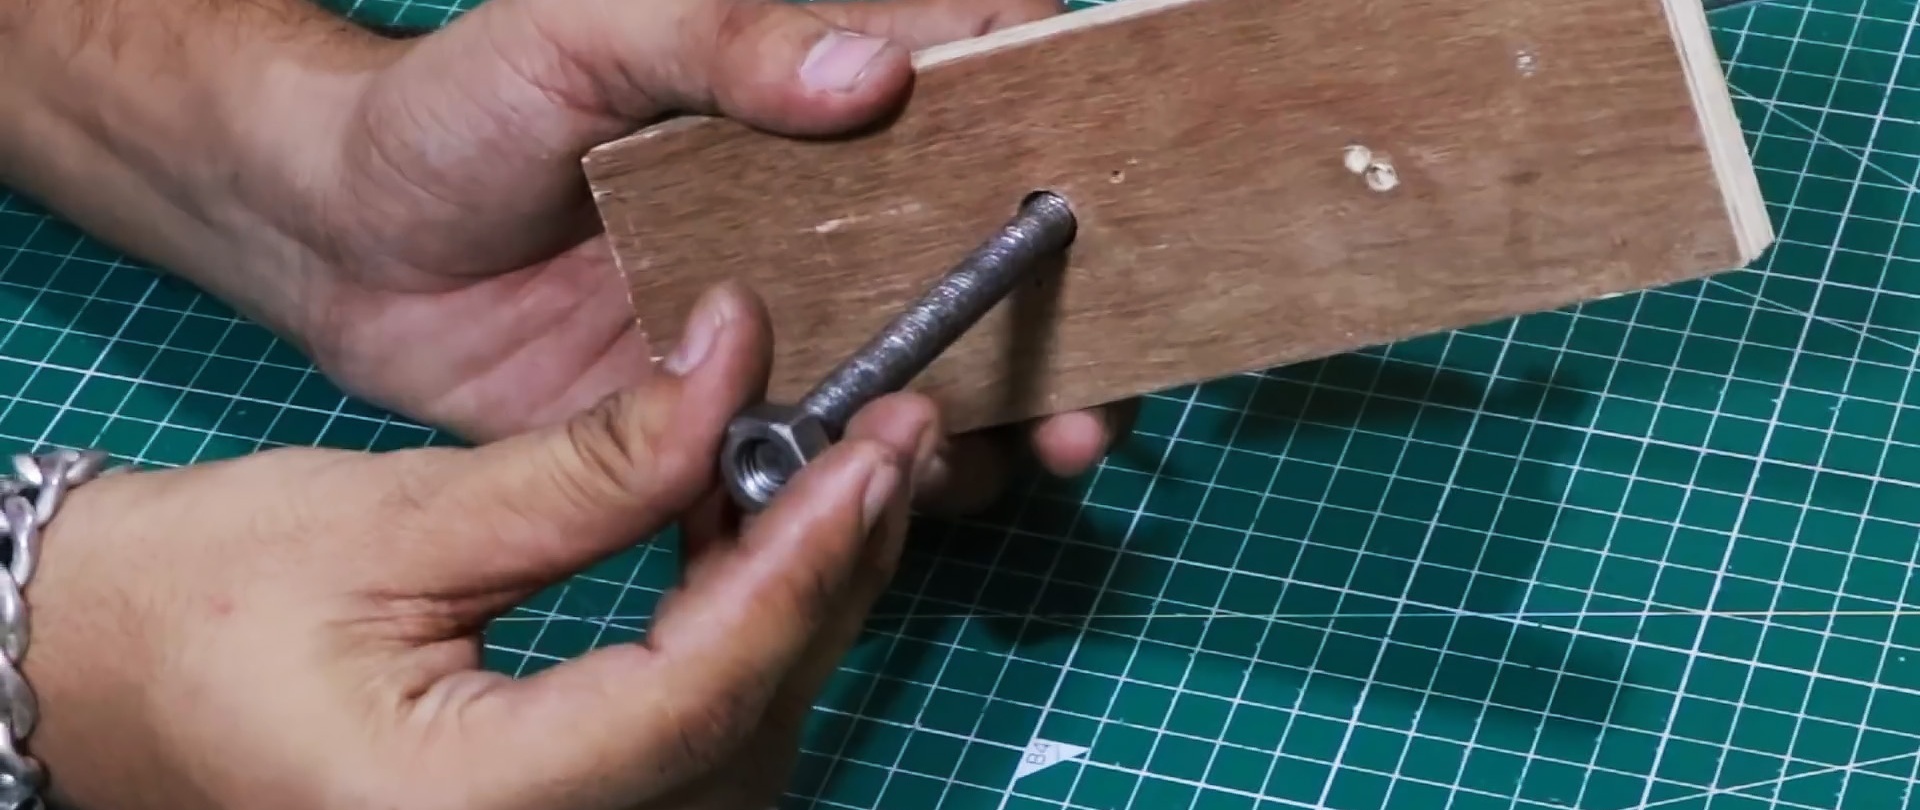
Next, you need to take care of installing the wind generator on the rotary pole. To do this, the plywood is drilled and a bolt is pressed onto it. You need to put 2 bearings on it and tighten them with nuts.

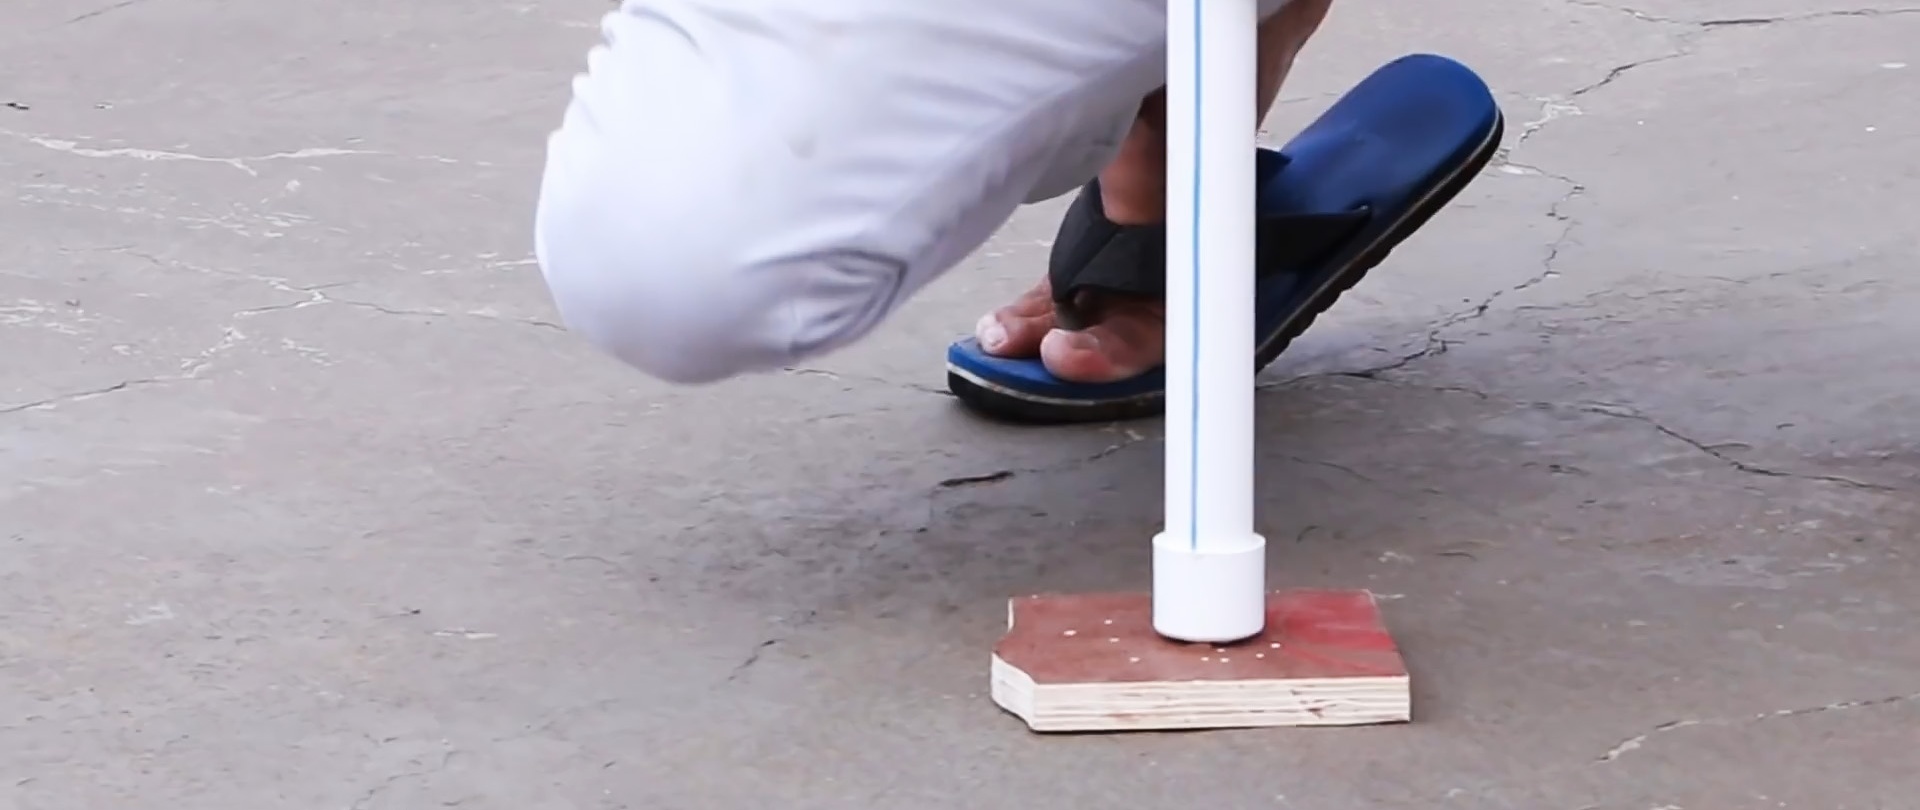
The pole itself is made from a plastic pipe. You need to cut it along the edge to insert a bolt with bearings inside, and then clamp them with a clamp. Thus, a rotary connection is obtained. Such a pole can be inserted into a screwed plug.

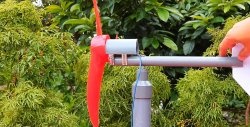
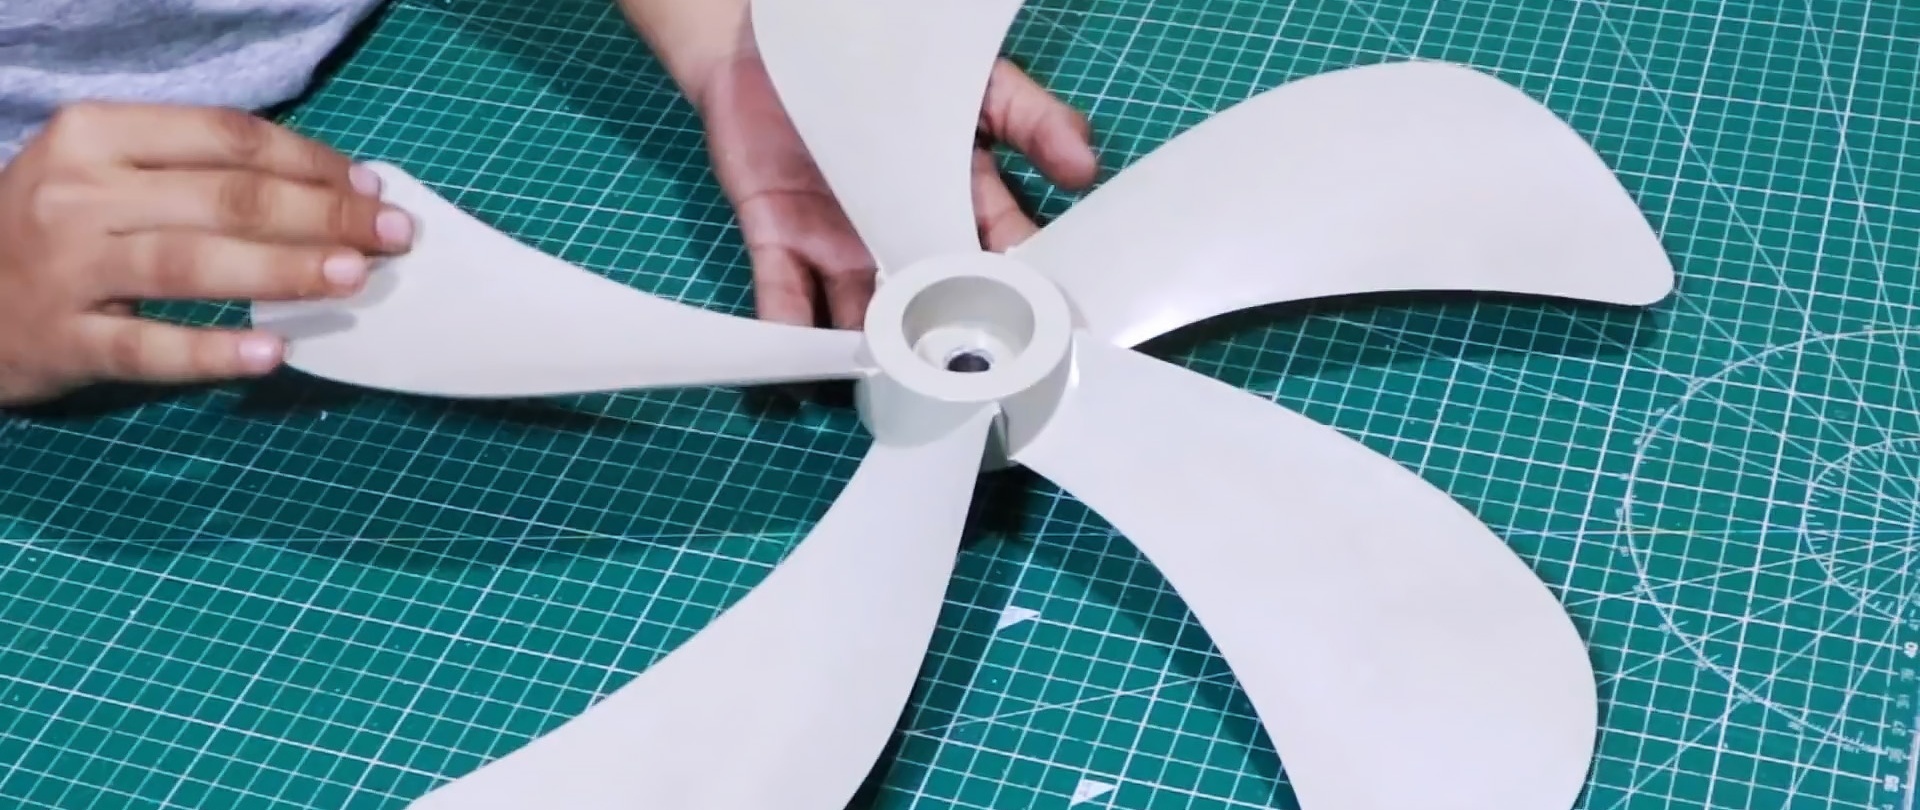
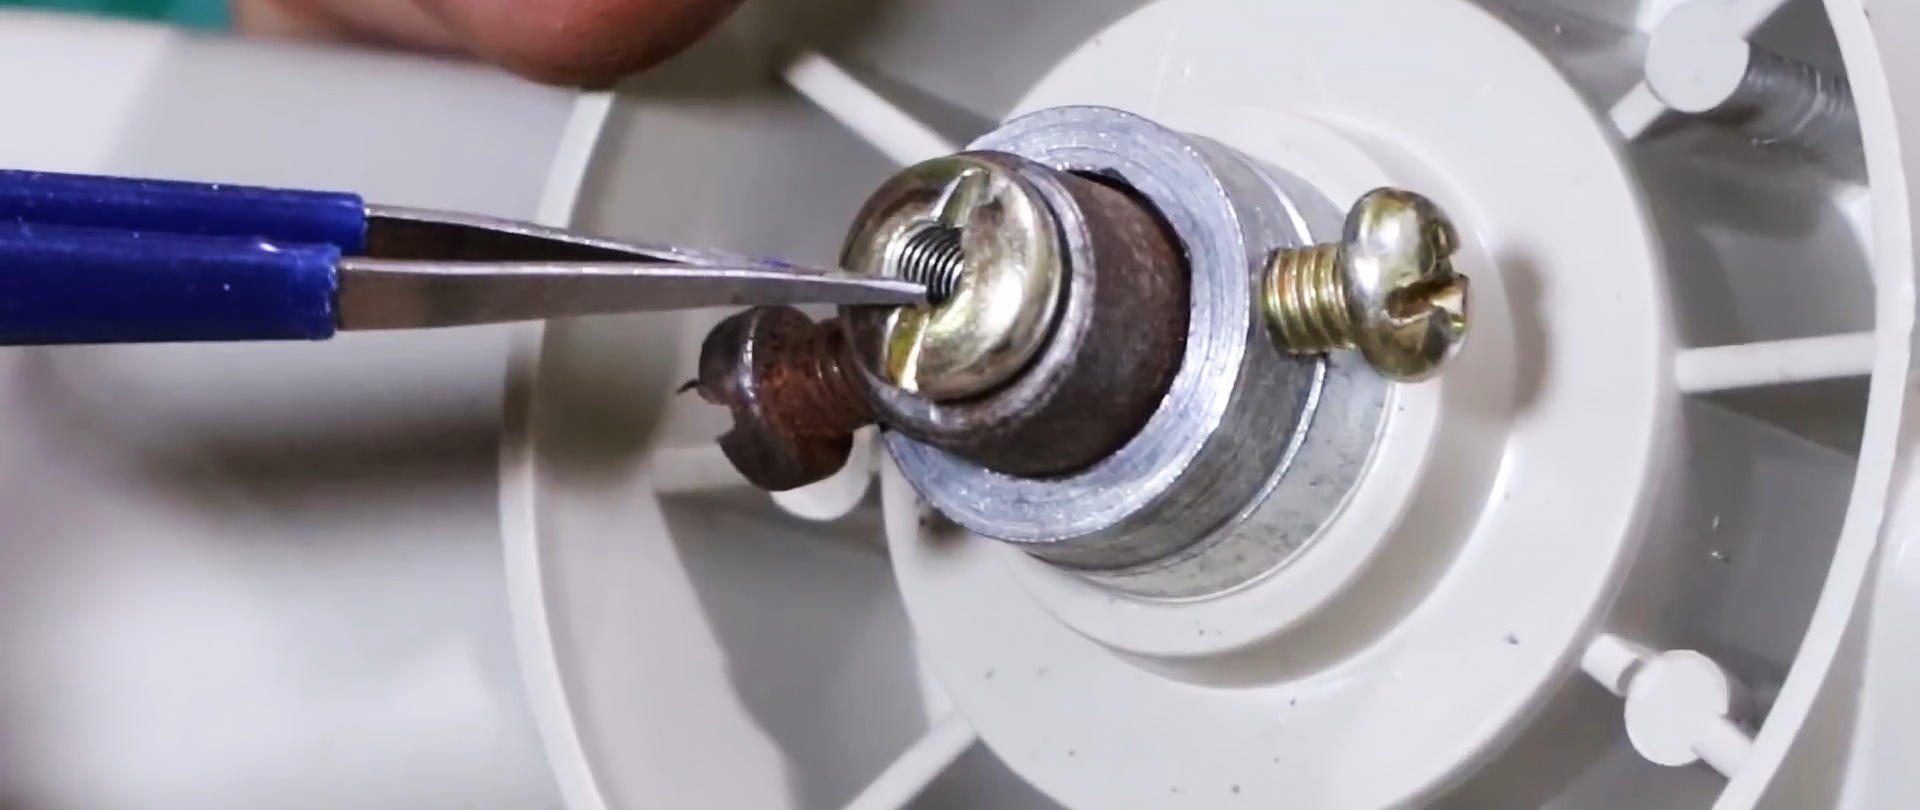
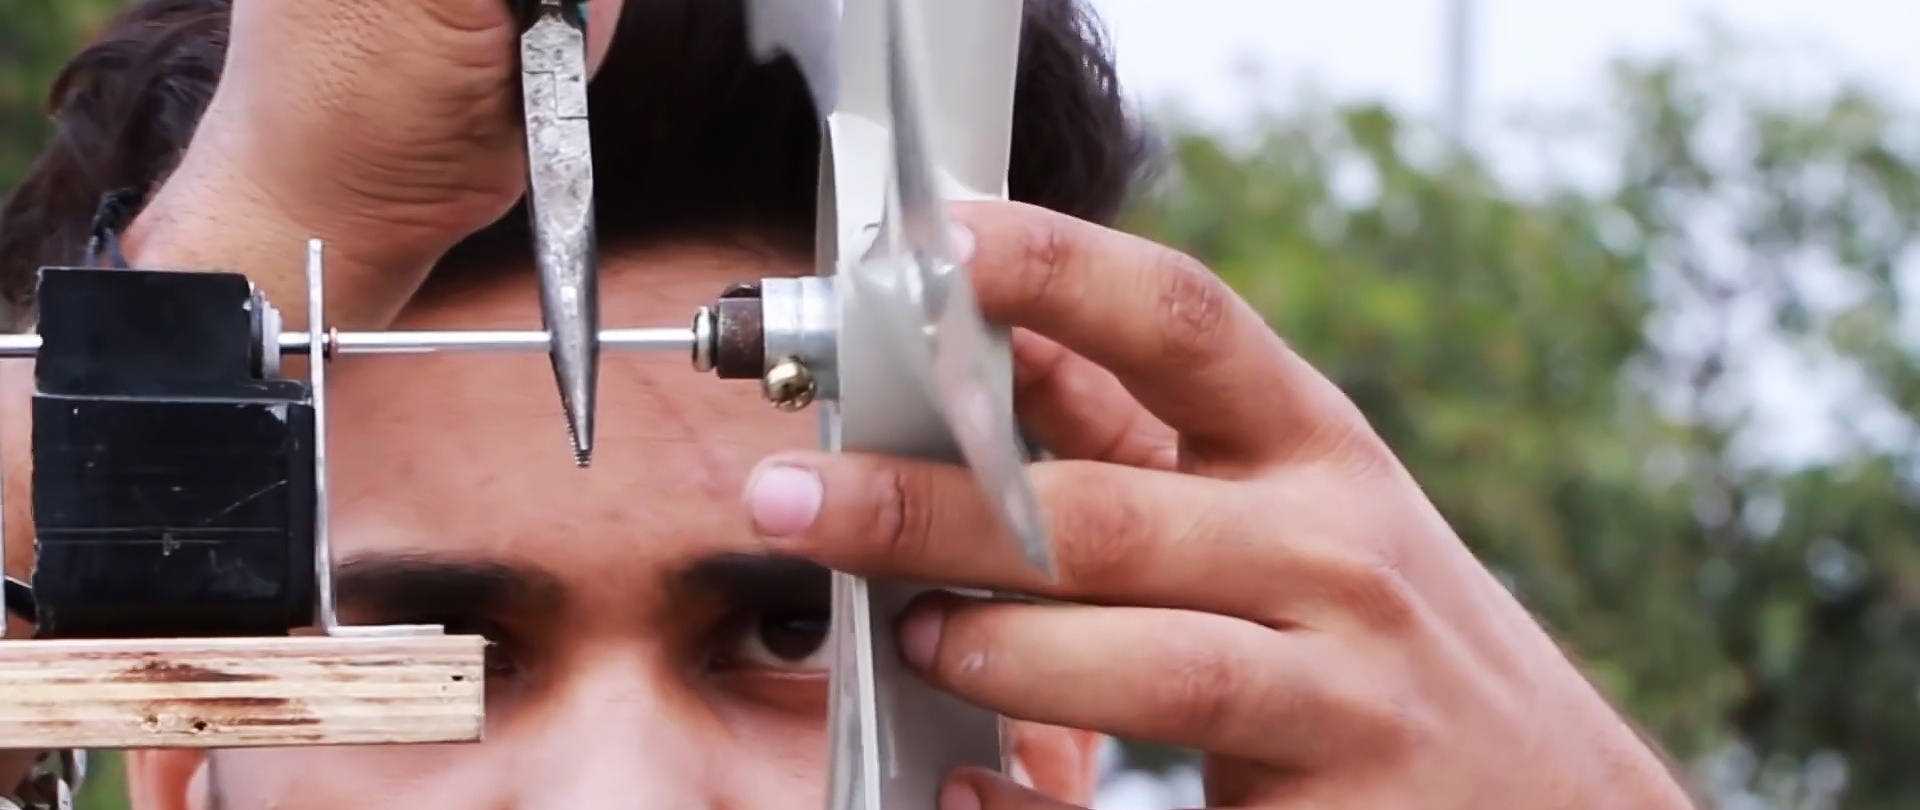
Next you should work on the blades. They can be removed from a broken fan. You can connect them to the rotor shaft using an adapter - a spoke tip. It just screws onto the thread.
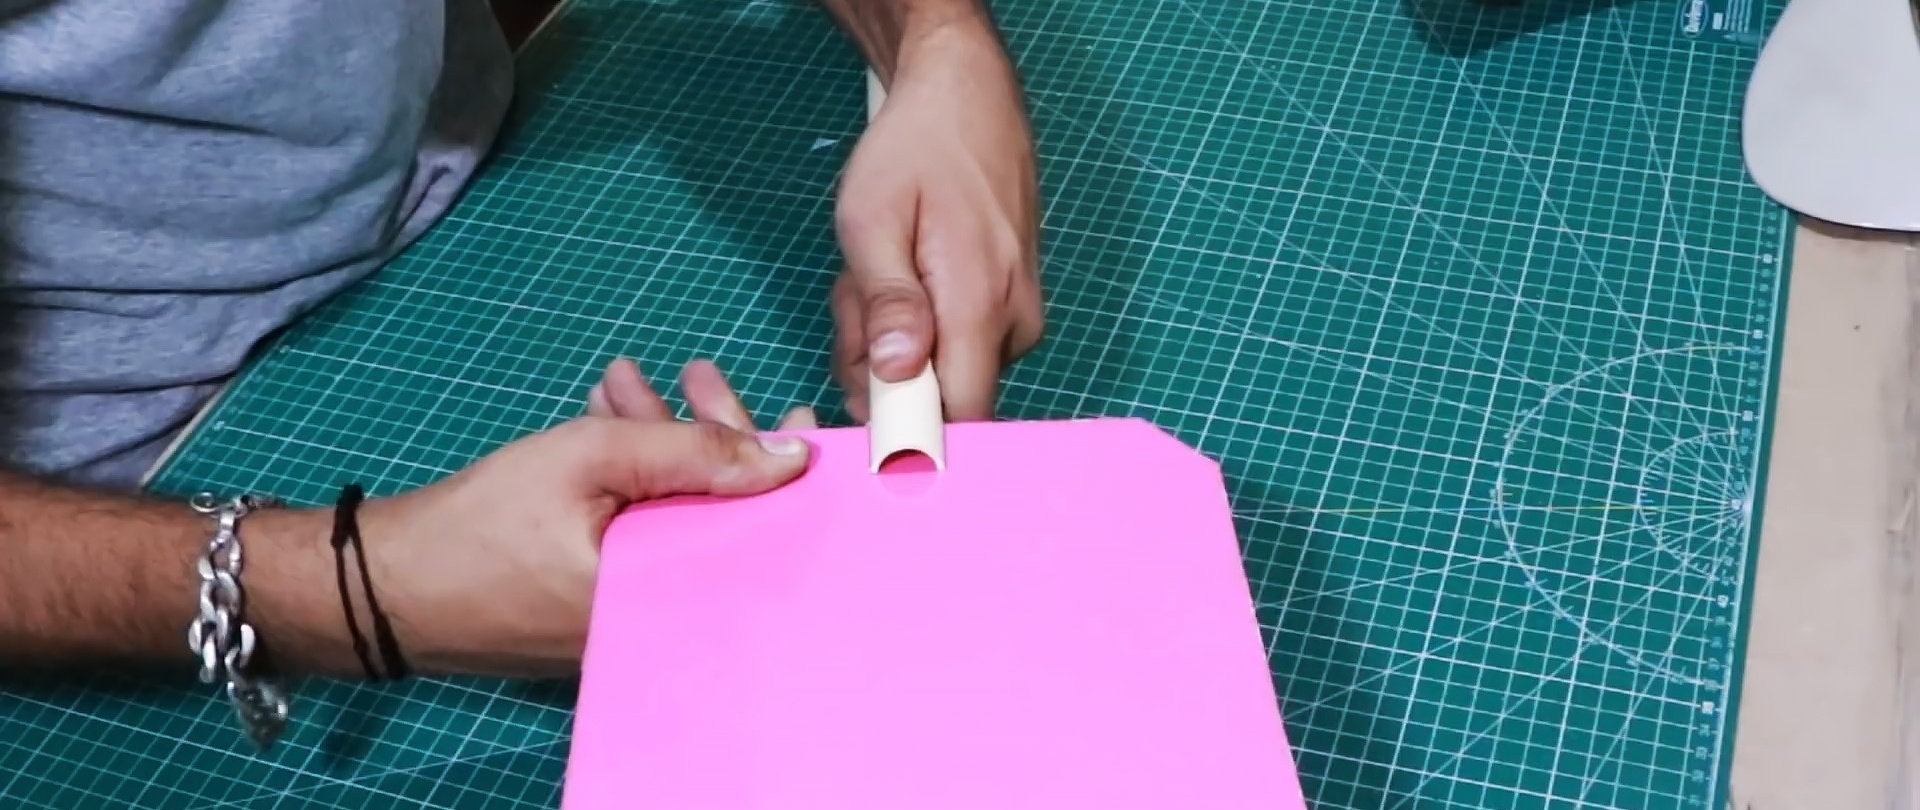
In order for the windmill to turn with the wind, you will need to make a tail for it.To do this, a thin plastic tube is attached to the plywood, at the end of which a blade made of sheet plastic is installed.

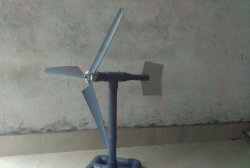
Now the wind generator can be installed in an open place well blown by winds.

Its engine does not need a protective box, as it does not allow moisture to pass through. You just need to cover the diode bridge with the capacitor so that they do not oxidize.