Do it yourself
Life hacks, master classes, useful tips, recipes.
home » Electronics » How to make a wind generator from a car generator without modification

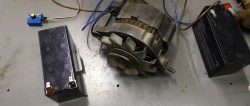
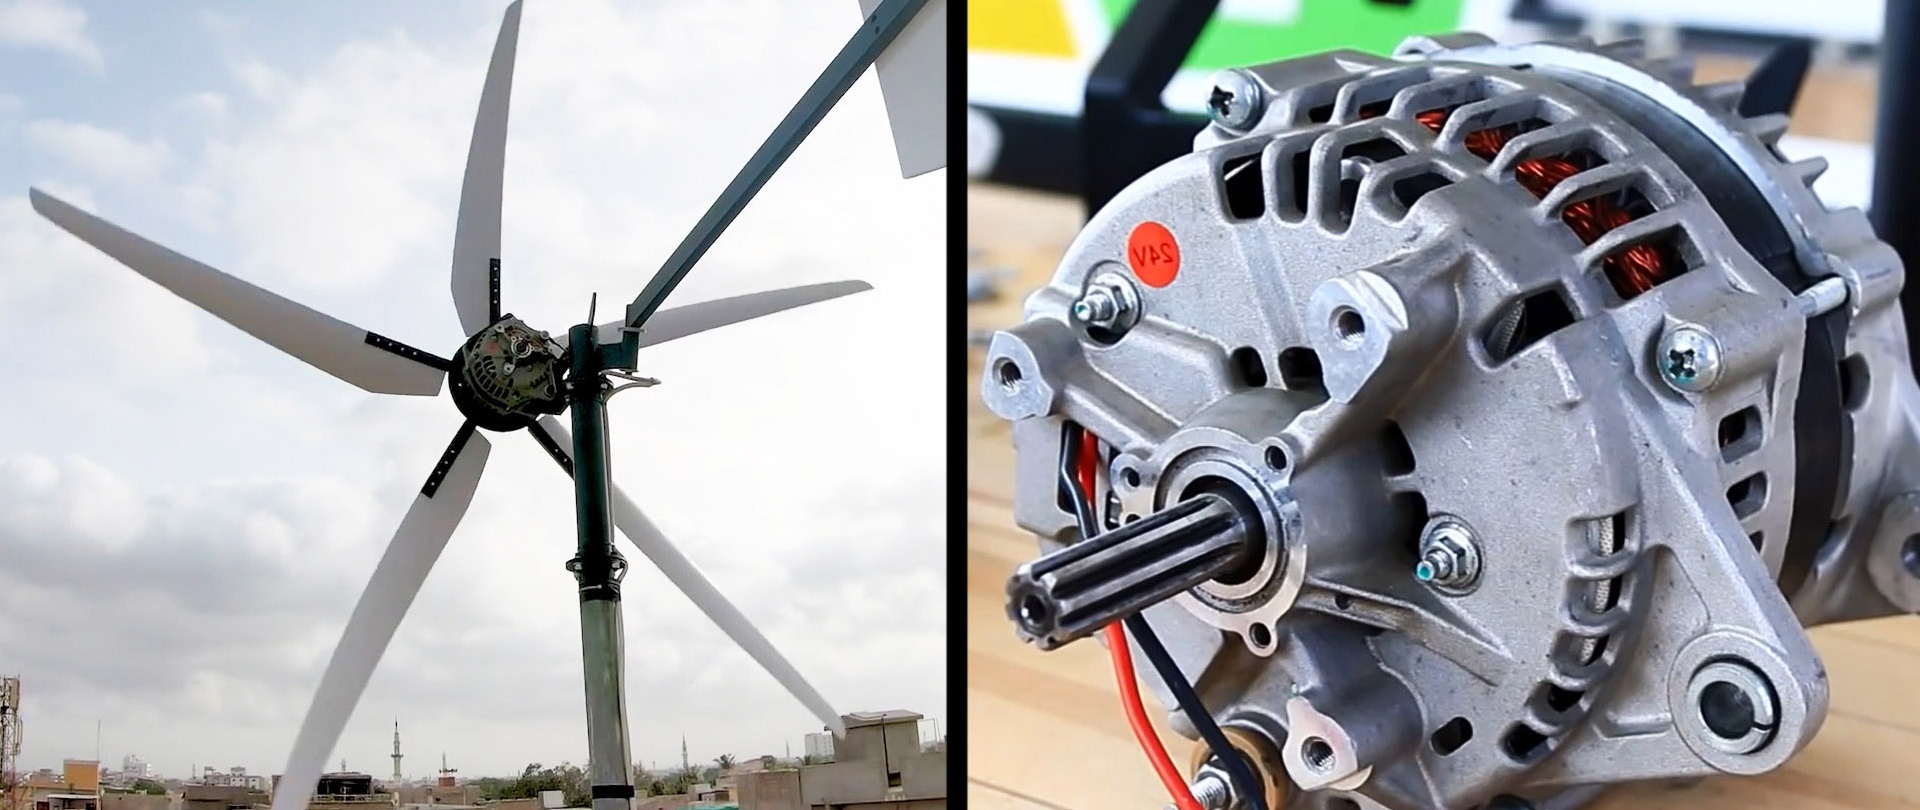
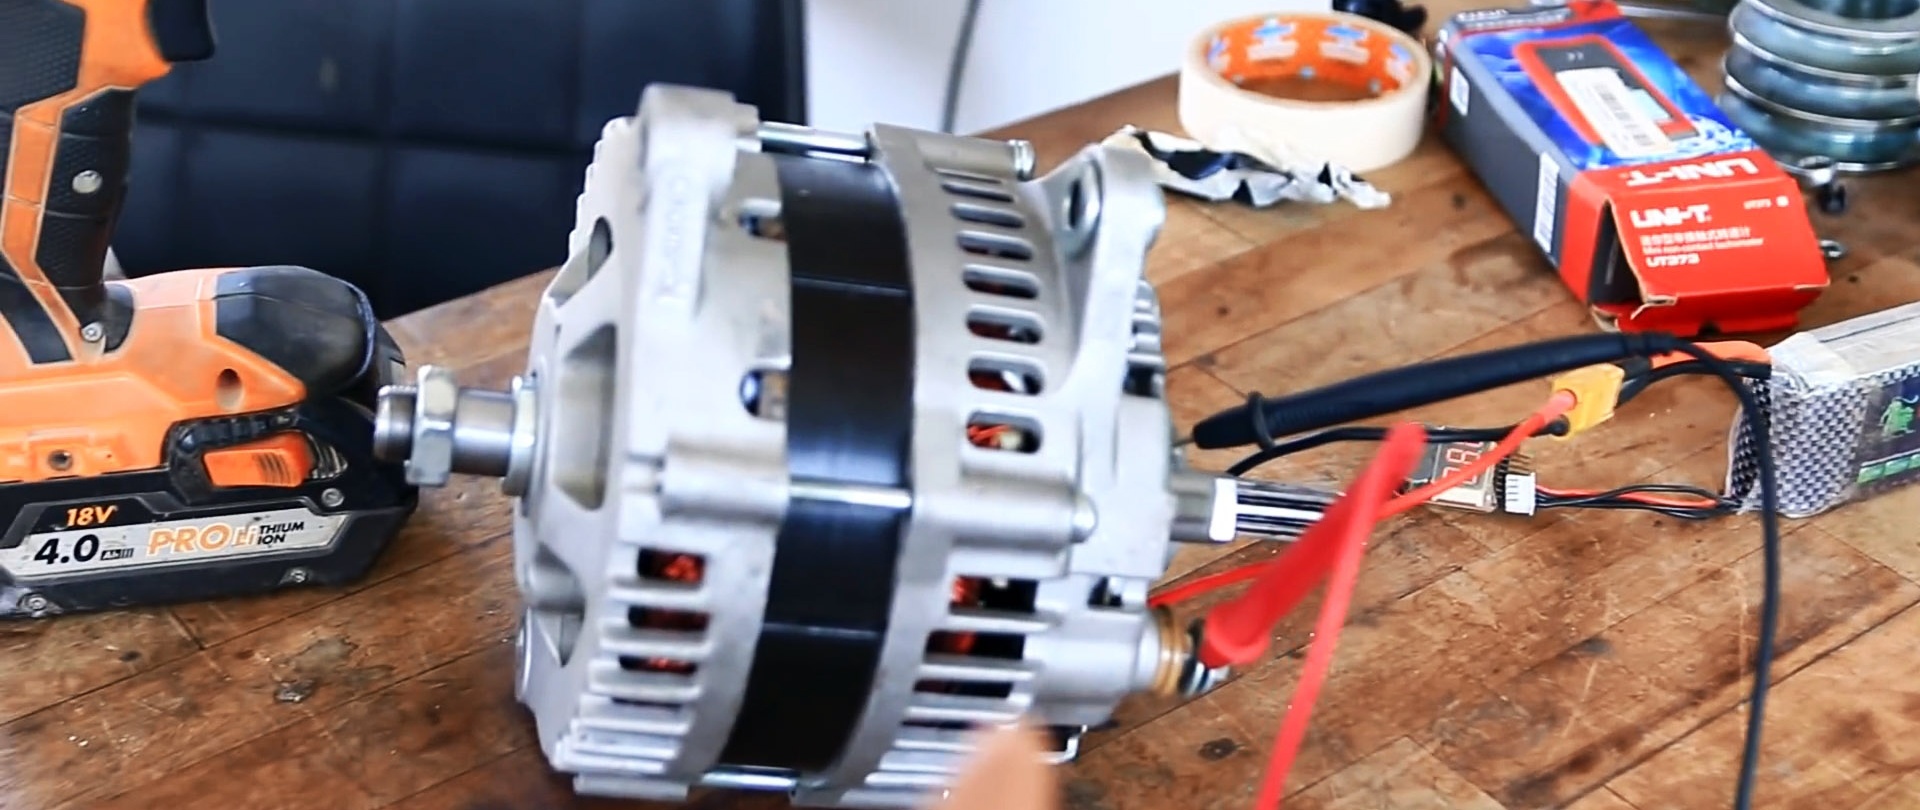
The most affordable ready-made generator for assembling a wind generator is a car one. You can buy it for almost nothing at a salvage yard. The only problem is that it generates energy only when the rotor winding is excited. For this reason, you can make a full-fledged wind generator from it by slightly altering the armature, or by powering the excitation winding. Let's look at how this is done in the second way.

Materials:

  • Car generator 24 V;
  • steel square 20x20 mm;
  • pipes 50 mm, 20 mm;
  • round timber 20 mm;
  • strip 20 mm;
  • sheet steel 3-5 mm;
  • bearings – 2 pcs.;
  • profile pipe 20x40 mm;
  • plastic sewer pipe 110 mm;
  • screws, nuts, bolts.

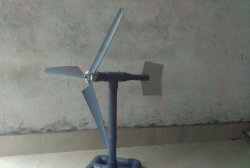
Wind generator manufacturing process

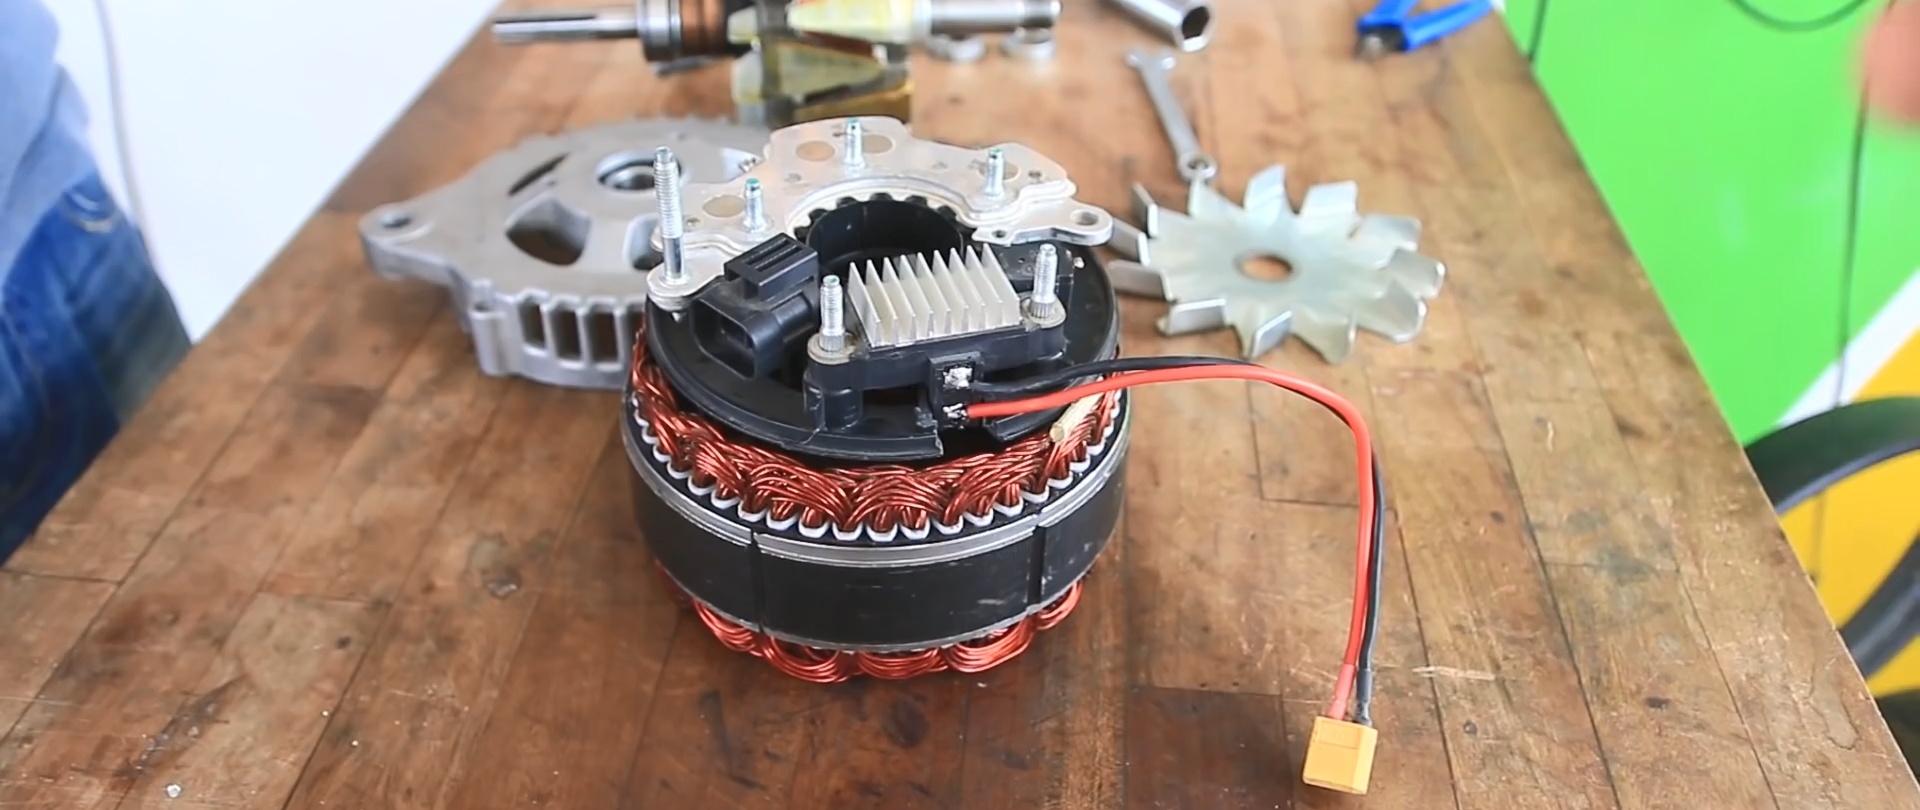
In order for the generator to operate without a car, its field winding must be powered directly from the battery. To do this, wires are soldered to the graphite brushes, which will later need to be routed to the battery.

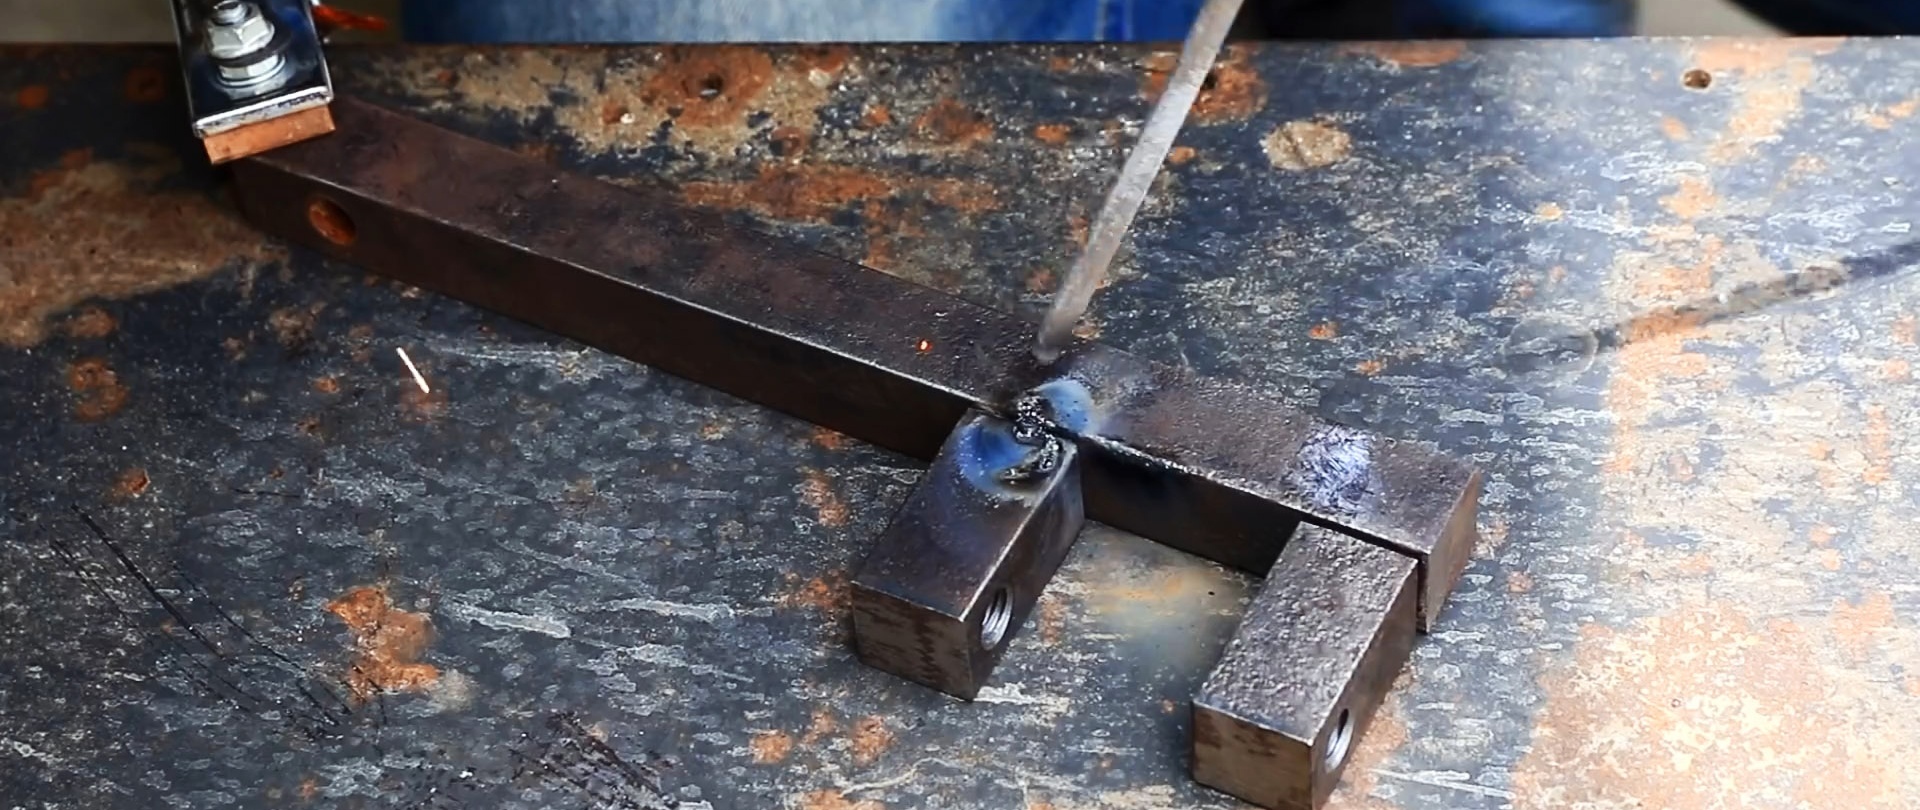
Then you need to weld the generator mounting frame. With its help he will be held on the pole. The frame is welded from a square.It provides mounting brackets for the standard generator lugs.

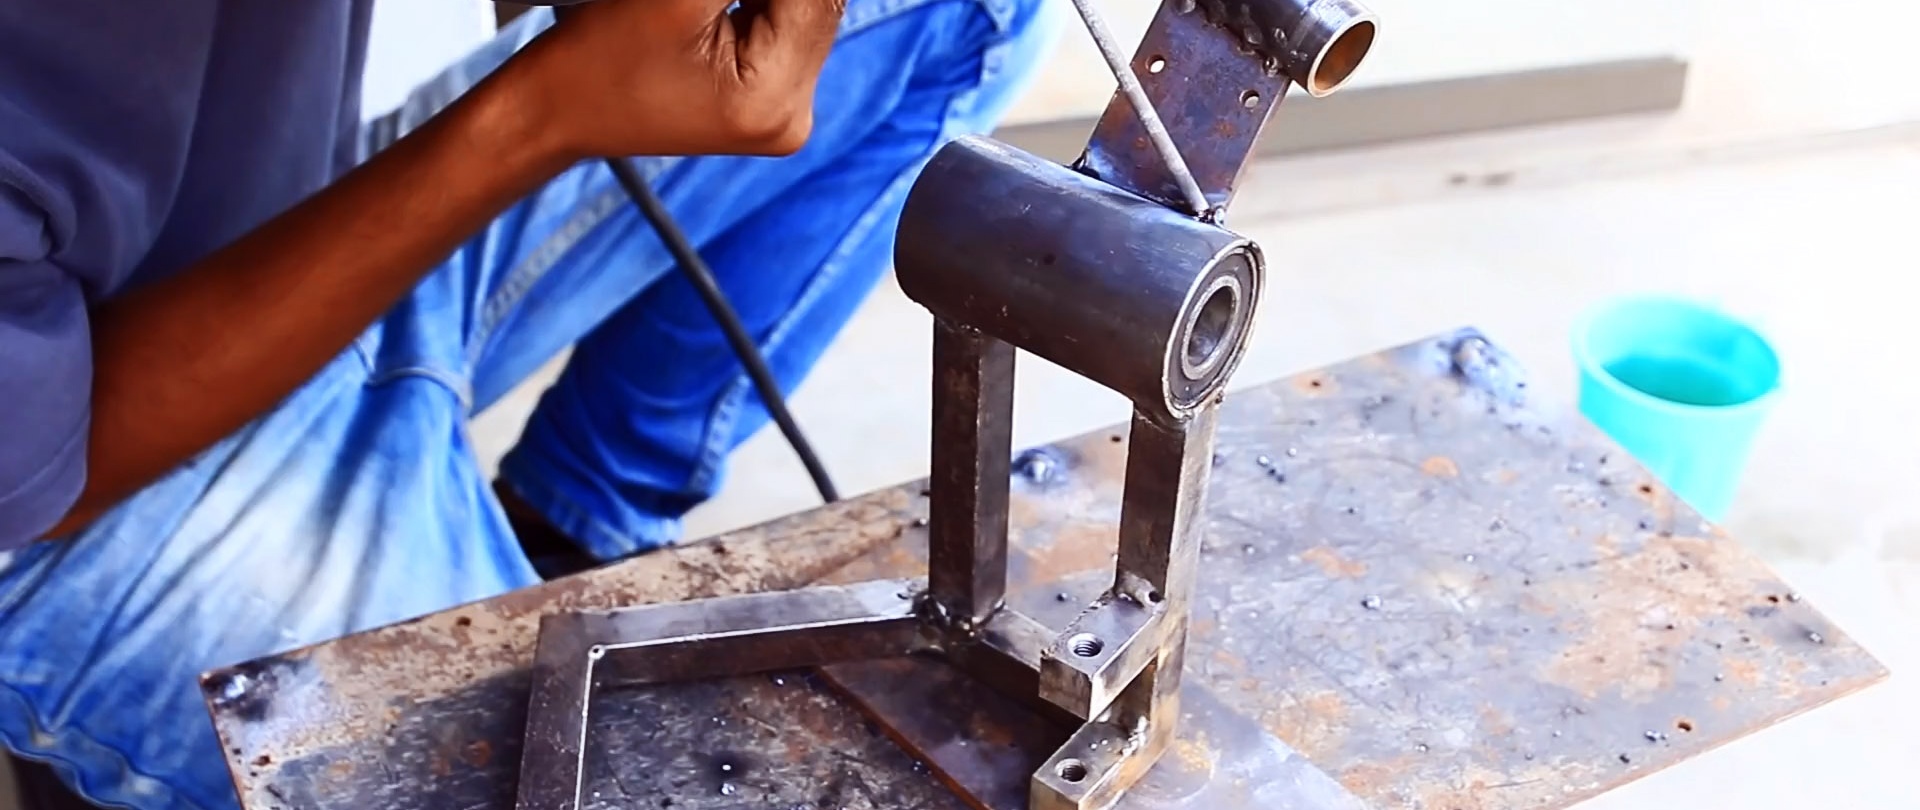
To install the frame with the generator on the pole, you need to weld a tube to it and press two bearings into it. There will be a large load on this node, so you need to make two support points.

A piece of strip with a bushing is welded to the tube with bearings, on which the rotary tail will be installed. It is needed to guide the blades with the wind. The ability to rotate will allow him to adjust the position so that the blades do not spin too much. This will protect the generator and other equipment from damage.

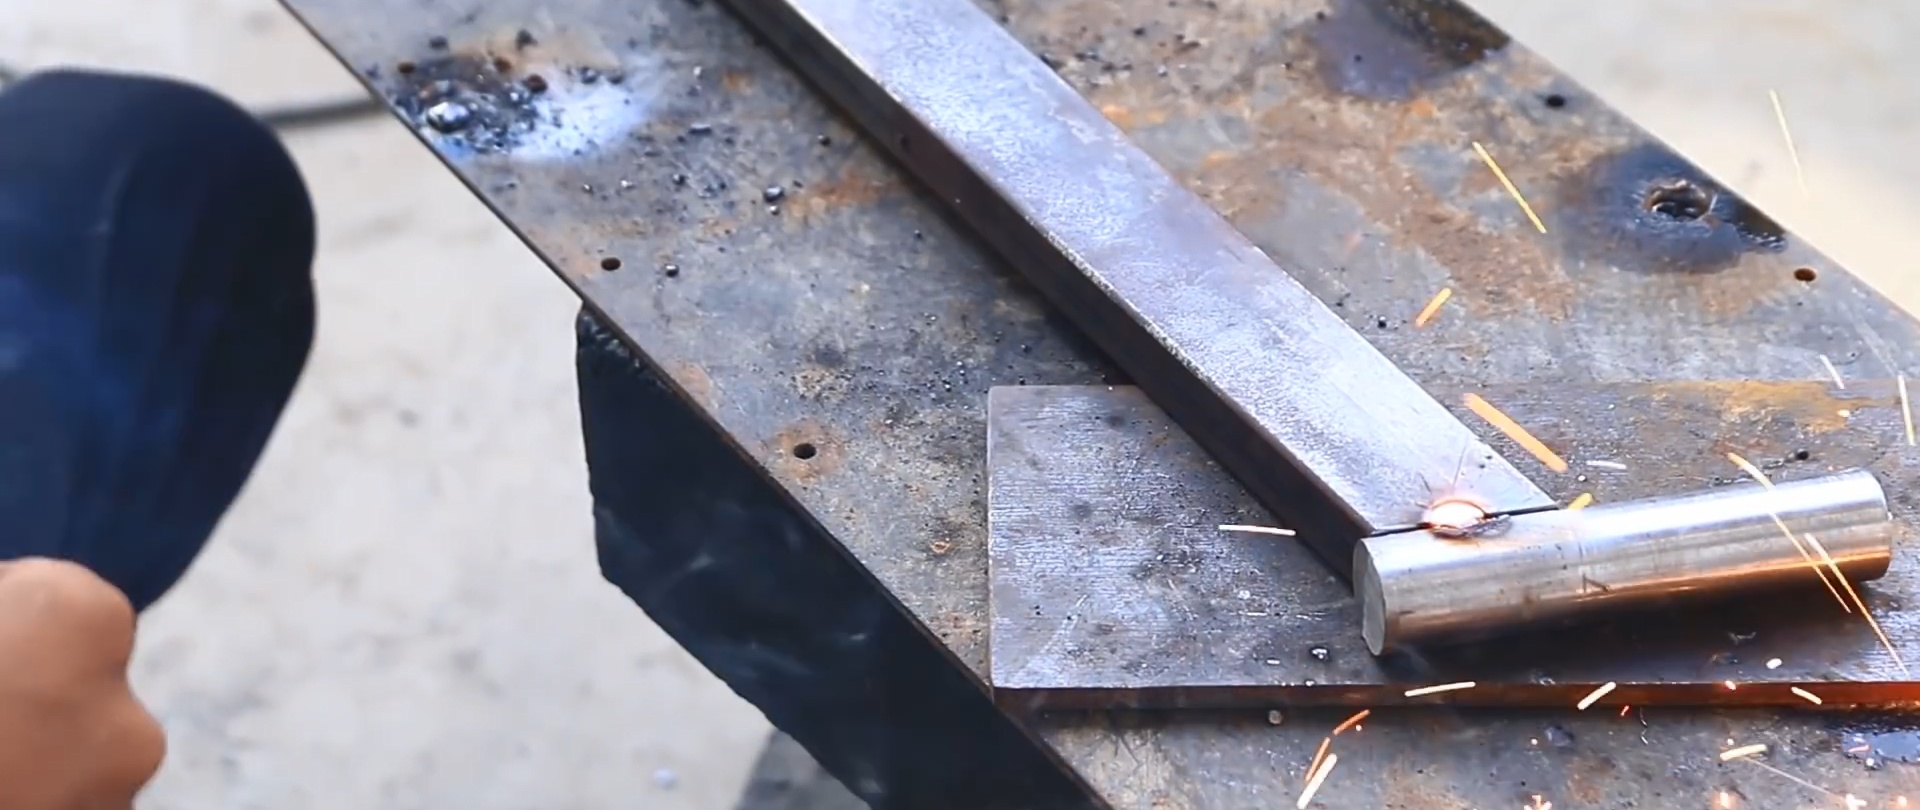
To attach the tail, a finger is made from round timber that will fit into the bushing. A hole is made in the end of it and a thread is cut so that it is fixed with a bolt and washer and does not fall out of the sleeve. The base of the tail from a section of profile pipe is welded to the pin.

Holes are drilled on it for attaching the tail blade.

Then you need to tackle the impeller frame. It is a disc made of sheet steel. It needs to be drilled for attachment to the generator shaft, as well as for the brackets of the five blades. The latter are made from steel strip and are also drilled.

Then the attachment is made to the pole. It is a disk with a welded shaft that will be inserted into the bearings. The disc is drilled in several places to screw it to the pole. A hole is made in the shaft at the end and a thread is cut into it. It will be needed to tighten the bolt and washer to prevent the fastener from falling out of the bearing race.

The impeller blades and tail blade are cut from a plastic sewer pipe.

The shorter they are, the higher the generator speed will be.But if the wind is weak, then only long blades can rotate it. It is better to initially make them large, and then, as a result of experiments, shorten them to an acceptable size.

The wind generator is assembled and installed on a pole as high as possible, where nothing stops the air flow. It is necessary to power the excitation winding from the battery to start generation.

As a result, the charge that goes back to the battery will be more than the winding consumes. Due to this difference, the battery can be recharged.

Watch the video

come back
Comment
  • bowtiesmilelaughingblushsmileyrelaxed relaxedsmirk
    heart_eyeskissing_heartkissing_closed_eyesflushedrelievedsatisfiedgrin
    winkstuck_out_tongue_winking_eyestuck_out_tongue_closed_eyesgrinningkissingstuck_out_tonguesleeping
    worriedfrowninganguishedopen_mouthgrimacingconfusedhushed
    expressionlessunamusedsweat_smilesweatdisappointed_relievedwearypassive
    disappointedconfoundedfearfulcold_sweatperseverecrysob
    joyastonishedscreamtired_faceangryragetriumph
    sleepyyummasksunglassesdizzy_faceimpsmiling_imp
    neutral_faceno_mouthinnocent
5+two=
Comments (5)
  1. Sergey K
    #1 Sergey K Visitors 10 September 2021 16:53
    2
    The idea is so-so... At idle speed in the car, the generator produces practically no electrical energy, it needs about 2000 revolutions, but how much will it turn out in windmill mode?
    1. EDD
      #2 EDD Guests September 11, 2021 00:09
      5
      In a car, the generator produces electrical energy at any speed, even at idle, even at 5000 rpm. should be 14 volts.
      1. Sergey K
        #3 Sergey K Visitors 19 September 2021 10:58
        1
        In addition to voltage, you also need current. At XX, the generator is running, there is enough energy to keep the engine running. But turn on the headlights and the voltage will immediately drop, and there’s nothing to say about charging the battery. To recharge a discharged battery after the car has been started from the pushrod, you need to drive 20-30 km. And just drive through, and not stand with the engine running.
        Therefore, at one time, when neodymium magnets did not yet exist in nature, wind generators were made using what was available, but self-generators were used with step-up gearboxes! Now electronics, of course, have stepped forward and there are devices that allow you to provide a stable output voltage, but there is not a word about this in the article, only a design that is ineffective with a classic auto generator
  2. quitter
    #4 quitter Guests 12 September 2021 01:36
    6
    if at any speed, then why do you sit and spin the windmill with your fingers?
  3. Vitaly Yurievich Makshanov
    #5 Vitaly Yurievich Makshanov Guests 12 September 2021 18:59
    4
    what about sticking? When spinning up, the working generator creates magnetic resistance, if you are familiar with cars. you will understand that sometimes you can hear the drive belt singing when the tension is poor, this is precisely the resistance of the magnetic rotor. But there we have an engine that will overpower it and spin it up, I’m not sure about the wind. The idea is fixed. The gearbox will not solve the problems by increasing the force, we will lose speed... The solution is to convert the armature to neod. magnets can still be there then

Ribbon Organizer | Do it yourself

How to make an inexpensive propane forge

The secret of the crunch of lightly salted cucumbers, step-by-step recipe

How to make the simplest armature bearing puller

«Do it yourself - with your own hands» - a site of interesting homemade products made from scrap materials and items at home. Step-by-step master classes with photos and descriptions, technologies, life hacks - everything a real master or just a craftsman needs for needlework. Crafts of any complexity, a large selection of directions and ideas for creativity.

We recommend reading

Washing machine error codes