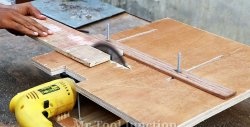
Often a screwdriver breaks down before its motor fails. In this case, its entire parts can be used to make another tool, for example, a circular saw. Of course, it cannot cut large boards, but for plywood and slats its performance is more than enough.

Materials:
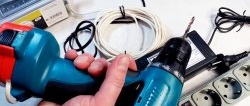
- broken cordless screwdriver with working motor;
- power unit;
- connector for power supply;
- inch board;
- plywood 20 mm, 6 mm;
- self-tapping screws;
- saw blade - http://alii.pub/600gbh
Manufacturing process of a circular saw
It is necessary to remove the motor from the screwdriver body along with the ratchet and chuck. You need to measure the diameter of the electric motor and select a crown for this size.
A blank of approximately 15x20 mm is cut out of the board, in which a hole is drilled in the center with a crown.


The motor housing is inserted into this board along with the ratchet and chuck.

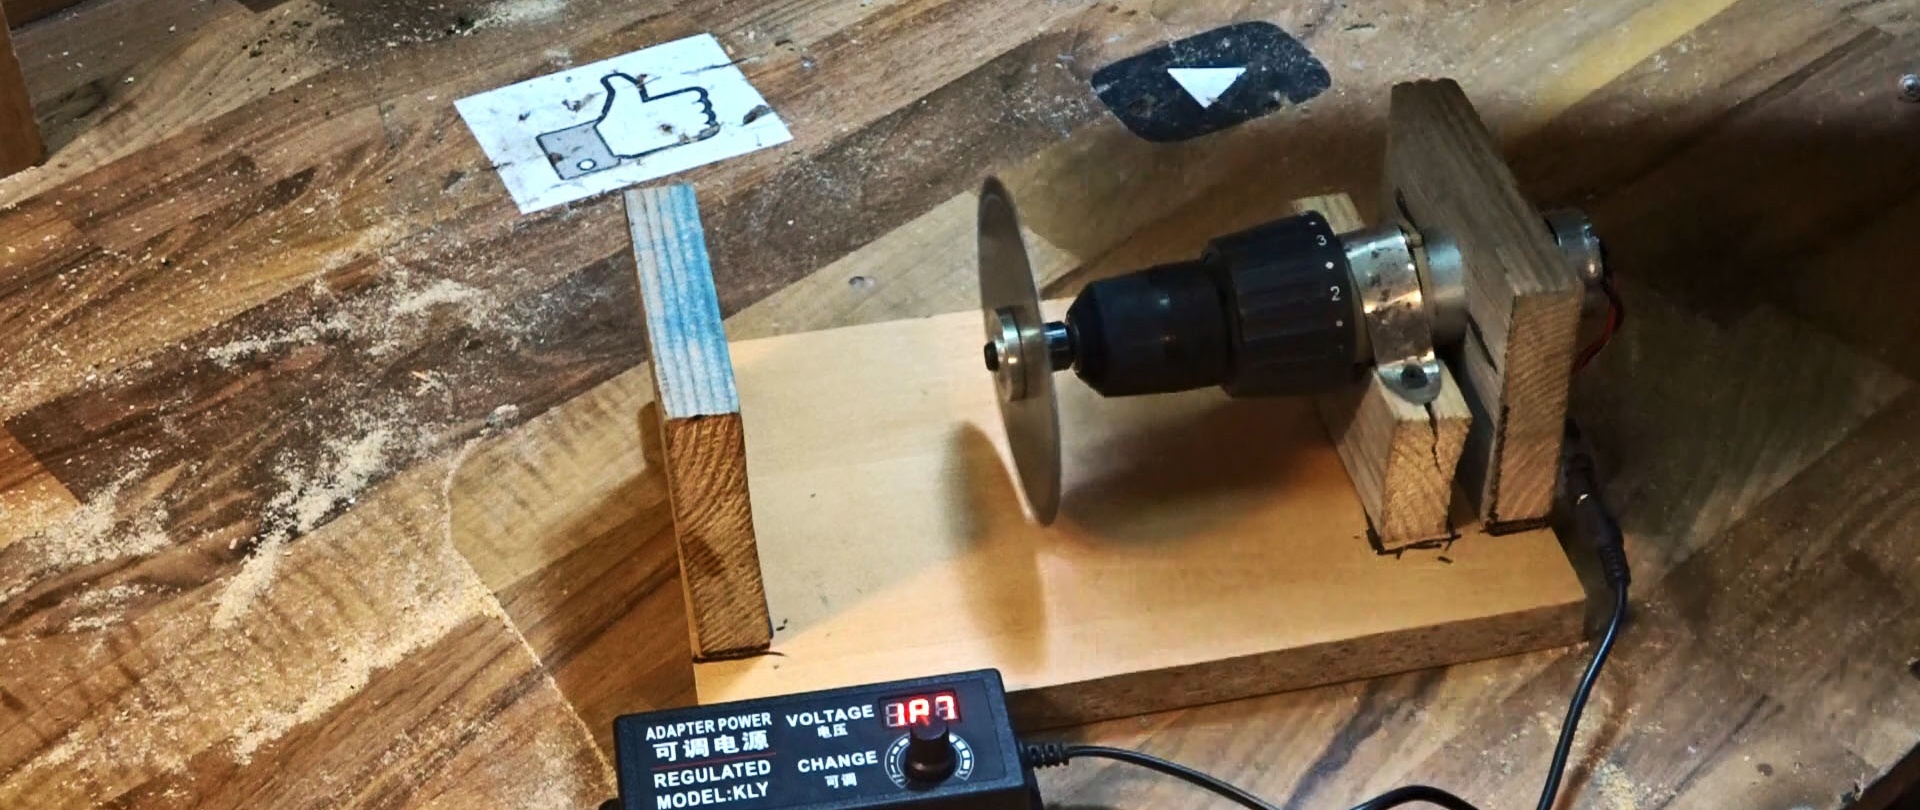
The engine must be mounted on the base of the machine, made of plywood or chipboard. This will require additional support. It is also made from an inch board.The support is a board with a semicircle cut out into which the engine will fit.

The board with the motor is screwed onto the plywood base. A support is placed under the engine and also secured with self-tapping screws.
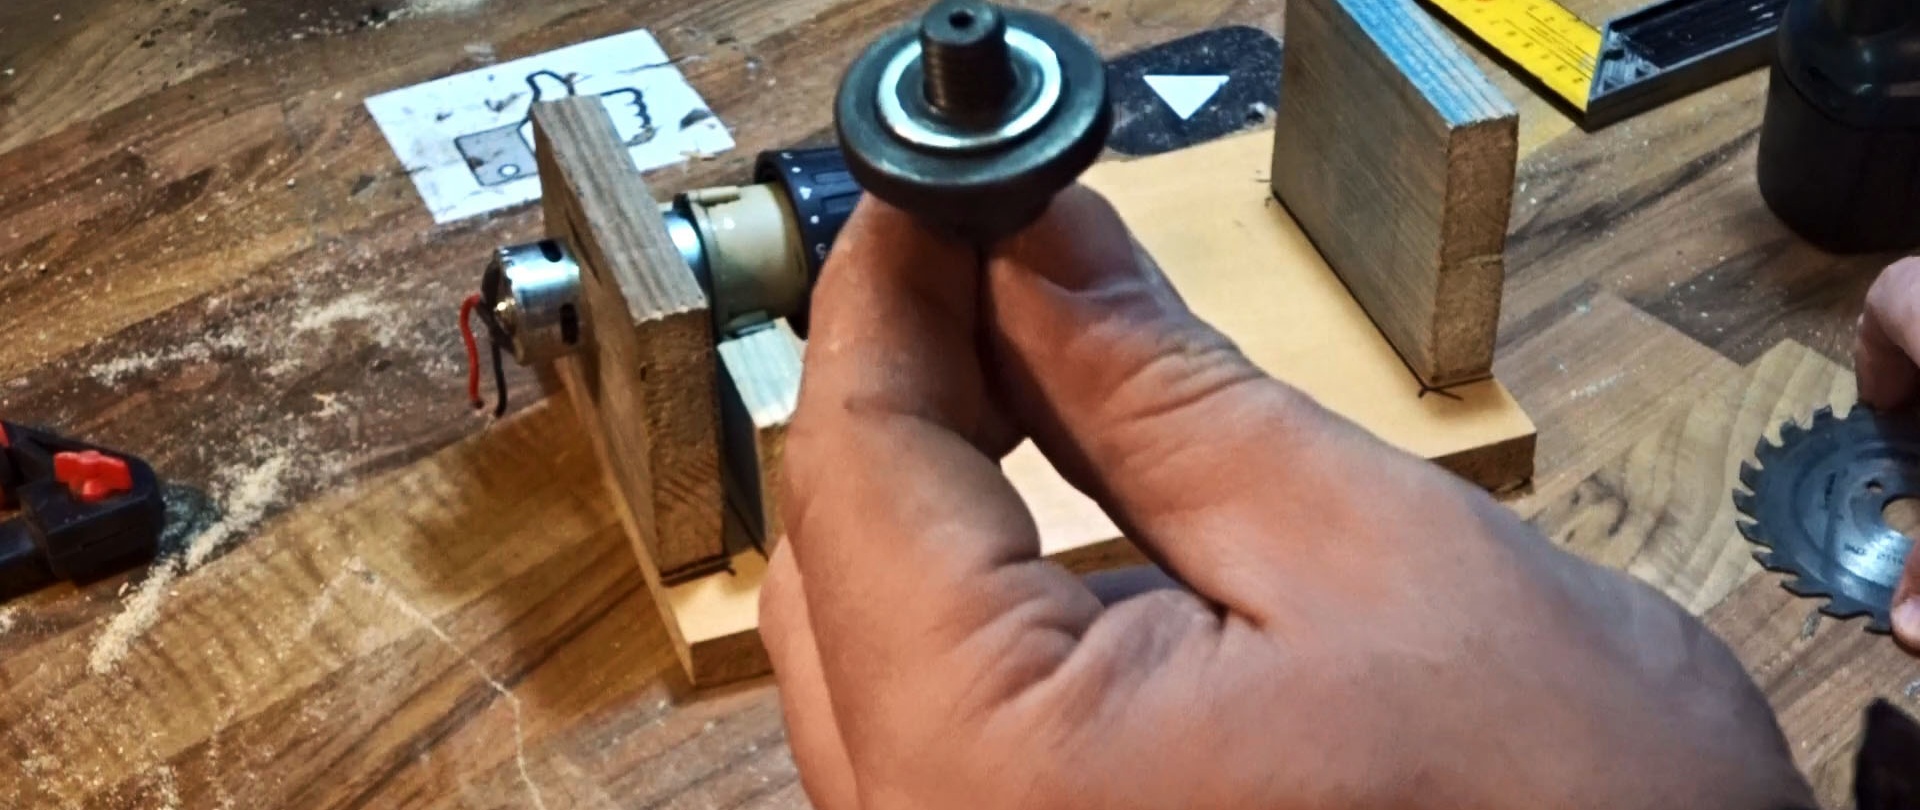
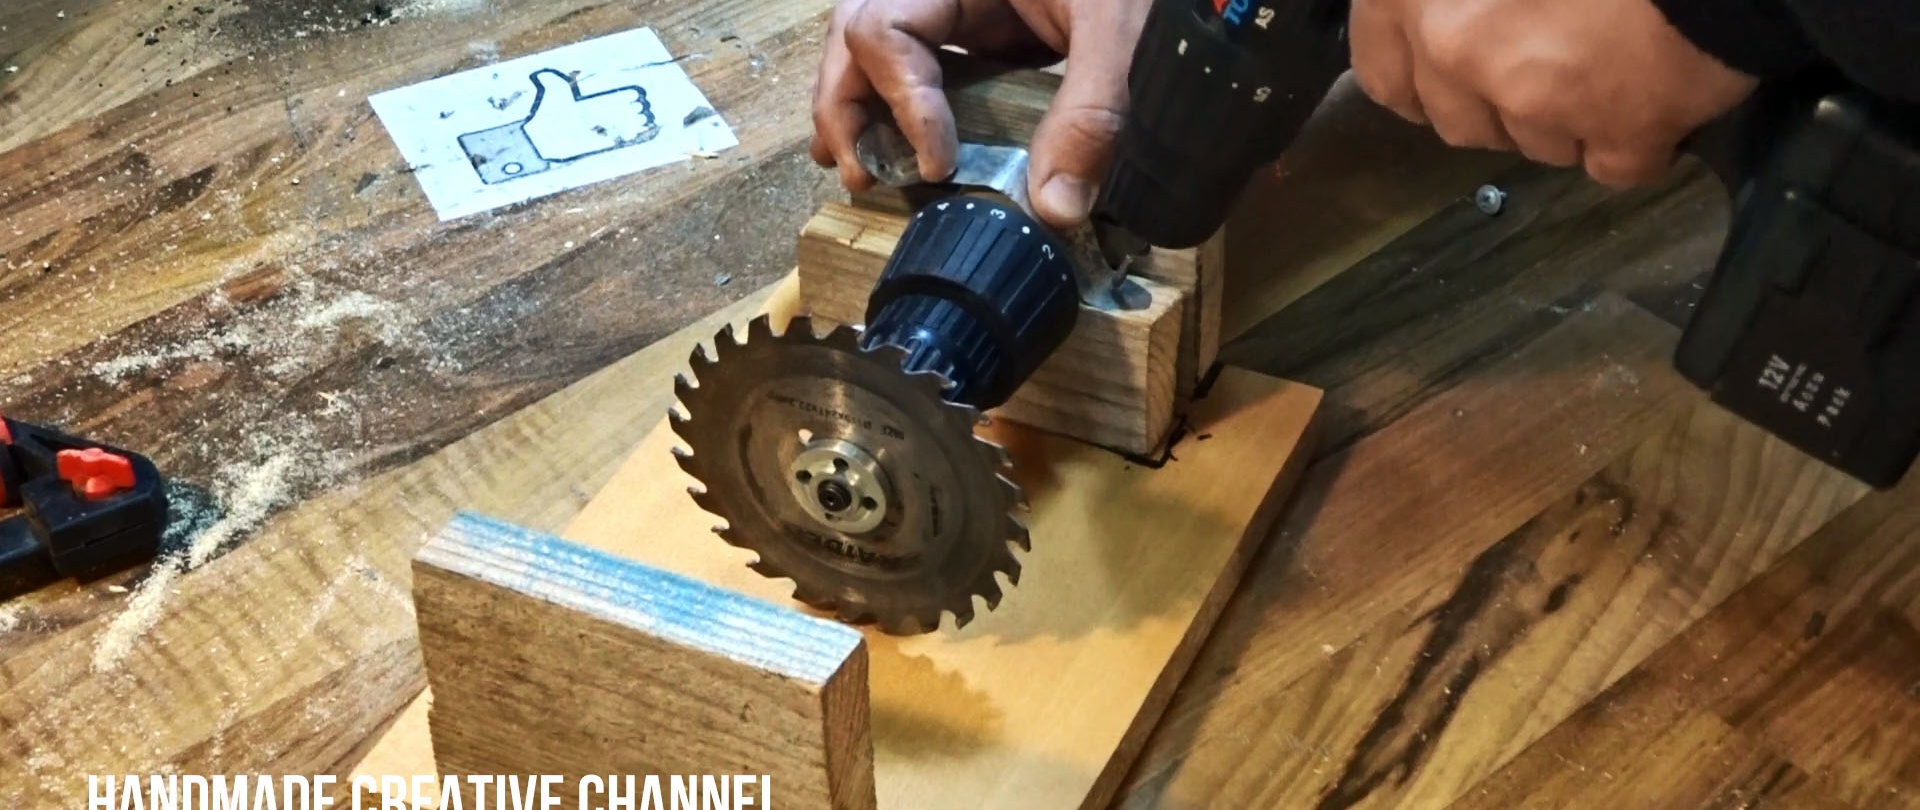
On the contrary, a similar-sized board is screwed onto the sole, which is used to mount the engine. Then the adapter with the saw blade is clamped into the chuck.

It is necessary to check that the saw blade is located at a right angle to the sole of the machine. After this, the motor is pressed against the support with a clamp made of a strip of metal. If the disk is skewed, you can place a spacer on the support to raise it, or file it down when you need to lower it.
The connector for the power supply is connected to the motor contacts. To prevent it from dangling, it can be glued with hot glue.

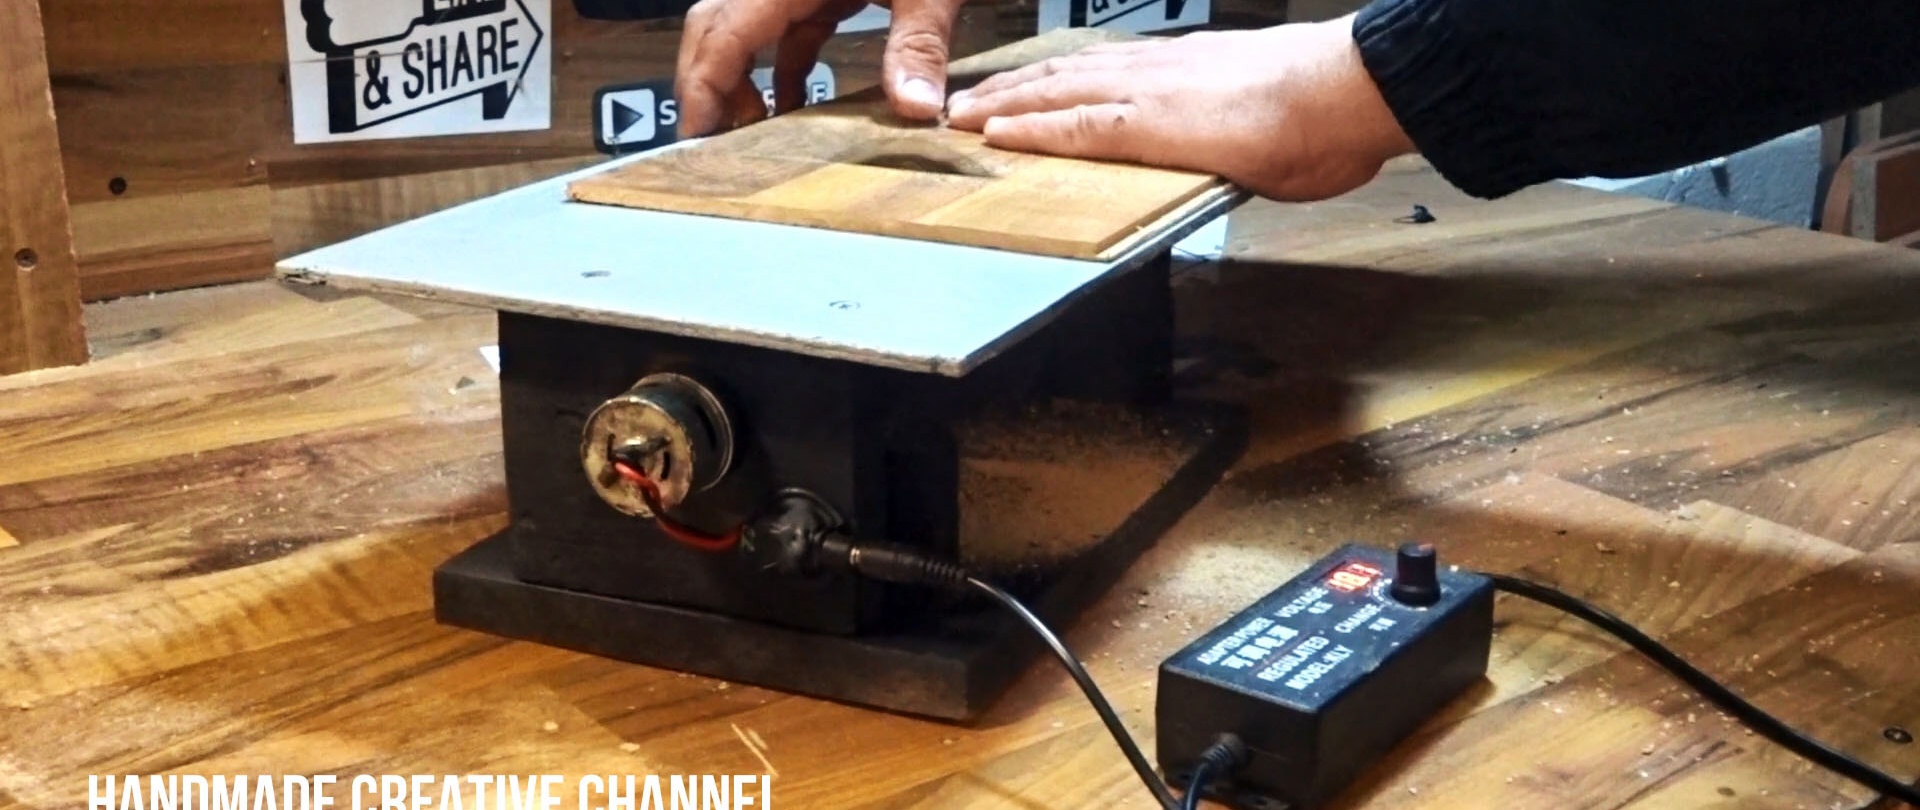
The power supply is connected to the connector to start the engine.
After this, a tabletop made of thin plywood is applied to the machine. The disk will make a cut in it for itself. After this, the tabletop is screwed on with self-tapping screws.

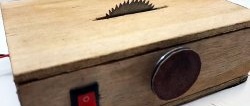
That's it, the machine is ready for use.