We suggest that all mushroom lovers make a small supply of dried champignons. Fortunately, this wonderful product is easy to find in almost any large store or at the nearest market.
Unlike fresh ones, dried champignons are convenient because they take up little space and are always at hand. In addition, they retain all the beneficial substances, as well as their inherent taste and aromatic qualities. They can be used at any time to prepare soups and other hot dishes.

There are different ways to dry champignons at home. To do this, many housewives use an electric dryer, microwave or oven. We will dry our mushrooms naturally without the use of any electric (or gas) appliances.
So, let's get to it.
Ingredients:
- medium-sized fresh champignons – 1 kg.
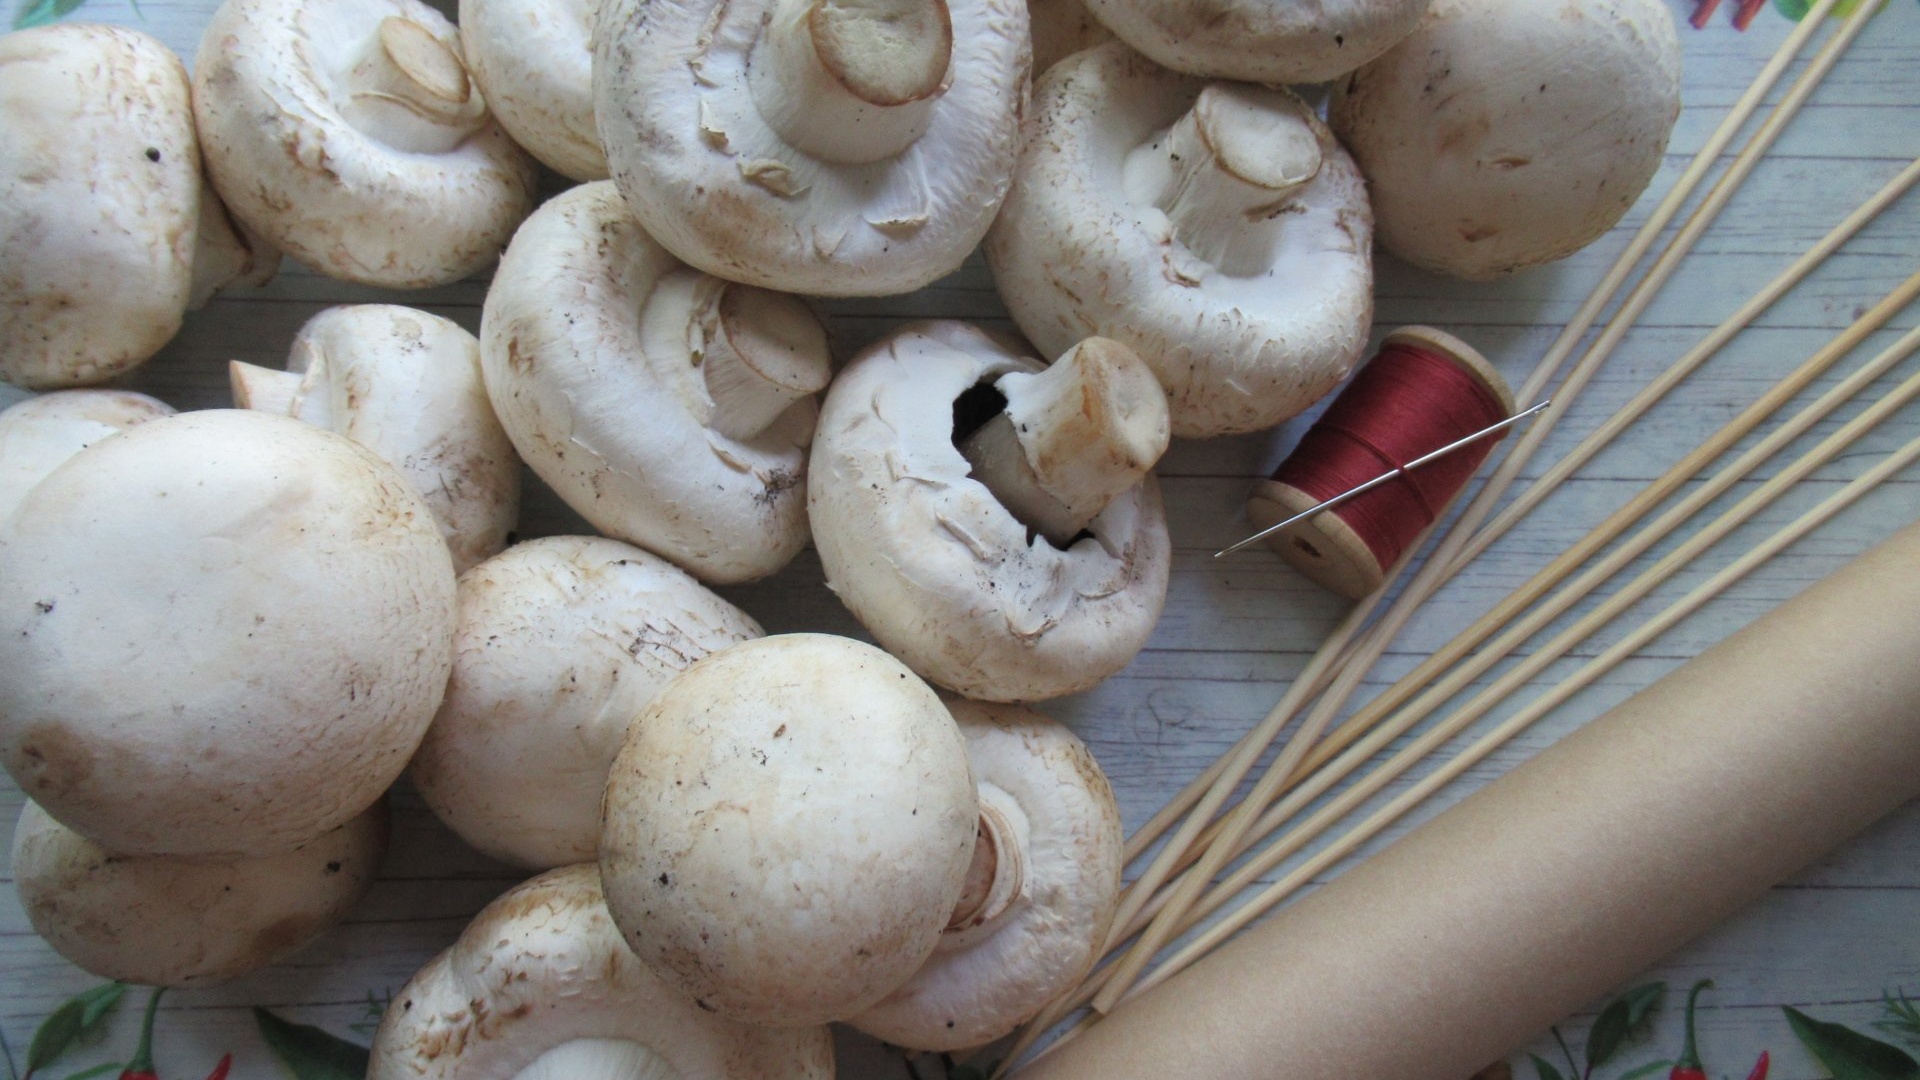
In addition, to dry champignons we will need such devices as wooden skewers, strong thread with a large needle and parchment.
Yield: about 80 g dried champignons. Preparation time: 5-7 days.How to dry champignons naturally:
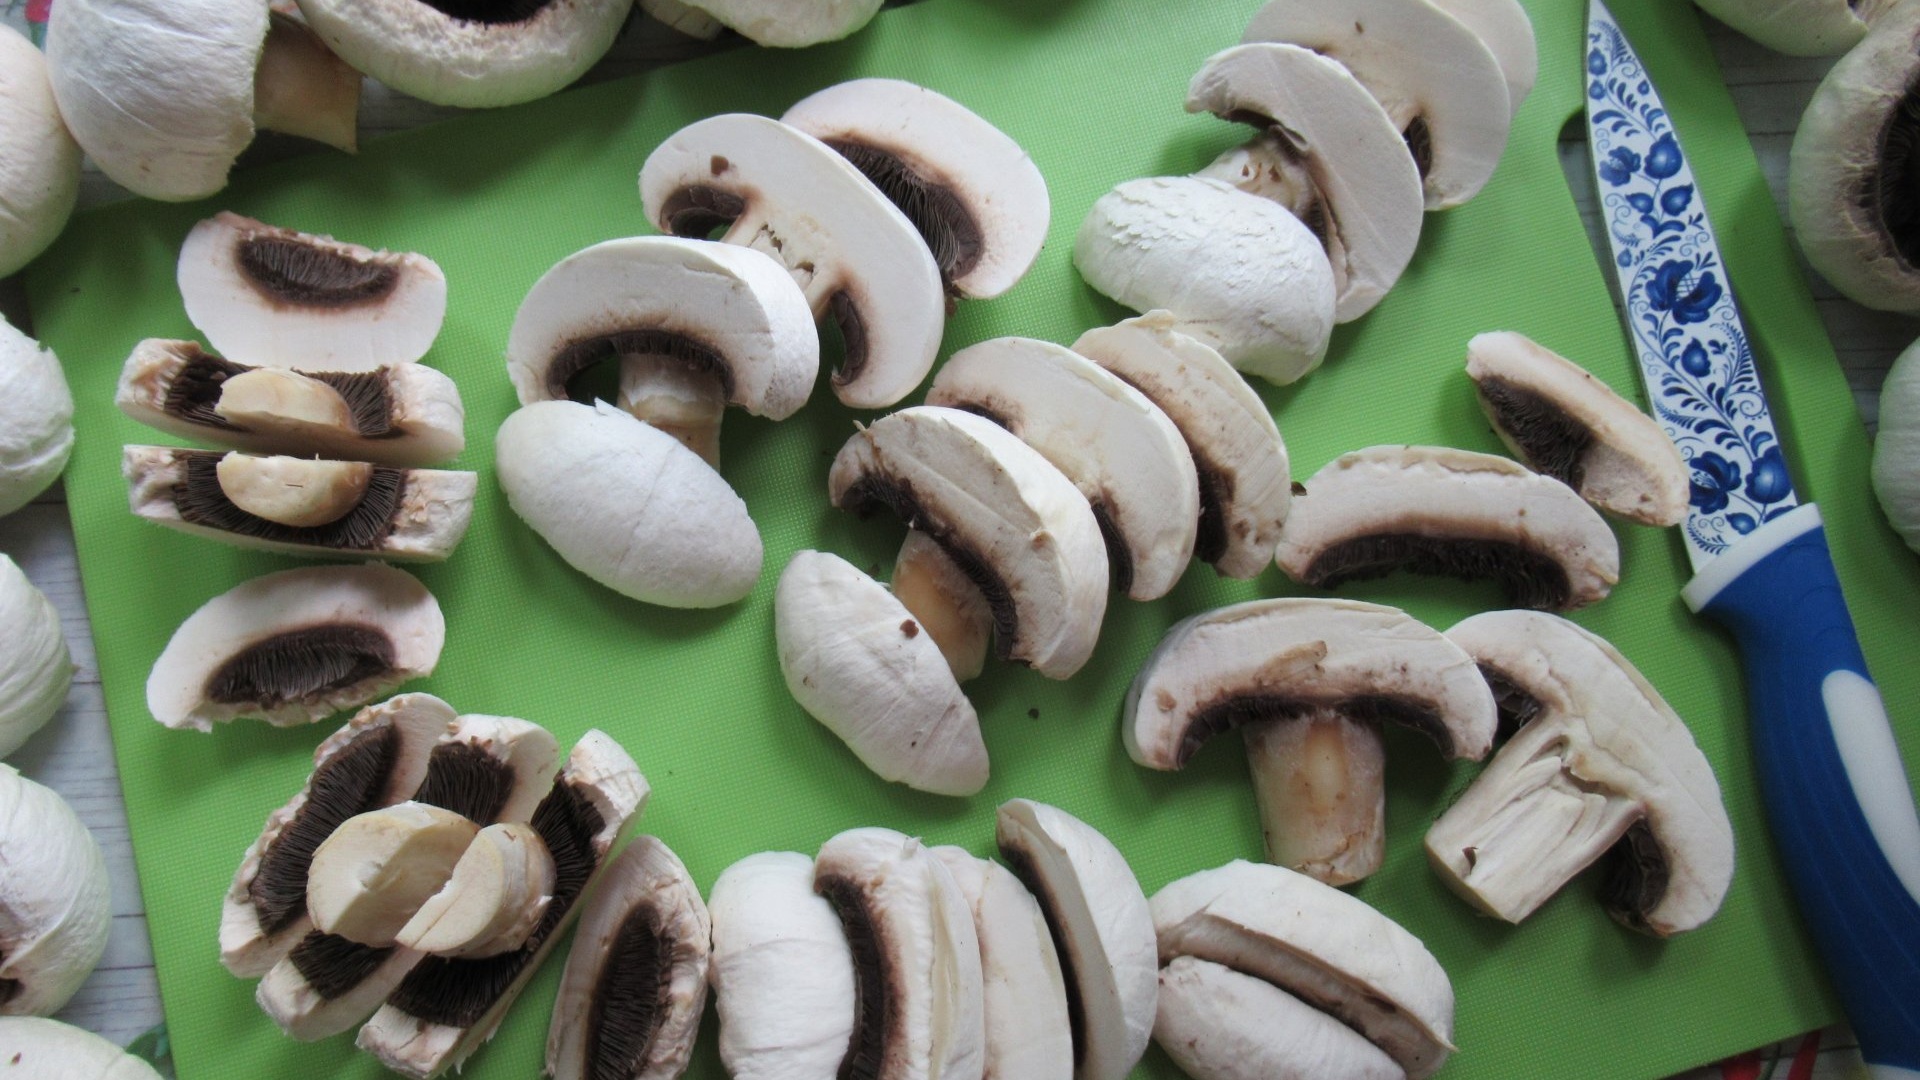
We will not wash the champignons, since excess moisture will only increase their drying time. We have two options for preparing mushrooms for drying. In the first case, we can simply clean off any remaining dirt and debris from the champignons using a soft brush. But it is unlikely that this method can guarantee that we will get rid of all germs perfectly. In the second case, we can remove a thin layer of skin from the mushroom cap along with all the impurities. This is the option we like best. It is convenient to pry the edges of the skin from the underside of the cap using the tip of a knife or a coffee spoon. In addition, we will also slightly cut off the darkened tips of the mushroom stems (approximately 3 mm). We will also remove damaged areas and dents. After all the preparatory manipulations, we had a fairly decent pile of waste from the cut ends of the legs and skin, the weight of which was about 180-200 g. These are completely natural losses when processing champignons. Therefore, we have about 800 g of mushrooms left.

Cut each champignon into several slices (there will be about four of them). We try to ensure that the cutting thickness is the same, say 7-8 mm.
Now we need to prepare the mushroom slices for the drying process itself. For this we offer three options.
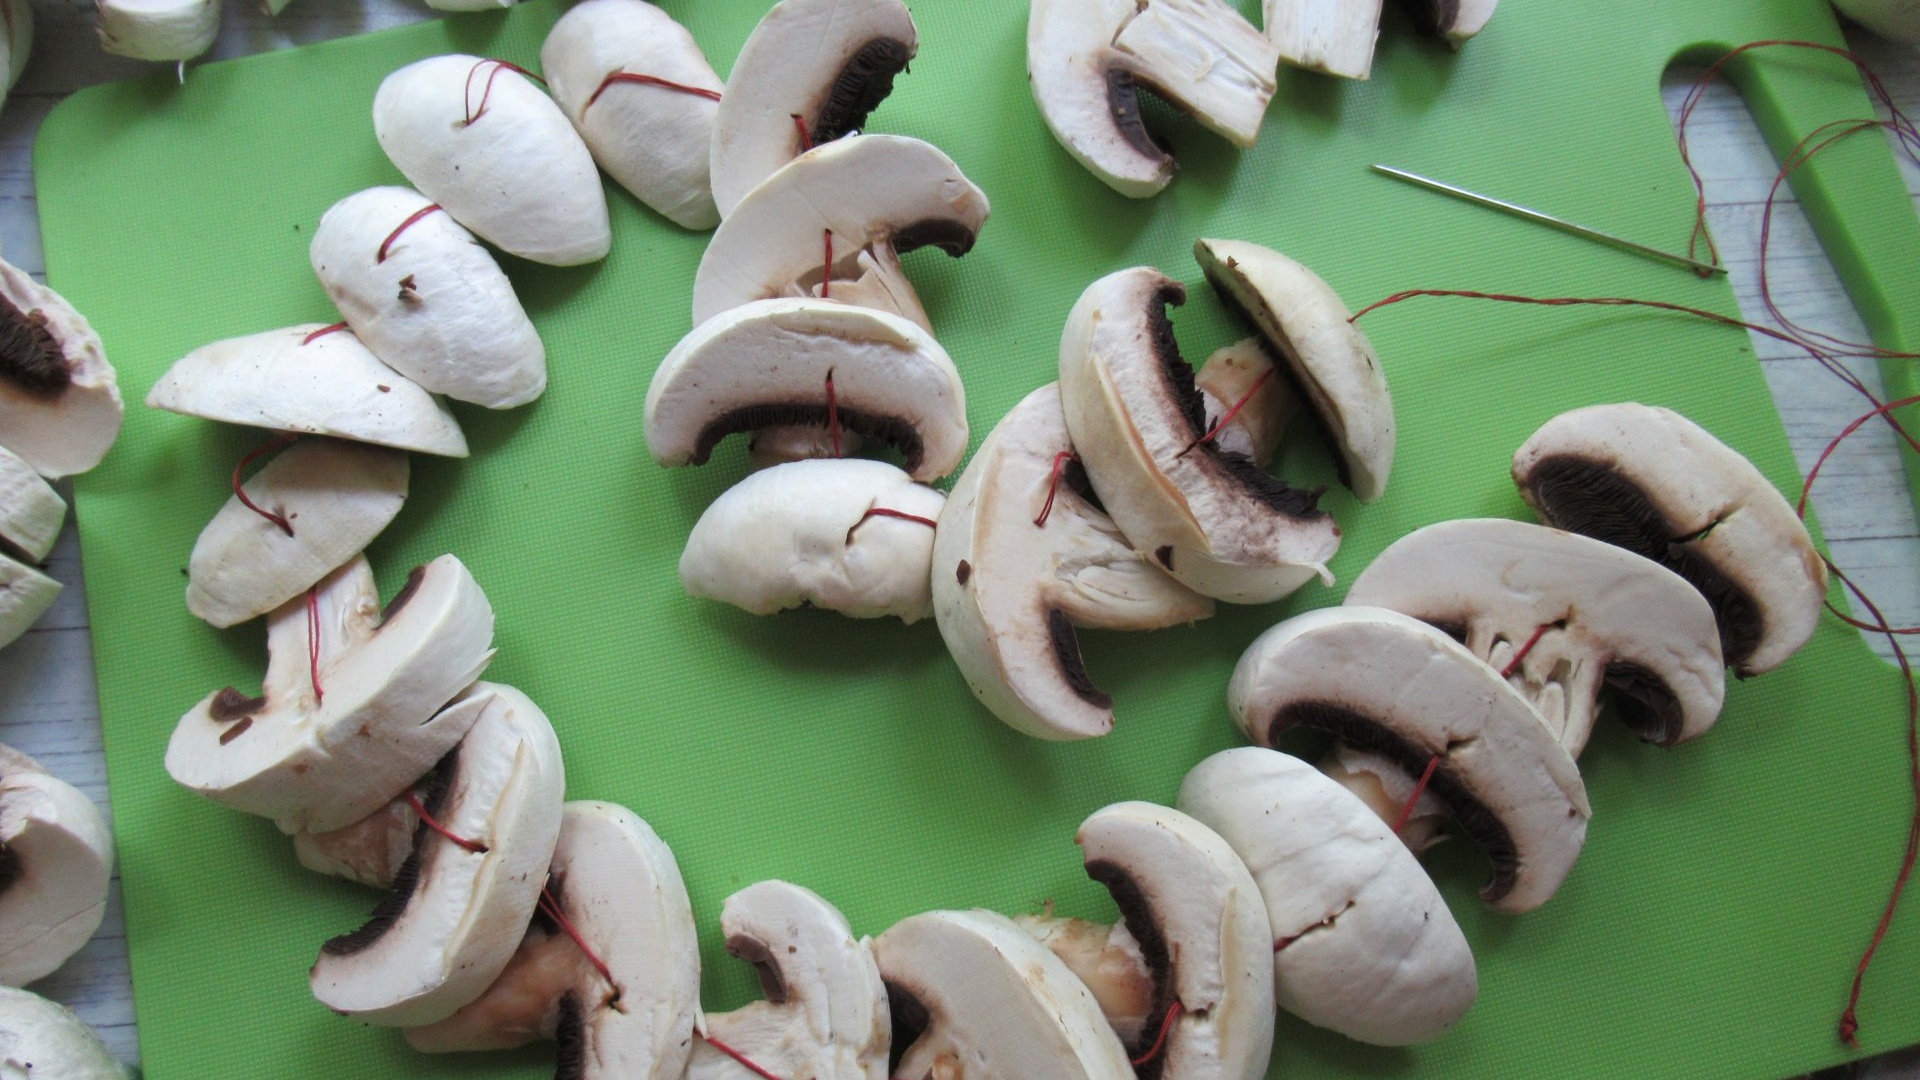
Option one. We string the plates (leaving at least 2 cm of free space between them) onto a double thread using a needle. That is, we’ll make something like a garland and hang it in a well-ventilated place (say, on a balcony).
Option two. Cover a baking sheet, tray or wooden board with parchment and place the champignon slices on it in one layer, again leaving a little free space between them. That is, we do not allow them to come into contact.By the way, instead of a baking sheet, it is very convenient to use a window mosquito net or an oven rack. If possible, it is advisable to turn the mushrooms over to the other side every day (or even twice a day) to dry them evenly.

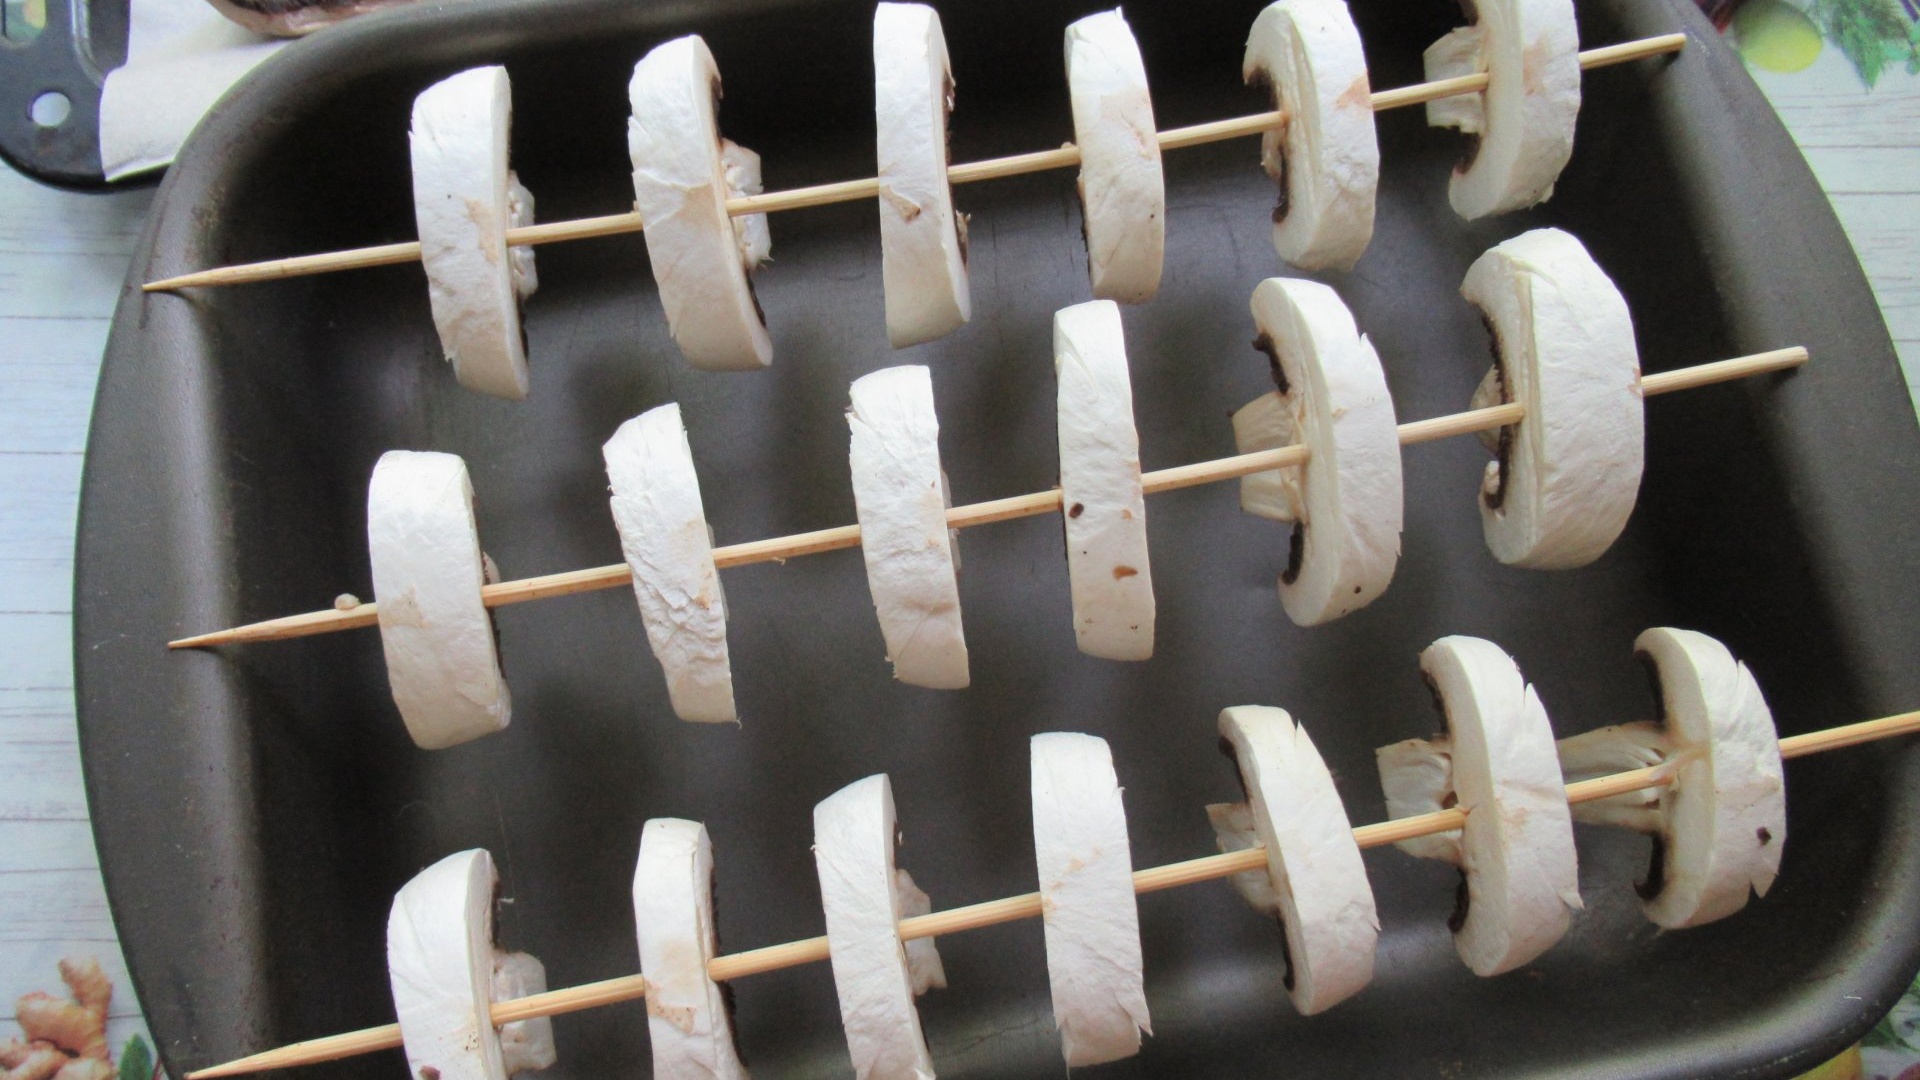
Third option. Thread the champignon slices onto thin wooden skewers and place them on a deep baking sheet.
It is advisable to place champignons for drying in well-ventilated areas, but it is not recommended to expose them to direct sunlight. In addition, it would be a good idea to cover the mushrooms with gauze in order to avoid dust settling and insect invasion on such a fragrant product.
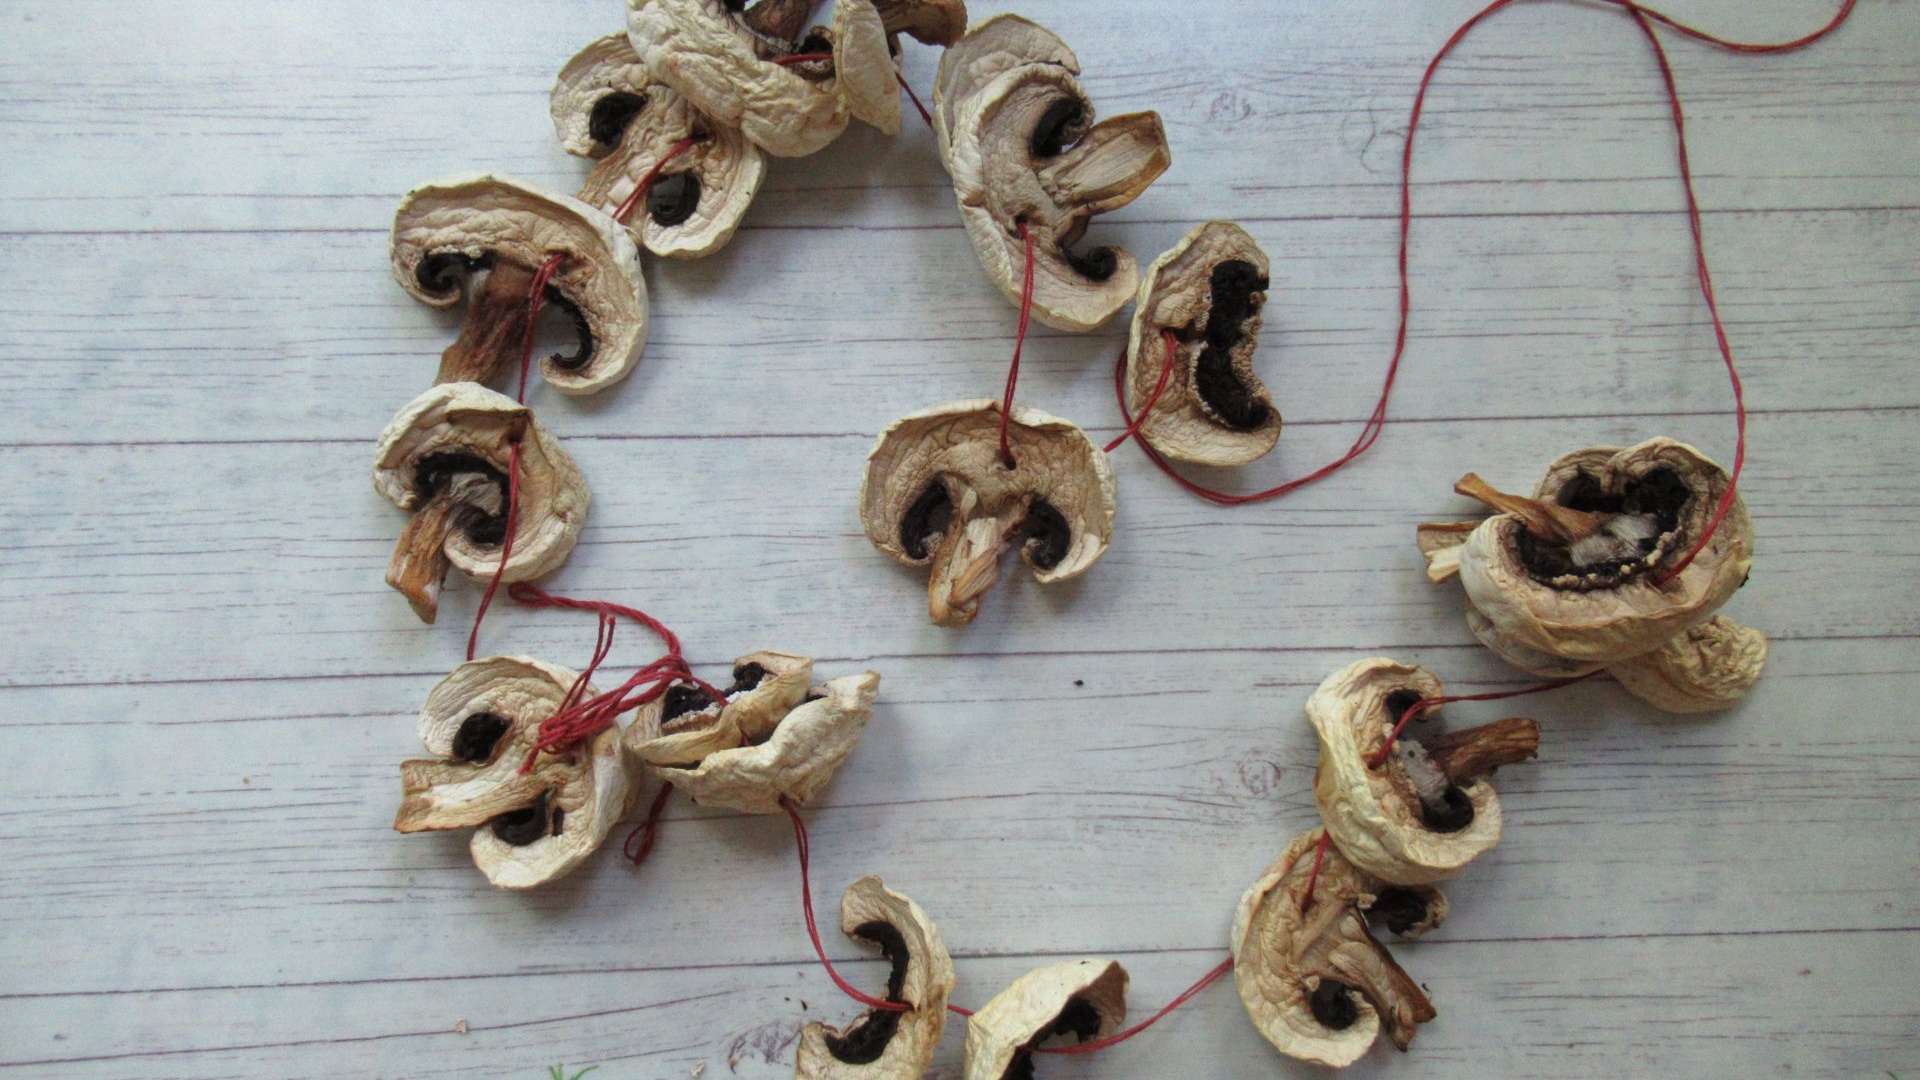
After just two days, our champignons shriveled and noticeably decreased in size, that is, they partially shriveled.
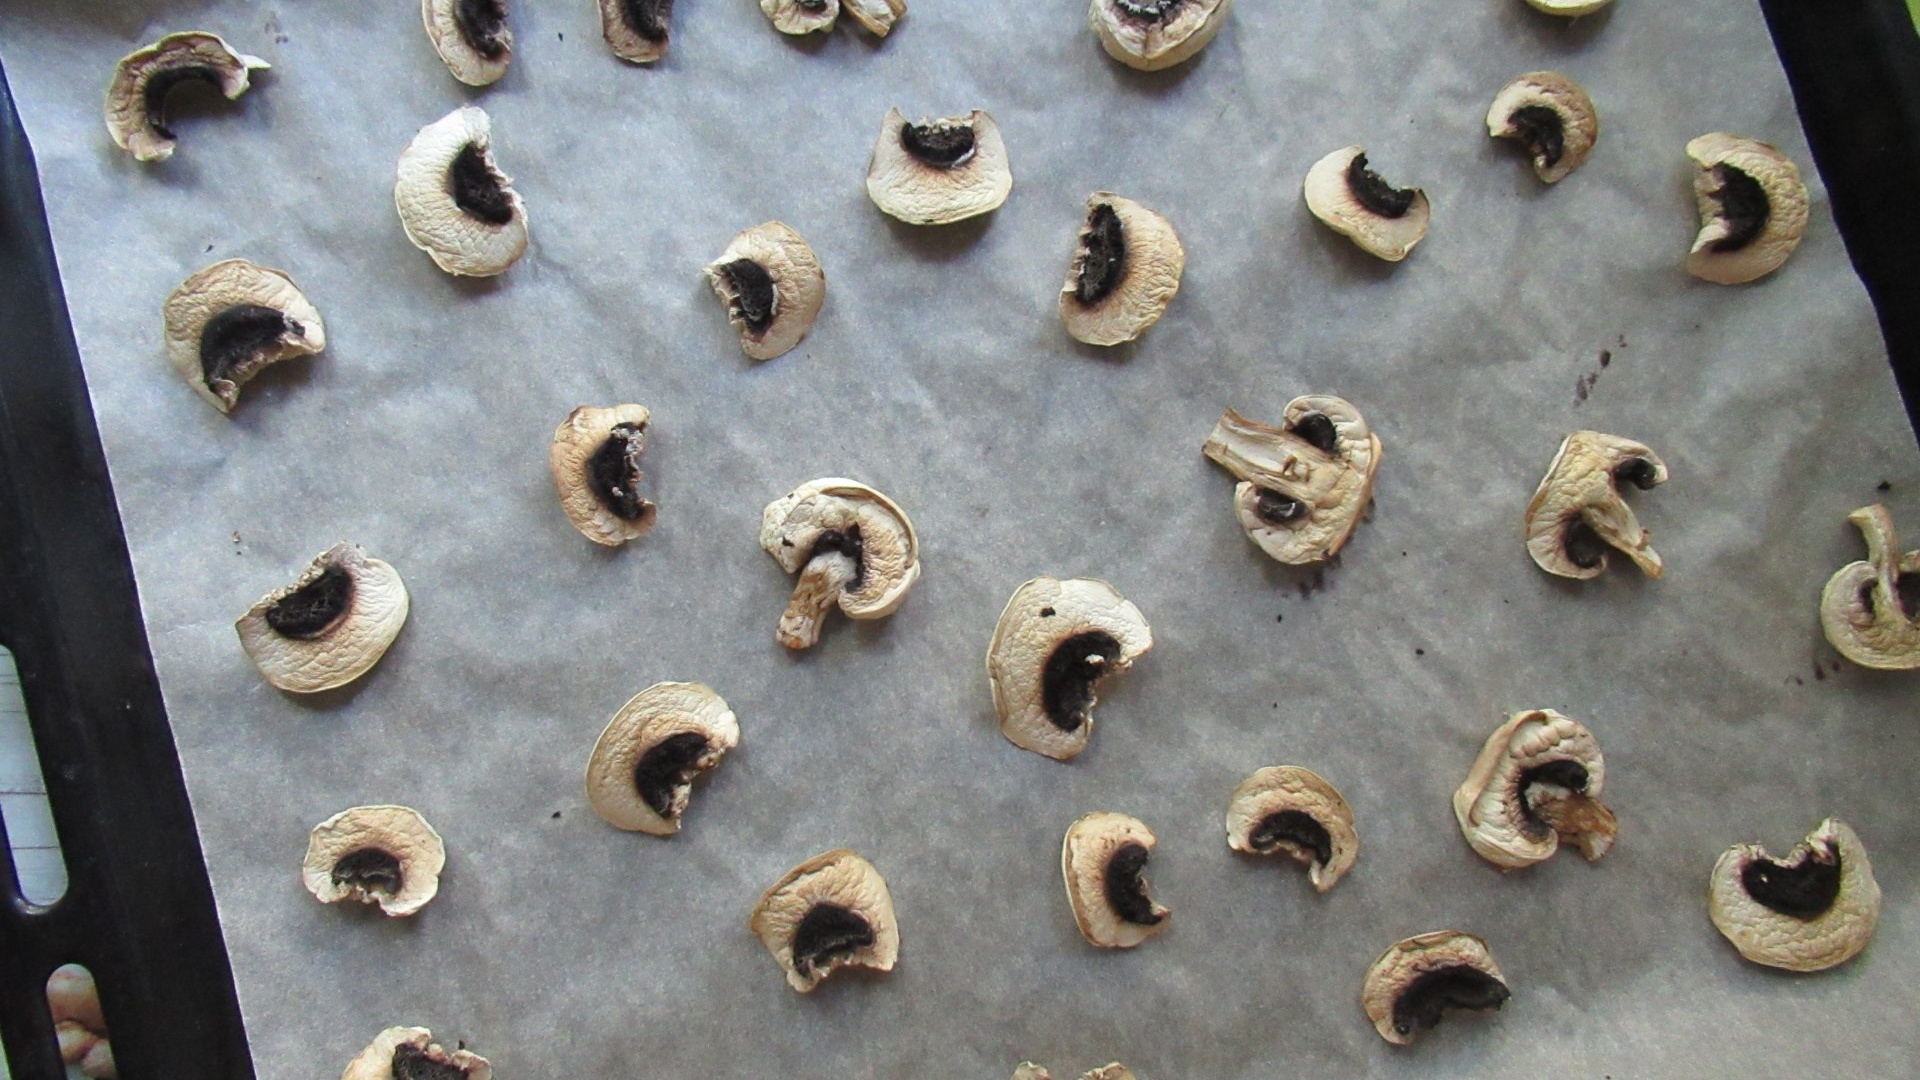

Remove them from the thread, from the skewers and, laying them out on parchment, leave them to dry further. From time to time we stir up the mushrooms.

In a couple more days we will check the condition of our champignon plates. If, when pressing hard on dried mushrooms, not a drop of moisture is released, and the plates themselves are springy and bend easily, then we can assume that we have achieved our goal.
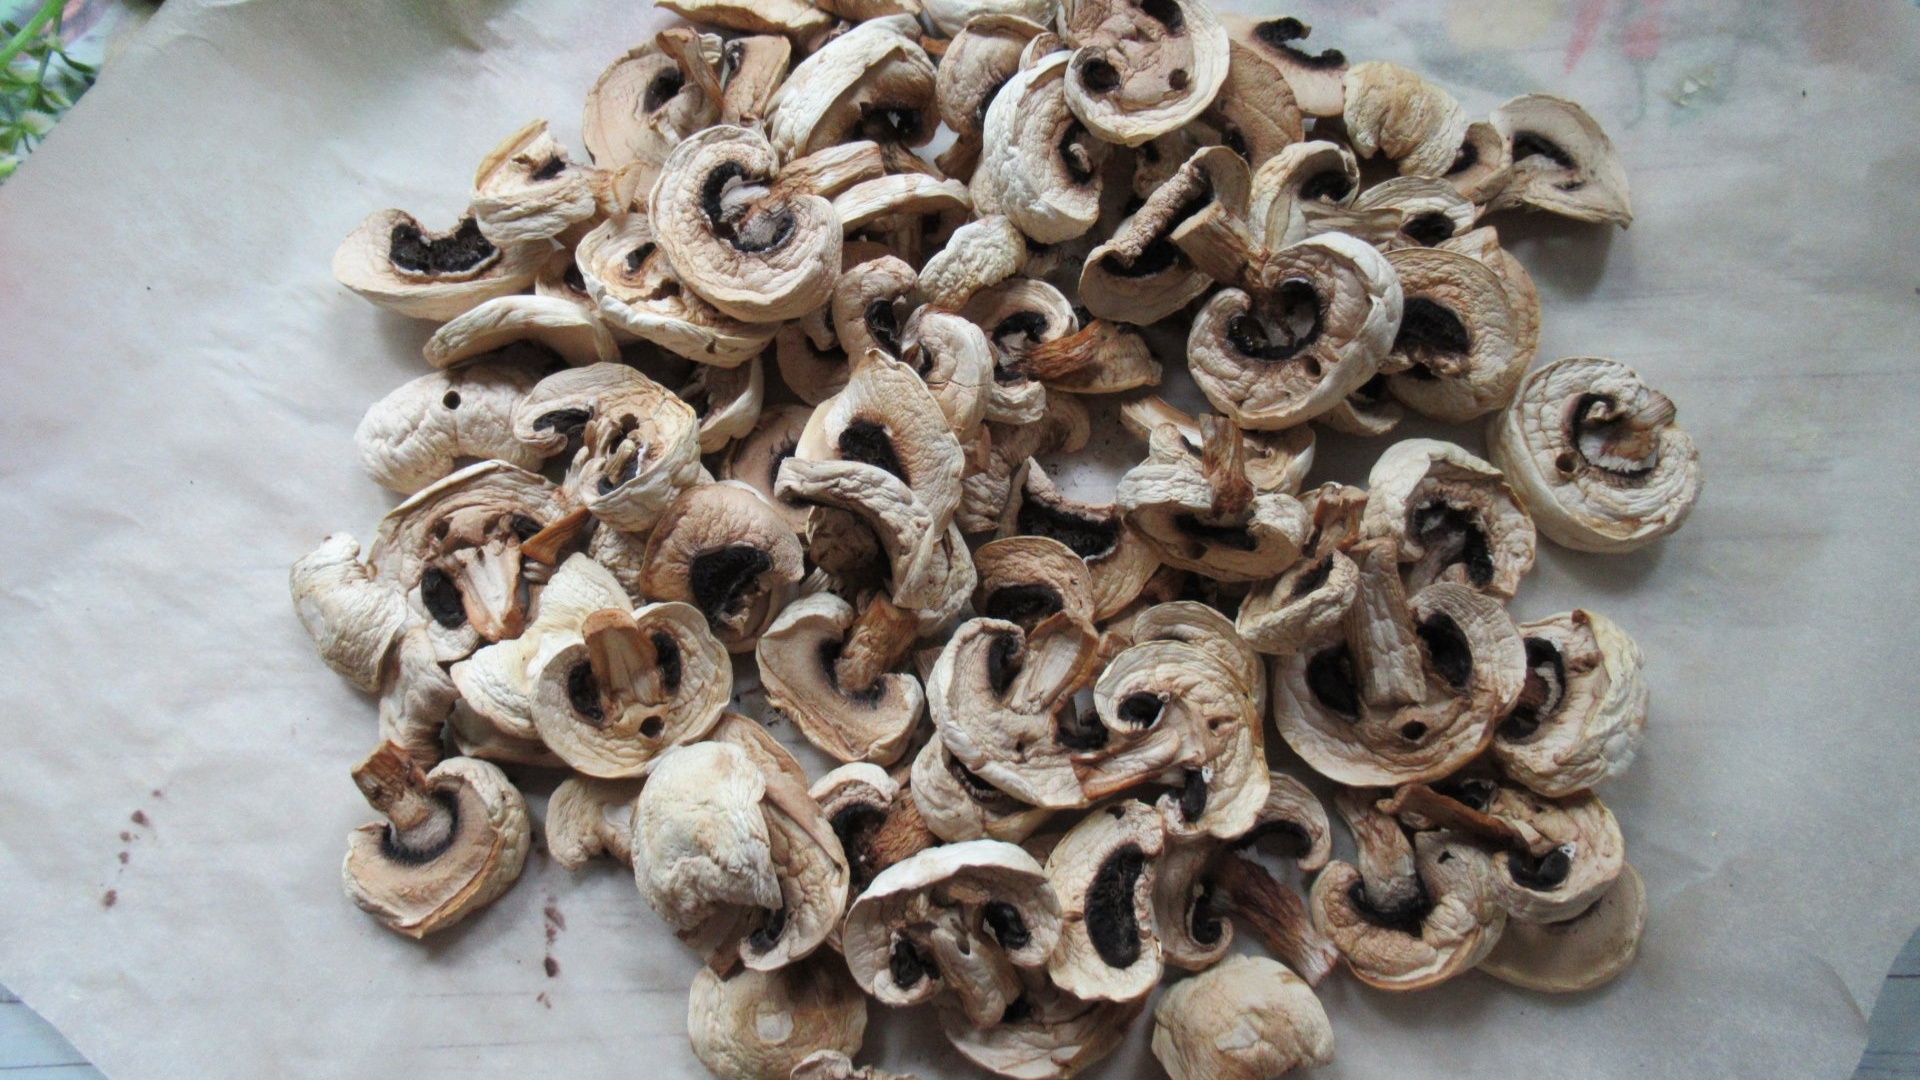
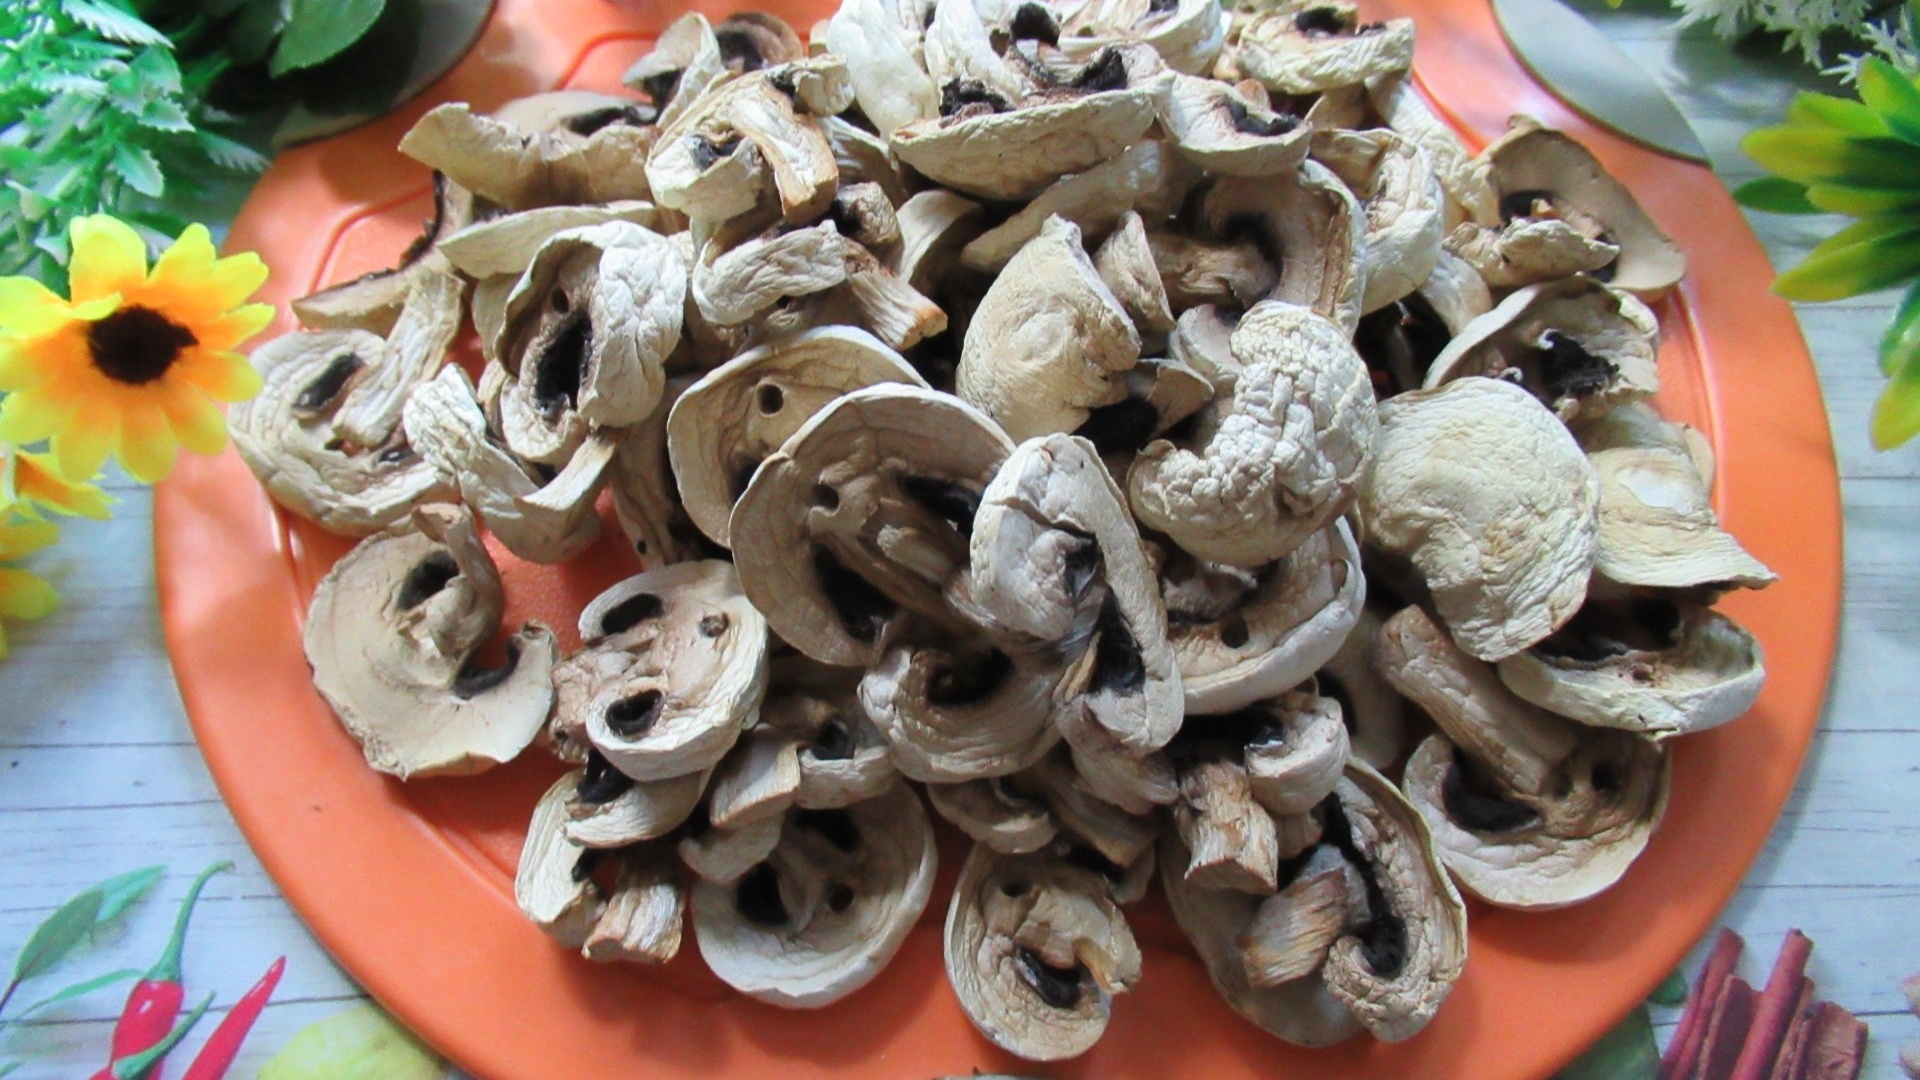
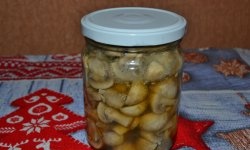
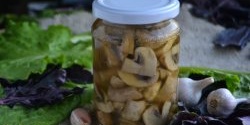
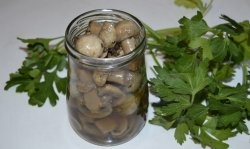
It's time to put them away for storage in linen bags, paper bags or cardboard boxes, glass jars or plastic containers. In a room where there is no access to moisture, such a product can be stored for at least a year.
Enjoy using it!