It is more convenient and reliable to close the doors of outbuildings in a country house or farmstead with a homemade lock, which can be made from scrap metal if you have basic skills in handling metal processing tools.

Will need
Materials:- steel plate;
- pieces of steel angles;
- round bushing;
- torsion springs;
- steel rod and strip;
- screws, nuts and washers;
- paint, etc.
Welding electrodes for general purposes on AliExpress at a discount - http://alii.pub/606j2h
Tools: compass, grinder, drill press or drill, hand file for metal, welding.Self-locking door lock manufacturing process
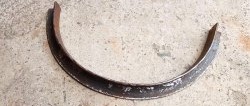
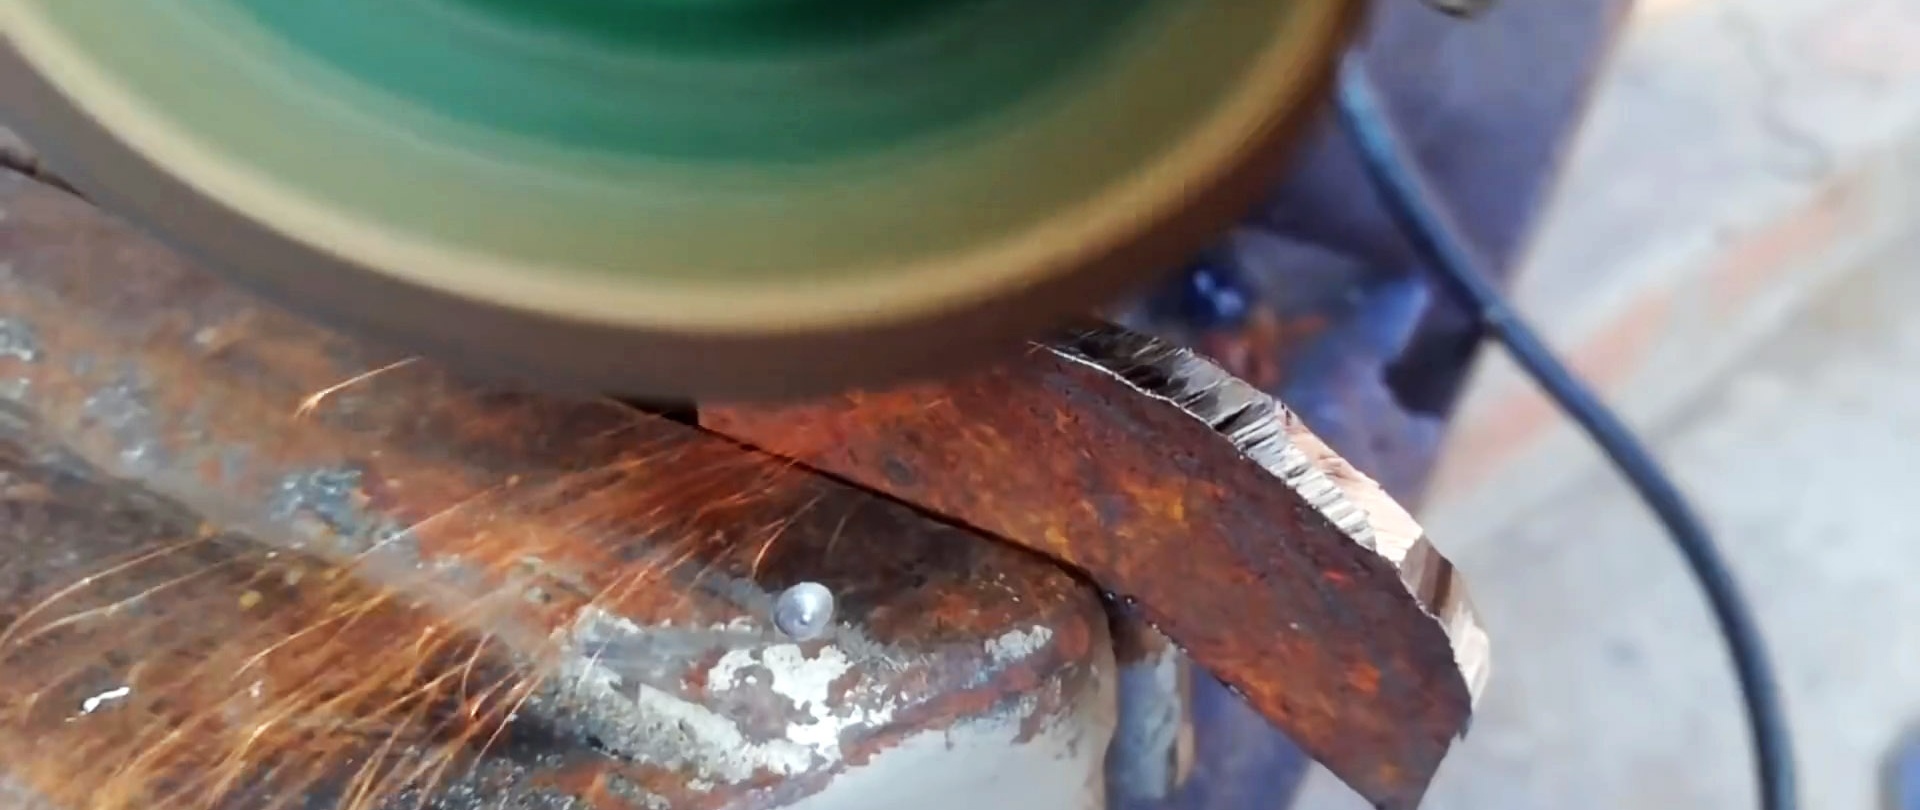
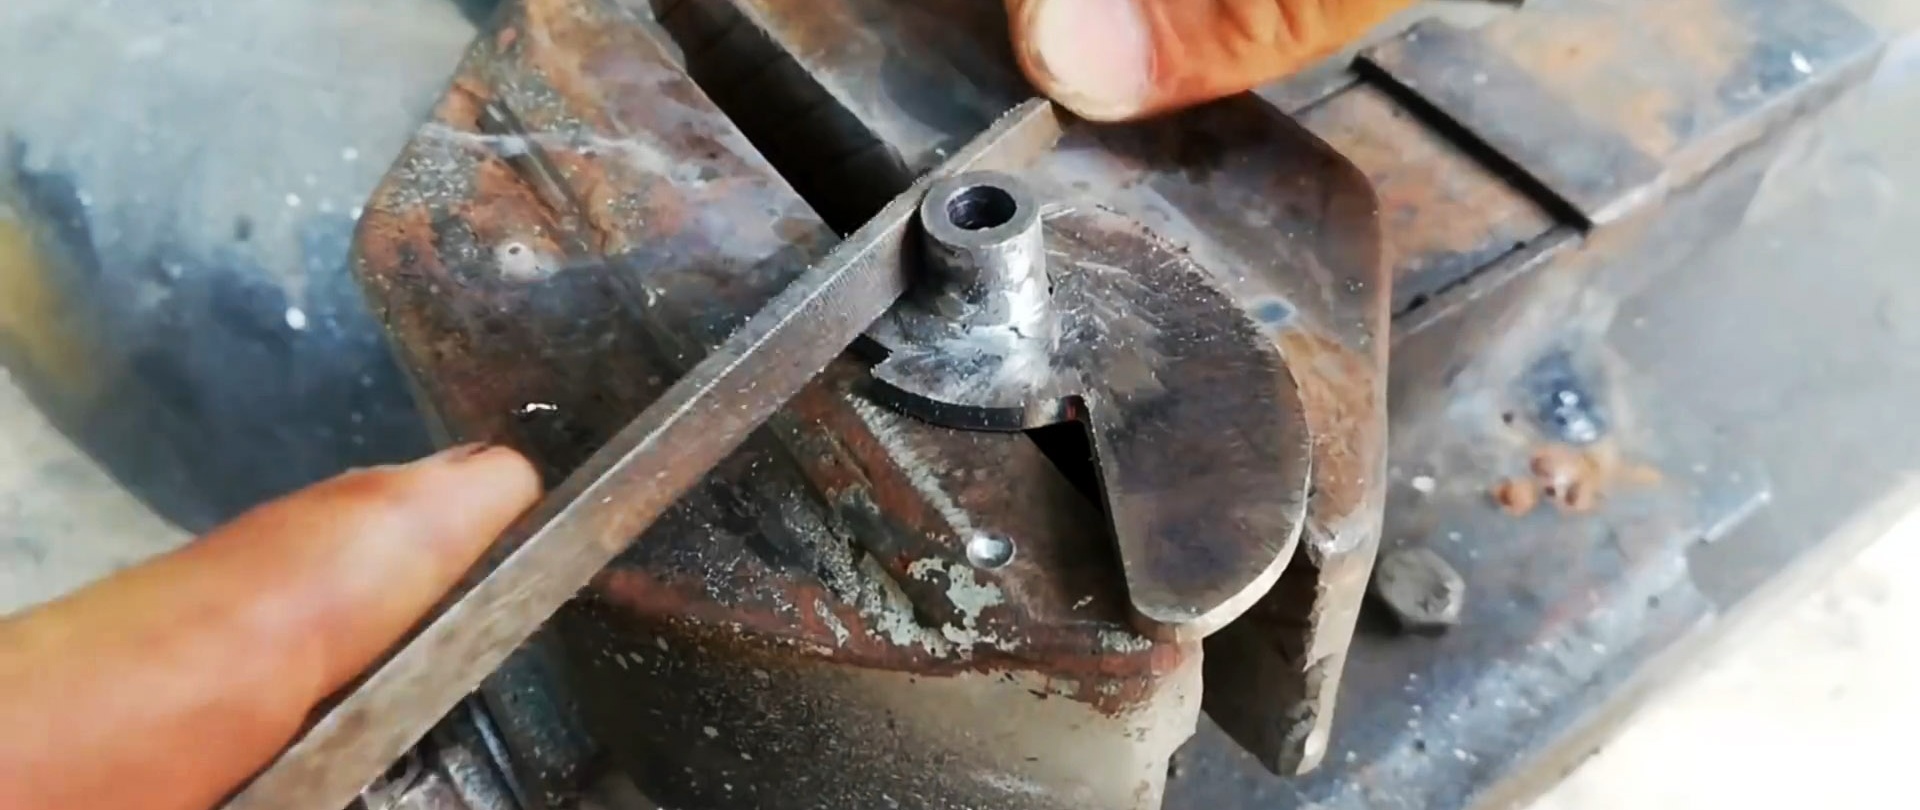
From a steel plate we cut out a latch blank, similar in plan to a bold comma.
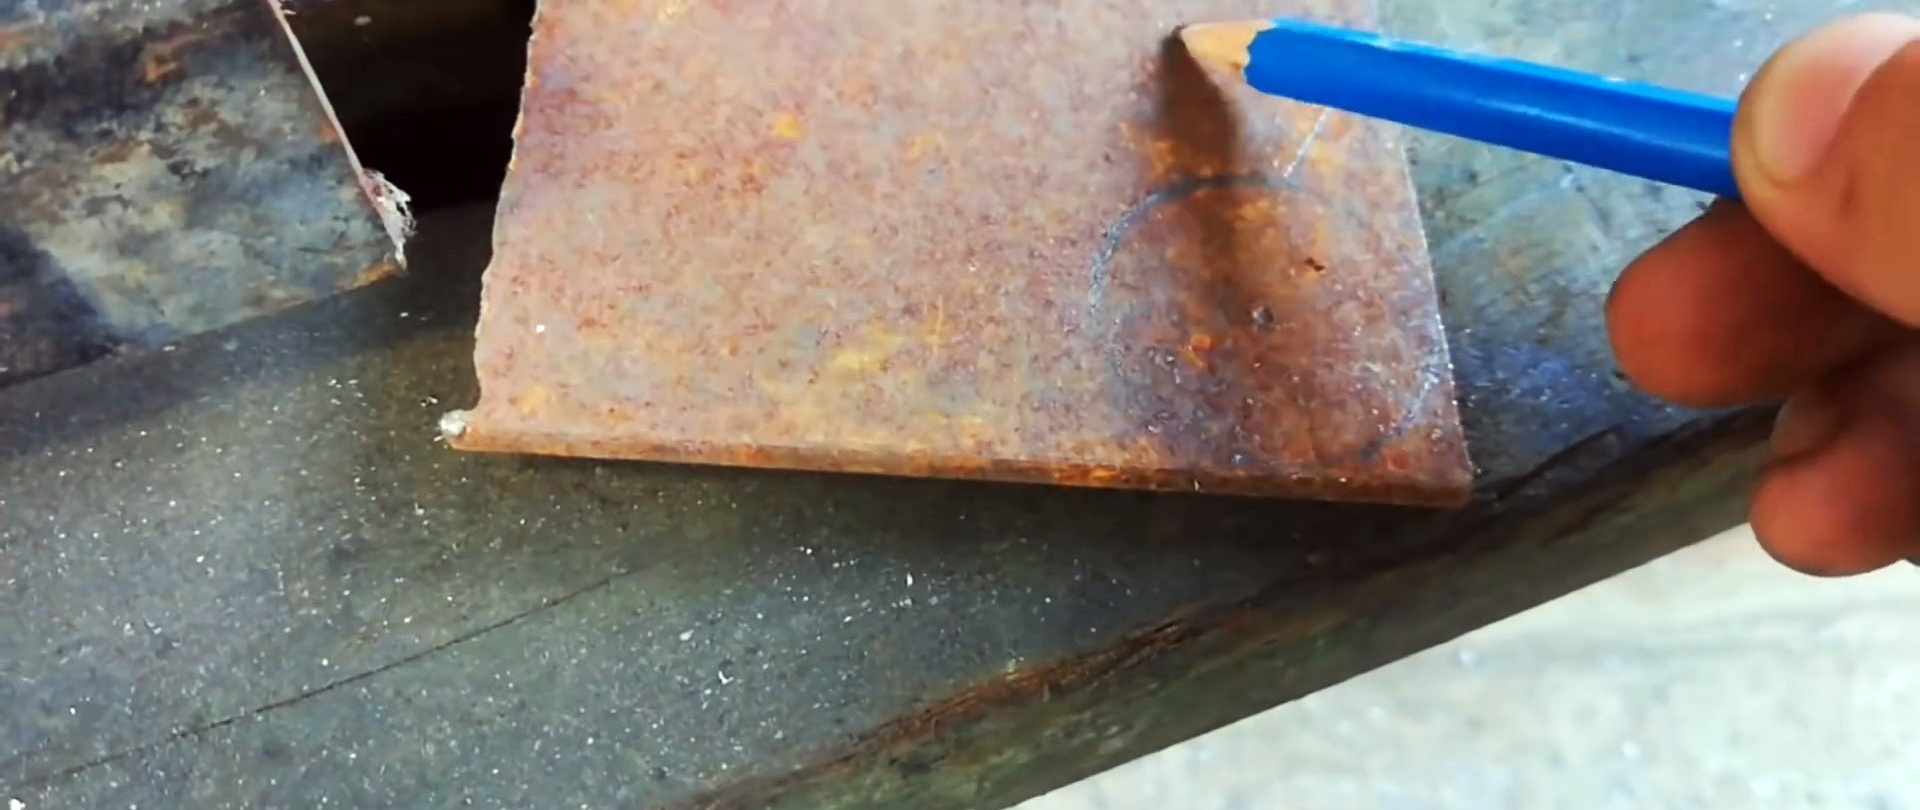
In the center of the part, limited by a full circle, partially passing along the body of the workpiece, we drill a hole.

We make a blank from a steel angle with a hole in one shelf, slightly offset relative to the center in the longitudinal direction.
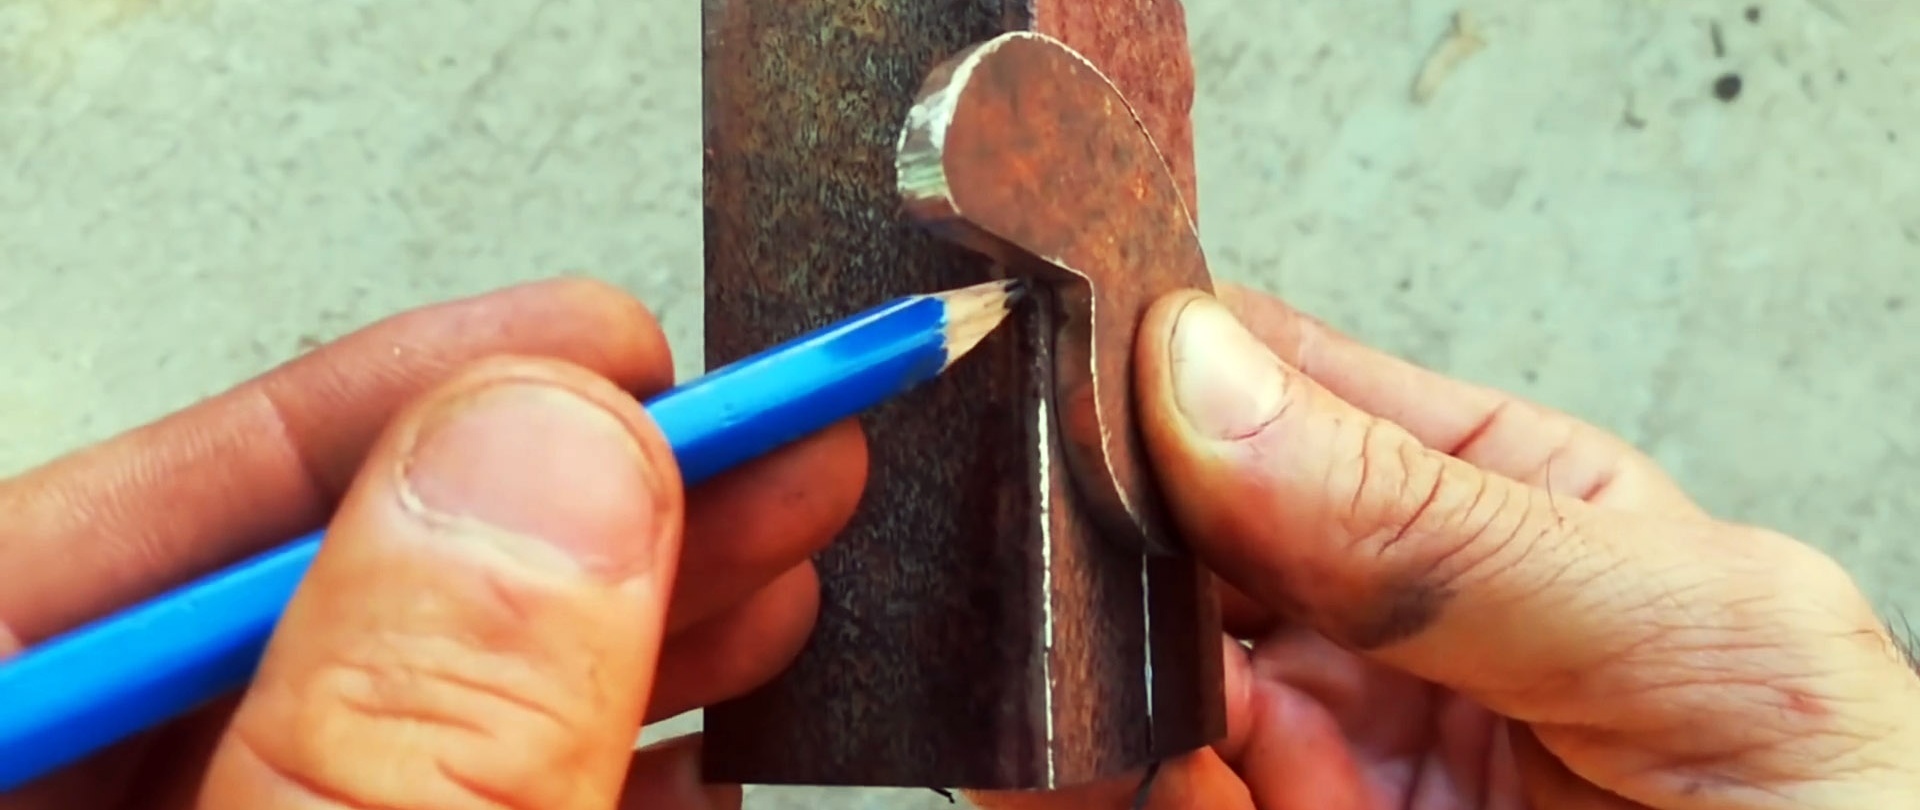

We apply the latch blank from the outside to the corner shelf, aligning the holes, and directing the latch tongue vertically down. On the second shelf of the corner we make a mark for the transition point of the straight part of the tongue into the round one.
In the flange of the corner we drill a hole according to the mark and from the near end we make a slot with a grinder to the hole. We process the edges of the slot with a hand file, removing burrs and rounding the edges.
The latch tongue, placed on the angle shelf from the inside, when aligning the holes, should freely enter and exit the slot in the angle shelf.
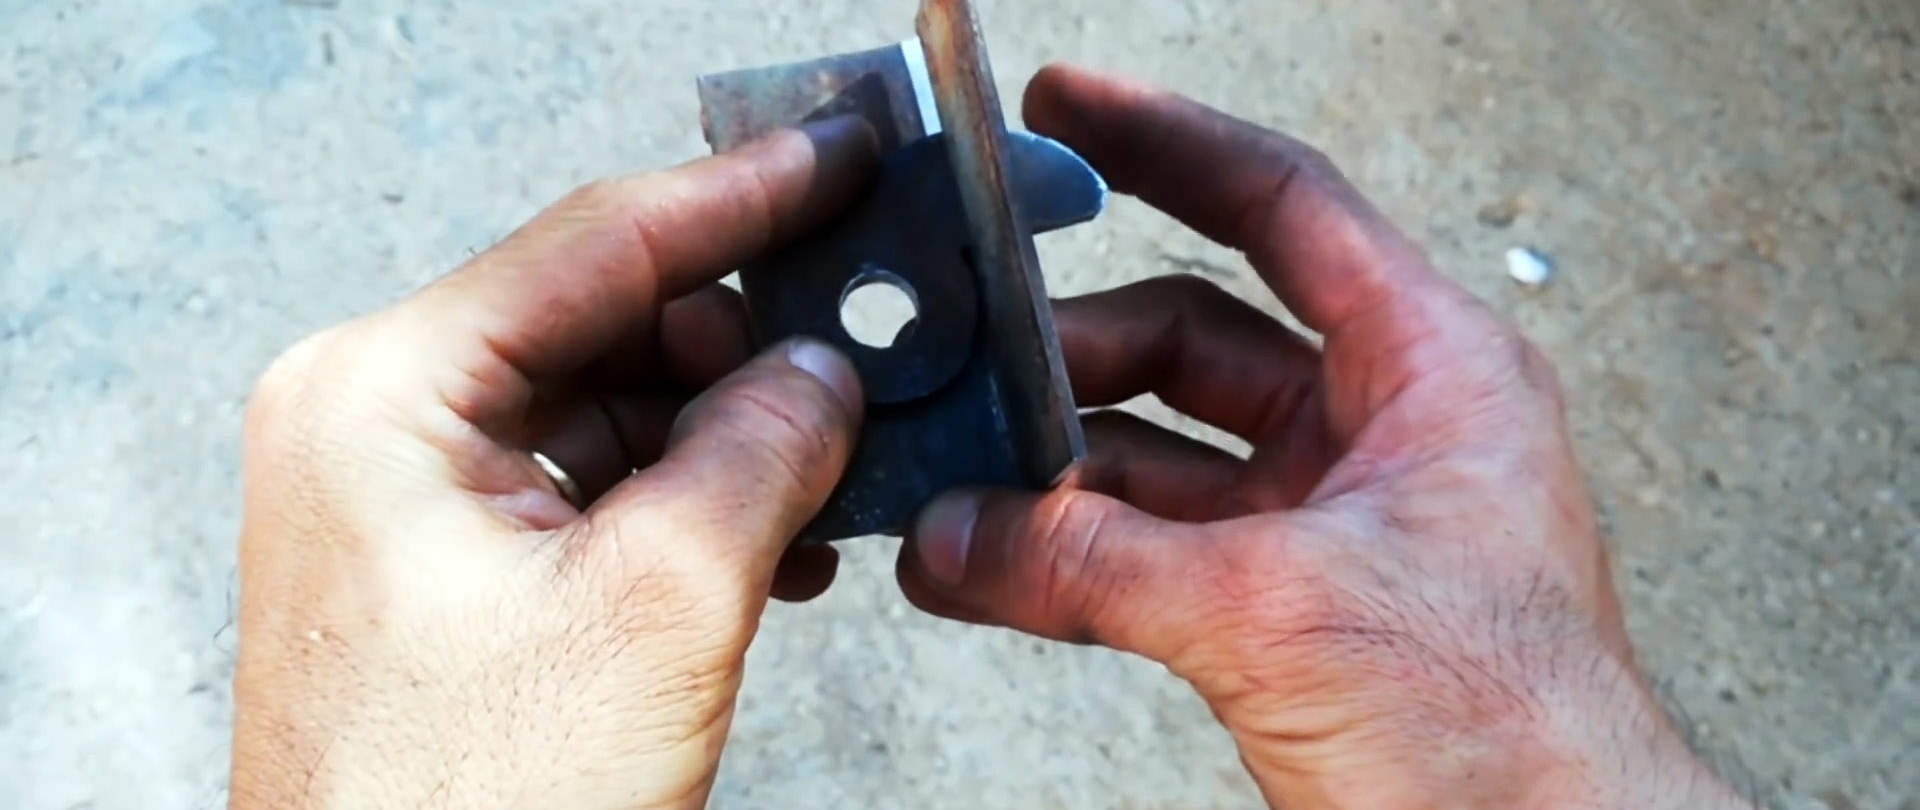
From a smaller corner we make a part with a shelf removed by 1/3 and with a hole in the other opposite the removed part of the shelf. All corners of the part are rounded.
In the part from the larger corner, we narrow the width of the shelf with a slot. Diagonally from the slot, we make an open cut with decreasing depth, ending in a semicircle, and drill a hole at a distance of its radius from the arc.
The part from the smaller corner should fit freely into the recess of the part from the larger corner when the holes in the corners coincide.
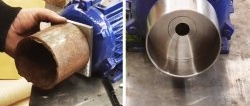
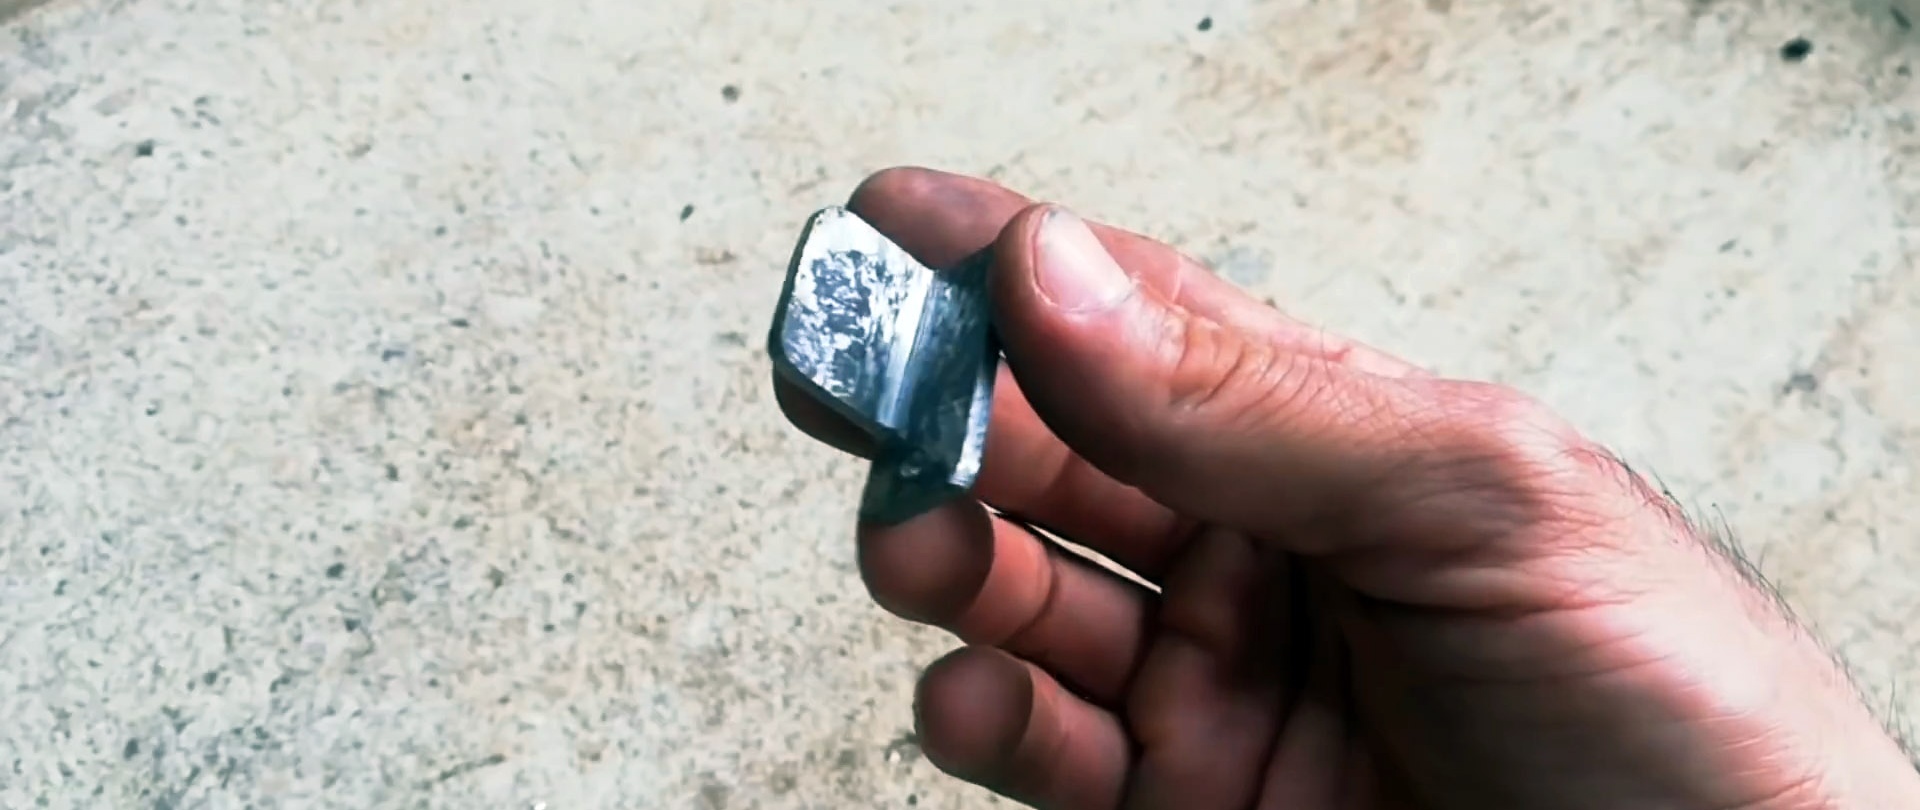
We insert the round bushing into the latch hole to the middle and weld it. We shorten the sleeve at the bottom of the latch. We remove metal deposits with a grinder and a hand file. At the bottom of the round part of the latch we make a cut-out stop.
We put a square piece from a larger corner onto the bushing with a hole in the shelf. We cut the vertical shelf to 3/4 of the height, and in the other we make a shallow open recess from the center to the edge of the shelf.


The part should rotate freely on the bushing in both directions. We place the torsion spring on the latch, placing one end of it in the hole in the latch, before placing a washer on the bushing.

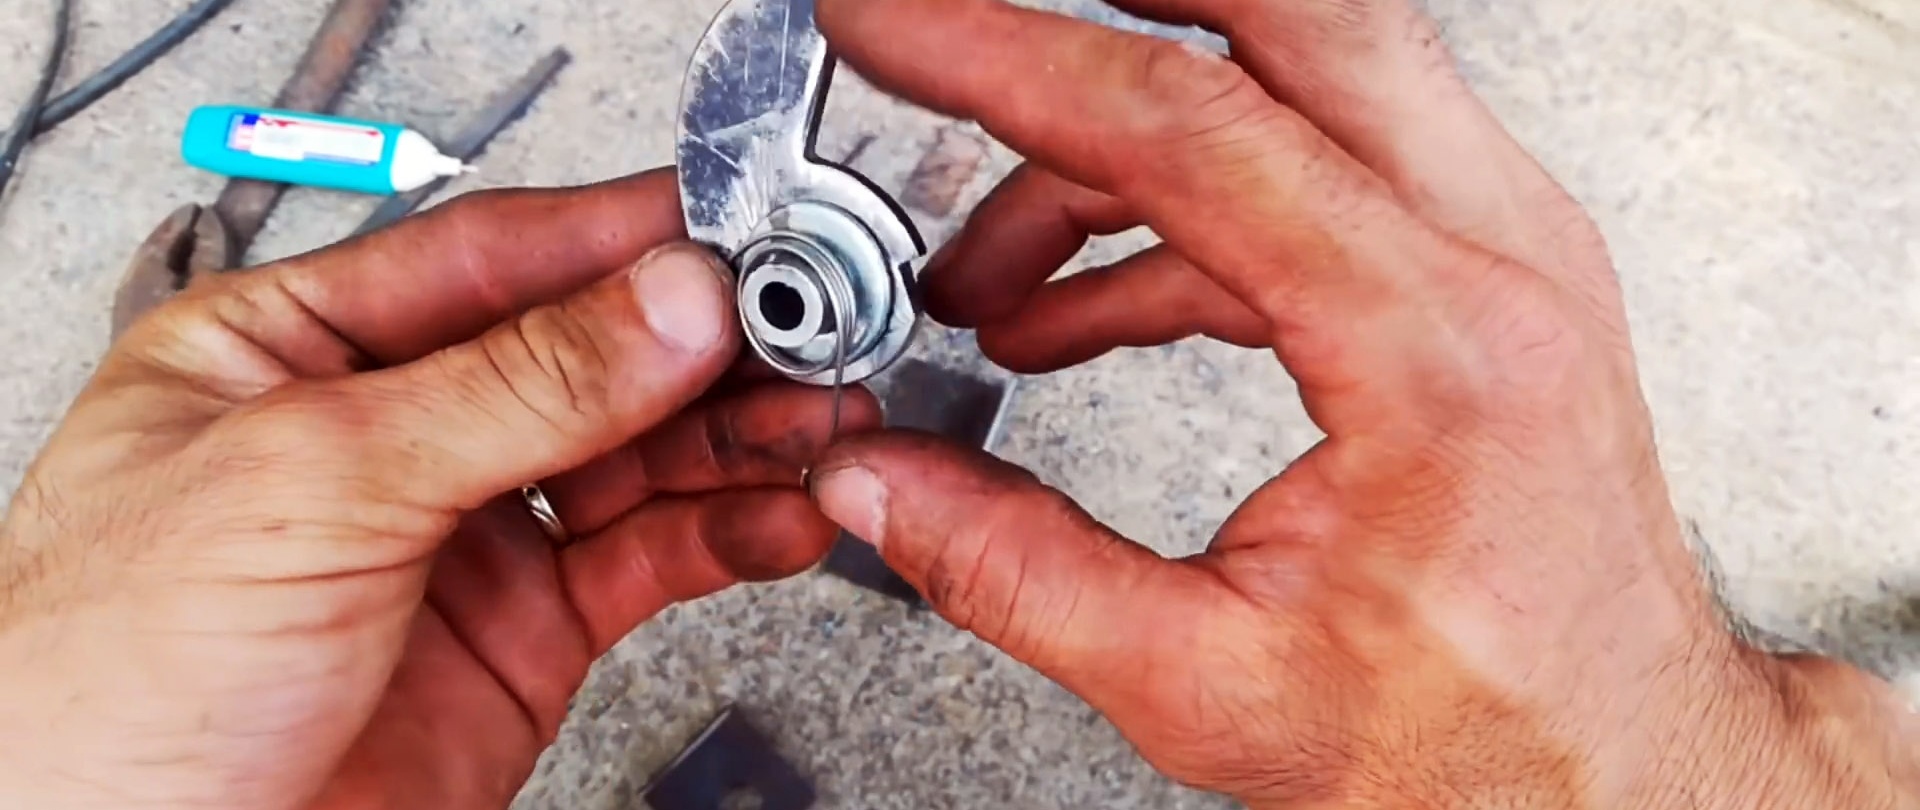
On top of the spring, onto the bushing, we put a part from a larger corner with one shelf, cut to 3/4 of the height, securing the second side of the spring to it.

We place this entire assembly with the washer on the bottom of the bushing in the hole of the part from the larger corner with the slot.
Insert the part from the smaller corner into the gap between the parts from the larger corners, securing one end of the spring to it. We connect the three parts with a pin, around which the spring-loaded part should rotate freely.

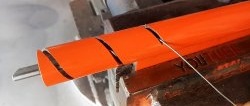
At the outer end of the latch tongue, drill a hole, cut a thread and screw in a round-head bolt.

At the end of the round rod we drill a transverse hole and make a slot at the end with a shaped bottom, into which we attach a metal plate on a pin with one end repeating the shape of the bottom of the slot.


As a result, the plate rotates around the pin and is locked in the longitudinal direction when the figured end of the plate coincides with the bottom of the slot in the rod.

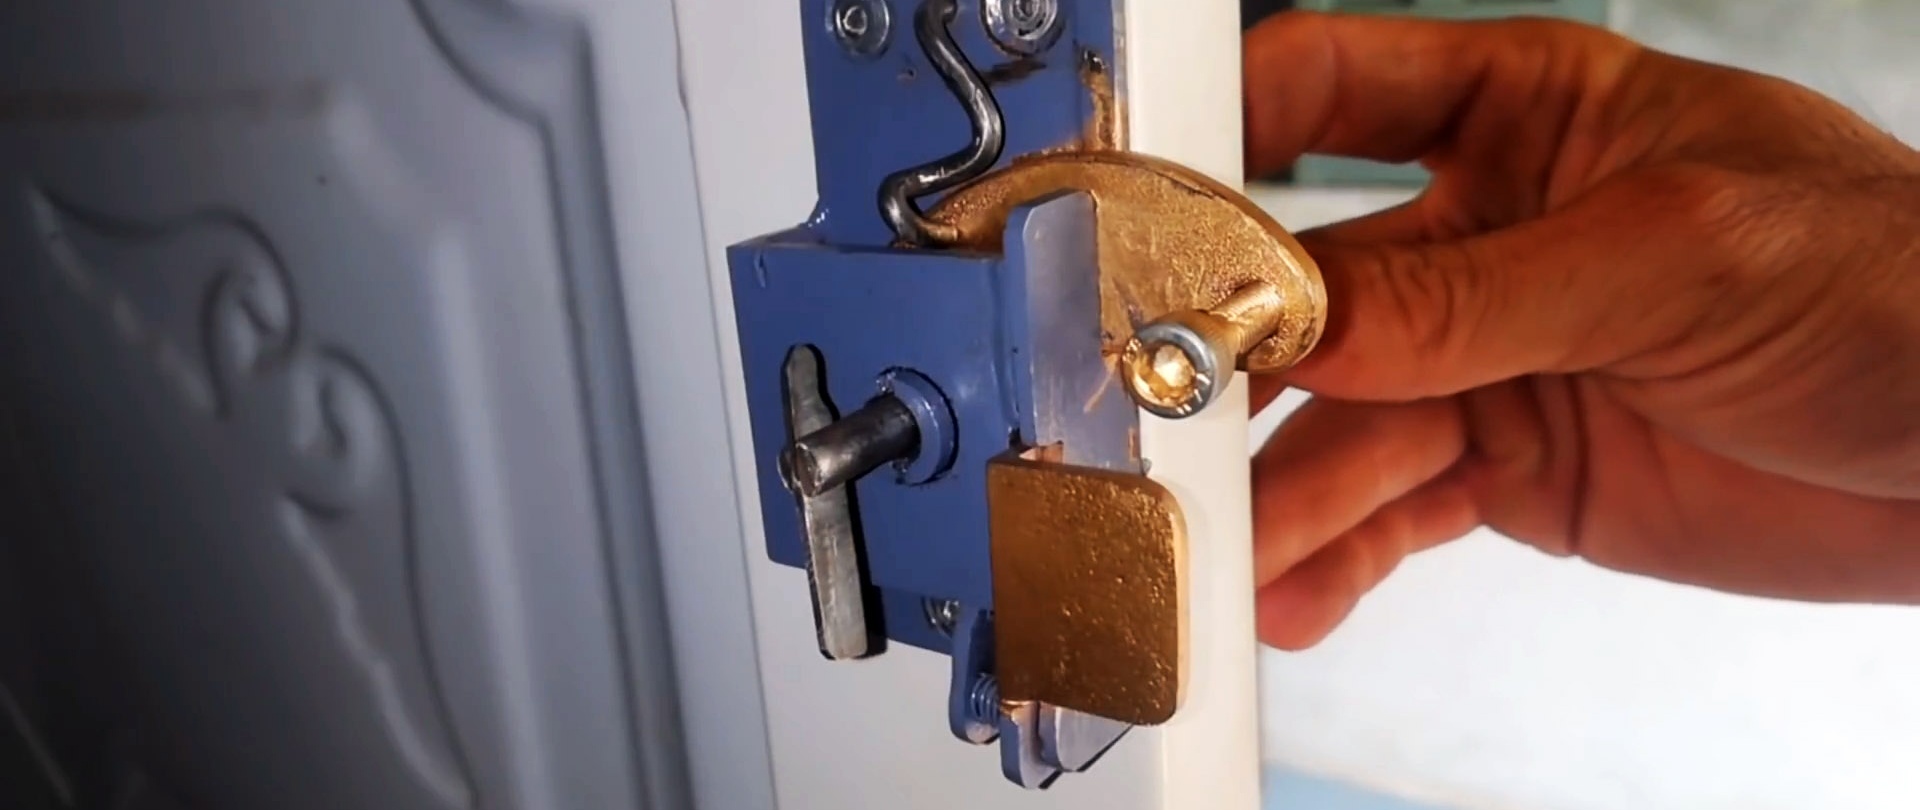
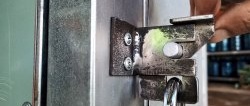
We secure the lock with three screws to the door jamb. We place a wire hook between the top screws to hold the valve open when it is not needed.
On the door leaf, opposite the lock's trigger guard, we fasten with screws an L-shaped part, which, when closing the door leaf, presses on the trigger guard, releasing the latch, and it, lowering, enters the slot of the L-shaped part on the door leaf, fixing it in the closed position.


To open the door from the outside, insert the key into the hole and turn it so that the plate is at 90 degrees to the rod and fits into the grooves at the end of the latch bushing. Now it is enough to tighten the key to remove the latch from the slot in the L-shaped part, and the door will open.