When sharpening drills, the main thing is the accuracy of setting the required angle and adjusting the feed. Without experience, it is impossible to sharpen a drill by hand. But by making a special device from available and inexpensive materials, any adult can handle sharpening drills.

Will need
Materials:- steel strips of different thicknesses;
- steel corner;
- bolt with plastic handle;
- round and hex head bolts;
- round knurled nuts;
- hairpin;
- half ring made of a round pipe;
- cylindrical hinge;
- L-shaped hexagon, etc.
High-quality drills on AliExpress at a discount - http://alii.pub/5zwmxz
Tools: marking tools, drilling machine, drill, welding, grinder, emery machine, etc.The process of making a device for sharpening drills
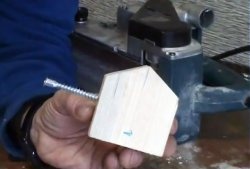
Cut out two identical squares from the strip.

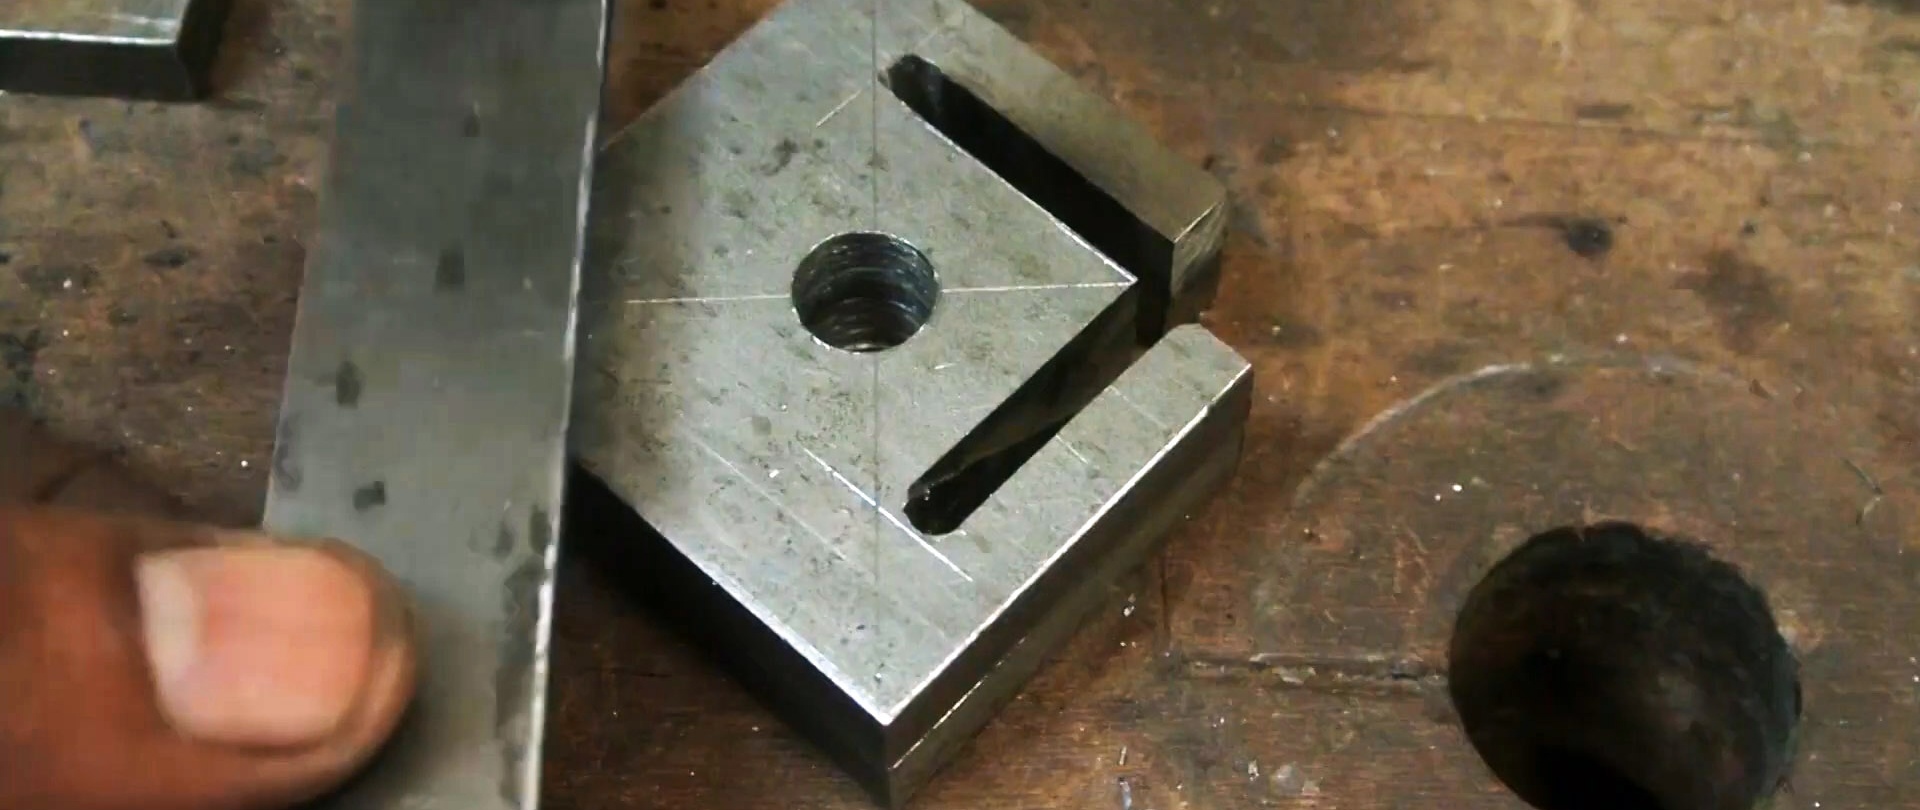
On one we place a vertical equal angle corner so that its vertex lies on the diagonal of the square.

We measure the distance from the end of the corner shelf to the far side of the square - 38 mm.We set this size aside from two adjacent sides of the square and draw lines parallel to the sides.
Draw perpendiculars to the lines, departing 8 mm from the nearest side of the square. We draw the diagonal of the square, passing near the points of intersection of the drawn lines.
On lines spaced from the sides of the square 8 mm, at a distance from the corresponding side of 35.6 mm, we mark points, as in the center of the square.
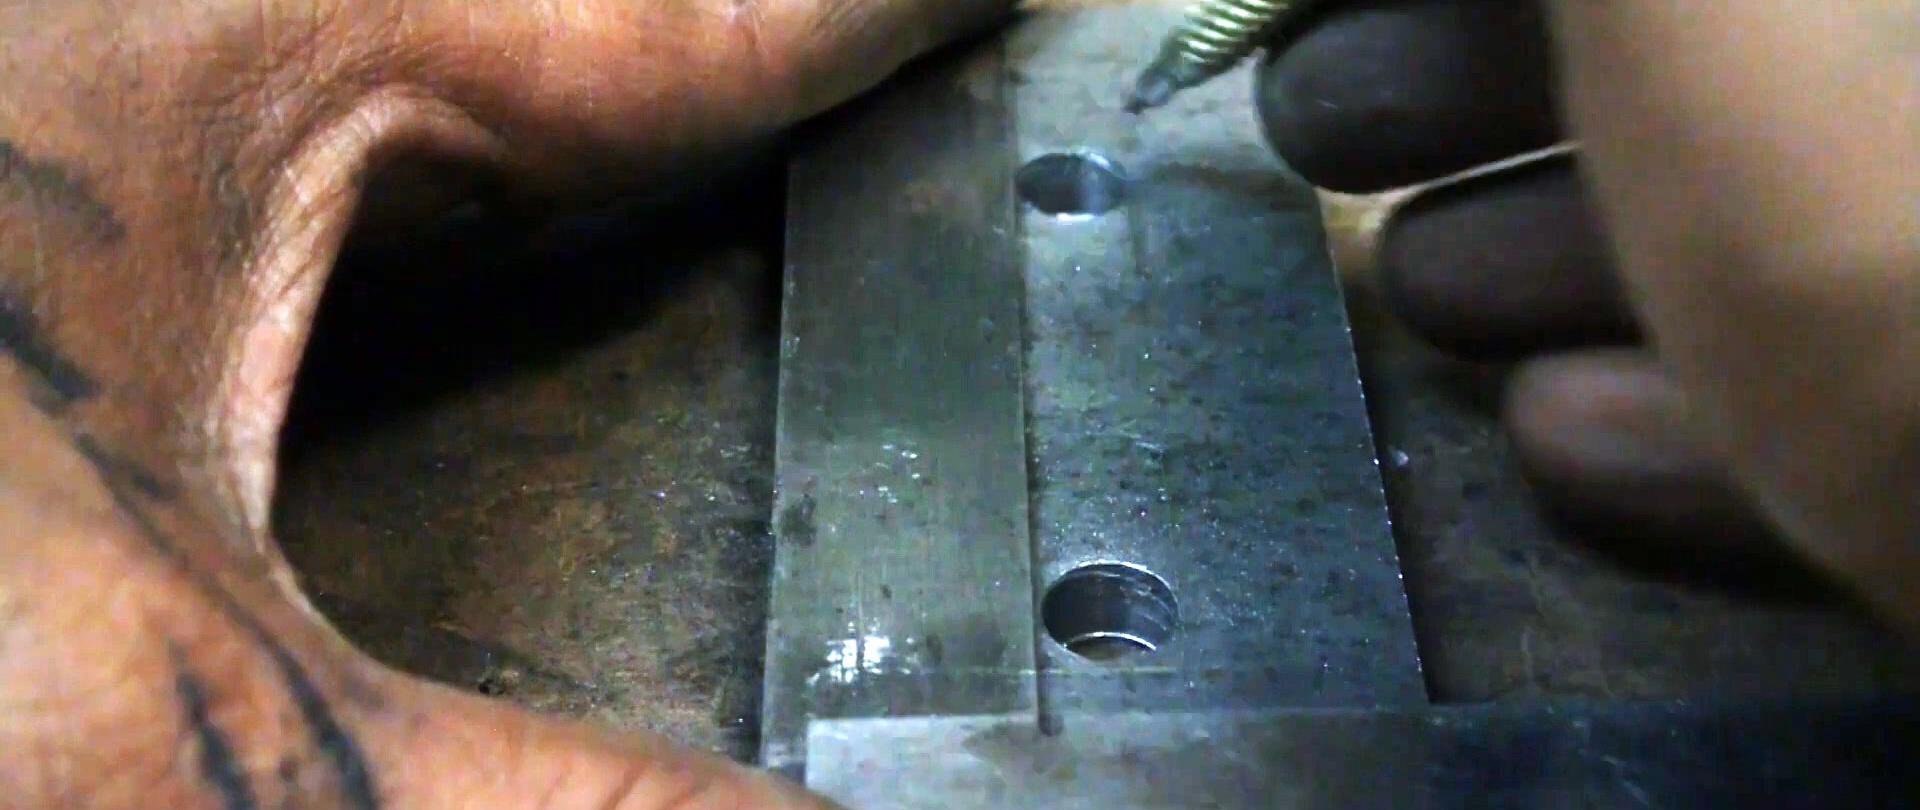
We glue the squares together and drill three holes according to the markings, with the hole in the center being the largest.
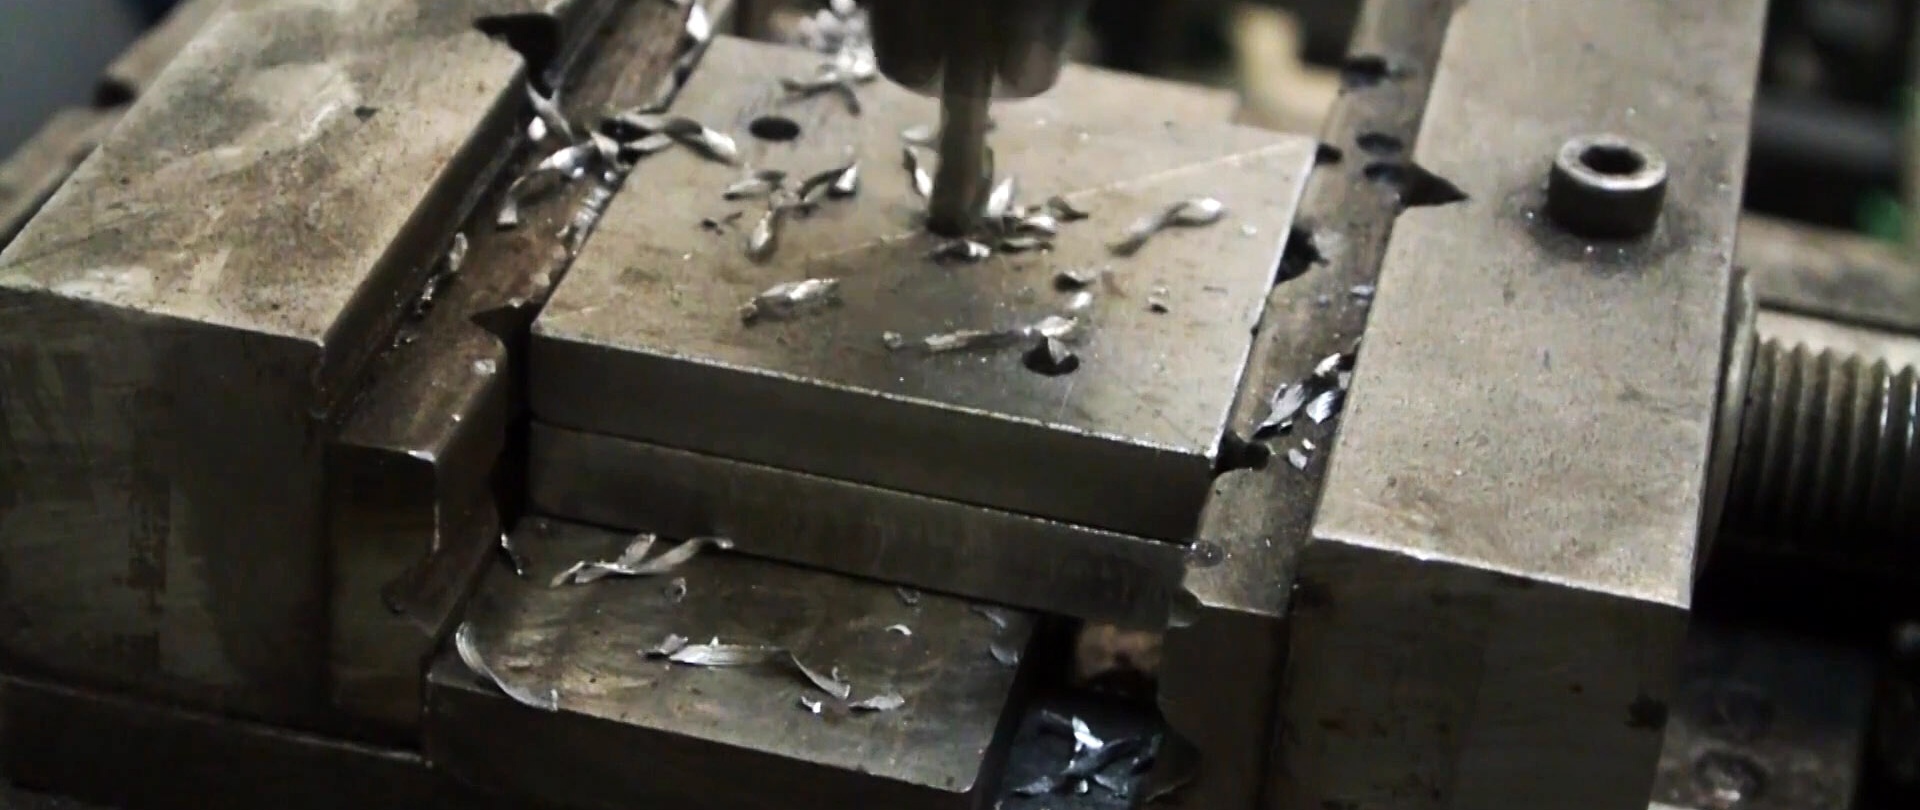
We make a slot to the side hole from the far side of the square with a width equal to the diameter of the hole. Crosswise to the first slot we make another towards the second hole.

We draw a line parallel to the diagonal, not touching the hole in the center, and forming an isosceles triangle with the sides of the square. Cut off some of the squares along the line and the two remaining corners.

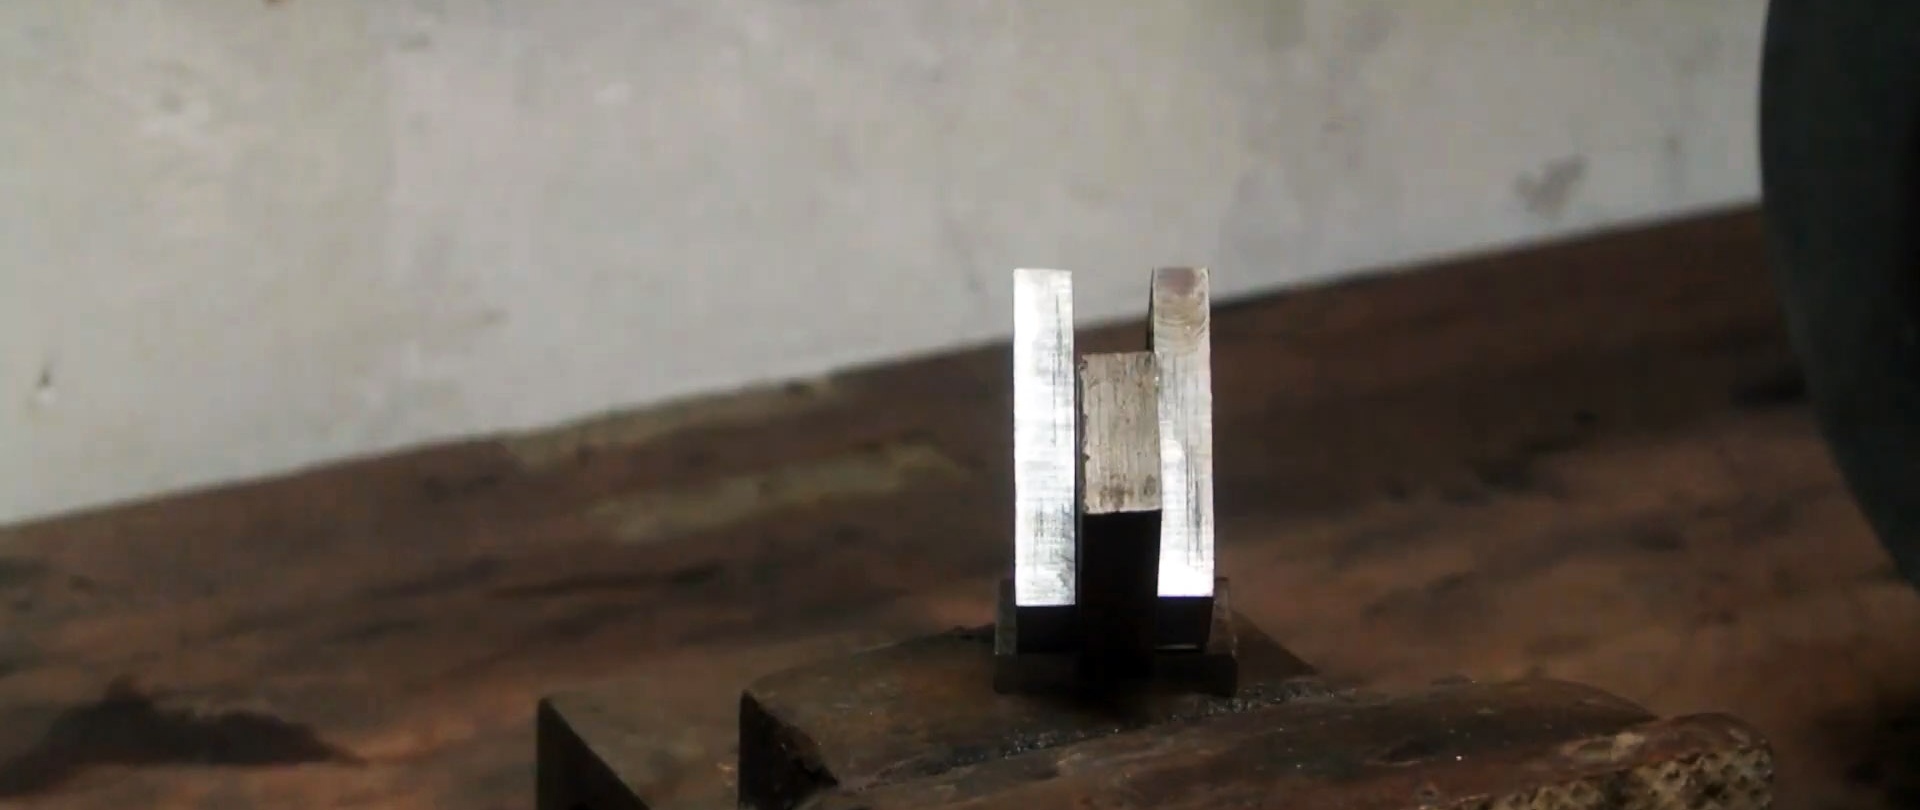
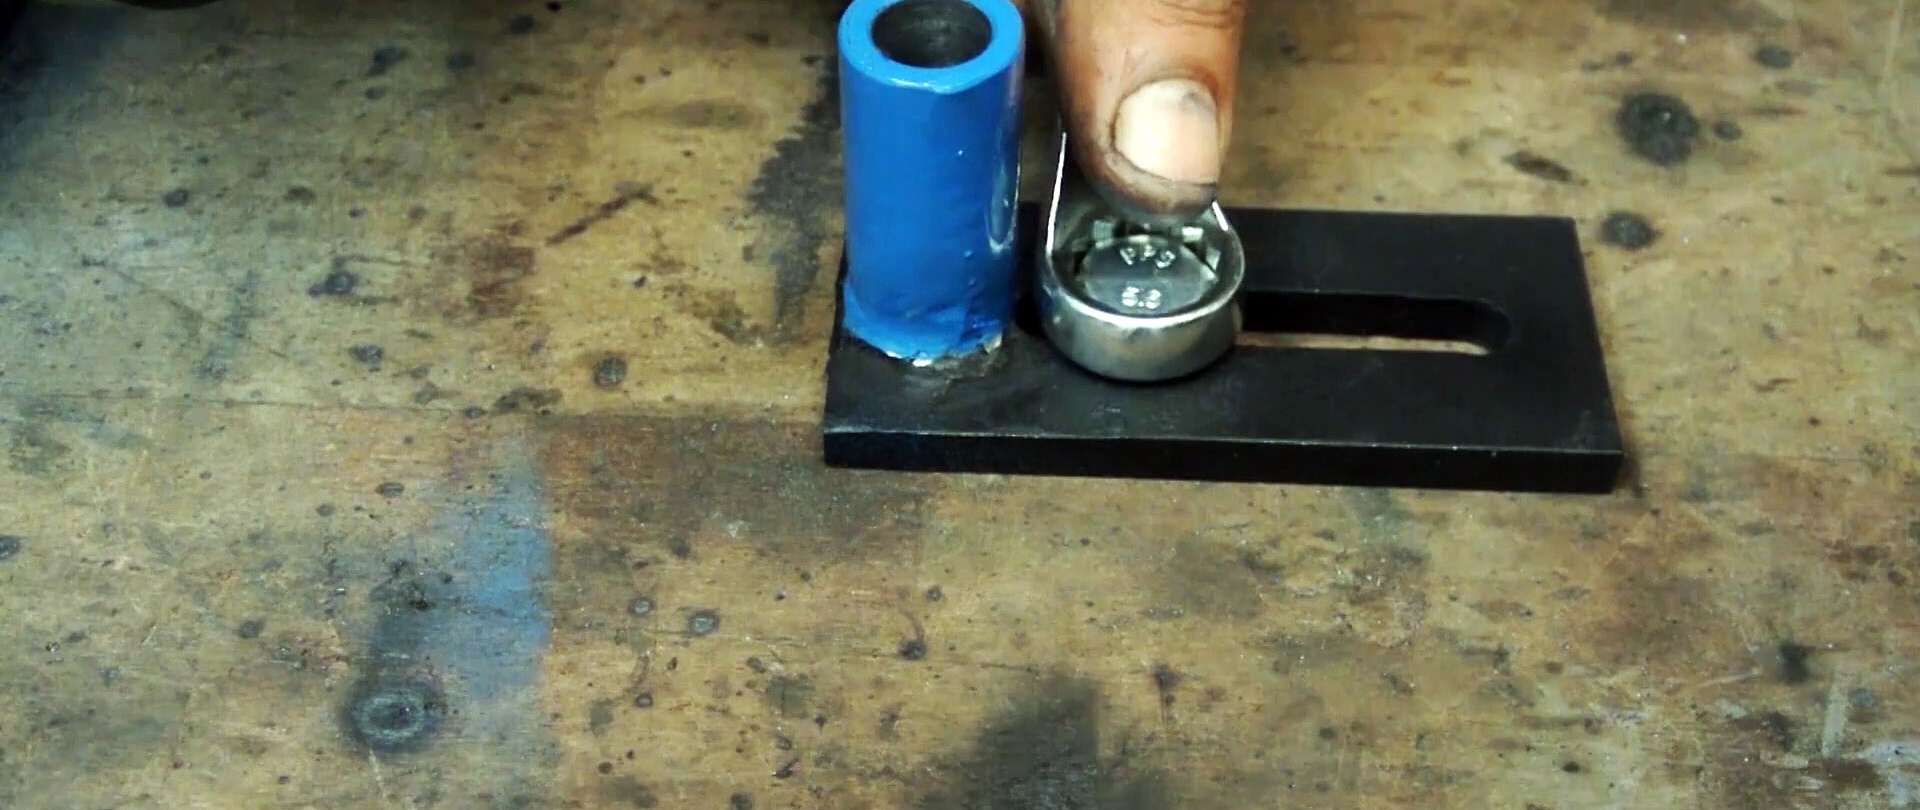
We place two square pieces parallel to each other on a square plate with a threaded hole in the center along opposite sides and weld them.
From the outside, screw a bolt with a plastic handle into the hole of the square.

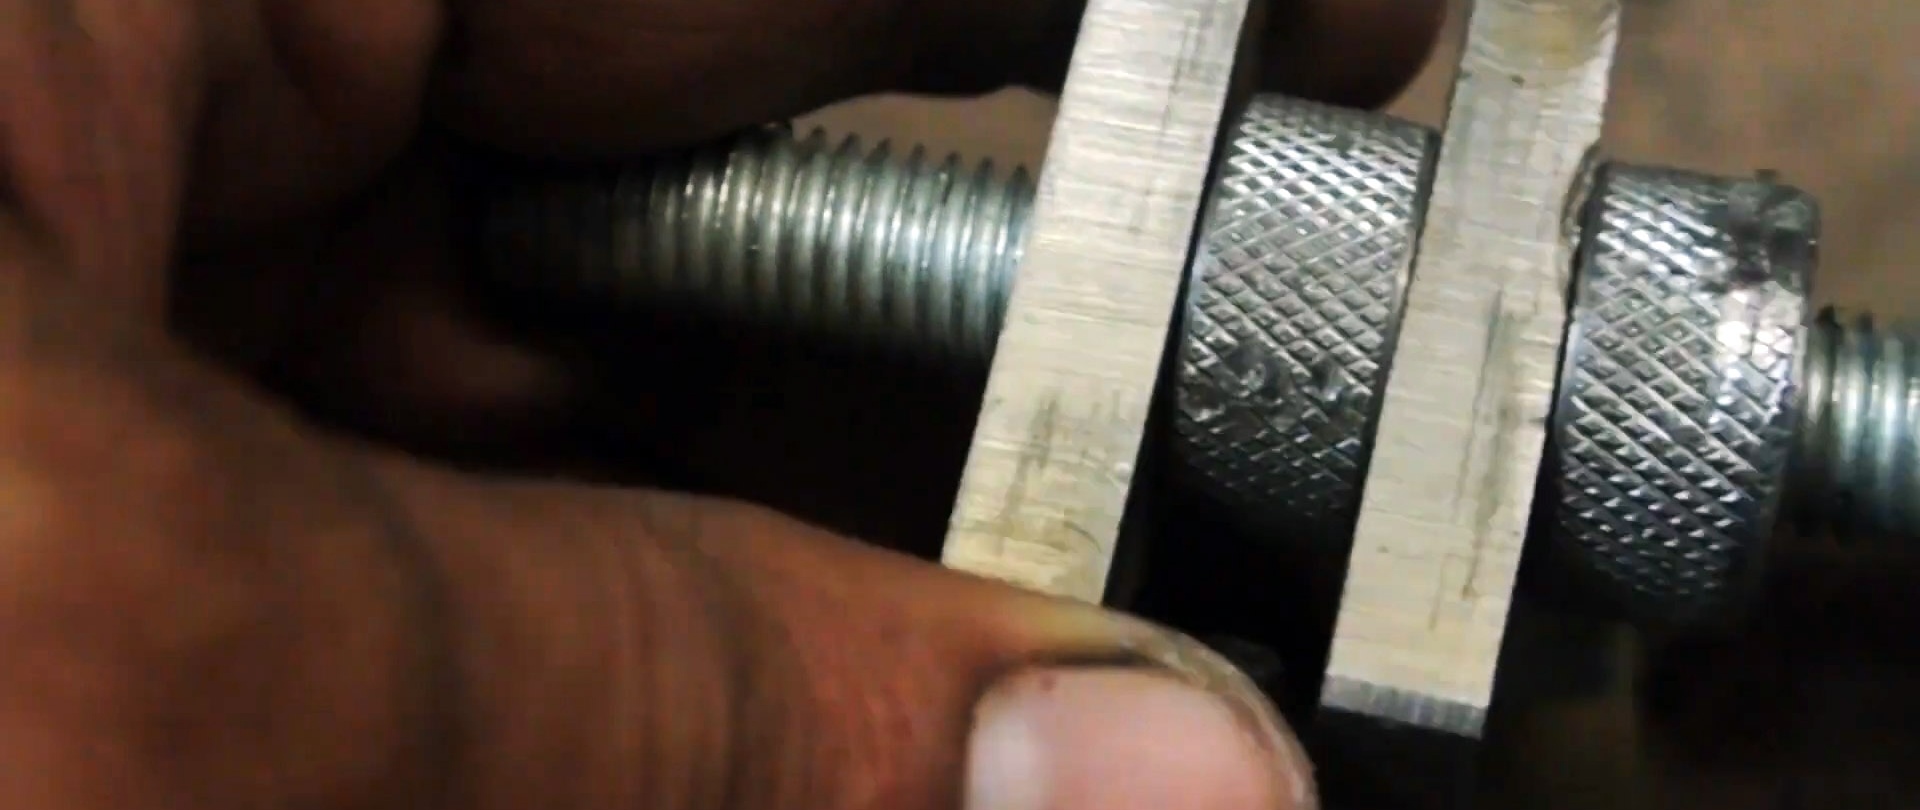
Place a round knurled nut between the square pieces and screw in the pin. We screw the same nut onto the stud from the outside.
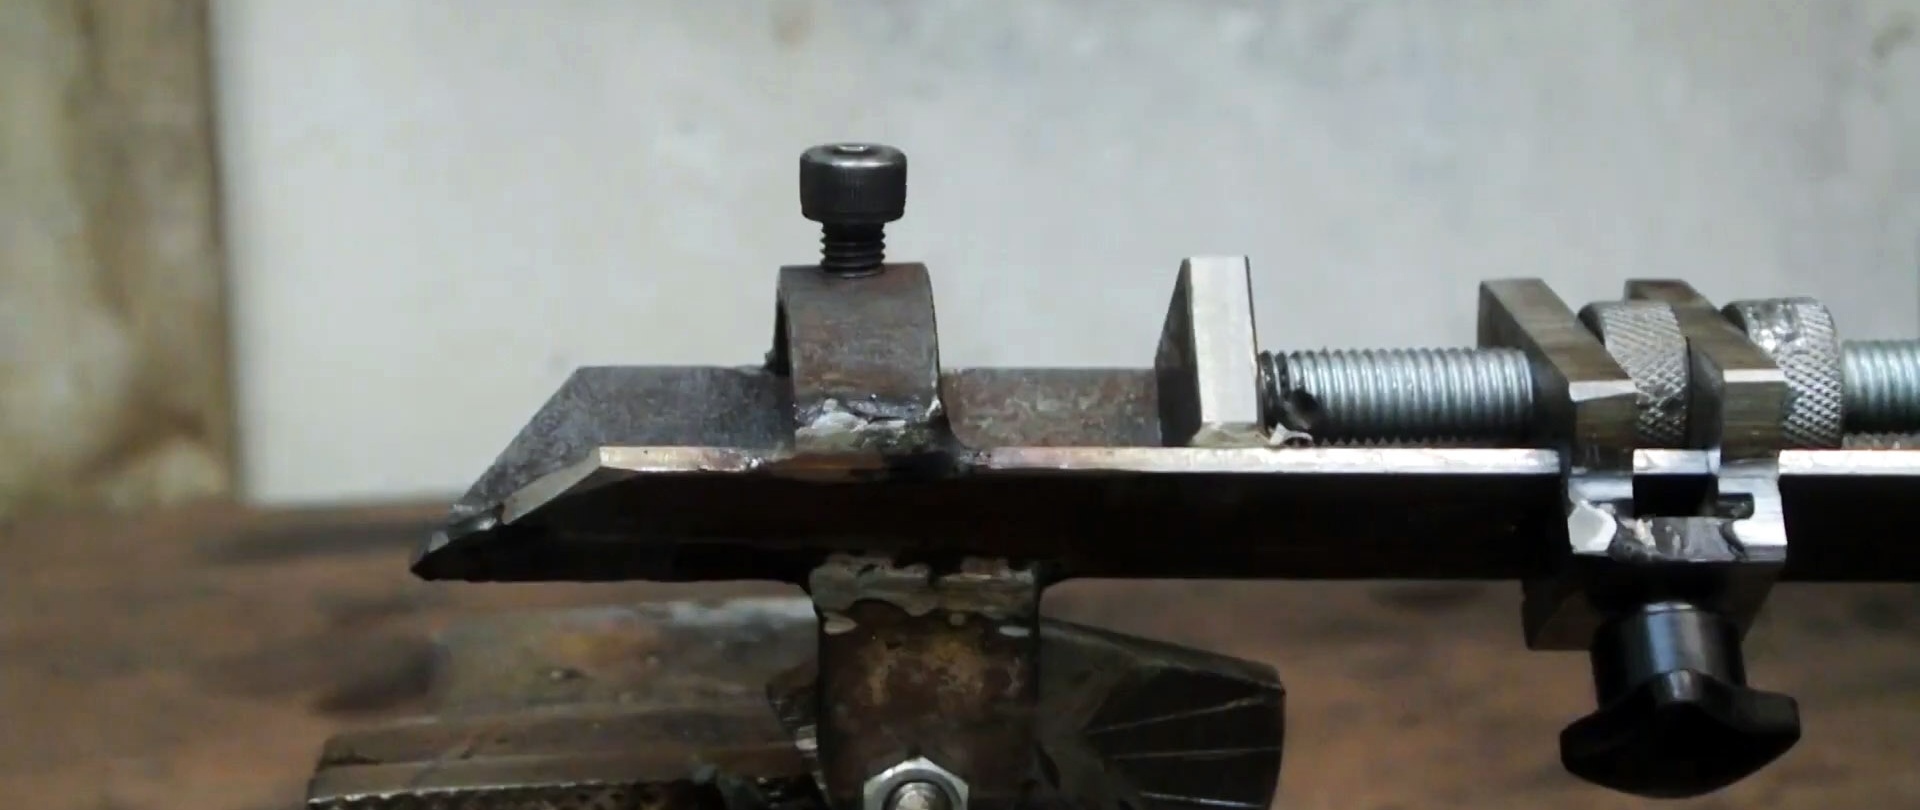
We hang this knot with slits on the shelf of the corner so that it is located inside it.

From the beveled side of the corner, we weld a steel half-ring with a thread in the center to the shelves, to the oblique cut of the shelf - a plate with two holes, and under the half-ring to the line where the shelves converge - a steel eye with a hole.

We weld a square of thick strip transversely to the end of the pin so that it slides along the corner when the pin rotates.
In another square we make a cutout, drill a hole above it and round the corner along an arc of a circle.Place the base of the hinge symmetrically and longitudinally into the cutout and weld it.


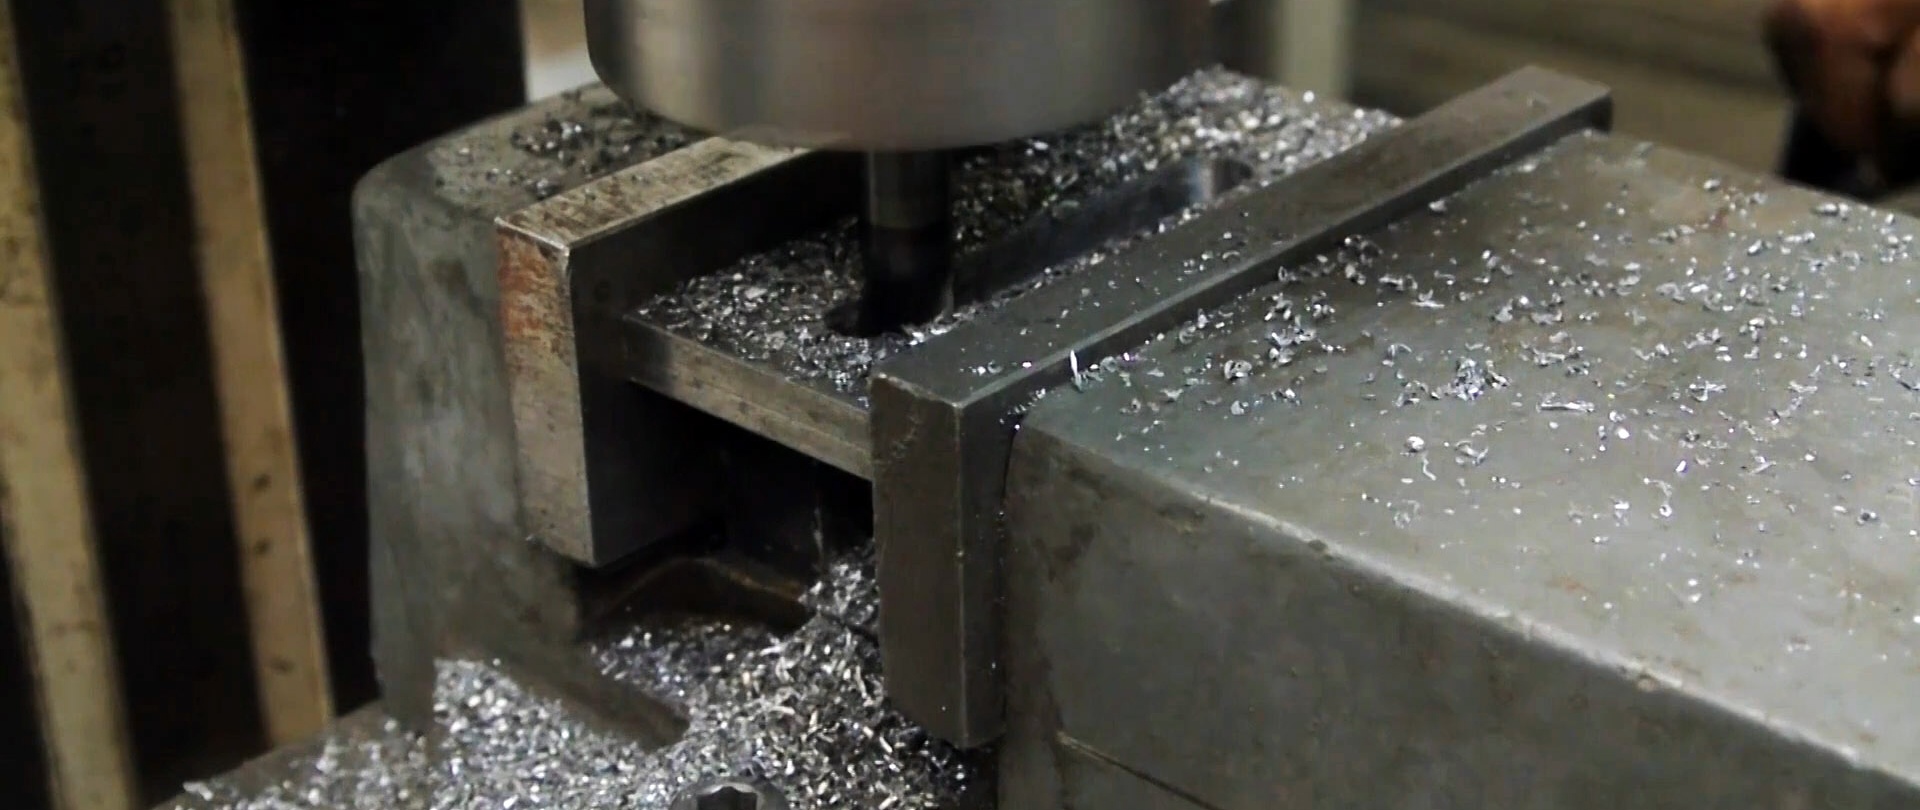
In the rectangle from the strip, drill two holes along the axis closer to the edges. We mill the metal between them. Behind the slot we weld the second part of the hinge vertically.

We paint the details.

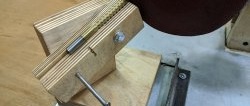
We attach the rectangular plate with the base of the hinge with a regular bolt to the hole in the workbench at the calculated distance from the emery wheel.
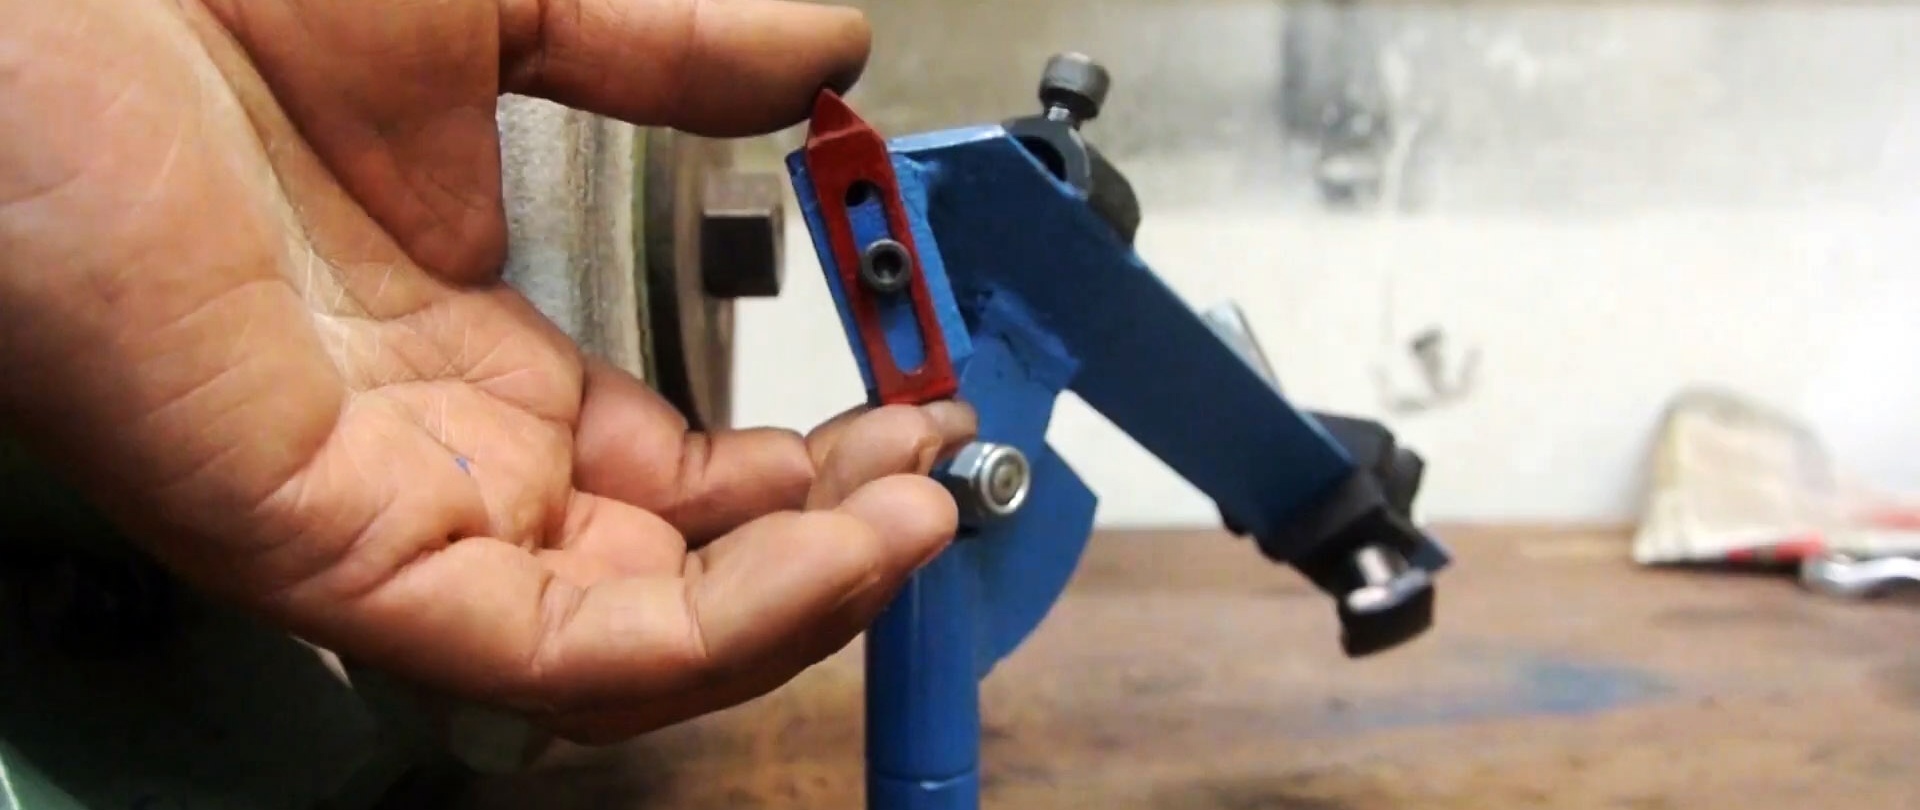
We insert a moving part into the base of the hinge with a “flag” in the form of a truncated sector and a hole above the axis of rotation of the hinge.

We fasten the corner with a half ring to the flag with a bolt and nut behind the eye. To the hole in the plate we attach an oblong arrow plate with a longitudinal slot to rest against the drill when sharpening with a bolt with a round head.

We screw a bolt with a round head into the half-ring from above. On the corner shelf we place an assembly with a pin and round knurled nuts. We glue the L-shaped hexagon with the short end into the head of the bolt screwed into the half ring.
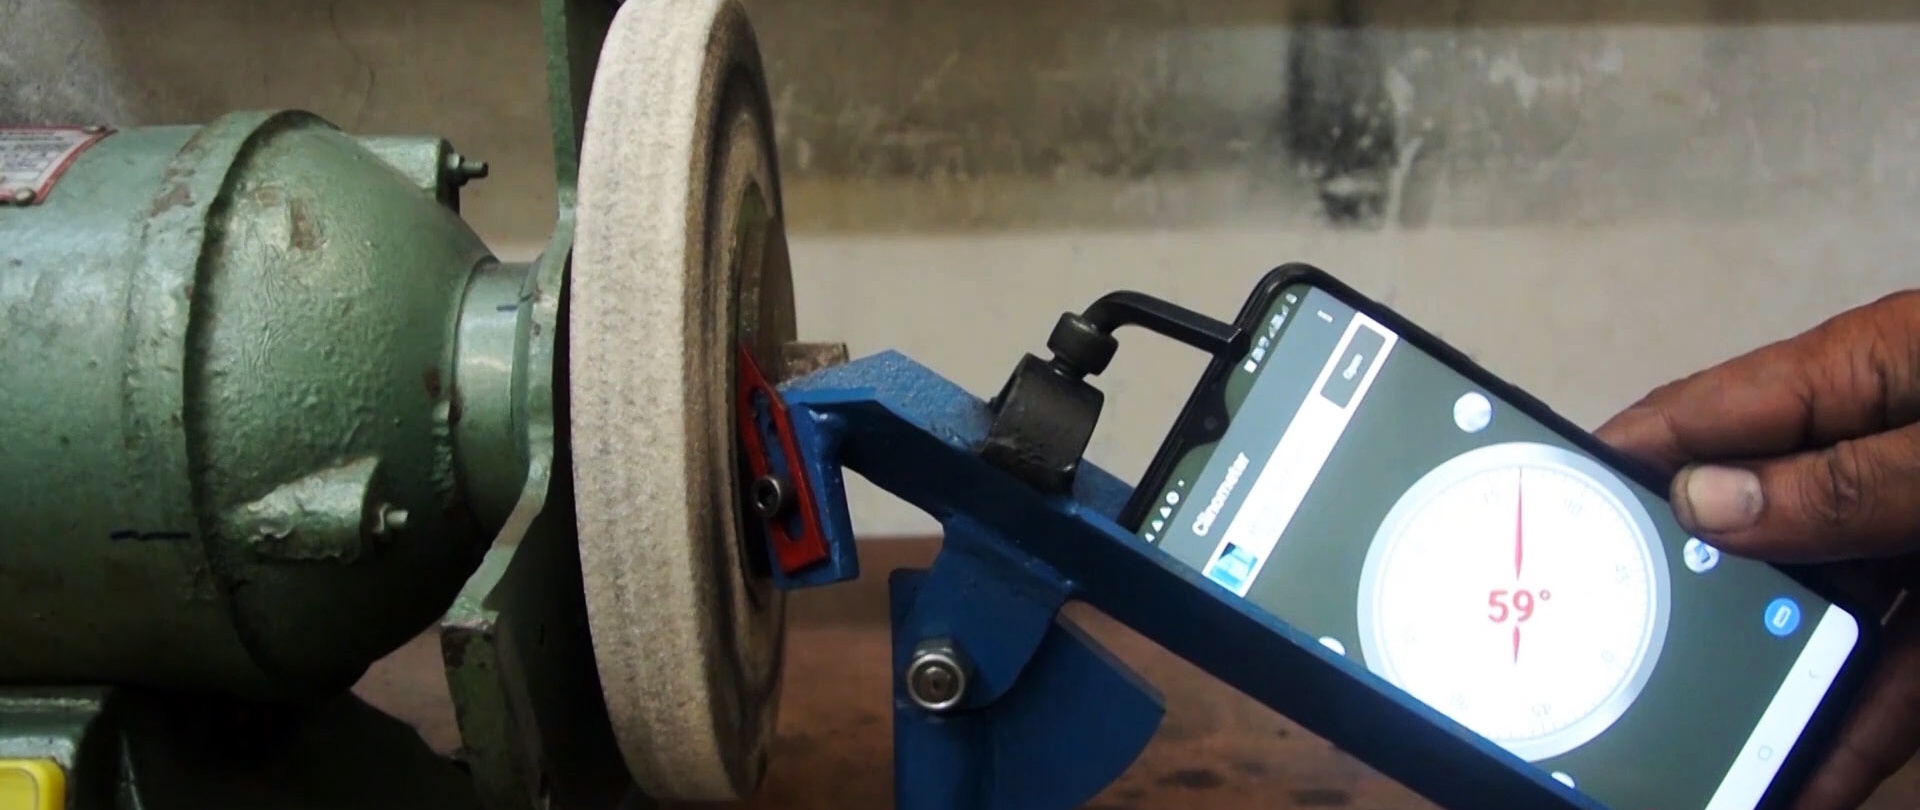
We orient the guide angle at 60 degrees to the plane of the sandpaper and secure it firmly.
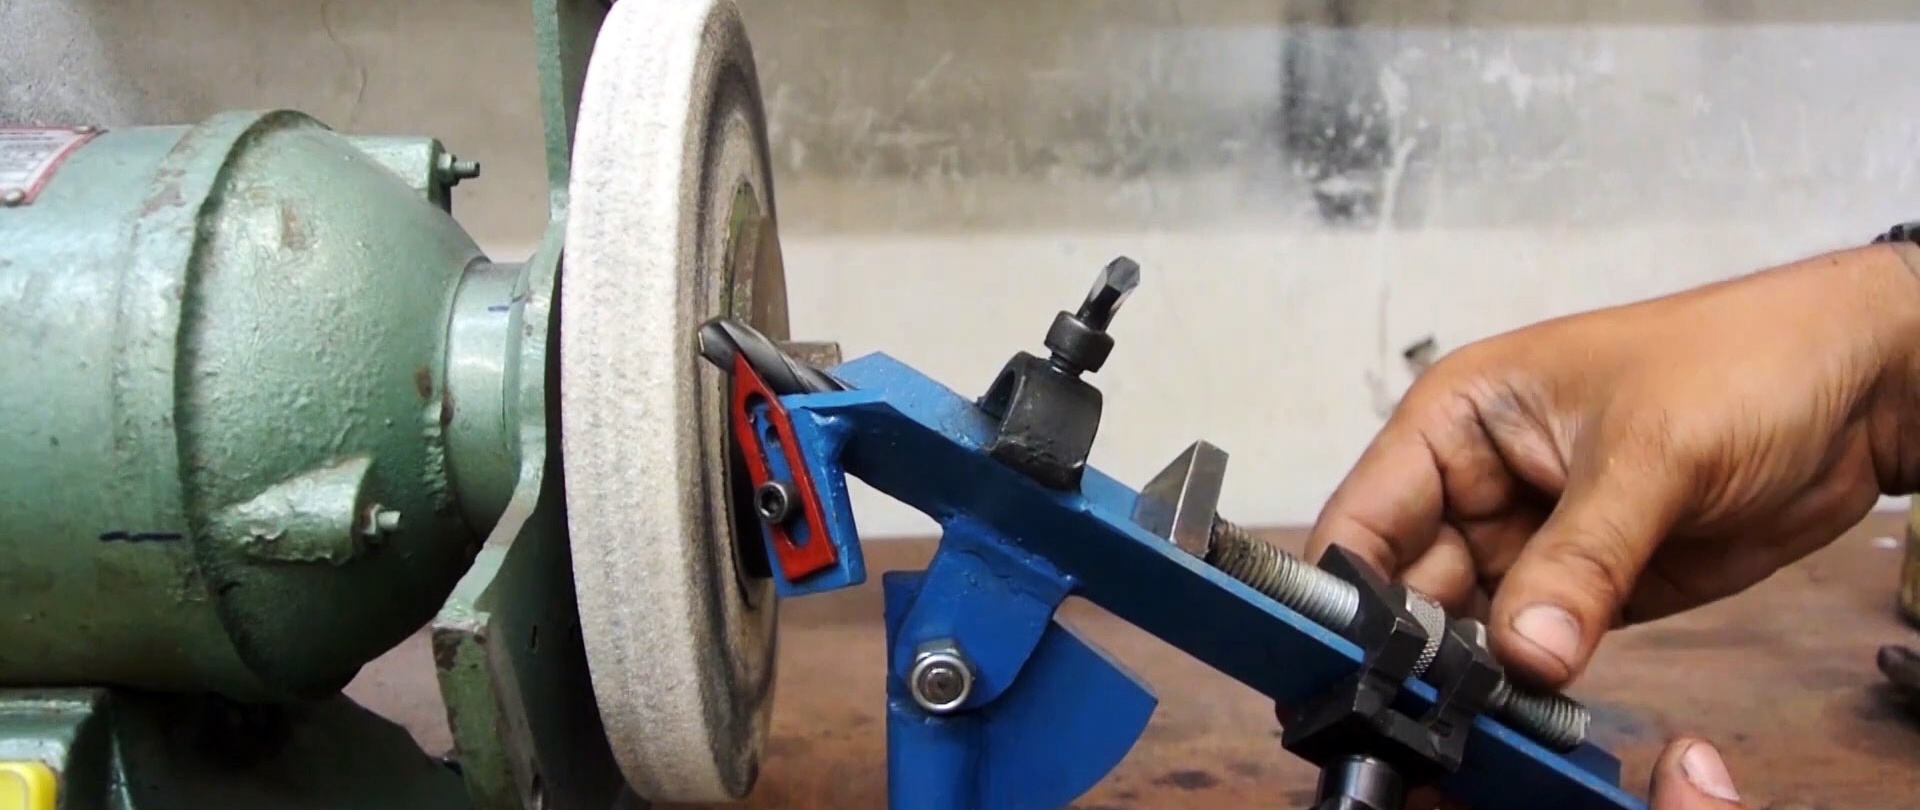
We place the drill in the corner, and secure the assembly with the pin on the shelf with a bolt with a plastic handle. Use round nuts to set the drill overhang and tighten them. We fasten the drill in the corner with a bolt, rotating the L-shaped hexagon.
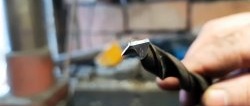
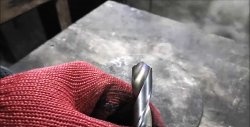
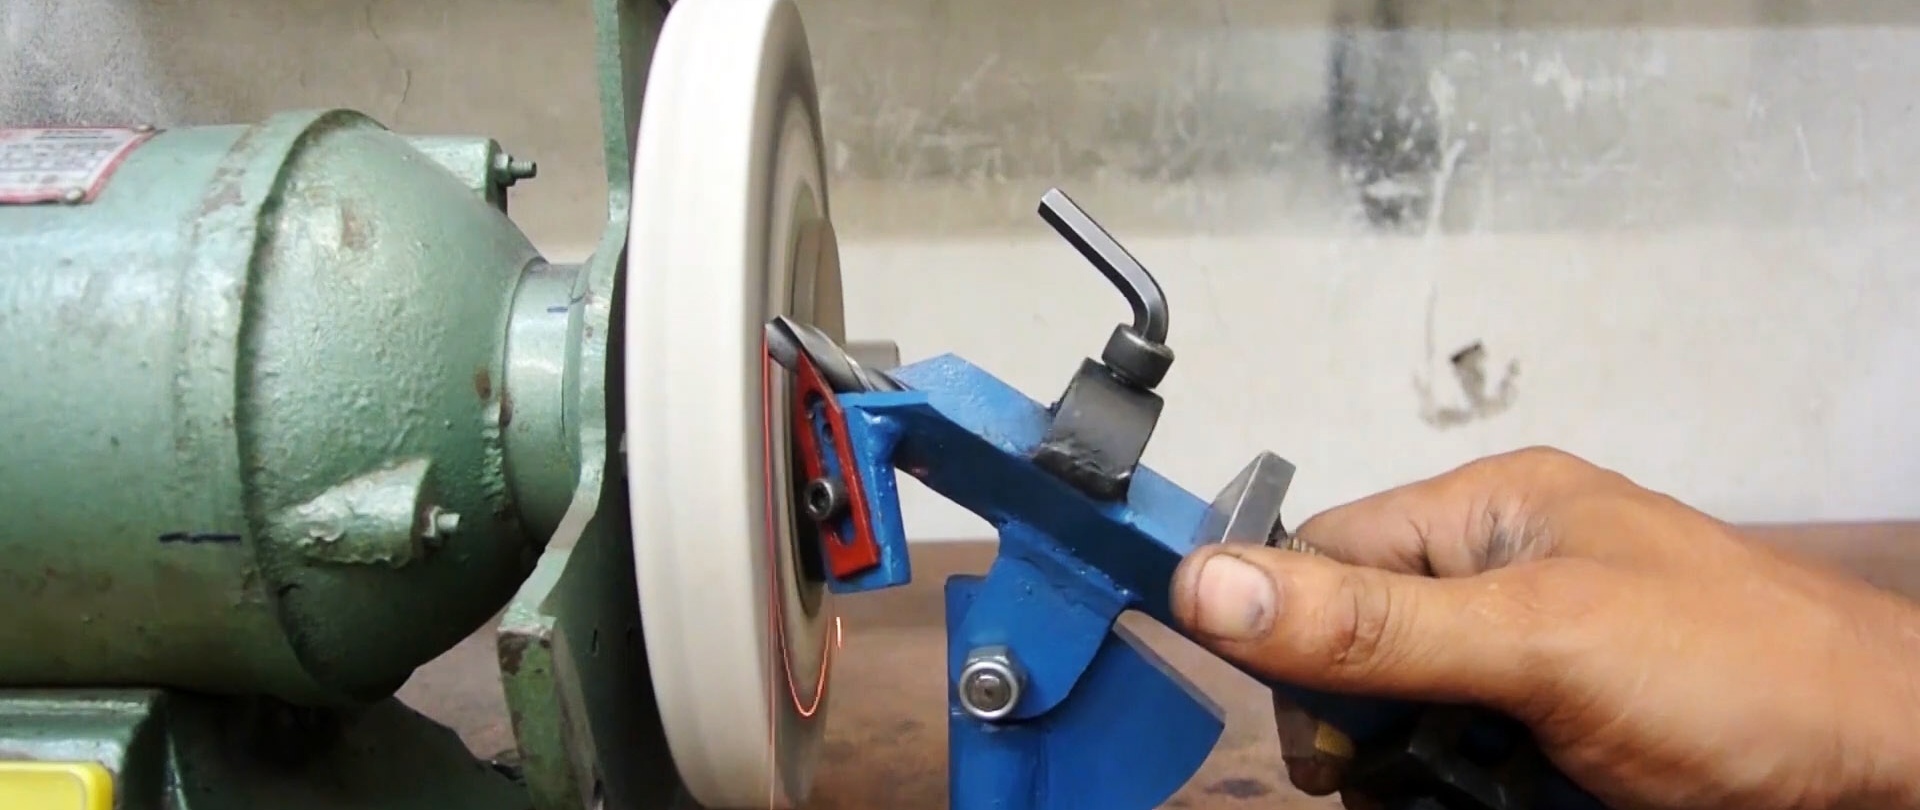
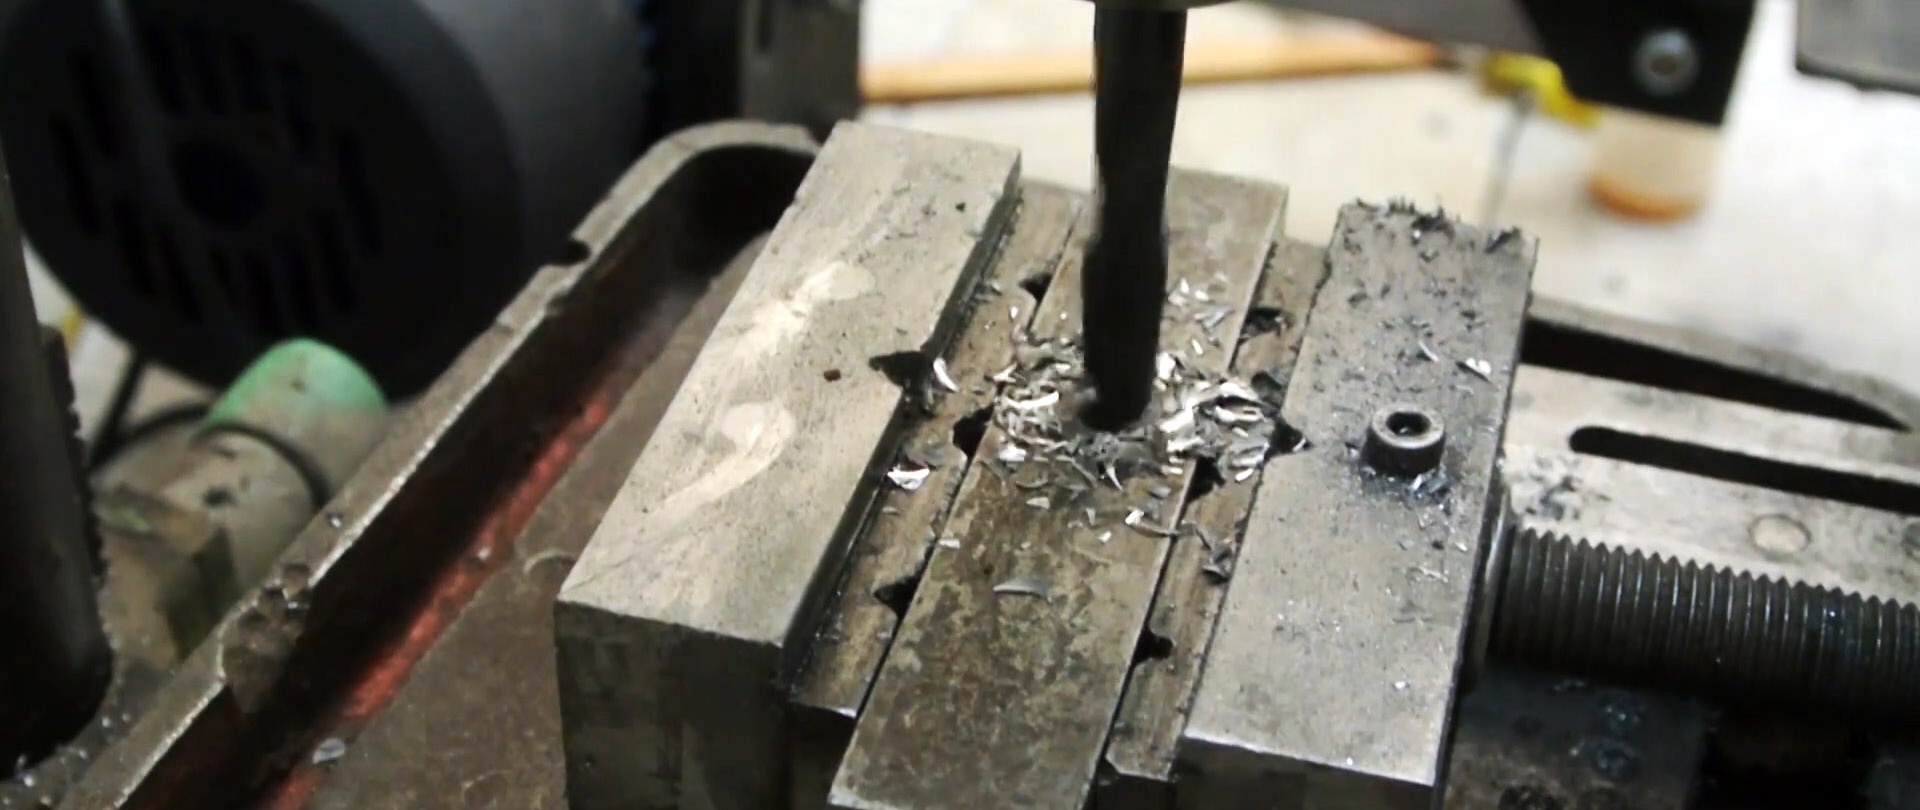
Turn on the emery and sharpen the drill, turning the device relative to the emery.
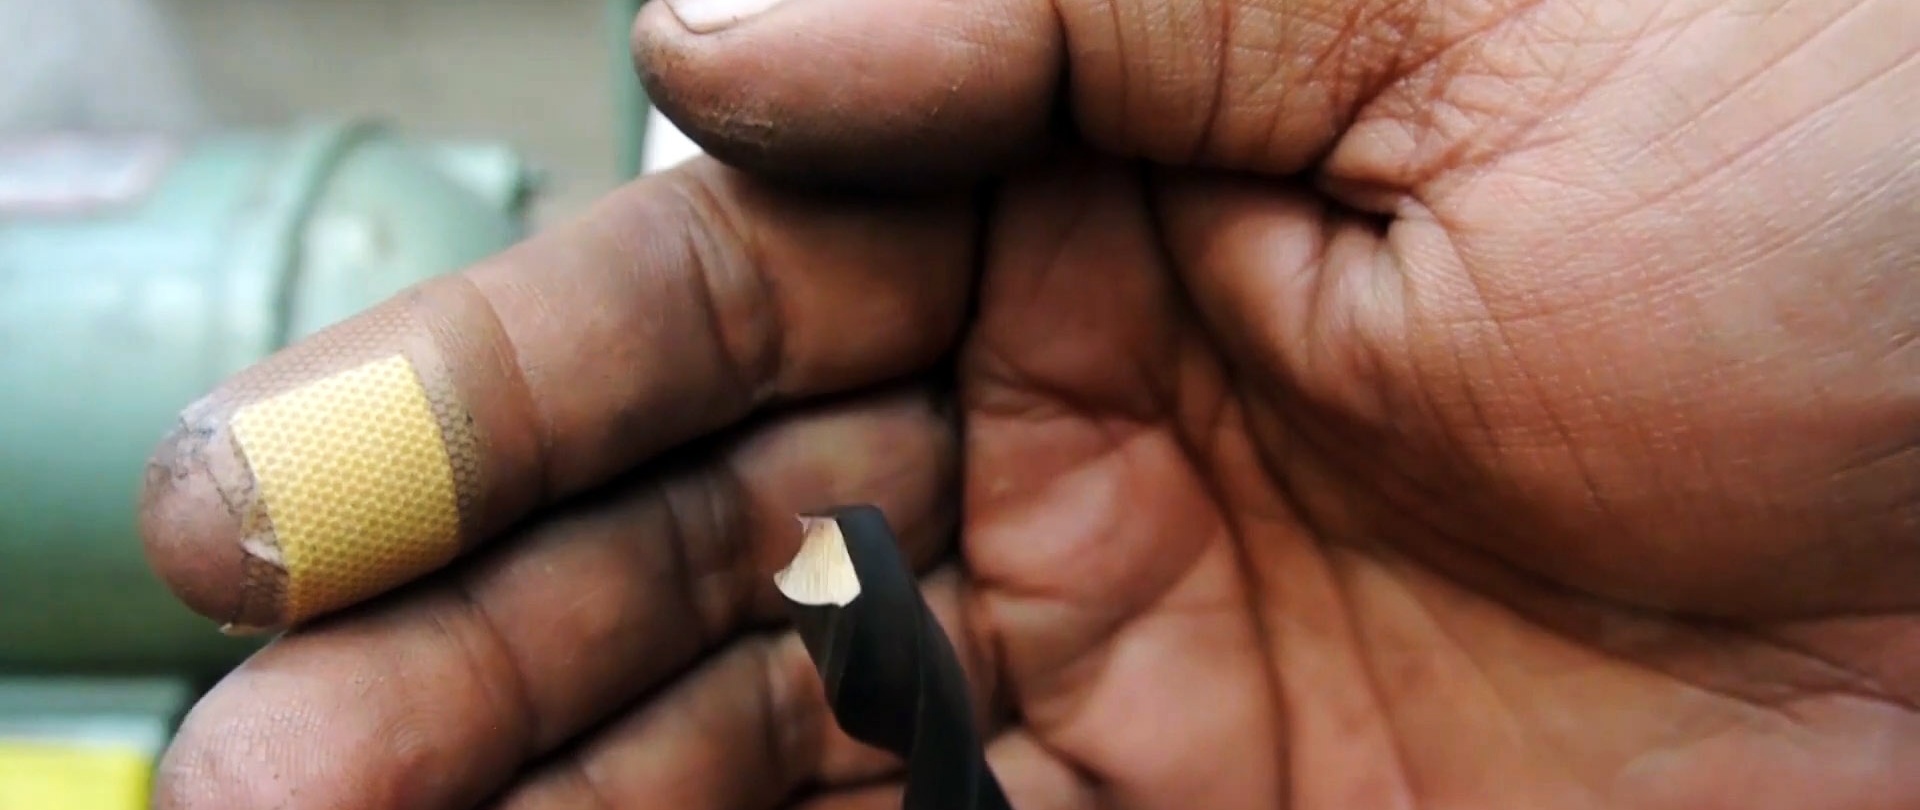
After sharpening, it easily drills a 25x25 mm rod.
Ready-made tools from AliExpress for sharpening drills - http://alii.pub/61uqqv