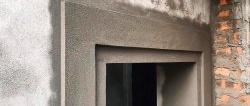
Sometimes when plastering facades, an imitation column is made at the corners. If the transitions in its diameter are made at right angles, then the finished product will not look the best. Transitions with curves look beautiful. But even a person who is capable of excellent plastering does not always know how to do them. Here, simply throwing the solution over the beacons will not work. Requires special equipment.

Tools:
- Trowel;
- rail;
- ironer;
- paint brush.
The process of plastering transitions
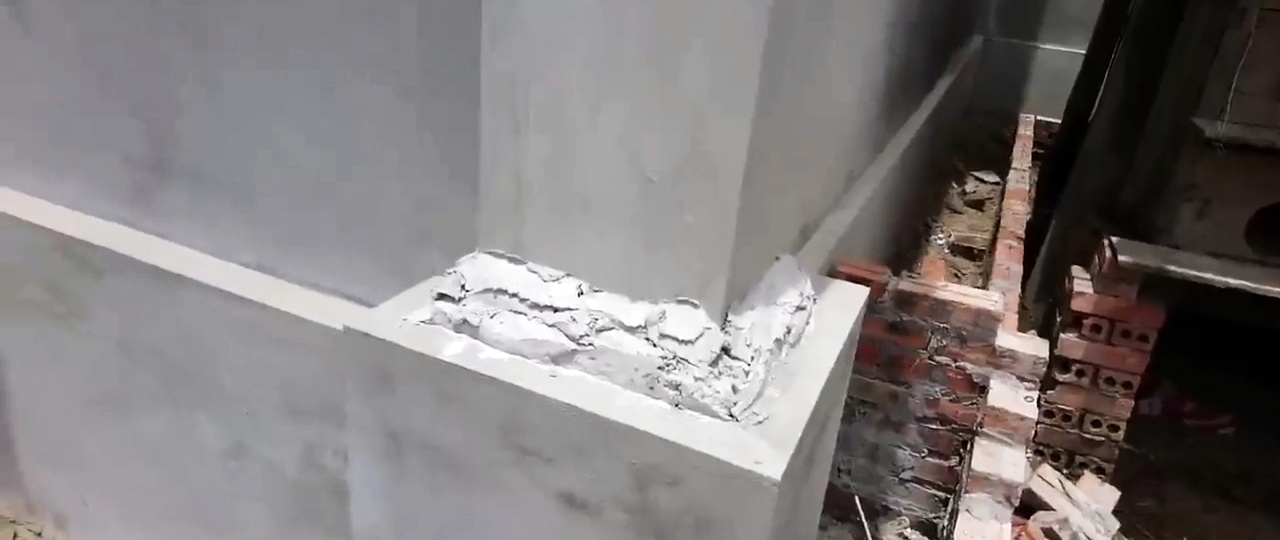
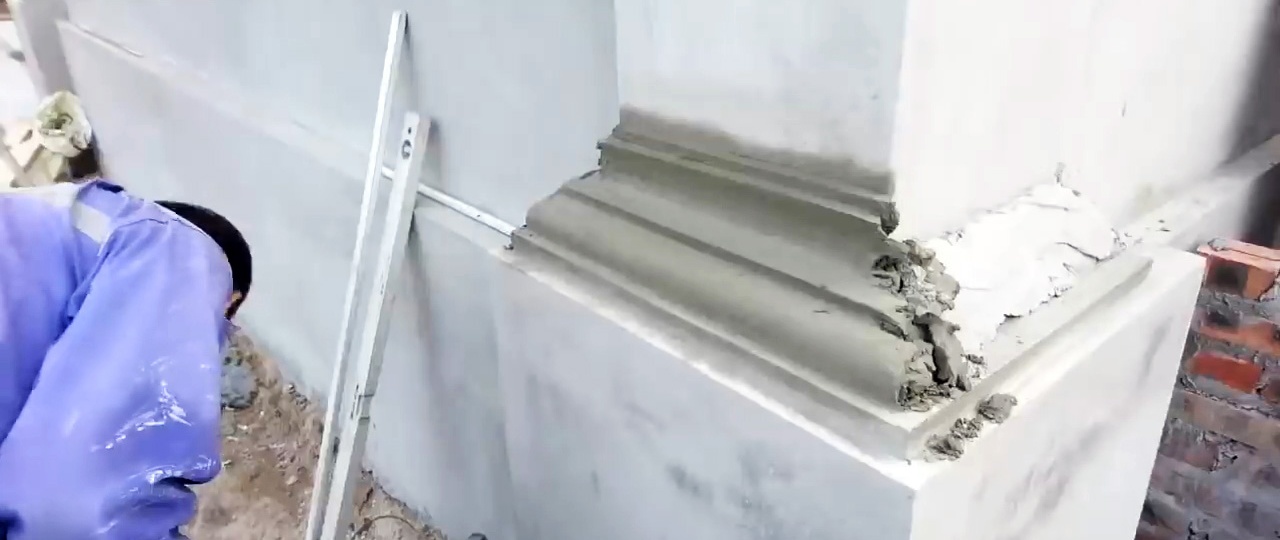
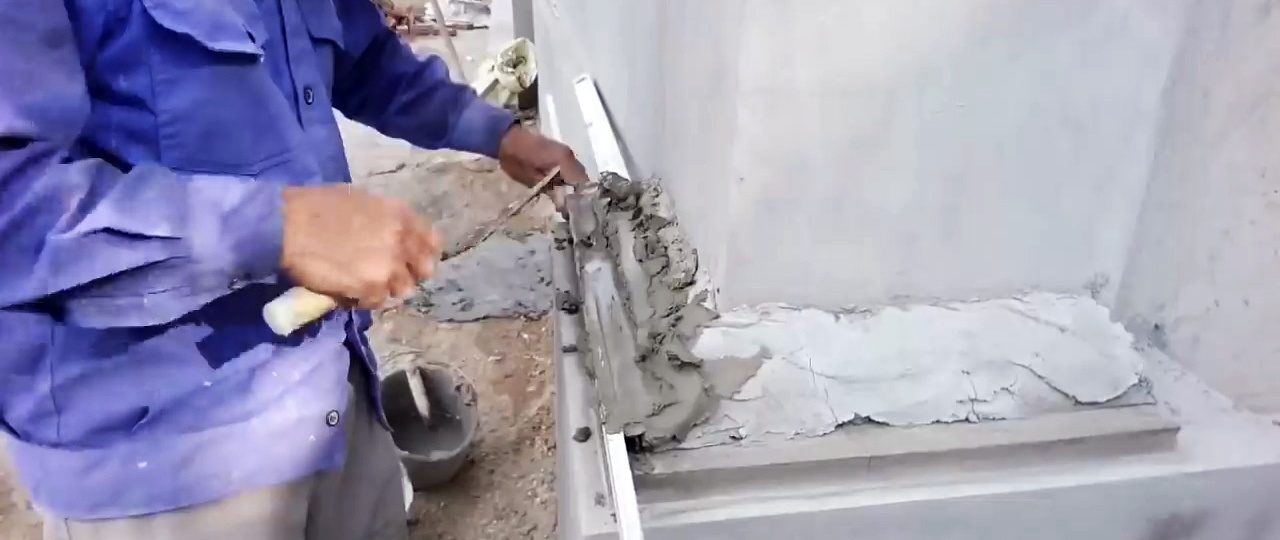
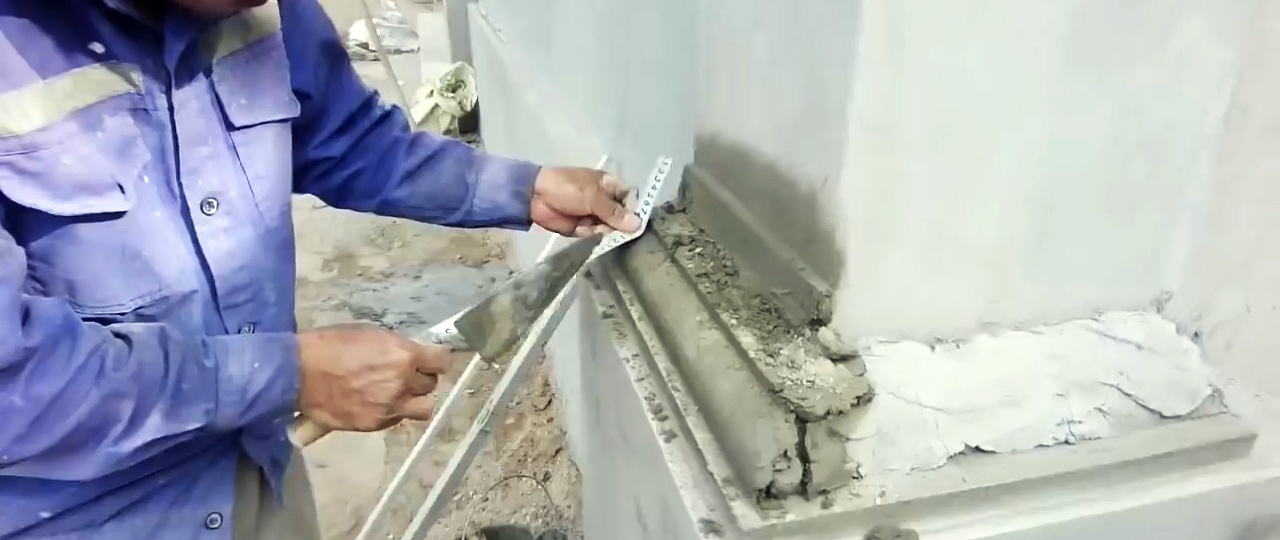
To simplify the work, first make the angular base of the column according to the rule. The step performs at a right angle. In order to further minimize shrinkage during the formation of the transition, a little solution is poured into the corners and not smoothed out for better adhesion.
Plaster is applied to the rough dried transition. To limit it, a rail is applied along the line of the lower step. The solution is smoothed over it. The rail is removed, and the resulting step is brought to perfection with a smoothing iron.
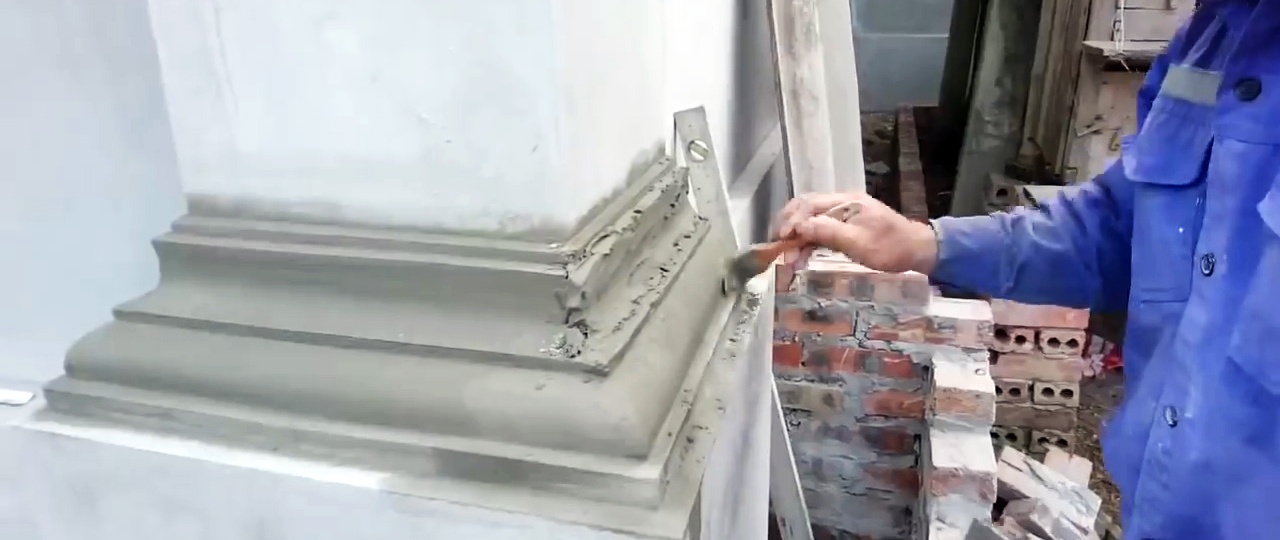
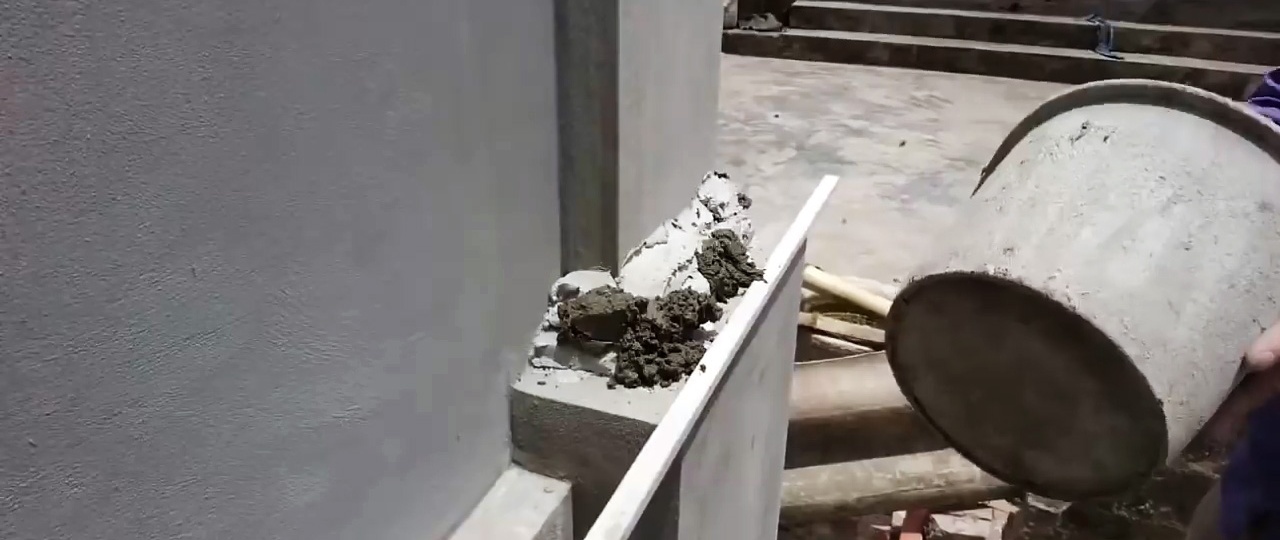
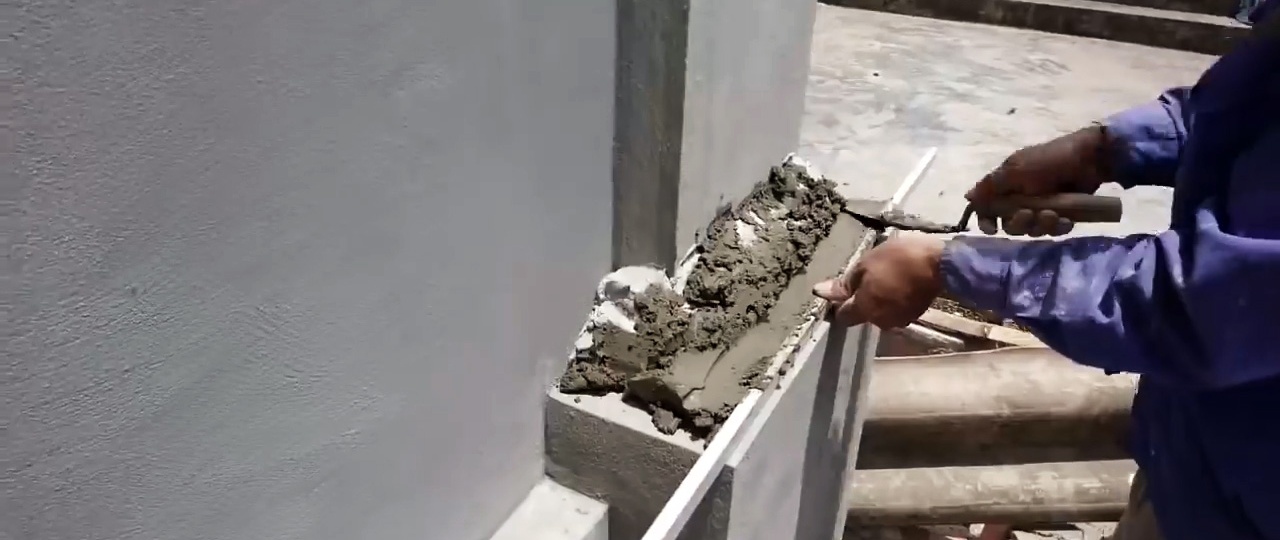
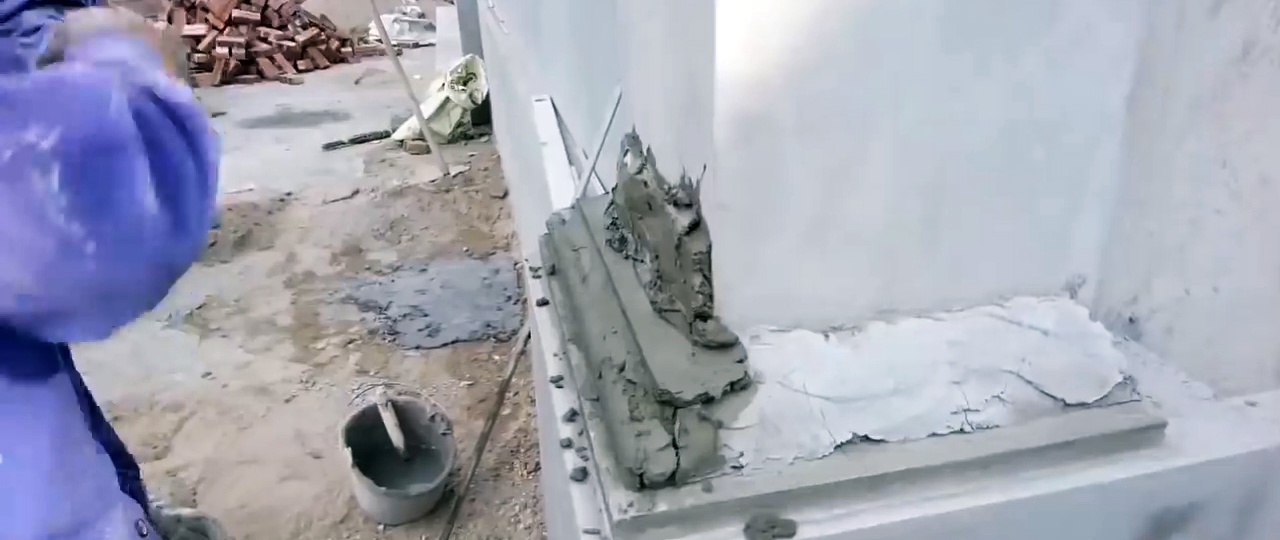
Next, there is a pause for the plaster to set.A lath is applied to the formed step in the same way, and the same thing is done. But now we need not a right angle, but a radius one. To do this, it is trimmed with the same strip, as a rule. To smooth out the bend, it should be rubbed with a wet brush.

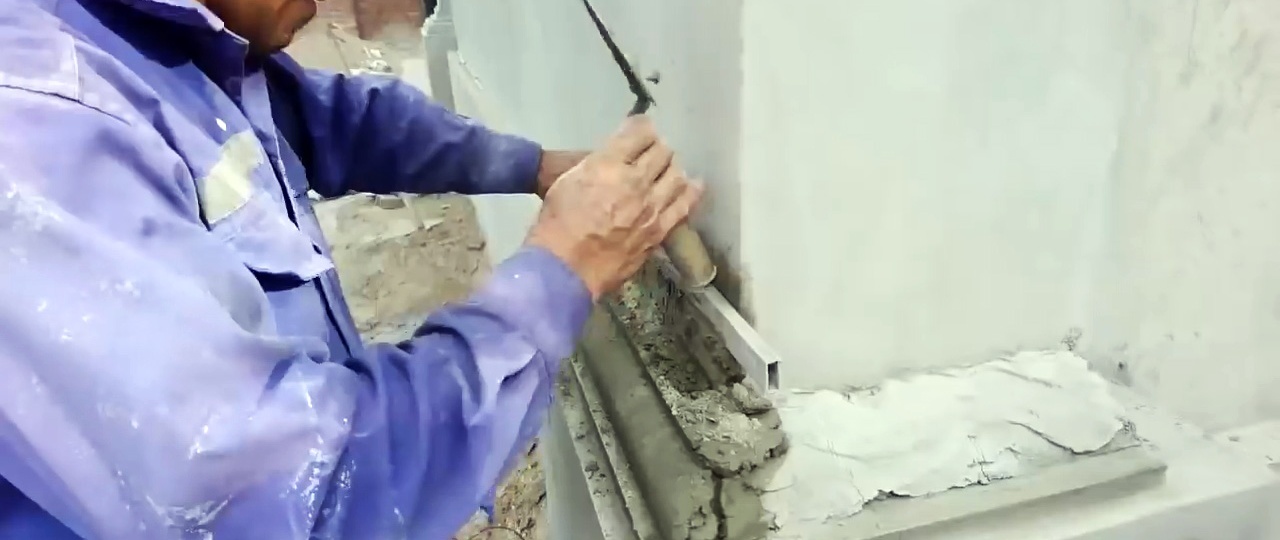
To complete the transition, another step is made, but with a radius bend inward. To do this, an even angle is applied along the rail above the first bend. After this, the last step is formed at the top. Then between these straight lines you need to plaster a concave radius bend. To do this, apply a solution and cut it off.
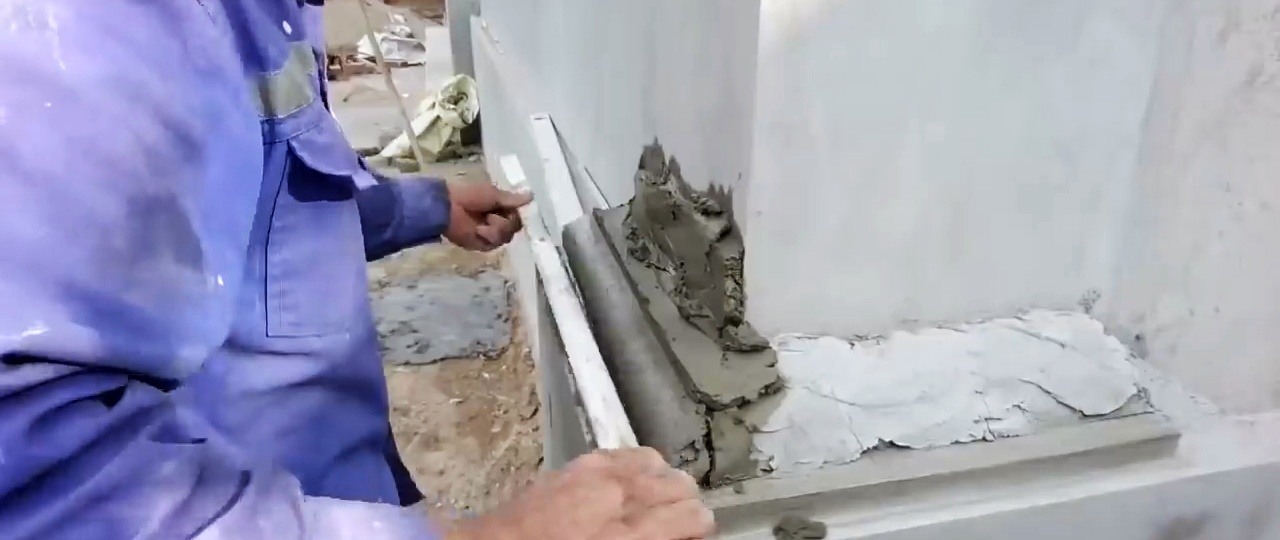
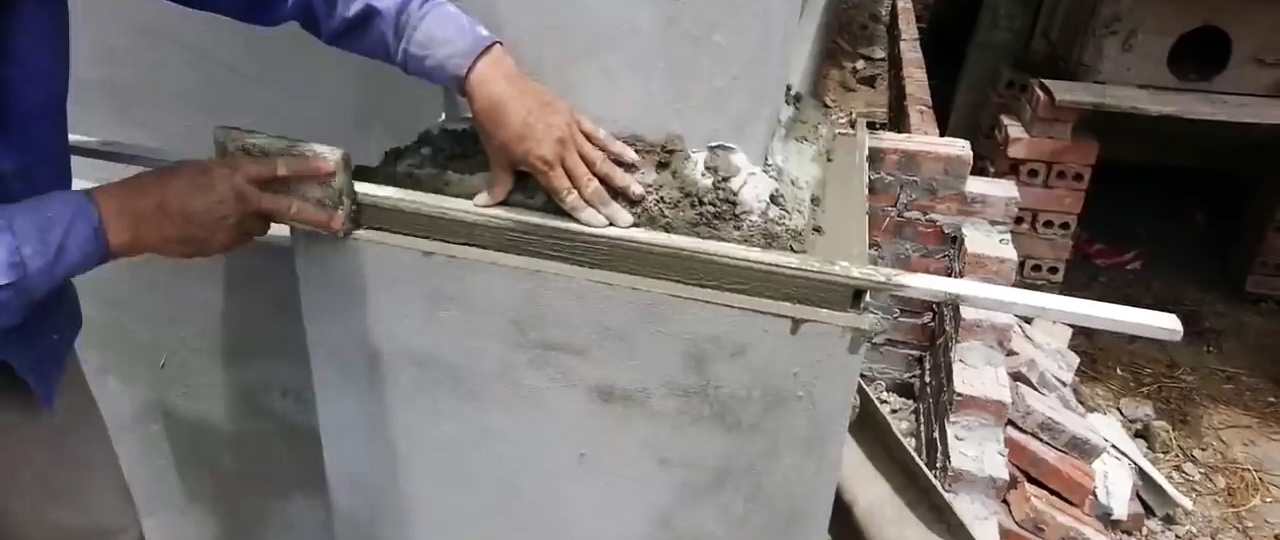
In thin, fragile places, the mortar can be strengthened by sprinkling with clean cement. Smoothing is done with a wet brush. Parallelism is checked with a level, or the width of the steps is measured with a tape measure.

After completing one side of the column, you need to move on to the next, without waiting for the first half to completely harden. This will make it easier to trim the corner at the junction of the planes in the future. If damage to the first half occurs during work, they must be immediately covered with solution. As a result, we get a perfect transition without the use of specialized rounded tools.