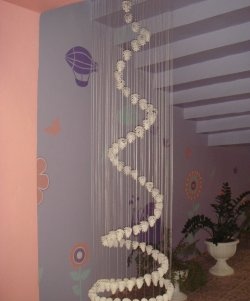
To decorate the facade, you can use various decors such as moldings, cornices, rustication. Most often, foam elements are purchased and glued to the wall. It looks beautiful, but does not have mechanical strength. The highest aerobatics is the creation of plaster decors. They are practically eternal, and can also be restored. Let's look at how you can make a plastering decor in the form of a spiral.
Materials:
- Cement plaster;
- Nails;
- stainless steel wire.
The process of creating a plaster spiral
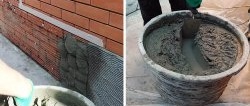
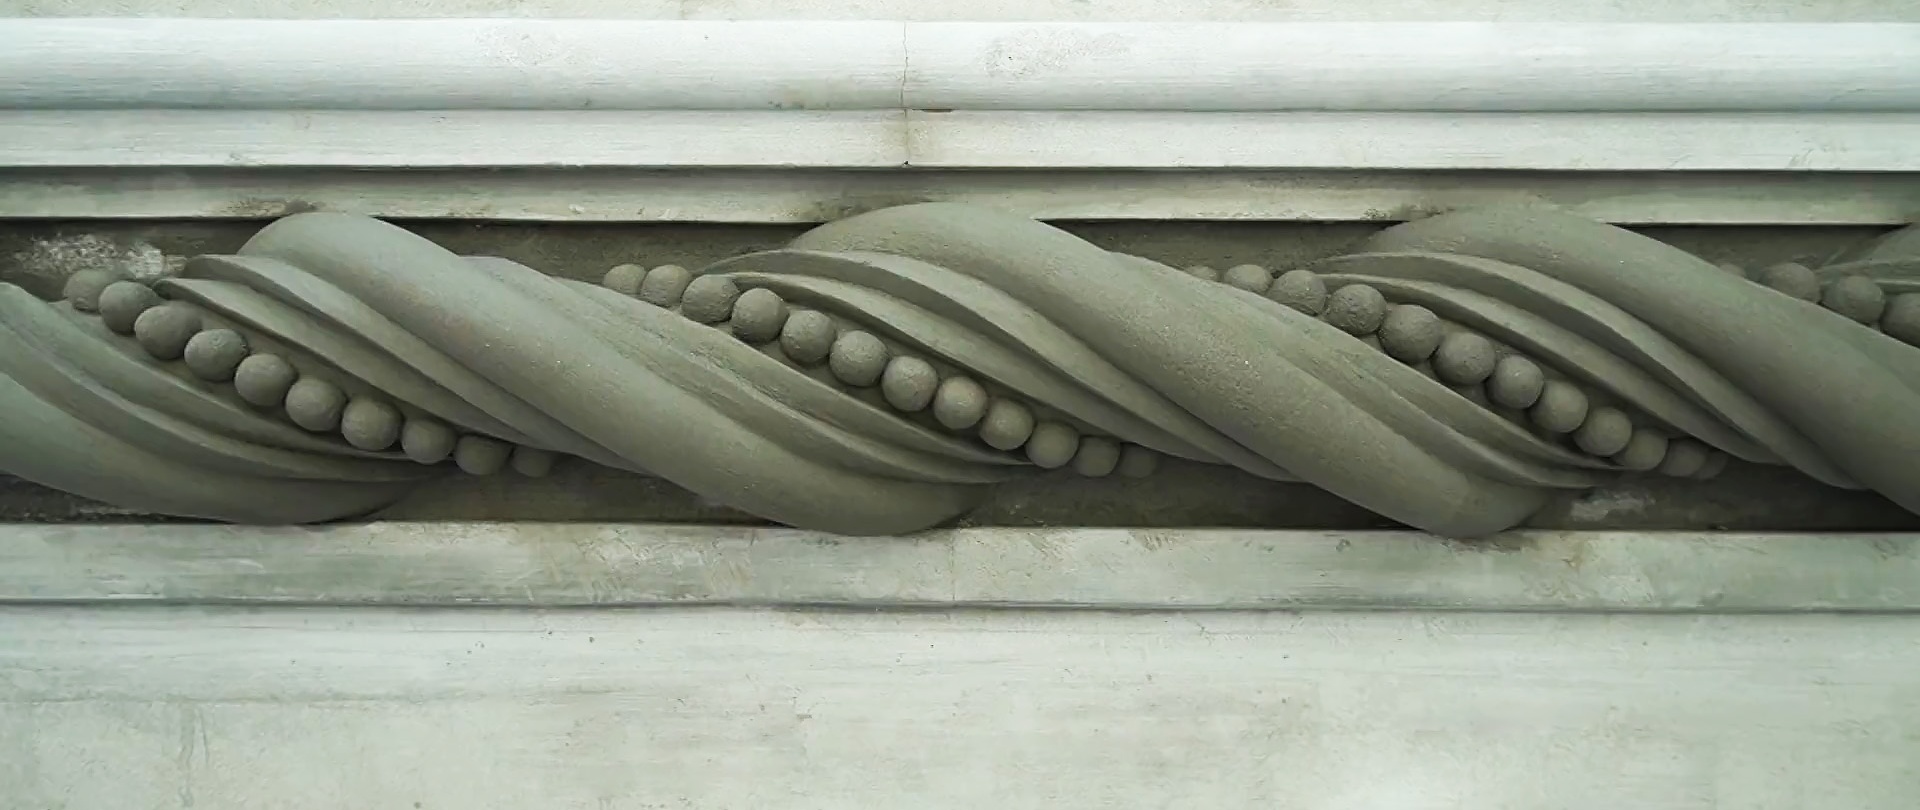
To keep the spiral on the facade, you need to make a reinforcing frame underneath it. To do this, nails are driven into the wall and a bundle of wire is wound around them. If the wall material does not allow this, then you will have to drill for dowels. The frame must be present, since the mass of the plaster spiral is large, and the contact area with the facade is insufficient for the cement to adhere 100% reliably.
For work, it is optimal to use a cement plaster mortar with fiber fiber.
Note: How to mix an obedient and durable cement mortar for finishing a facade in the autumn-spring period - https://enn.washerhouse.com/8138-kak-zameshat-poslushnyj-i-prochnyj-cementnyj-rastvor-dlja-otdelki-fasada-v-period-osen-vesna.html
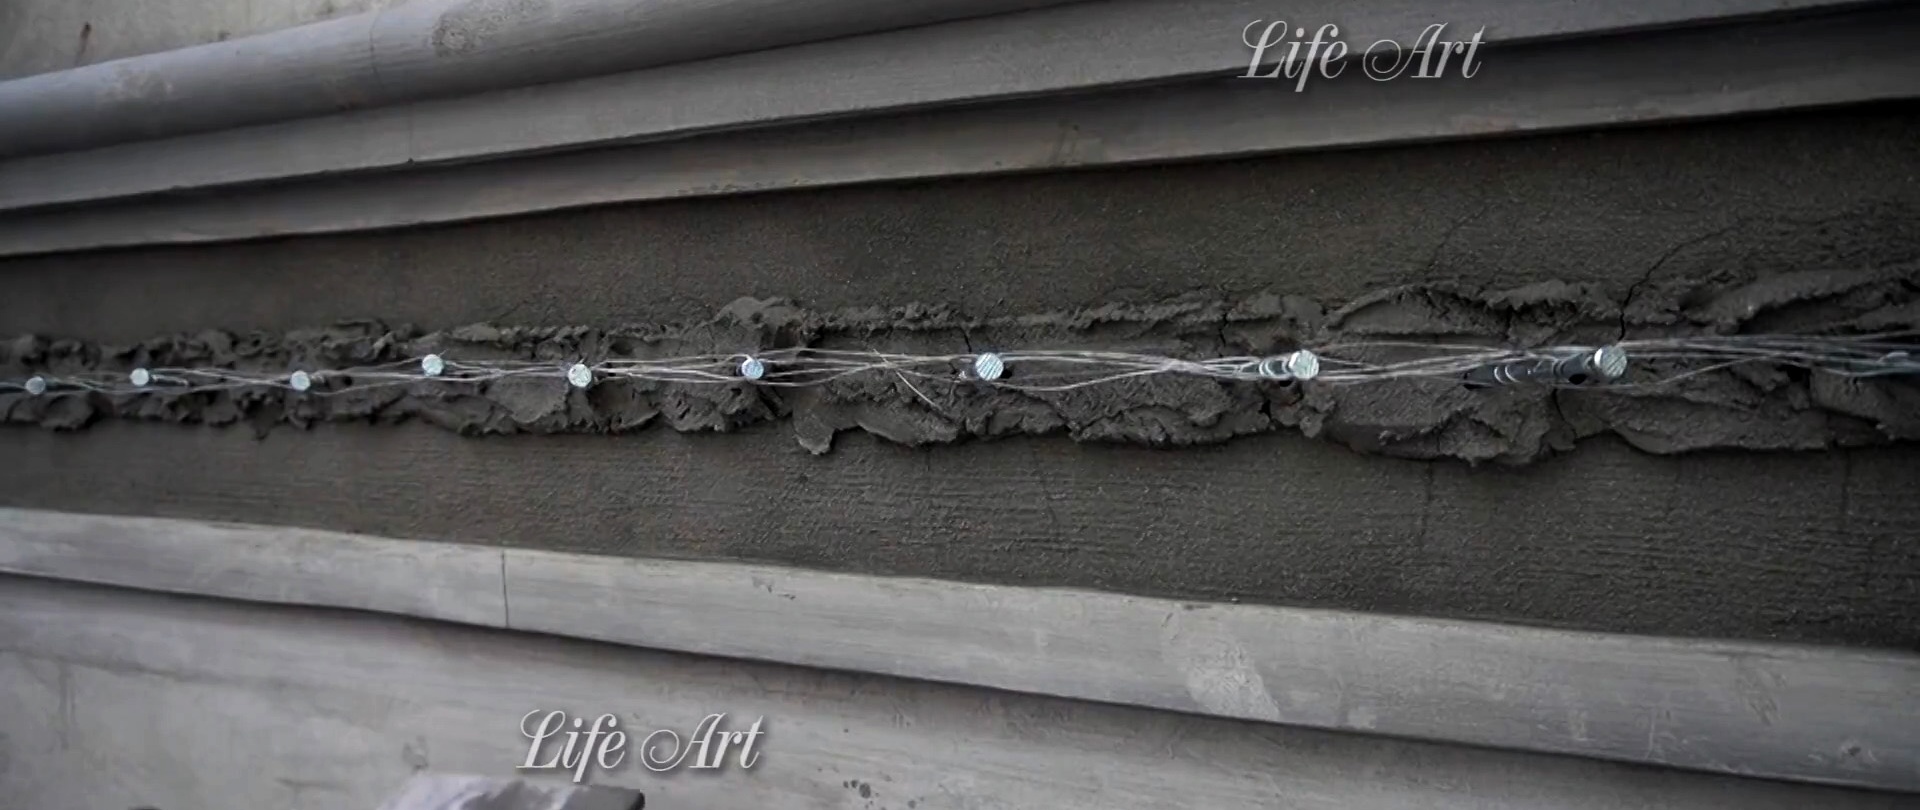
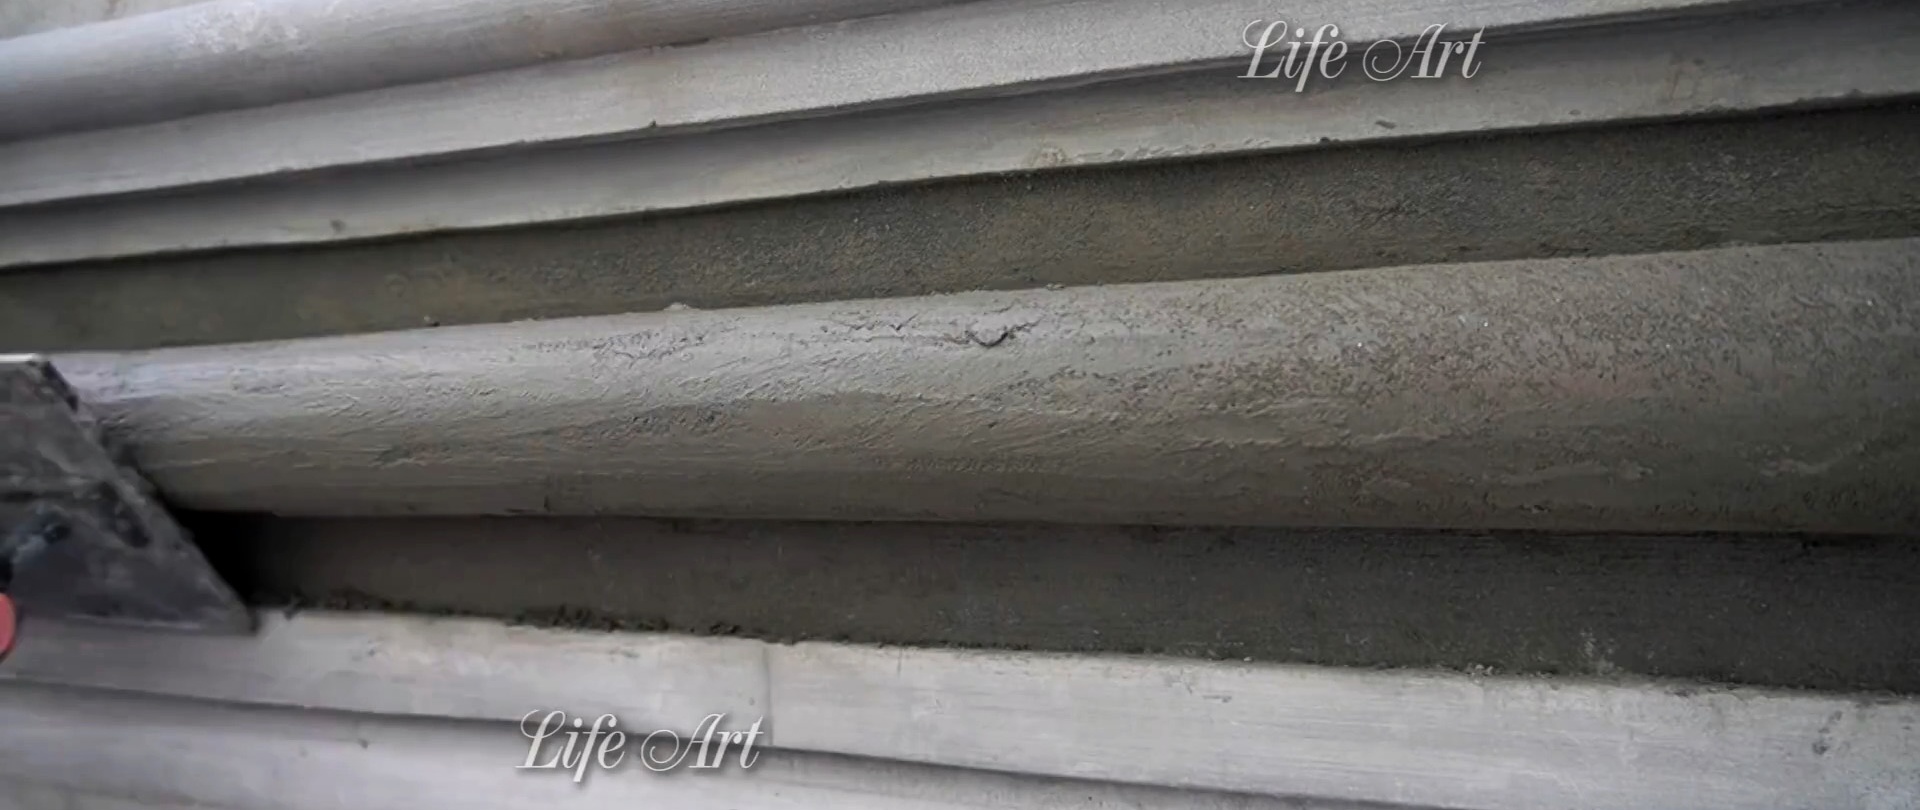
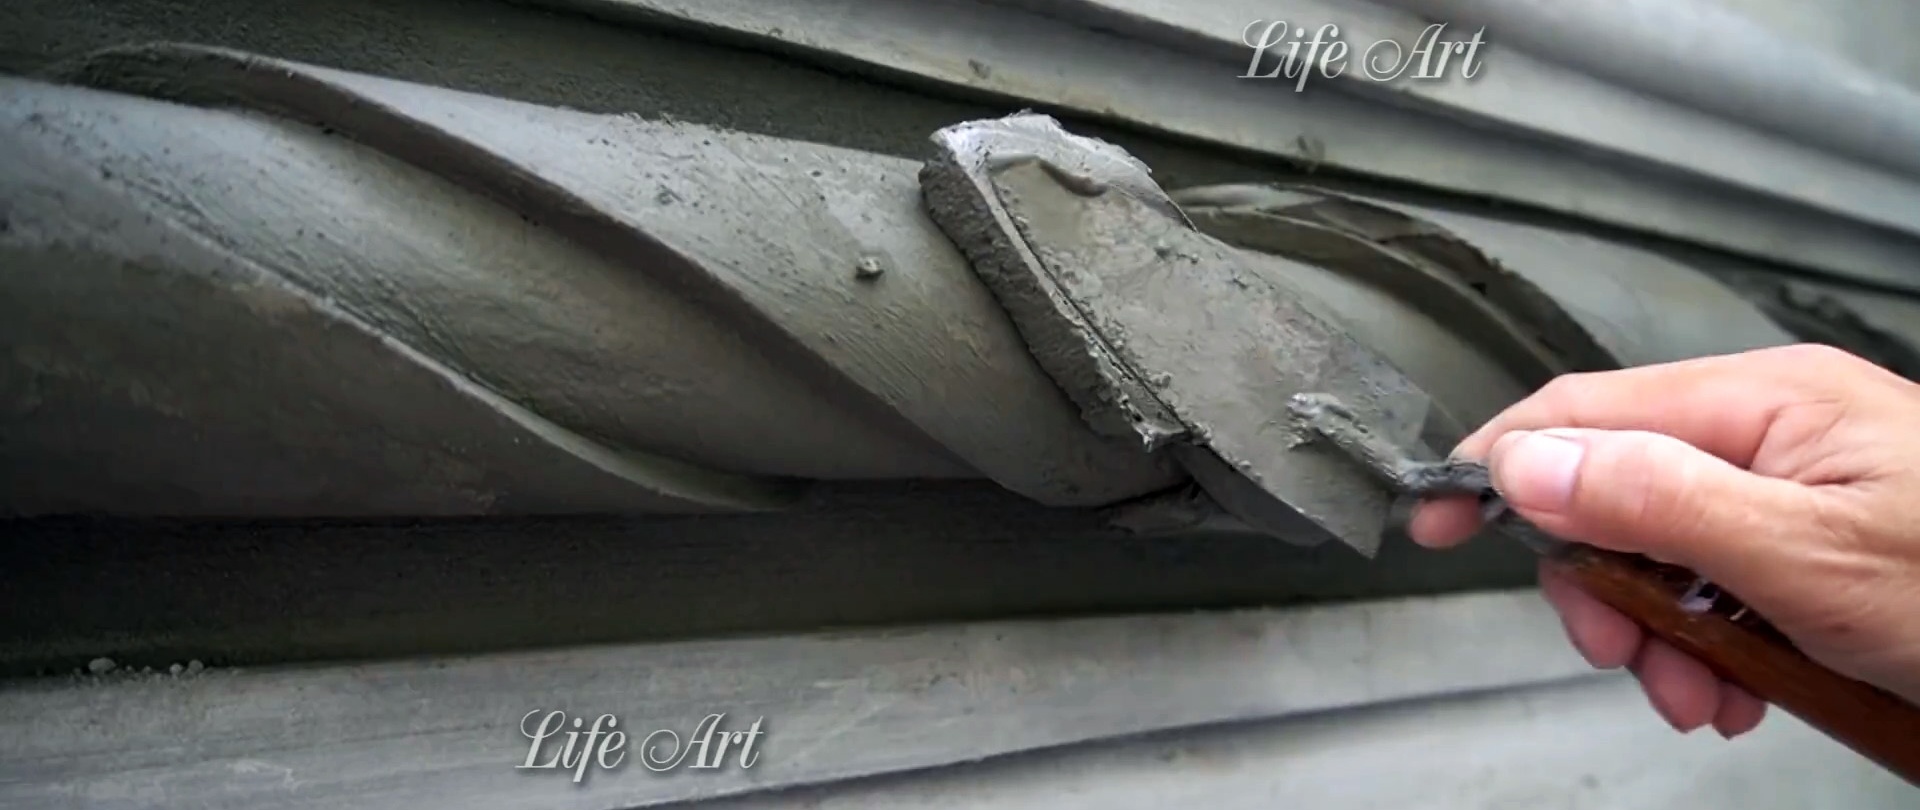
It is applied to the frame with a small trowel. First you need to make a rounded base for the spiral. The solution is distributed evenly and rounded off using the rule. You should get a straight, smooth plank. Upon completion, it should be finished with a smoothing iron.

Let the base dry so that the plaster becomes dense, and mark oblique spiral lines on it. The width of the turns should be 100-150 mm. Then apply fresh solution. The jibs imitating a spiral are aligned using the rule. The tool must be pulled not just upward, as when plastering walls, but with a shift forward in the direction of the turns.

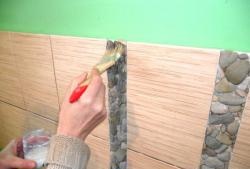
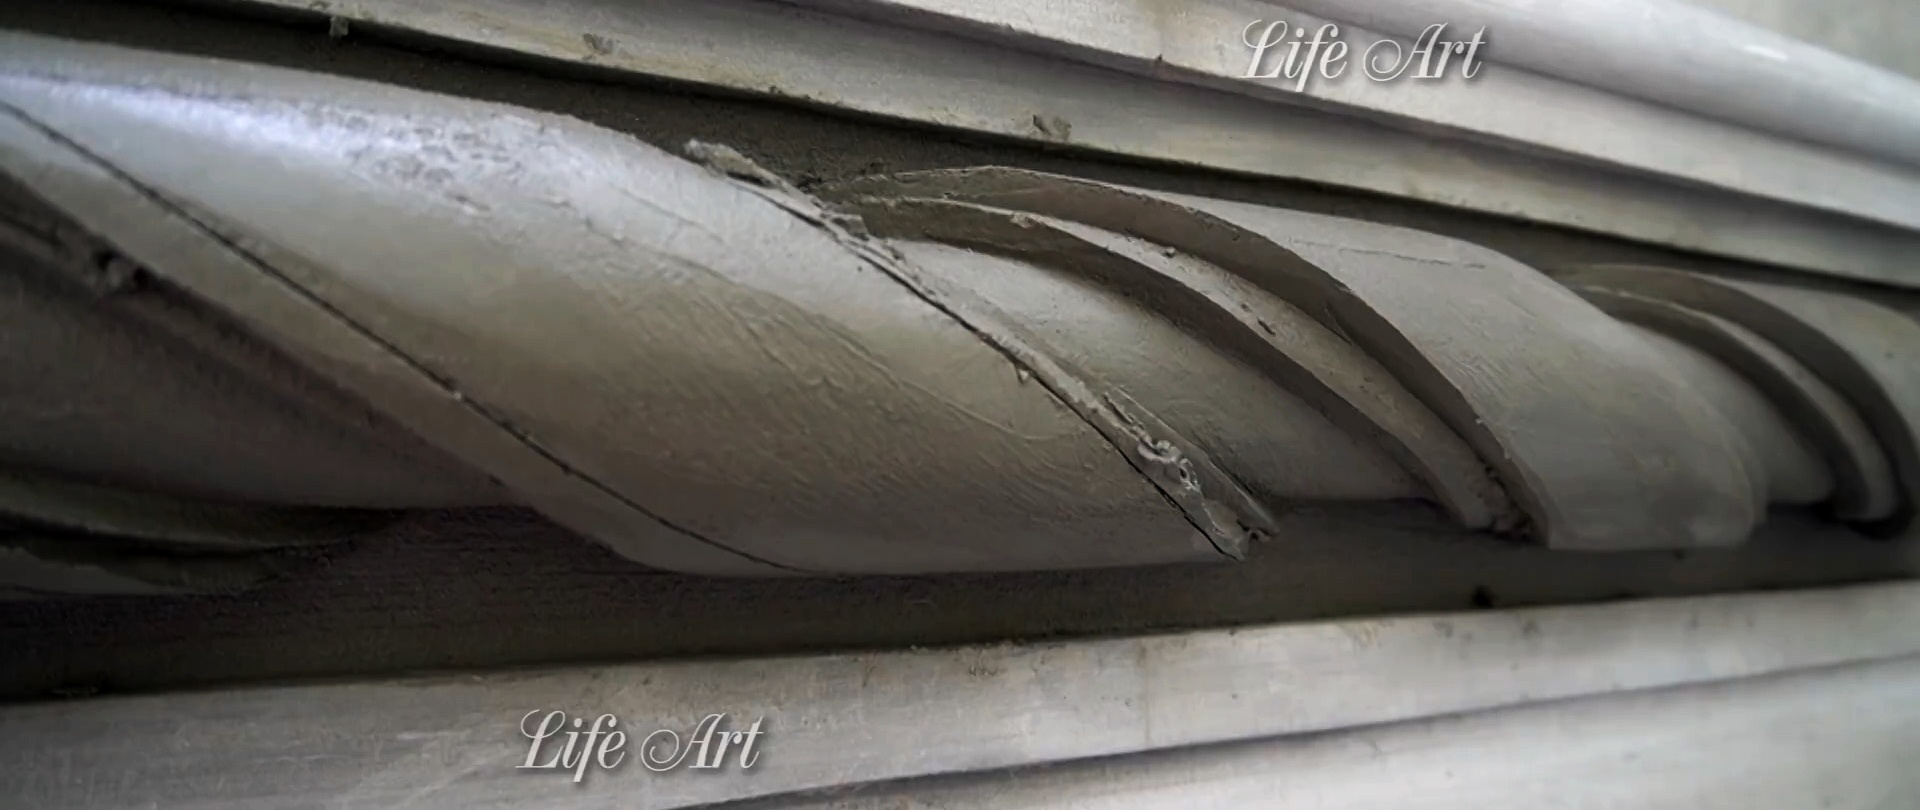
When this layer has slightly set and stops slipping, you need to trim the spiral turns from the sides with a knife or a convenient trowel. We remove the cut plaster and immediately trim the corners. At the end of this stage they should already be perfect. Then we smooth the decor with a brush dipped in water.


We wait a little longer and apply a third layer of plaster, simulating the next level of the spiral. These turns should be narrow. They are cut so as to obtain the step from the previous layer. Afterwards everything is trimmed in the same way and smoothed with a brush.
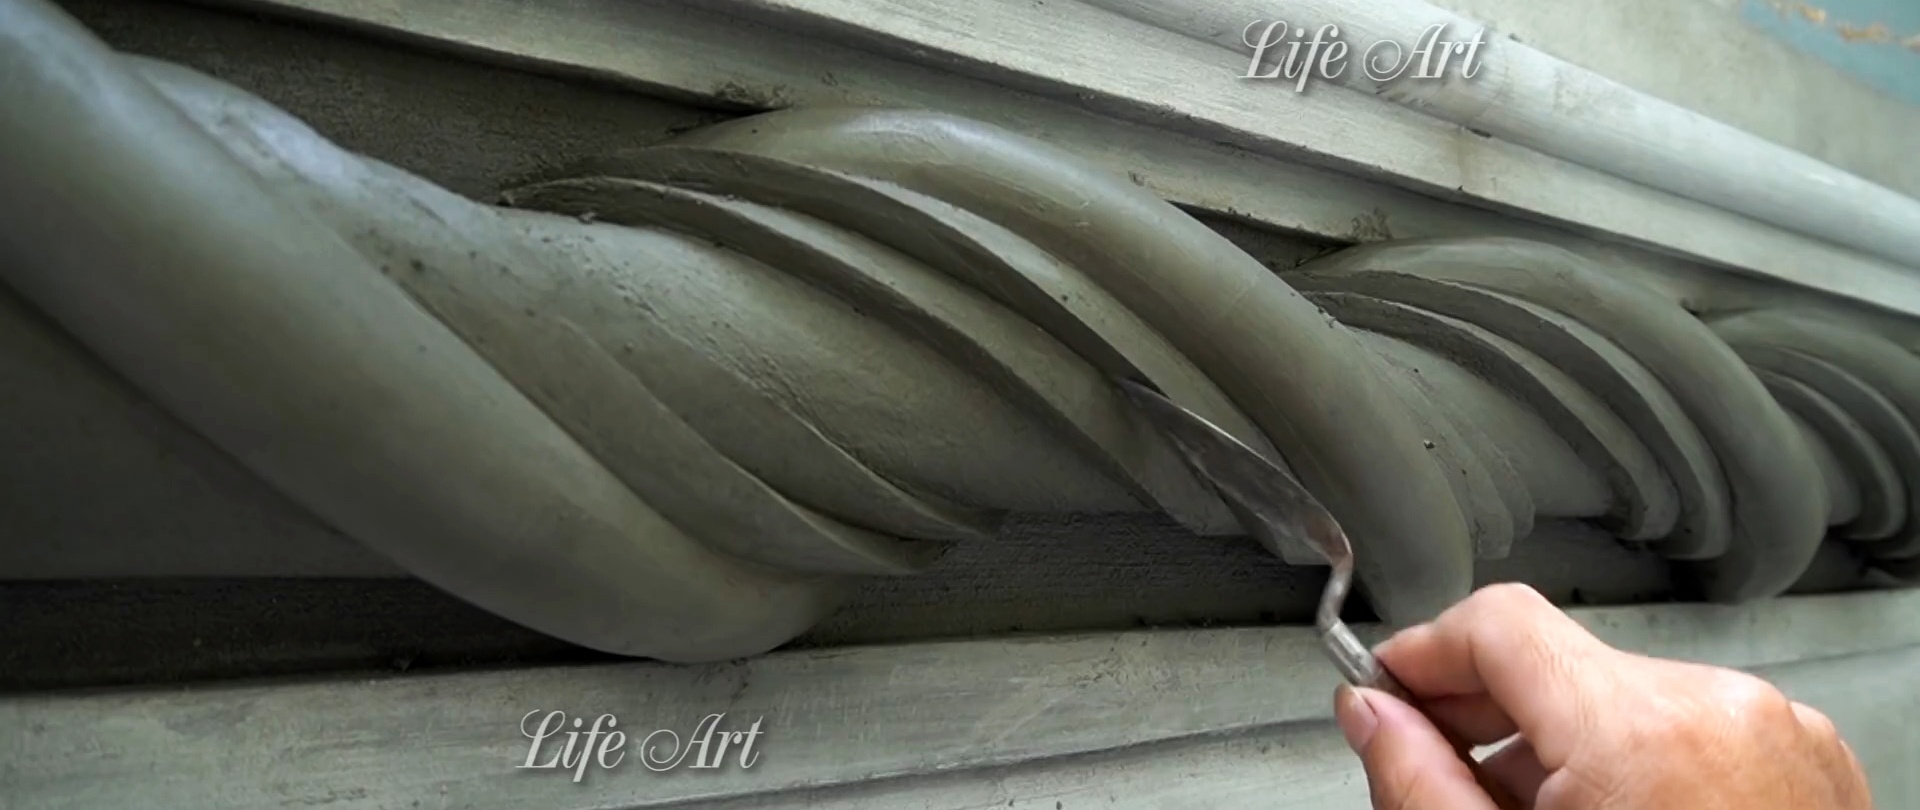
Now makes the last rounded layer of the spiral. A homemade tool is used for this. This is a plastic tube cut lengthwise with a glued handle. Again we wait until the plaster becomes denser, and cut off the excess, making neat transitions. We erase all the imperfections with a brush.


The final decorative touch will be halves of plaster balls glued between the turns of the spiral.You can roll them out of the solution with your palms, let it dry, and then cut them in half. These elements are glued already tightly, since fresh ones will crumple when pressed. For gluing, you can use a thin layer of fresh plaster as glue if the hemispheres do not stick without it.

Let the decor dry and then paint. As a result, we get something comparable to skillfully executed stucco, but made with our own hands. Cement plaster is an inexpensive material, so you can practice and redo the spiral until it turns out without defects.