Silicone is an excellent sealant with a wide temperature range of use and universal application. In addition to its practicality, with proper skill it also allows you to obtain a high-quality seam that is beautiful in every sense. Let us examine in detail the features of working with silicone sealant.
What you will need:
- Degreaser;
- napkin or rag;
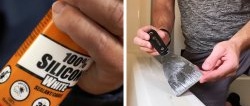
- silicone sealant;
- sealant gun;
- sprayer with soap solution;
- plastic curly spatula for silicone;
- paper towels or toilet paper;
- masking tape.
The process of applying a seam using a soap solution
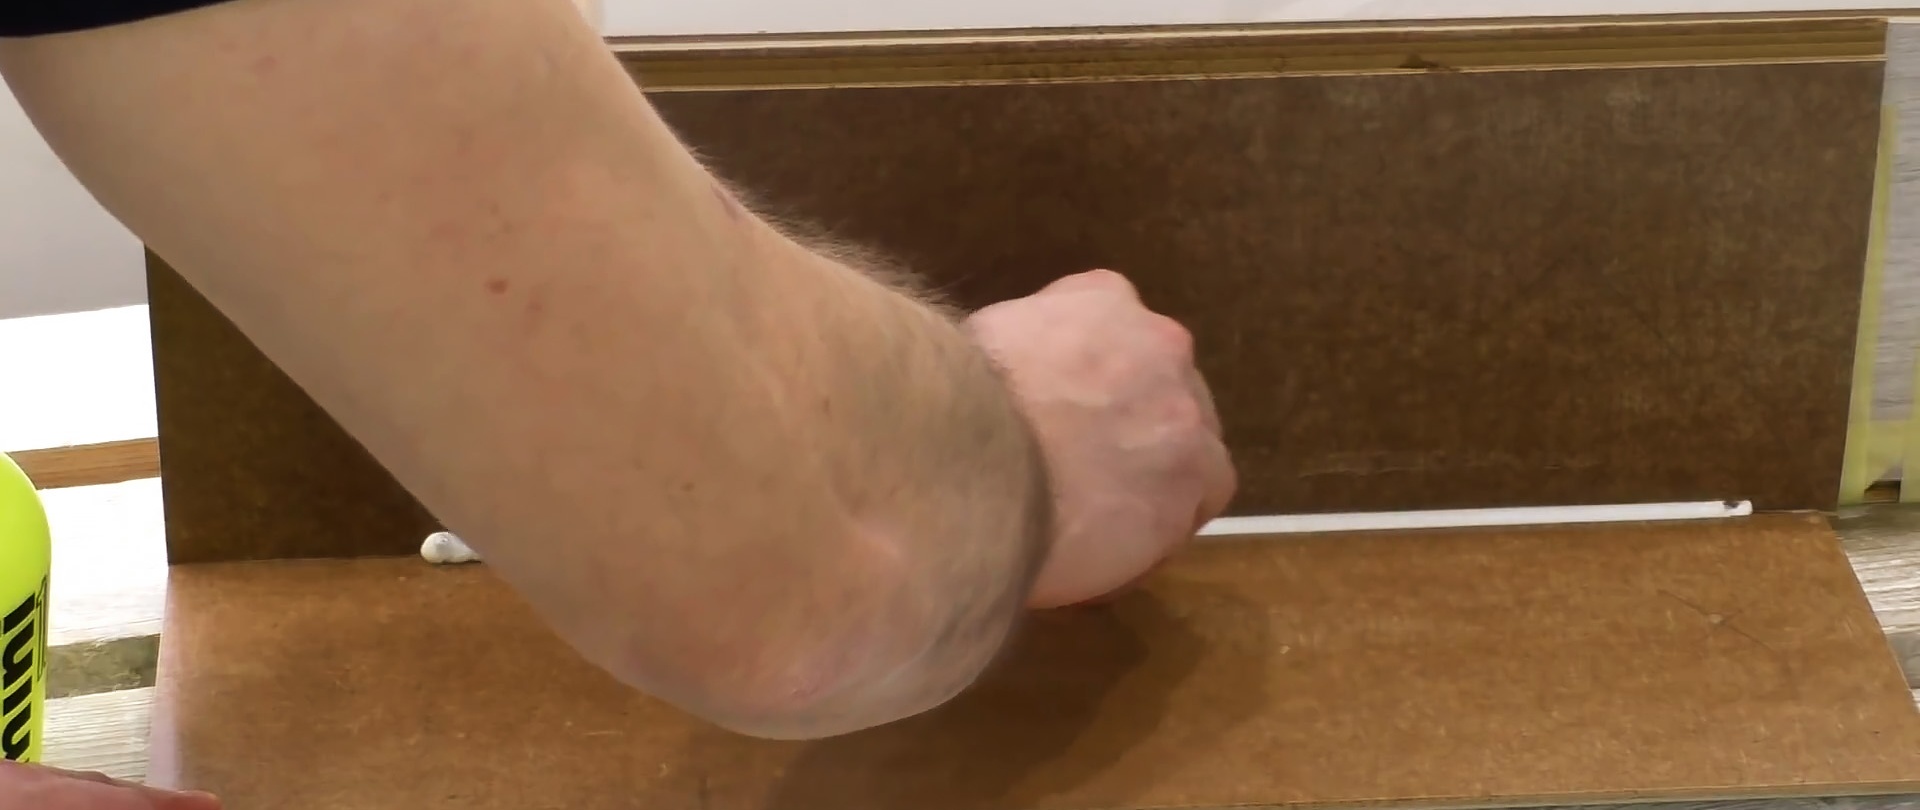
The surface on which silicone is to be applied must first be cleaned and degreased. Silicone is applied from the extreme point of the corner or junction of materials, the gap between which needs to be closed. It's better to squeeze it out more than less. It is important not to allow omissions. It is recommended to apply a seam no longer than 1 meter at a time.

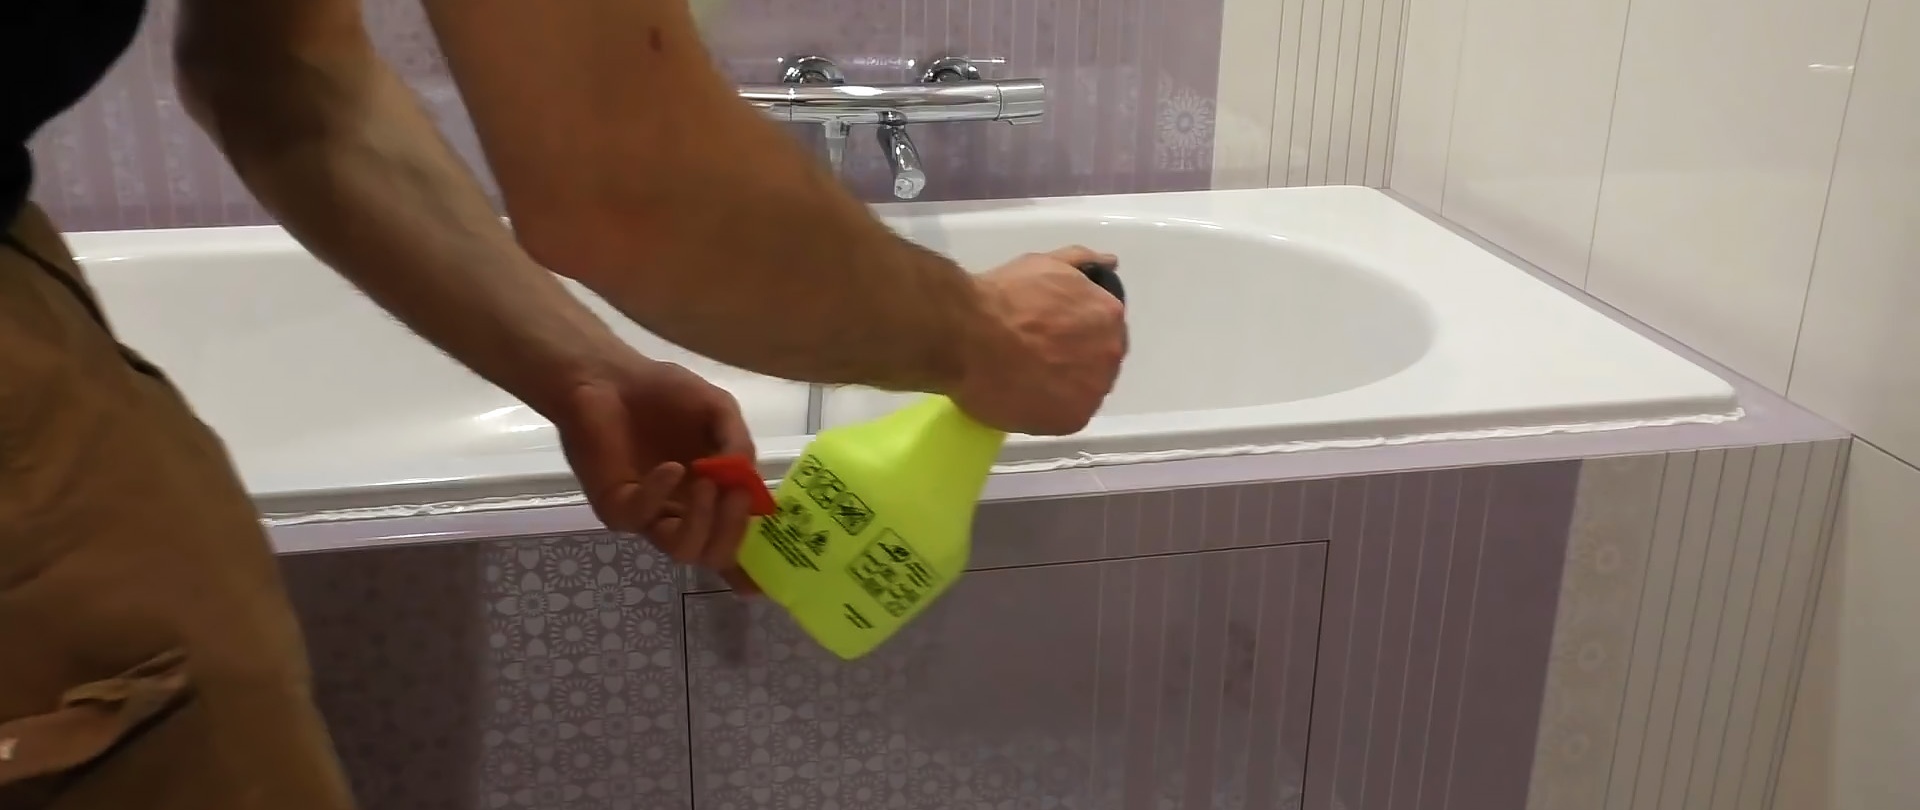
A soap solution is sprayed onto the silicone.It will wet the opening and adjacent surfaces and will not allow the excess sealant to stick when removing. It is important not to spray on the edge of the seam if it is not finished, and on surfaces where silicone will still be applied.

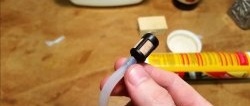
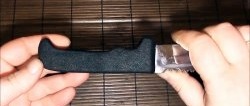
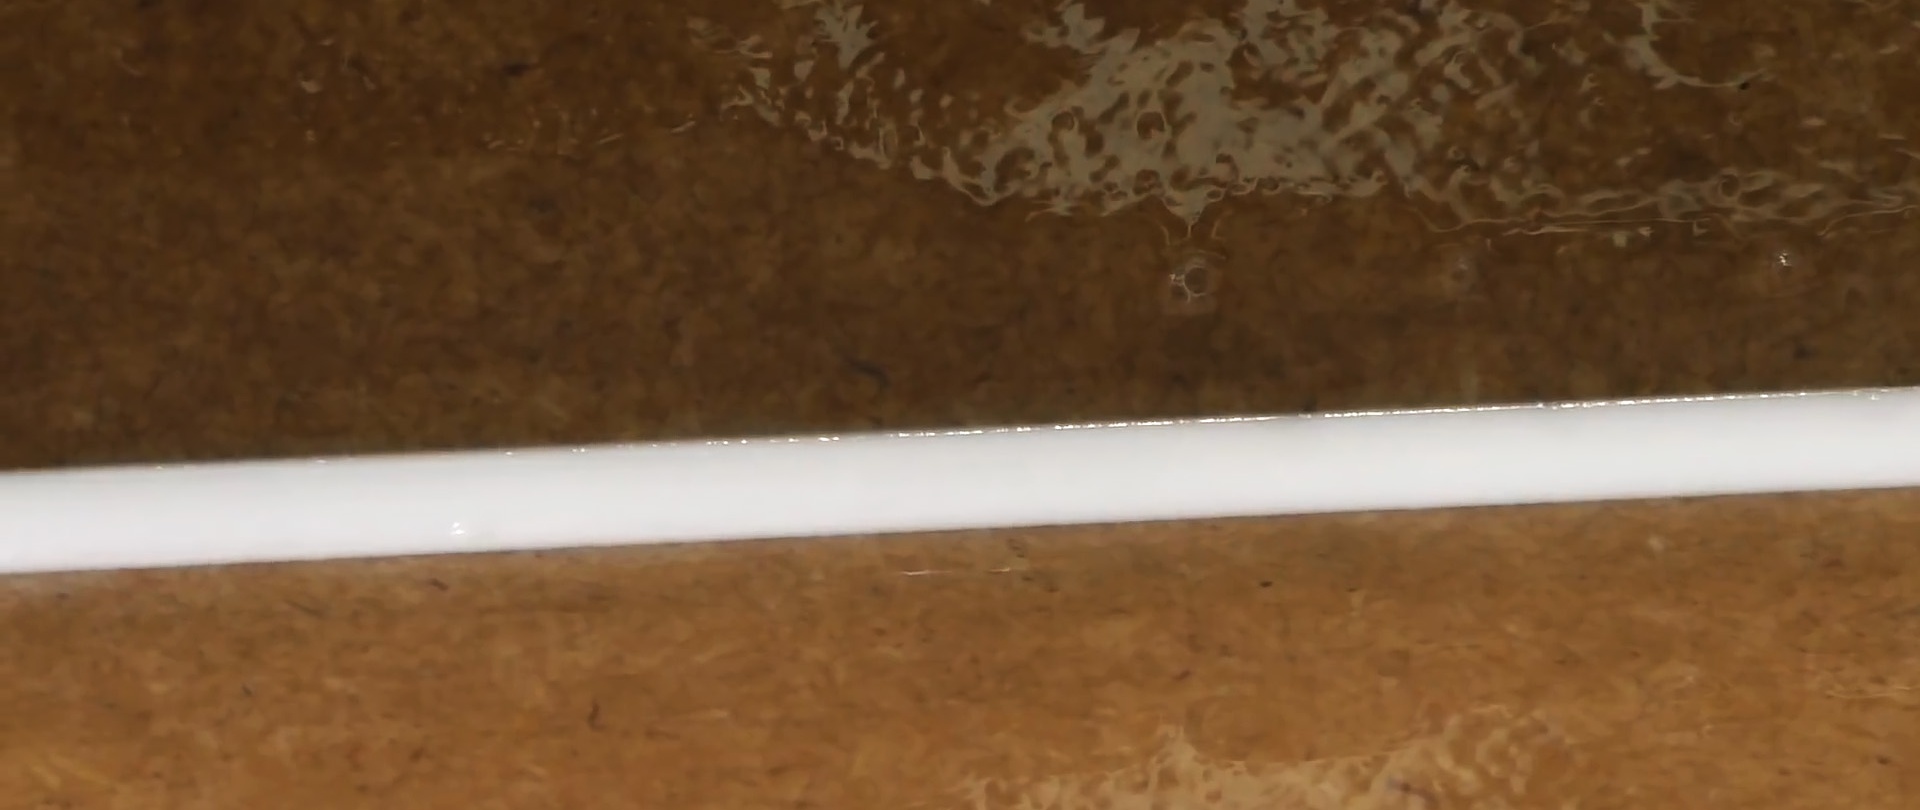
You also need to spray a soap solution onto a silicone spatula with a cut corner. If you don’t have such a tool, you can use a plastic card. The corner is cut off so that the cut length is 6 mm. Then use a wet spatula to run it along the seam in the corner, removing excess sealant.

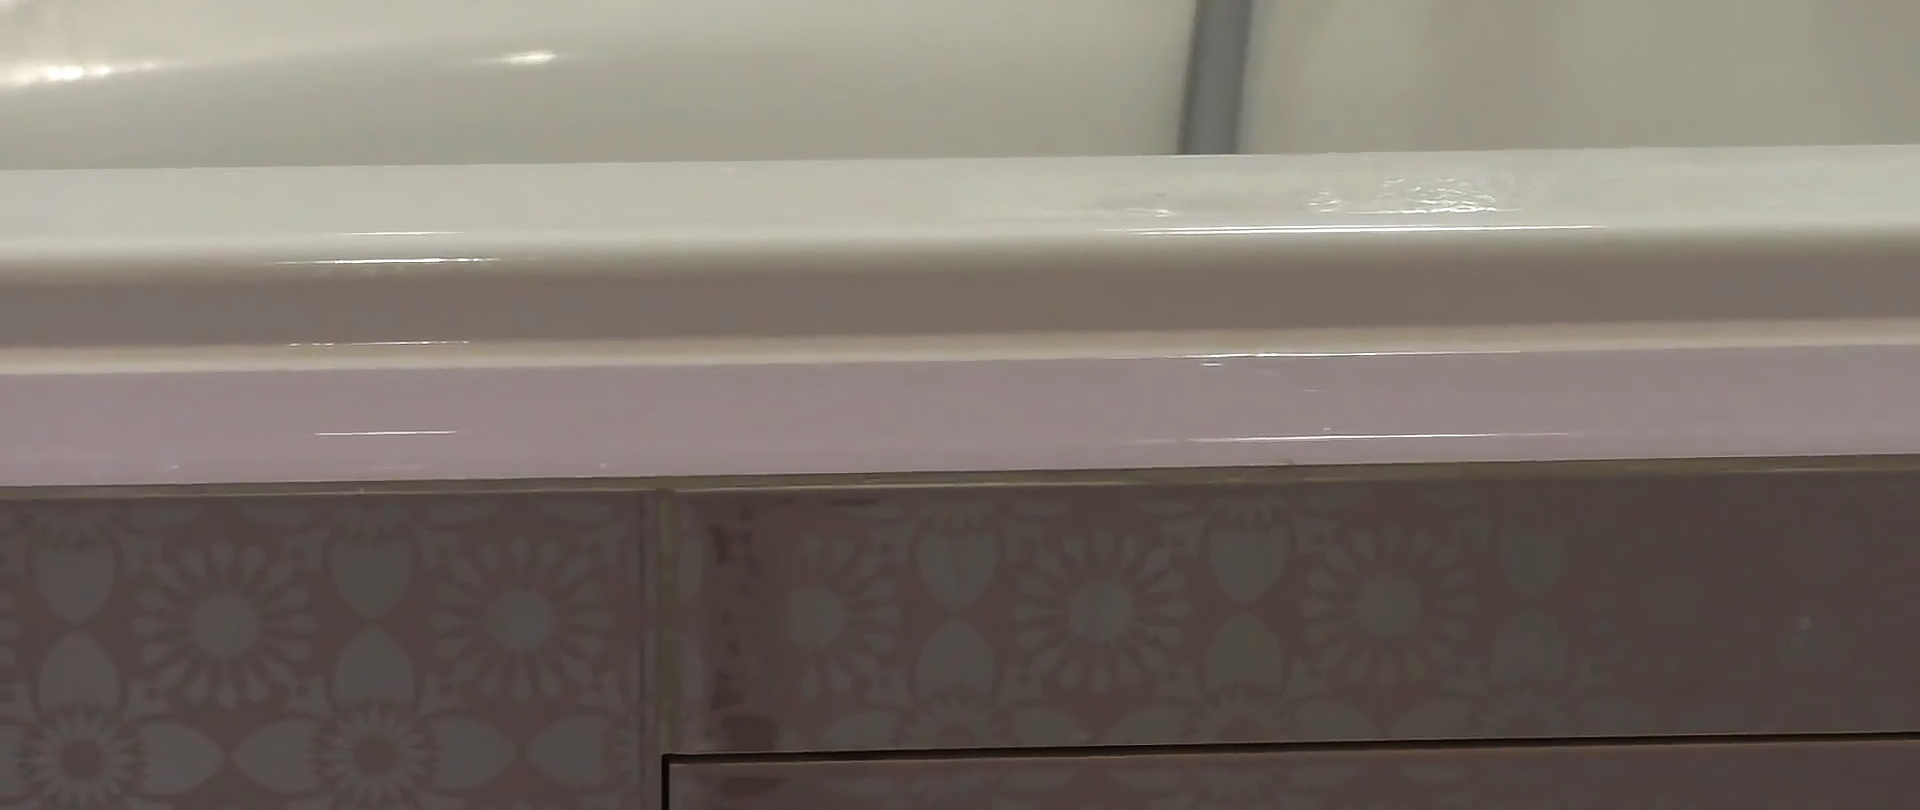
The result is a perfect seam. Due to the fact that there is a cut at the corner of the spatula, the sealant forms a triangle in cross-section. Thus, the silicone does not have thin edges, so it does not peel off later under mechanical stress.
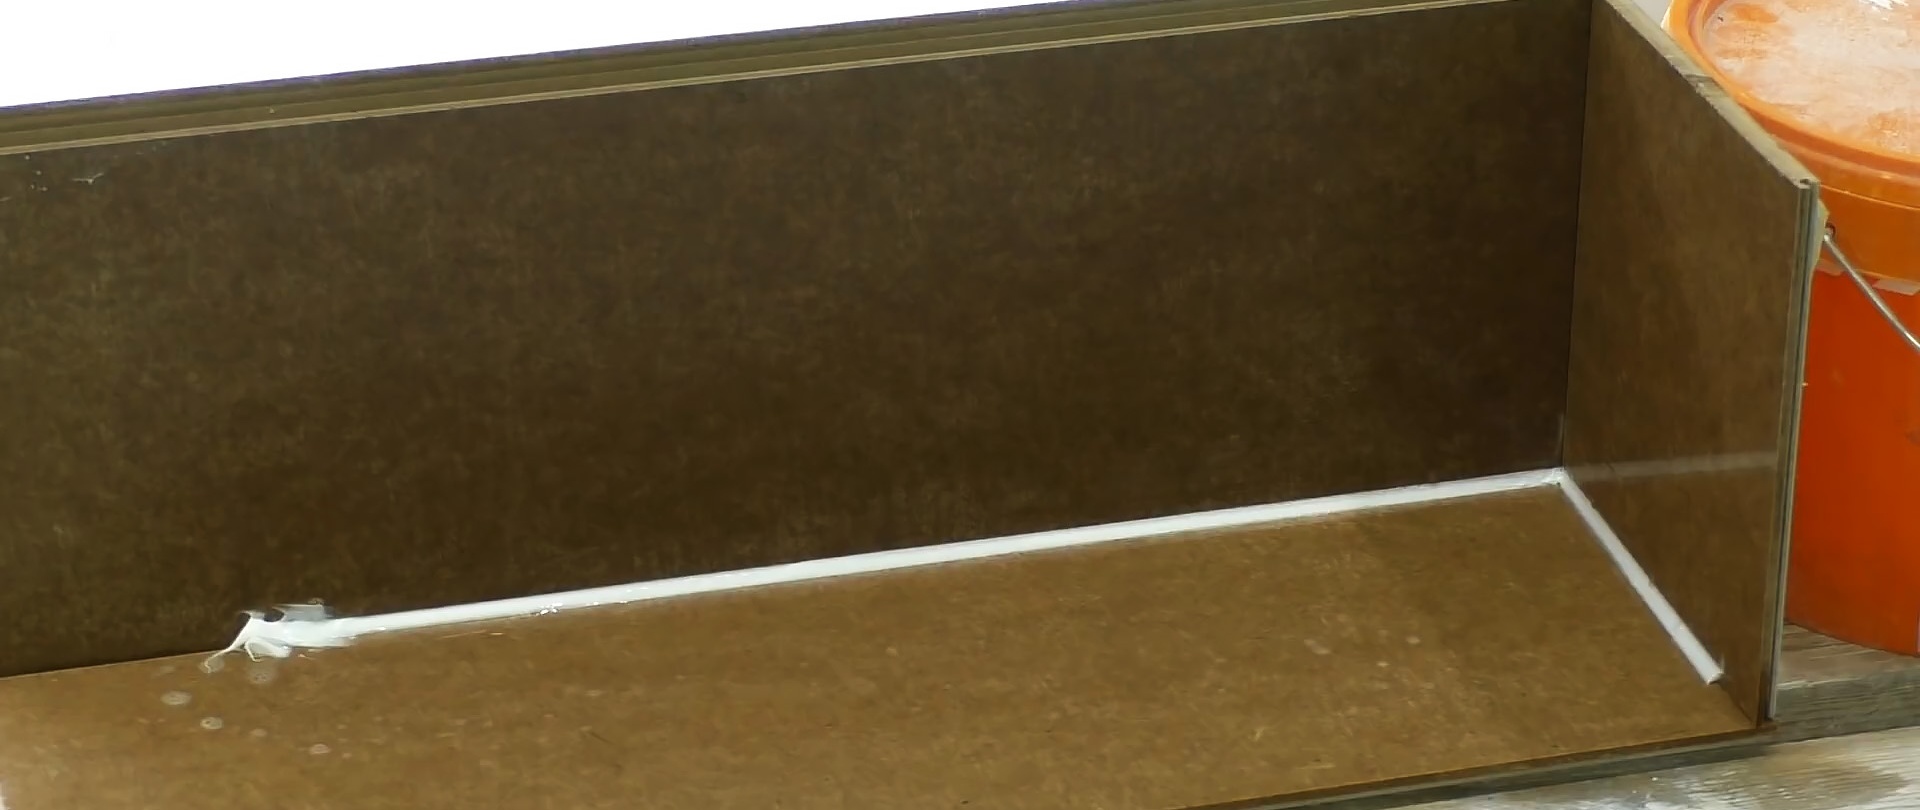
To get a neat seam in the corner, silicone is applied on both sides. After wetting with a soap solution, the seam is formed with a spatula in one movement. If it doesn’t work the first time, then do a second pass after additional spraying.

The process of forming a seam using masking tape
If you cannot use a soap rotor, for example, at the junction of a painted slope and a plastic window, or a tile and a plaster ceiling, then use masking tape. It is glued on both sides along the gap, previously cleaned and degreased.
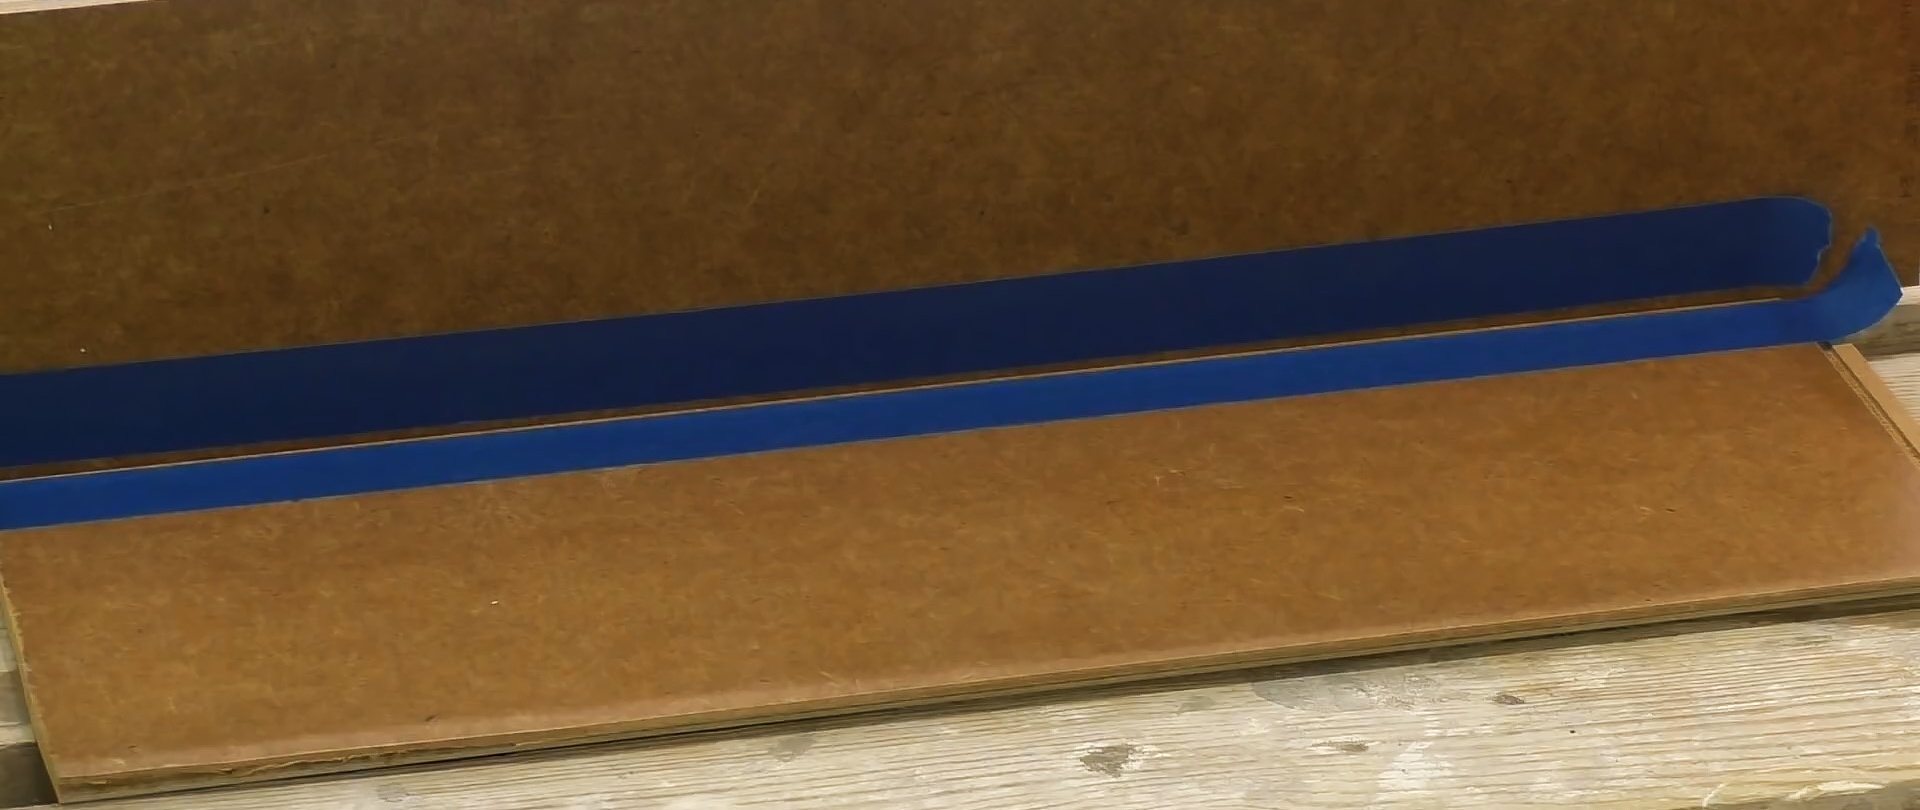
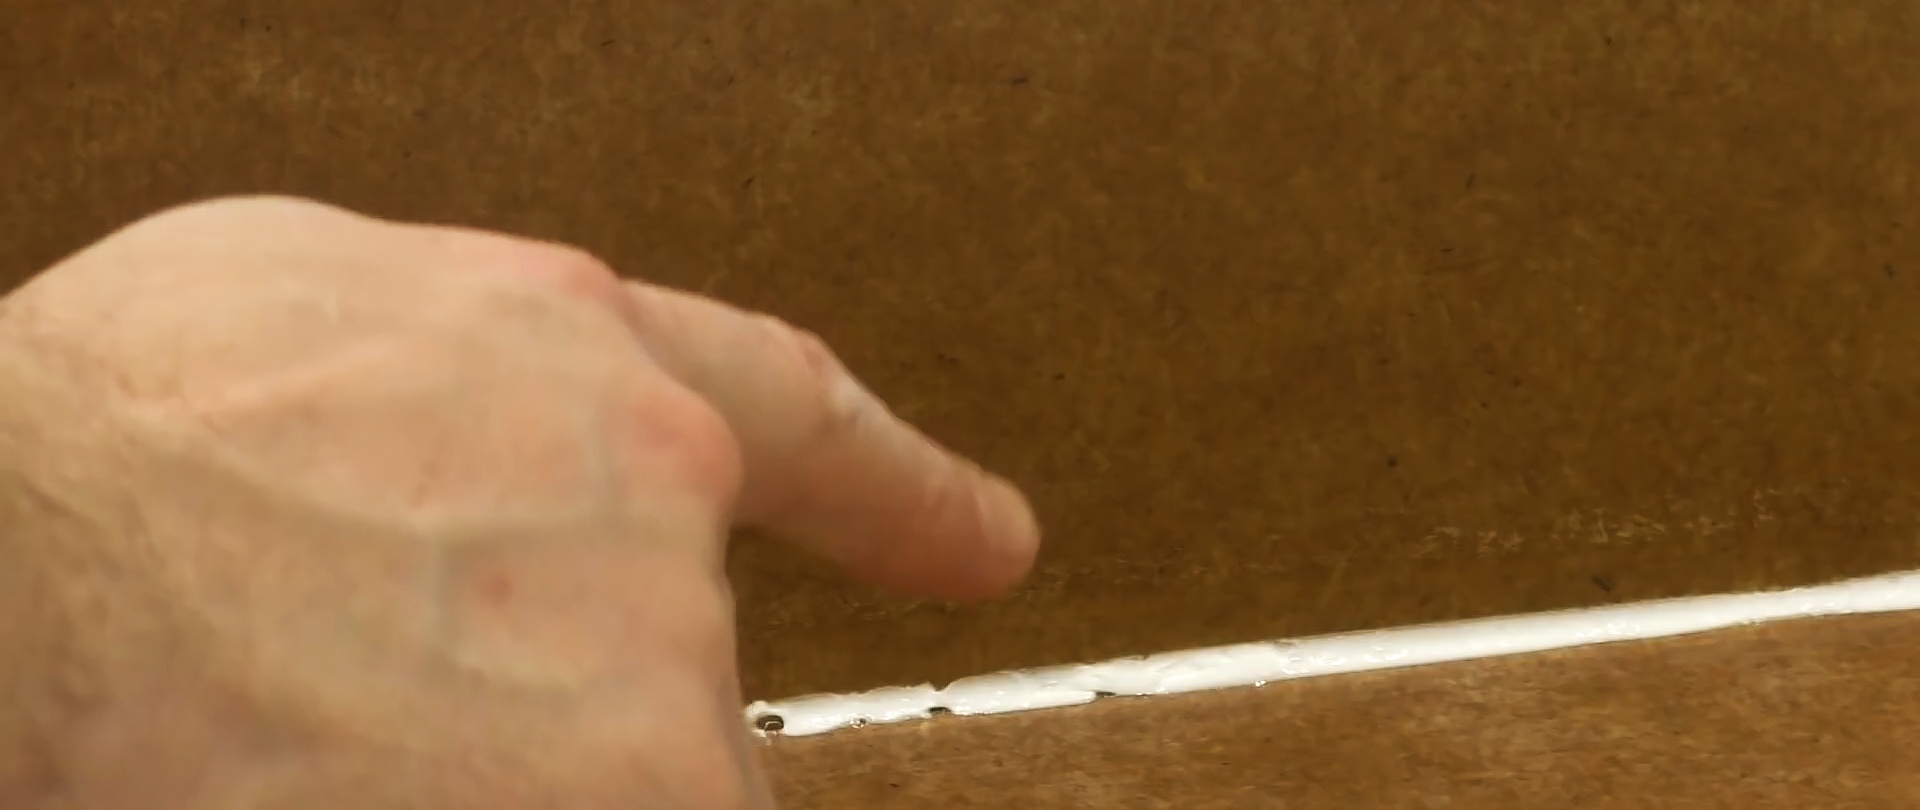
Apply the silicone as carefully as possible, then remove the excess with your finger. Due to the thickness of the tape, the edges will not be too thin to peel off.


The tape must be torn off immediately before the sealant dries.

If you apply little sealant or make omissions, you will not get a beautiful seam. In some places, the spatula will not be able to reach the silicone to smooth it out. The result is unevenness, but the gaps will remain.If a soap solution was used before leveling, then an additional portion of sealant will no longer stick to these pits, so everything will have to be removed and redone.
When working with silicone, unevenness can be corrected only immediately after leveling with a spatula. When the sealant has dried, it will not be possible to remove the defect without making it even more obvious. Sometimes it’s better to do nothing about small ridges or depressions than to leave jagged dents with your finger later.
Also, you cannot apply a long seam at a time, since while the first meters are being smoothed with a spatula, the rest of the sealant will dry out. When the weathered silicone is removed, a torn surface with bumps is formed.
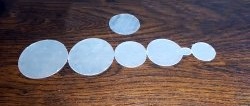
By following these tips, you can make the perfect silicone joint at the junction of bathtub and tiles, floor and wall, kitchen countertop and splashback. Just be sure to remove excess silicone from the spatula when working. Just wash them on a napkin or toilet paper. A clean spatula is then placed in front of the tear-off area and moved further.