In order for cement blocks to turn out to be of high quality, and for the manufacturing process to proceed quickly, you need an easily and simply disassembled and assembled form, preferably from inexpensive materials. Any adult with basic carpentry skills can do it.

Will need
Materials:- wooden plank;
- screws;
- mortise hinges;
- eyelet pad;
- wooden plank;
- PVC pipe;
- sand, cement and water;
- mold lubricant, etc.
The process of making a collapsible mold for a cement block
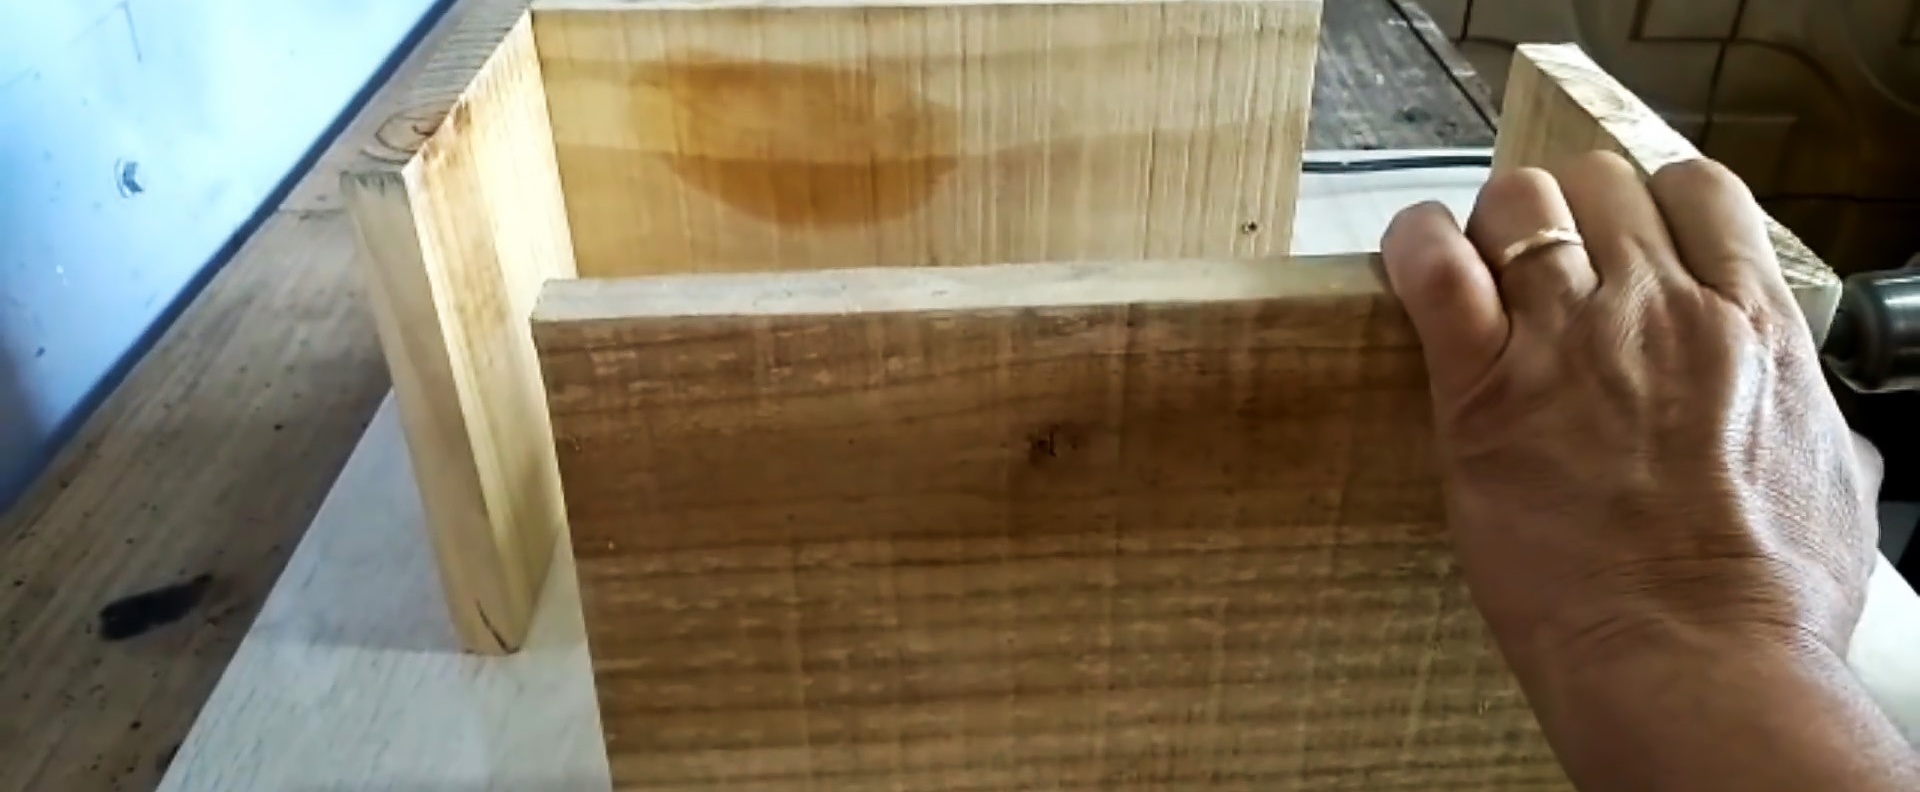
We cut two fragments of 18×19 cm and 19×30 cm from a wooden board. We install two large fragments on the long sides parallel and opposite each other.

We insert the small ones inside flush with the ends of the large fragments. We divide the resulting box into two parts, each of which consists of a long and a short fragment. We fix them together with screws.
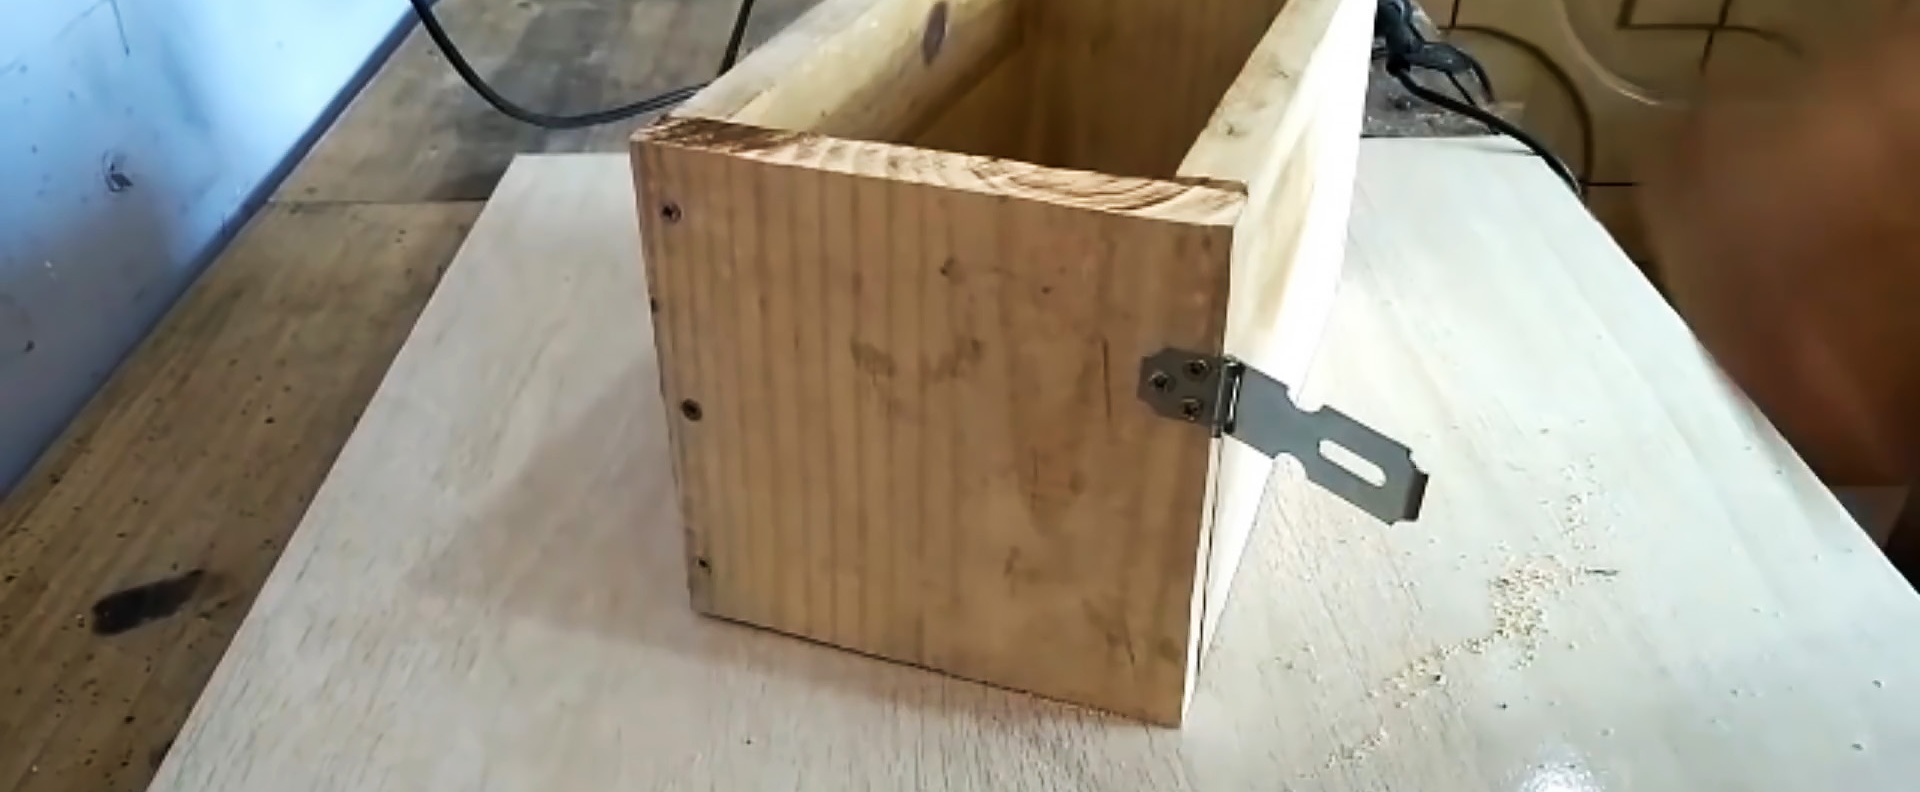
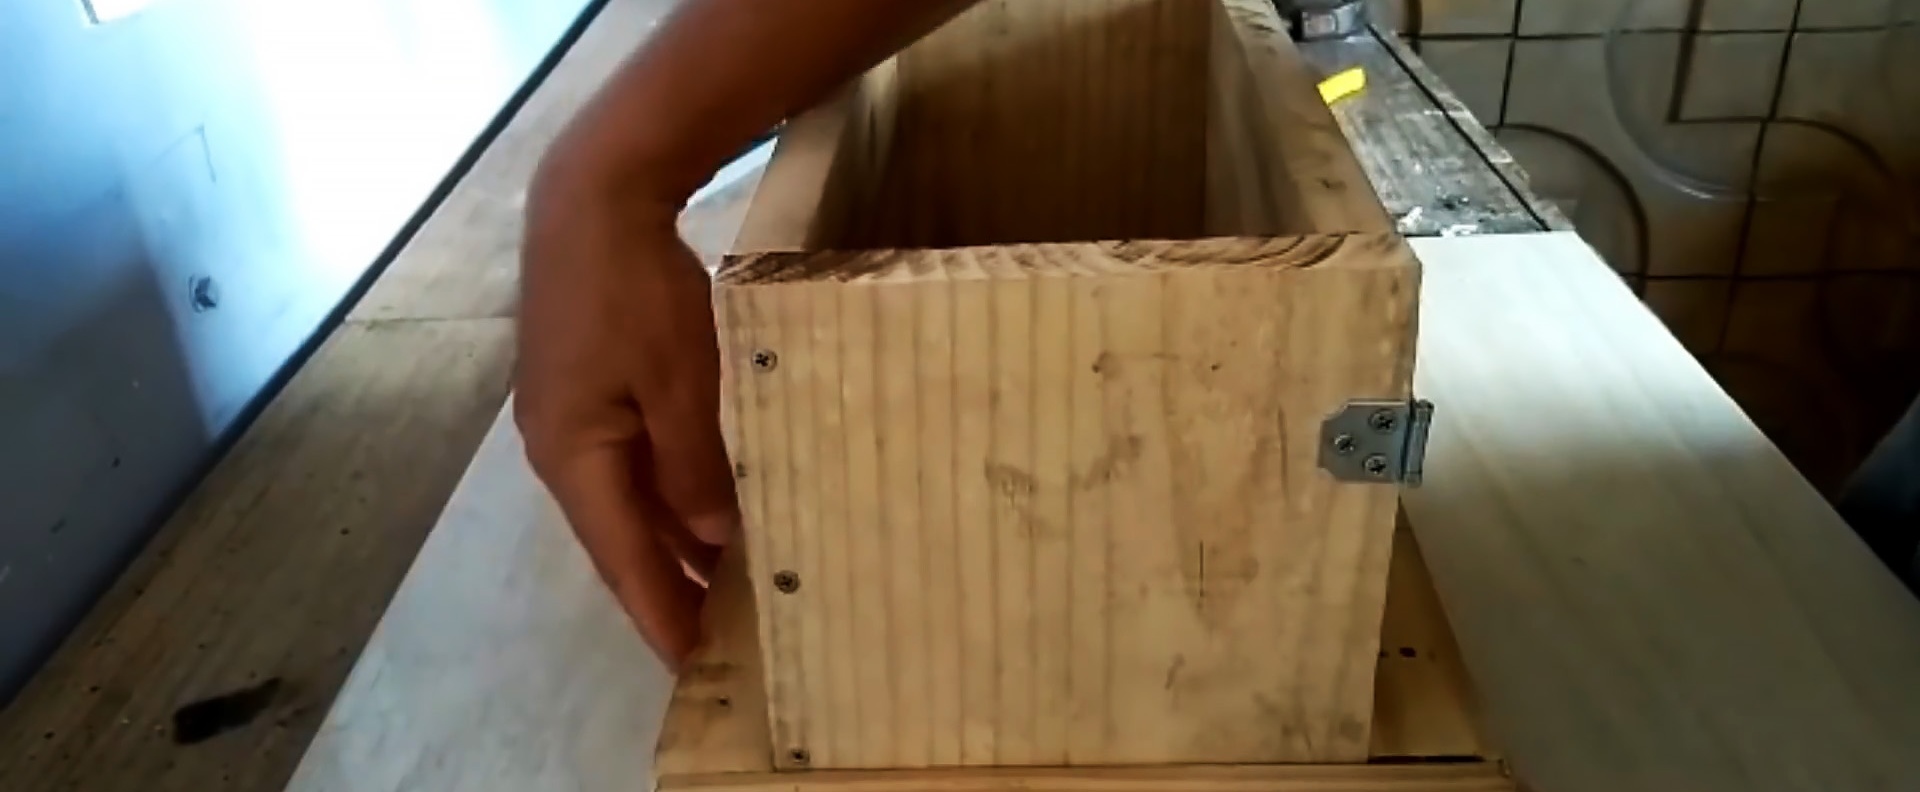
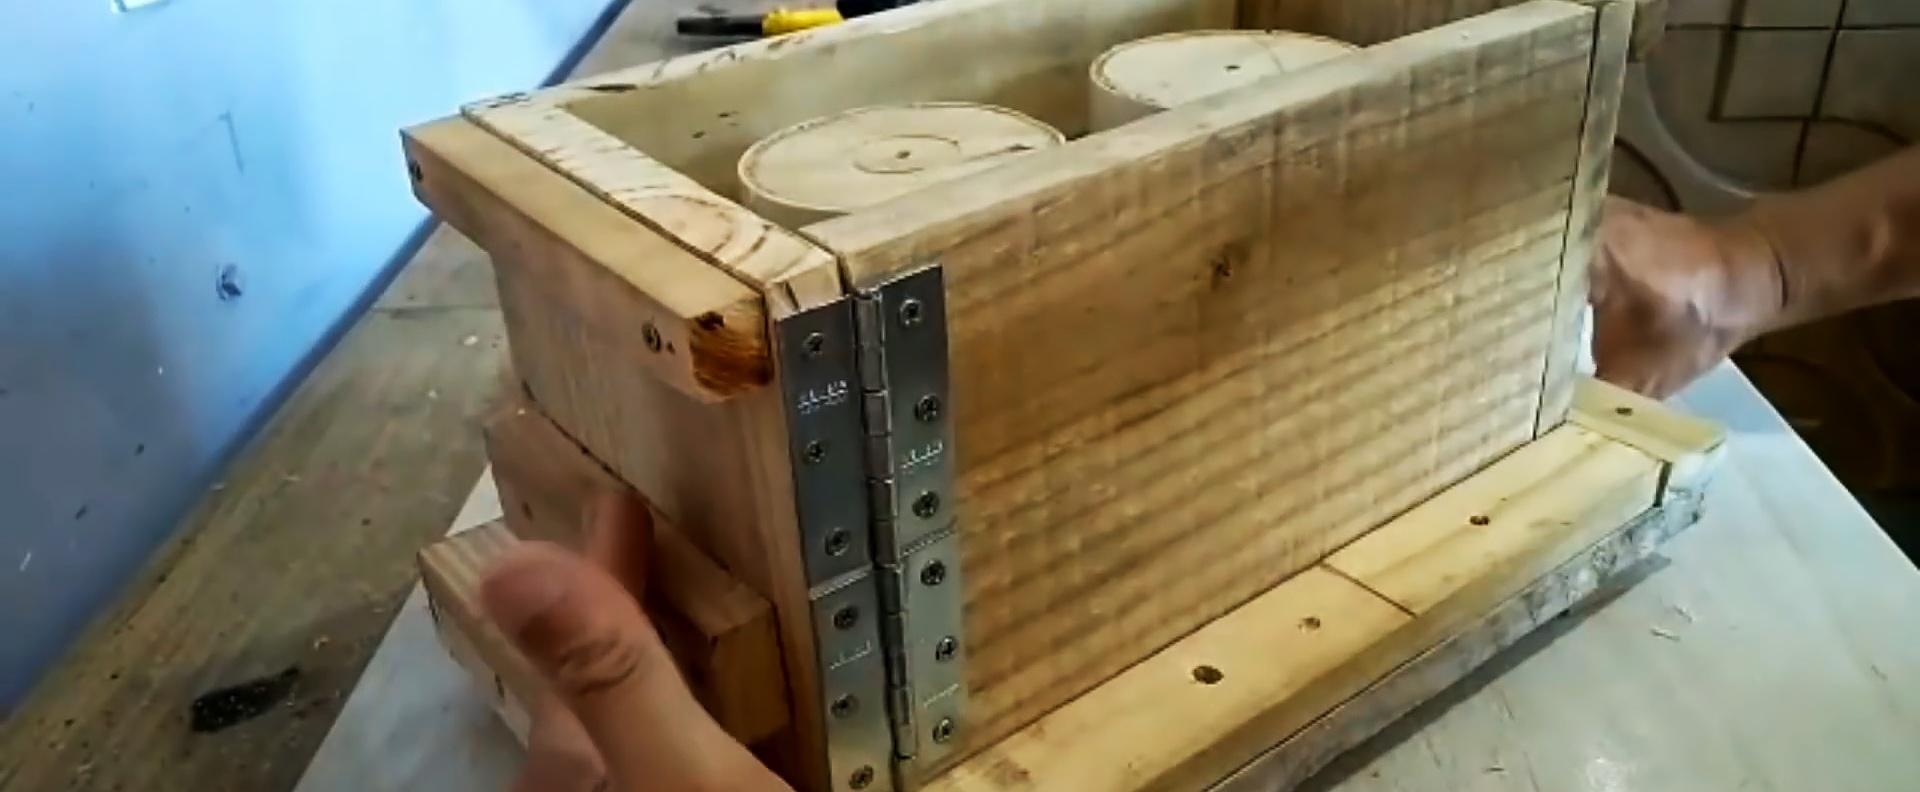
We screw two mortise hinges to the free edge 19 cm long of one of the short fragments.Then we again assemble the box from two parts and fasten the free wings of the loops to the adjacent side of the long fragment of the second part of the box.

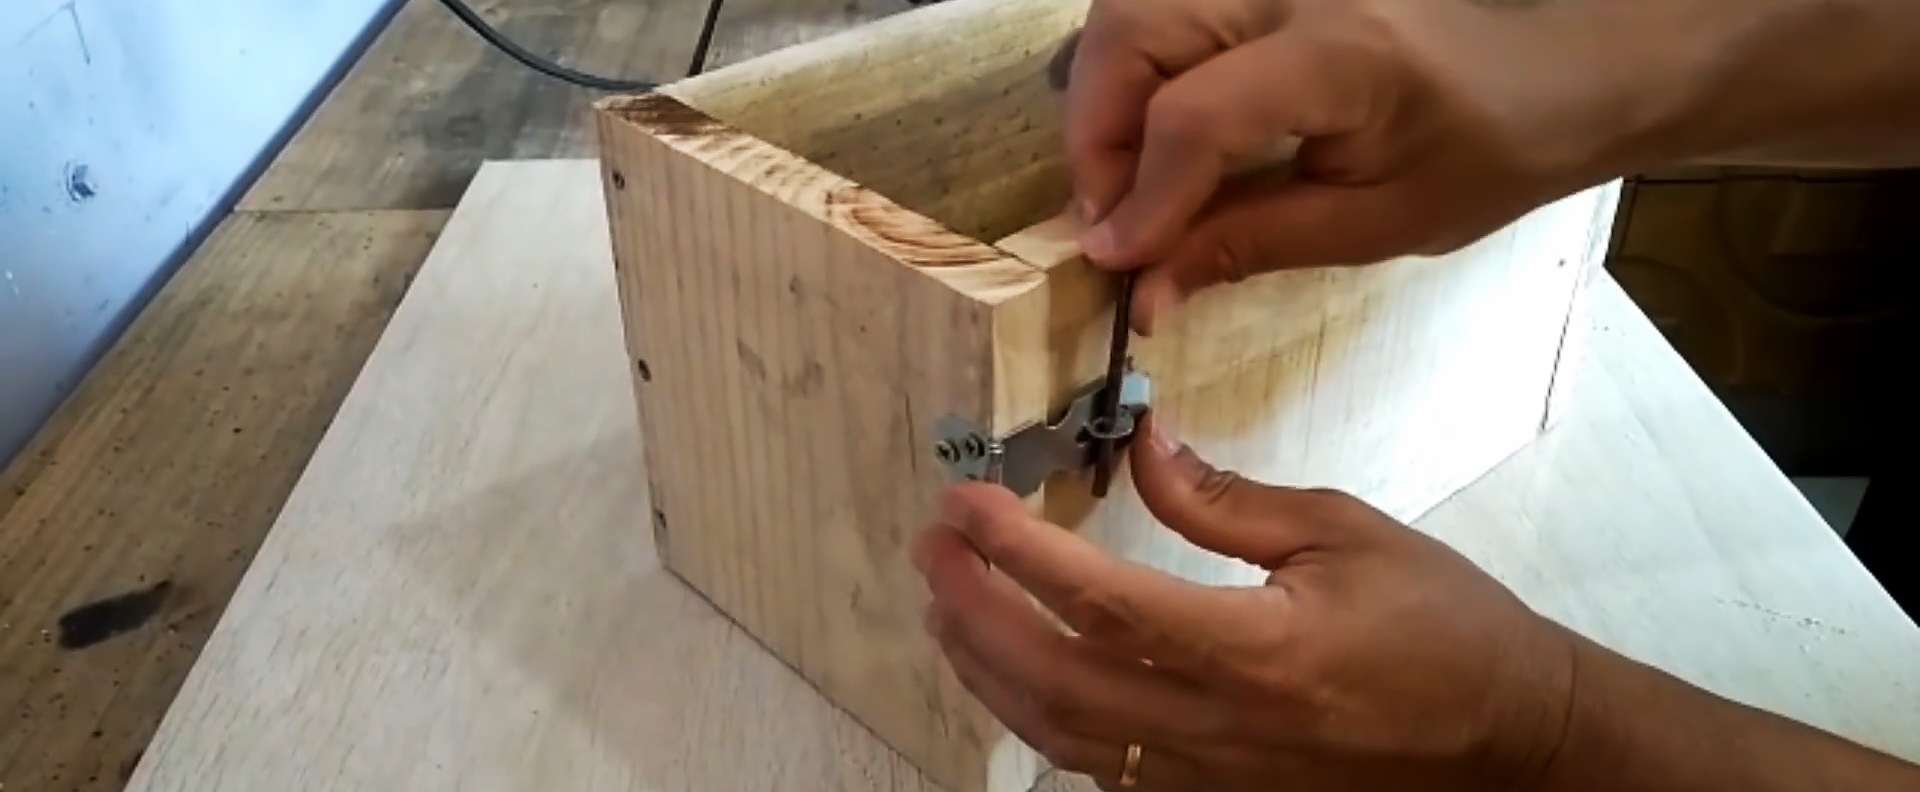
We screw the overlay to the short fragment of one part of the box, which touches the end of the long fragment of the second part of the box, so that it touches the long fragment horizontally. Insert the eyelet into the slot of the cover and fasten it with screws. We fix the lining in the eye with a pin.
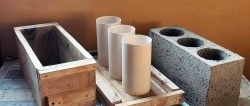
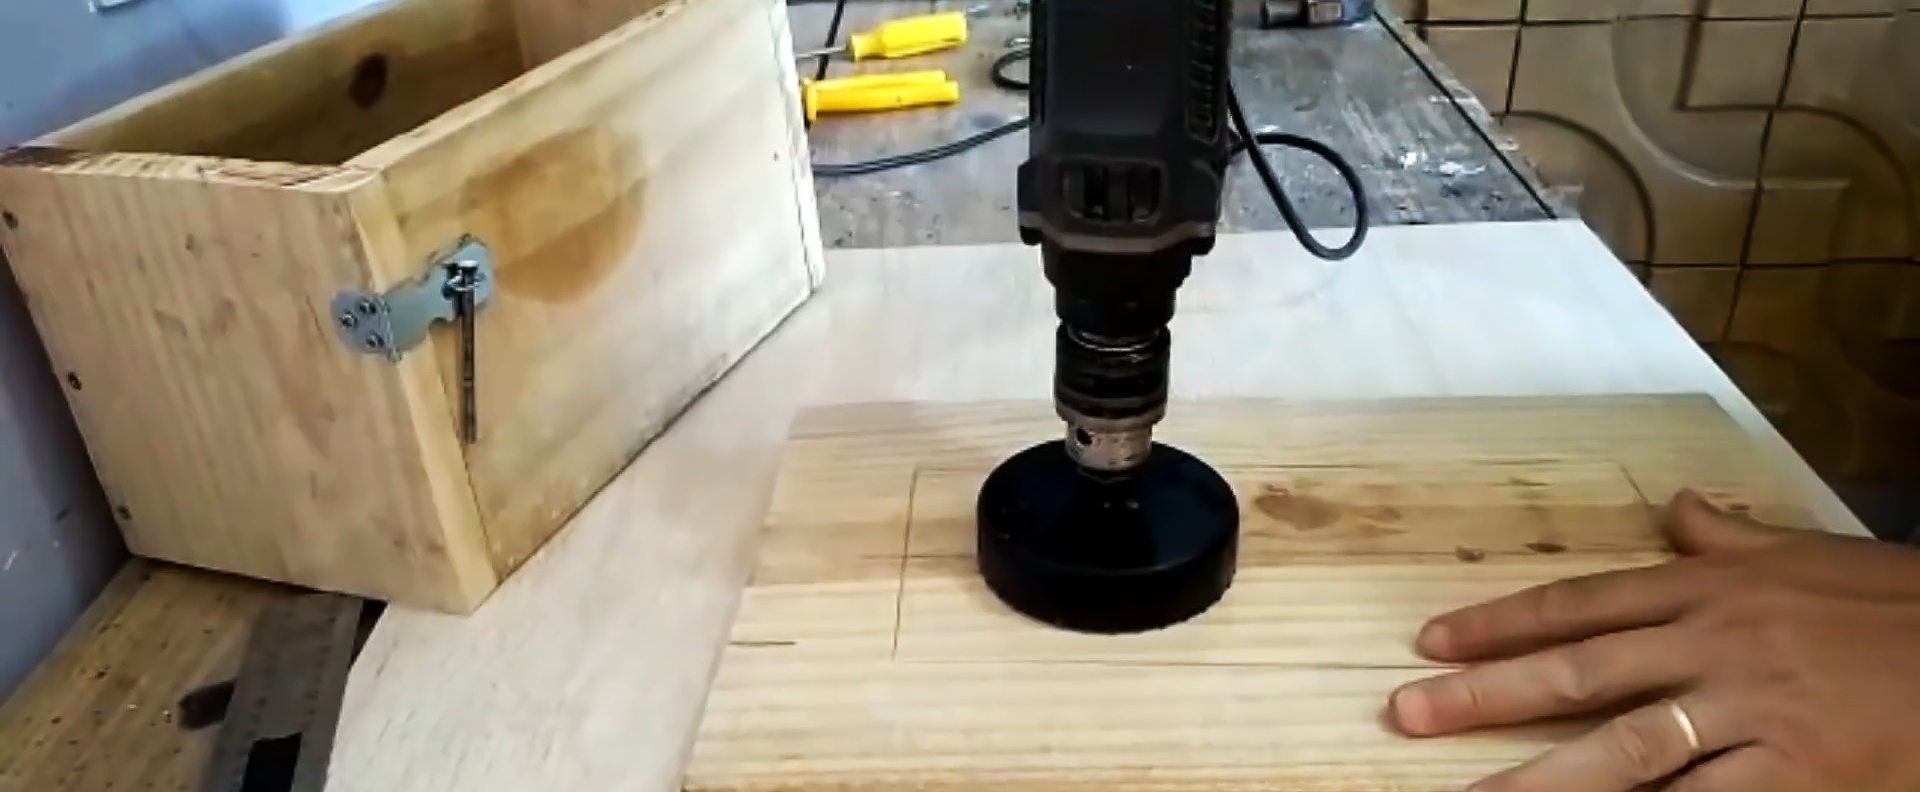
We place the assembled box on a larger board and outline the inner perimeter with a pencil. We set aside 7 cm from the corners on the short sides and draw a midline.
We measure 8 cm from the two edges on the longitudinal axis and make two holes. We install a centering drill bit with a diameter of 102 mm into the holes and drill two large ones.
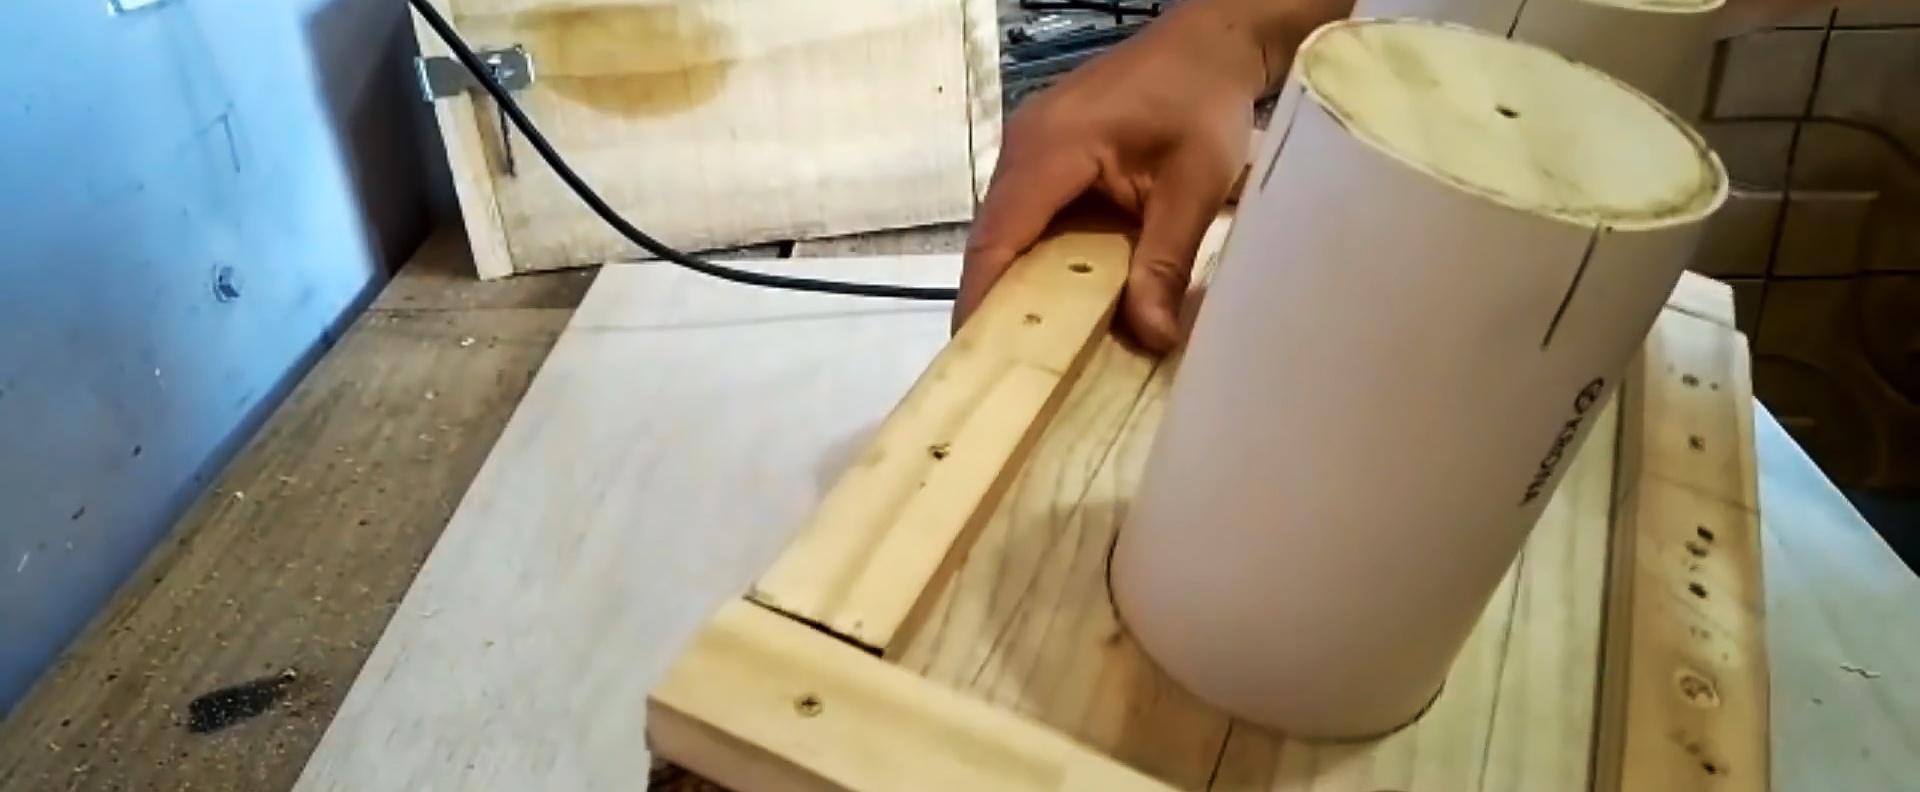
We cut two pieces of 23.5 cm each from a PVC pipe with a diameter of 100 mm, make 4 shallow cuts at one end of the pipes, heat them up, coat the wooden circles with glue around the circumference and insert them into the pipes at the level of the ends.


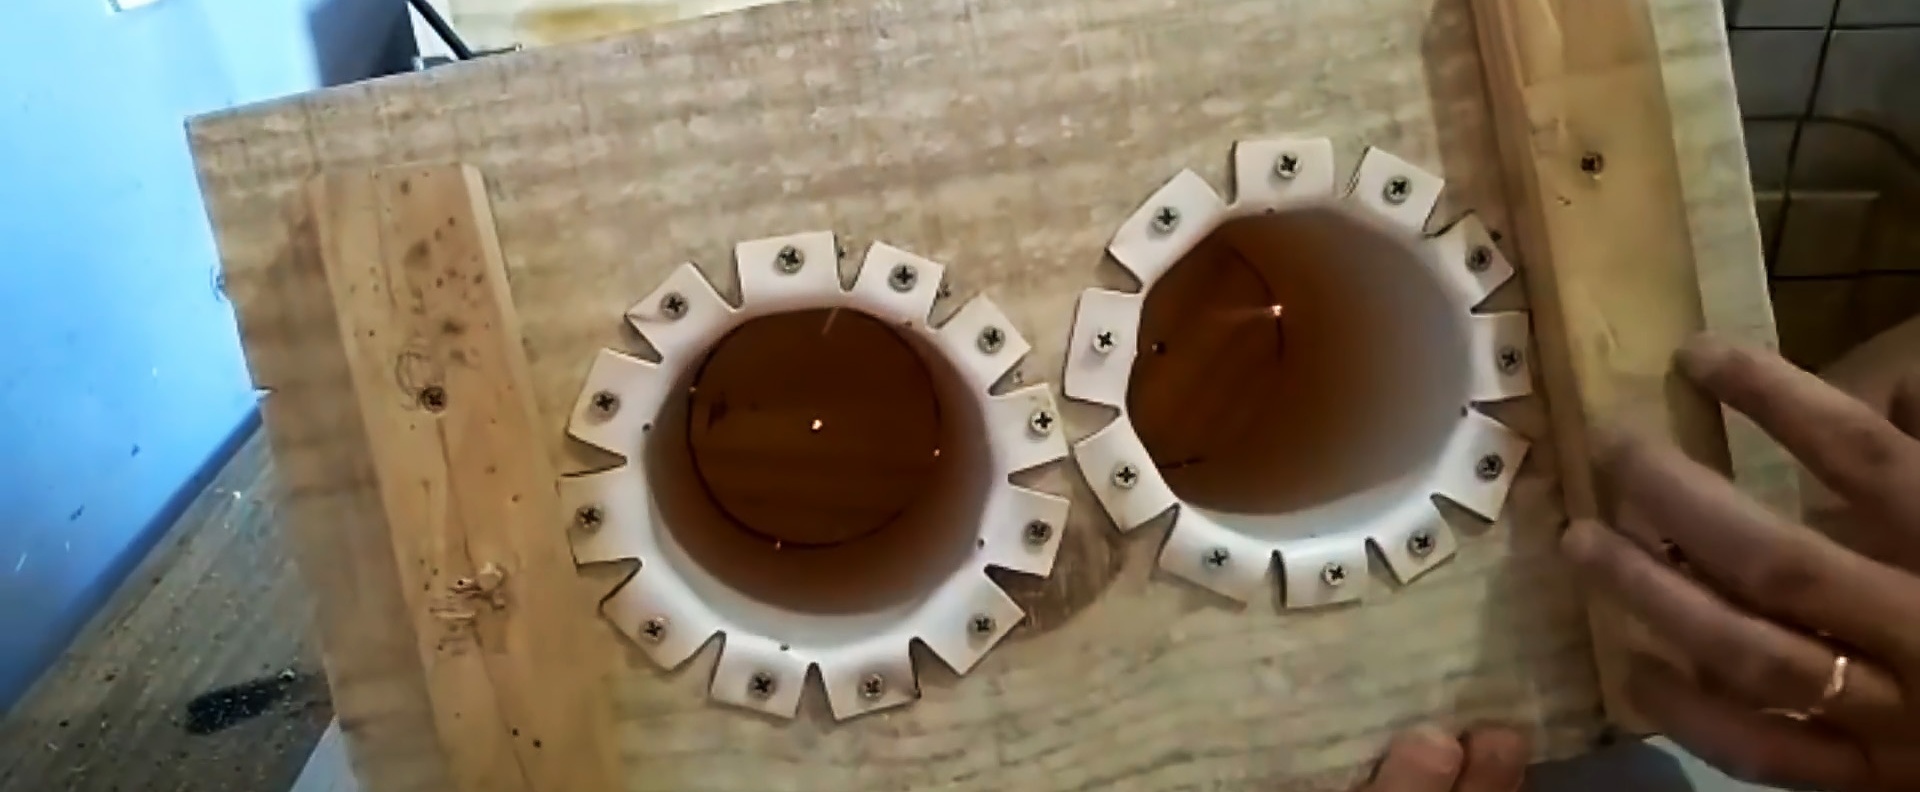
On the other side of the pipes, we make 12 vertical cuts 2 cm deep, heat them over a flame and bend the “petals” outward.
We insert the pipes with plugs into the holes in the board until they stop and screw the petals of the pipes to the board with screws.


We secure the wooden planks with screws around the perimeter of the base board. We fasten two more planks transversely along the edges of the base from below.
From the outside, we attach strips to the box on each side at the top and in the middle for ease of working with the form.
We assemble the mold and measure the internal dimensions: width – 14 cm, length – 30 cm, height – 19 cm. Moreover, the rods that form the voids in the block are 2 cm below the top of the mold.
Let's check the form.Mix 6 portions of sand and one portion of cement until smooth, add water and continue mixing until you obtain a solution that does not crumble when squeezed by hand.
We coat the inside of the mold with grease, fill it halfway with the solution, shake it several times and tamp it down. Add the solution and compact it again by shaking and tamping. We finally fill out the form, press and smooth the surface with a trowel, removing excess solution.


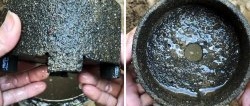
Keep the mixture in the mold, then turn it over and remove the base with the rods. Next, remove the pin from the eye, fold back the cover and open the formwork. The blocks are smooth, dense and without defects.