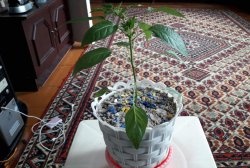
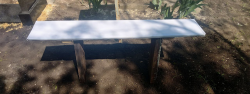
Cement pots, compared to plastic or ceramic ones, harmonize better with the flowers and plants planted in them. Anyone can make them, and the money savings are significant if you need a lot of pots on a regular basis.

Will need
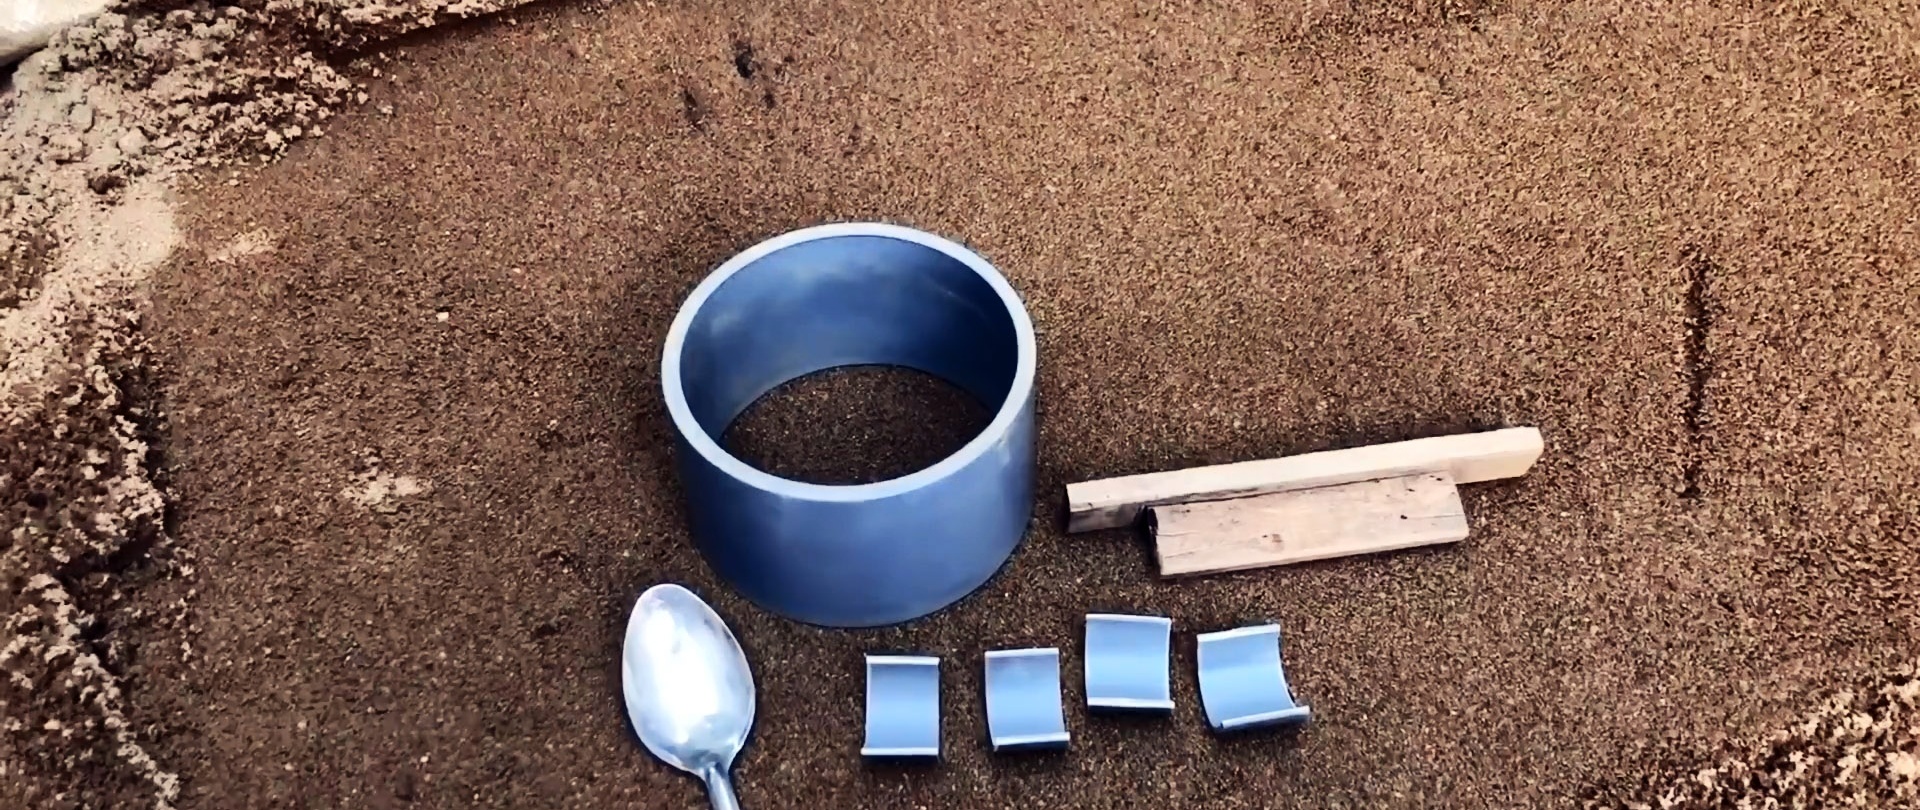
To work you need:- Plastic pipes with a diameter of 34 and 114 mm;
- a pair of wooden blocks and small nails;
- a small pile of sand;
- metal wire;
- sifted sand and cement;
- dyes and grout.
The process of making flower pots from cement
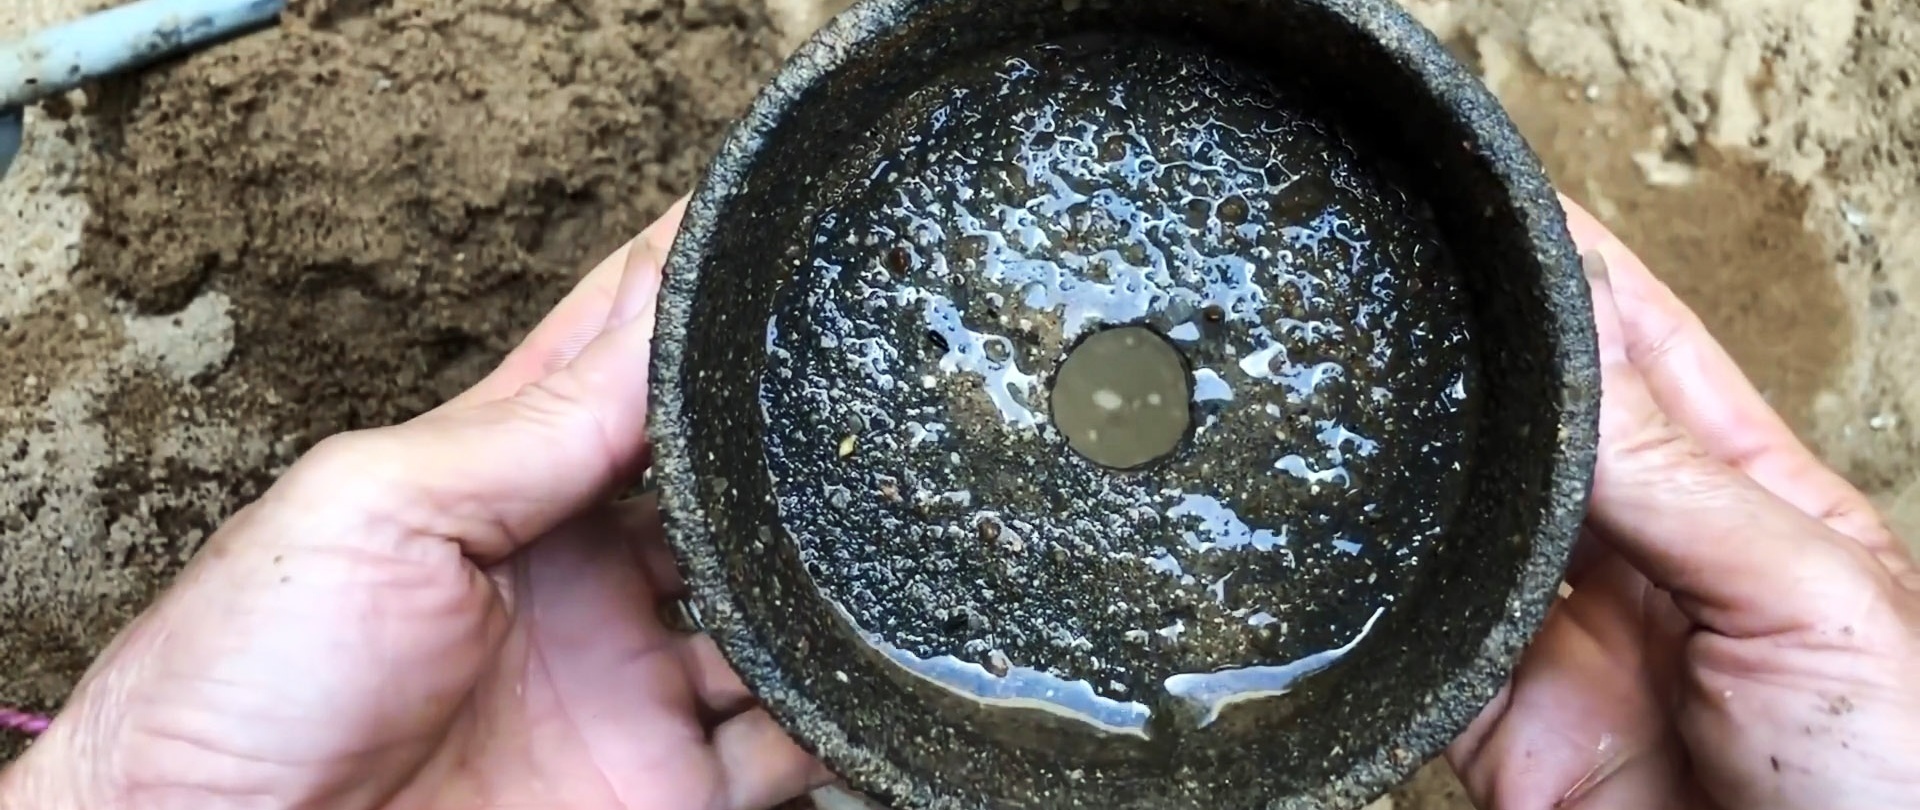
Depending on the diameter and height of the pots, we use a plastic pipe of suitable size as a formative element. In our case, we need a pipe with an outer diameter of 123 mm, an inner diameter of 114 mm and a wall thickness of 5 mm. We cut a piece 70 mm long from it - a kind of mold.For the mold, we make a tool from two wooden blocks with length, width and thickness, respectively, 110 × 25 × 10 mm and 230 × 25 × 10 mm. Using small nails, we fasten a shorter bar with a narrow edge longitudinally and symmetrically with respect to the wide side of the long bar.
We level the pile of wet sand with a trowel and create a flat surface with a depth of at least 200 mm.

We cut two 20 mm fragments from a plastic pipe with a diameter of 34 mm and cut them into two halves along the generatrix.
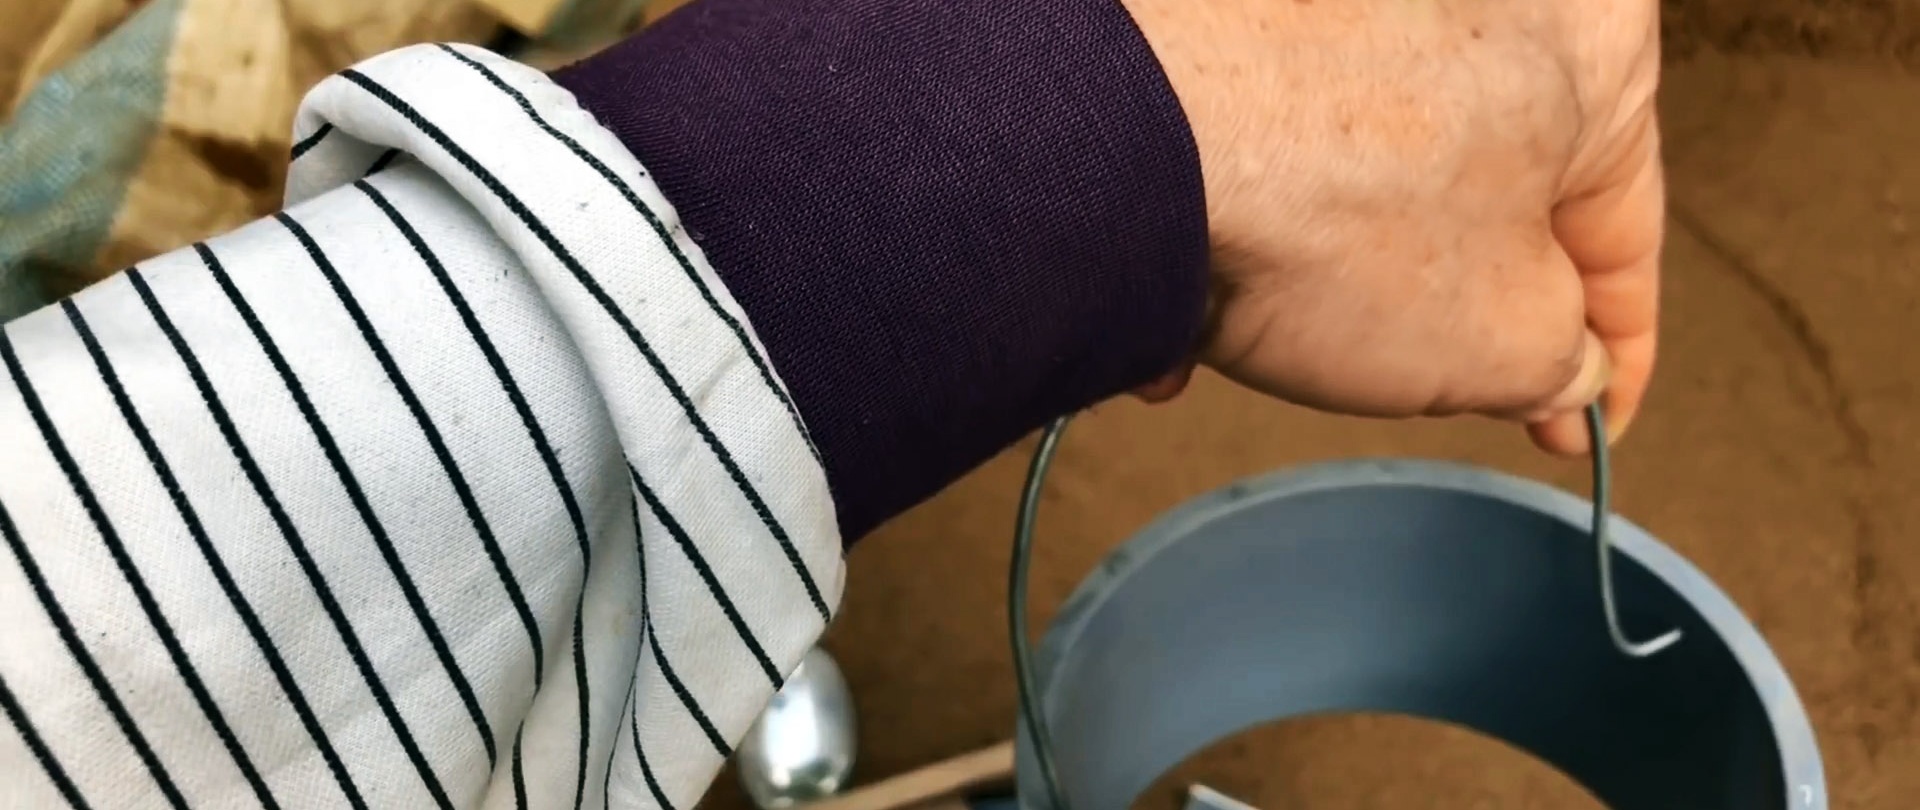
In the mold, closer to one end, we drill through holes along the extension of the diameter. We insert into them the ends of the wire cord, bent outward.
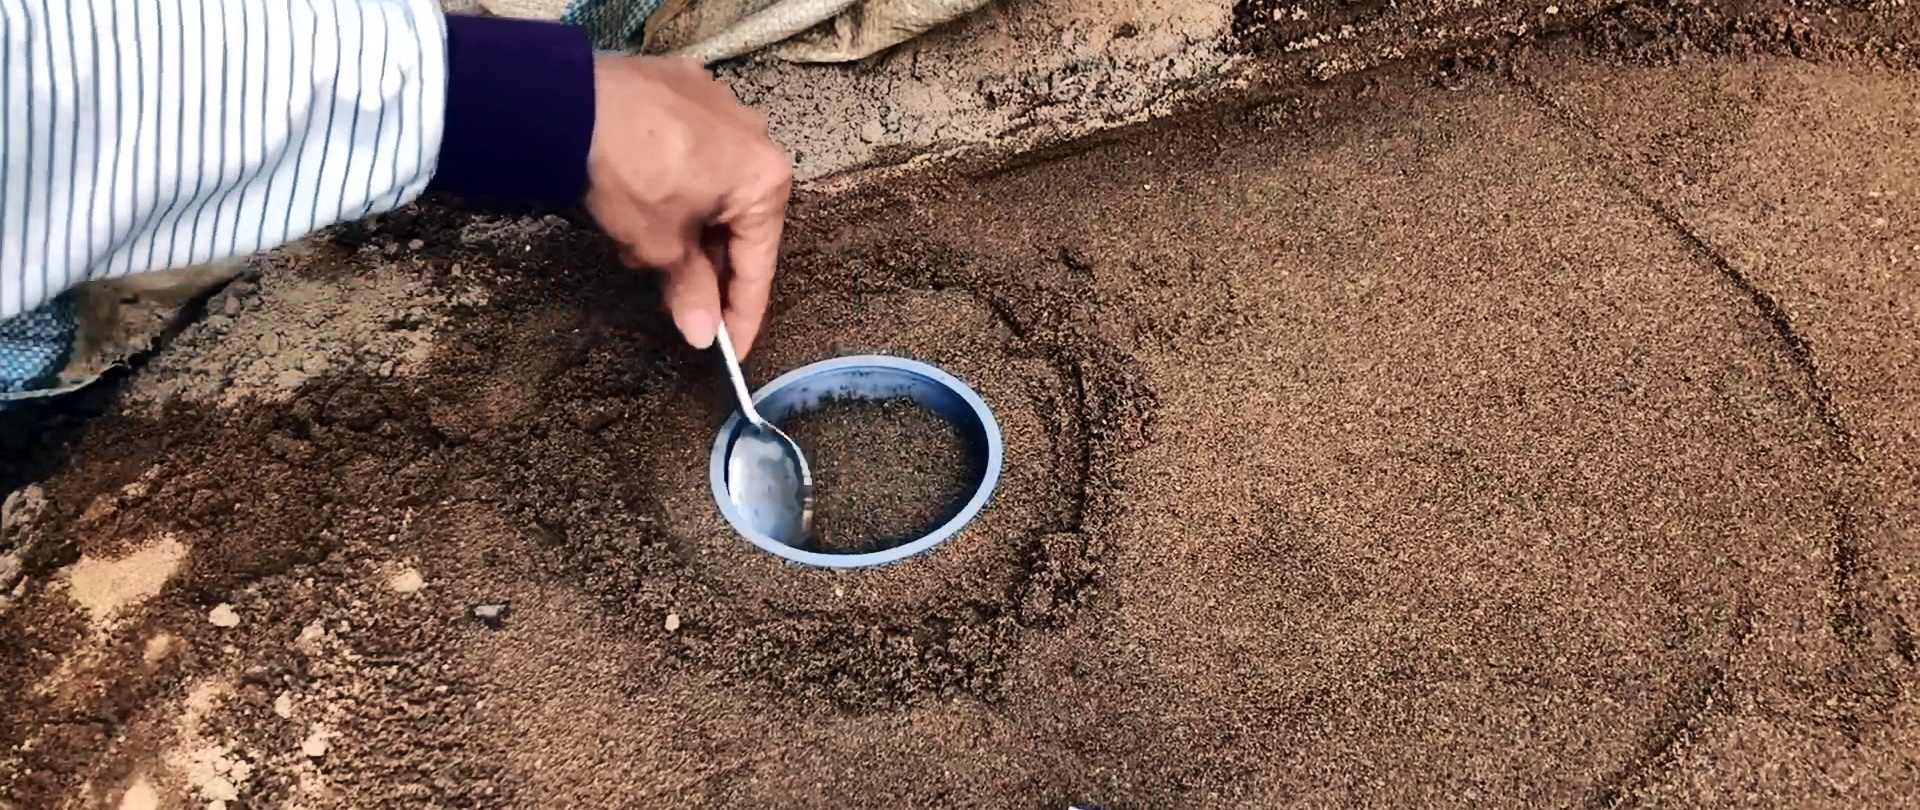
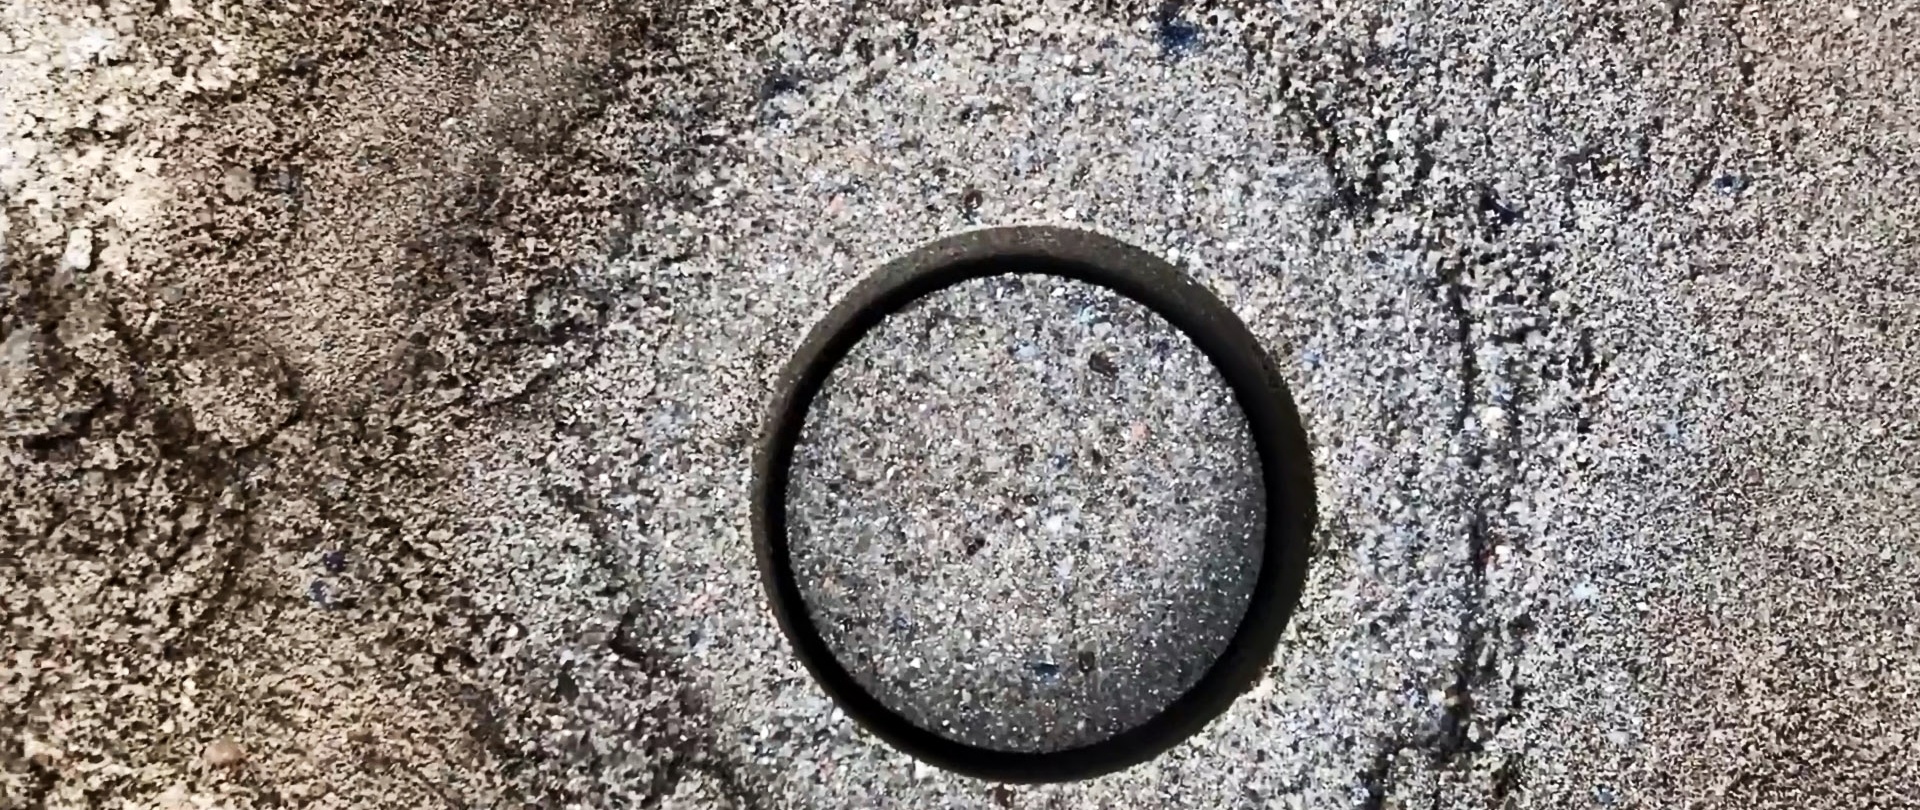
We press the mold strictly vertically into the sand. We compact the sand around the mold with a rod.

We remove sand from the mold to a depth of 25 mm. We check this with a tool made of wooden blocks, the larger of which we rotate along the edge of the mold, then the smaller one inside it scrapes off the remaining sand, which is also removed.

We insert the scent into the mold, lightly spray sand around and inside it, and carefully pull it out of the sand.

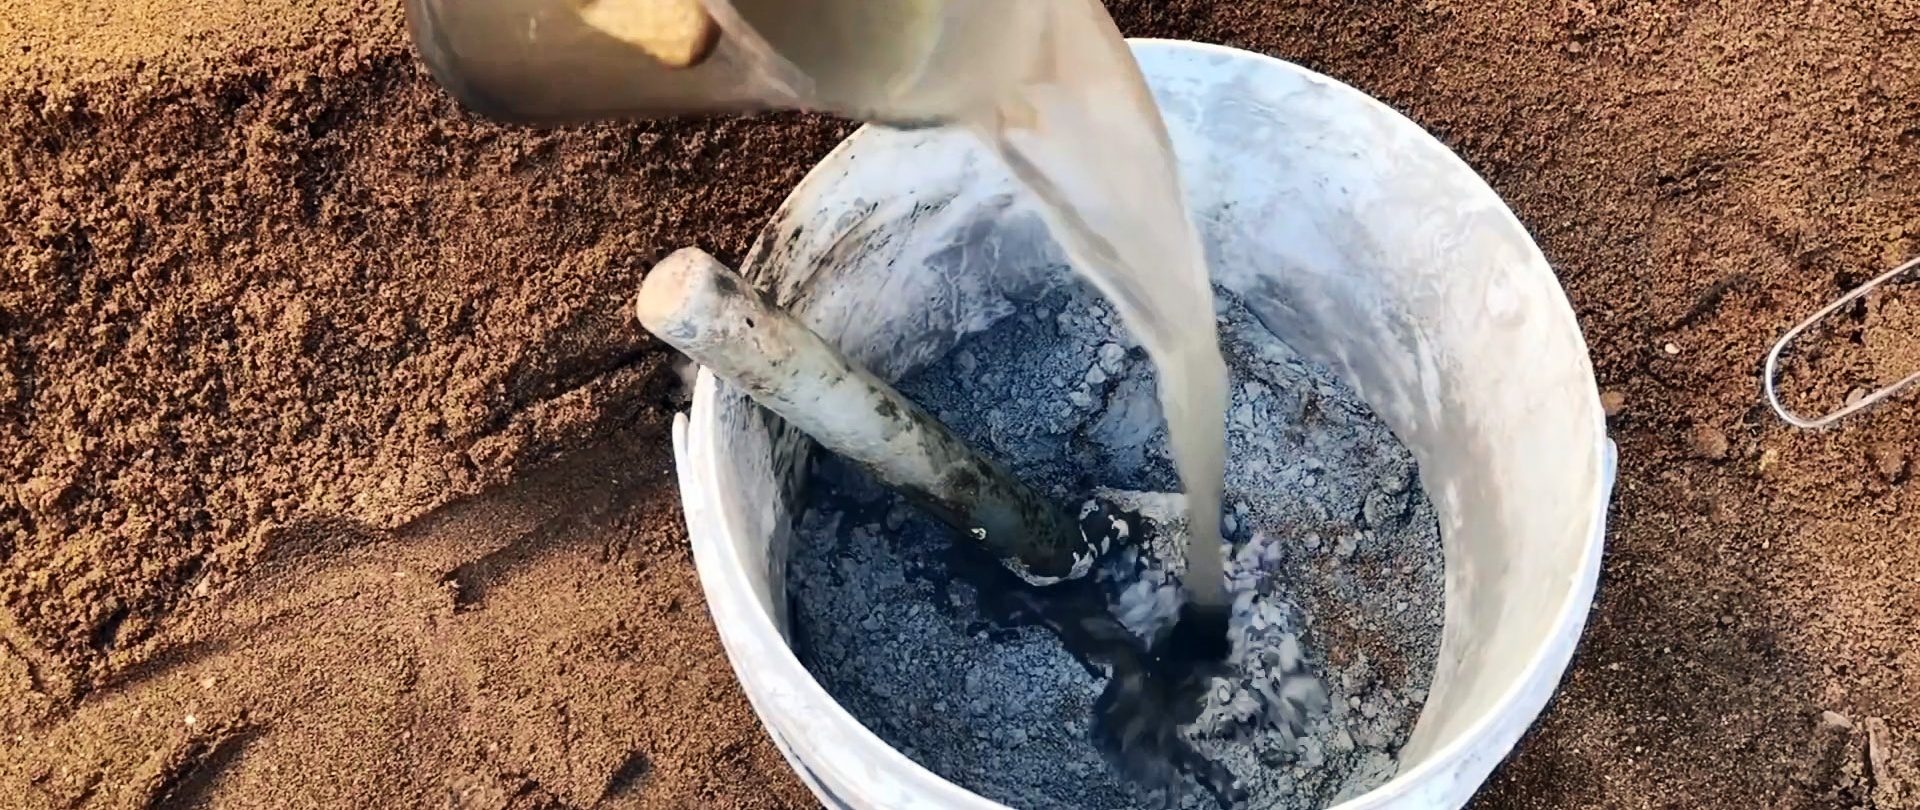
Sift the sand through a fine sieve and mix a solution of it and cement in a 1:1 ratio.
If we want to get colored pots, we can add dyes.

We make the cement mortar liquid so that it easily spreads along the narrow annular gap.

Spray the sand mold with lightly liquid dyes and fill it with the solution, smoothing and compacting it for better filling of the mold.
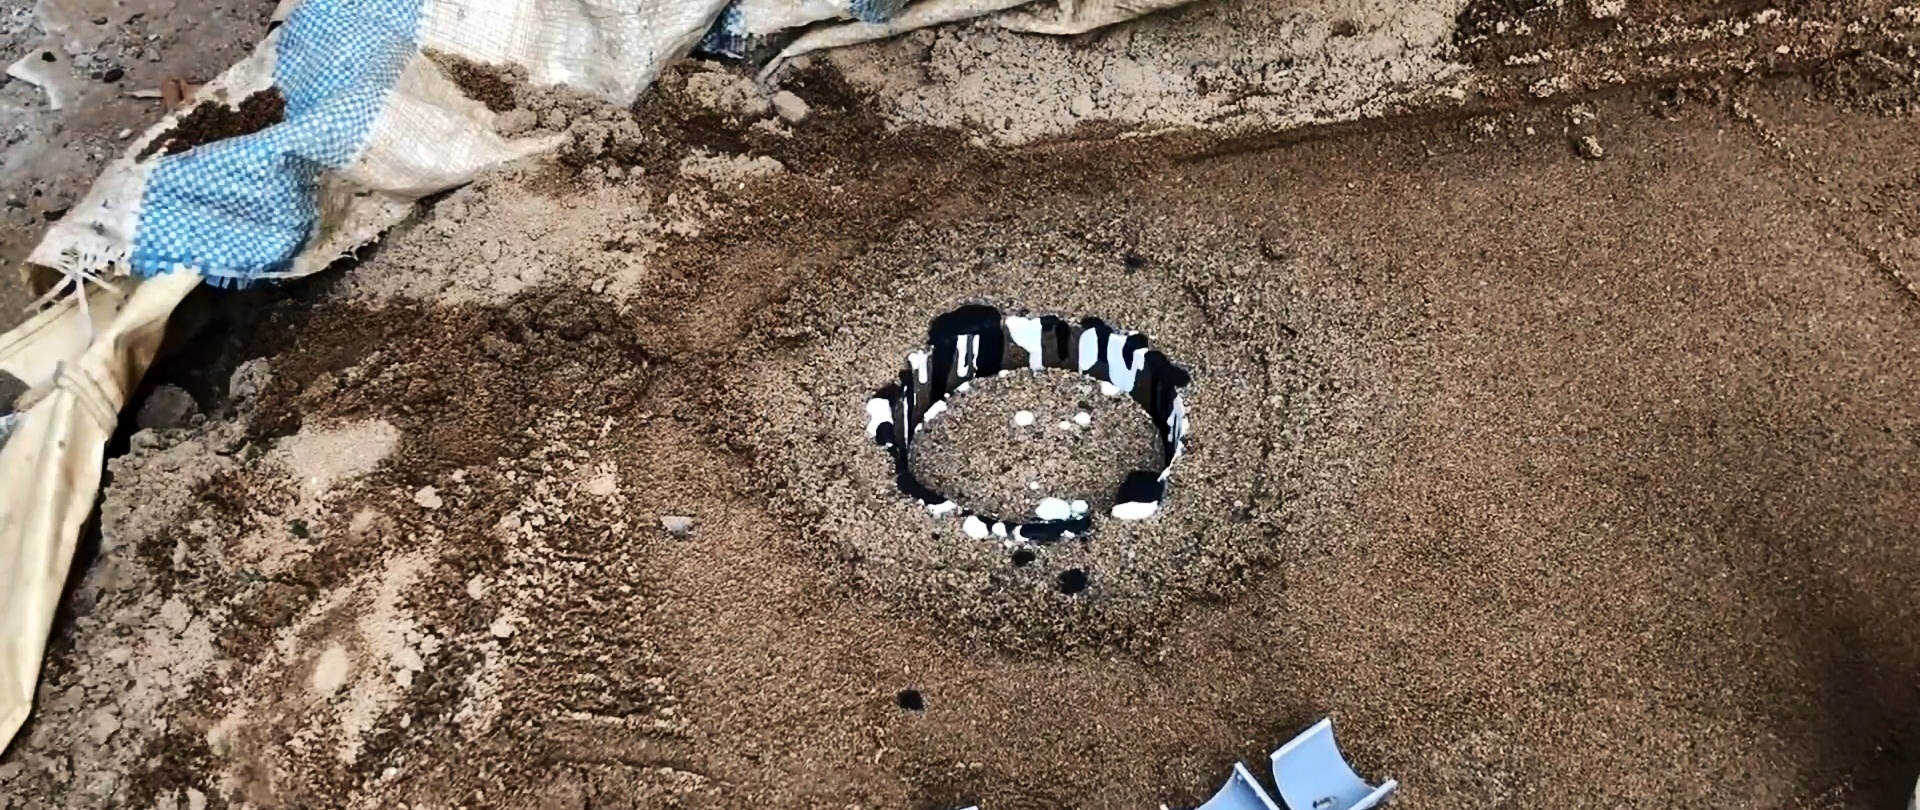
You can fill several molds in a similar way, but pour the dye onto the top of the mold.
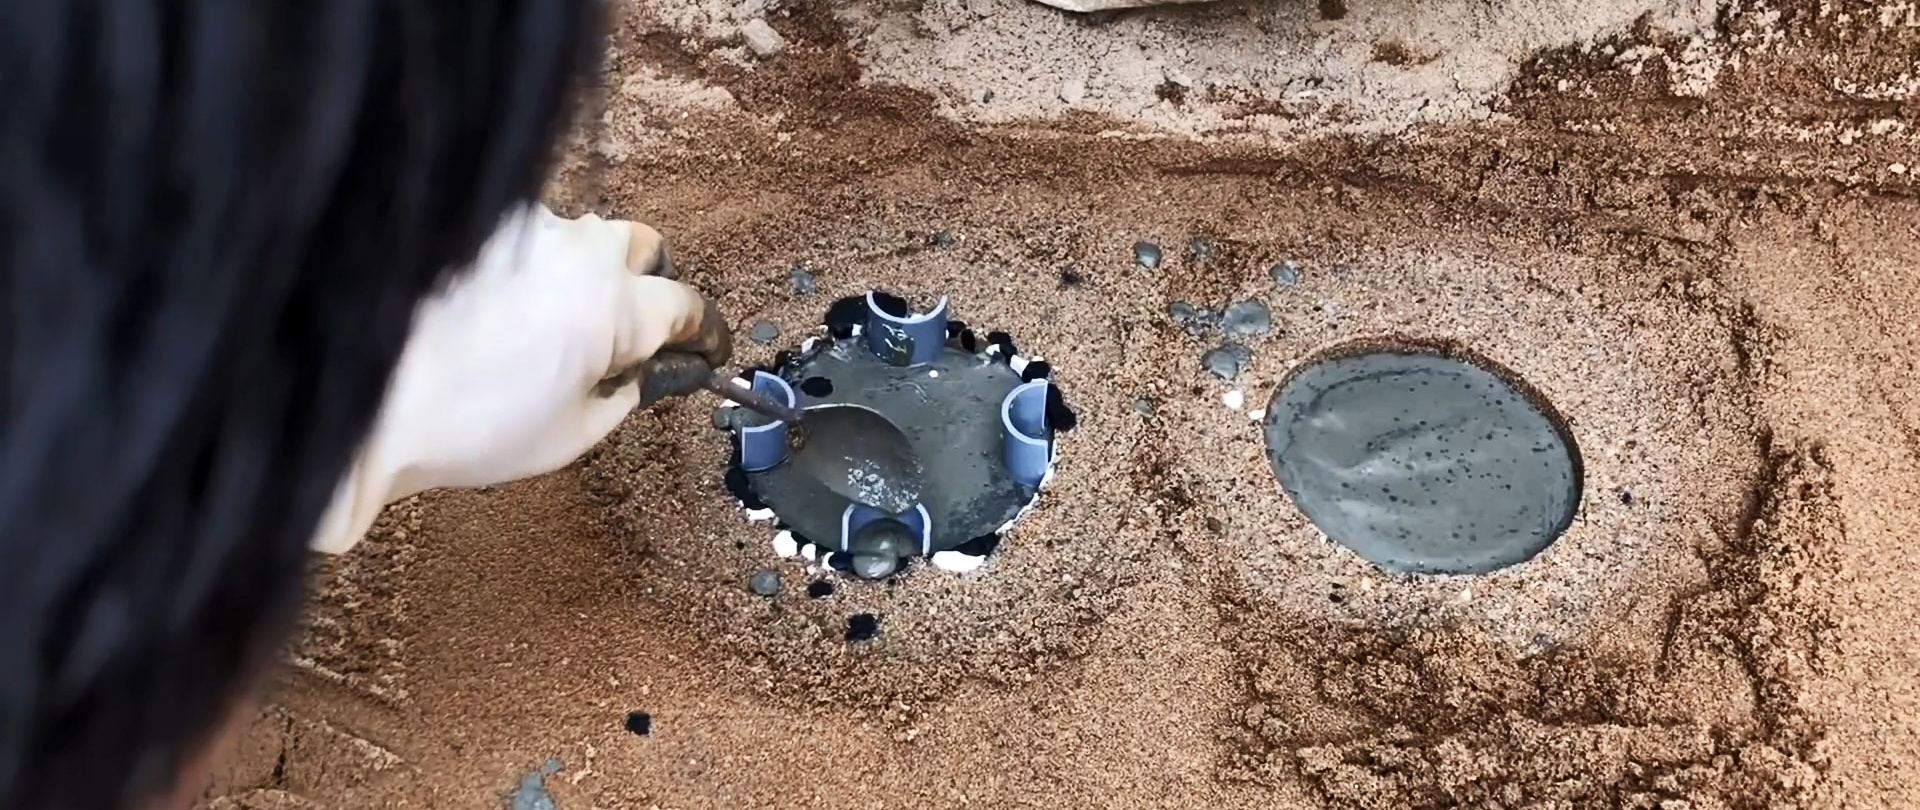
In the still unhardened solution, insert the half rings evenly in a circle, resting the cuts against the outer wall of the mold. We also pour the solution into the resulting volumes.
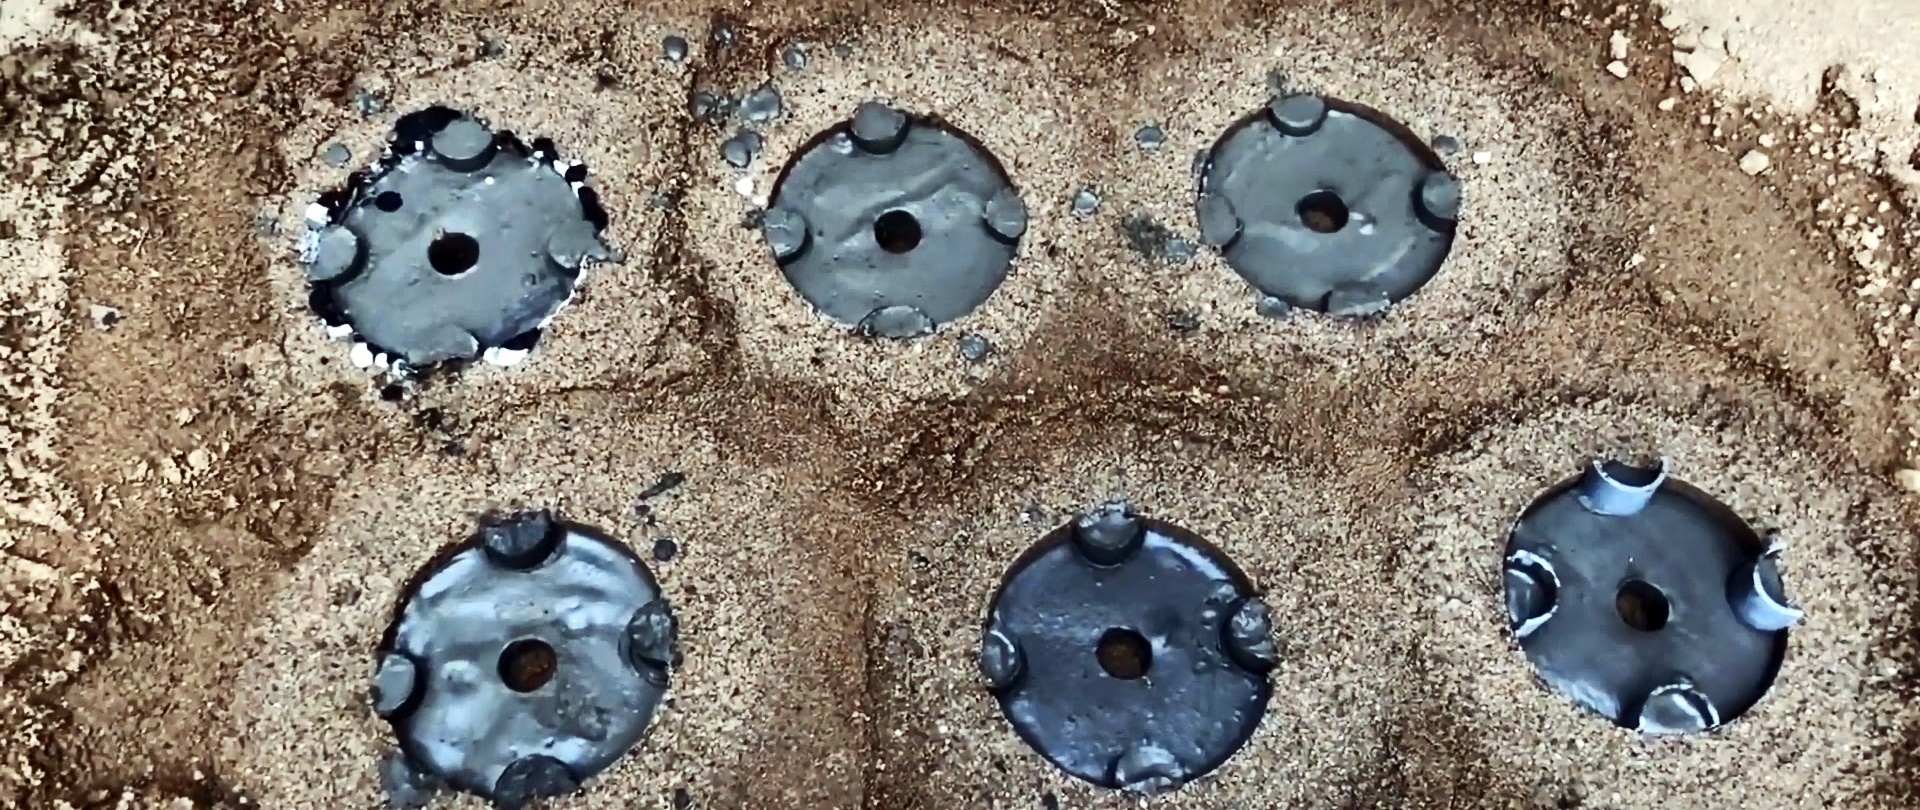
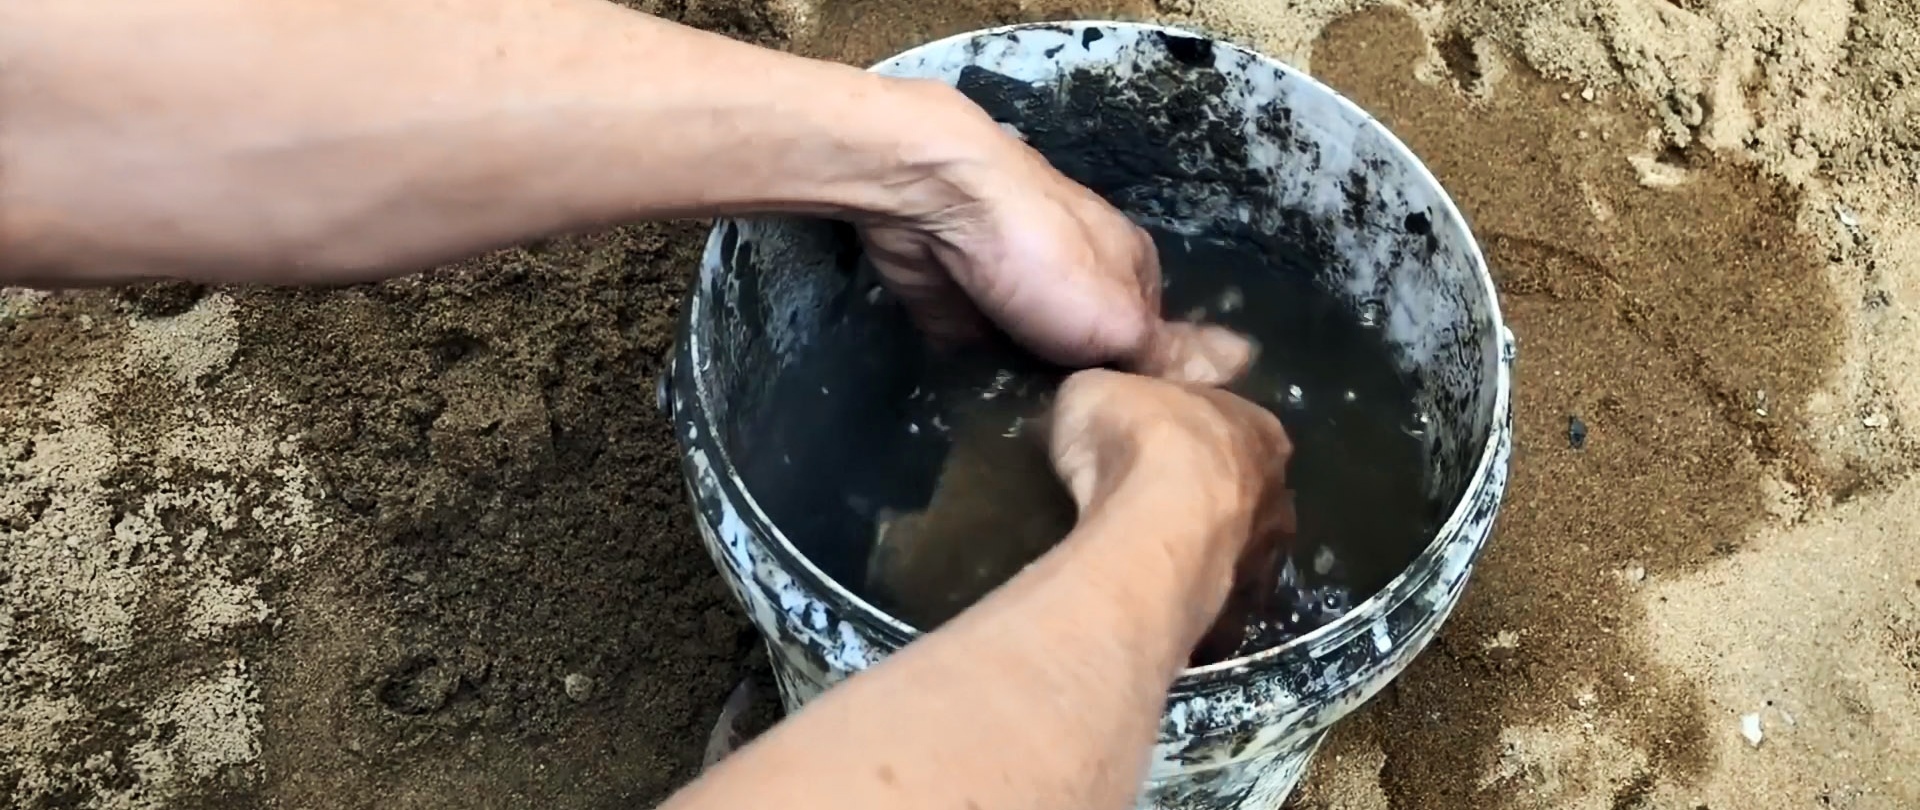
After 24 hours, remove the hardened pots and, after removing excess sand, wash them in water. Then we periodically moisten them with water over the course of a week so that they do not crack as they dry.

To make a hole in the bottom of the pot to drain excess water when watering, insert a rod into the center of the mold, which we remove after the solution has set slightly.