The heating system of a country house is a complex and responsible engineering structure. The accuracy of calculations and correct installation affects not only the level of comfort, but also fuel costs. Also, when planning, the configuration of the house, the thickness of the walls, and the types of heating registers are taken into account.
It is more profitable to heat an individual house or cottage with a boiler. This is the most efficient system that can operate with minimal energy consumption. There are boilers that use liquid and solid fuels. Boiler installations can be highlighted as a separate item: in them, the coolant is heated by a built-in heating element. This article discusses the installation of a closed heating circuit (the principle is similar for open and closed types).

Heating systems for country houses: features and selection rules
The choice of boiler in most cases depends on the budget of the home owner. Before purchasing, you need to take into account such an indicator as the cost of fuel.For suburban villages, where sudden power outages are common, an important element of the heating system will be the presence of an uninterruptible power supply, which, if necessary, will support the operation of the pump.
The main feature of an autonomous heating system is the forced circulation of coolant. With this scheme of work, the distance of the heating pipes and the number of floors of the building do not matter. In case of temperature fluctuations, the system always remains operational.
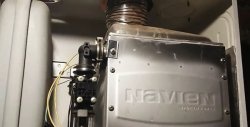
In addition to the main power of the boiler, a boiler with a heating element unit is installed. In this case, the system is configured to turn it on when the temperature drops at the main heat source. An electric boiler will be relevant during periods of departure.
An additional circuit can be a coolant pipe mounted in a wooden floor structure or in a concrete screed. Warm floors make the room temperature more stable. However, it must be installed in conjunction with a full range of work on insulating the foundation, walls and soil under the heating pipe.
Calculation of required boiler power
The main indicator of the boiler is the generated power. The calculation is carried out taking into account the amount of heat that it can produce maximum from burning fuel, or the electricity consumed. The efficiency indicator is also affected by the sum of heat batteries and the length of the floor heating pipes.
The power of boiler equipment is measured in kilowatts. According to standards, 1 kW of thermal energy should be consumed per 10 m of housing.
The territorial climate correction is taken as a coefficient:- south – 0.7-0.9 kW;
- middle zone, central territories - 1.5 kW;
- northern regions - 1.5-2 kW.
The calculation made must be increased by a quarter if the house does not have insulation.

Advantages of solid fuel boilers
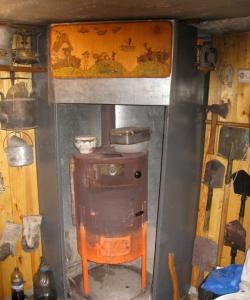
The popularity of using this system when heating a country house is due to multiple advantages:1. The main advantage of a solid fuel boiler is autonomous operation. Wood, coal, and pressed briquettes are suitable for burning. Important clarification. If you use waste wood for heating, you will not be able to achieve high efficiency levels.
2. The cost of operation is lower than that of electric and gas units. When burning for a long time, the fuel releases maximum energy to the system. Firewood consumption in regions with a temperate climate is about 2 cubic meters per month.
3. Most boilers are equipped with built-in heating elements. If there is a remote control, such a system is capable of warming up the home without the presence of the owner.

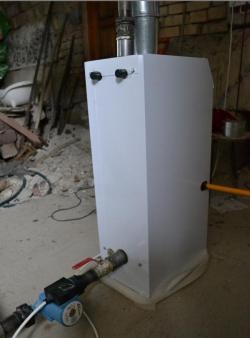
4. The low surface heating of modern boilers allows them to be installed in relatively small rooms and in close proximity to walls. Thermal insulation of a heated chimney is realized using a sandwich system. Double pipes with insulation guarantee the house fire safety.

Do-it-yourself heating system for a country house using a solid fuel boiler
When the boiler is selected, installation of the system can begin. Assembling a thermal circuit with your own hands is a completely doable task that even a beginner can handle. You will first need to purchase the necessary consumables, a welding machine and special scissors.
Installation of heating radiators
Installation begins with hanging the radiators. Heating radiators should be placed under each window, as this is the area of maximum heat loss.In winter, warm currents will eliminate the condensation that appears on the glass, which will make the room air drier. The ideal effect can be achieved by precisely matching the width of the window and the radiator.
The batteries are installed with a slight slope towards the Mayevsky tap or automatic air vent. What is it for? When air appears in the system, and this can happen when the line is filled, it will need to be removed so that air pockets do not form in the system. During circulation, air bubbles collect at the highest points, namely near the tap. Reset is performed by turning a special nozzle; it is present in the radiator installation kit.
When installing batteries, there should be a gap of 2-3 cm between the wall and the radiator, and 10 cm from the floor. Particular attention is paid to tightness: the sealing rubber bands must be intact. For ease of repair and ease of replacement of system elements, two taps are installed at the coolant inlet and outlet. This allows you to locally disconnect and dismantle radiators without disrupting the operation of the circuit.

Dividing heating circuit pipes
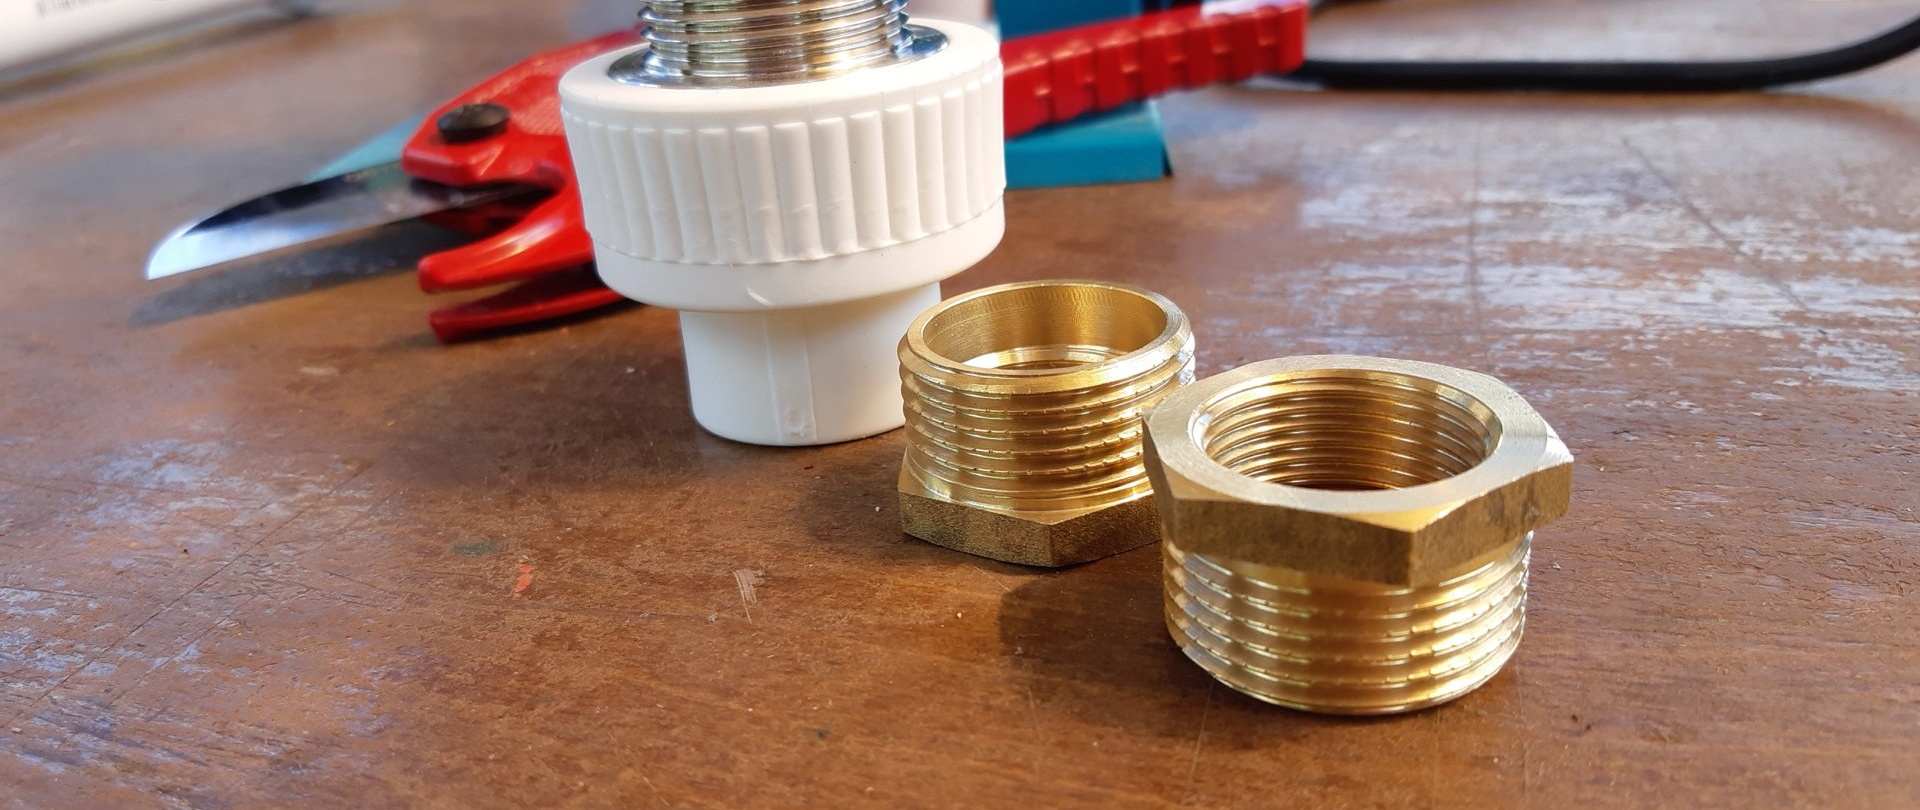
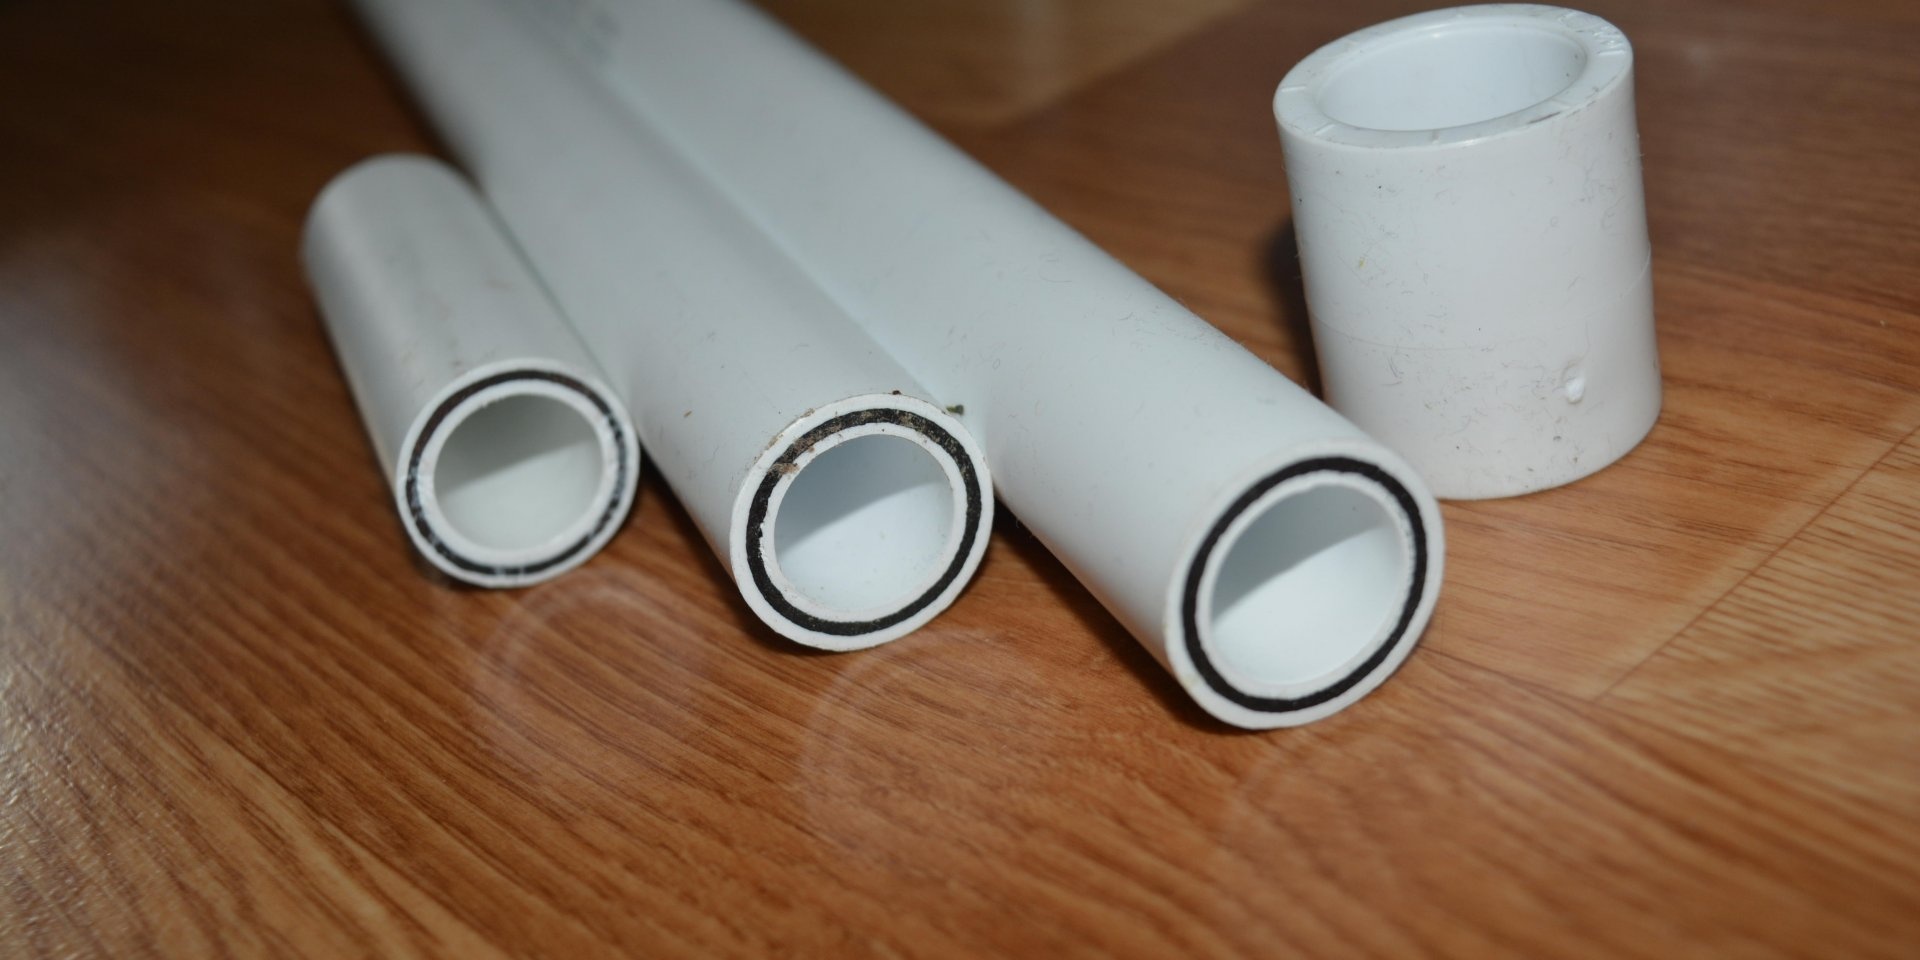
Hanging batteries must be connected into a single system using main pipes. The most popular, including in terms of cost and ease of assembly, are polypropylene elements. Please note that hot water requires a reinforced modification. The internal size of the pipe is selected individually. To improve coolant circulation in an open system (without pressure), it is recommended to install an increased diameter.
Polypropylene pipes do not deform due to temperature changes. The heating system can be installed using a single-pipe or two-pipe scheme.In a single-pipe system, the coolant circulates through one closed circuit; popularly this installation method is called Leningradka. In a two-pipe system, the cooled coolant is returned to the boiler through a separate line. The latter option is considered more profitable due to more uniform heating of all radiators. Please note that the presence of a return line is taken into account when calculating the total footage. The pipes are attached to the walls with special clamps to prevent sagging.
Before starting welding work, try on the material. To do this, drill passages in the walls and arrange the pipes in sections. Don't rush to trim them. You may have to redo defects that appear during soldering, as a result of which the segment will decrease and you will have to cut it again.
Assembling the heating circuit into a single whole
The heating system can be assembled according to the following schemes:
1. Bottom mounting. The inlet and outlet of the main pipe are connected to the lower nozzles of the batteries. With this method, 15% heat loss and uneven heating of the radiator may be observed.
2. Top mounting. The coolant inlet is mounted to the top of the radiator, and the outlet to the bottom. With this scheme, heating of the batteries will be more uniform over the entire plane, and heat loss will be minimal.
3. Diagonal connection. Suitable for radiators with a large number of sections. In this case, the return is installed at the bottom, but diagonally from the entrance.

Before installation, it is advisable to draw up a diagram of the entire heating system on paper and calculate the rationality and efficiency of moving antifreeze along the circuits.
Important point. Conventional FUM tape shows poor sealing when temperatures change. A thermal gap is formed and a leak appears.Classic flax with sealant will be much more effective.
Welding polypropylene
The connection of polypropylene pipes and fittings is carried out using a special welding machine.
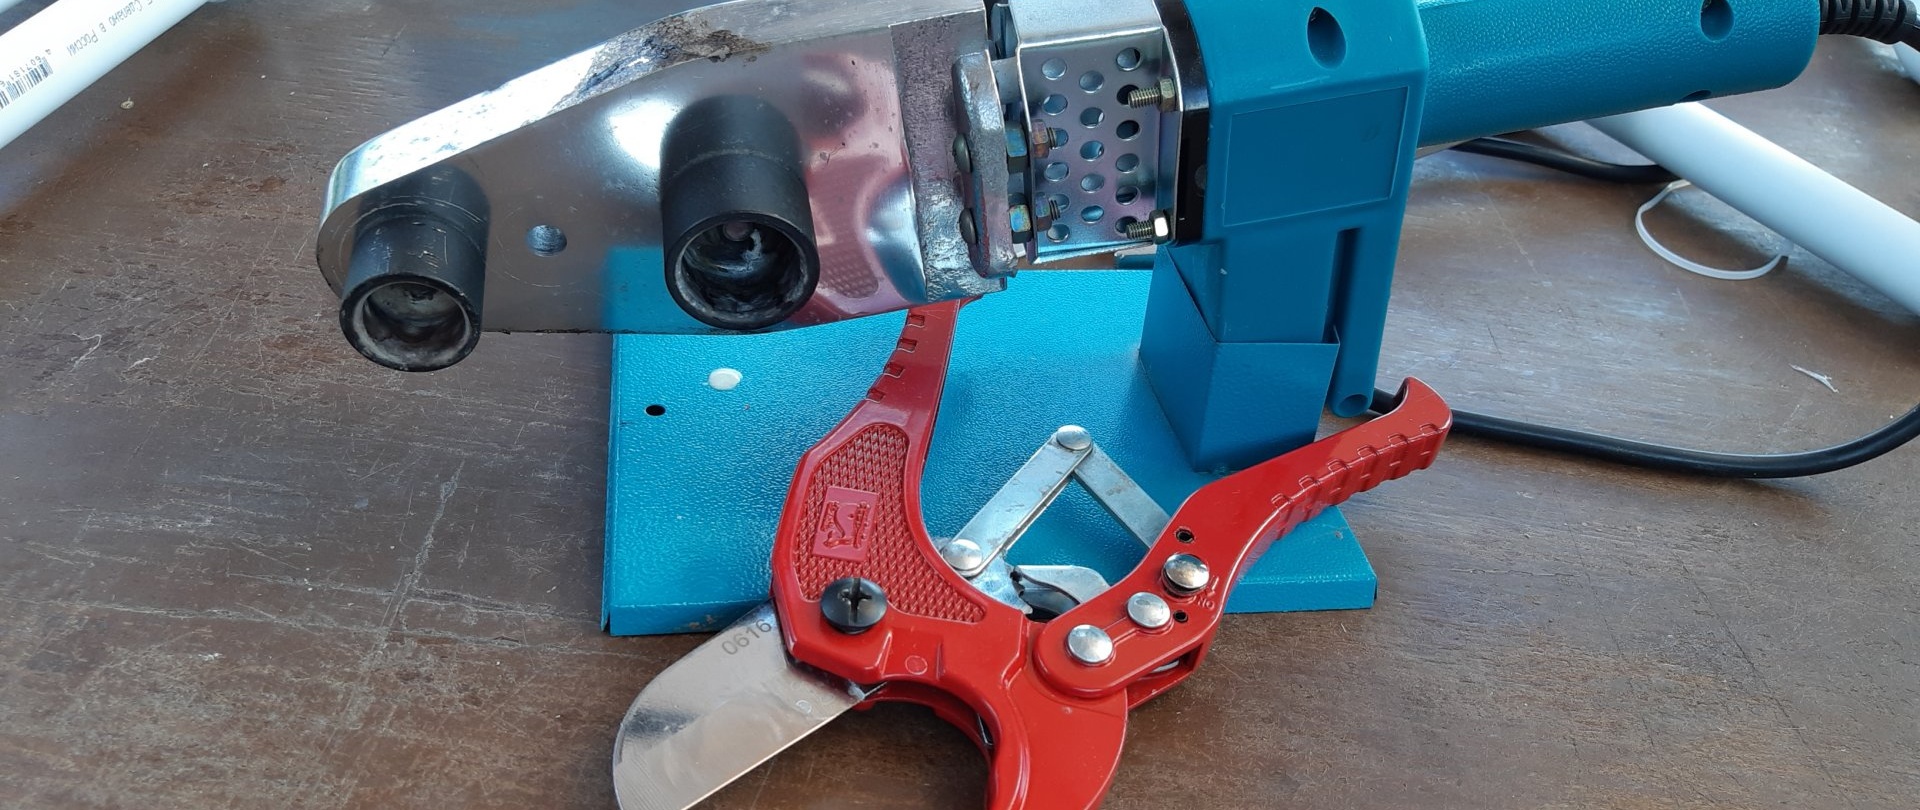
The welding process occurs when the pipe and fitting are simultaneously heated at a temperature of 260 degrees. The difference in diameter between the two parts ensures a tight fit when pressed into each other. The first experience can be ordinary training on scraps of pipes. The principle is important: when connecting two elements there should be no rotation, only linear movement. This guarantees the tightness of the joint and high-quality sealing.
In the event of a violation of the technological process or if doubts arise about the quality of the resulting connection, it is better to redo the joint immediately. To do this, the problem area is cut out with special scissors, and the fitting is replaced with a new one.

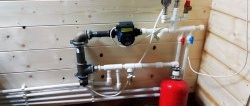
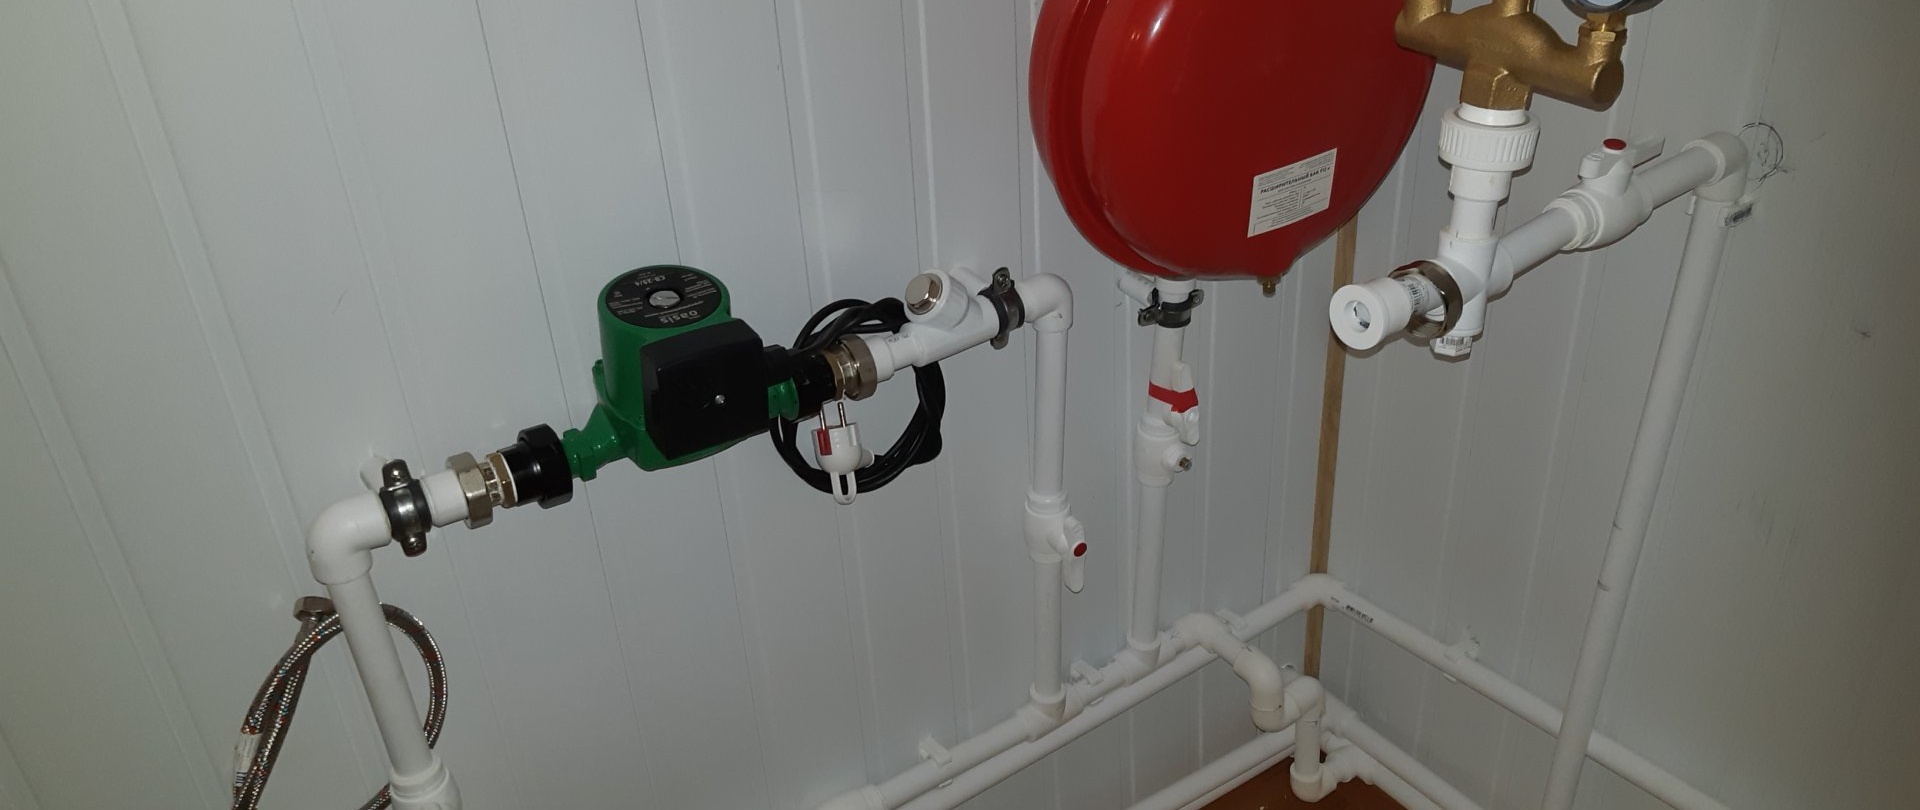
Expansion tank and its function in the heating circuit
When heating any coolant, a 10-15% increase in volume occurs - this is a normal physical process. In a closed circuit, to avoid damage to the heating elements, an expansion tank must be installed. The coolant, increasing in volume, exits into the expander, keeping the radiators and boiler intact. As a result, the service life and reliability of the heating system increases.
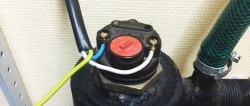
An open system can be equipped with a simple container, a closed one - with a special tank with a membrane. As a rule, such expanders are red. In the latter option, the internal pressure must be regulated: the norm is 1.5 atmospheres.
The installation location is selected taking into account maintenance and replacement of the tank. The internal membrane of the device is rubber. Over time, microcracks may appear in it, which will lead to rupture.For ease of dismantling, a ball valve is installed on the inlet pipe.
There are a number of requirements for tank installation:
- the distance from the wall to the tank must be at least 10 cm;
- access to the tank must be free;
- the height of the expander should not exceed 1.5 meters;
- the pipe and the tank itself must be firmly attached to the wall to prevent deformation of the system under load.
The classic place for installing the expander is on the return line between the pump and the boiler. The volume of the tank must be at least 10% of the total coolant volume.
System pressure sensor
A pressure gauge must be installed in the heating system to visually monitor peak readings. In a closed circuit, the operating pressure can range from 1.5 to 2 atmospheres (maximum peak 2.5 atmospheres). Exceeding the norm is detrimental to the boiler and radiators. Adjusting the pressure gauge readings is possible by decreasing or increasing the volume of coolant in the system. An air vent valve is installed along with the pressure gauge. It removes air pockets that entered the system during coolant filling. The installation point is the highest place in the system.
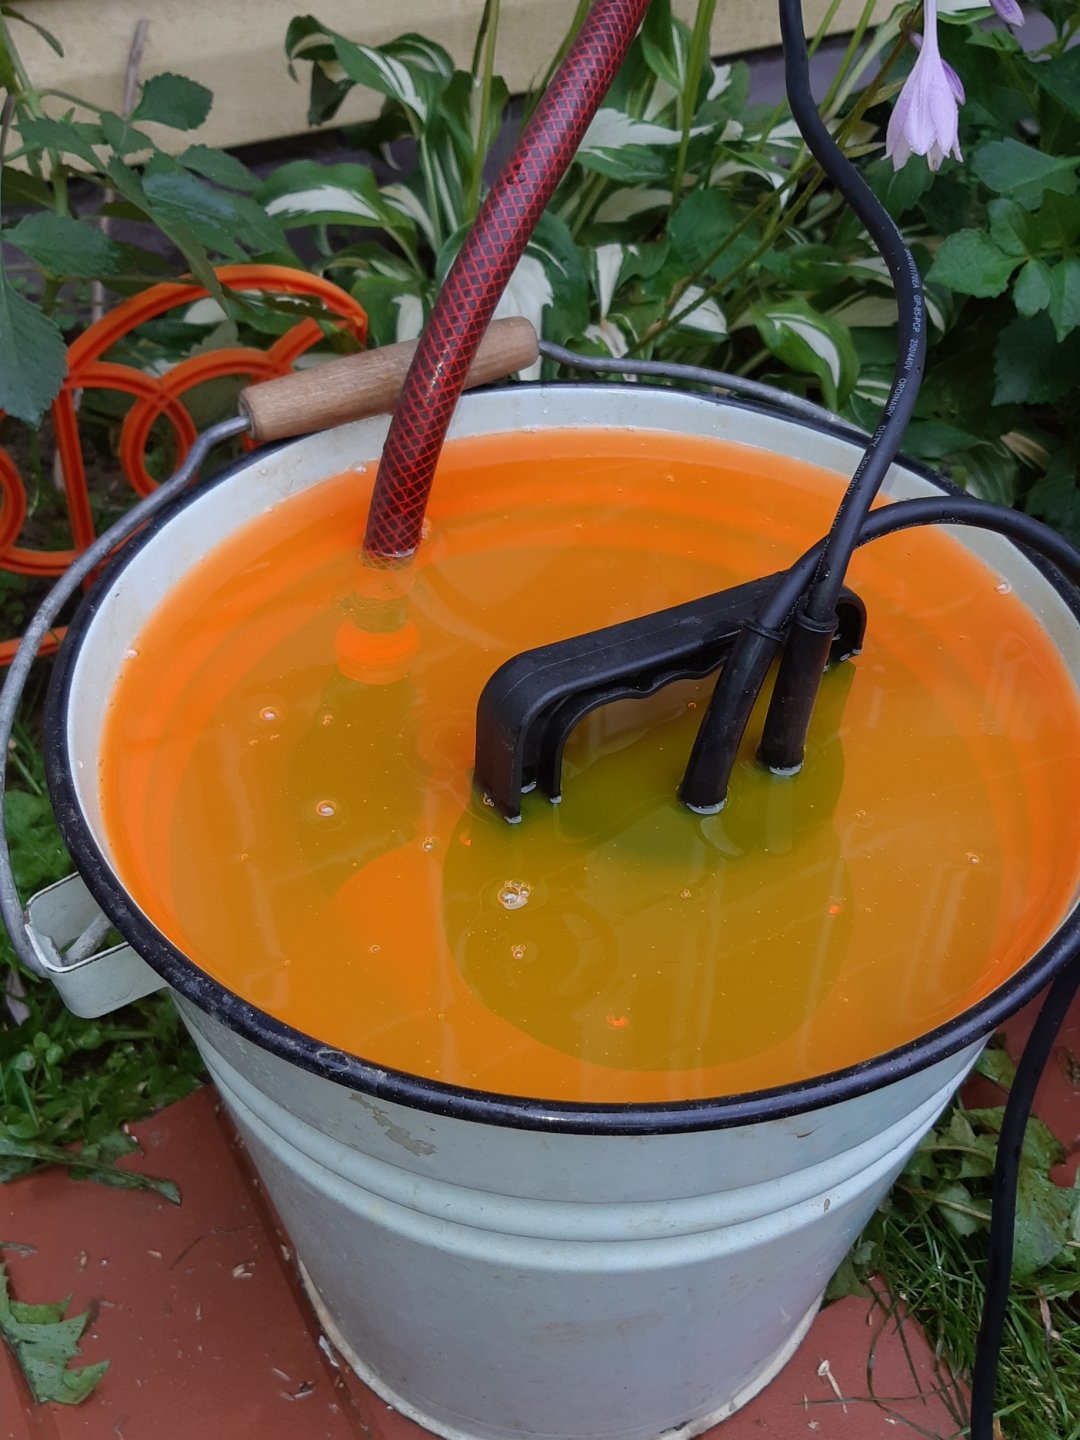
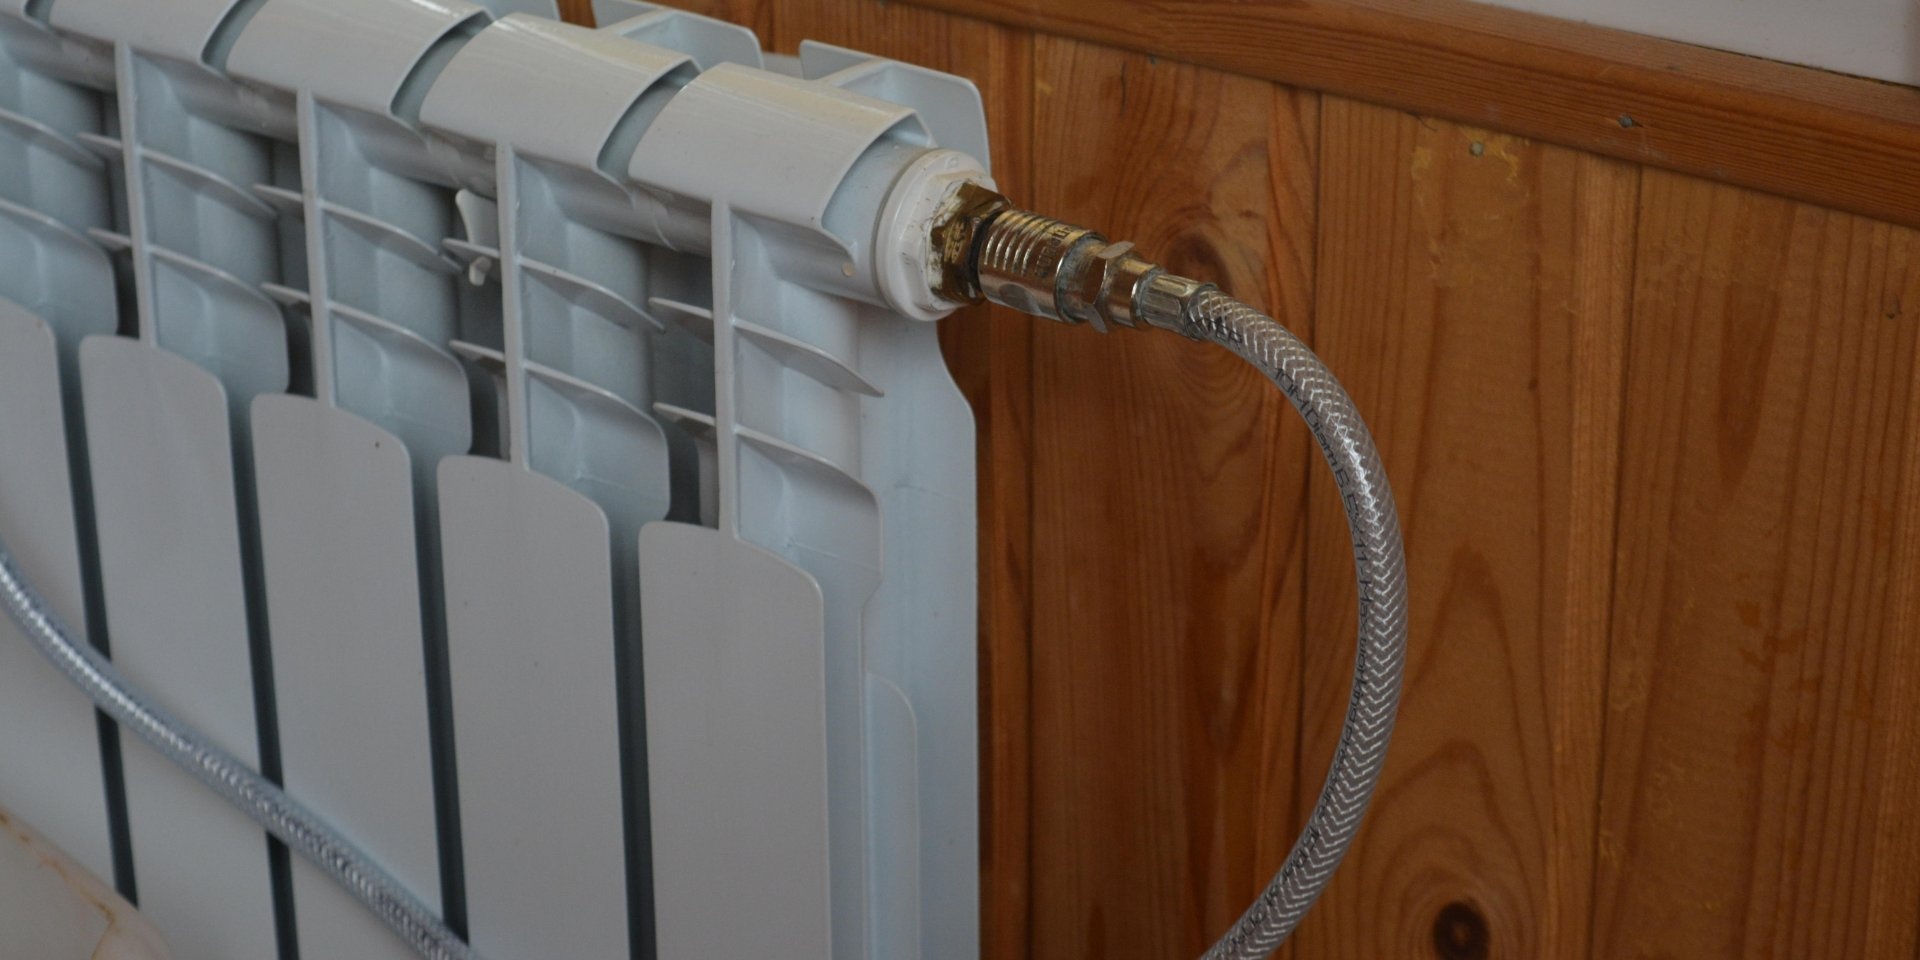
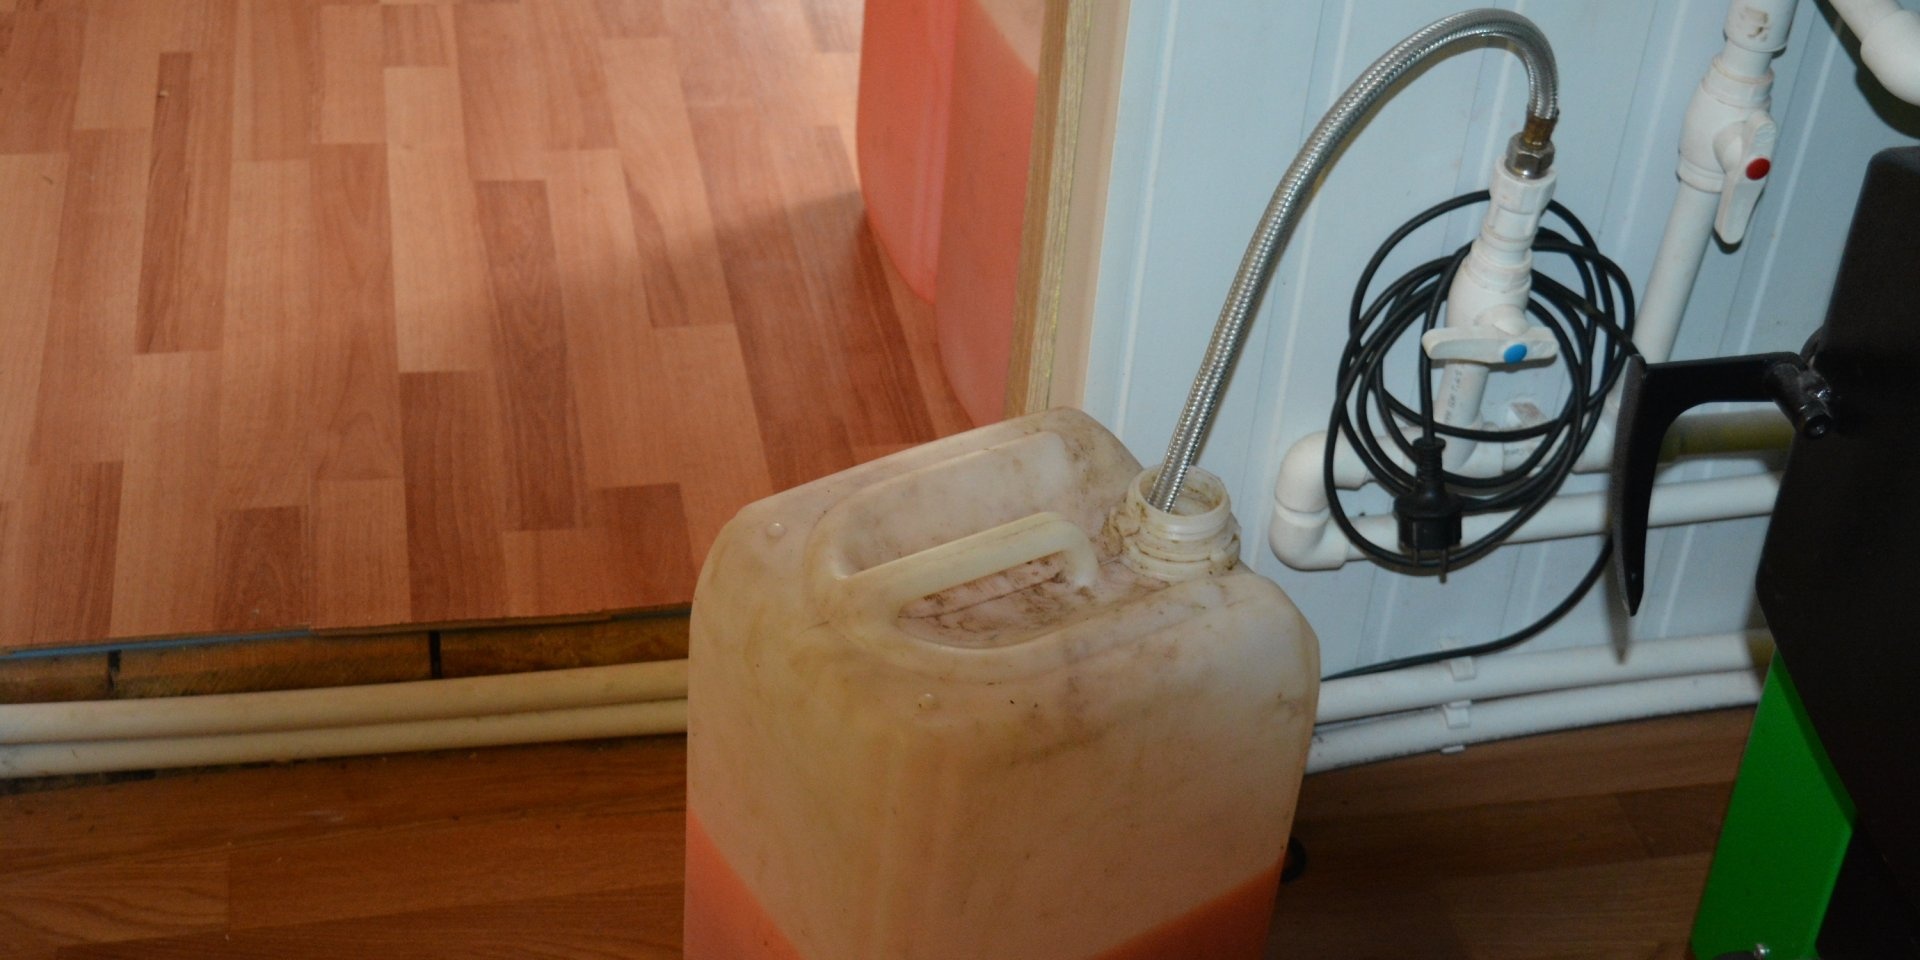
Injecting coolant into a closed heating circuit
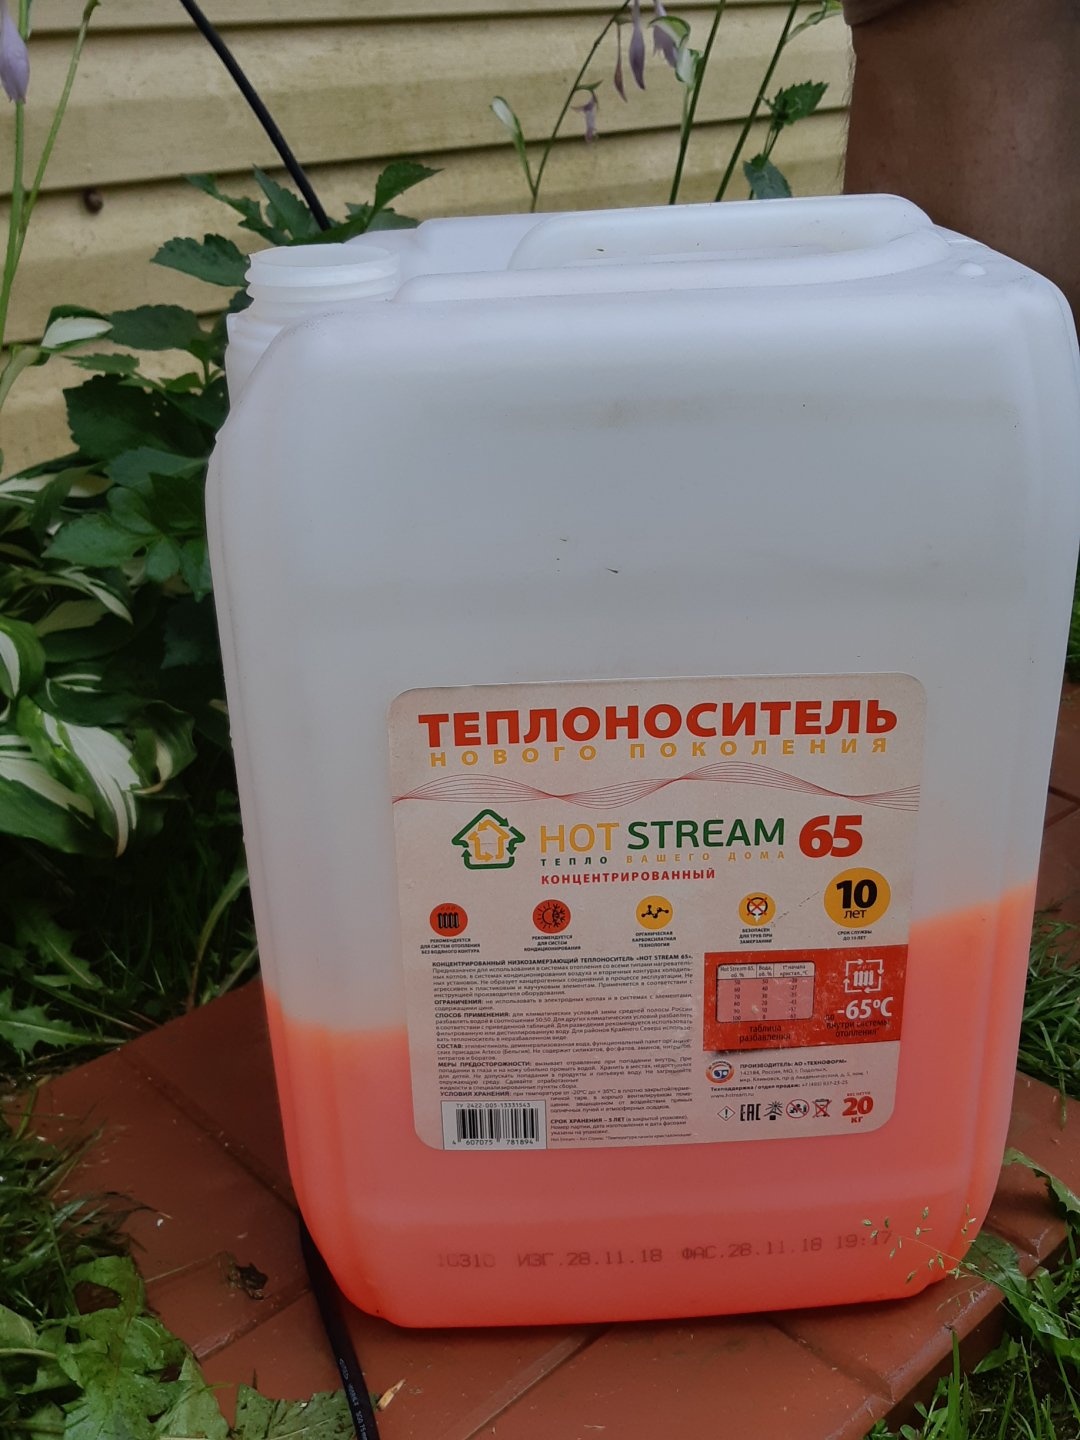
Any pump, surface or submersible, is suitable for filling the system. For an open system, without pressure, filling can be done through a funnel and hose, standing as high as possible. The method is lengthy and inconvenient; the pump fills the system much faster and with better quality.
The required volume of coolant is calculated taking into account all consumers - batteries, pipes, boiler. An adjustment of 20-25% is added to the resulting amount of volumes.
Test run, troubleshooting installation errors
Upon completion of filling the system, all accessible joints and pressure gauge readings are visually inspected. If no leaks are found, then the heating is sealed and ready to start.
The boiler should not be filled completely with fuel; your task is to lightly heat the system and control the uniformity of heat distribution. At the same stage, air is released through Mayevsky’s taps.
Before starting, the circulation pump is primed separately. The central screw is unscrewed and after the water begins to flow without the sound of air bubbles, it is pulled back. If this is not checked, overheating is possible.
After a test run, particles of installation debris that settle on the main filter mesh are removed from the cooled system, and the room is heated to the desired temperature.