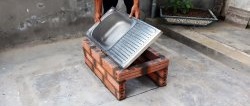
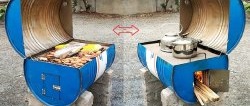
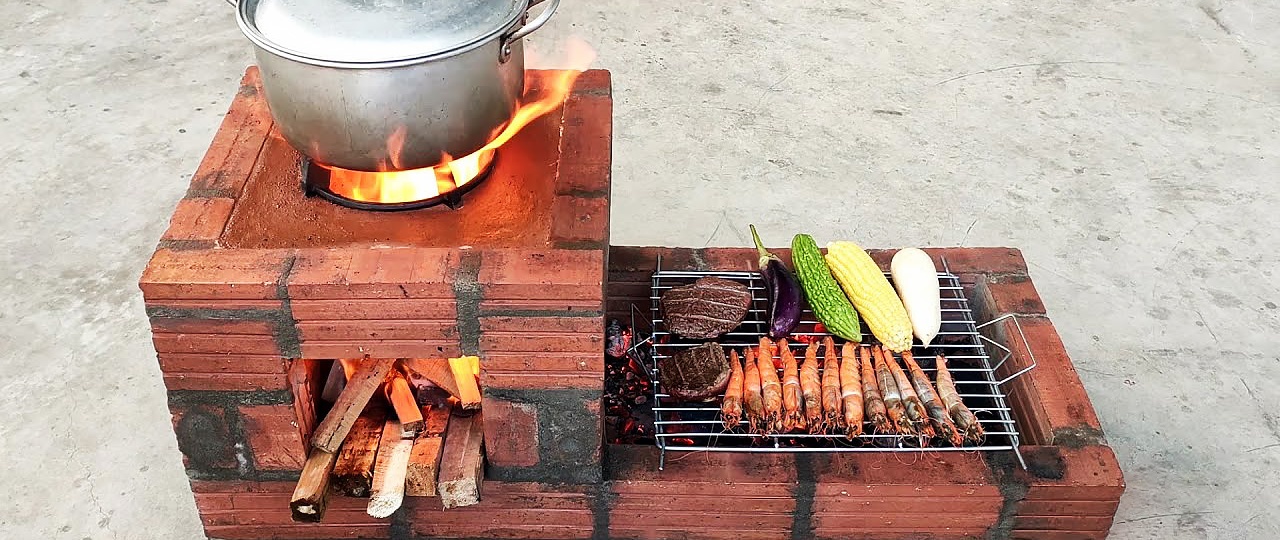
This stove design is a godsend for your home or cottage. Simple and functional - it will become an indispensable assistant during the period of relaxation in the garden or vegetable garden. You can cook and fry on it, in a frying pan or in a saucepan, and cook dishes on both the grill and the grill. The oven will not take up much space and will become a faithful assistant in preparing delicious and healthy dishes in the fresh air.
Will need
- fire brick;
- sand;
- cement;
- solution container;
- red clay;
- Master OK;
- sledgehammer
The process of making a barbecue oven with your own hands
We evenly set up a 4 by 2 rectangle made of refractory bricks. We place the bricks on edge, leaving a gap between them for the cement mortar.
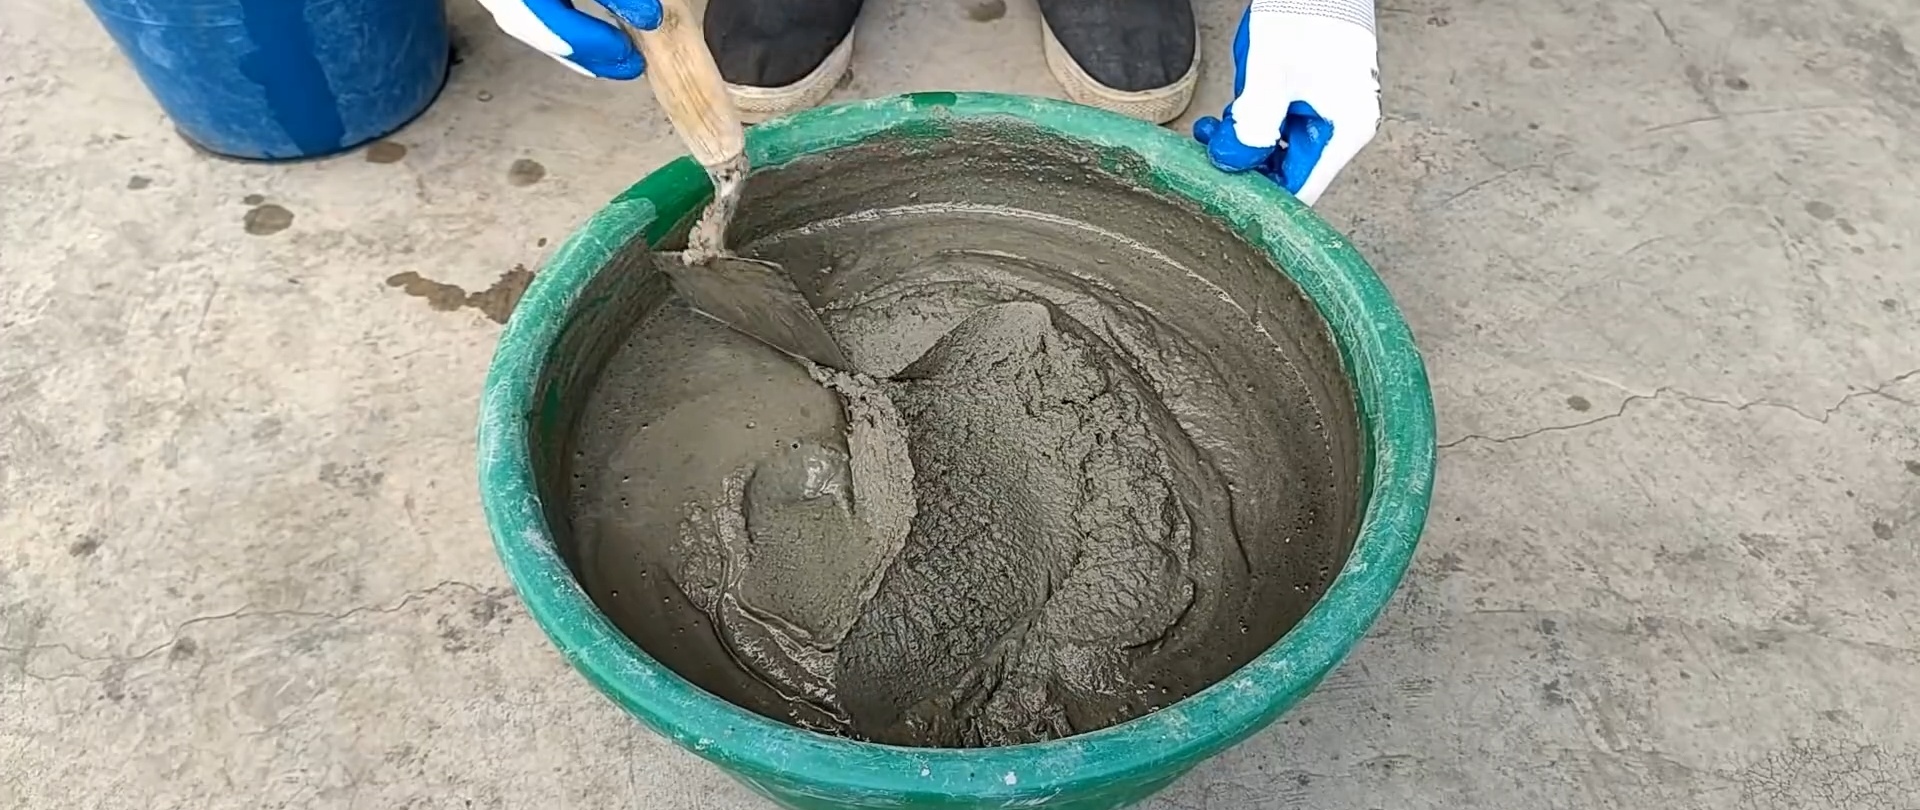
Prepare the solution. Pour sand and cement into the container in a ratio of 3 to 1. Mix thoroughly. Add water and stir until a cheese-like mass is formed.
We apply cement mortar to the exposed brick rectangle. Carefully fill the seams and lay out the second row of masonry. We make sure that the seams of the top row do not touch the seams of the bottom row of masonry.

On the third row of the rectangle, at one of its ends, we will lay out a structure measuring 2 by 2 bricks. To do this, first lay a corner of four bricks.We make a stand inside the structure and place a board that will temporarily act as a lintel.
We place the bricks on the board and continue laying them out so that on one side there remains a side hole the size of 3/4 of a brick. Thus we lay 2 rows of masonry.
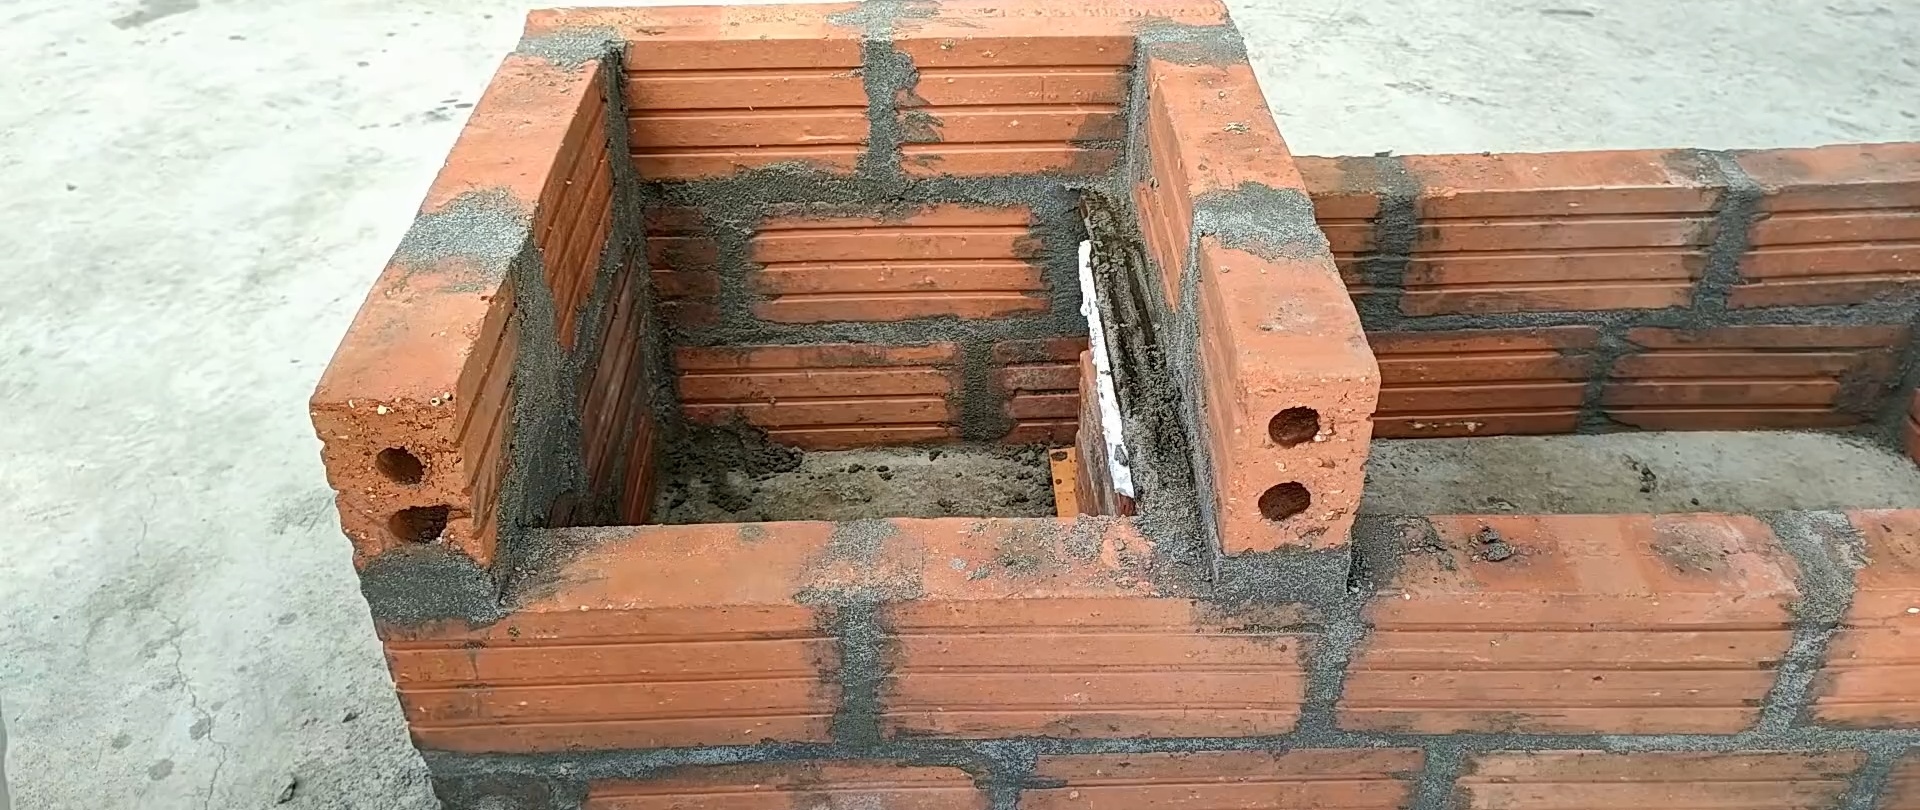

We make a stand in the hole. We place a brick on it so that its lower part is lower than the already formed walls. Fill the seams with mortar. The last brick was laid above the overall structure, so we level the masonry in pieces along the perimeter.
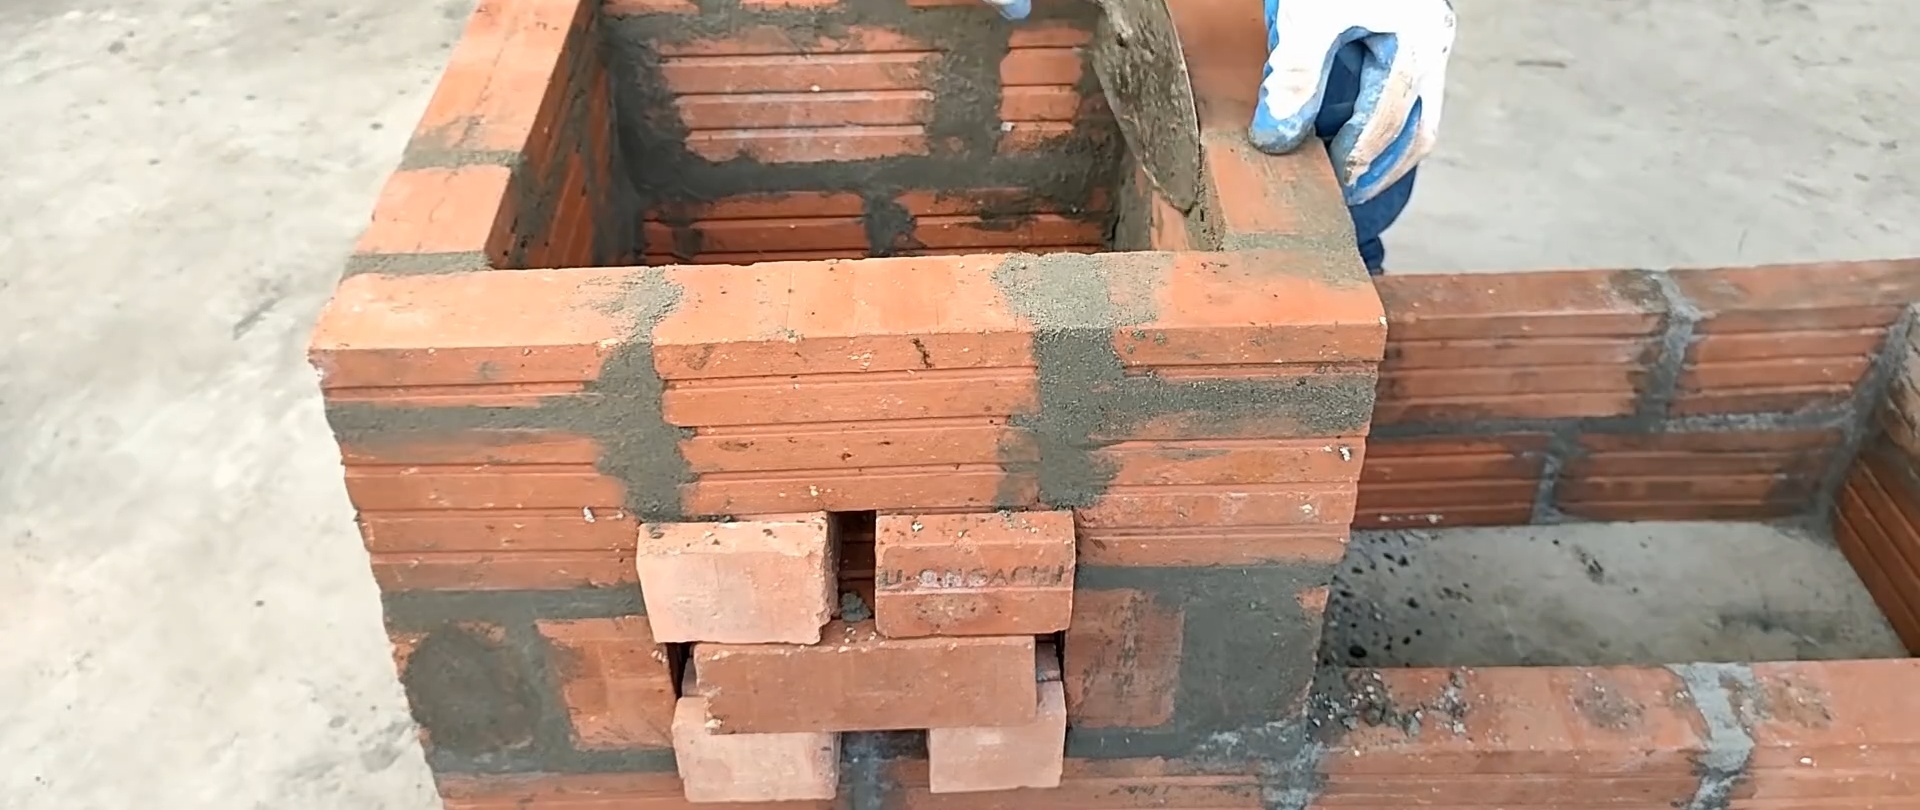
When the solution has set, remove the side hole support.

Remove the inner hole support. We knock out the board (temporary jumper). We have formed the walls of the future furnace.
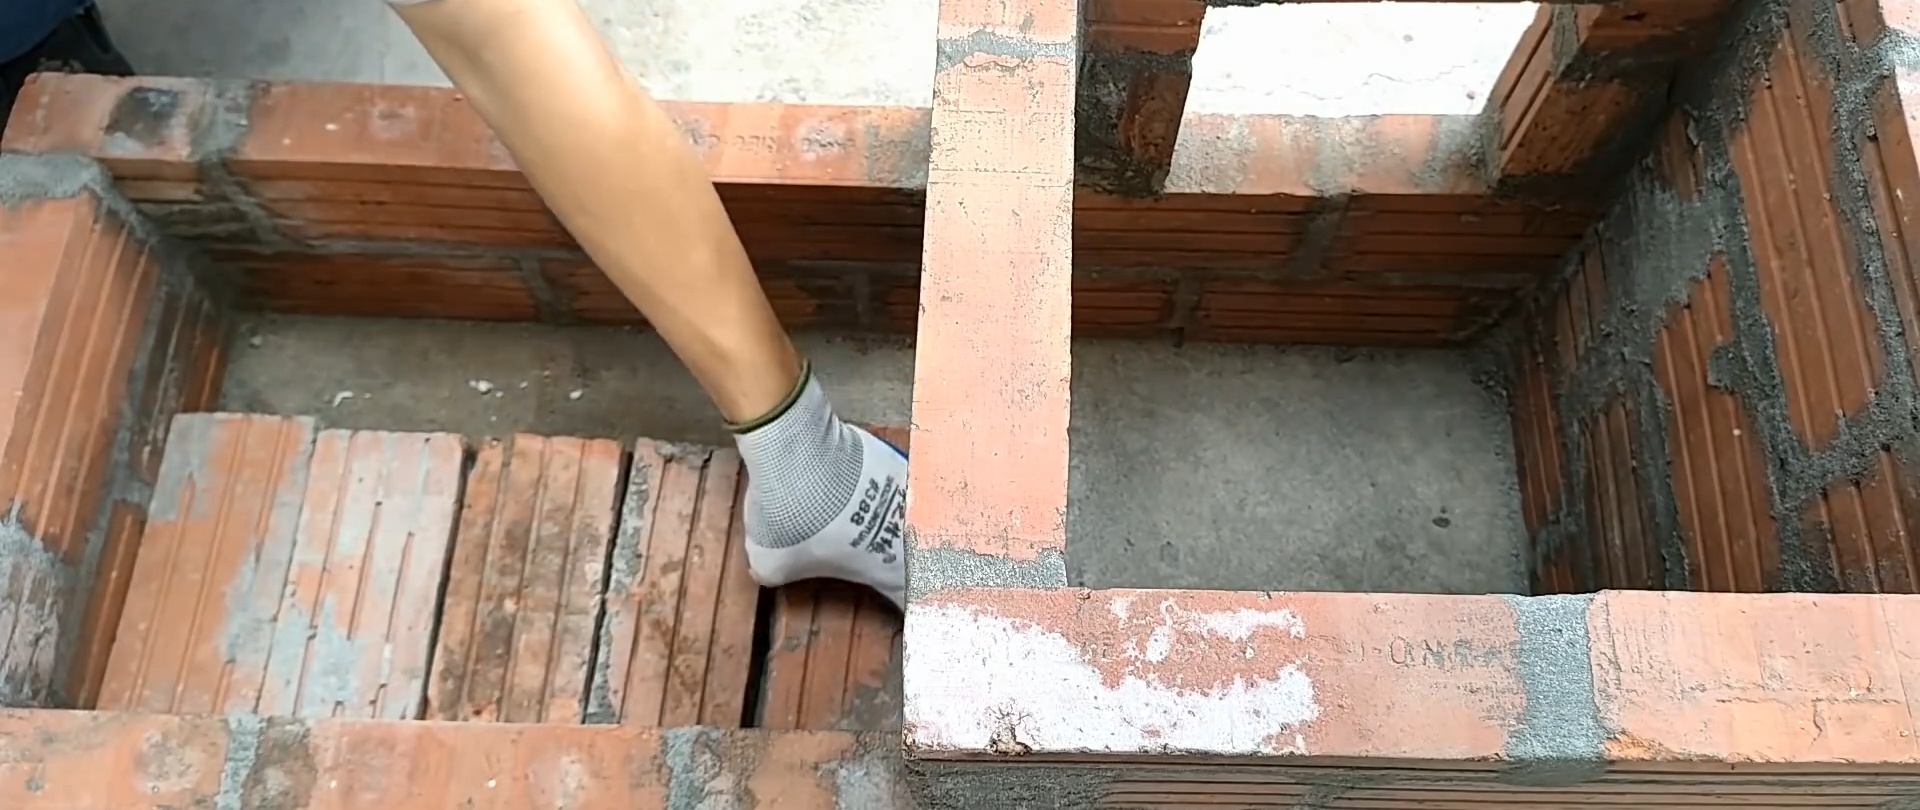
We place bricks on the bottom so as to completely cover it. In the part of the oven with the highest walls we place a second row of 3-4 bricks to form a step.
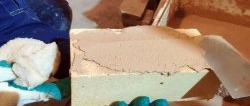
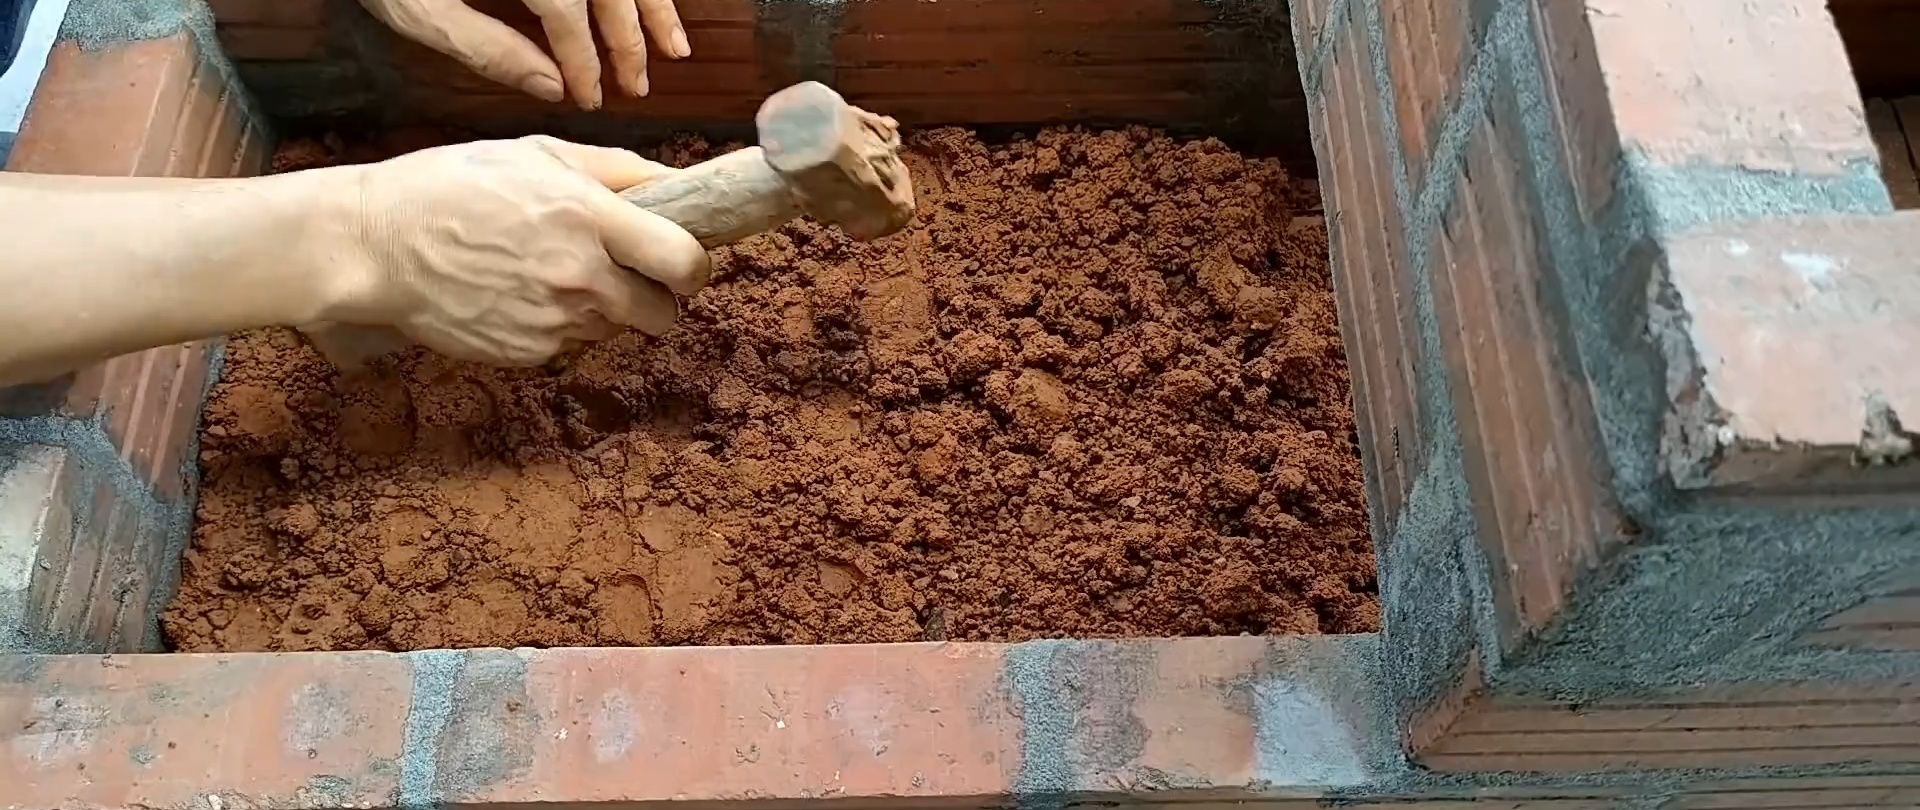
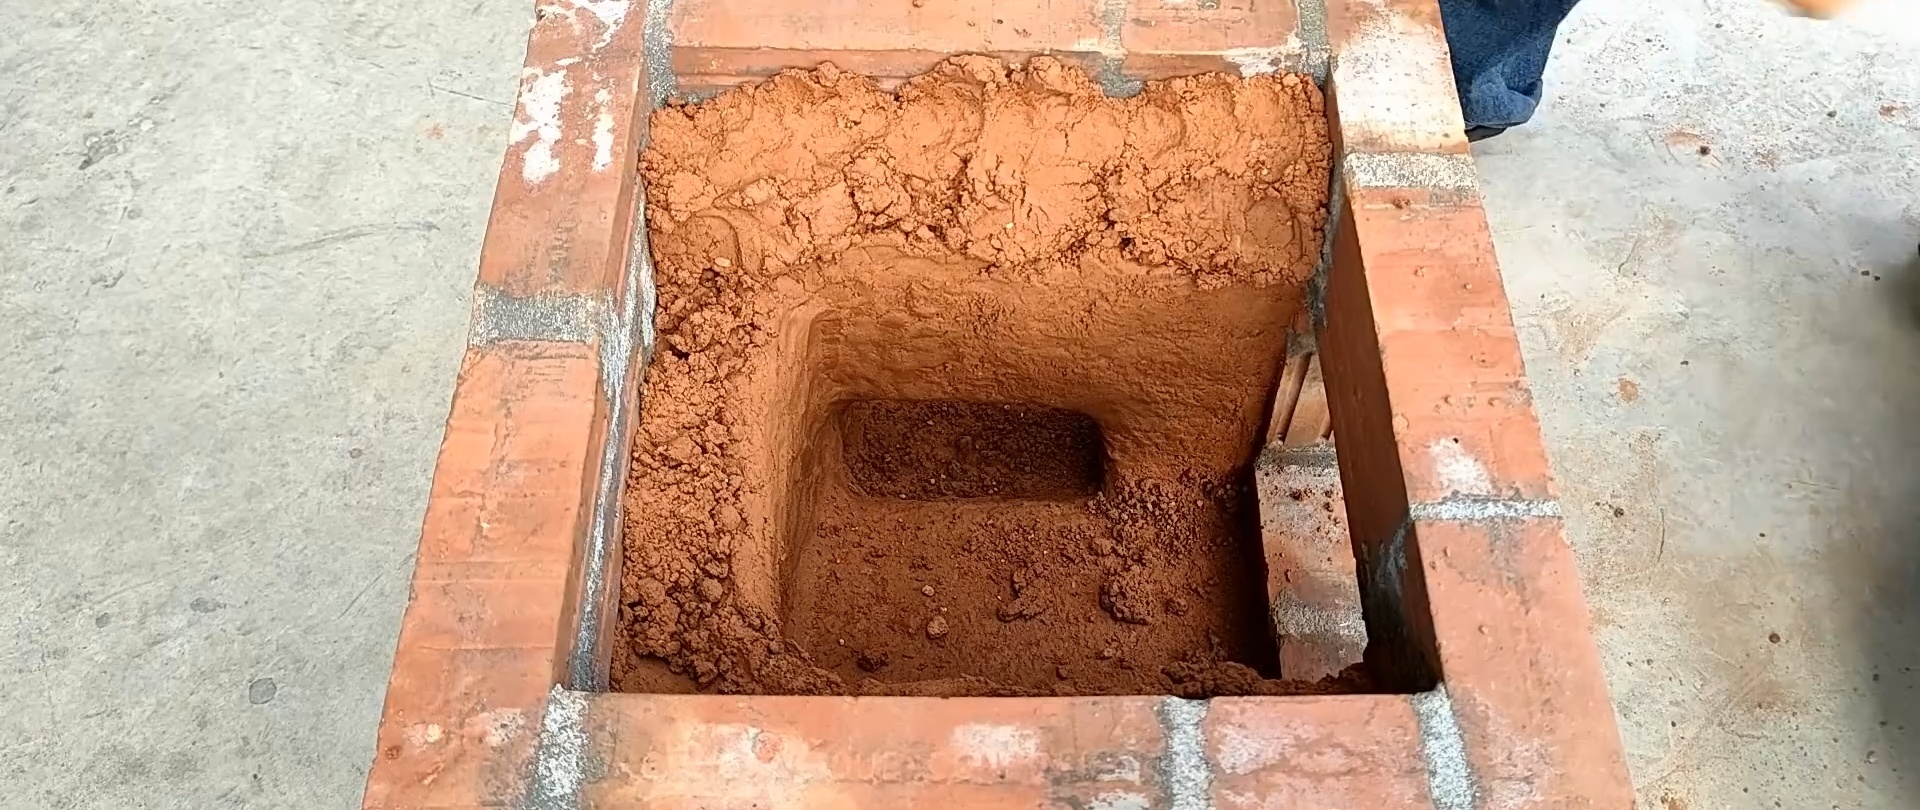
Next we take red clay. If there are lumps, crush them with a sledgehammer. Add sand in a ratio of 3 parts clay to 1 part sand, and mix thoroughly. Pour in water and prepare a clay solution. We bring the mass to a state where it molds well.

We pour the clay solution onto the bottom of the oven. Carefully but carefully tamp with a sledgehammer and level the surface.

Next, we cover the inner walls of the upper part of the oven with clay. The thickness of the clay layer should be 7-8 cm.
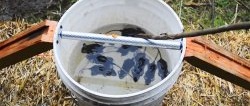
We complete the inner layer by making a hole with clay mortar. To make the hole a regular round shape, place a cylindrical shape inside (for example, a bucket).
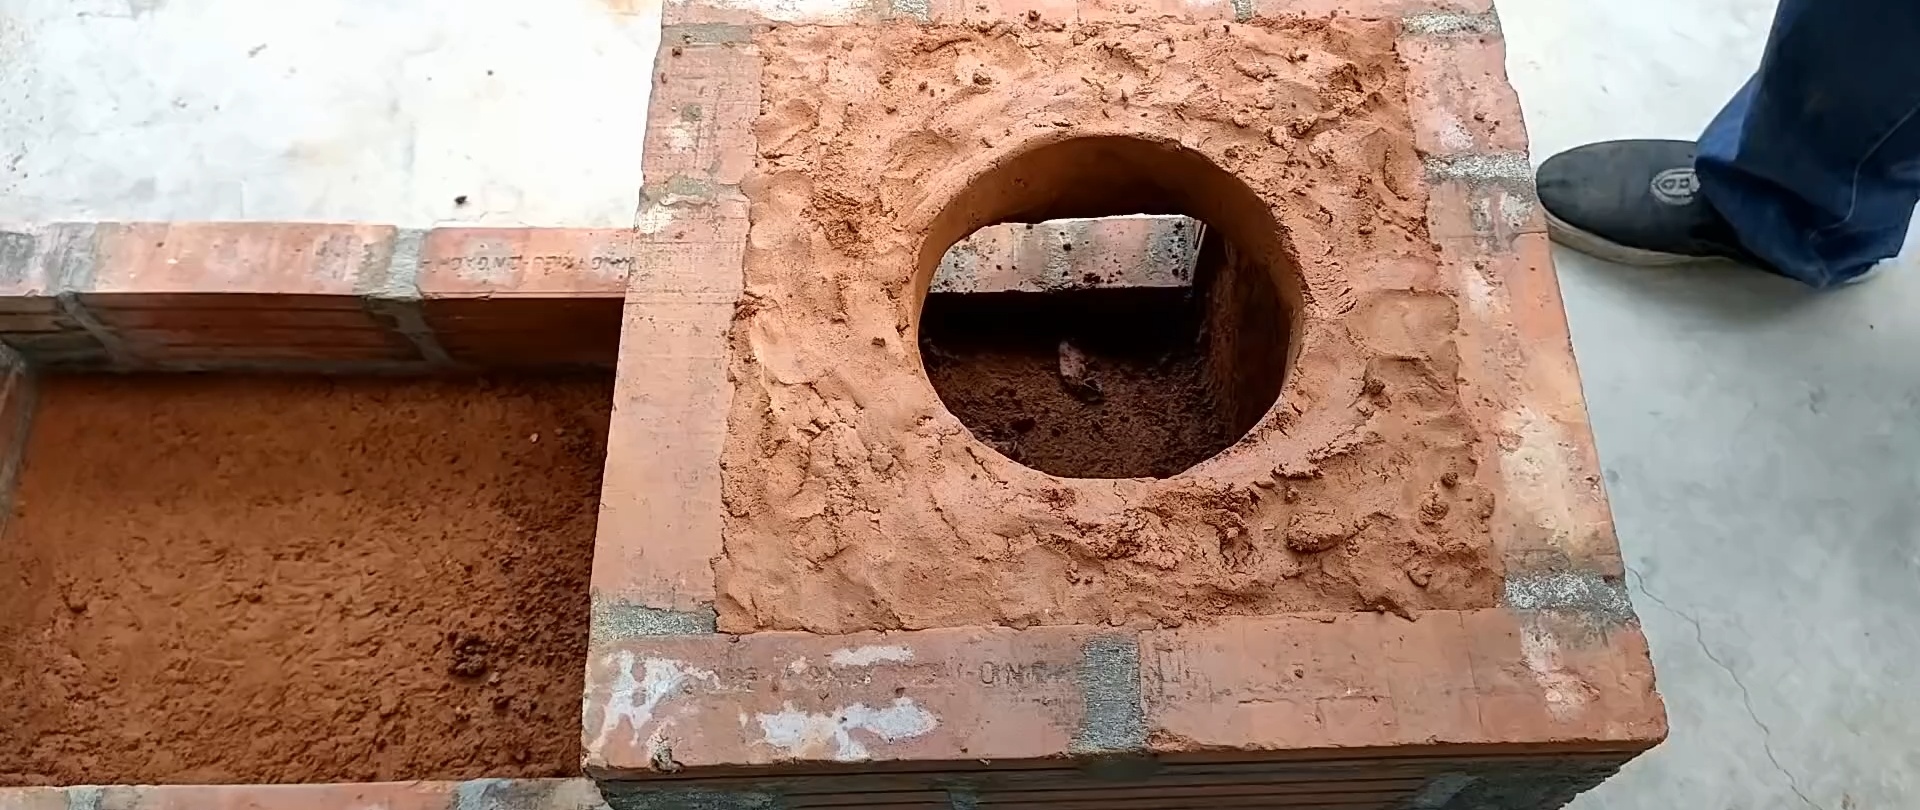
We level the surface, remove the cylindrical shape, and treat the clay with water so that the surface acquires a smooth shape.
We fix the stand over the hole so that it sets in the clay.

We treat the rest of the clay bottom with water so that its surface becomes smooth.

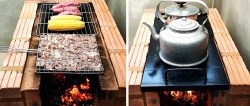
Thus, we made a wood-burning stove, the open part of which serves as a barbecue. The coals from the stove move into the open part of the stove.
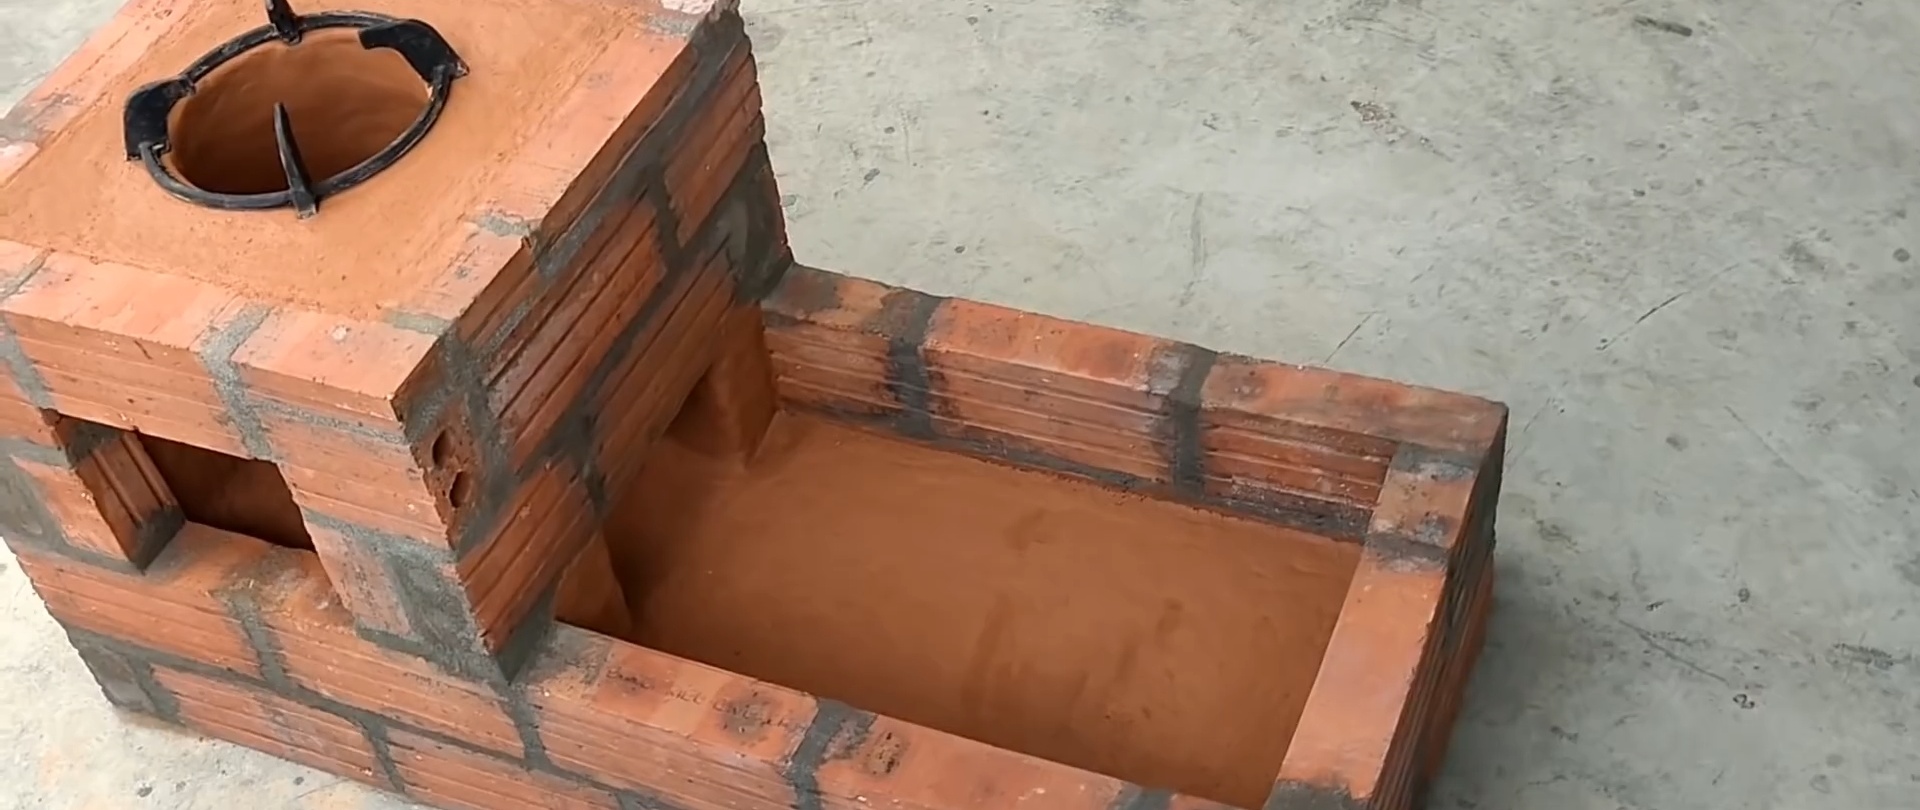


If necessary, you can add more coals and fry food on a grill or skewers.


Good use and bon appetit!