Do it yourself
Life hacks, master classes, useful tips, recipes.
home » Electronics » How to adjust the brightness of an LED lamp

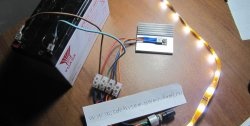
To save energy, increase service life, or simply create the desired ambiance, you can add a dimmer switch to your LED lamp. With the help of which you can regulate the level of lamp glow within wide limits. This simple modification will not require a lot of effort and many components.

Details

How to Add Simple Dimming to an LED Bulb

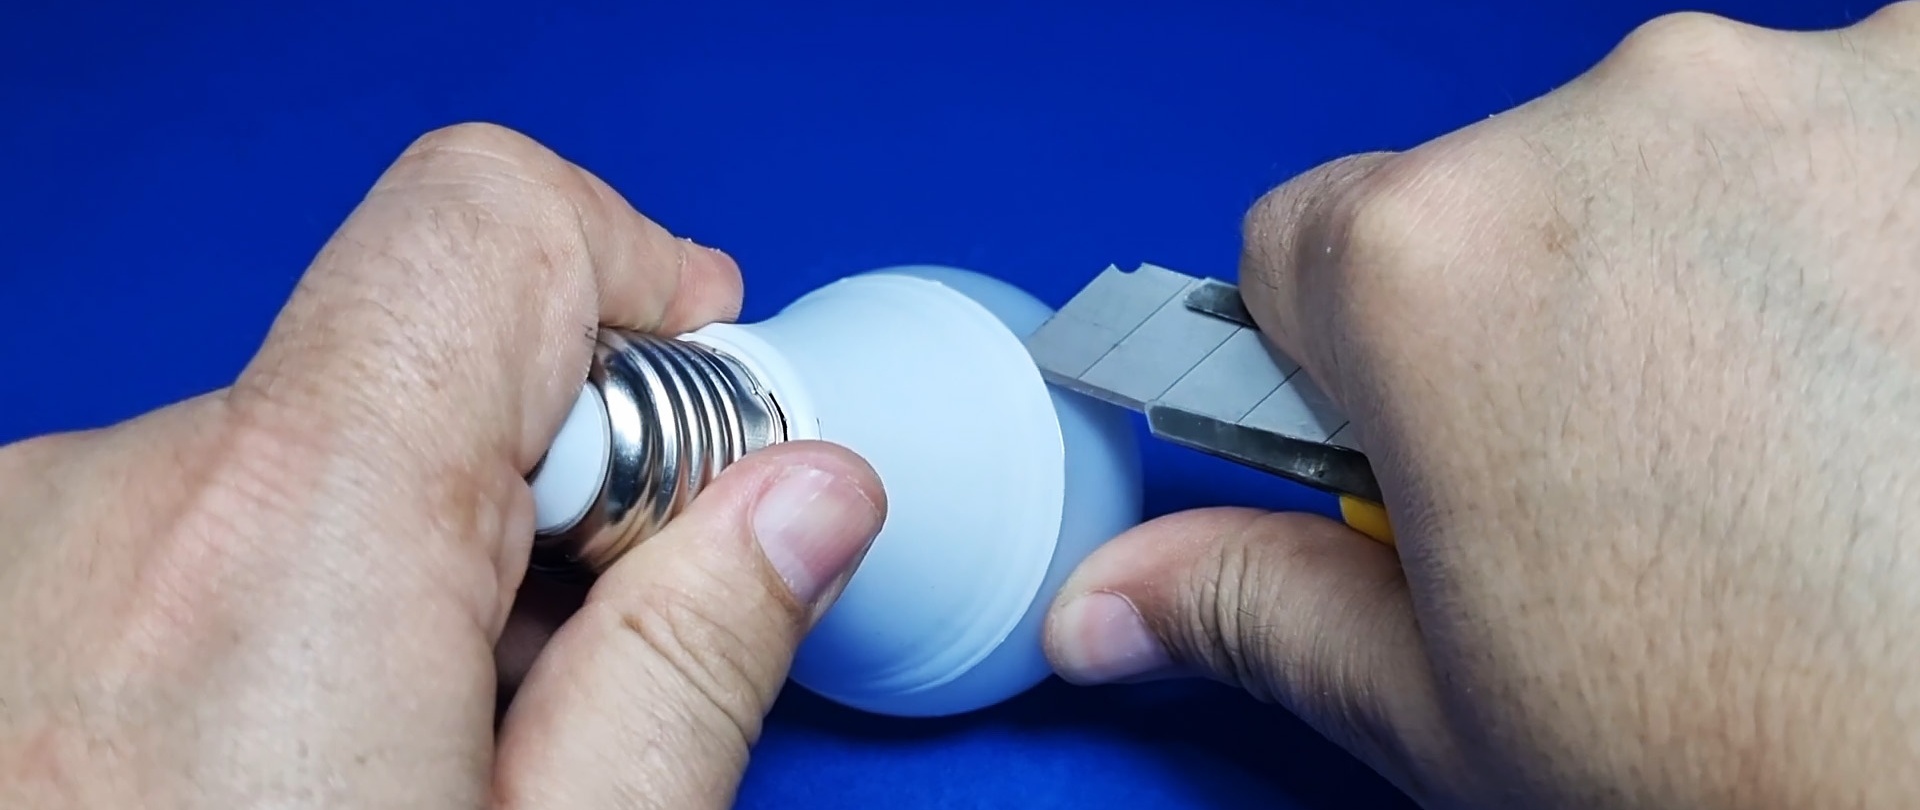
The first step is to peel off the flask. This is done simply with the help of a stationery knife. The glue is cut in a circle.

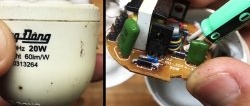
In this lamp model, the power driver LEDs installed directly on the board along with the LEDs. The pulse driver itself is built on the MLS3535 chip. The datasheet and wiring diagram for which can be easily found on the Internet. The resistor on the board U1 sets the glow power LEDs.

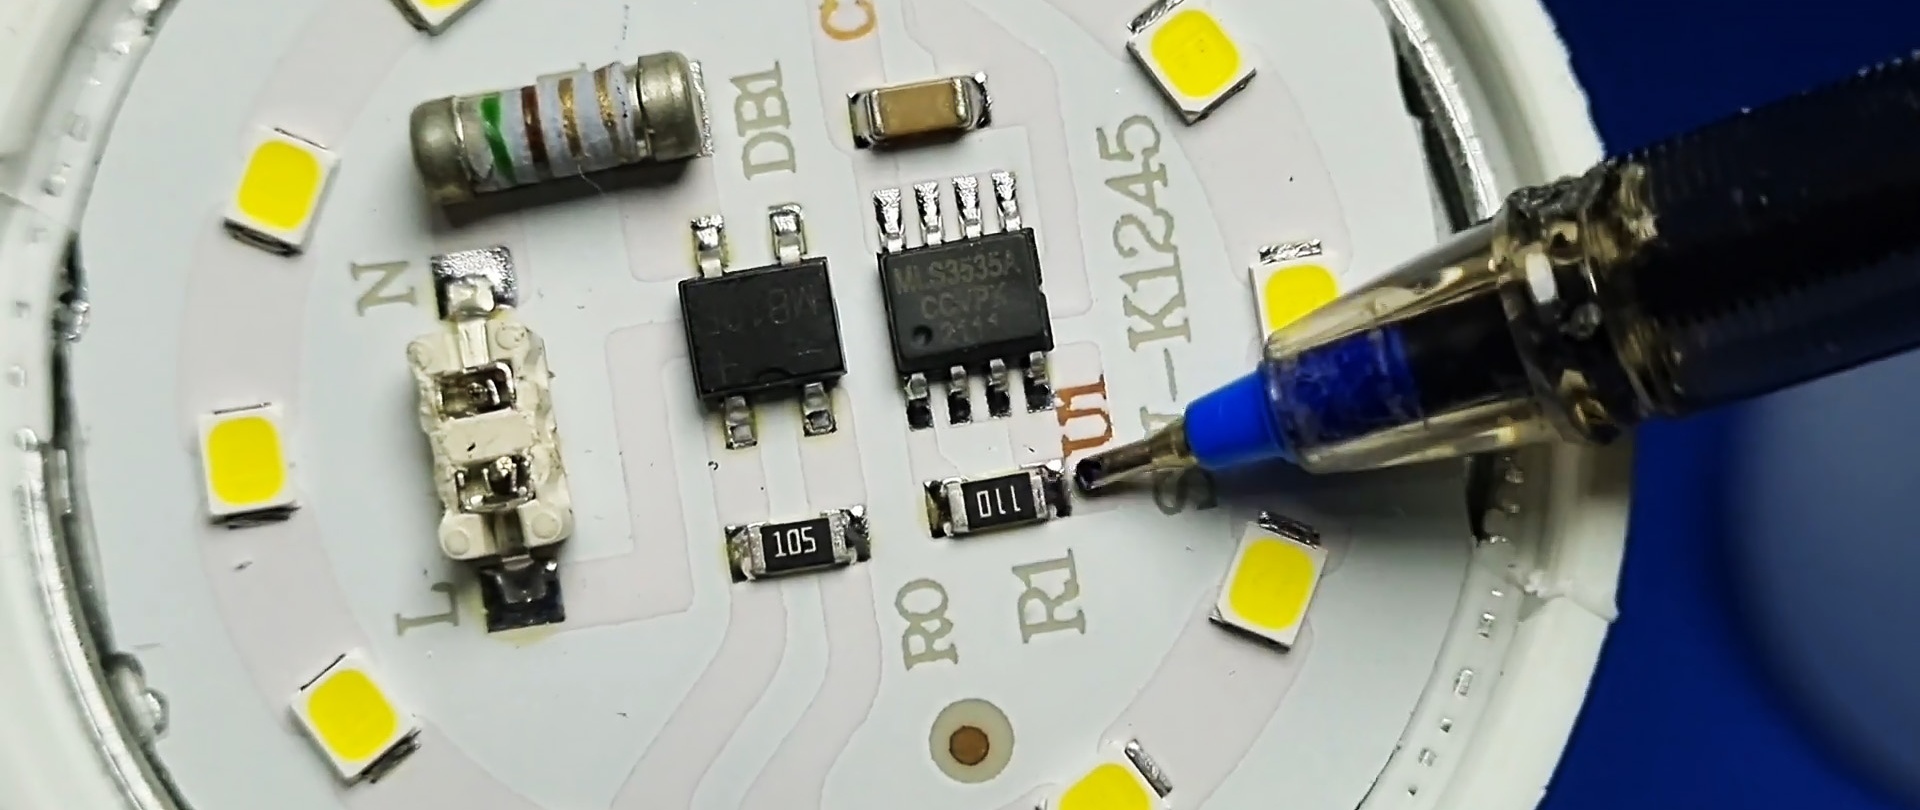
Disconnect the board from the base. Solder a 10 ohm resistor.

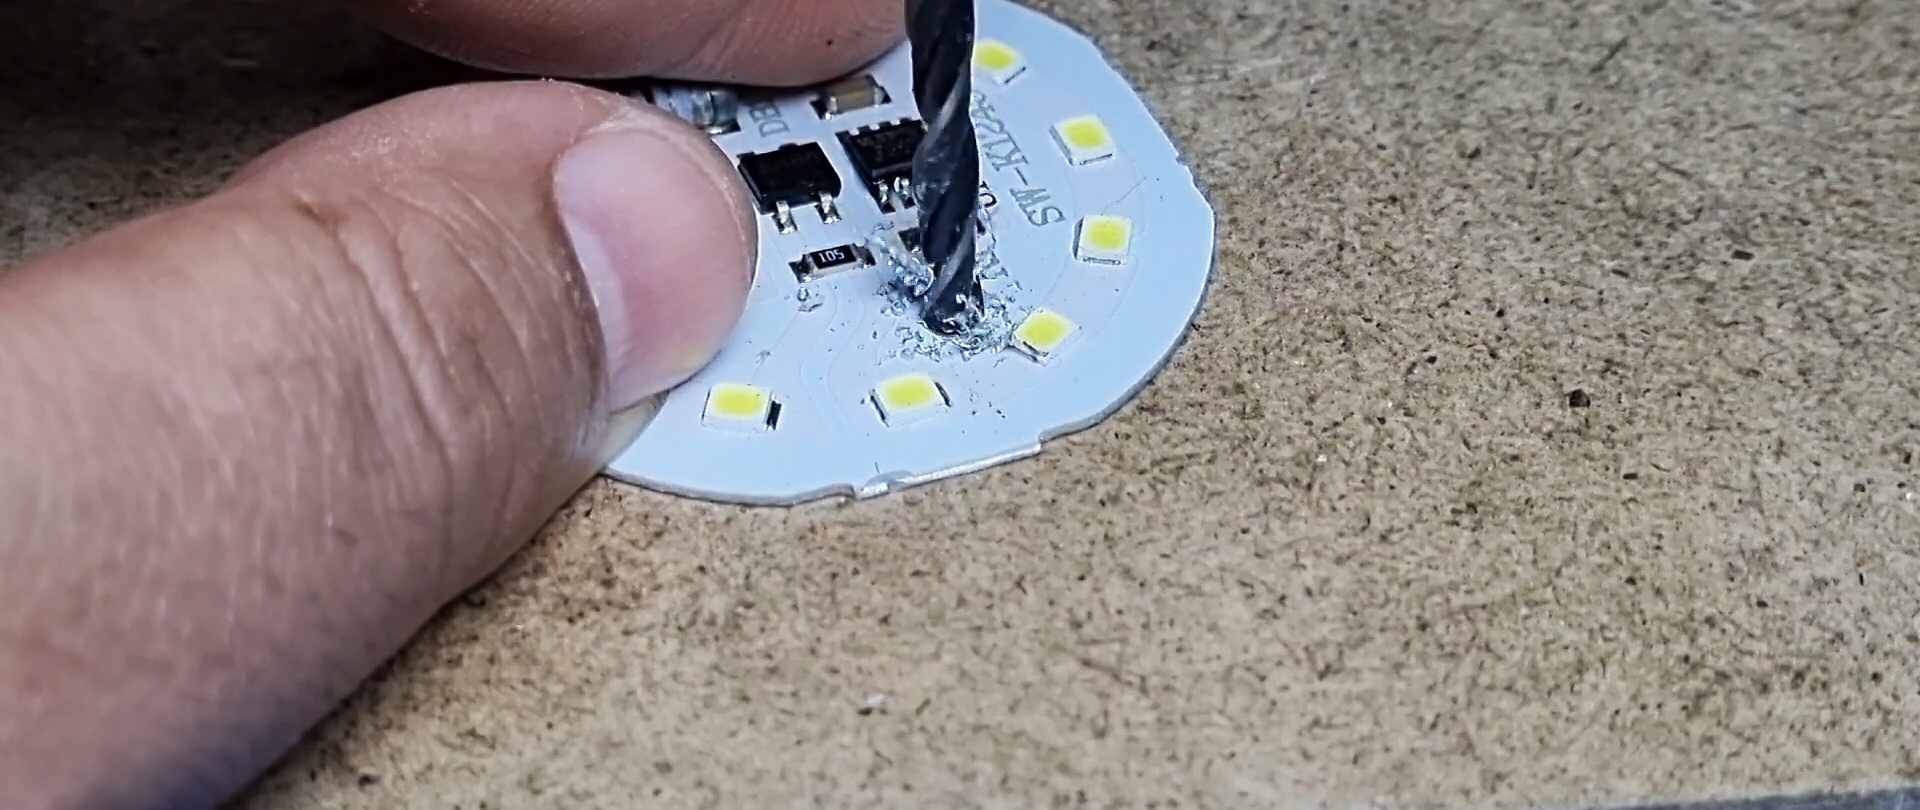
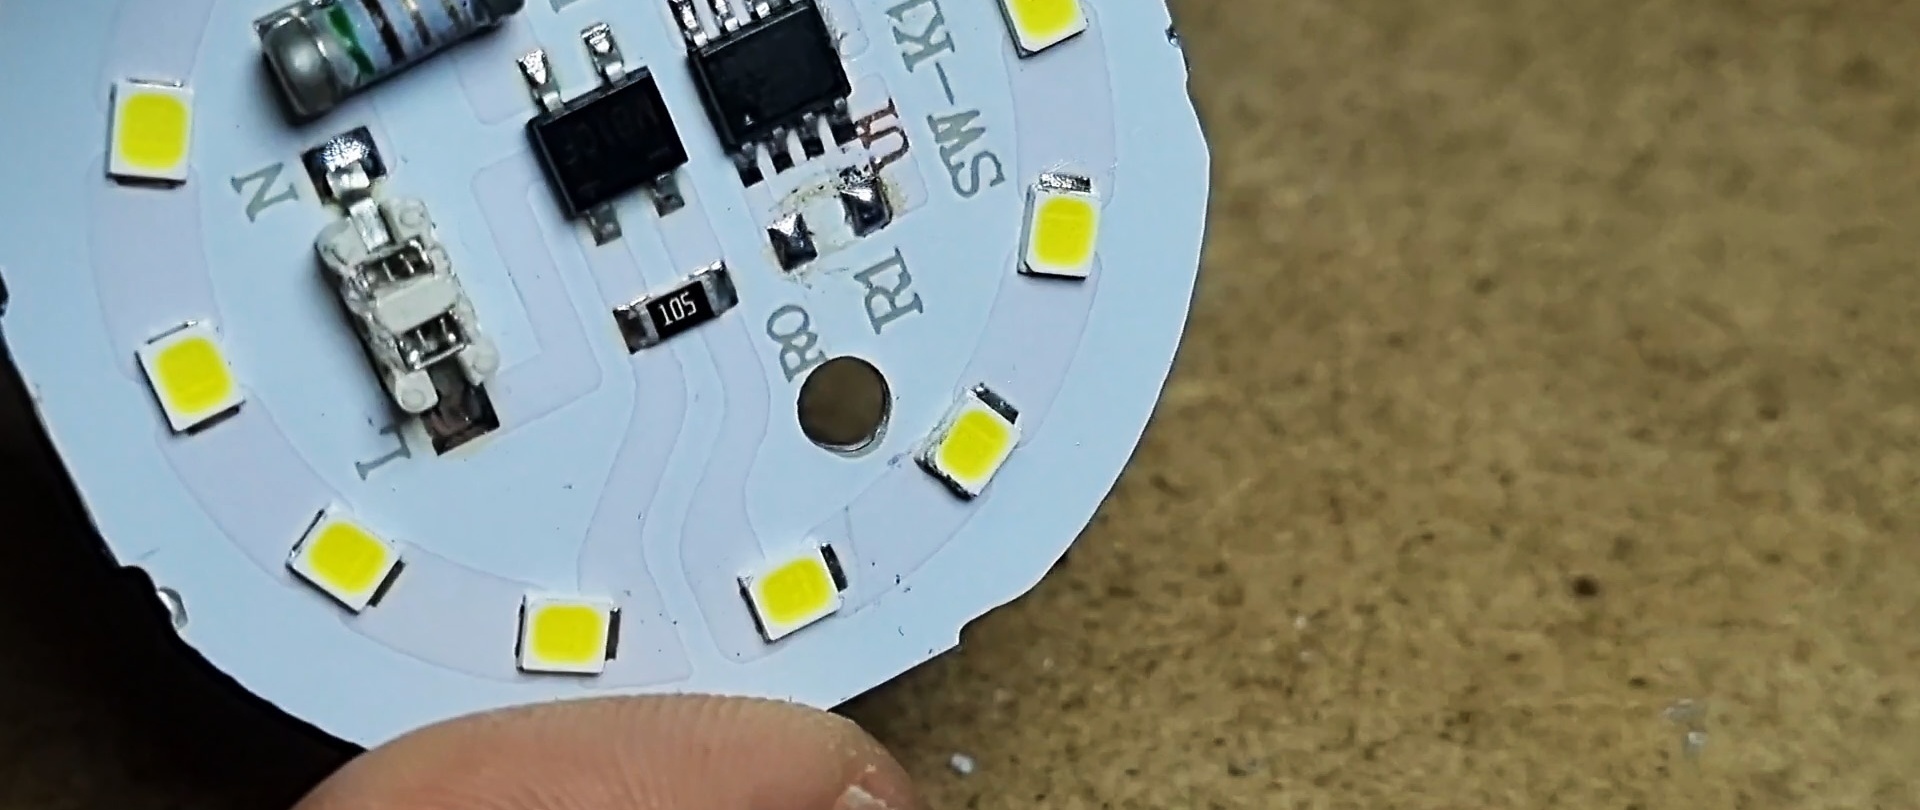
In a place free from tracks, drill a hole for the wires.

We drill a hole in the side of the lamp body for a variable resistor.

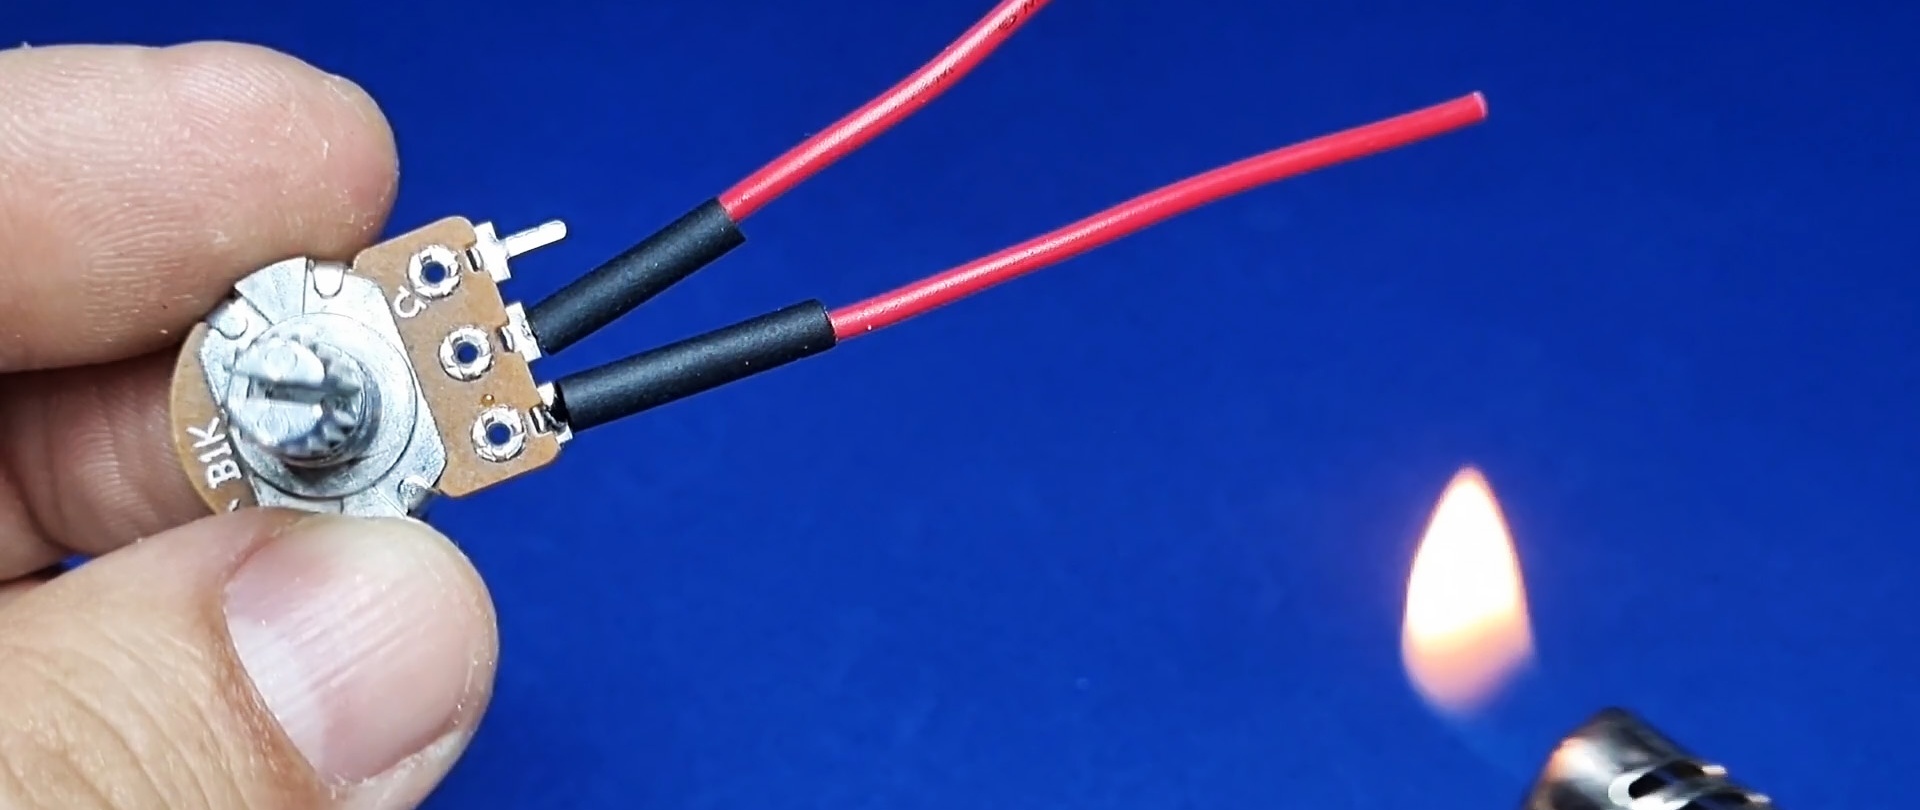
We solder an 8 Ohm limiting resistor and wires to the variable resistor.

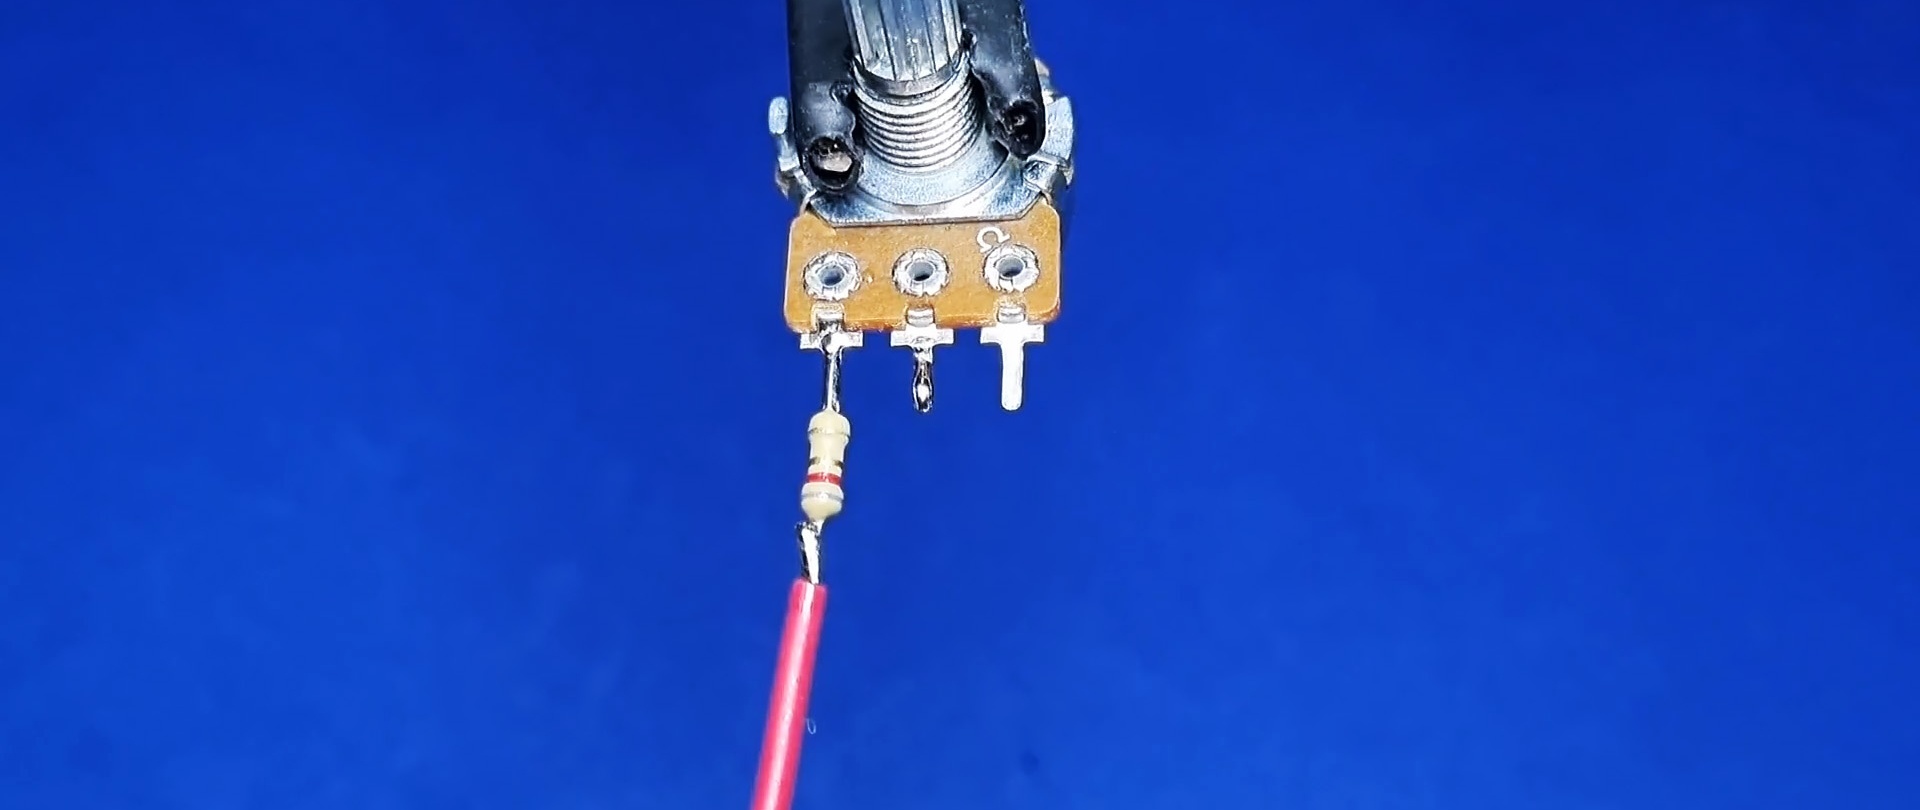
We insulate everything with heat shrink.

We install the variable resistor into the housing and secure it with a nut.

We install the board in place, connect the network wires to the board. We pass the wires from the variable resistor into the hole.

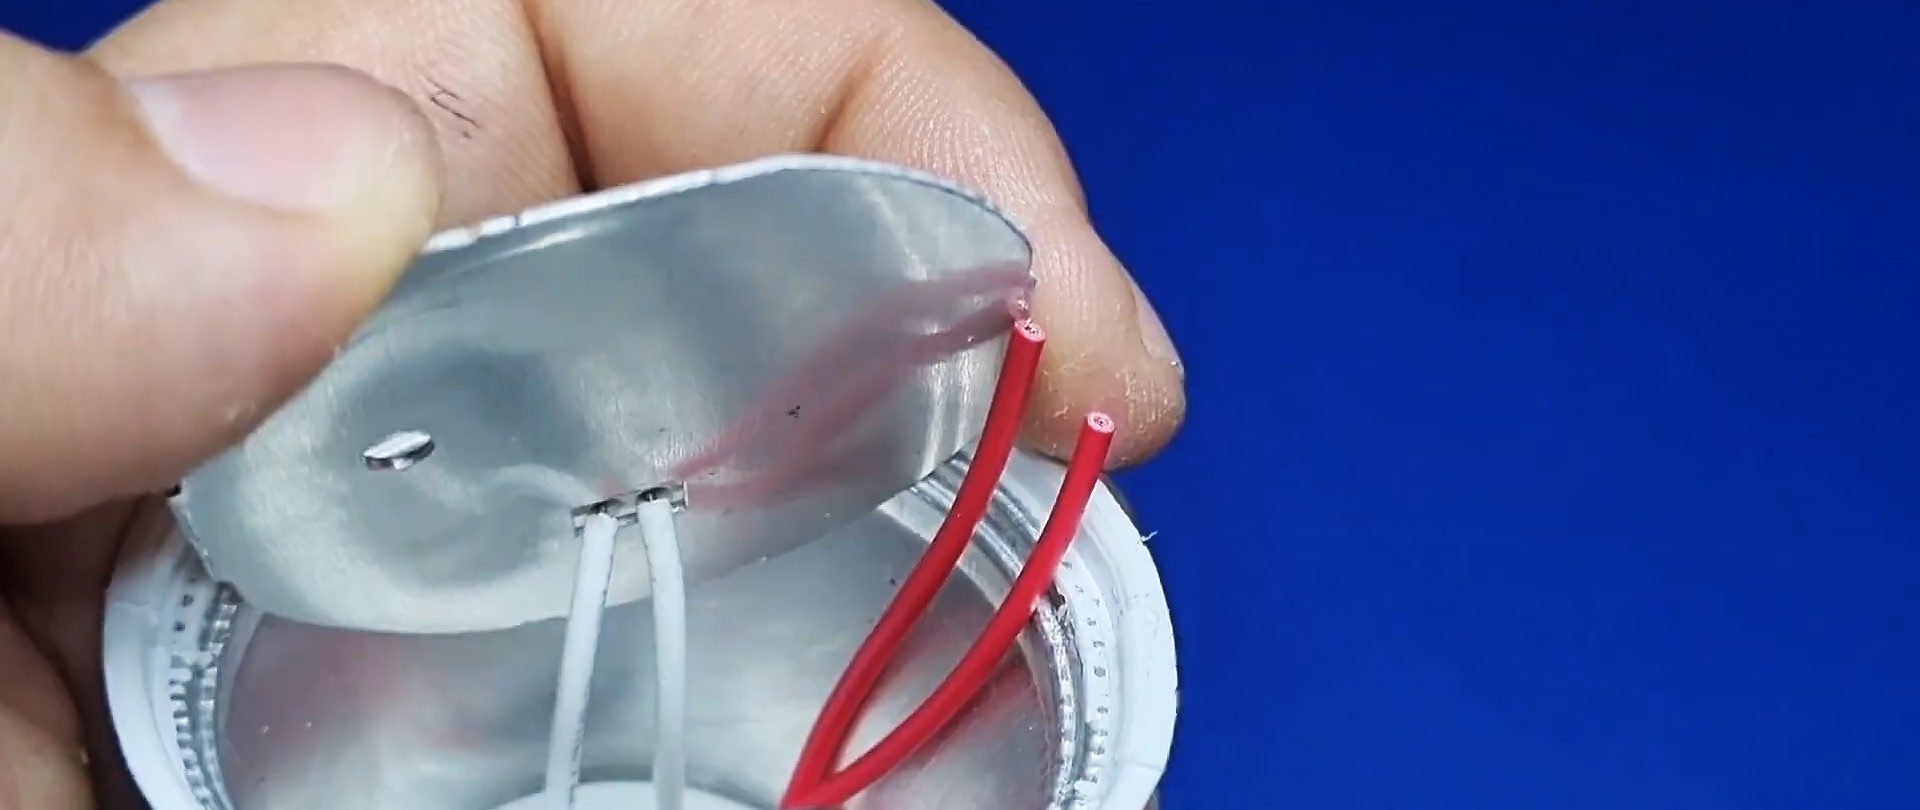
Solder the wires to the place of the previously soldered resistor.

We put a handle on the rod of the variable resistor.

Glue the lamp bulb onto the glue.

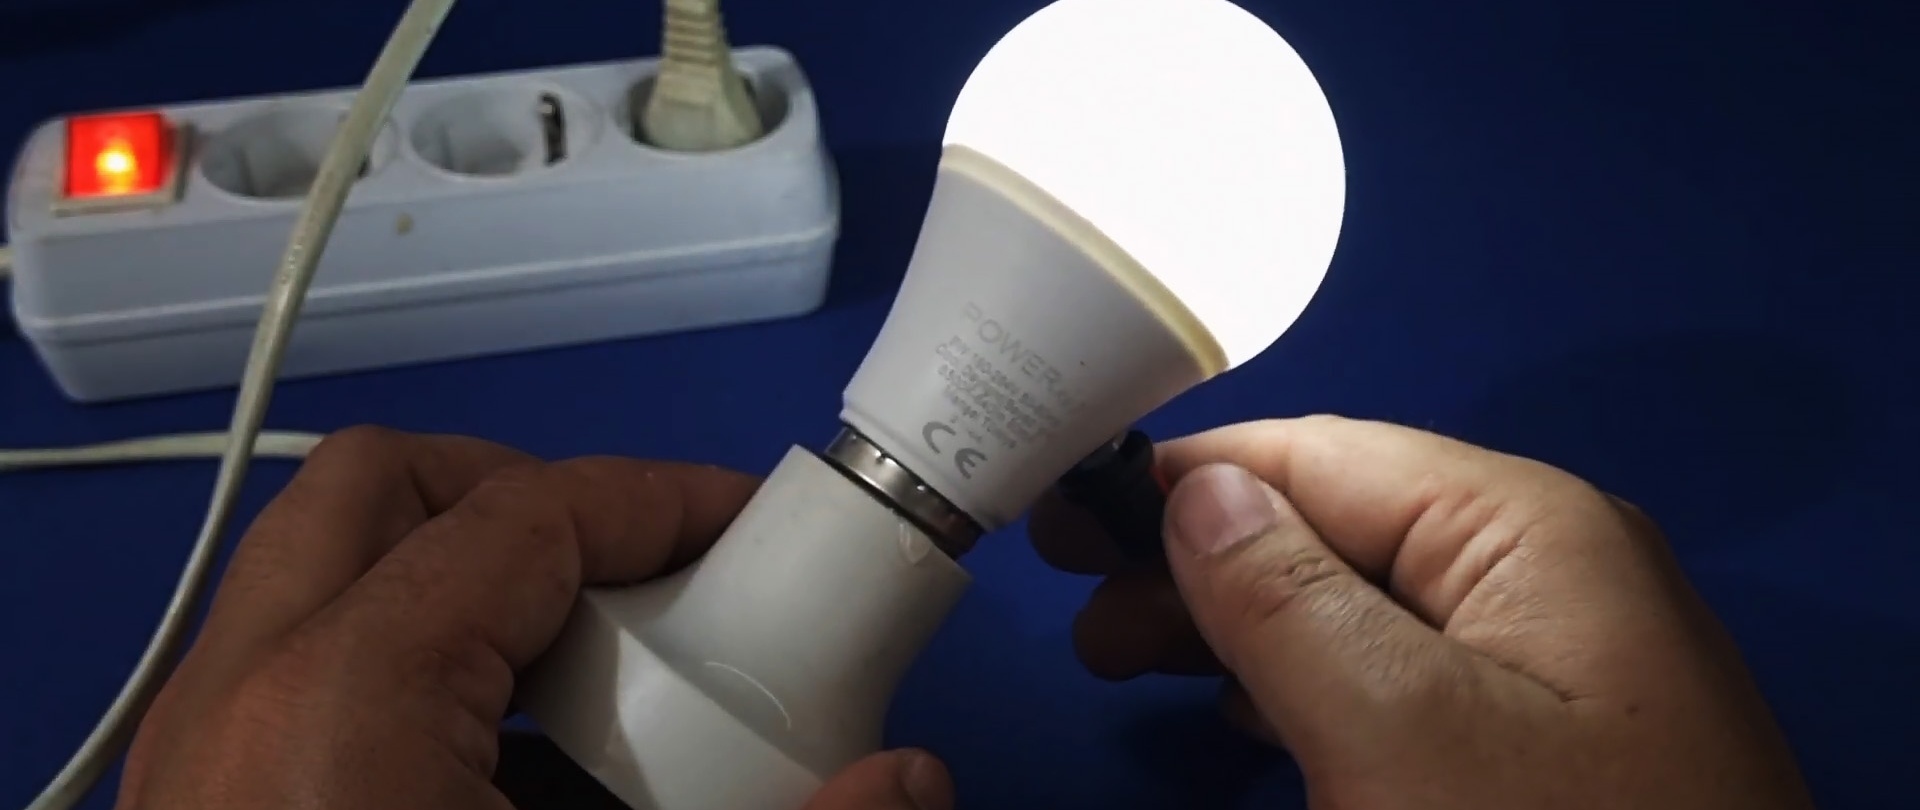
Now, using a variable resistor, you can adjust the brightness of the lamp from minimum to maximum.

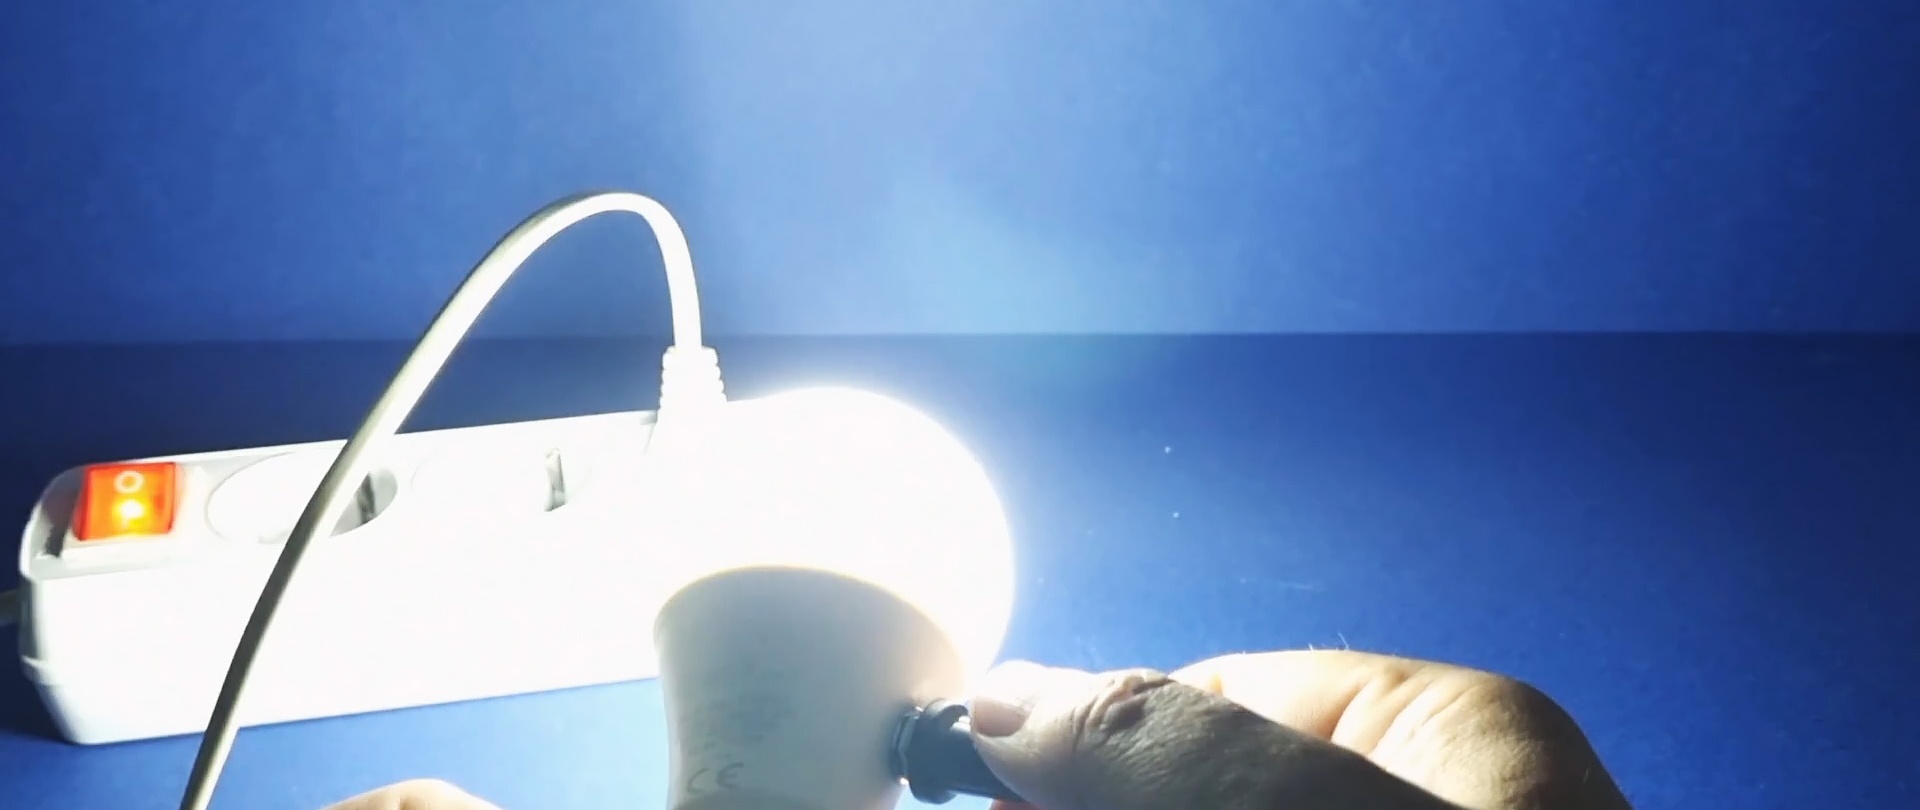
If you make such a lamp for an entrance or other walk-through rooms, and do not turn up the brightness to maximum, then such a lamp will serve for decades, due to the gentle operating conditions.

Watch the video

How to make a 3-25V regulated power supply from a regular power supply - https://enn.washerhouse.com/7178-kak-sdelat-blok-pitanija-reguliruemym-3-25-v.html
come back
Comment
  • bowtiesmilelaughingblushsmileyrelaxed relaxedsmirk
    heart_eyeskissing_heartkissing_closed_eyesflushedrelievedsatisfiedgrin
    winkstuck_out_tongue_winking_eyestuck_out_tongue_closed_eyesgrinningkissingstuck_out_tonguesleeping
    worriedfrowninganguishedopen_mouthgrimacingconfusedhushed
    expressionlessunamusedsweat_smilesweatdisappointed_relievedwearypassive
    disappointedconfoundedfearfulcold_sweatperseverecrysob
    joyastonishedscreamtired_faceangryragetriumph
    sleepyyummasksunglassesdizzy_faceimpsmiling_imp
    neutral_faceno_mouthinnocent
5+two=
Comments (6)
  1. Andrew
    #1 Andrew Guests 26 January 2022 19:05
    4
    Only putting a light bulb with such a driver in the utility room is tiring for the eyes
  2. Stepan
    #2 Stepan Guests 29 January 2022 22:37
    4
    Not all drivers start with a resistor value that is too high: when you turn off the lamp at reduced brightness, it will not light up the next time you turn it on. It is advisable to check this before removing the unit LEDs.
  3. V
    #3 V Guests February 9, 2022 02:47
    5
    Quote - “The pulse driver itself is built on the MLS3535 microcircuit. The datasheet and circuit diagram for switching it on can be easily found on the Internet.” There is no information on this microcircuit in general access on the Internet, but in order to correctly adjust the current flowing through LEDs Instead of a resistance of 11 ohms, you need to calculate it using the formula from the datasheet, which is not clear why it was classified. If you have information about the datasheet, be so kind as to write a link to it in the comments below. The people will be grateful to you.
  4. user
    #4 user Guests 13 March 2022 21:48
    2
    why do you need a constant 8 ohm resistor? I didn't find it in the article...
    1. Well
      #5 Well Guests March 14, 2022 07:57
      5
      What’s not clear here? A 10 ohm resistor was removed from the circuit; instead, a variable and a constant (limiting) 8 ohm resistor were soldered in. If the latter did not exist, then the microcircuit would produce more power at the extreme position of the variable LEDs, as a result of which they would burn out.
  5. Guest Yuri
    #6 Guest Yuri Guests 23 March 2022 14:17
    1
    Cool!

Do-it-yourself repair of plastic screw fasteners

Roses made from cotton pads | Do it yourself

Chicken cutlets without using a meat grinder

Various | Page 75 | Do it yourself

«Do it yourself - with your own hands» - a site of interesting homemade products made from scrap materials and items at home. Step-by-step master classes with photos and descriptions, technologies, life hacks - everything a real master or just a craftsman needs for needlework. Crafts of any complexity, a large selection of directions and ideas for creativity.

We recommend reading

Washing machine error codes