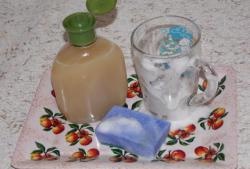
You will need candle gel, wick, scissors, metal or plastic spoon, ballpoint pen refill, electric or gas oven.
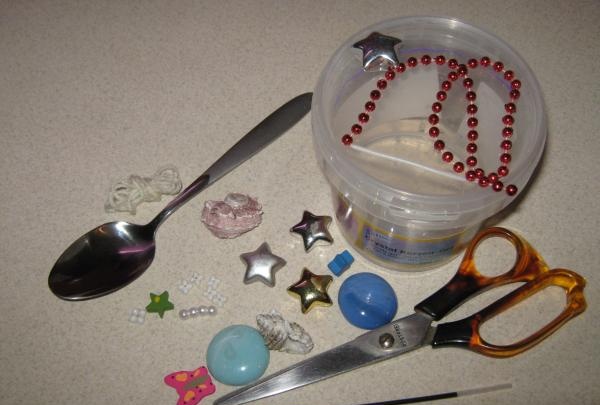
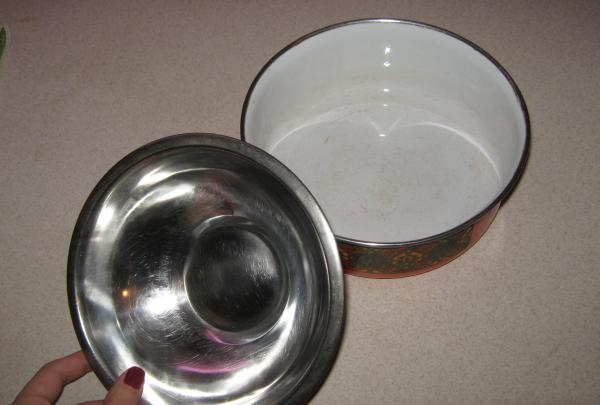
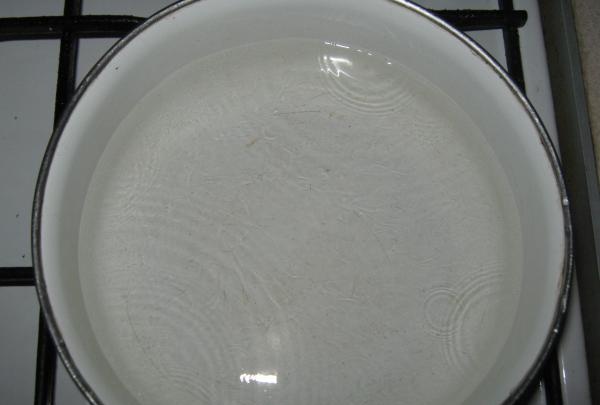
You will also need a shallow container for melting the gel and a deep one for water.
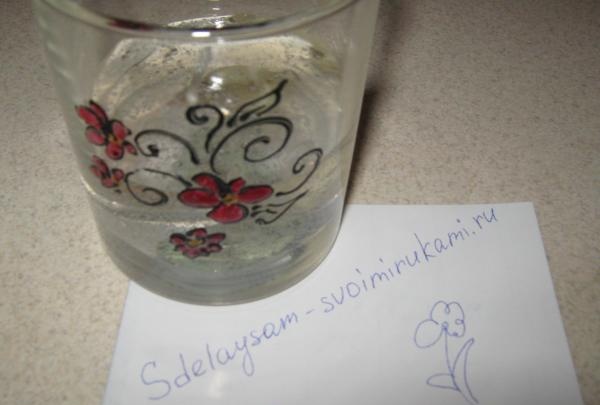
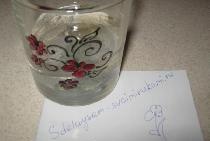
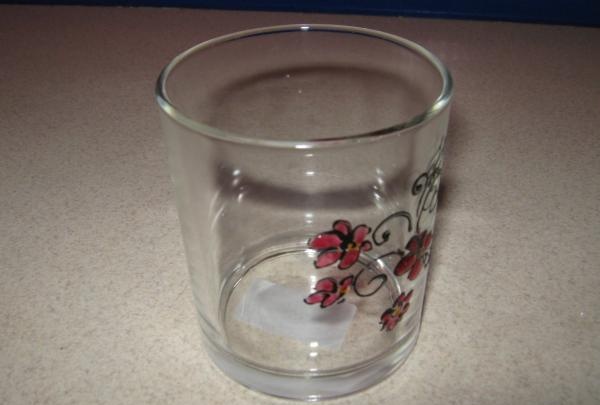
In addition, do not forget to choose a container, for example, a smooth-walled glass, which will serve as a candle, as well as decorative elements for filling the gel.
There are not many companies producing candle gel. Today we will use a transparent gel from the German brand Artidee Crystal Kerzen-Gel (Candle gel). You can work with any other, the main thing is to strictly follow the instructions. The first thing to do is set the temperature on the electric stove - a maximum of 70 degrees. If you have a gas furnace, set the heat to lower than medium.Fill a large container with water and heat without bringing to a boil (you will have to keep the water at this state until you have completely melted the gel mass).
Take a shallow container, fill it with a small amount of gel - 2 spoons is enough - and make a water bath. I melted the gel directly in the factory jar, since there was only a little left.
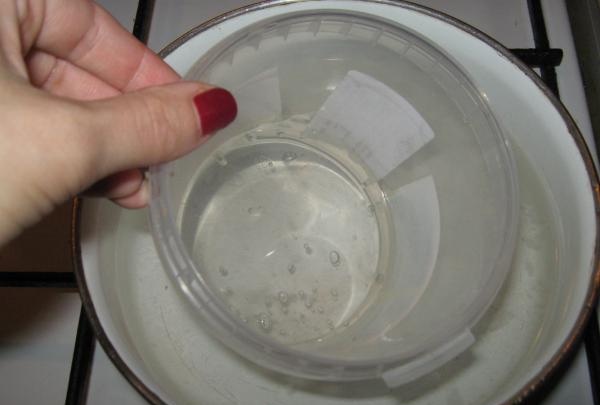
Slowly and constantly stir the gel with a spoon, without shaking it (this will create a huge amount of air bubbles!). The mass should become quite thin, but not boil - be careful!
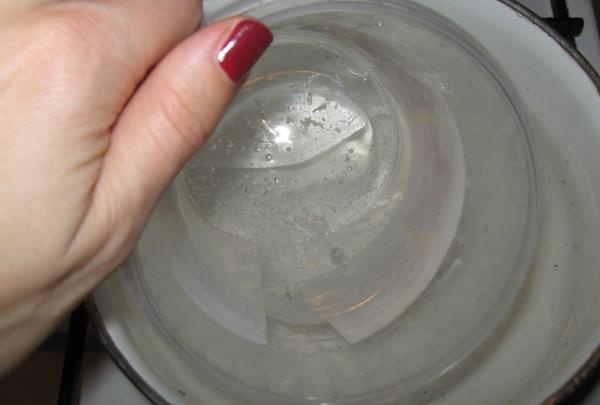
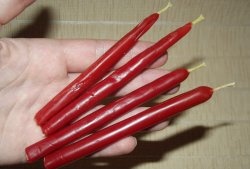
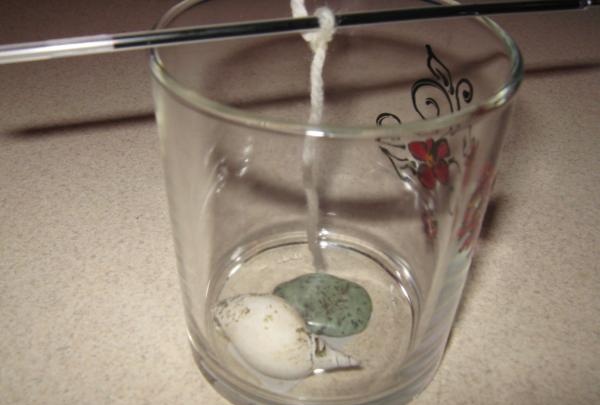
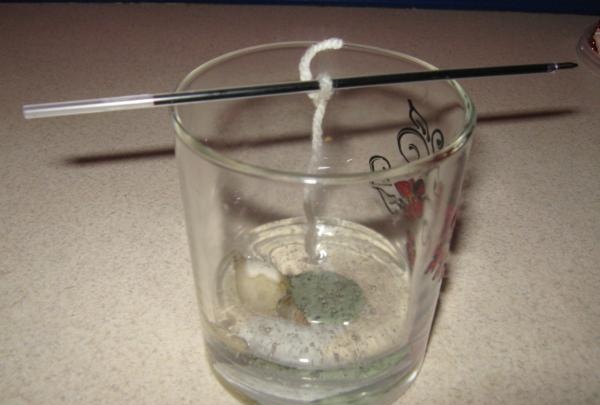
If you overheat the gel, it will turn from clear to a cloudy gray. Next, tie the wick to the rod and lower it into the glass. Take a long wick in advance, with a reserve.

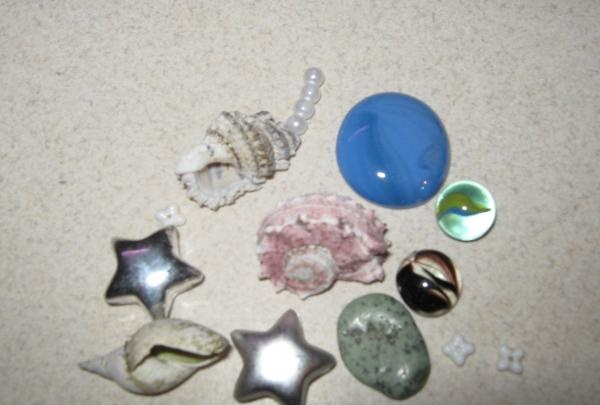
If you were planning to decorate your candle with cute trinkets, now is the time to do it. Place the elements on the bottom of the glass. It is best to be away from the walls and not very close to the wick, but this is provided that the diameter of the glass is wide enough!
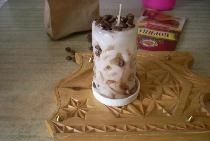
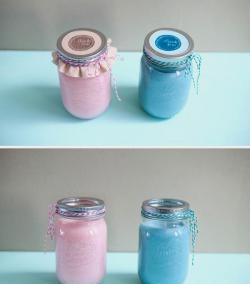
When the gel has melted sufficiently, immediately, but not quickly, pour it into the glass so that a large number of bubbles do not form.
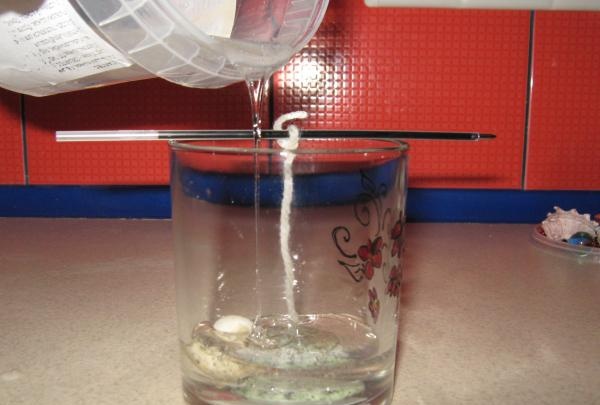
Try not to move the wick. It is best to let the gel cool at room temperature - this will take no more than an hour.