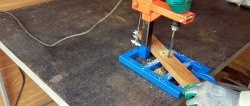
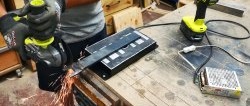
When working with large metal structures, difficulties arise with drilling them at right angles. It is absolutely impossible to do this with a hand drill. In this case, a portable drilling machine will help. It is equipped with an electromagnetic sole, so it is instantly fixed on the steel surface, allowing it to be drilled. Let's take a closer look at how to make it.
Materials:
- Electromagnetic locks 12V 180 kg – 3 pcs. - http://alii.pub/68y2bo
- sheet metal 2 mm, 5 mm, 10 mm;
- rack;
- rack gear;
- screws, bolts;
- power supply 12V - http://alii.pub/68y2cg
- switches – 2 pcs. - http://alii.pub/68y2g5
Manufacturing process of a magnetic drilling machine
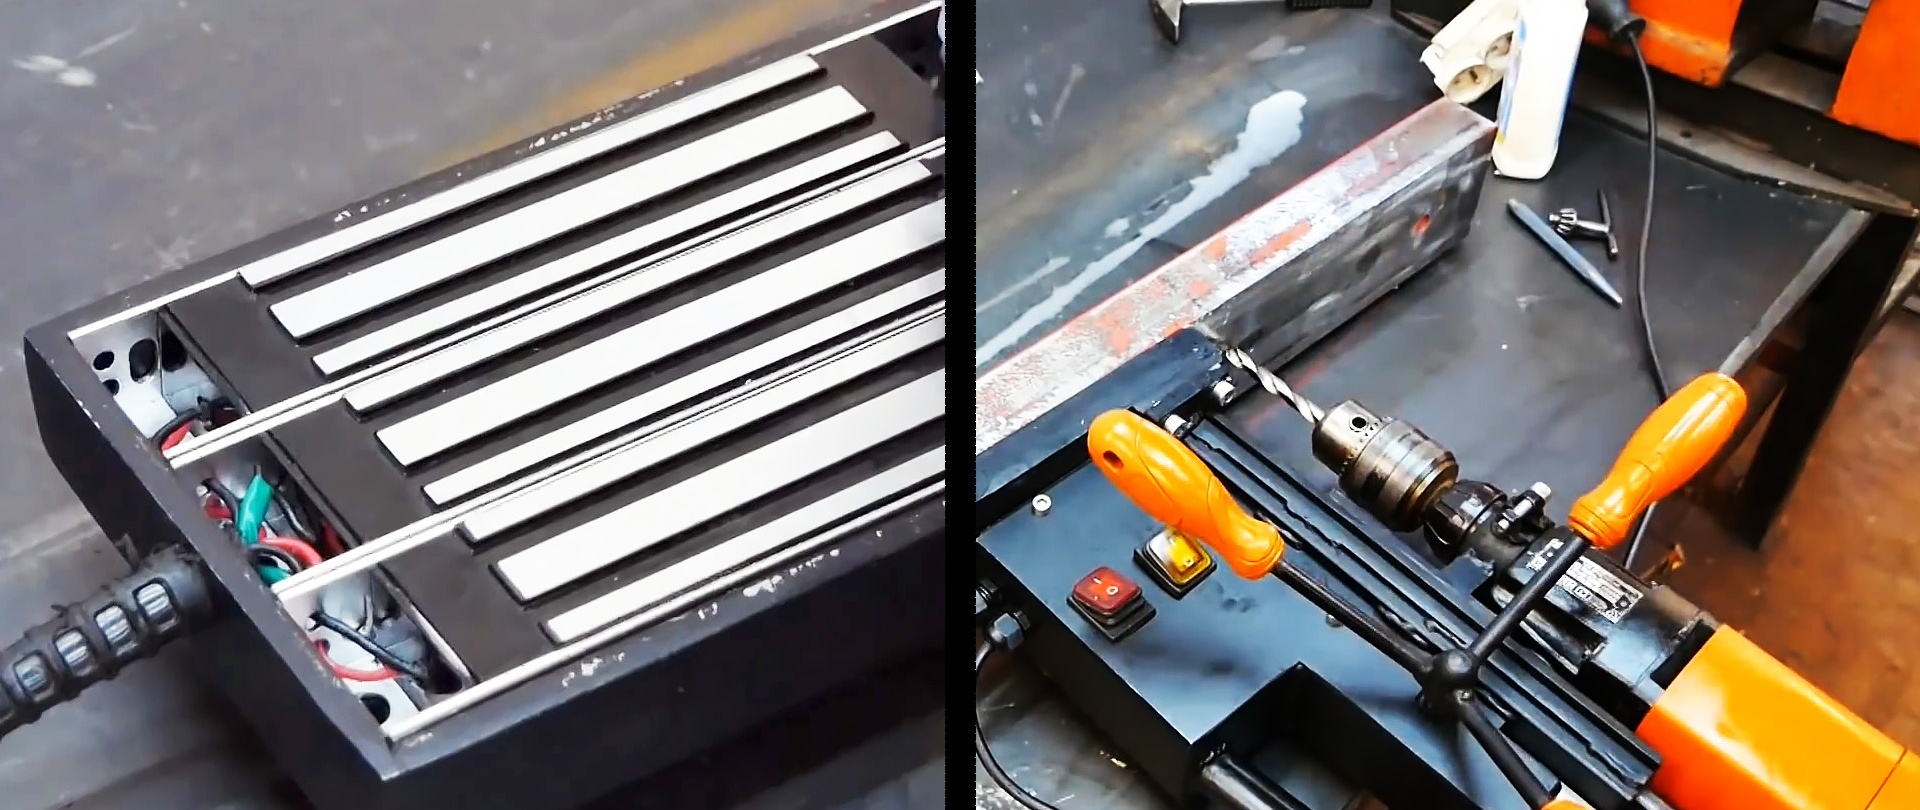
To secure the machine, 3 electromagnetic locks will be used.

They need to be disassembled and mounting holes drilled on the back side.
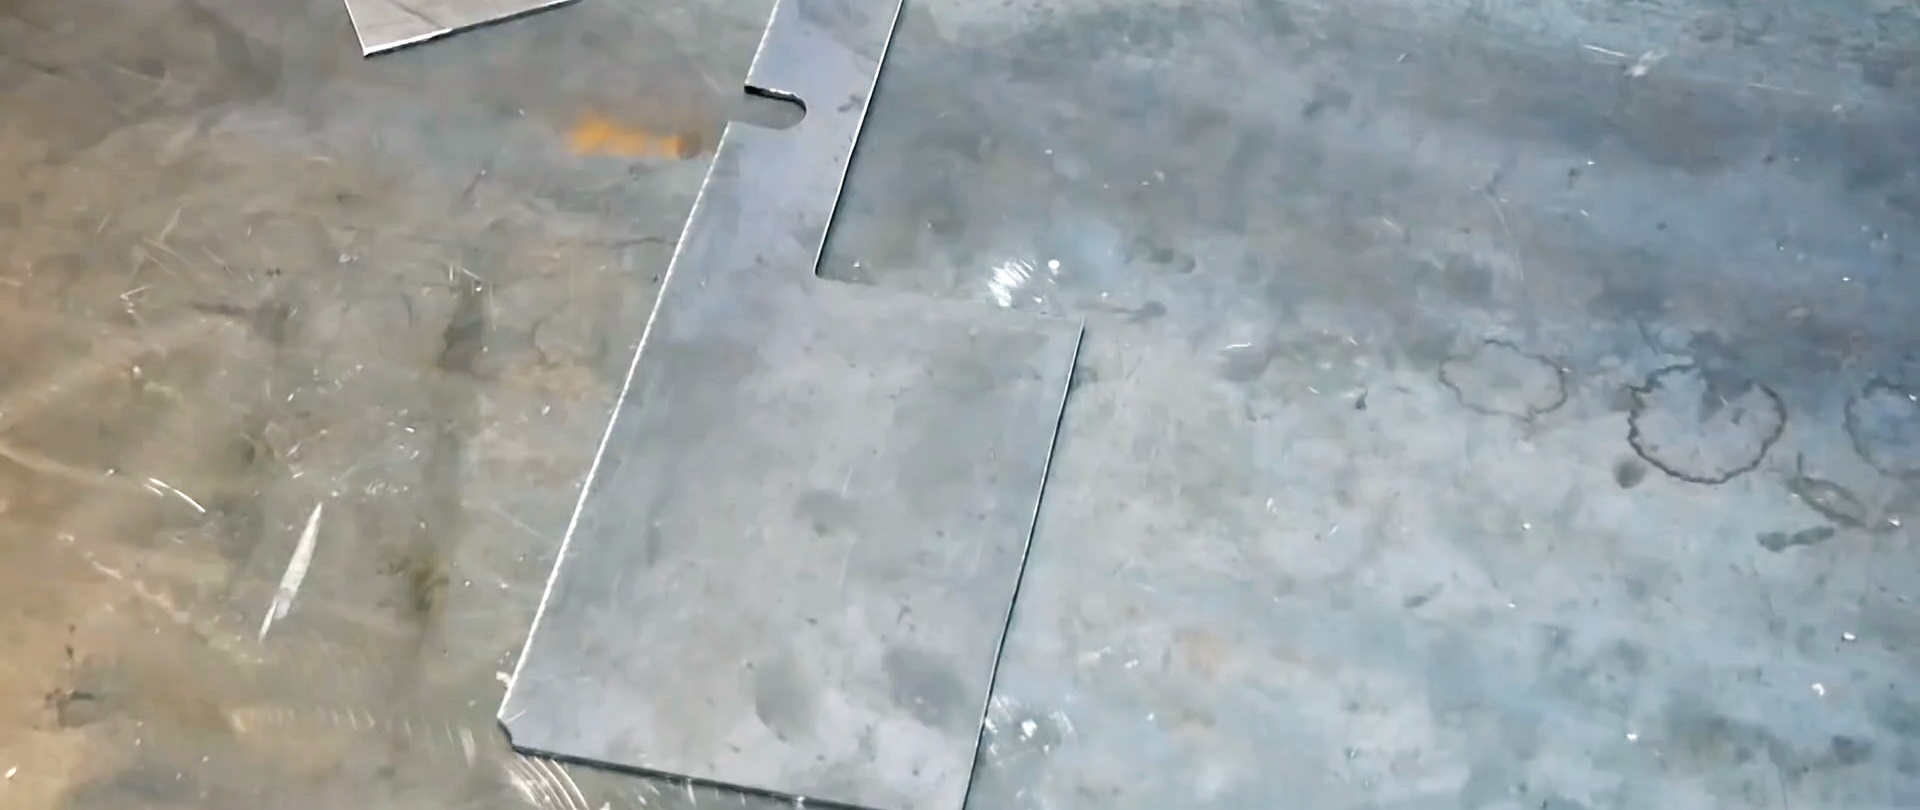
A plate for attaching locks is cut from sheet steel.

It is drilled and the locks are screwed onto it close to each other. To do this, threads are cut into the holes.Hexagon bolts are used for fastening.

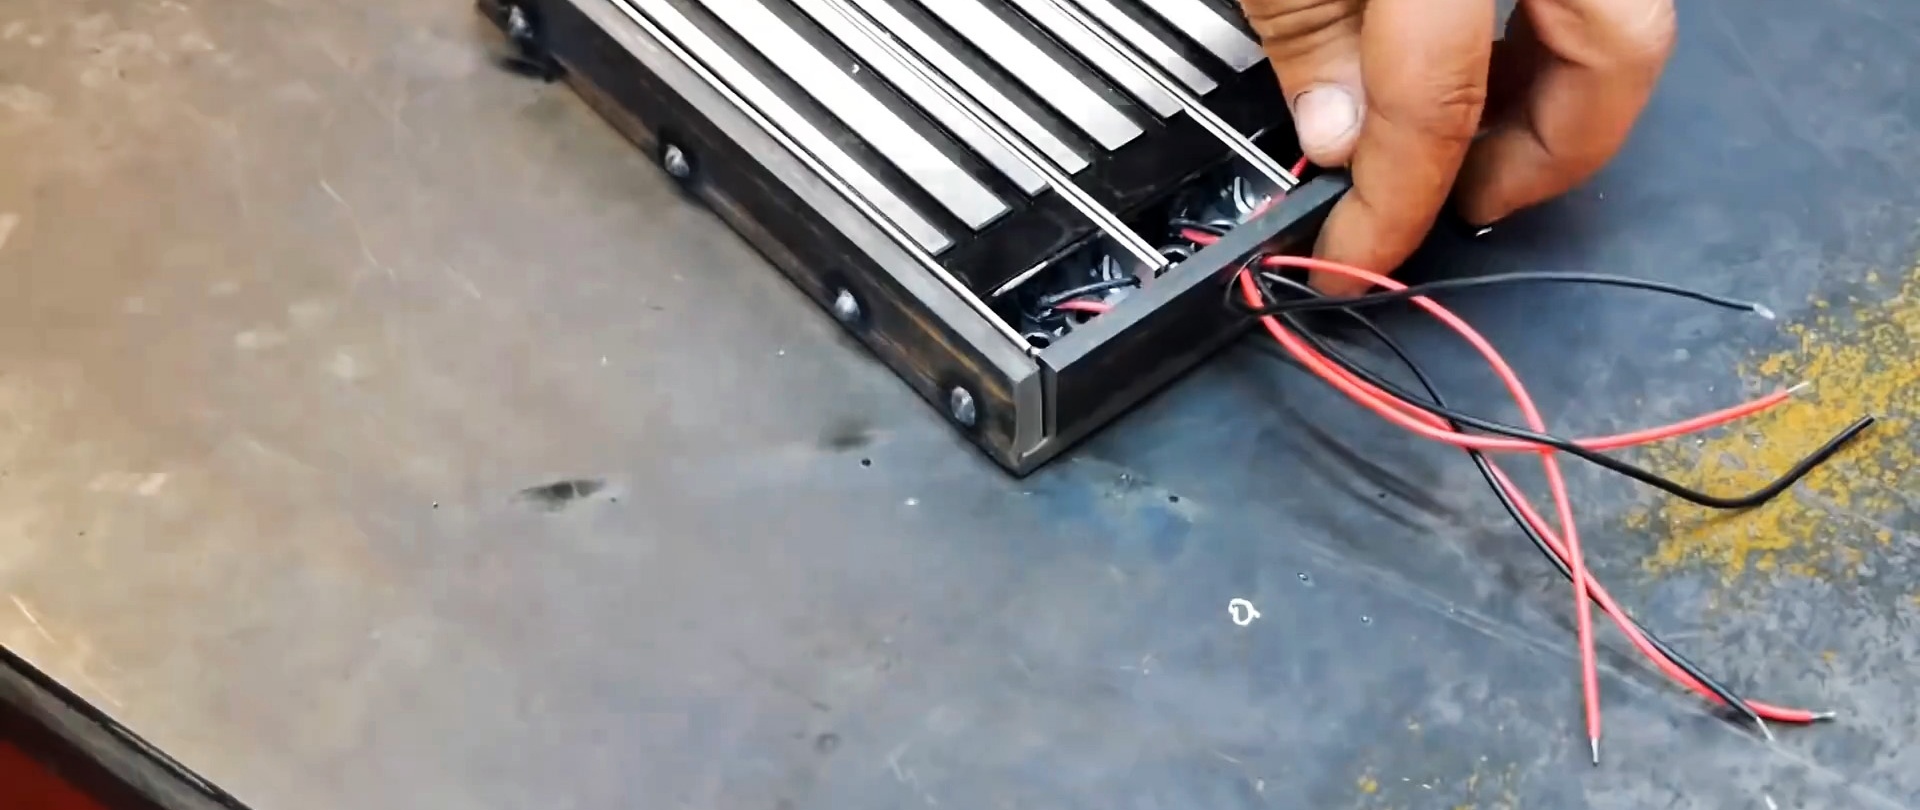
Sides from cut strips are welded onto the resulting block. You will need to make holes in one of them to bring out the wires from the electromagnets. When performing welding work, the locks should be removed. The seams are cleaned after welding.
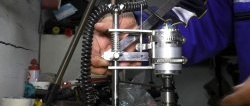
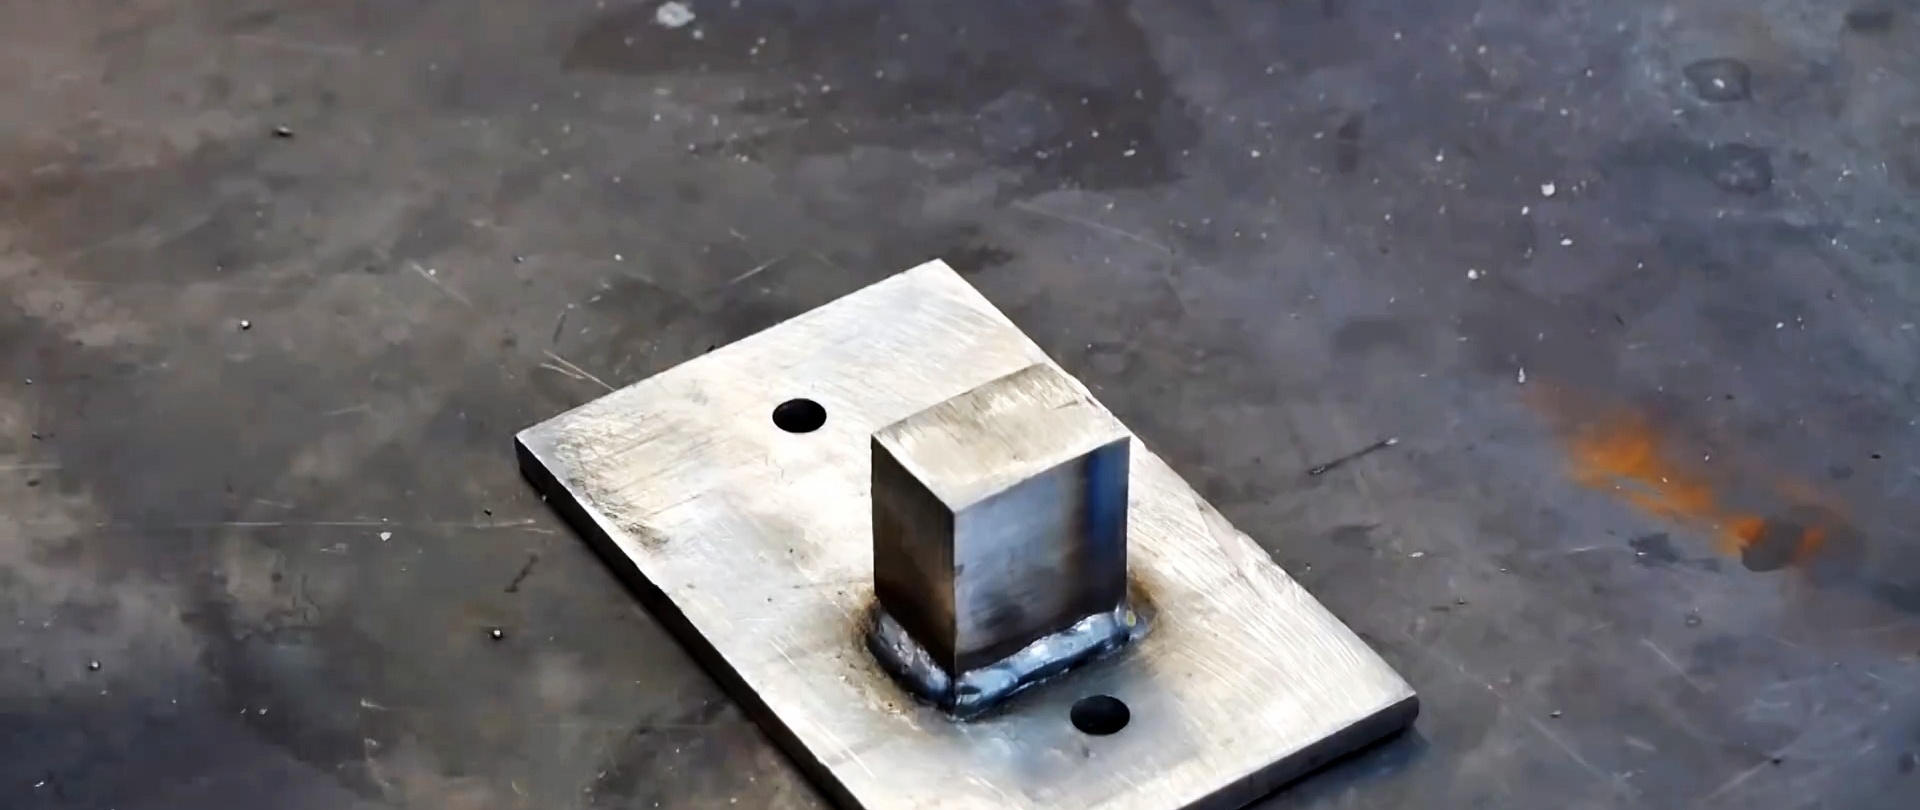
Immediately you need to cut out the overlay from sheet steel and screw it onto the sole. The machine column will be grafted onto it.

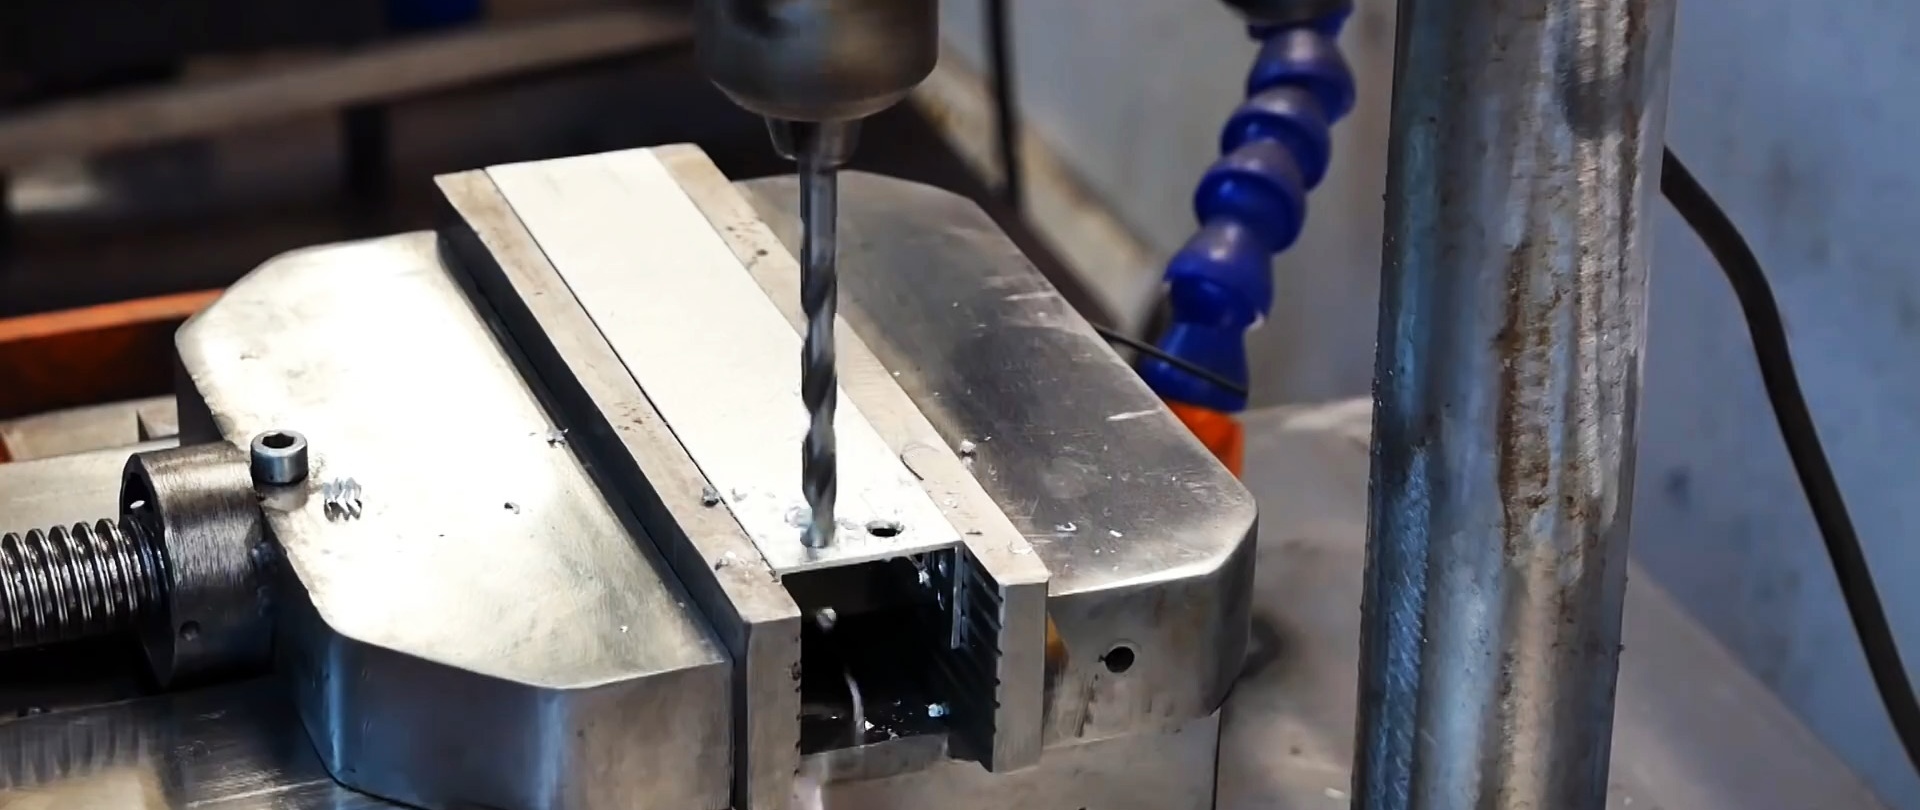
The column itself will have a clever device in the form of a guide and a sliding mechanism. For its manufacture, a steel strip with a cross-section of 10 mm or more is taken. You need to cut an even groove in it.
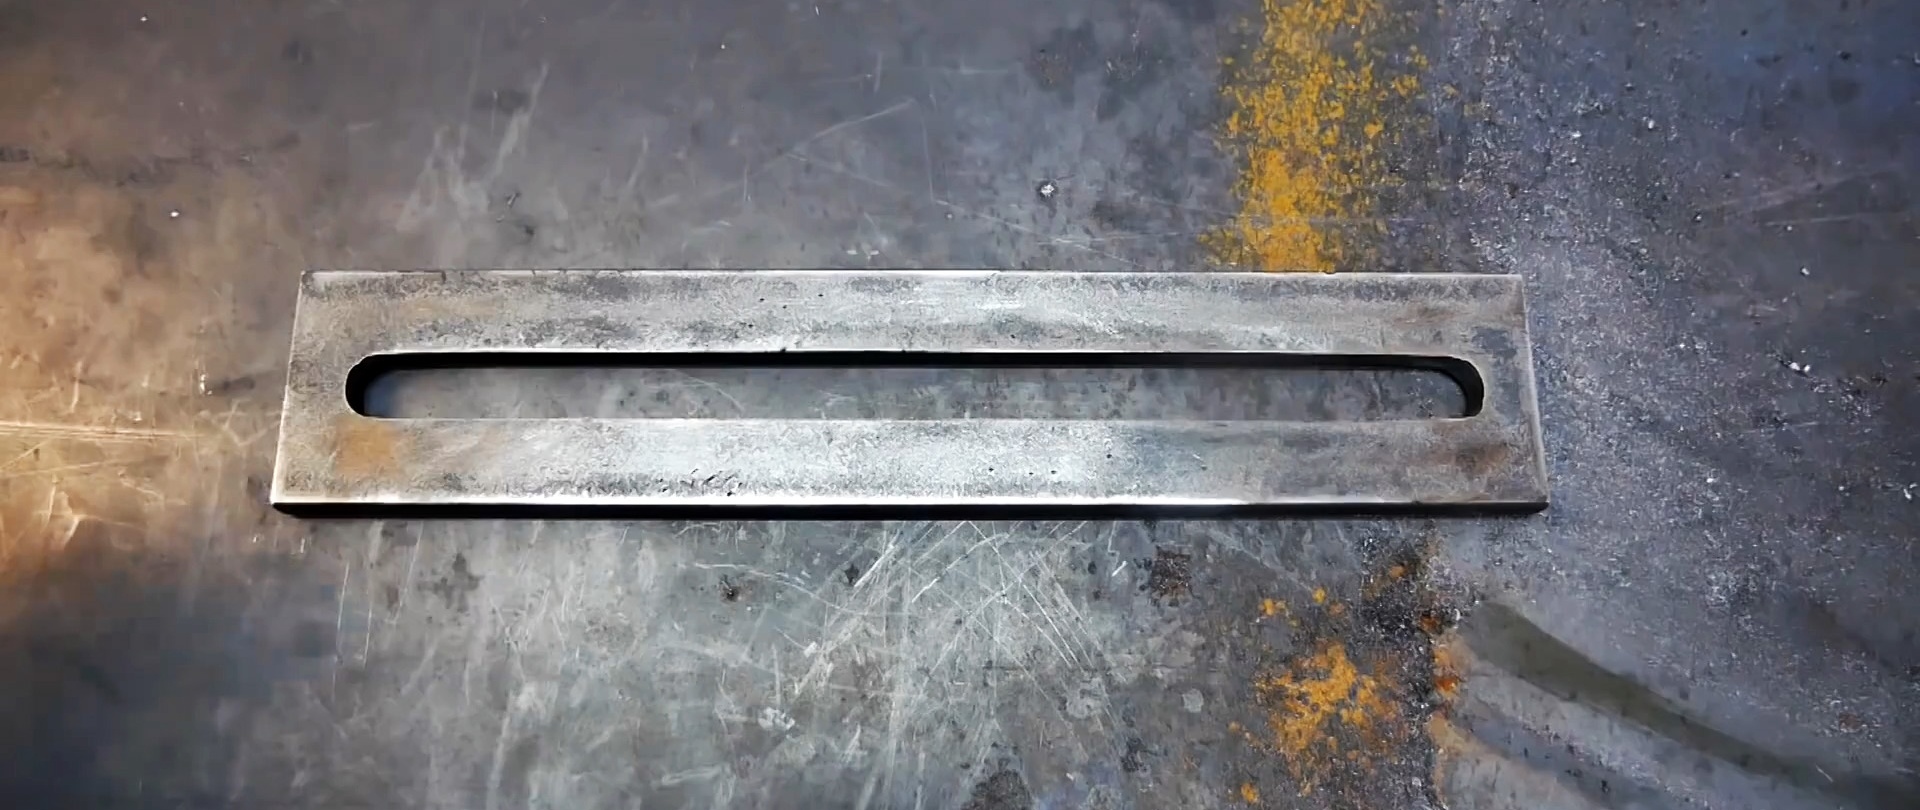
A narrower strip of the same length is welded onto the workpiece with the groove using a pair of tacks. Two narrow inserts are welded into the side gaps.
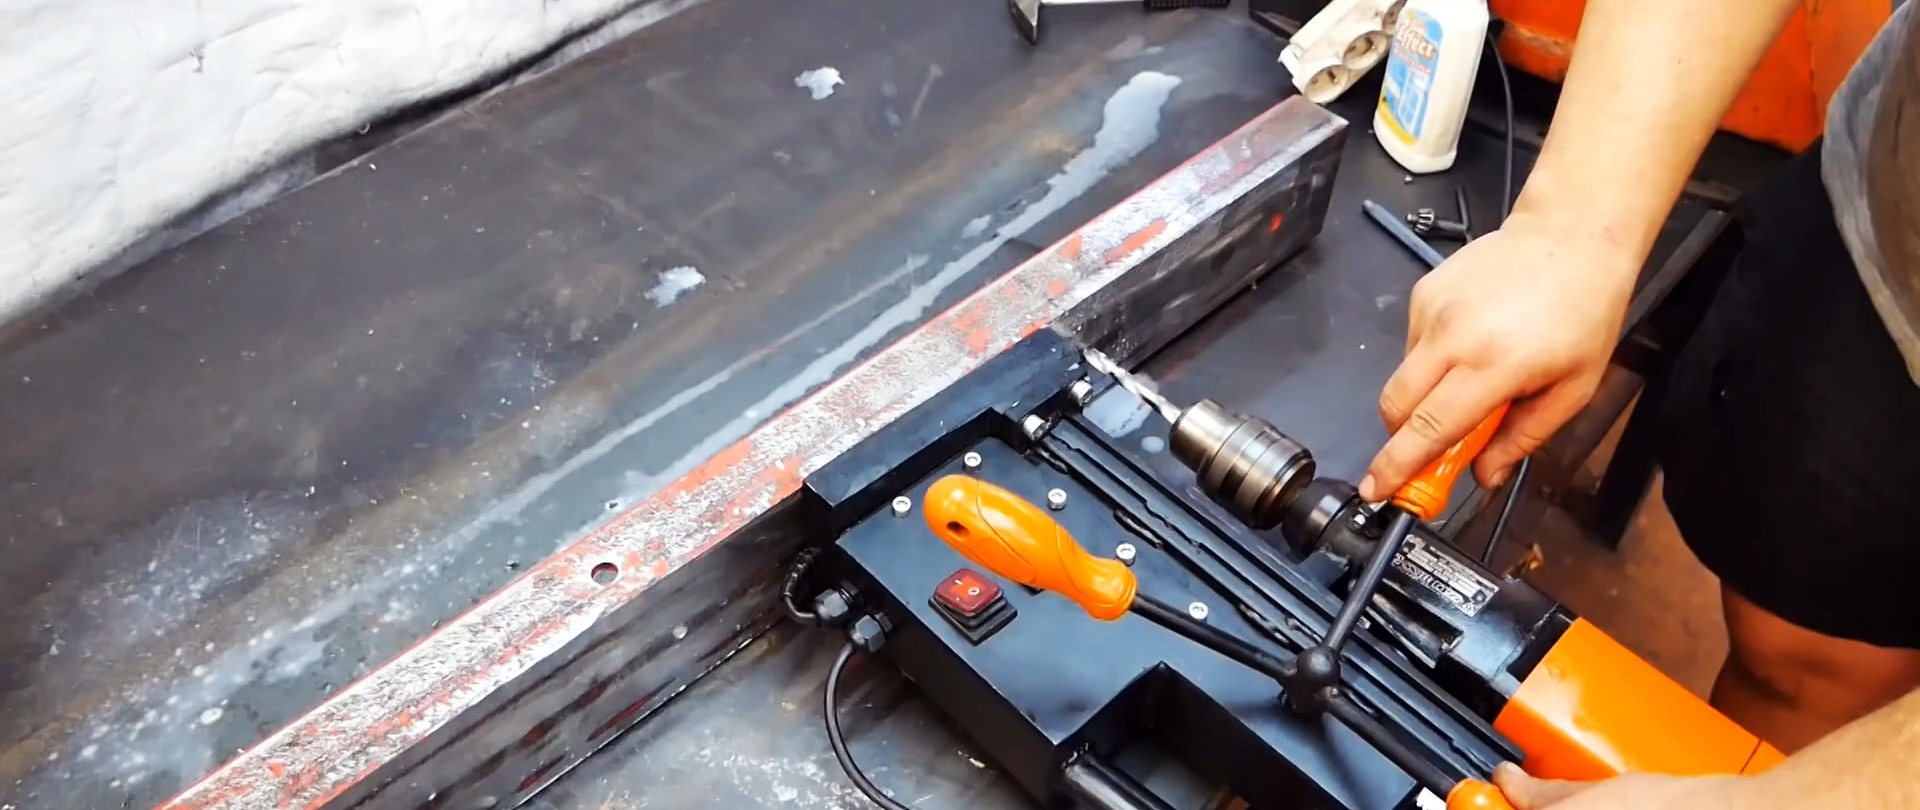
At the junction between the narrow strip and the insert, 2 more strips are welded with tacks. Then the parts connected by welding are drilled, as in the photo.

After this, it is necessary to grind off the end tacks to separate the workpieces. As a result, we get a part with a groove and sides, and 3 more stripes. The holes are threaded first.

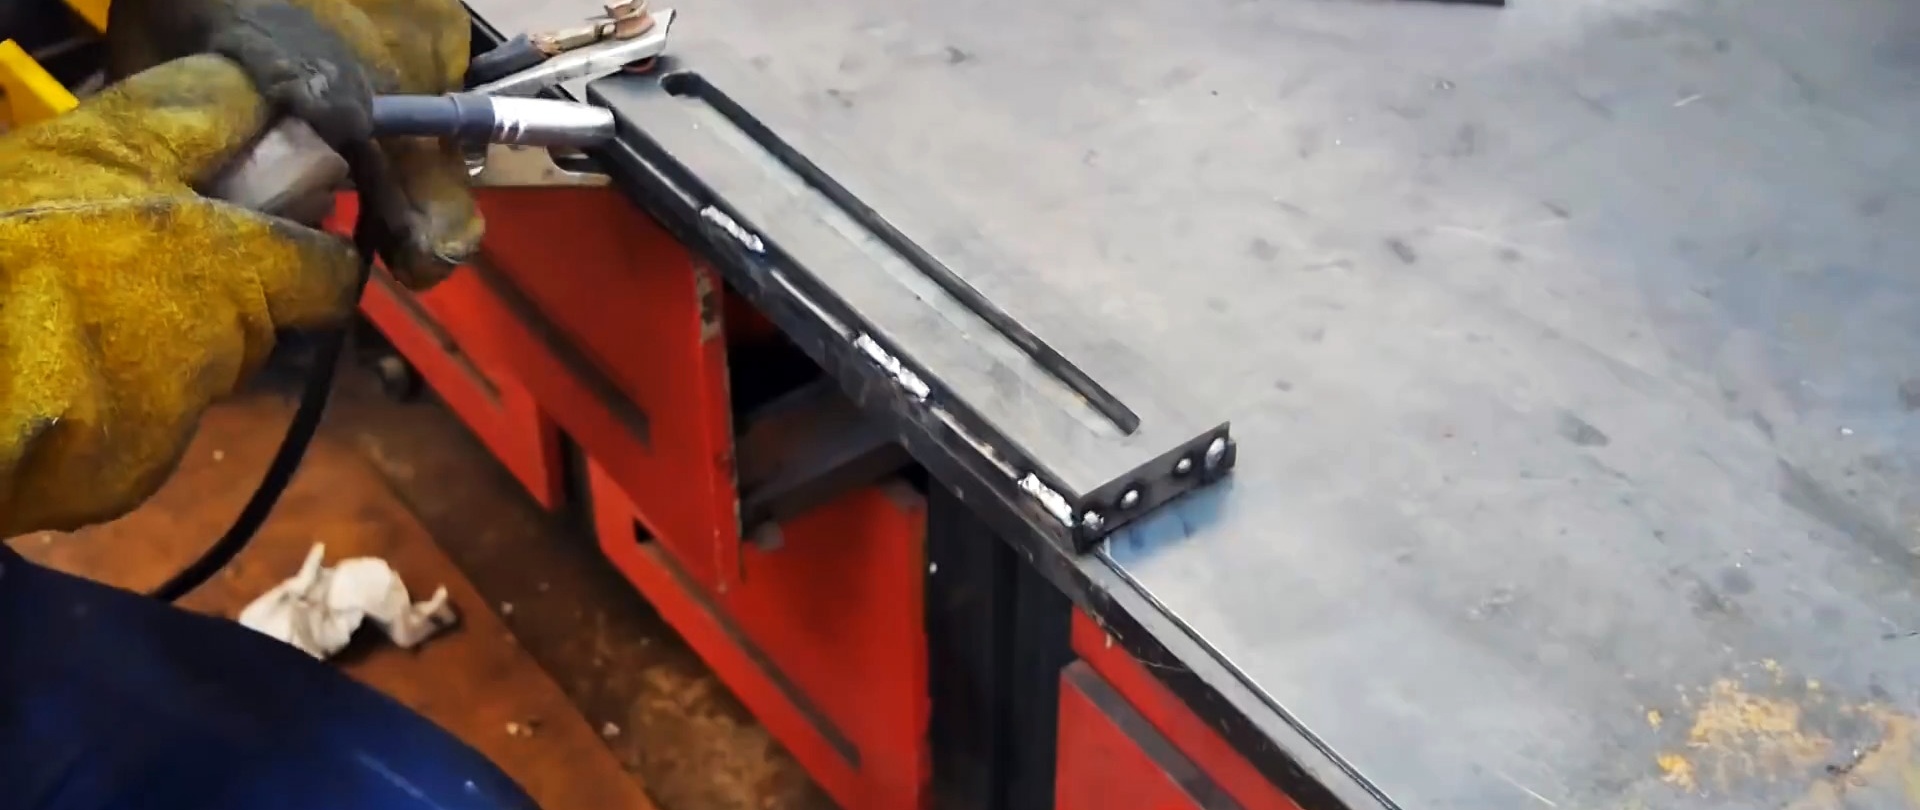
Thus, the strips can be assembled into a column by tightening them with countersunk screws. There is only one sliding strip left in the column.


The latter needs to be drilled and connected with screws to a small insert moving in the groove. On the reverse side, the screws must be screwed into the rack.
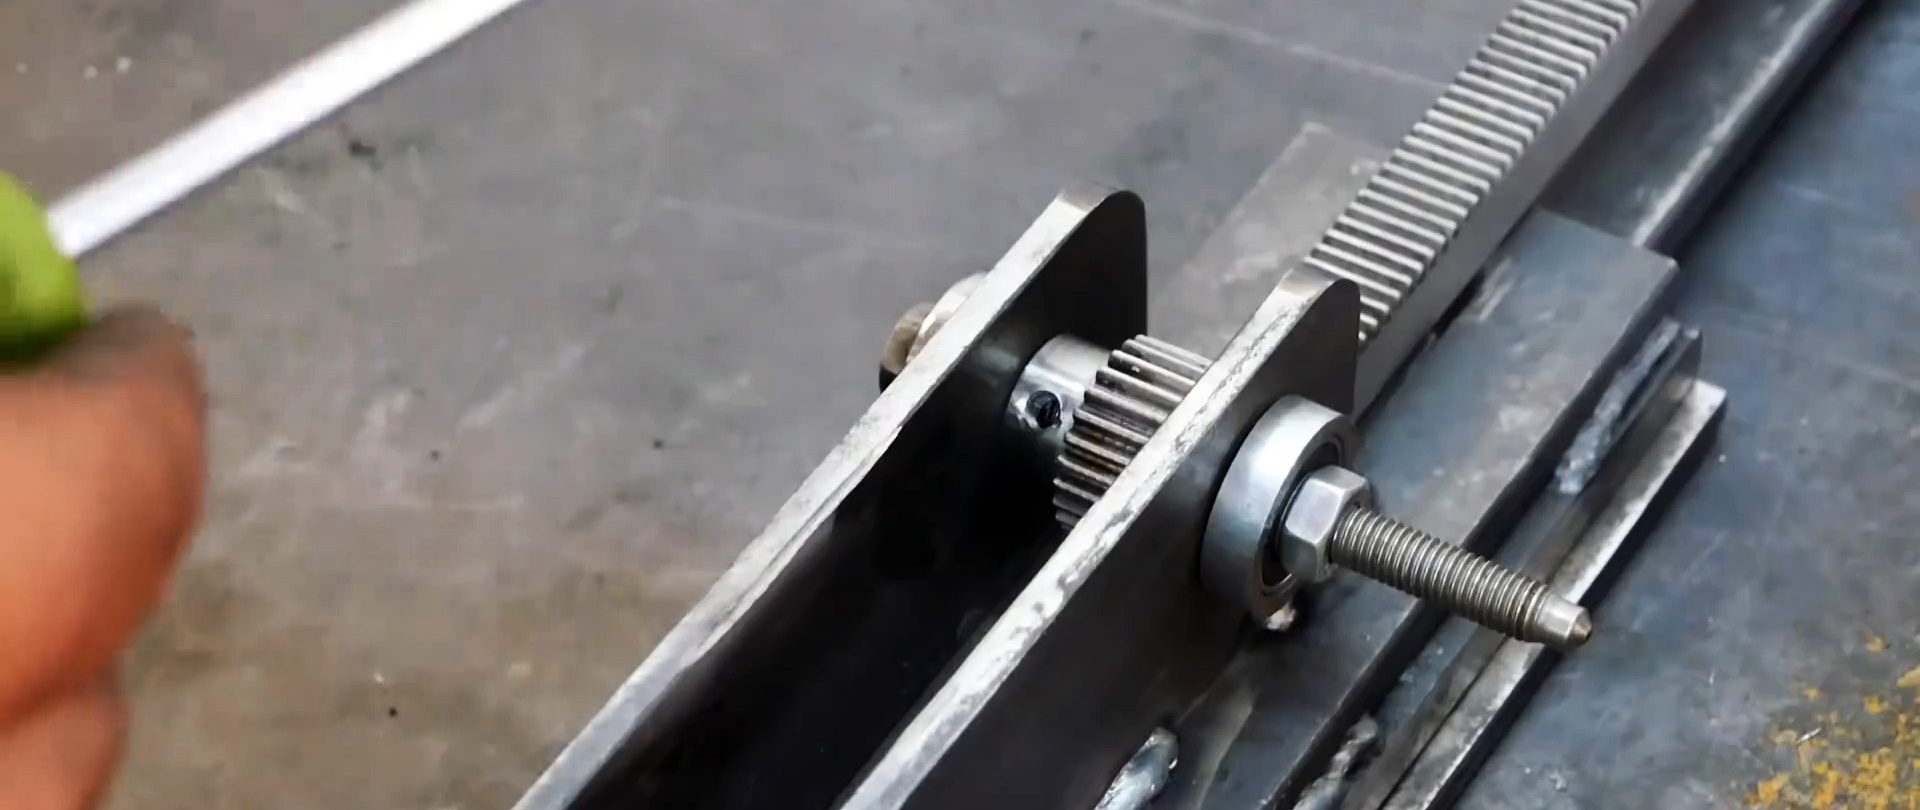
On the sides of the rack, strips for attaching the gear are welded perpendicular to the plane of the column. Holes are drilled into them to introduce an axis on which the gear will rotate, thereby moving the rack.

On the outside of these strips, tube rings with pressed-in bearings are welded. This will ensure the axle with gear rotates easily.
On the back side of the column you need to place a platform for attaching the drill. It consists of a plate and an insert. They are fixed to the same strip as the rack.

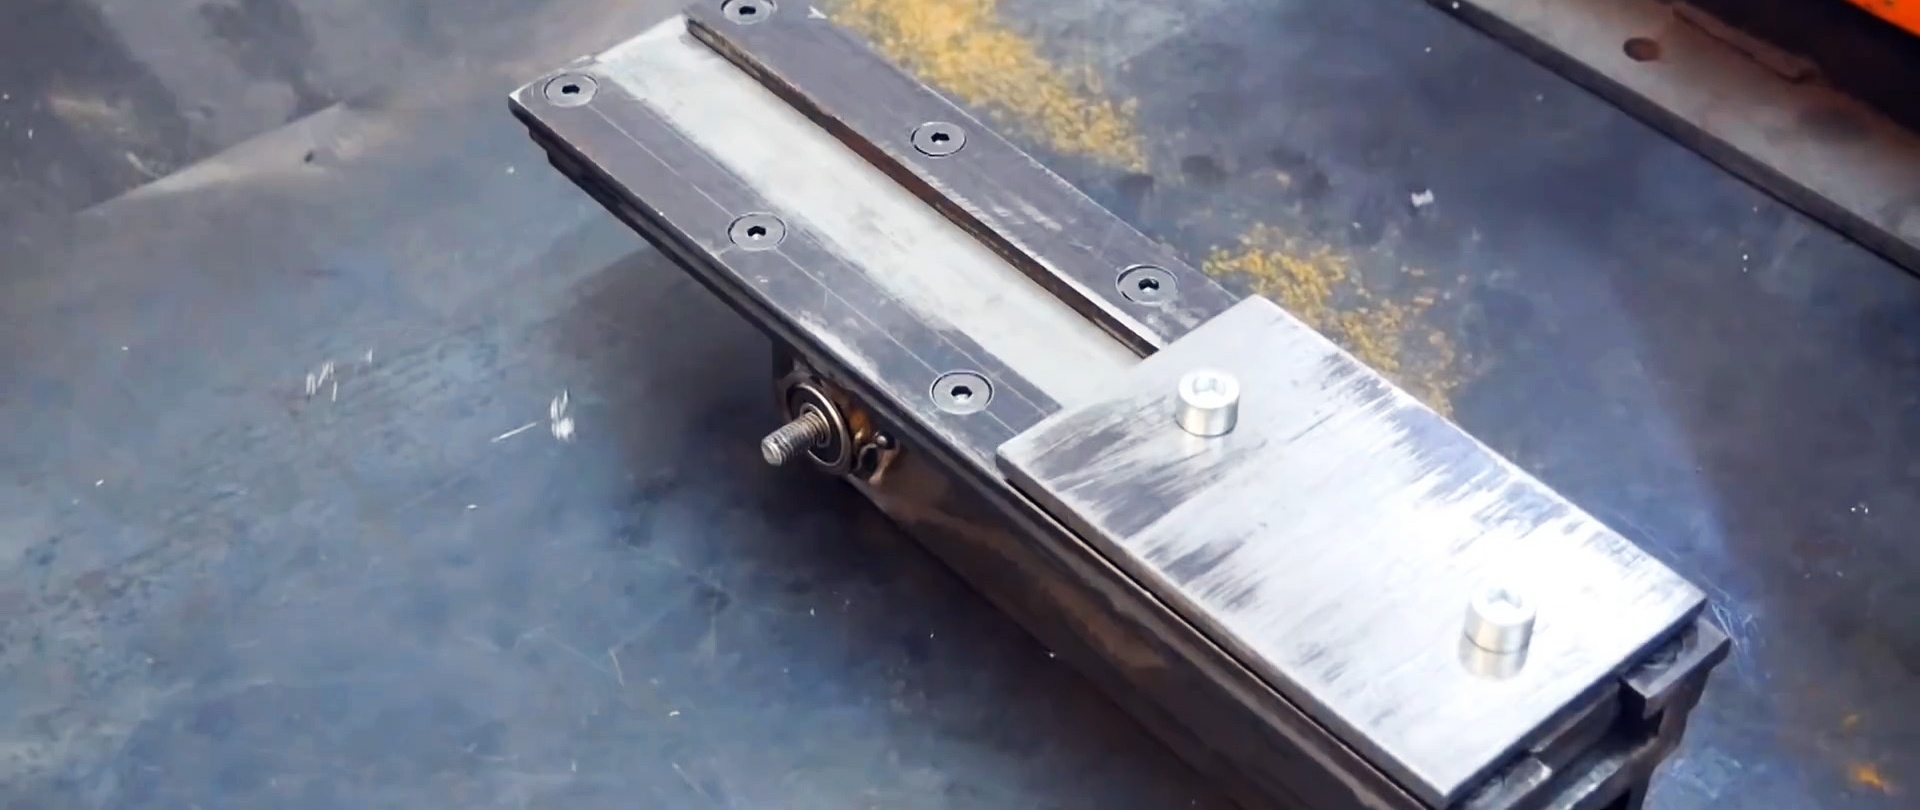
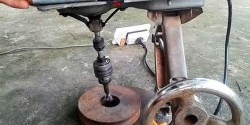
Next, the column is welded to the sole plate made earlier. It is important to maintain a right angle here. The column can then be connected to a magnetic pad.
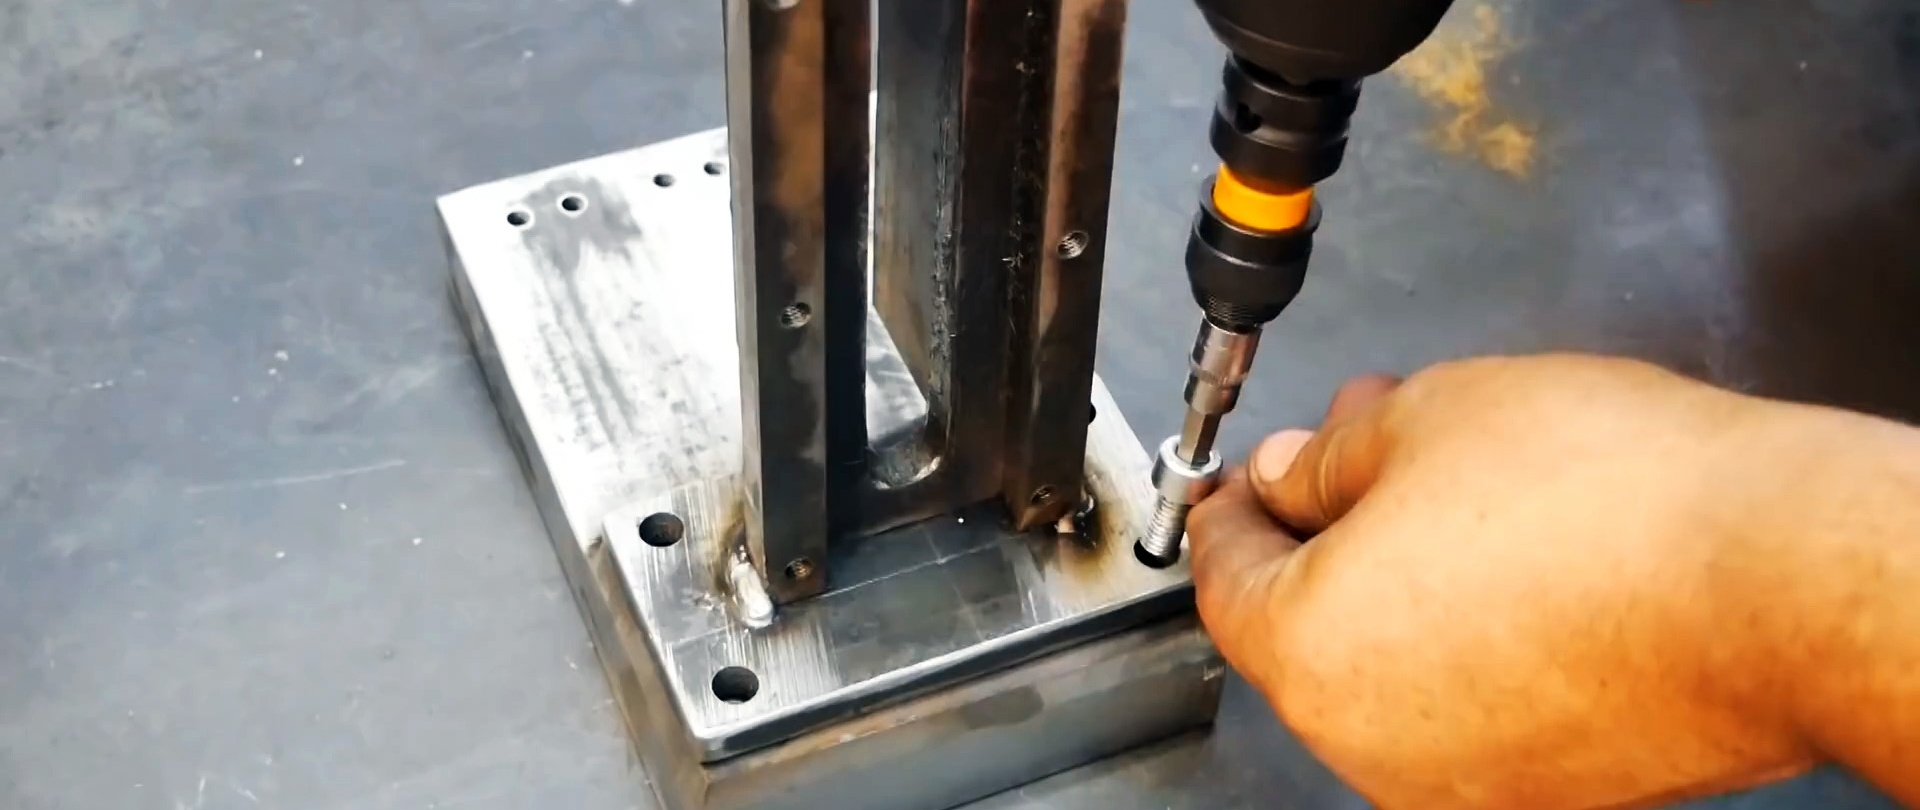
After this, you need to install the drill. To do this, a clamp is made from the pipe. It is welded to the previously made fastening through a spacer. Using a clamp, the drill is securely clamped. Now, if you rotate the gear, the drill will rise and fall.

Next you need to work on the feed handle. Its main parts are made from a cut off head, with a welded extended nut that matches the thread of the gear axis. 3 beams from a rod are welded to the head.


Screwdriver handles are placed on their edges. To do this, the rods are heated, and plastic handles are fused on top.


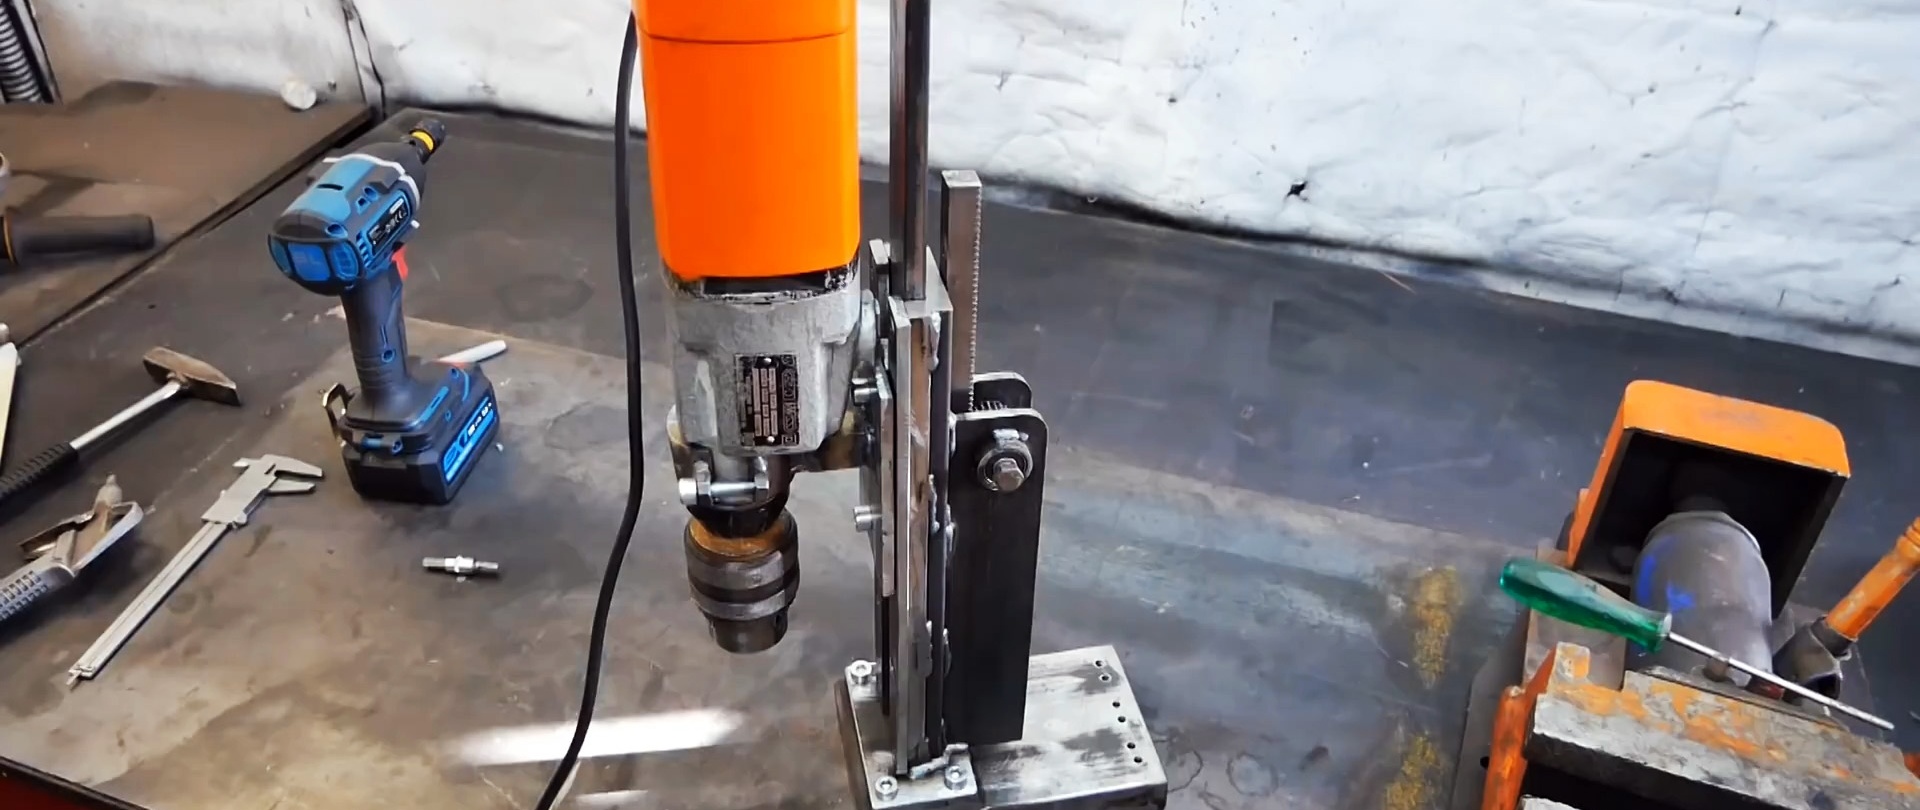
A casing with a handle is welded from thin sheet metal to cover the column. Without it, its gaps will clog and the mechanism will jam.

Now you can paint the parts. The field of this machine is assembled.


For the electromagnetic soleplate to work, you need to connect it to a 12V power supply.
It easily hides in the casing. The unit can be powered from the wire going to the drill. There are also 2 switches embedded in the casing. One will run the drill, and the second will launch the magnetic sole.


Such a machine can be fixed on any steel surface, even with the sole upside down. It will be indispensable where precise, critical drilling is required.


High-quality and durable drills on AliExpress at a discount - http://alii.pub/5zwmxz