A universal drill does not have the technical capabilities to ensure ideal geometry and vertical drilling. Let's make equipment from two old shock absorbers and turn an ordinary drill into a high-precision and productive tool. This drain will not need to use metal for the holder and base, so the repeatability of this design is very high and simple. After all, working with wood is always easier and more accessible.

Will need
Materials:
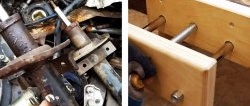
- two old shock absorbers;
- drill;
- spray paint;
- wood blanks;
- stud screws, washers, bolts and screws;
- metal tubes;
- nuts, regular and with flange;
- liquid plastic, etc.
High-quality and durable drills on AliExpress at a discount - http://alii.pub/5zwmxz
Tools: sandpaper, hammer drill, circular saw, router, jigsaw, grinder, ratchet, drilling machine, etc.
The process of making a drill stand from old shock absorbers
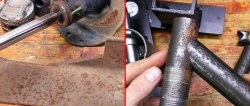
We clean old shock absorbers with sandpaper from various layers, coatings and rust.We drill the bottom and, moving the rods, remove the shock-absorbing working fluid.


We wrap the rod mirrors with paper tape and paint the shock absorber housings with spray paint.
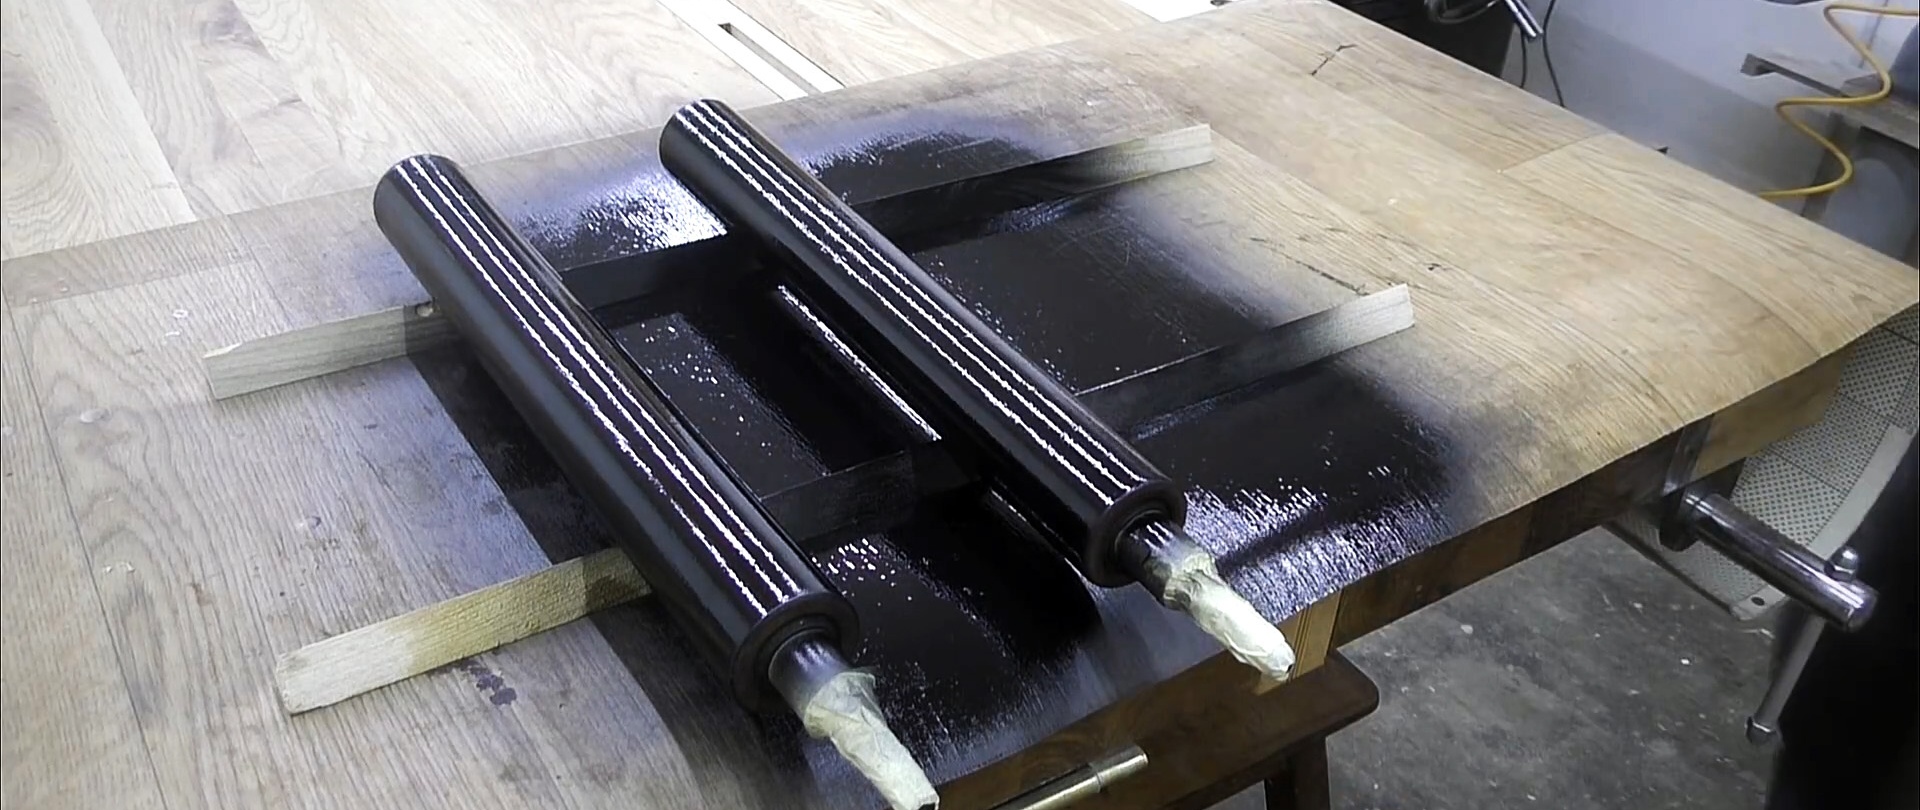
We cut out wooden blanks of the required sizes on a circular saw, taking into account the size of the drill and shock absorbers.
We mark a piece of wood of greater thickness and perform two drillings, and in a smaller one - three.
We adjust the router compass to the required holes, install it in the drillings and make holes of the required diameter.

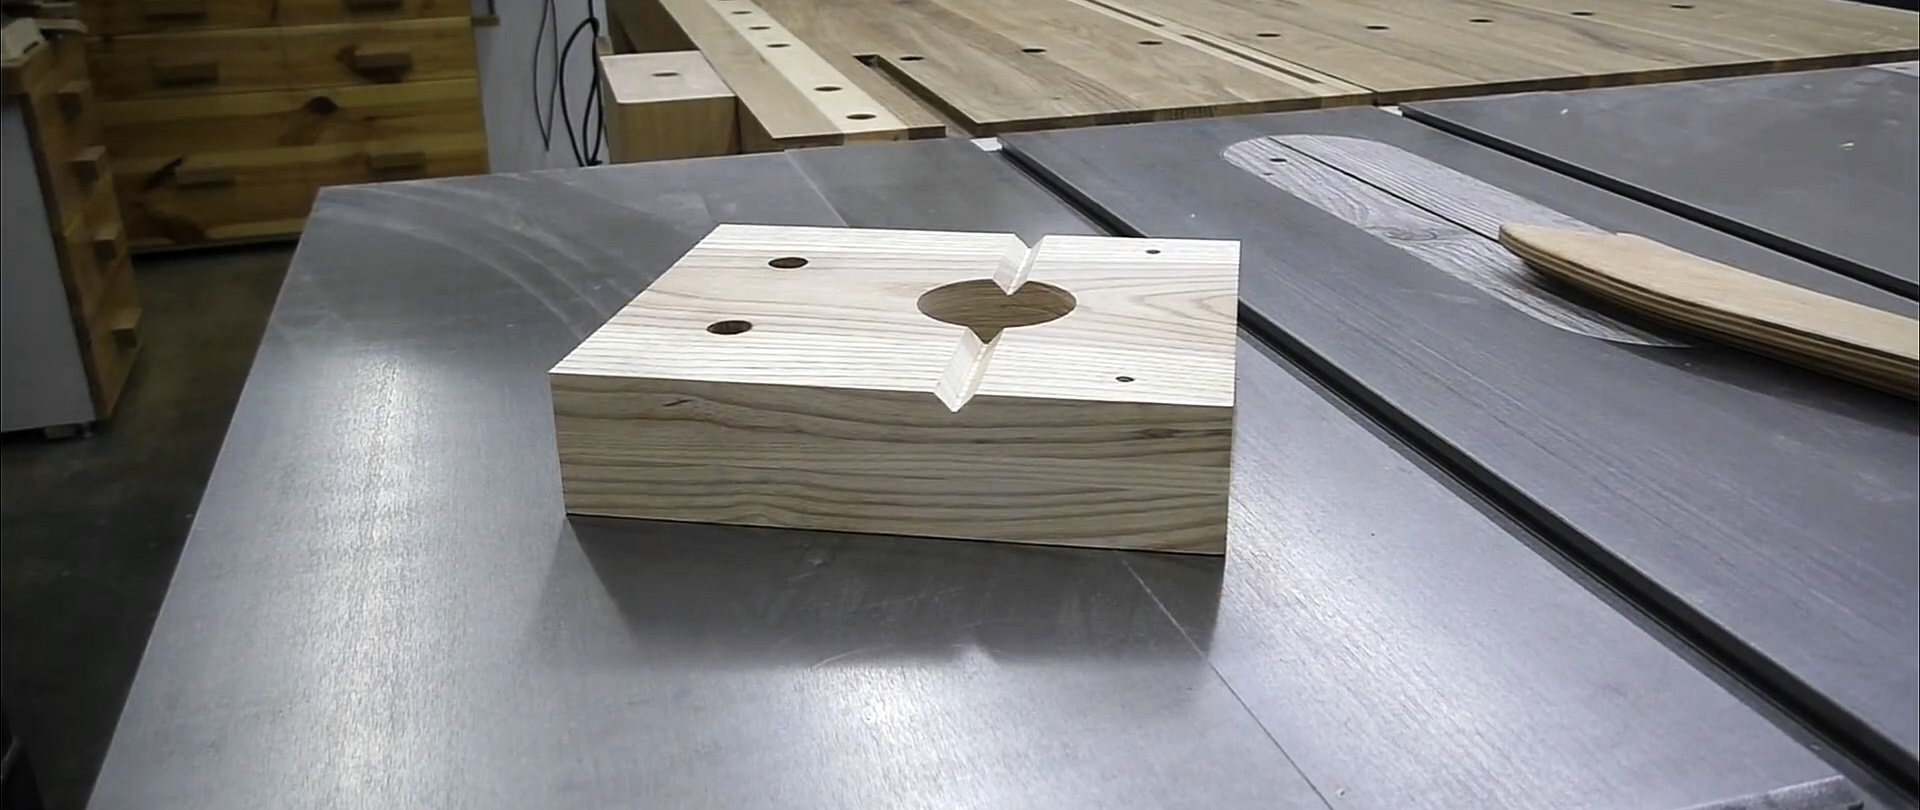
On a circular saw, in a workpiece with three holes, we make diametrically oriented cuts in the jumpers with a small exit on the opposite sides of the holes.


Also, using two blind straight cuts on a circular saw and rounded ones on a jigsaw, we give the contour of the workpiece an acceptable shape. We grind the outer contour on a grinder.
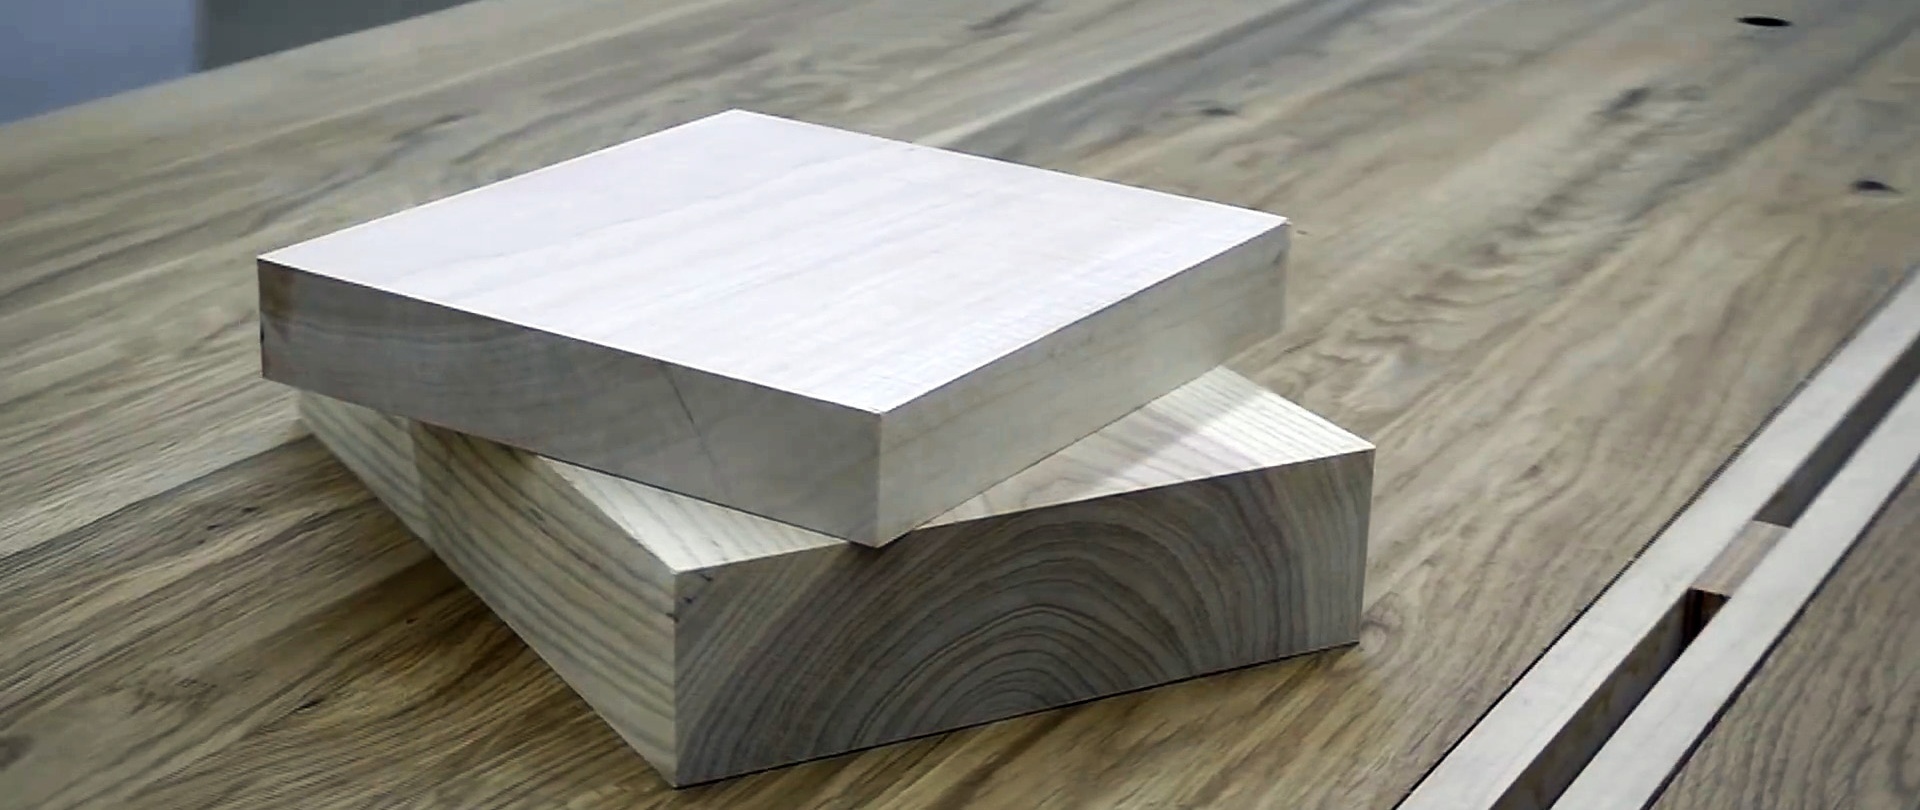
We drill blind holes perpendicular to the cuts, screw in the stud screws and tighten them with a ratchet.

We drill two stepped coaxial holes in a thick workpiece according to the markings on a drilling machine.

Along the long sides we make rectangular grooves of the required cross-section.

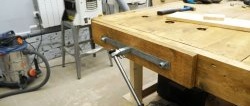
We place metal tubes protruding beyond the edges of the workpiece into the grooves, and glue the strips on top. Moreover, the tubes must move freely in both directions. We cut off the ends of the planks using a circular saw.
We cut the thick piece into two pieces perpendicular to the square channels below the outer edges of the holes. In a small part from the ends we drill holes in the direction of the square channels.

We insert metal tubes into the square channels of the larger part of the workpiece, put the smaller part on them so that the ends of the tubes are flush with its surface. We screw the screws into the holes and fix the tubes.

We drill in a large part of the workpiece closer to the edge without holes in the direction of the square channels and cut the thread with a tap.
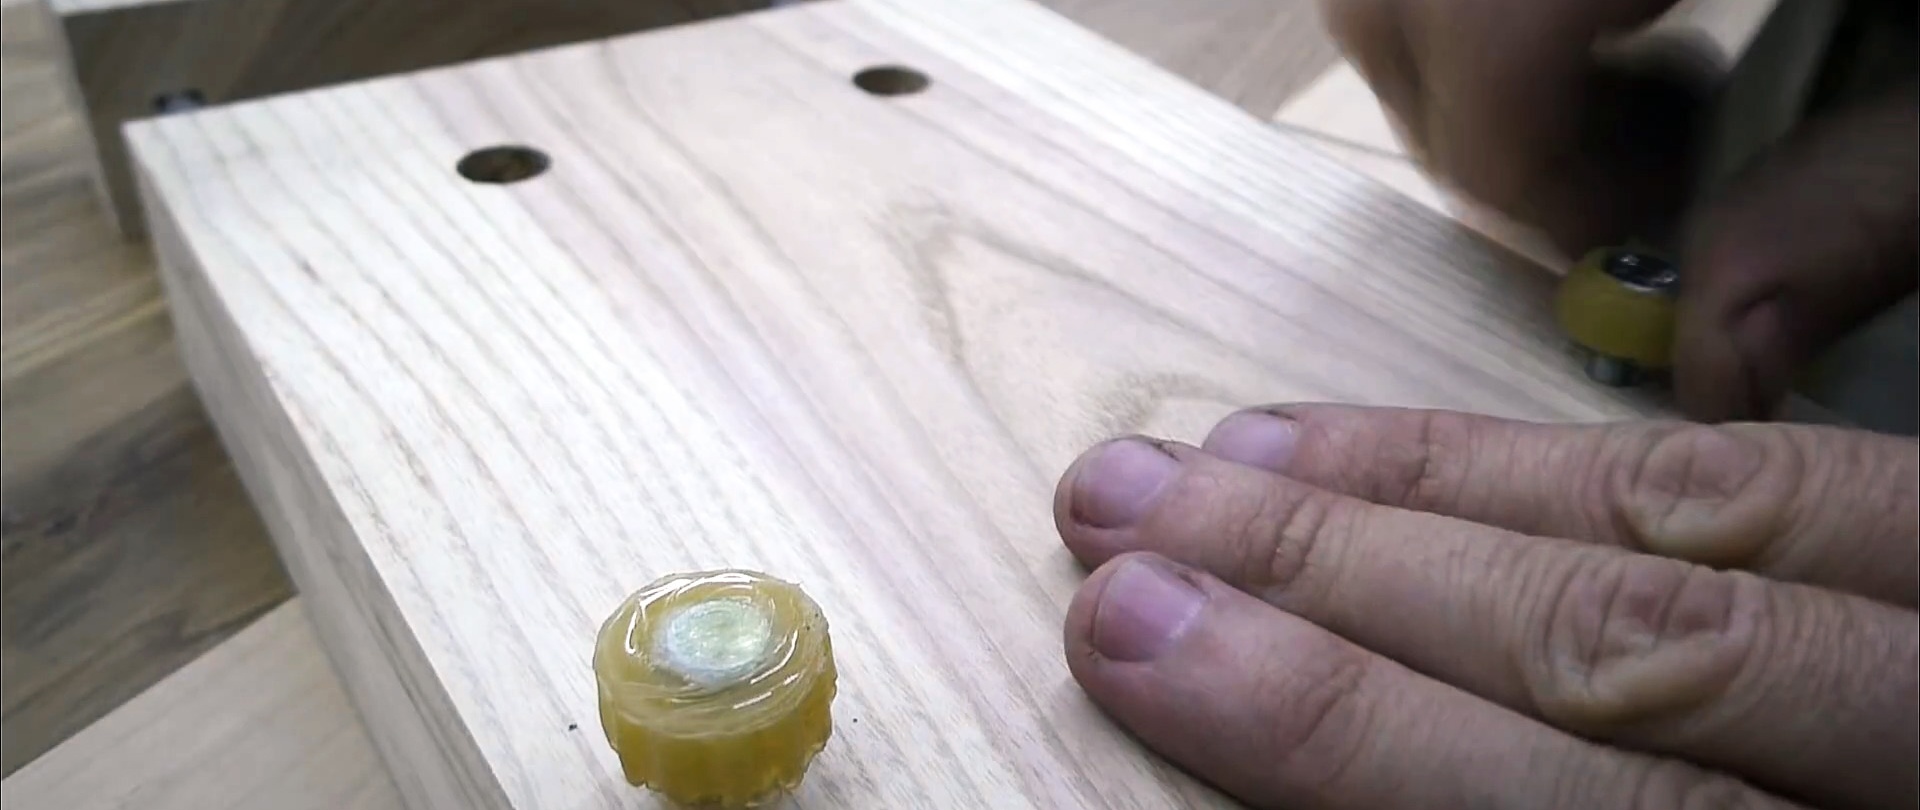
We fill the head of the 17mm spanner, placed on a flat surface, with liquid plastic, lower the head of the 17mm bolt and let the plastic harden. We get a large grooved head for two bolts. We screw them into the threaded holes.


We put large washers on the shock absorber rods, insert the ends into the holes and on the back side, putting on the washers, securely fasten them with flange nuts.
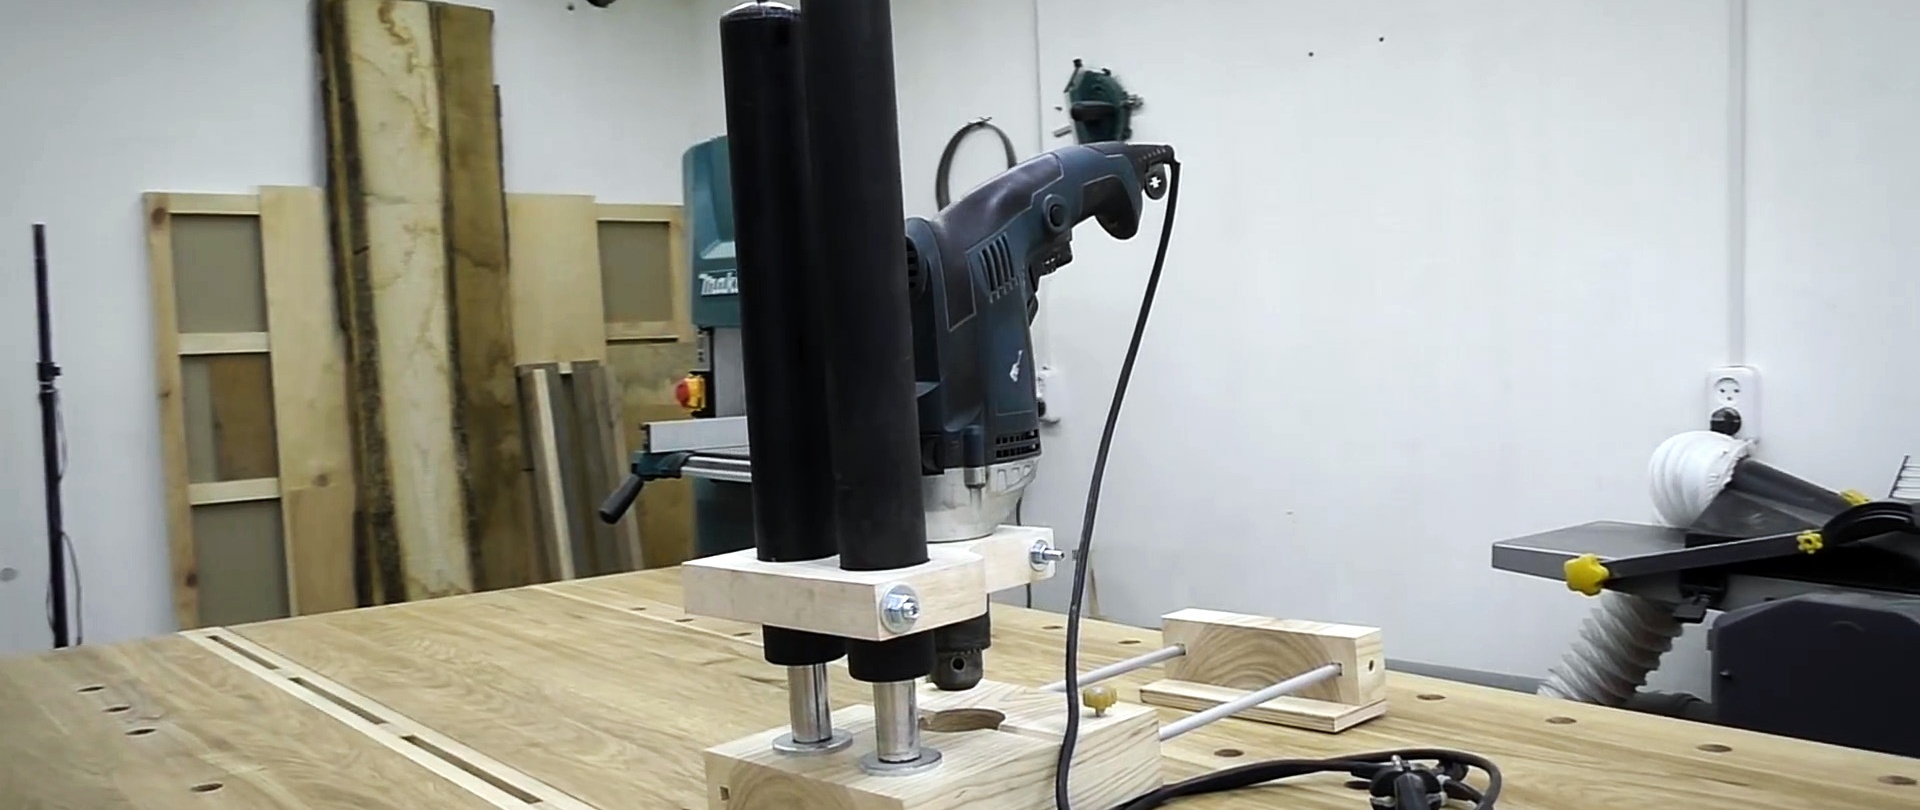
We lower the shaped blank onto the bars, sliding along the shock absorber bodies. Place washers on the studs and tighten the nuts. Thanks to the slots, the holes tightly cover the bodies, and the shaped workpiece moves up and down with them along the shock absorber rods.

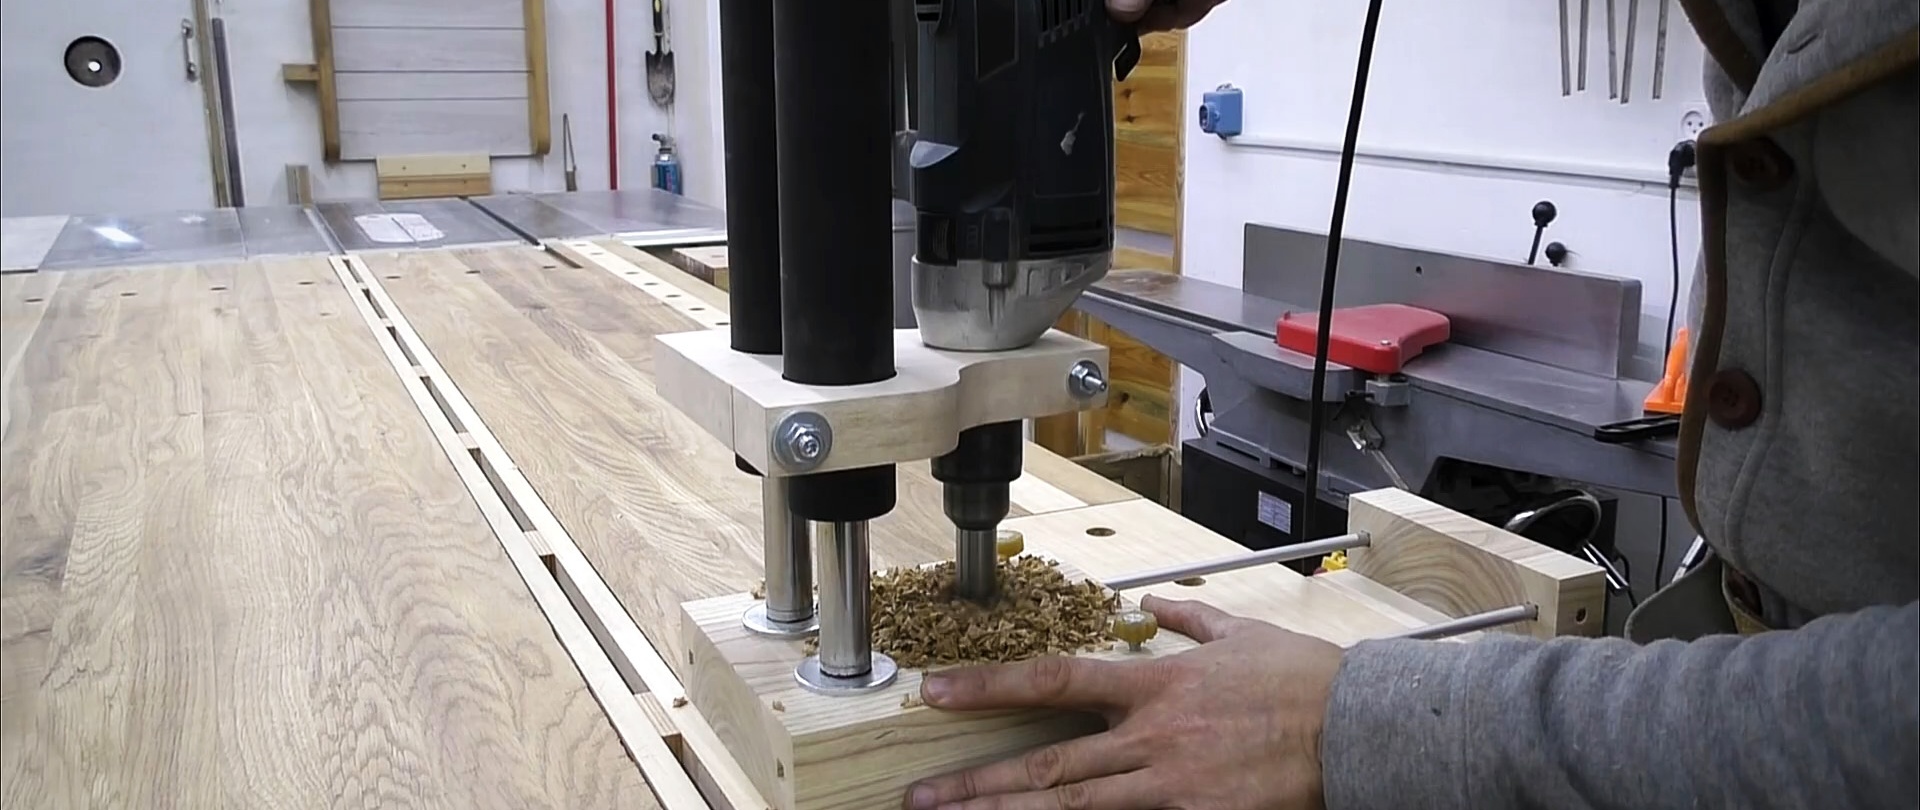
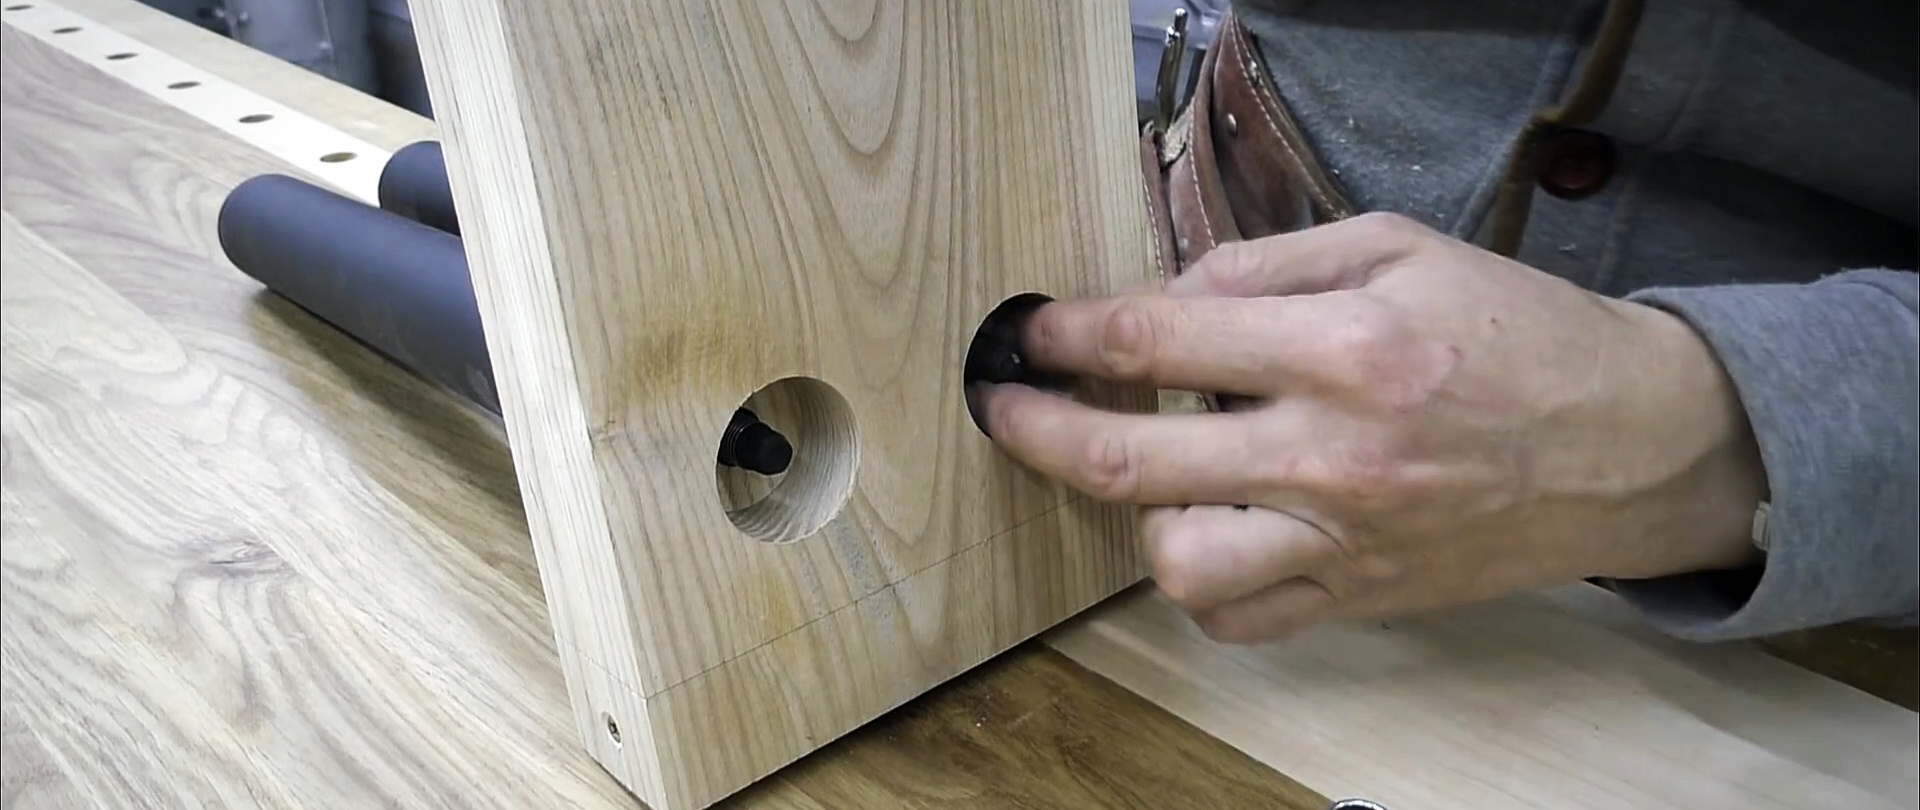
We insert the fastening belt of the drill body into the third hole. If there is a large gap, wrap tape around the belt.

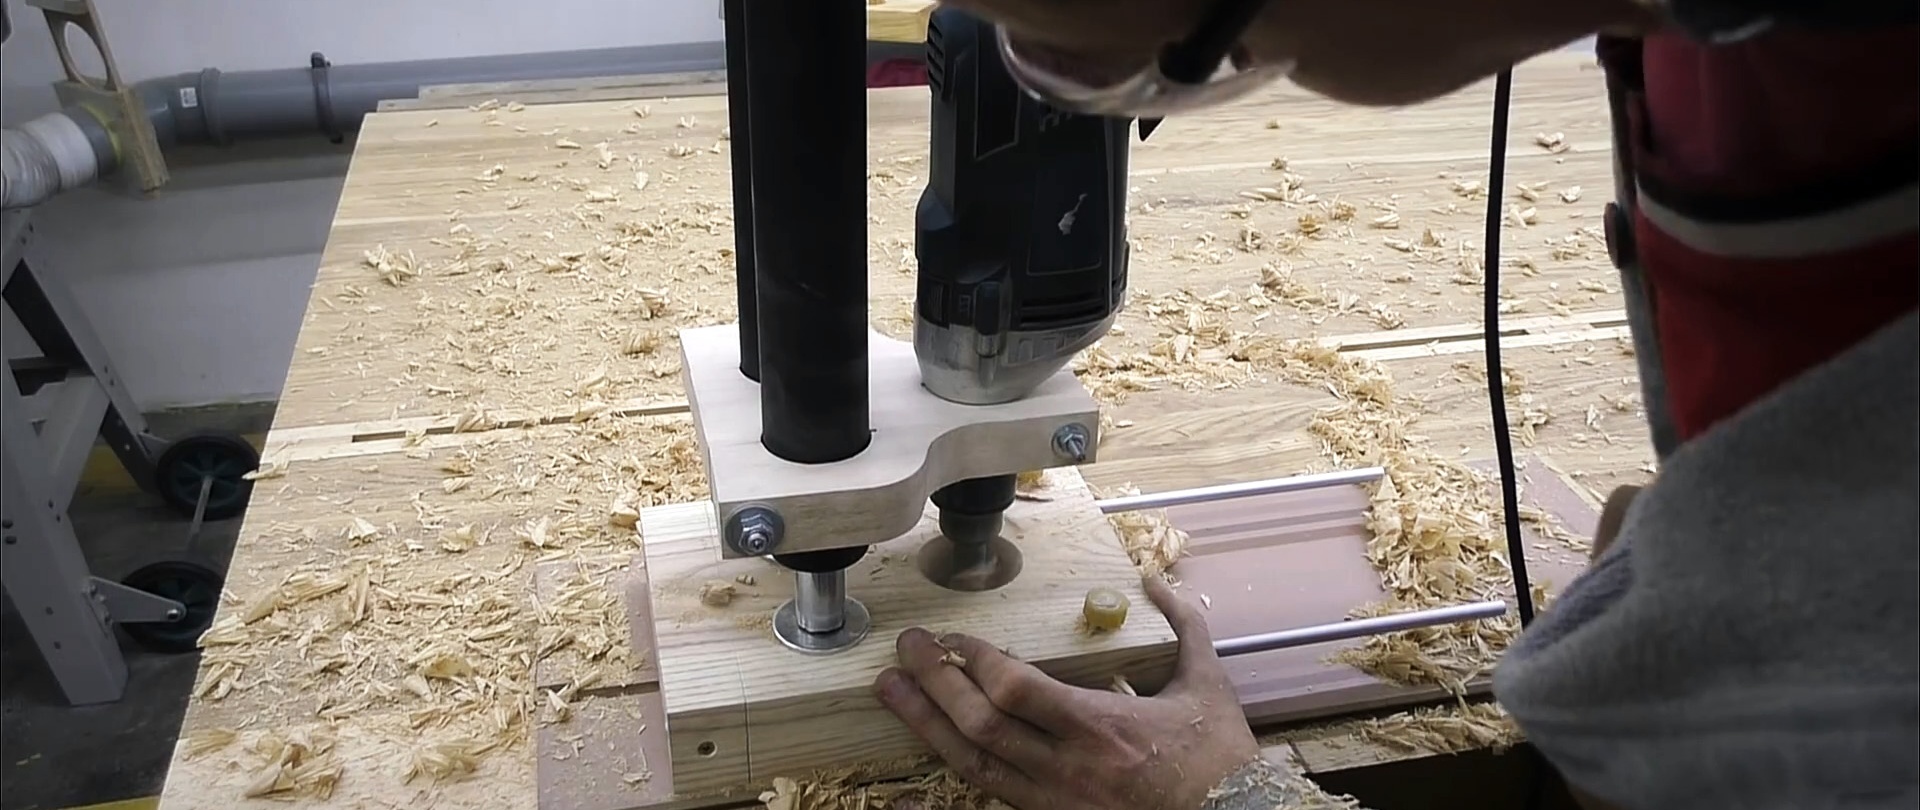
We attach a Forstner drill to the drill and drill a hole in the base.
On its working side in the transverse direction we perform triangular milling in cross-section to fix round workpieces.
We screw a bar to the moving part of the base that slides along the guide beam.
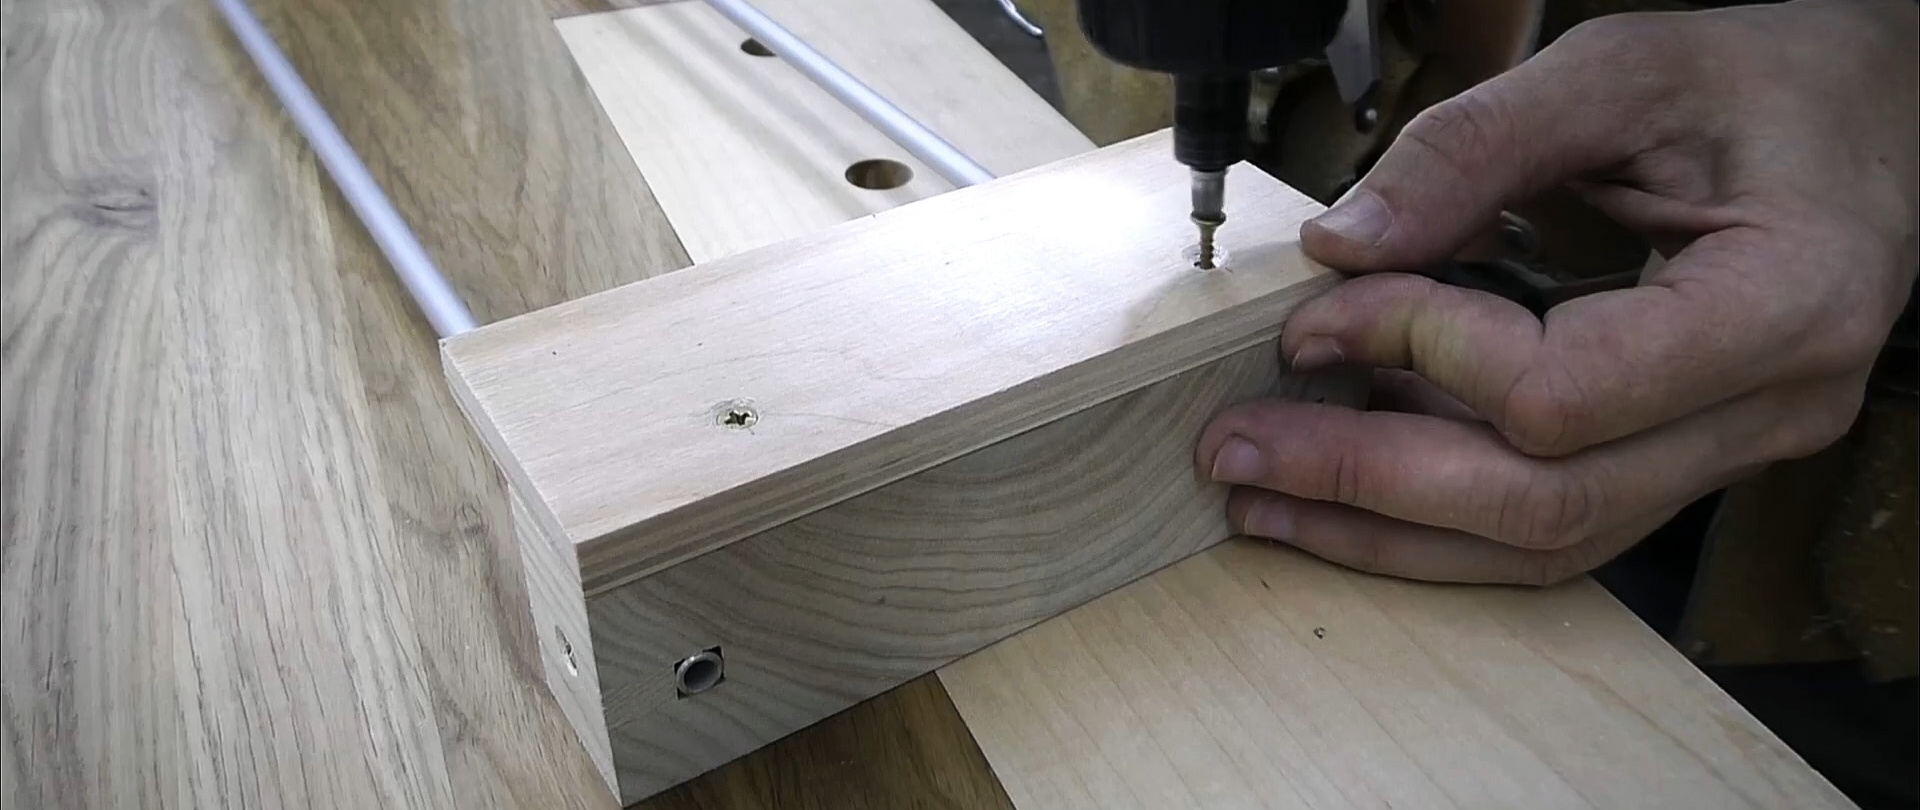
By extending or retracting the moving part and fixing it with bolts through metal tubes, we set the distance from the base to the holes being drilled. It is possible to drill single holes. In any case, they will be ideal in geometry and verticality.