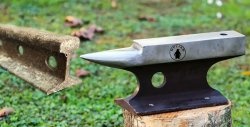
The presence of a full-fledged anvil in a home workshop or workplace greatly expands the possibilities for processing metal and making various finished products and blanks from it for further processing. Due to its massive size, buying it in a store will hurt your pocket. To save money, you can make your own anvil from scrap metal at almost no cost. To do this, it is enough to be able to handle simple tools and be physically prepared.

Will need
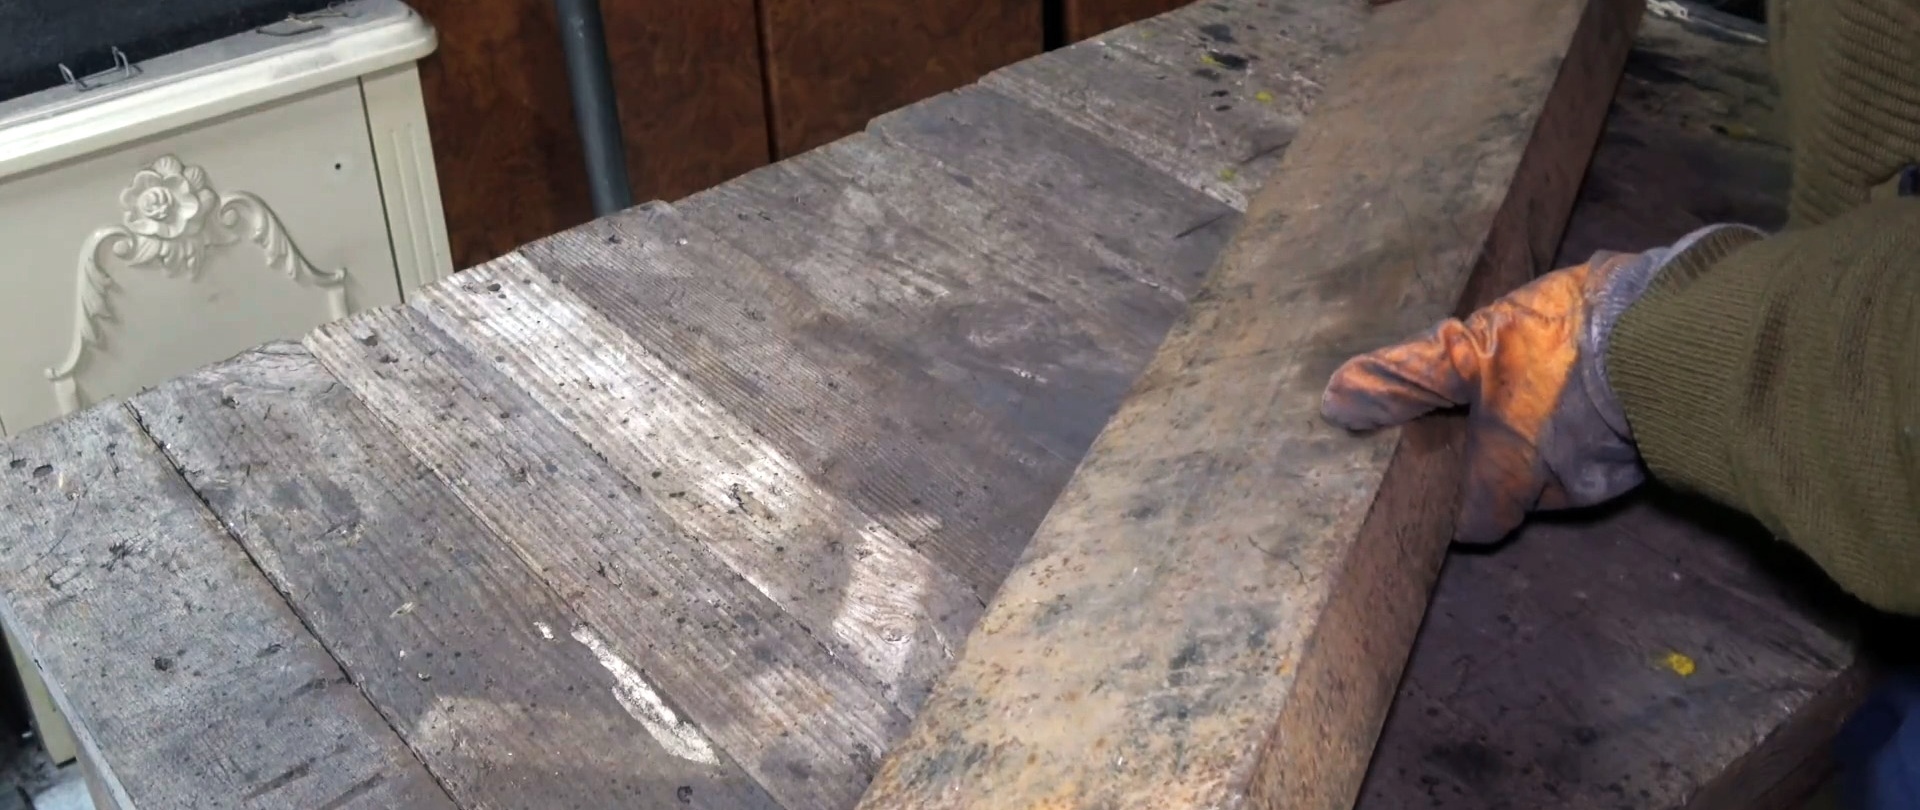
Materials:
- large steel channel;
- steel rod with an extension at the end;
- steel plate;
- pieces of reinforcement and rods of different diameters;
- paint, etc.
High-quality and durable drills on AliExpress at a discount - http://alii.pub/5zwmxz
Tools: grinder, hammer, drill, round and flat file, pliers, welding, fire bricks, water container, etc.
The process of making an anvil from the remains of various scrap metals
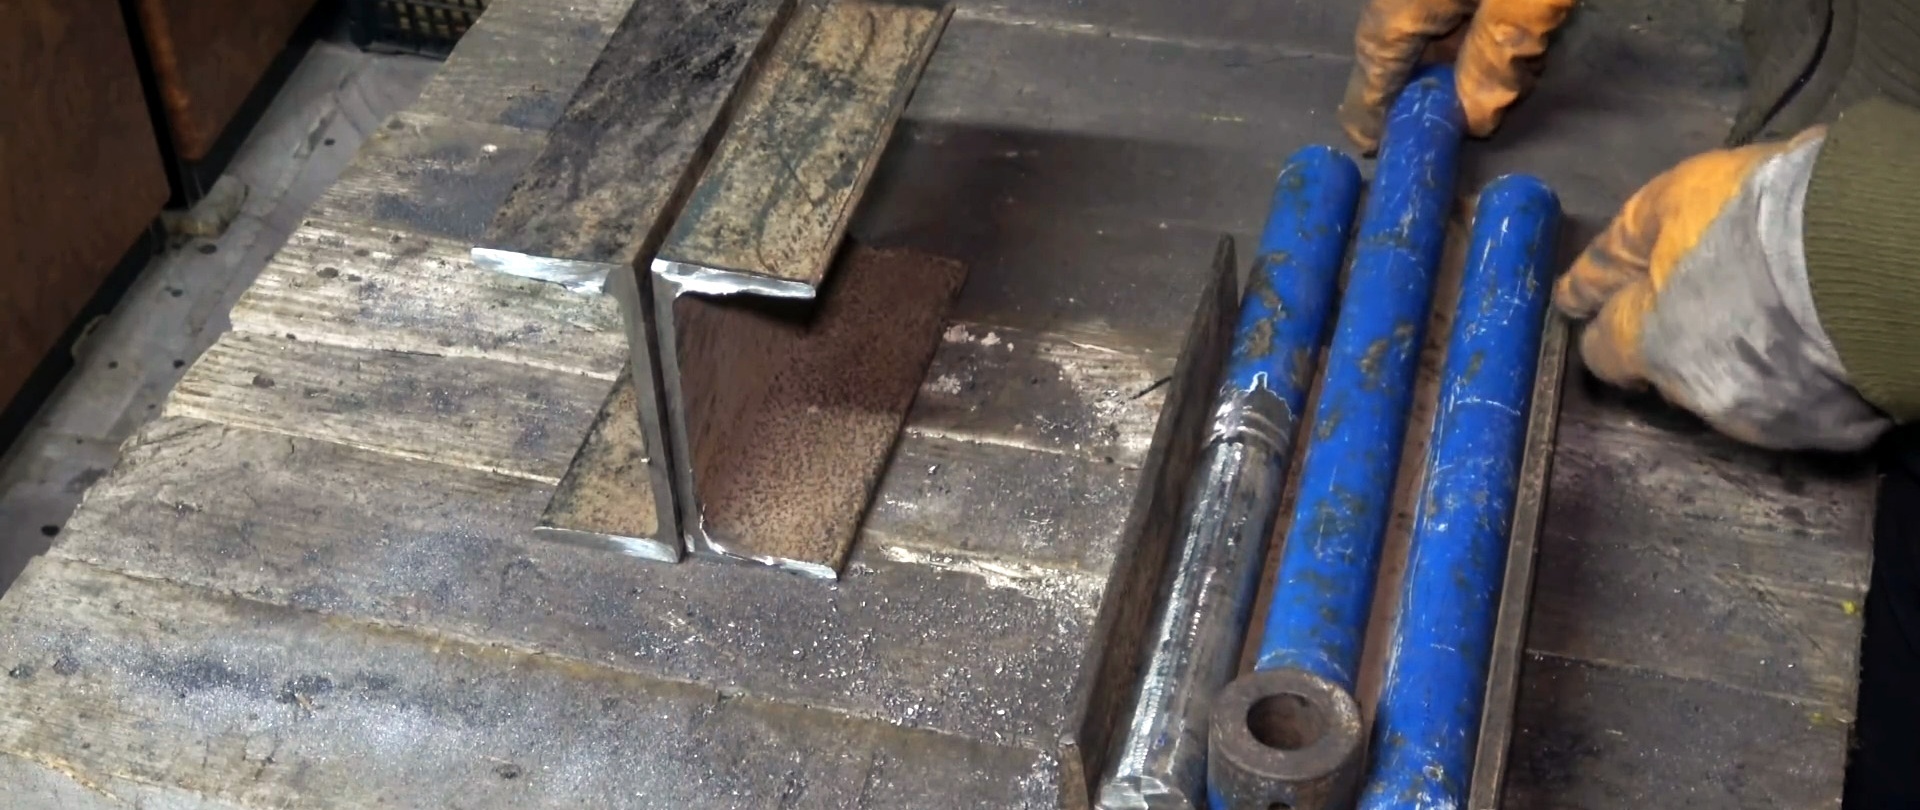
We cut three blanks from the channel with a grinder: one long and two short ones of the same size. On a long piece, stepping back some distance from one end, we saw the shelves transversely and the back longitudinally along the edges. We remove the cut off fragments of the shelves.
Long-lasting discs for angle grinders on AliExpress at a discount - http://alii.pub/61bjly

We cut off a cylindrical extension from the steel rod with a blind central hole at the end. We then divide the rod into three equal parts, and in the cylindrical extension we make a through hole from a blind hole, and drill two longitudinally located holes in the wall.
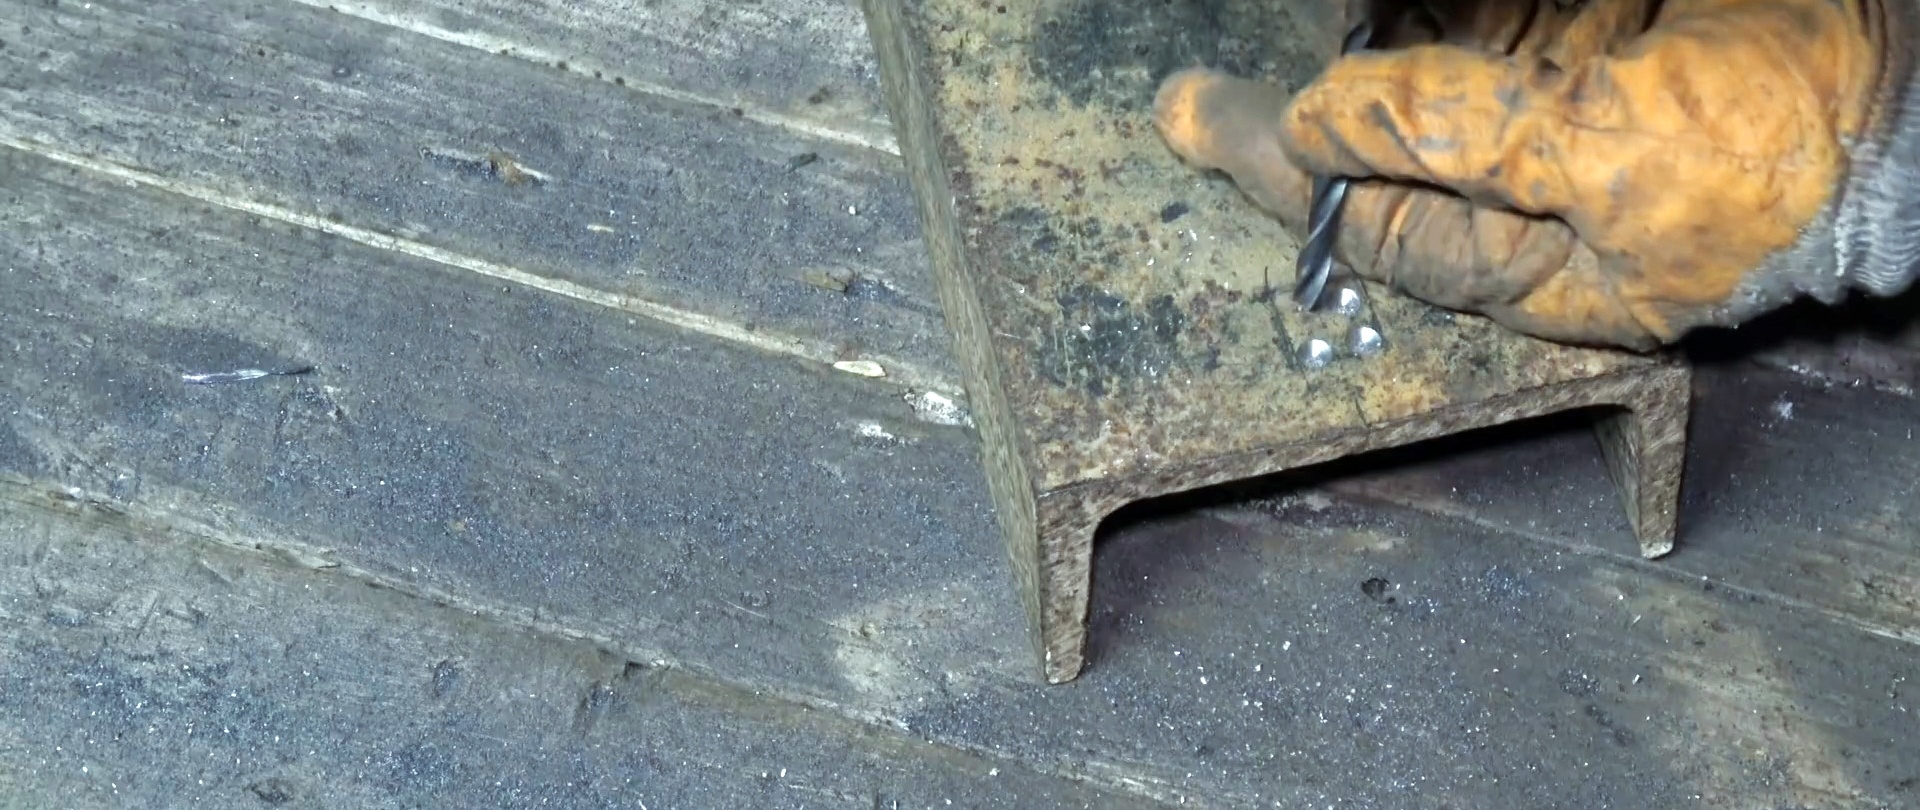
Closer to the whole end of the channel, mark a square in the center of the back and drill four holes in the corners. Then, using a round file, we grind down the jumpers between the holes and remove the resulting fragment. We process the square hole with a flat file to the desired size.

We place the channel with shortened shelves on the back. On the square hole we install a cylinder with a through hole coaxially, between which and the shelves of the channel we lay pieces of a round rod, and rest the third one against the cylinder from the inside.
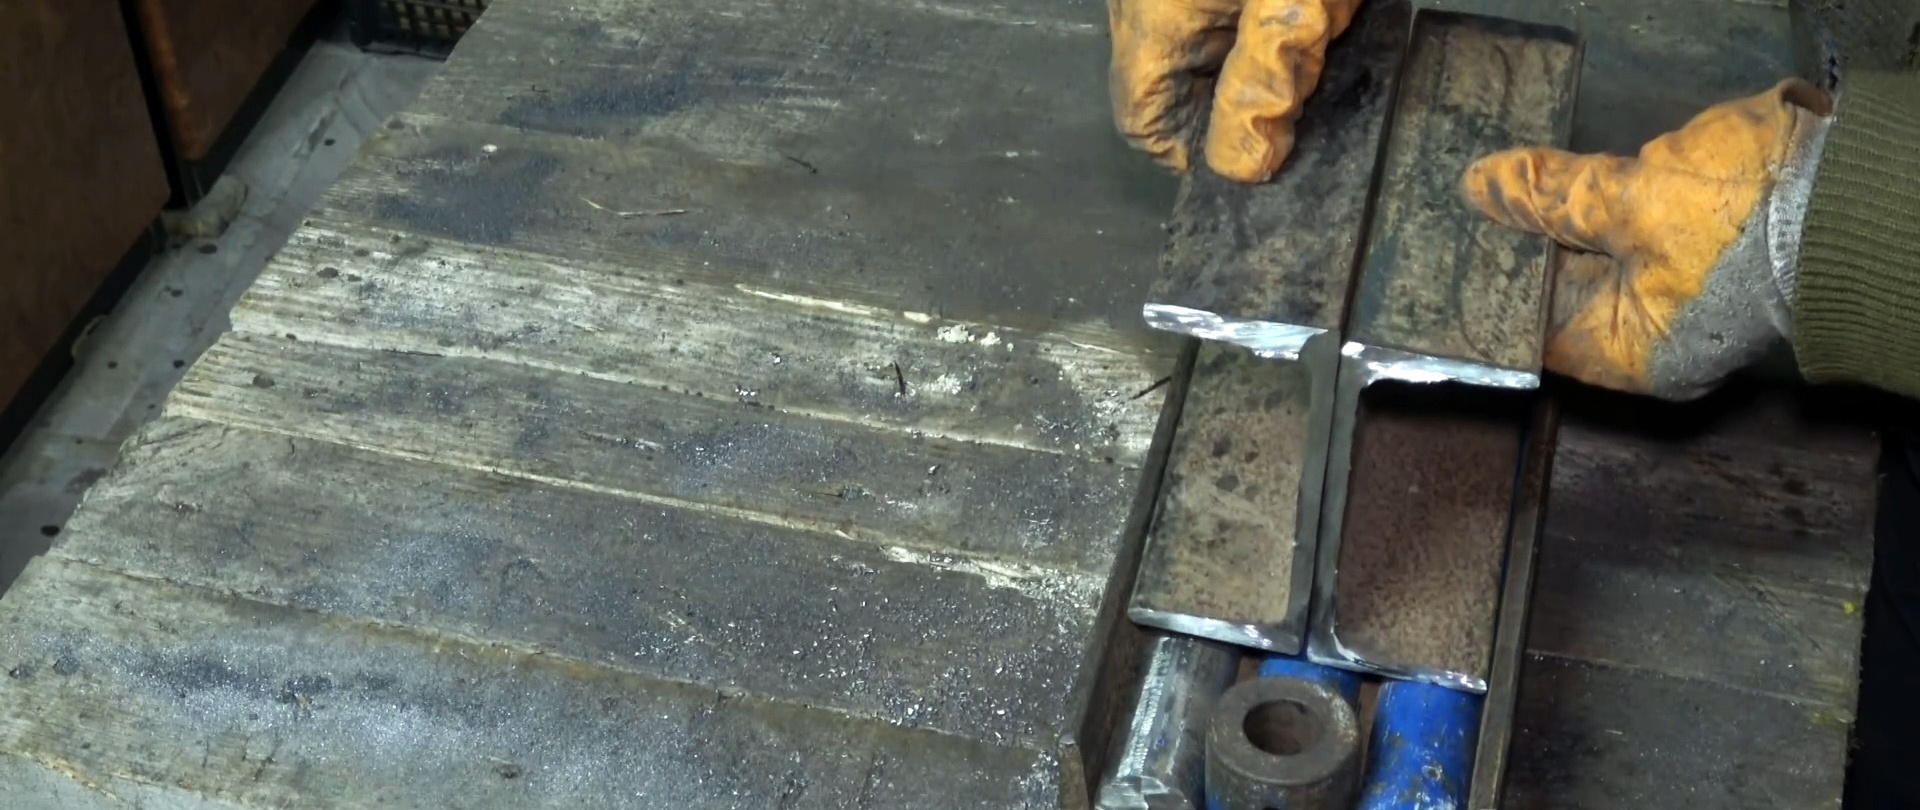
We weld them together and to the back of the channel along all contact lines.

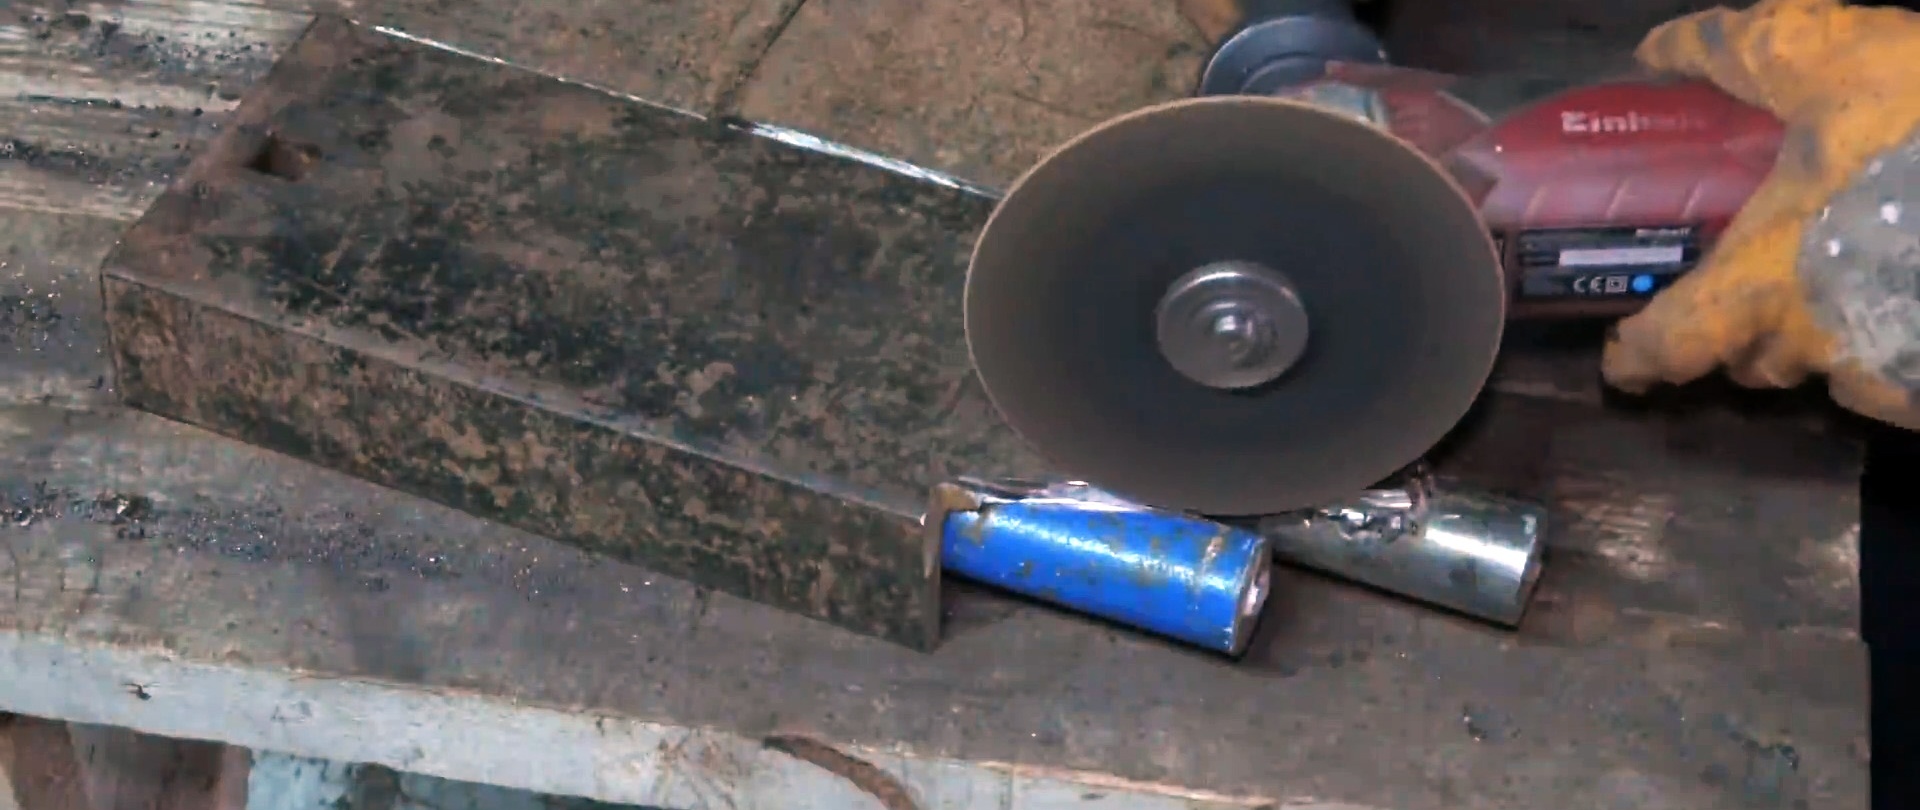
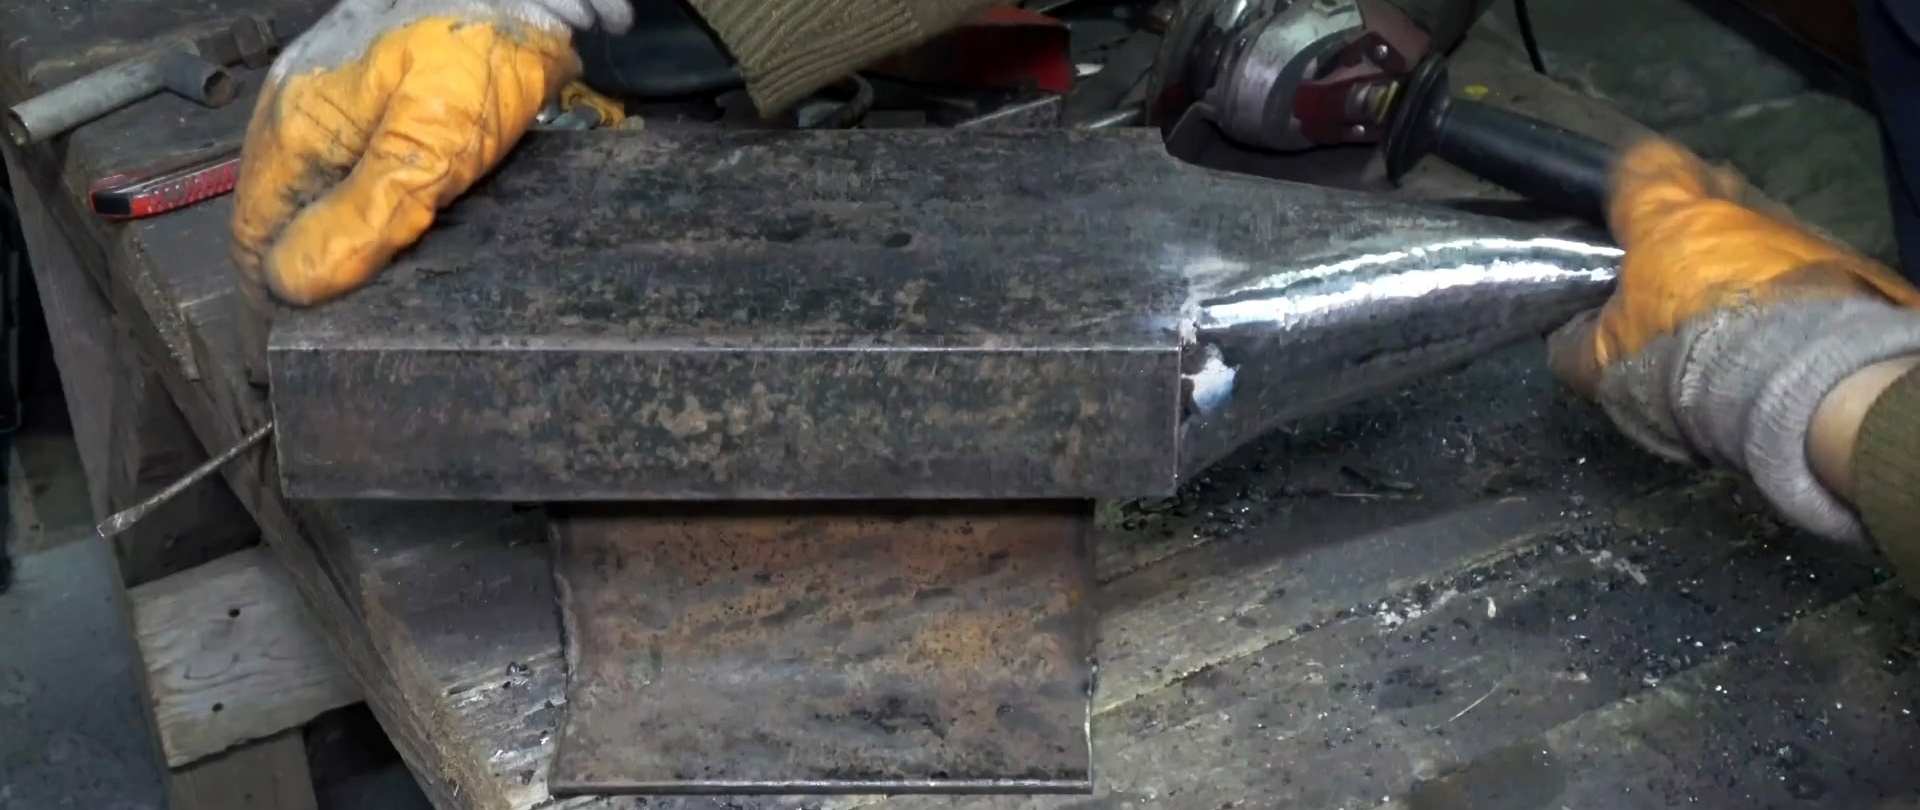
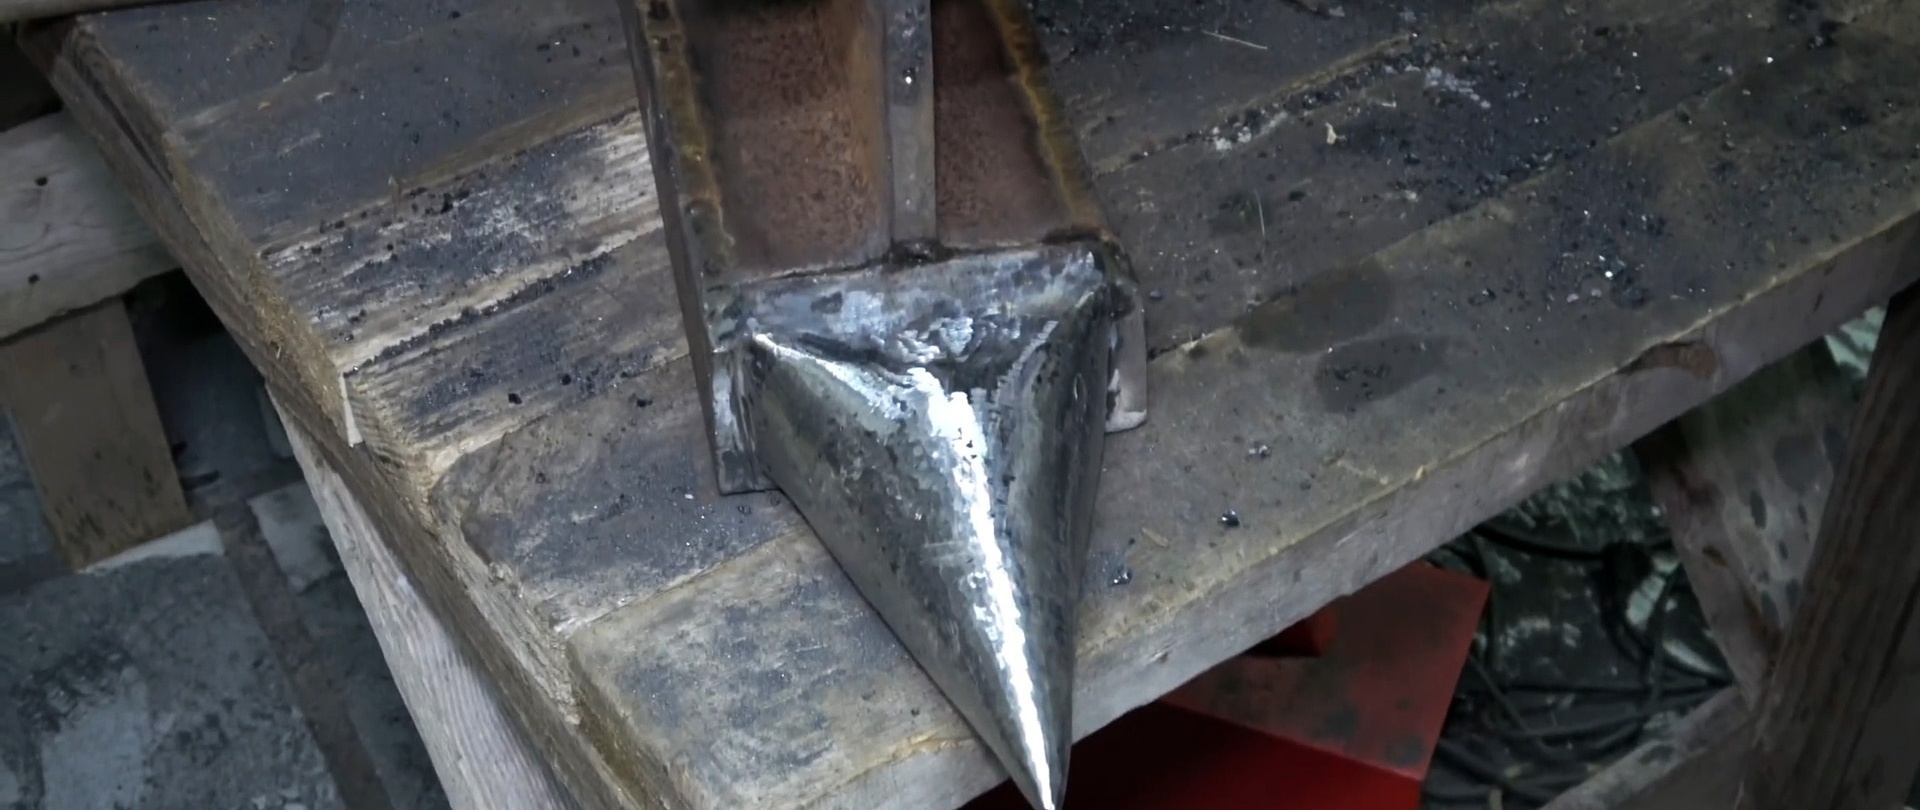
We cut off the part of the back of the channel without flanges on both sides into a cone, as well as the side parts of the outer rods.
We weld a steel strip in the longitudinal direction onto the rods from above, with emphasis on the cylinder. We install and weld two short blanks from the channel on it, pressing them against each other with their backs.


We insert pieces of reinforcement and rod into the gaps between the plate and the channel flanges as tightly as possible. We cover the ends of the rods with specially profiled metal fragments and weld everything together.
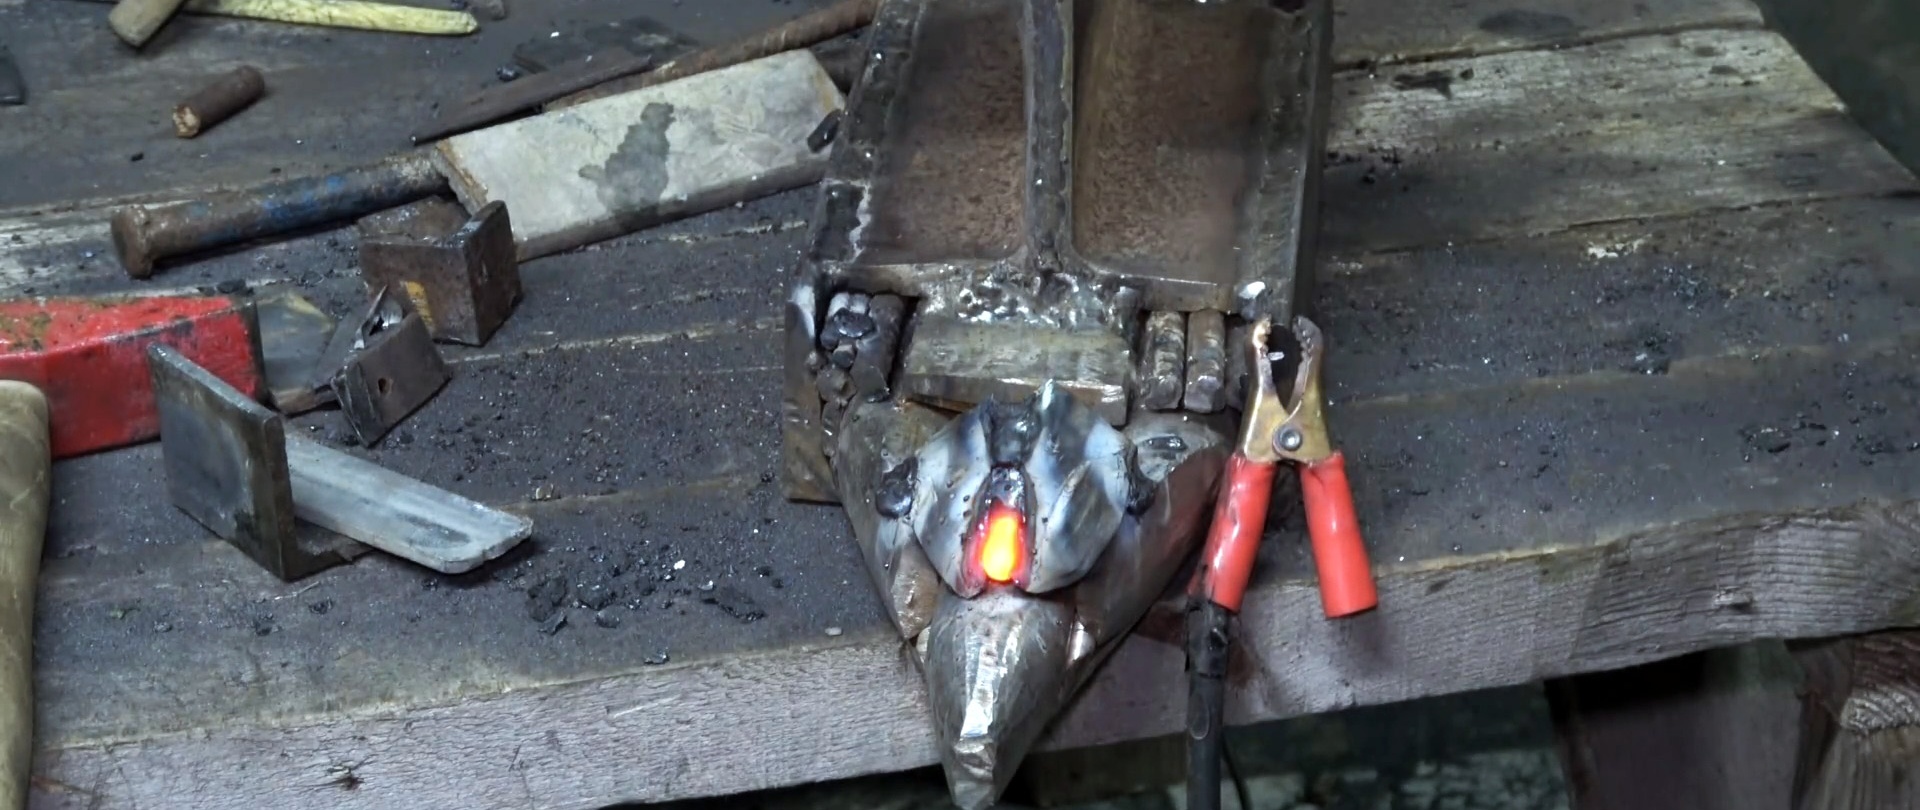
We place a steel plate crosswise on top between the backs and shelves of the channel parts, and two short cylinders between it and specially profiled metal fragments. We cut the outer corners of the plate into a cone and also weld them to each other and to the base.

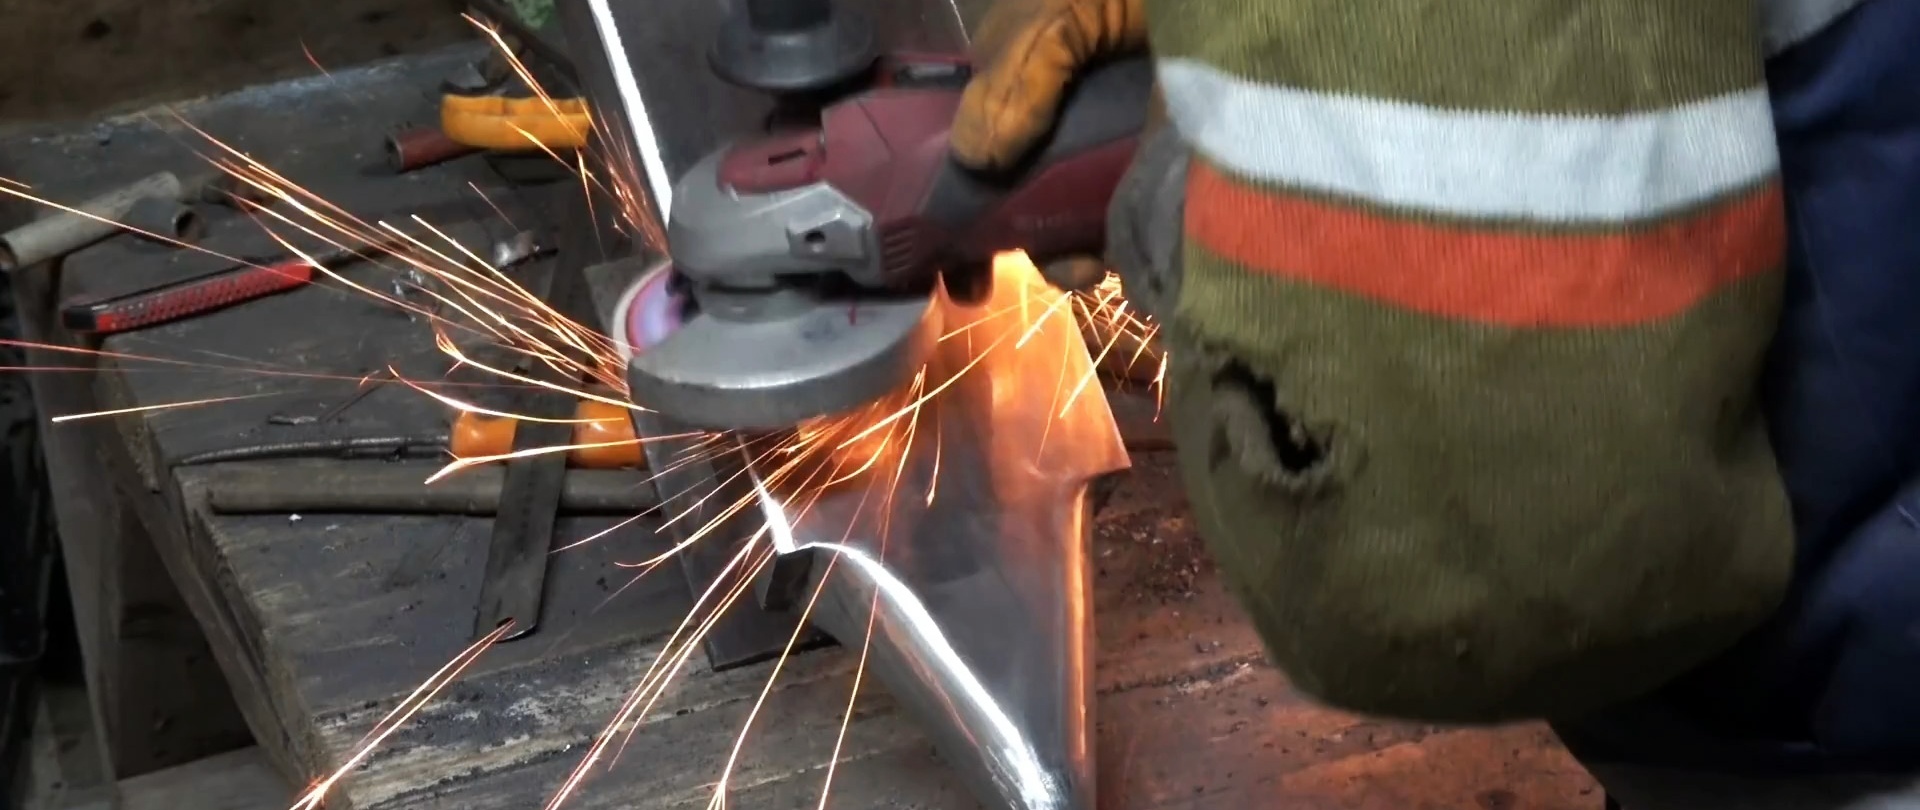
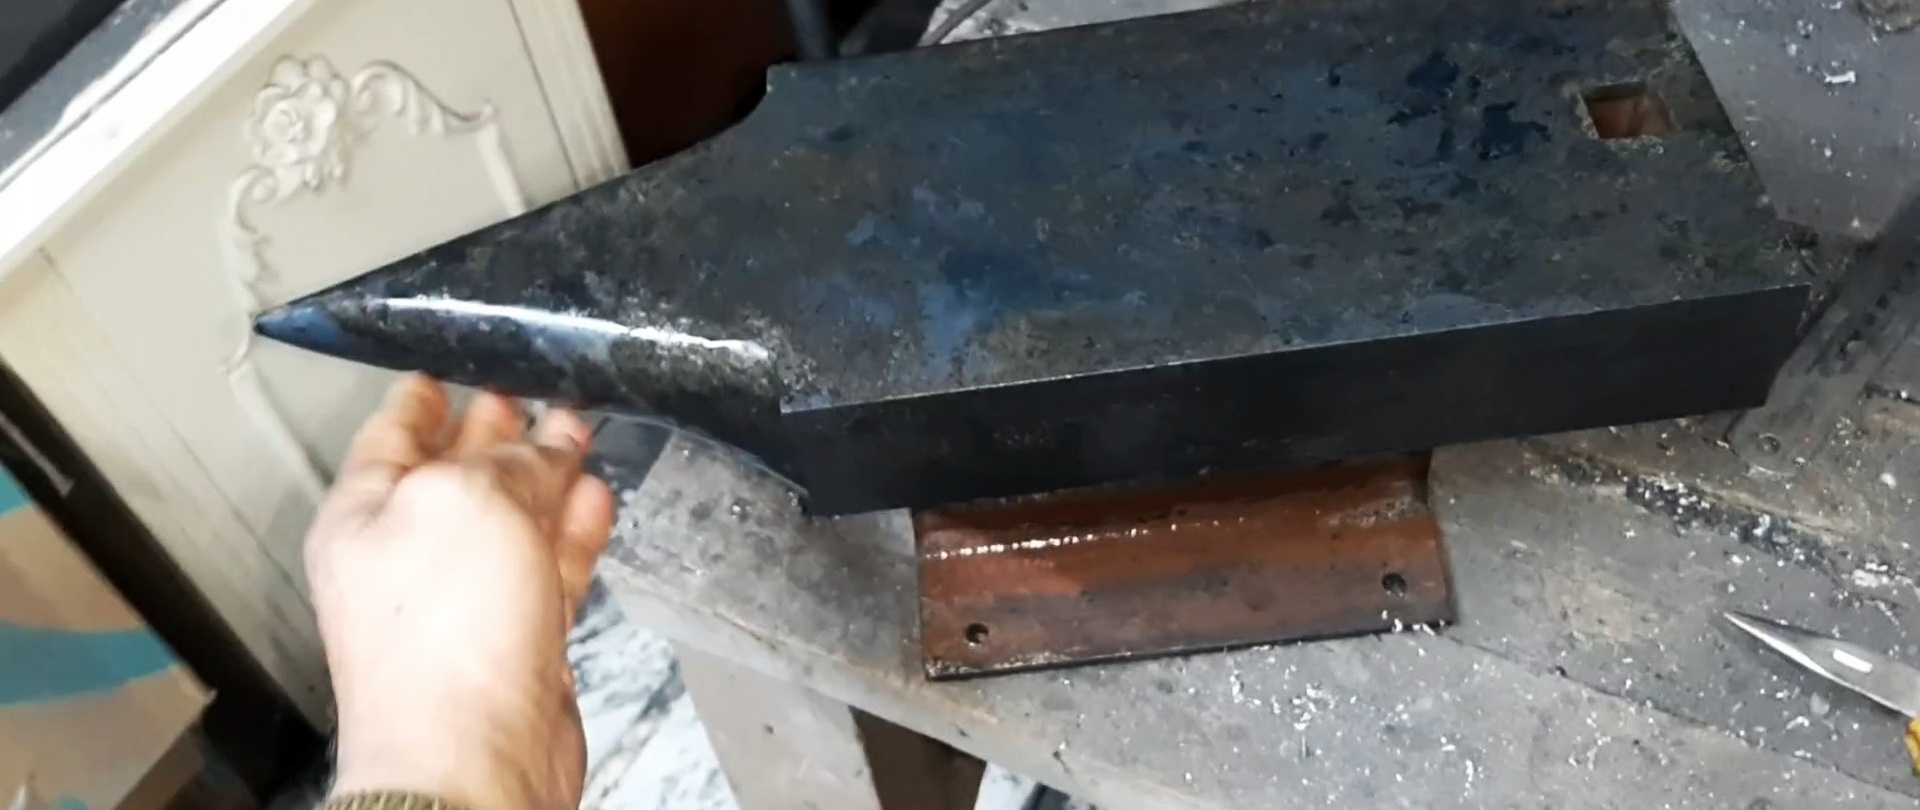
After grinding the horn, areas lying below the formed surface are revealed. We raise these places by welding and additionally grind them, like other parts of the anvil. We drill four holes in the corners of the supporting surface for attaching the anvil.
Welding electrodes for general purposes on AliExpress at a discount - http://alii.pub/606j2h

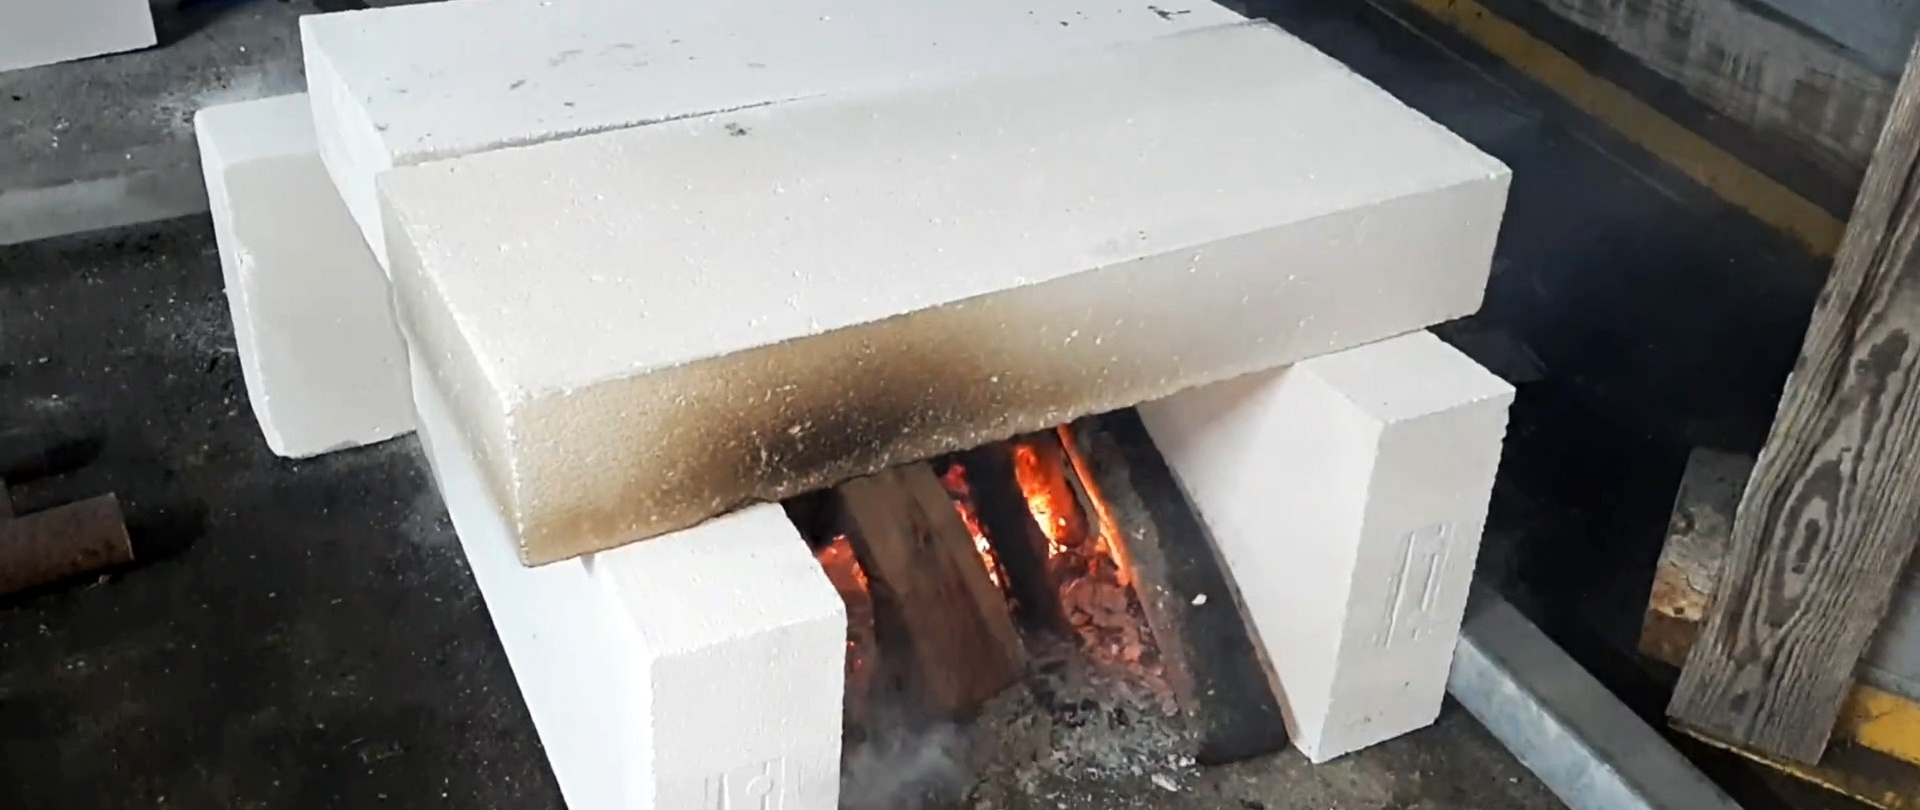
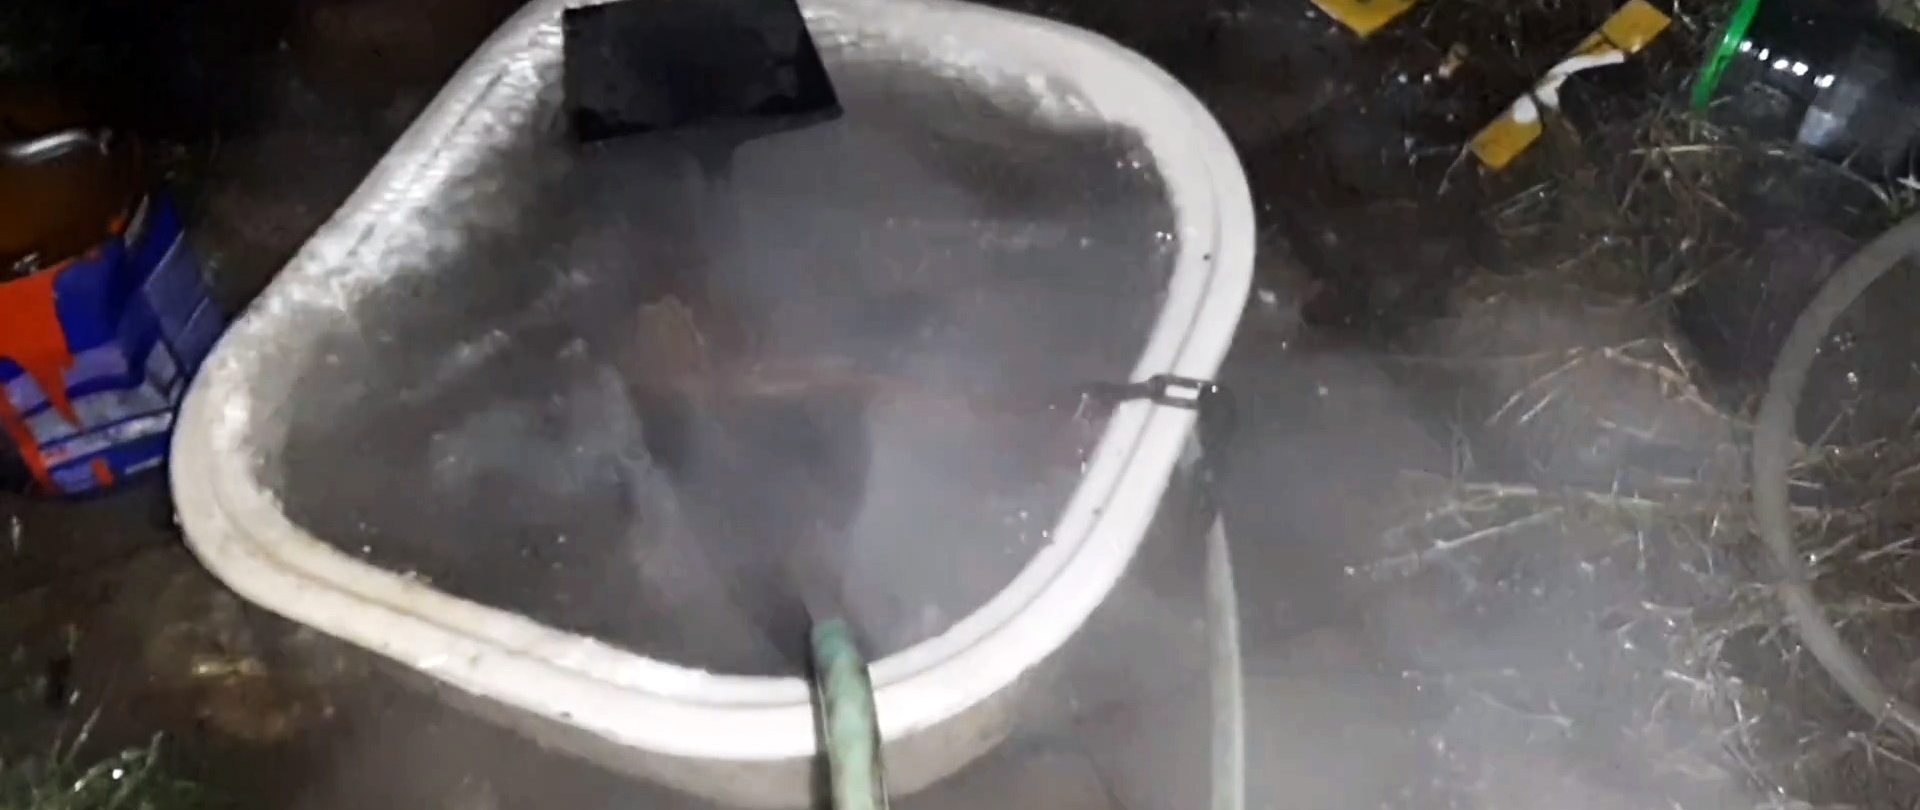
We make a hearth out of refractory bricks, build a fire, raise the temperature as much as possible and heat the anvil in it for the required time. Then we quickly lower it into a container of water, constantly adding new portions from the hose.

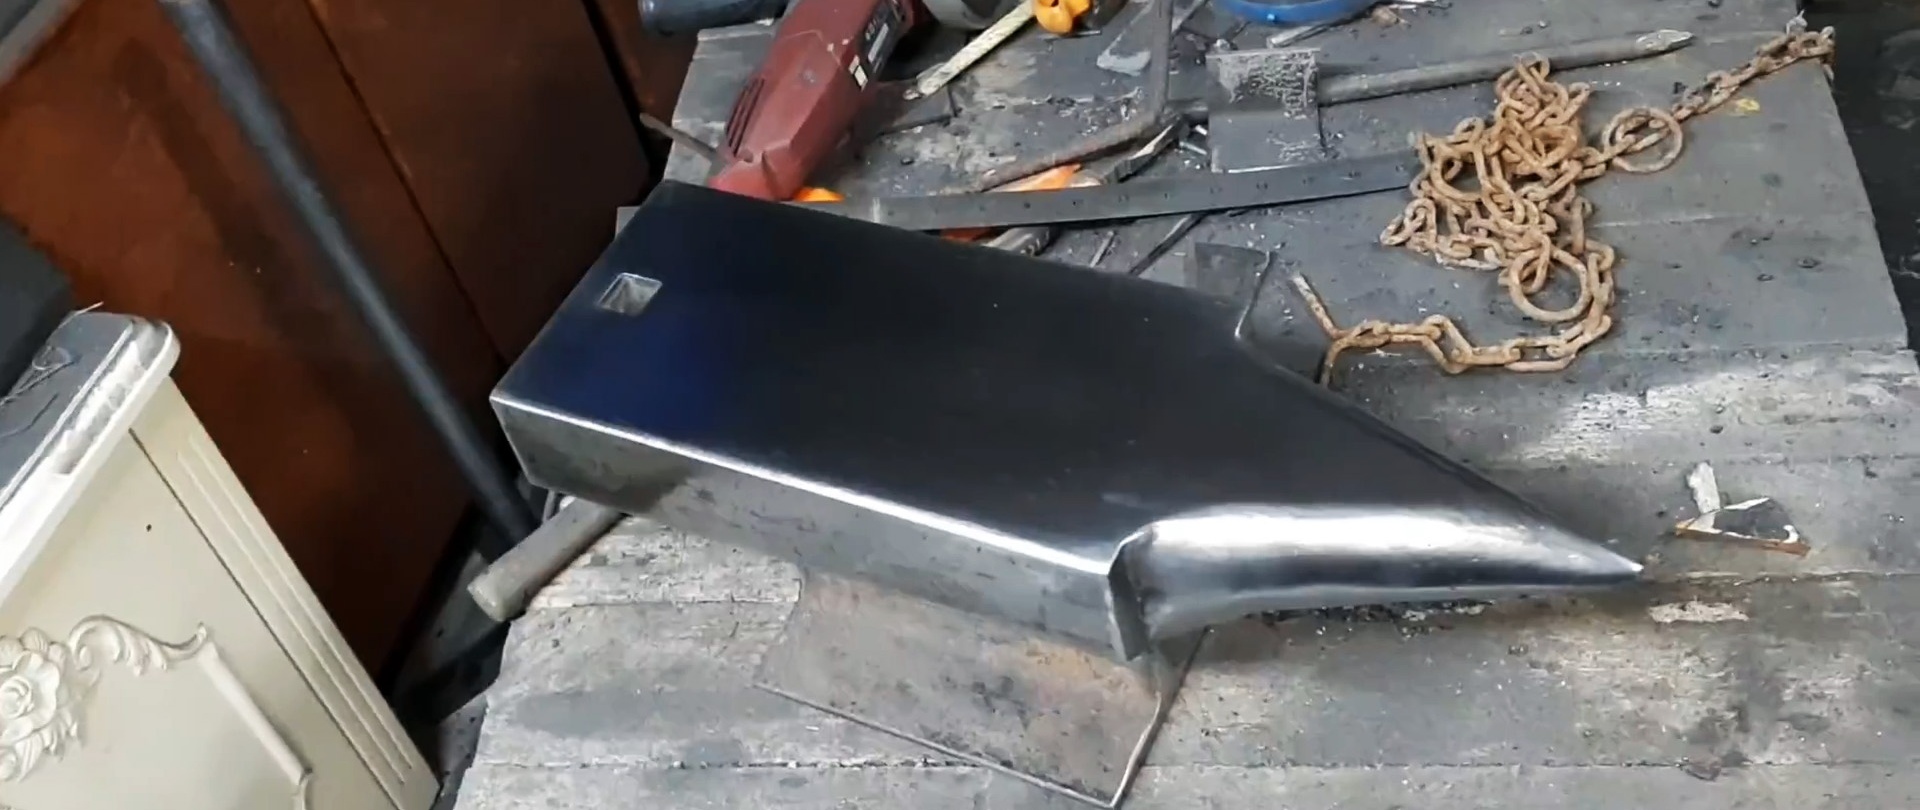
We grind the cooled anvil again, paint the supporting surfaces and the bottom of the anvil black. Our tool is ready for use.


Watch the video
A simple do-it-yourself gasoline generator made from available parts - https://enn.washerhouse.com/5565-prostoj-benzinovyj-generator-iz-dostupnyh-detalej-svoimi-rukami.html