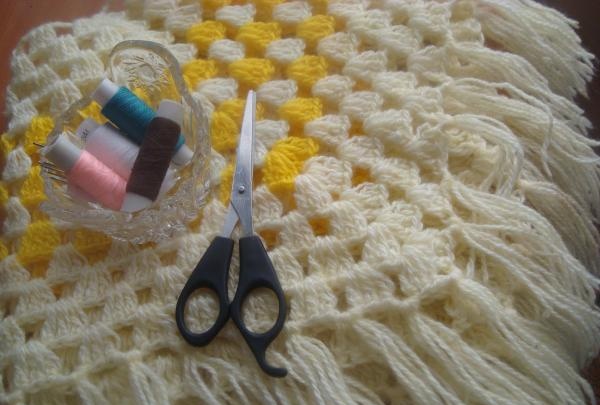
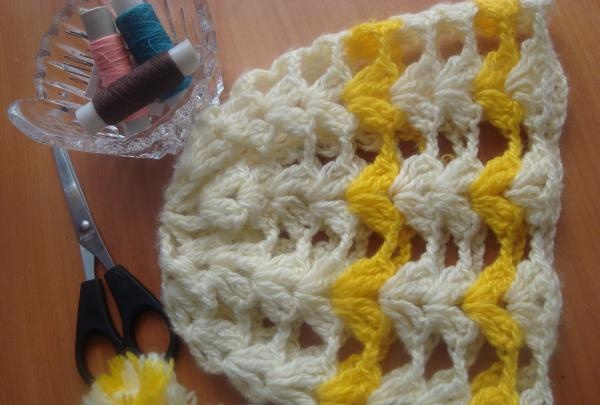
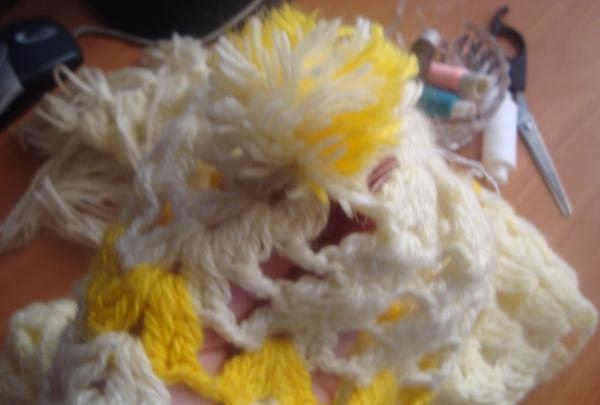
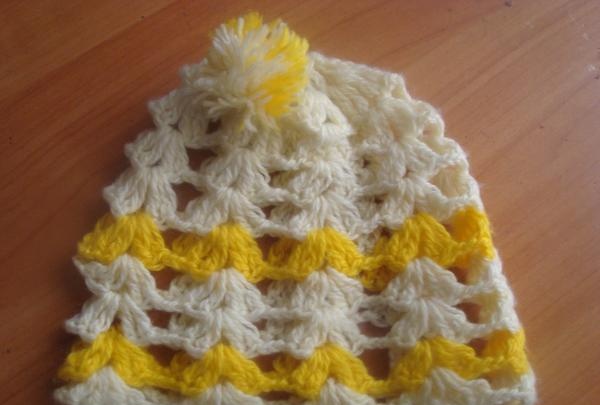
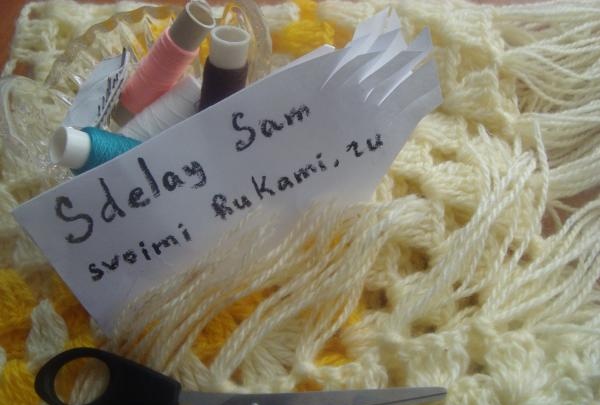
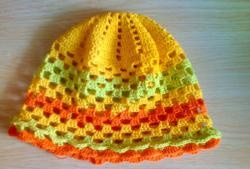
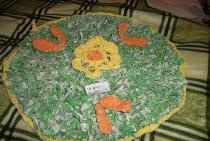
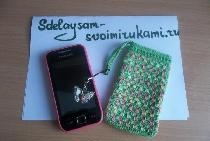
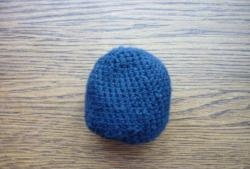
To create a new children's hat, you need: sewing thread, a needle, scissors and an old, unnecessary item. It is best to use old items with bright colors and large knitting or crochet, then the item will be more voluminous and impressive. To make the appearance of the cap bright and attractive, we choose for the base of the product the side of the old item that is less worn and faded, usually this is the back side of the back of the old item.
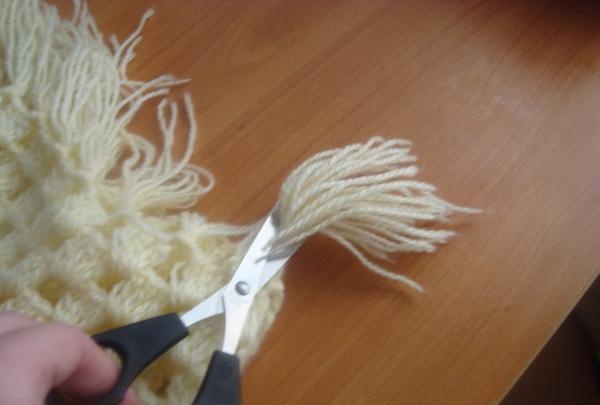
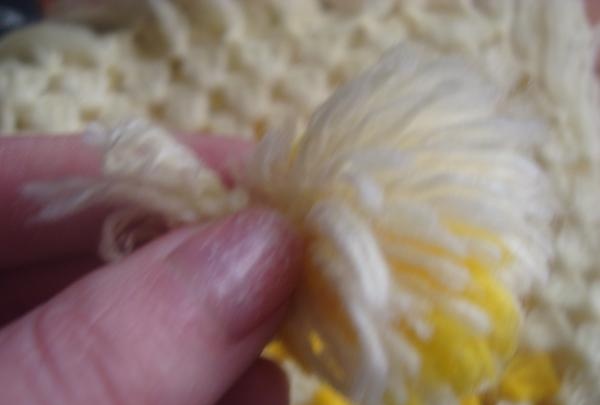
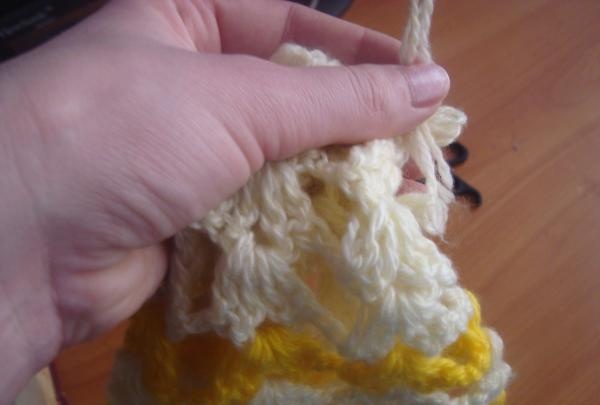
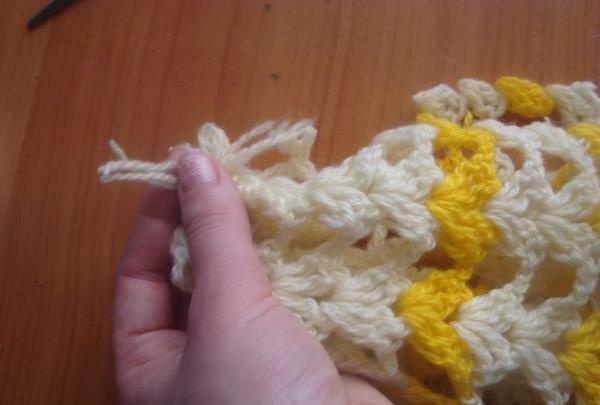
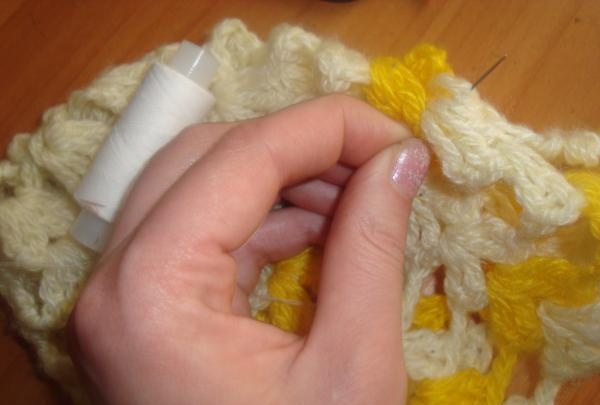
Using scissors, we cut out from it the base of the cap, semicircular in shape, usually this is done by eye, you can use a pattern, since uneven features will be hidden with a seam for processing and fastening the product. Turning the base of the cap inside out, connect the edges of the cut to each other and sew them together with thread.It is recommended to use a knotted stitch or an overlock stitch; this will prevent the edges of the cap from fraying and unraveling, it will also even out the shape of the cap and make the seam less noticeable and comfortable to wear. Otherwise, if you make straight stitches, this will not securely hold the edges together, leading to the formation of unnecessary gaps in the product and loss of shape. Gather the middle and top of the cap into a bun, make sure that the edges are pressed tightly against each other and secure with thread and make a couple of stitches for strength. From fringe or loose threads from an unnecessary product, make a decoration in the form of a balloon or tassel. To do this, cut off the fringe of the color you need, you can add other threads of the same color, it depends on your imagination. Using scissors, cut off the excess edges of the threads, forming a circle shape or the length of a thread tassel. Gather the cut fringe into a tight bun, secure the ends of the fringe on one side with thread and secure with several knots. Then sew the resulting bundle to the cap from the front side so that the threads do not stick out; they should be trimmed using scissors. The chosen place for decorating the hat can be anywhere, on top, in the middle, on the edge on the side. Thus, using an unnecessary item, you get a completely new product in shape and use, without spending extra money and it takes a minimum of time.