Do it yourself
Life hacks, master classes, useful tips, recipes.
home » Electronics » Pen polarity tester
Pen polarity tester

Despite the abundance of measuring equipment, I always use a simple homemade tester made from a ballpoint pen. It allows you to instantly find out the polarity of a unit, battery, source, etc. Does not require power and is always ready to work. Auto electricians will also need this essential item in their household.

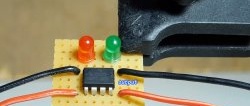
For those who are interested in logic when building circuits on Arduino, this device will be useful and will be extremely convenient for monitoring states on the board.

Pen polarity tester

Necessary materials:

Making a simple polarity tester from a pen

We disassemble the handle and take out the paste.
Pen polarity tester
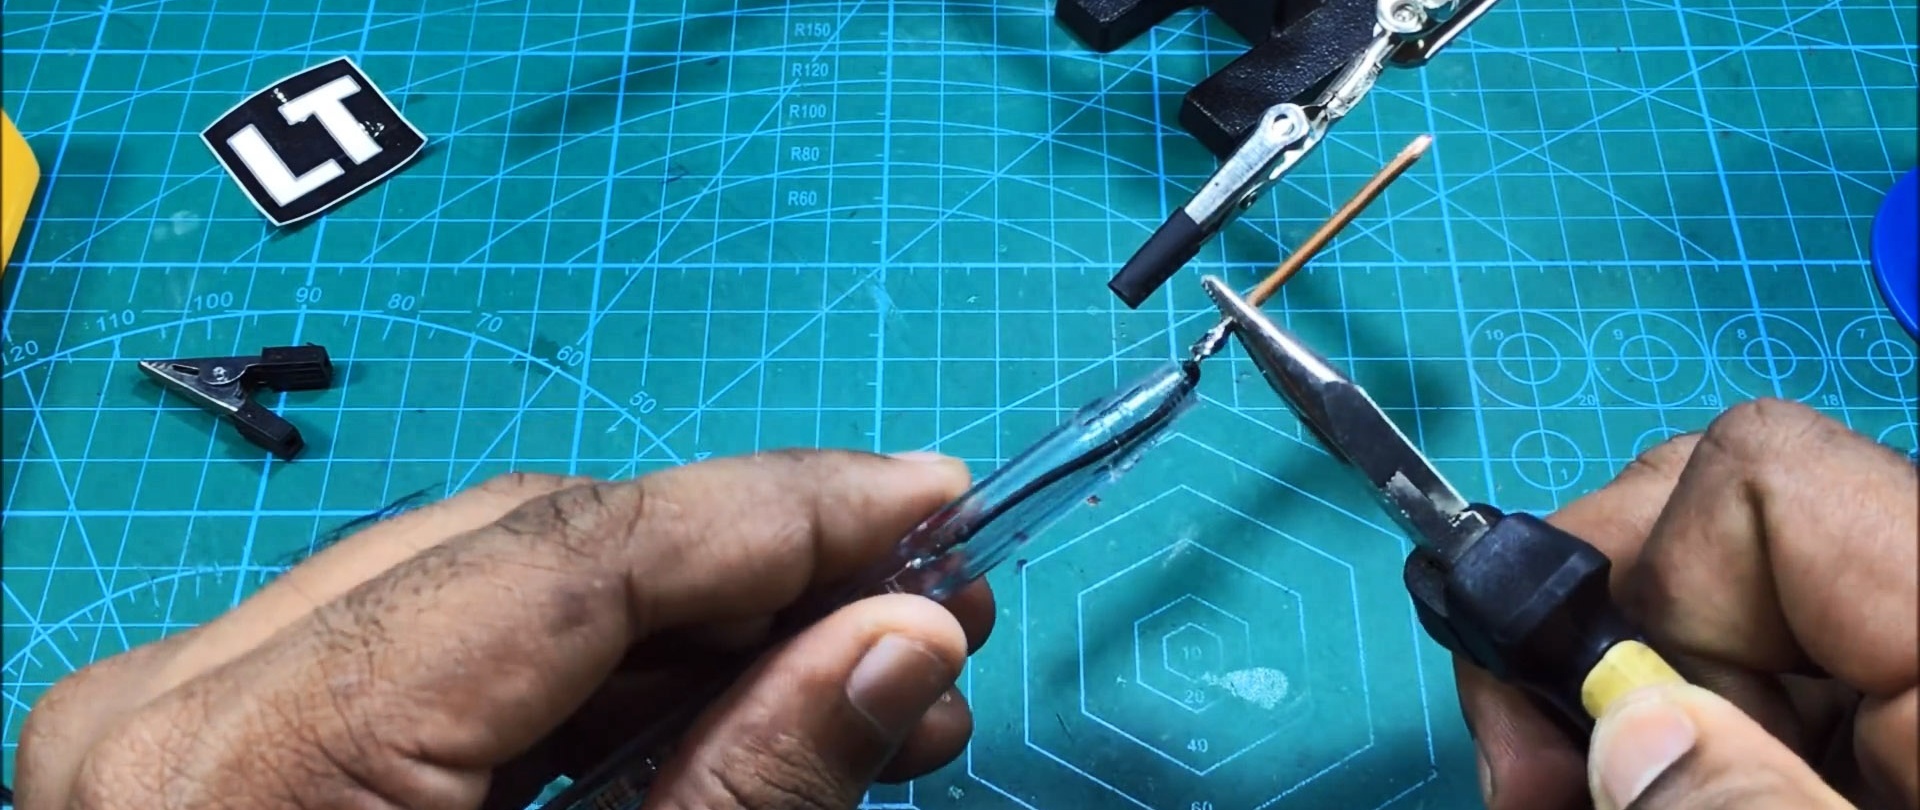
It is necessary to make a probe from a piece of copper wire. To do this, it is sharpened on one side and tinned on the other. 
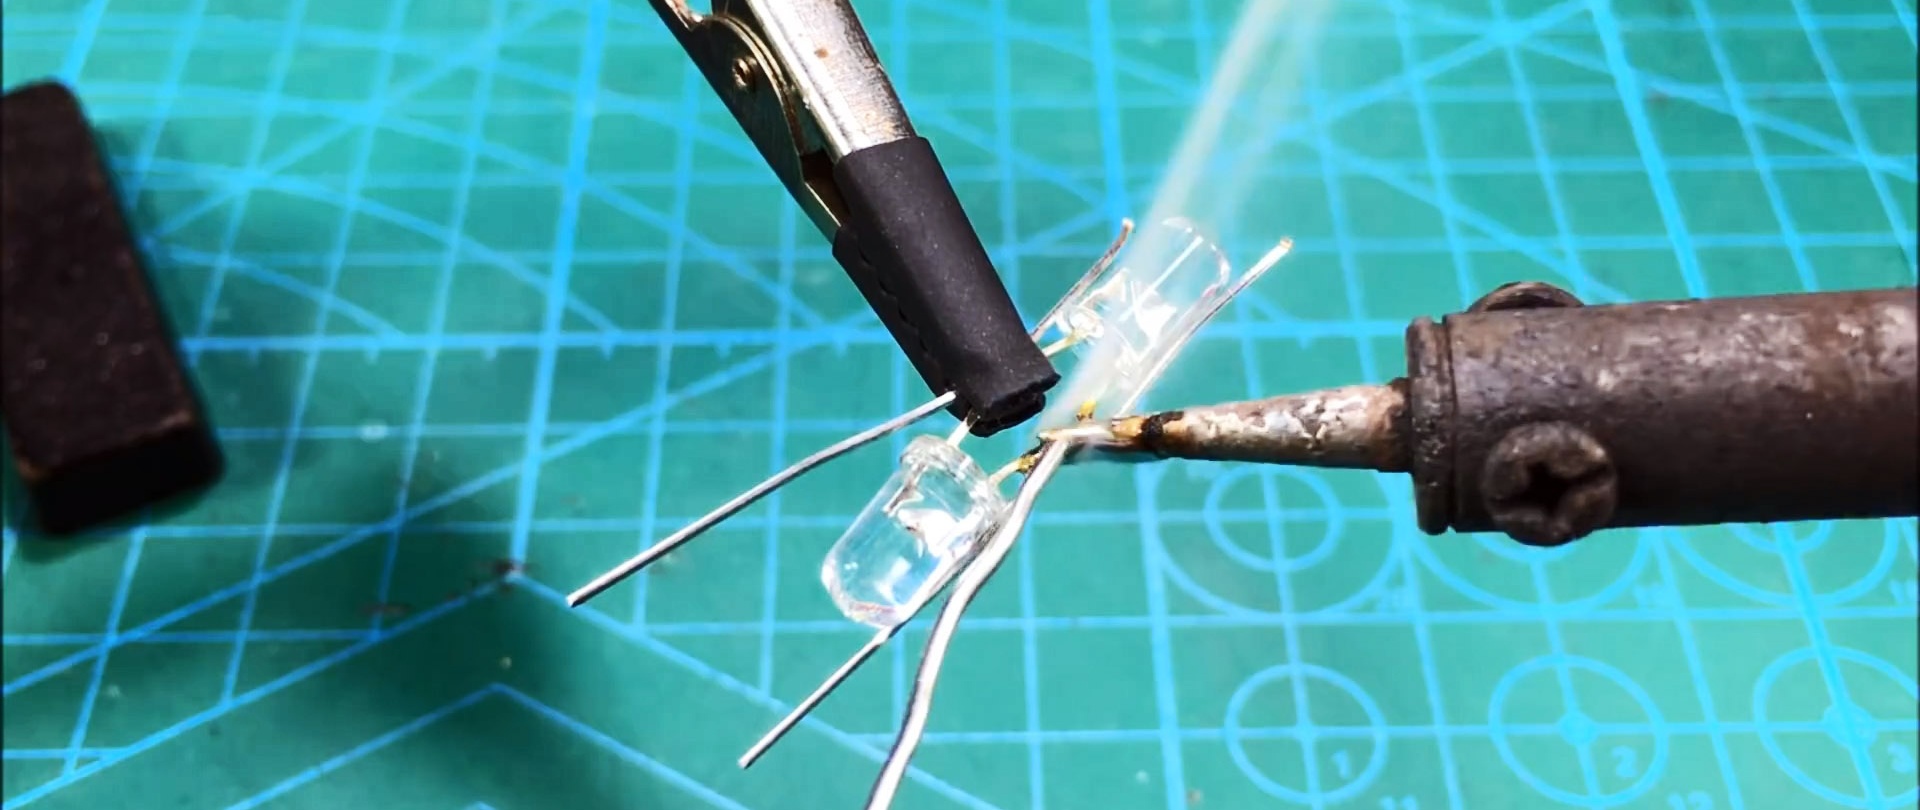
LEDs soldered to each other counter-parallel.
Pen polarity tester
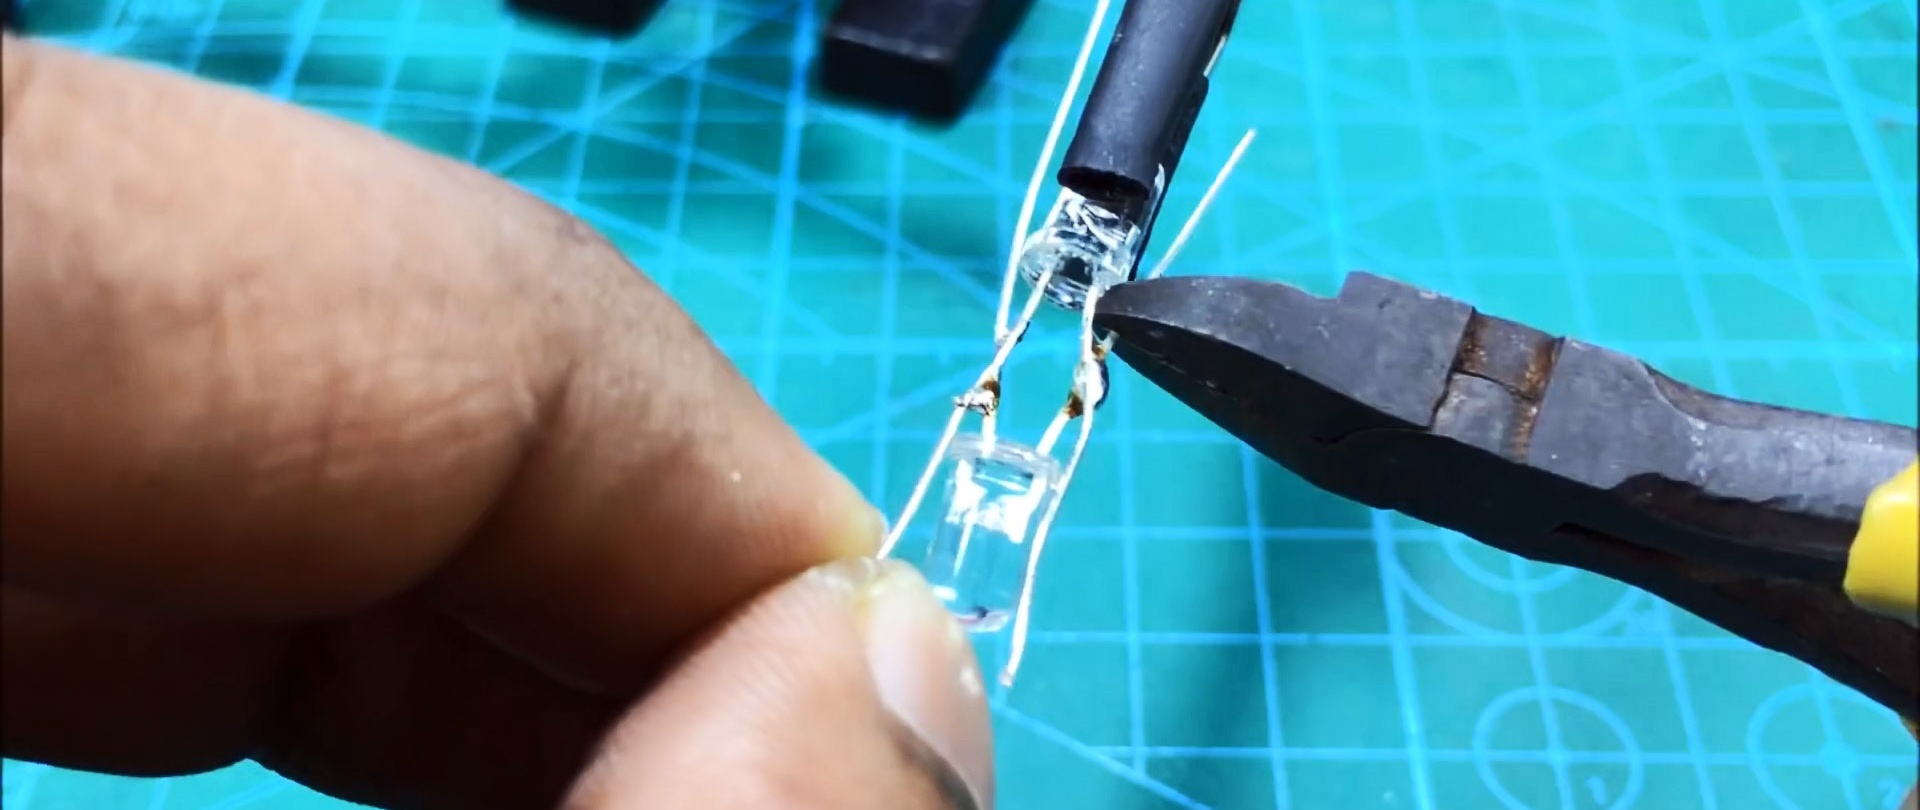
We bite off one contact at a time with wire cutters.
Pen polarity tester
Solder the probe.
Pen polarity tester
We solder a line of resistors connected in series.
Pen polarity tester
Drill a hole in the pen cap for the wire.
Pen polarity tester
We insert the wire into the cap and solder it to the resistors.
Pen polarity tester
We install the circuit in the handle. One nuance emerged: LEDs did not fit further into the middle of the body. I had to unsolder the probe and solder the extension wire.
Pen polarity tester
Solder the probe again. We fix it with a cap.
Pen polarity tester
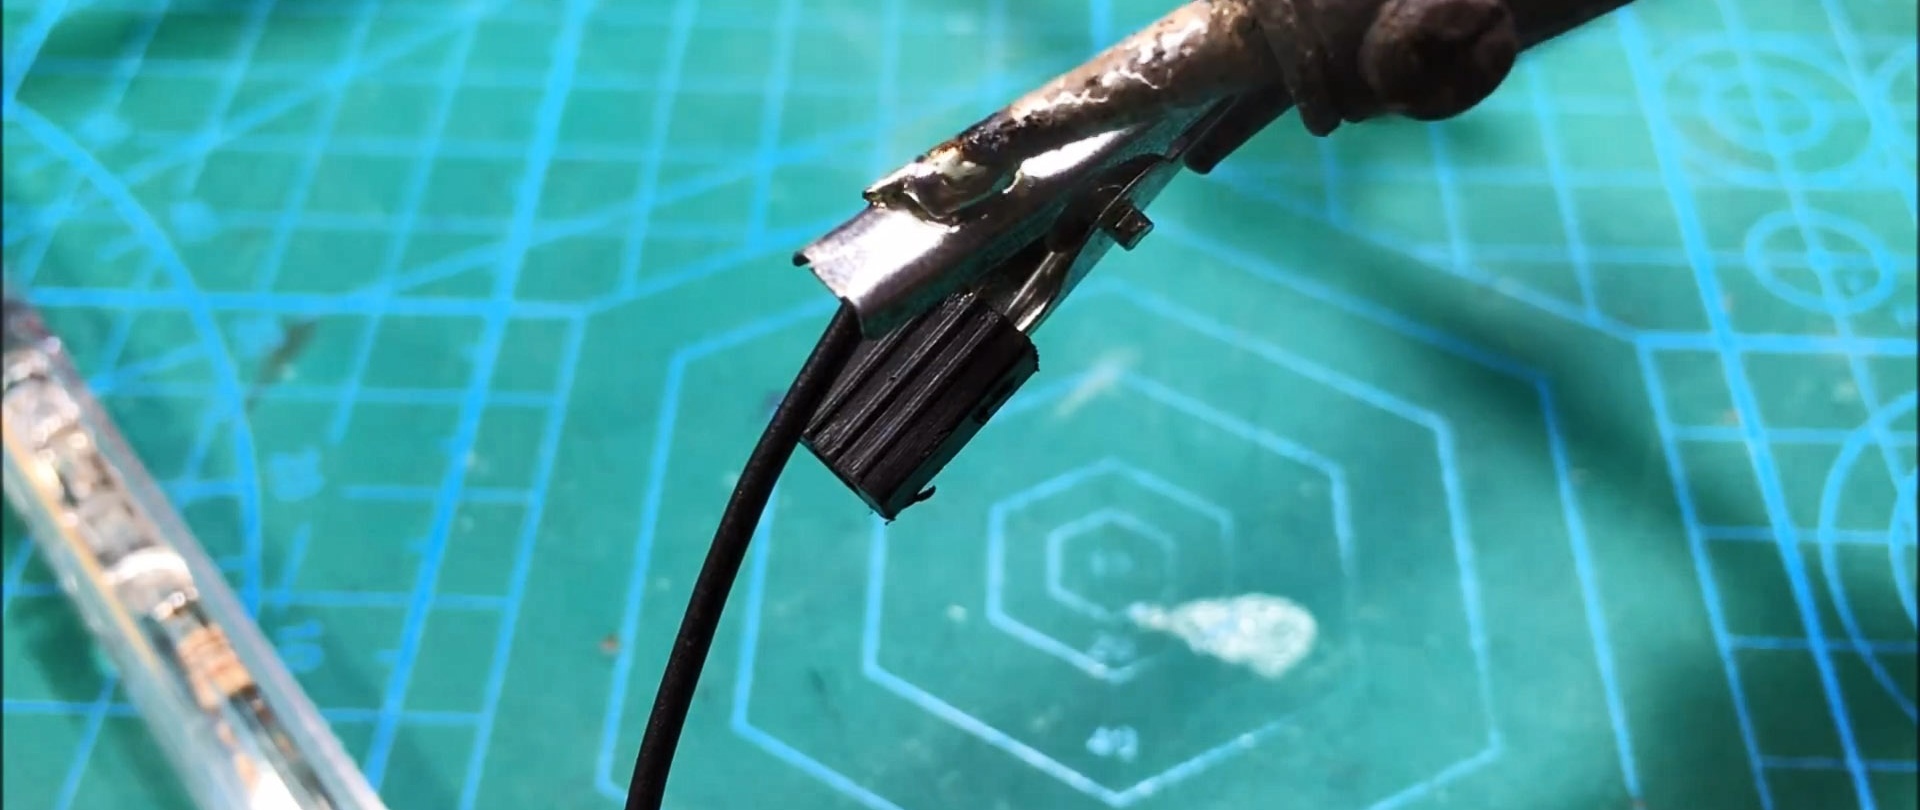
We solder an alligator clip to the second end of the wire.
Pen polarity tester
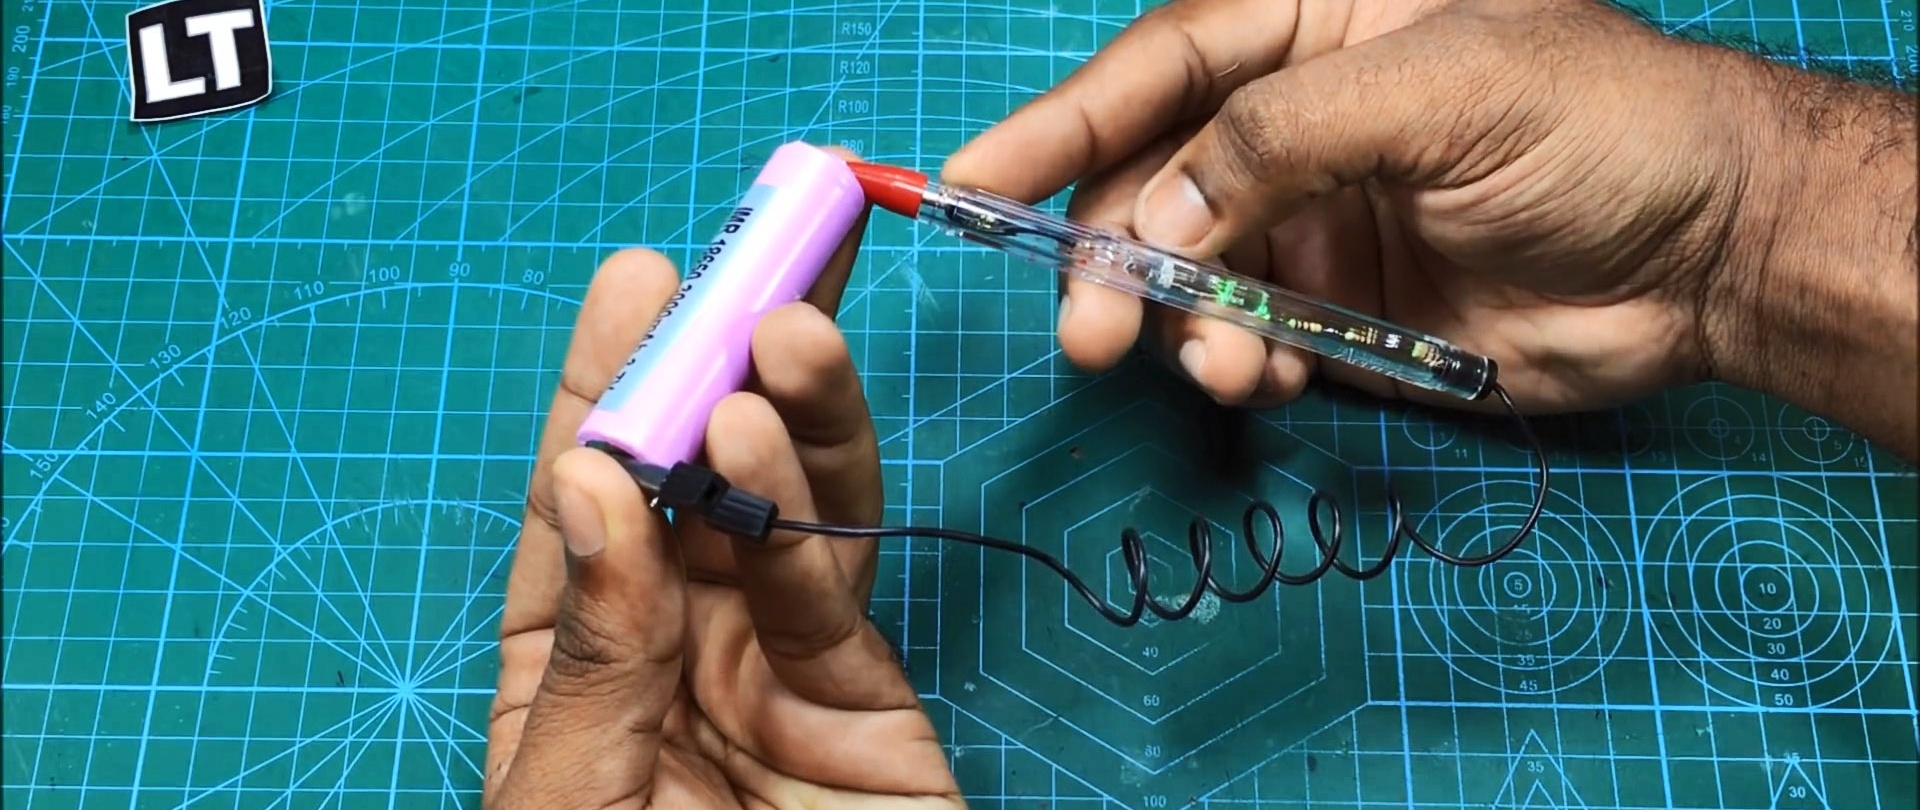
To make the tester mobile, we will make the wire spiral. To do this, we wind it onto a larger diameter and blow it with a hairdryer to fix the shape.
Pen polarity tester
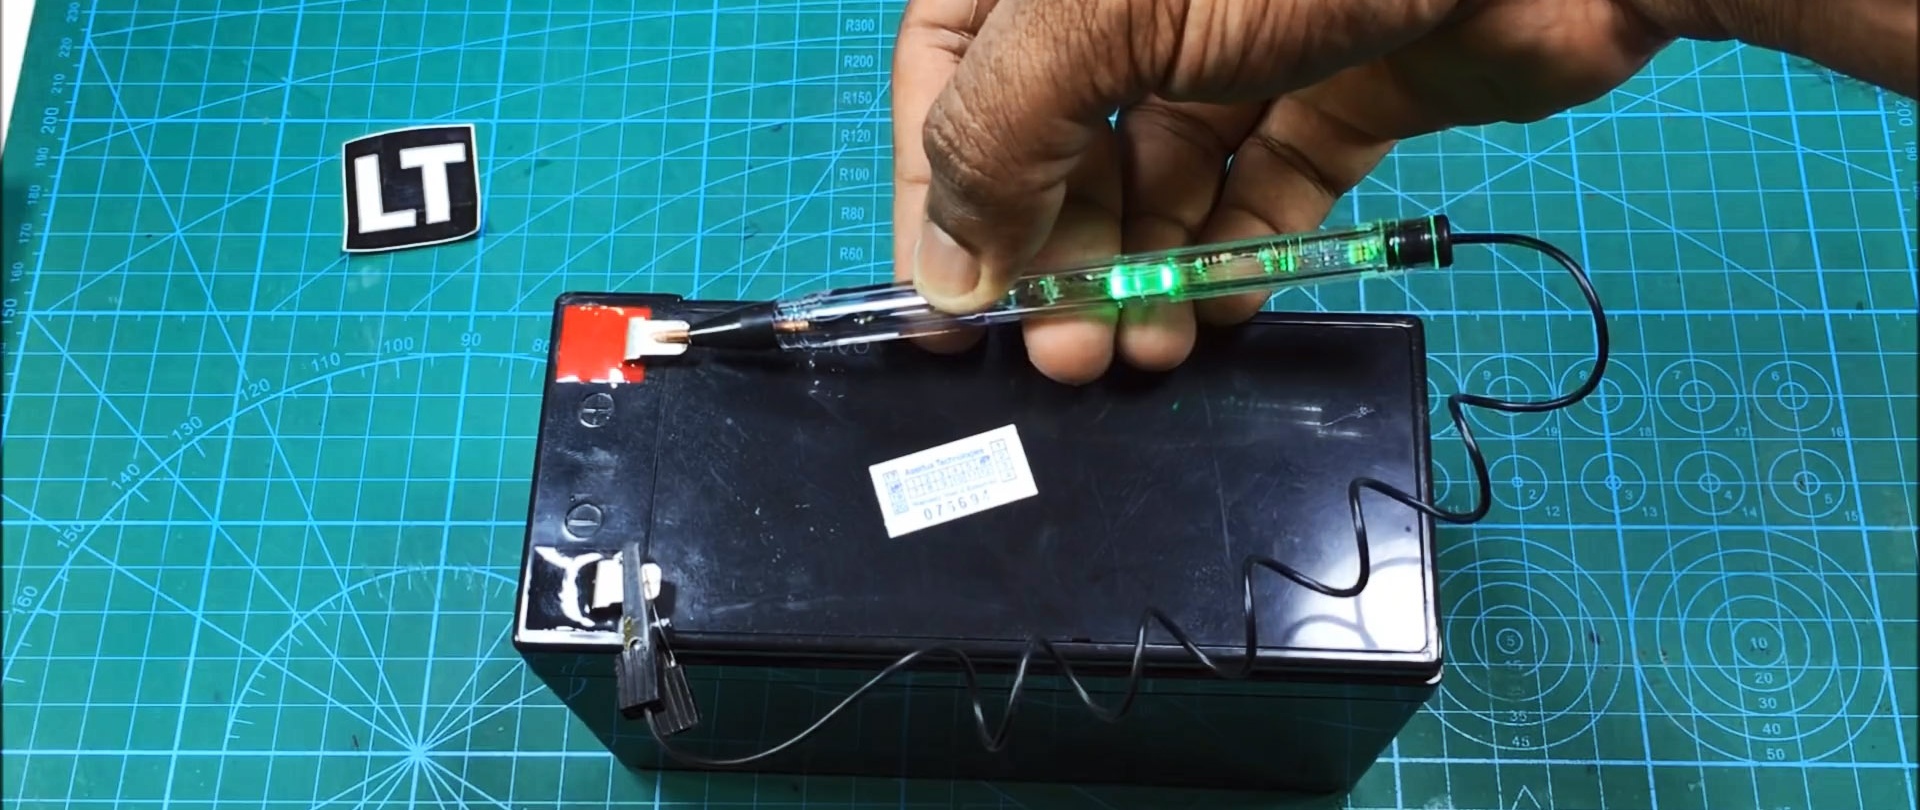
The tester is ready!
Pen polarity tester
It works very simply: If there is a plus on the sharp probe, then the green light is on Light-emitting diode.
Pen polarity tester
If it's the other way around, the light is red.
Pen polarity tester
Everything is very simple, fast and convenient.
Pen polarity tester
The tester operates free of voltage of 2-25 V. Indicates the presence of voltage and its polarity. If it is variable, then both will light up LED. It can also be used in conjunction with a battery for testing diodes and LEDs.

Watch the video

A simple tester for checking radio elements - https://enn.washerhouse.com/3933-prostoy-tester-dlya-proverki-radioelementov.html
come back
Comment
  • bowtiesmilelaughingblushsmileyrelaxed relaxedsmirk
    heart_eyeskissing_heartkissing_closed_eyesflushedrelievedsatisfiedgrin
    winkstuck_out_tongue_winking_eyestuck_out_tongue_closed_eyesgrinningkissingstuck_out_tonguesleeping
    worriedfrowninganguishedopen_mouthgrimacingconfusedhushed
    expressionlessunamusedsweat_smilesweatdisappointed_relievedwearypassive
    disappointedconfoundedfearfulcold_sweatperseverecrysob
    joyastonishedscreamtired_faceangryragetriumph
    sleepyyummasksunglassesdizzy_faceimpsmiling_imp
    neutral_faceno_mouthinnocent
5+two=
Comments (1)
  1. Basil
    #1 Basil Guests 12 March 2021 16:37
    2
    This thing burned out after 10 minutes. after. manufacturing. You need to solder 2 wires for each diode, in extreme cases zener diodes.

How to make liquid plastic glue with your own hands

Repair Cannot Throw Away. Or how to fix an uneven hem in a knitted T-shirt | Do it yourself

Sewn dolls | Do it yourself

We sew a summer sundress for a girl | Do it yourself

«Do it yourself - with your own hands» - a site of interesting homemade products made from scrap materials and items at home. Step-by-step master classes with photos and descriptions, technologies, life hacks - everything a real master or just a craftsman needs for needlework. Crafts of any complexity, a large selection of directions and ideas for creativity.

We recommend reading

Washing machine error codes