I needed to test a large number of LED products. Almost everything used separate LEDs. Some can be checked with a multimeter. But lately, more and more, there are several LEDs in one. In this case multimeter lacks. Because the voltage drop across the LED is greater than the voltage output by the multimeter. To do this, I decided to assemble an attachment for the meter.

Details
To make the console you will need only two components. Power supply and resistor. I'll tell you about resistor calculations later.

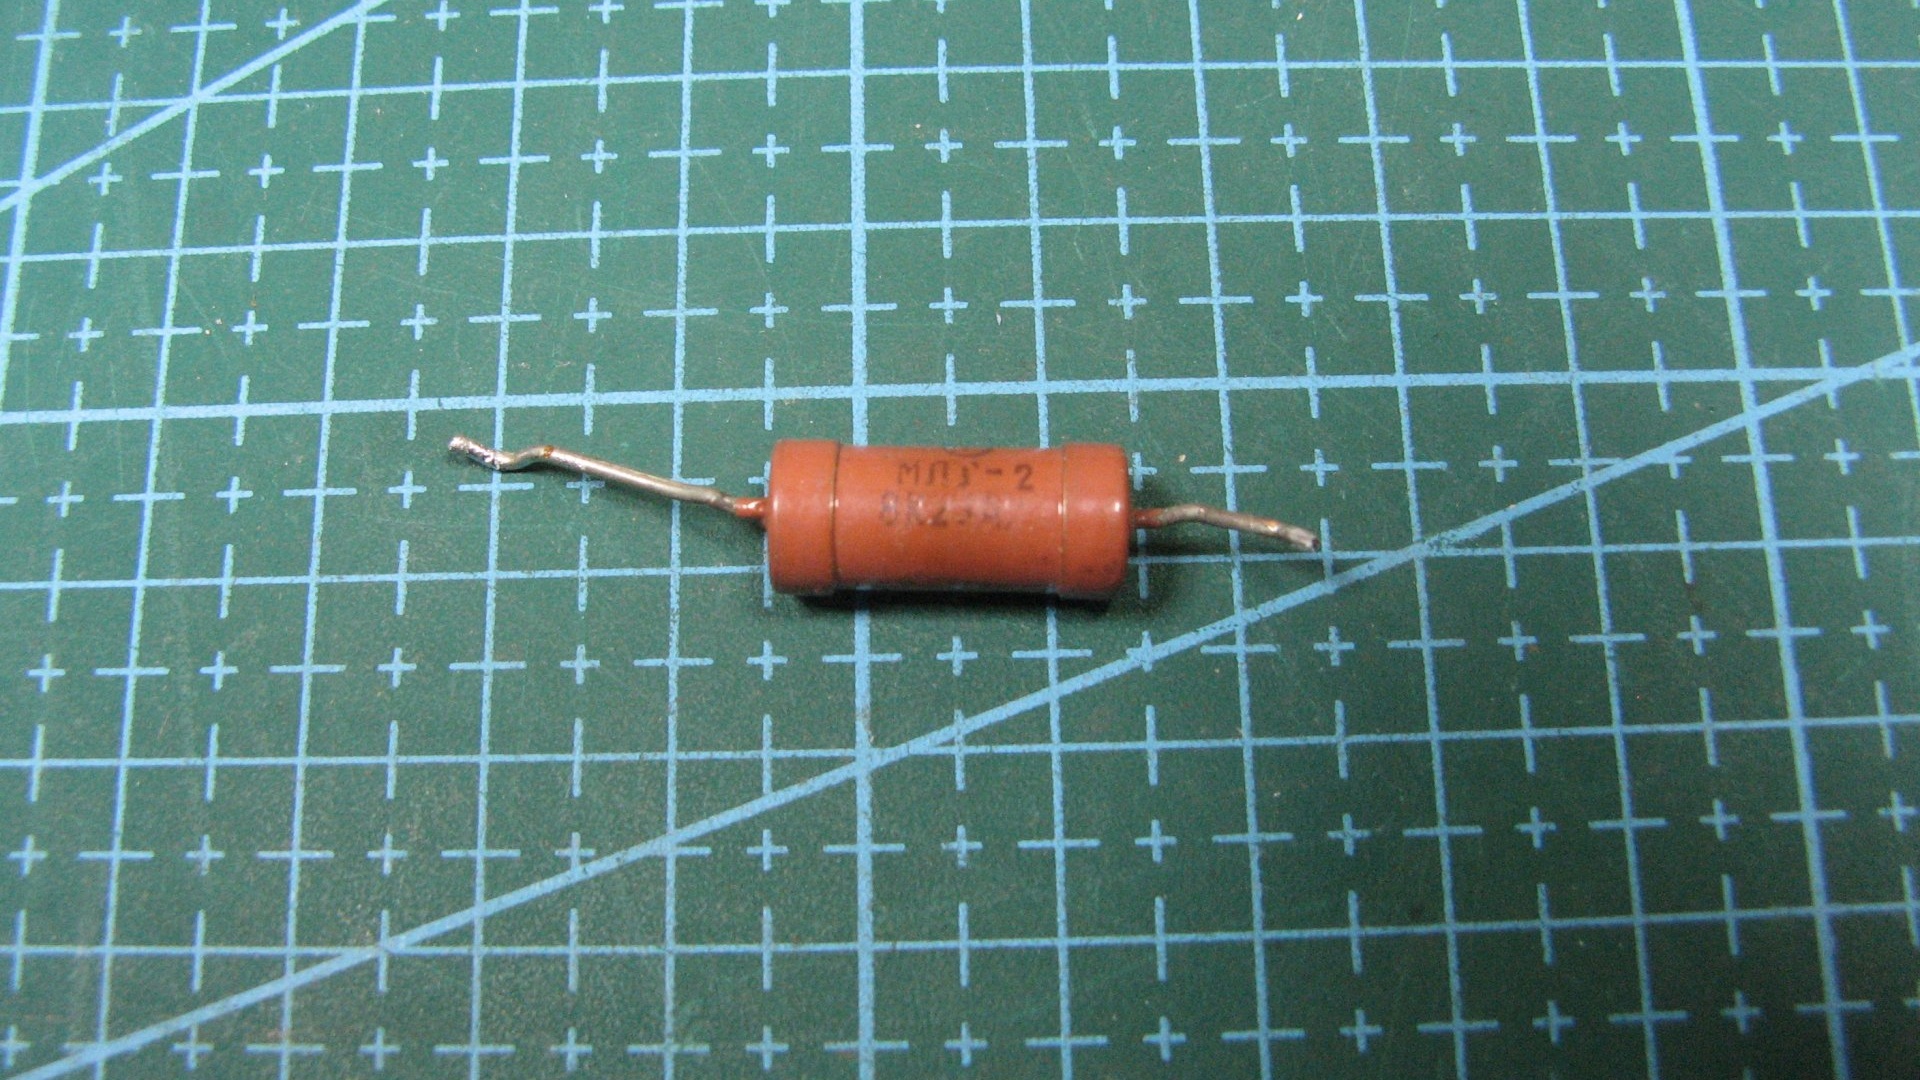
I took the resistor 8.2 kOhm, with a power of 2 Watts. You can also use 0.5 W, which is what I did next - http://alii.pub/5h6ouv
Making a simple multimeter attachment
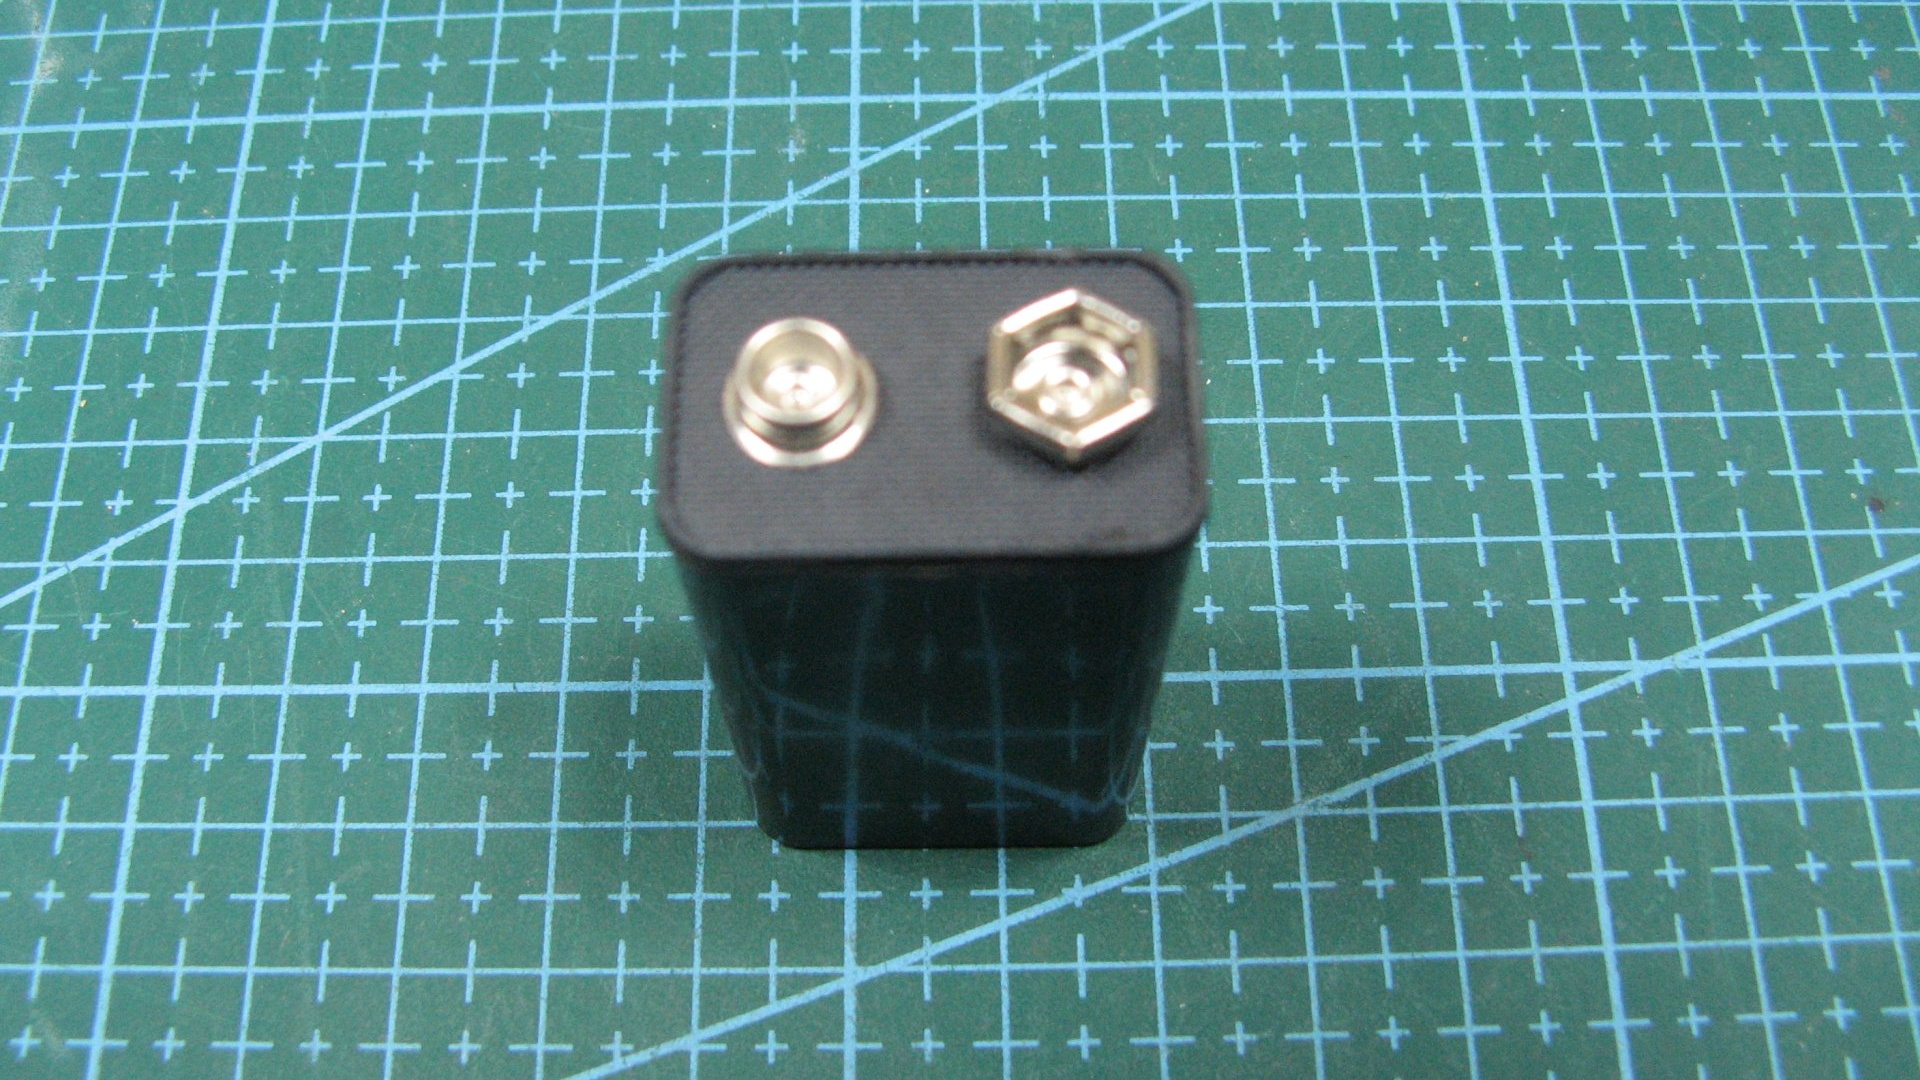
The structure can also be assembled by hanging installation. I don't like unfinished structures. To do this, I will install a resistor in the case. As a case, I have a “Krona” type battery, or rather a casing without filling.
To connect the set-top box to the multimeter, I will take the sockets from the ШР connector.

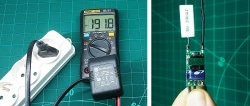
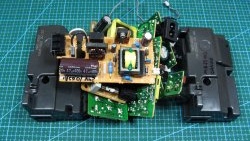
I will power the console from a 42 volt power supply. Printer power supply. Another one can be used.With my version and an 8.2 kOhm resistor, the short-circuit current is only 5 mA. If the power supply is for a different voltage, then it’s easy to calculate. Divide the power supply voltage by the current. For example: 90 V/0.005 A=18000 Ohm.

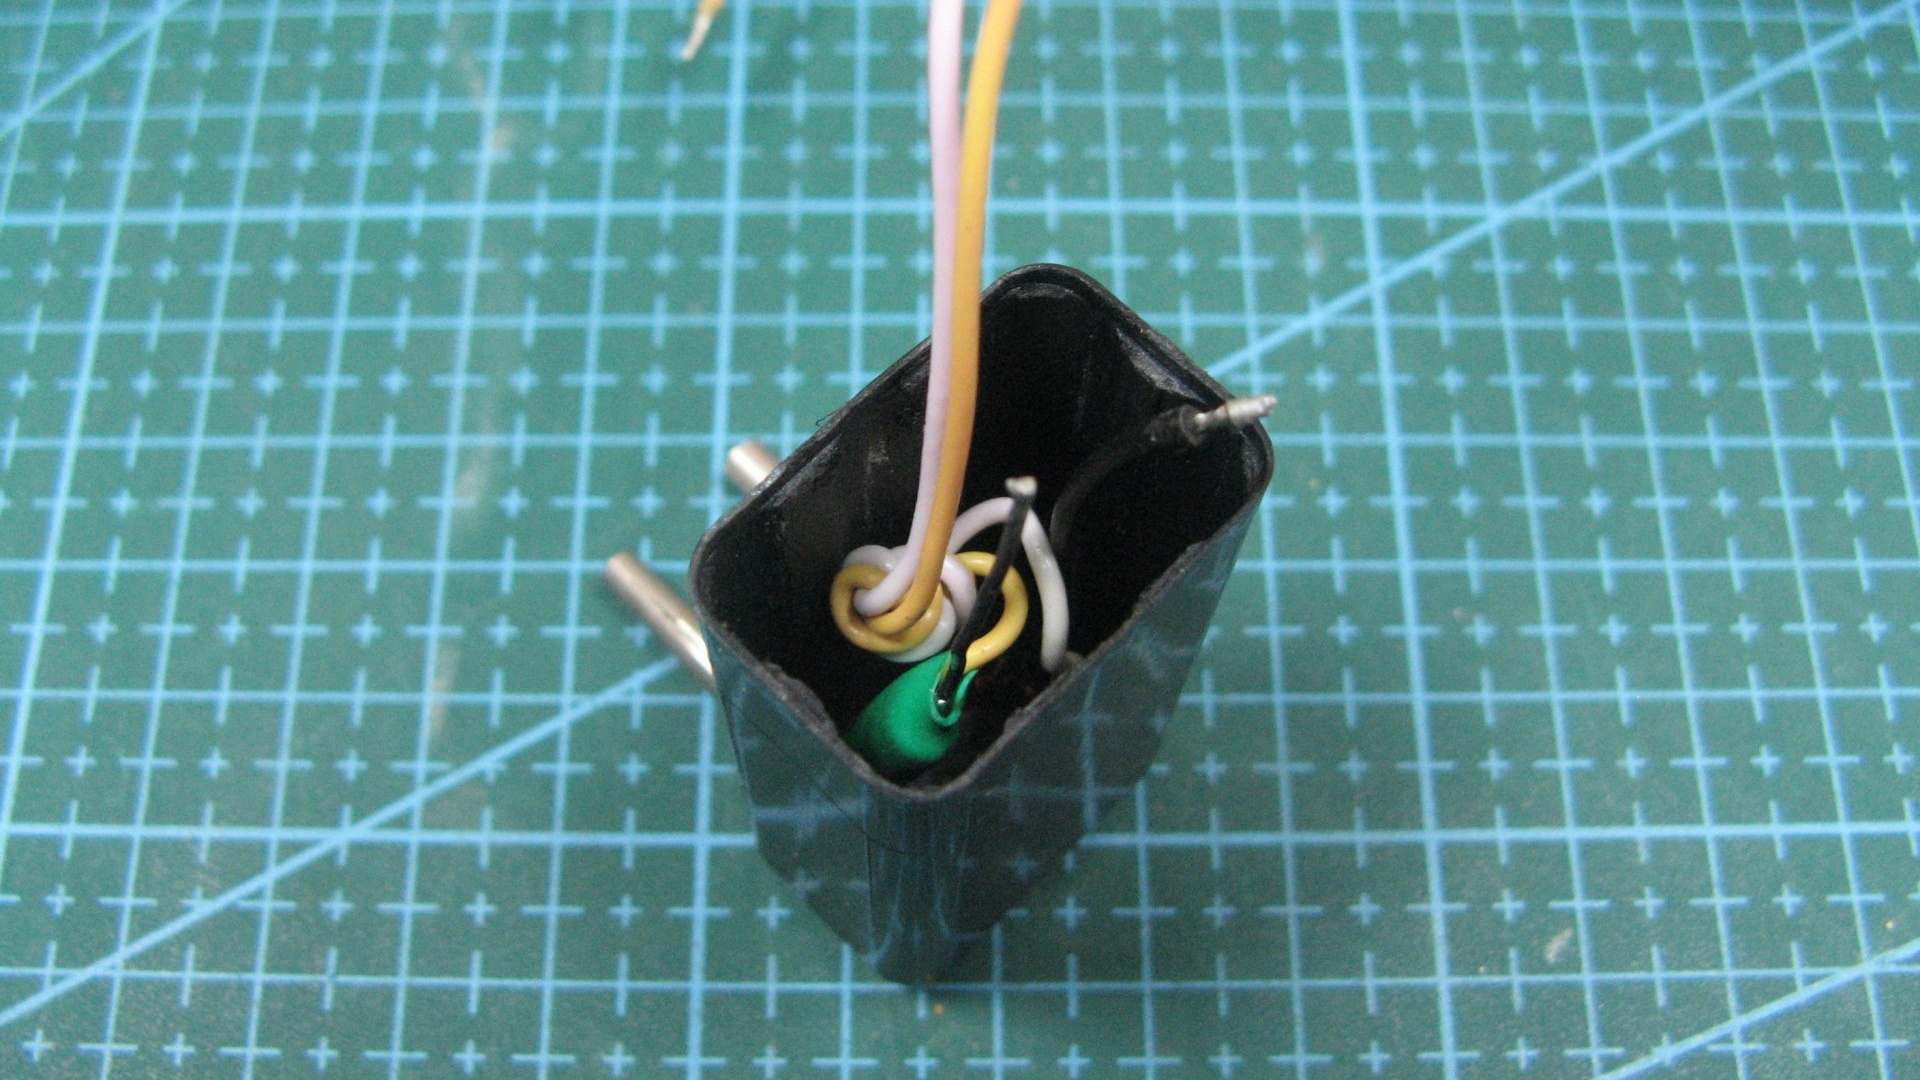
Now we need to install our resistor into the case. I attach the SR connector sockets to the body and fill them with epoxy glue. I took a smaller resistor; it didn’t fit at 2 W. I soldered wires and a resistor to the sockets. The resistor was hidden in a heat-shrinkable tube.
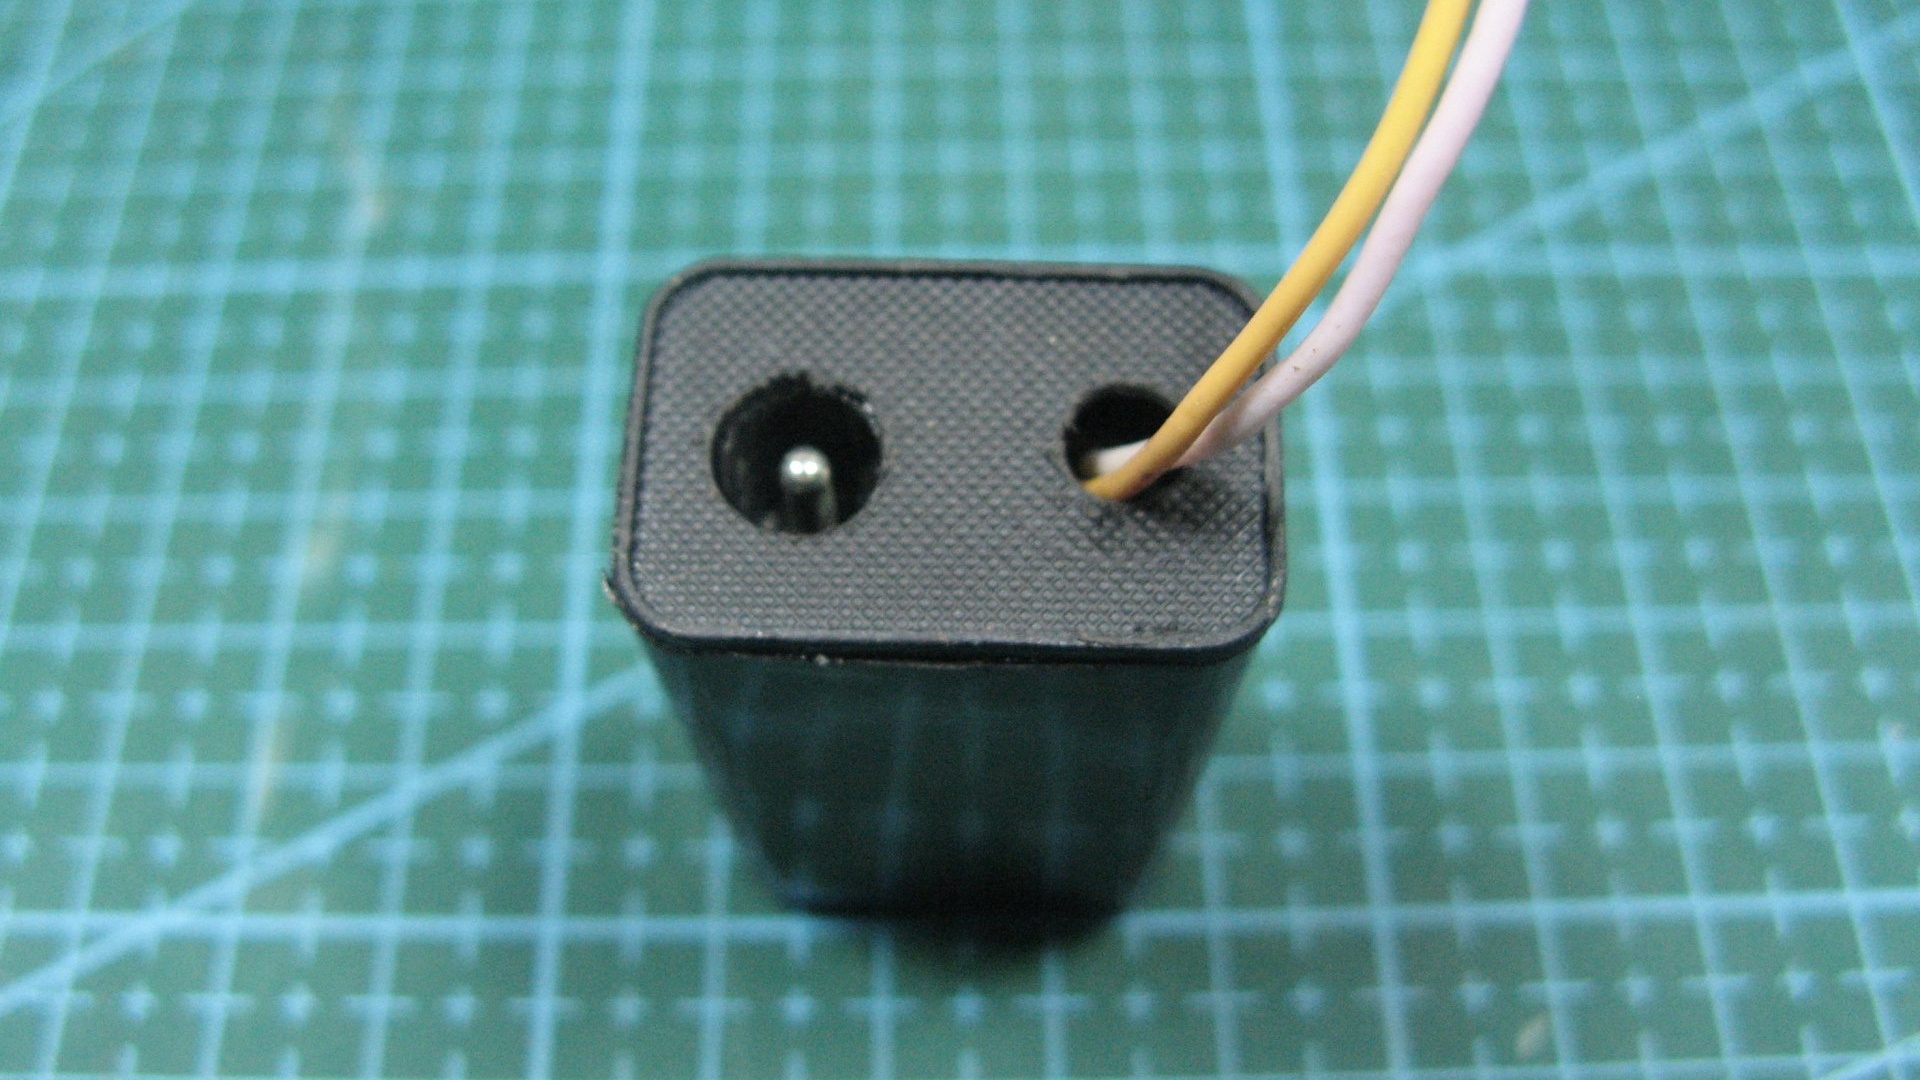
I glue the connector for connecting the power supply onto the housing cover. I also run the wires to check. LEDs.

I glue the lid to the body.
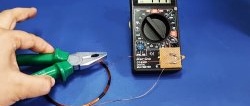
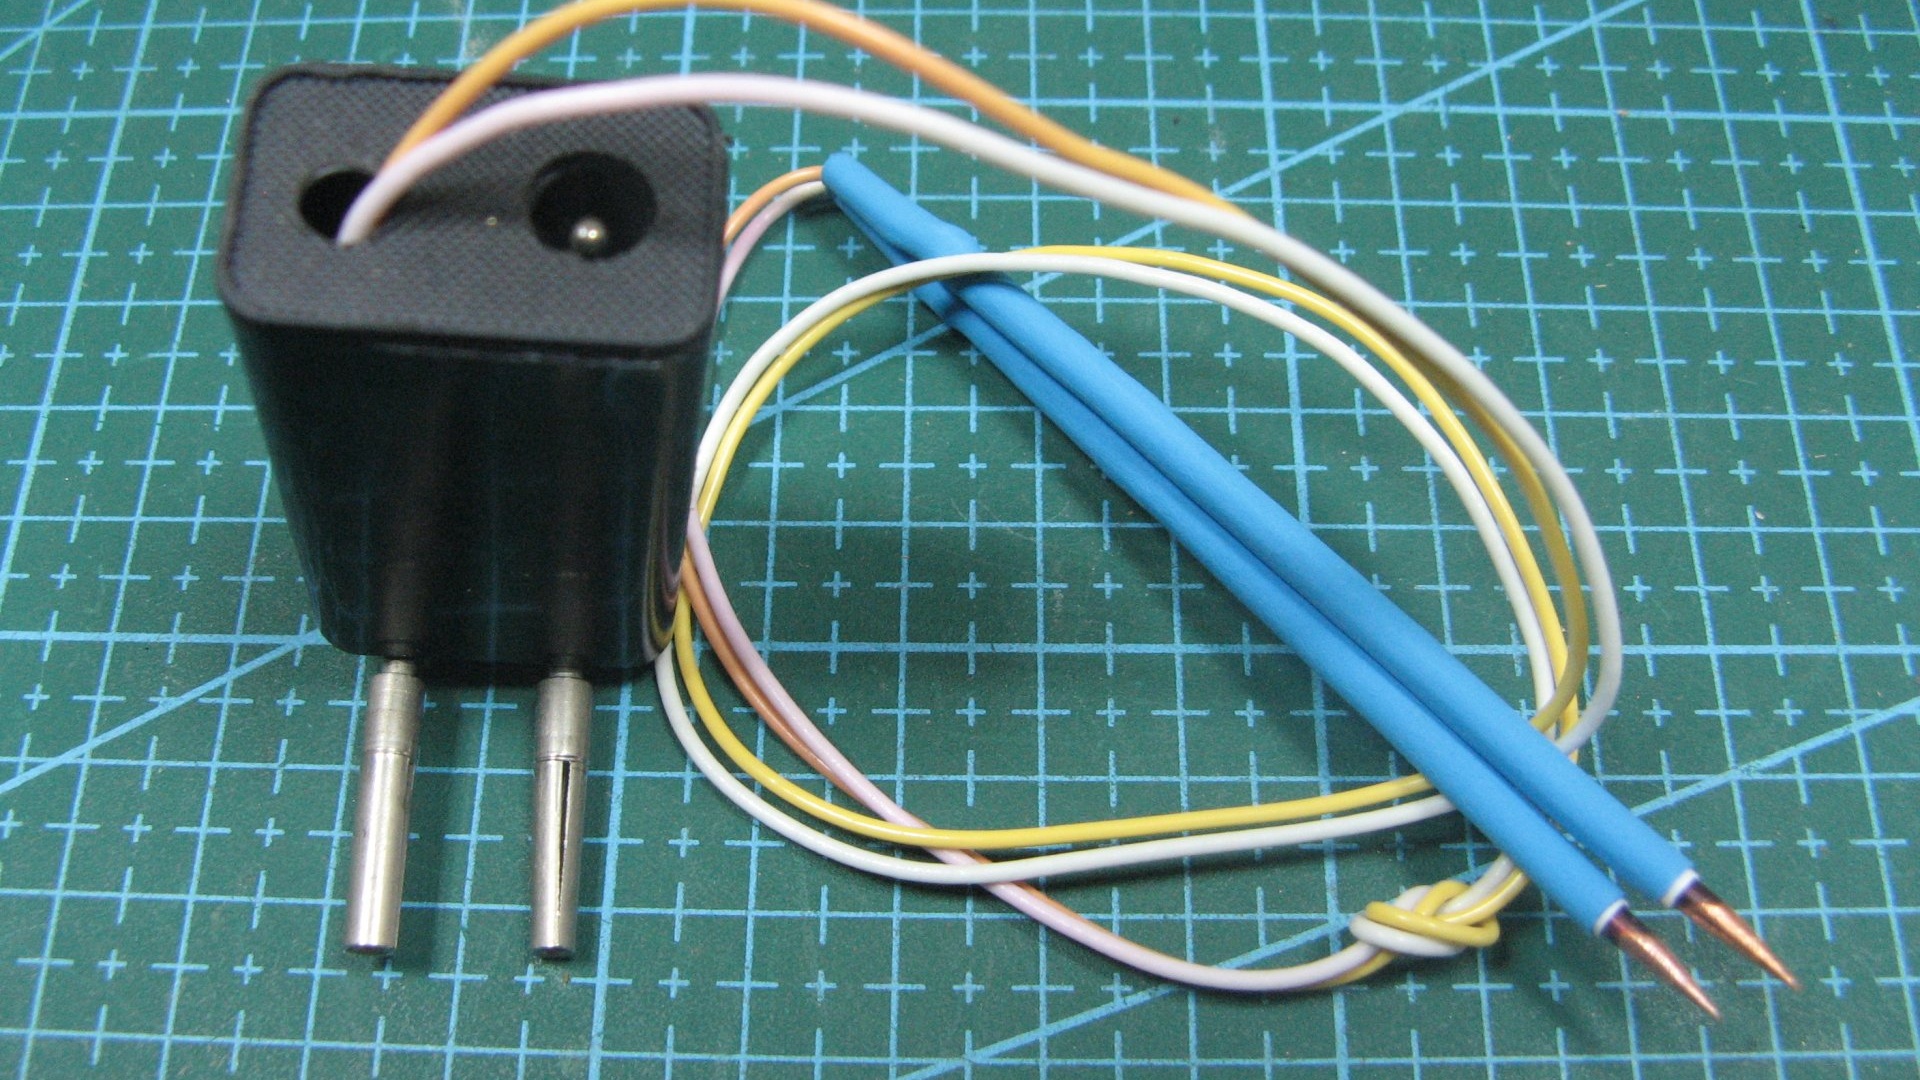
For convenient checking, probes are needed. I made them from 2 mm copper wire. For convenience, of course, I sharpened it. I soldered the wires and insulated them with heat shrink tubing.

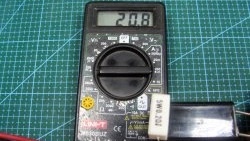
I connect to multimeter console. The power supply is attached to the console. A wire with a connector was soldered to the block.
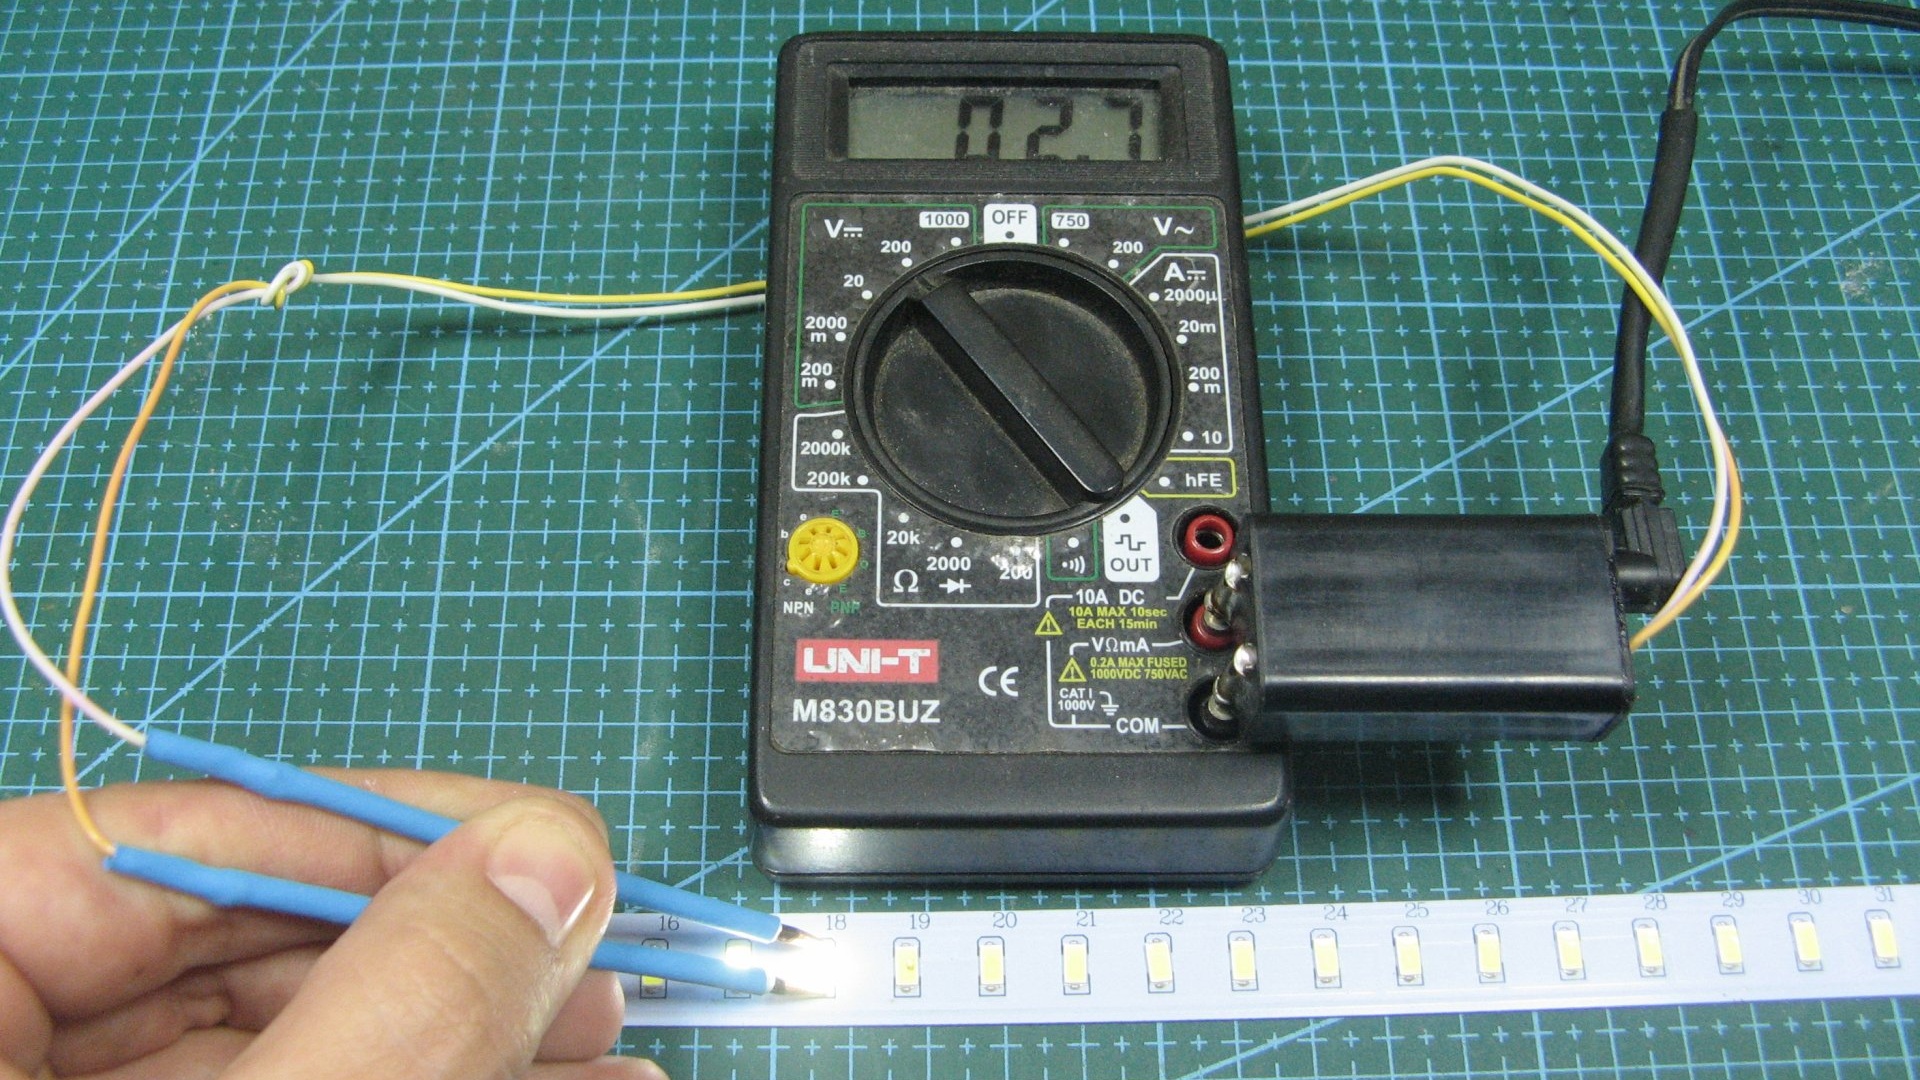
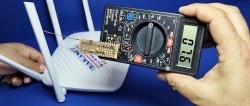
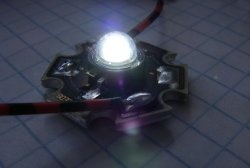
Let's take the test subject Light-emitting diode and check the drop voltage on it. Multimeter shows 2.7 Volts. We connect to series-connected LEDs.

In general, I got such a console. It can check zener diodes and connect them in reverse polarity. Plus prefixes to the minus of the zener diode and minus prefixes to the plus of the zener diode. See the diagram above.

Cool multimeters on AliExpress with a discount - http://alii.pub/62t1zq
Watch the video
3 attachments to expand functionality multimeter - https://enn.washerhouse.com/8614-3-pristavki-dlja-rashirnija-funkcionala-multimetra.html