If a small stream flows or a ditch is laid near a house or summer cottage, then the free energy of the water flow can be used to illuminate the room or power small current consumers. This does not require special knowledge or skills.

Will need
Materials:
- profile square pipe;
- seal for 75 mm PVC pipes;
- PVC sheet;
- superglue 502 and liquid plastic;
- wooden blocks and boards;
- rolling bearings;
- studs, bolts, nuts, washers and screws;
- toothed discs are different;
- flange bearings;
- electric motor;
- transmission chains, etc.
High-quality and durable drills on AliExpress at a discount - http://alii.pub/5zwmxz
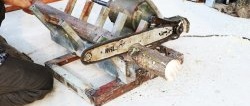
Tools: pendulum saw for metal, welding machine, scissors, gas torch or hair dryer, drilling machine, drill, etc.
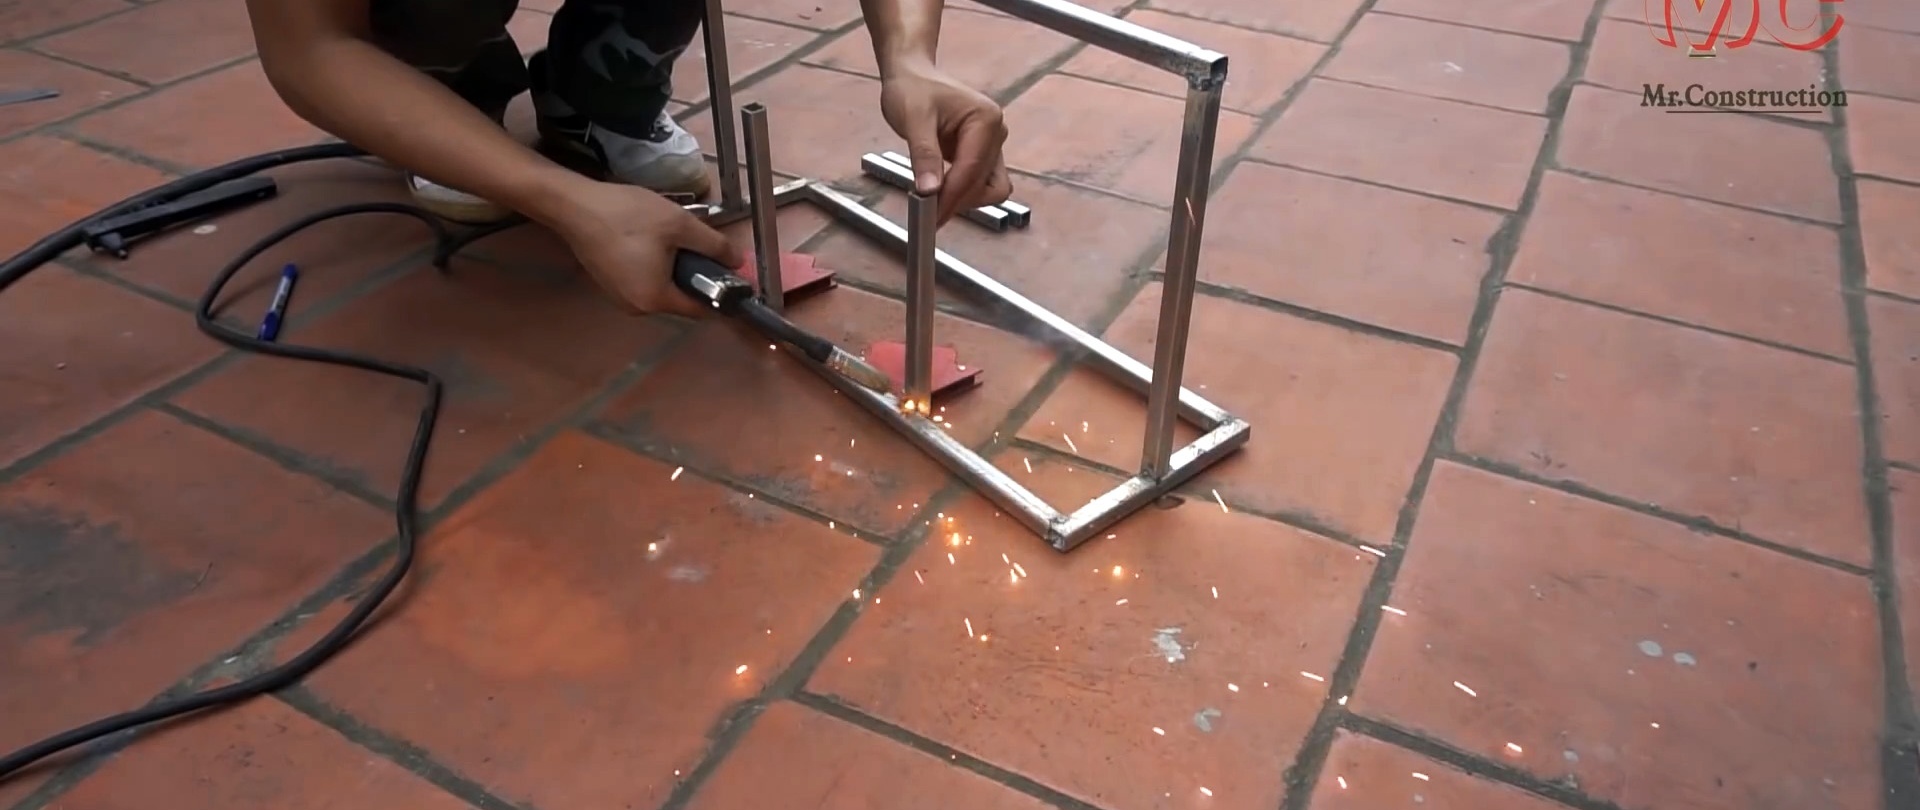
The process of manufacturing a mini-hydroelectric power station on a mountain stream or ditch
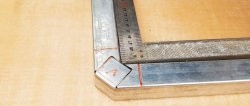
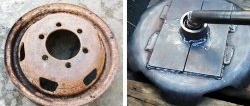
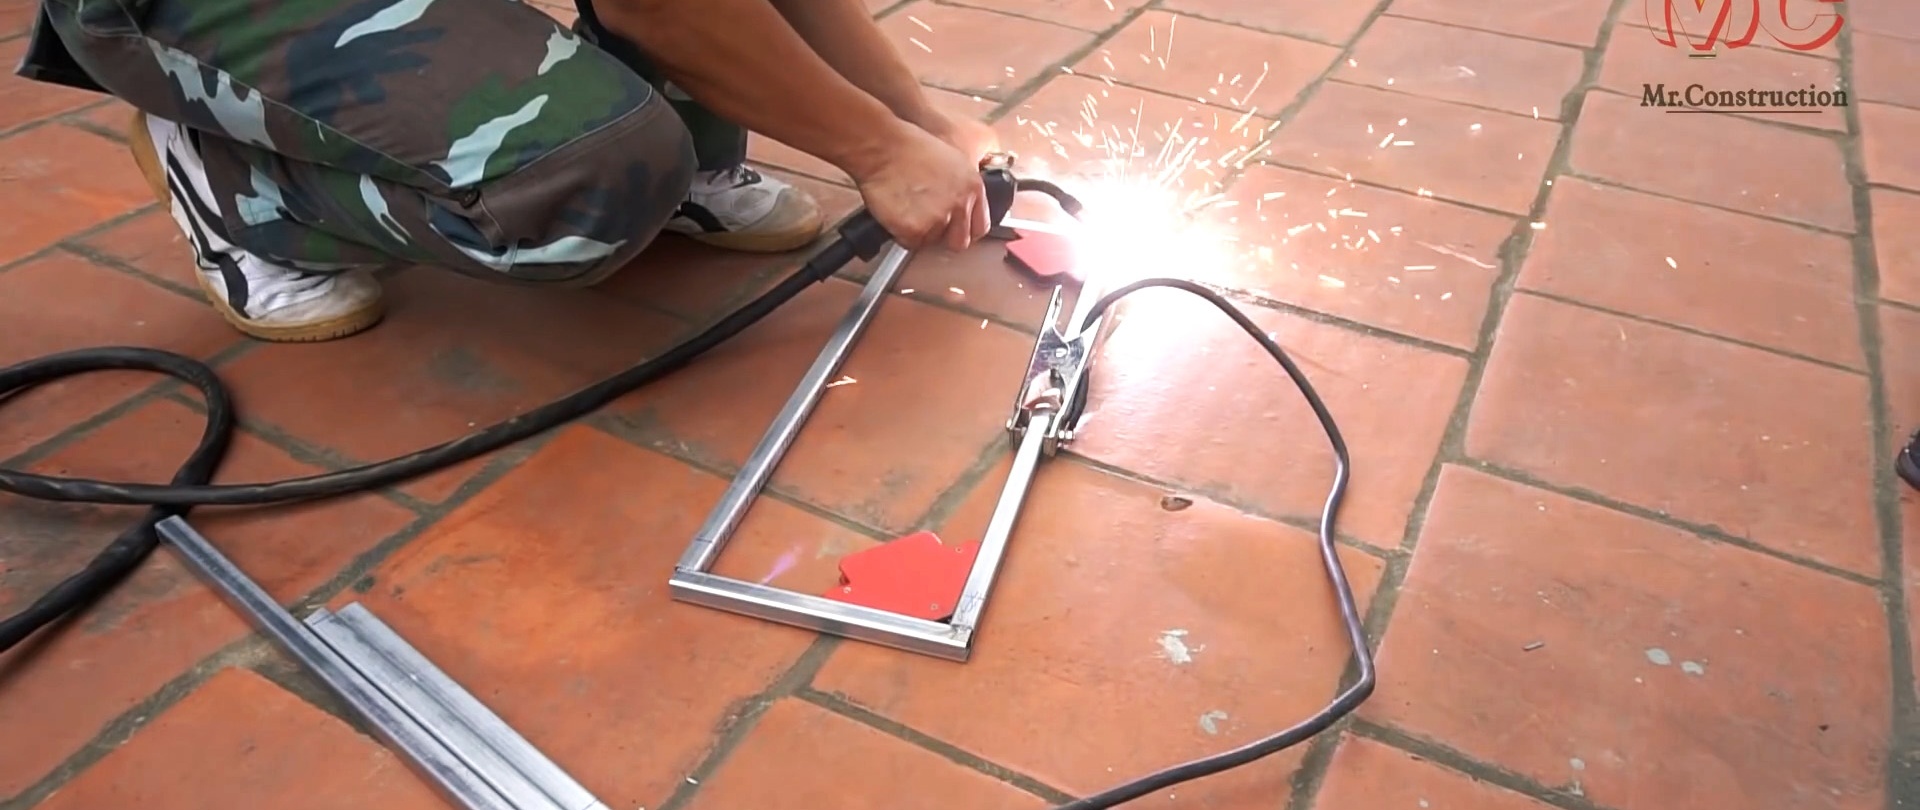
We cut blanks from a profile square pipe and make the frame using a semi-automatic welding machine. We assemble a seal for PVC pipes with a diameter of 75 mm.
Welding electrodes for general purposes on AliExpress at a discount - http://alii.pub/606j2h
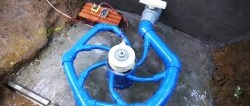
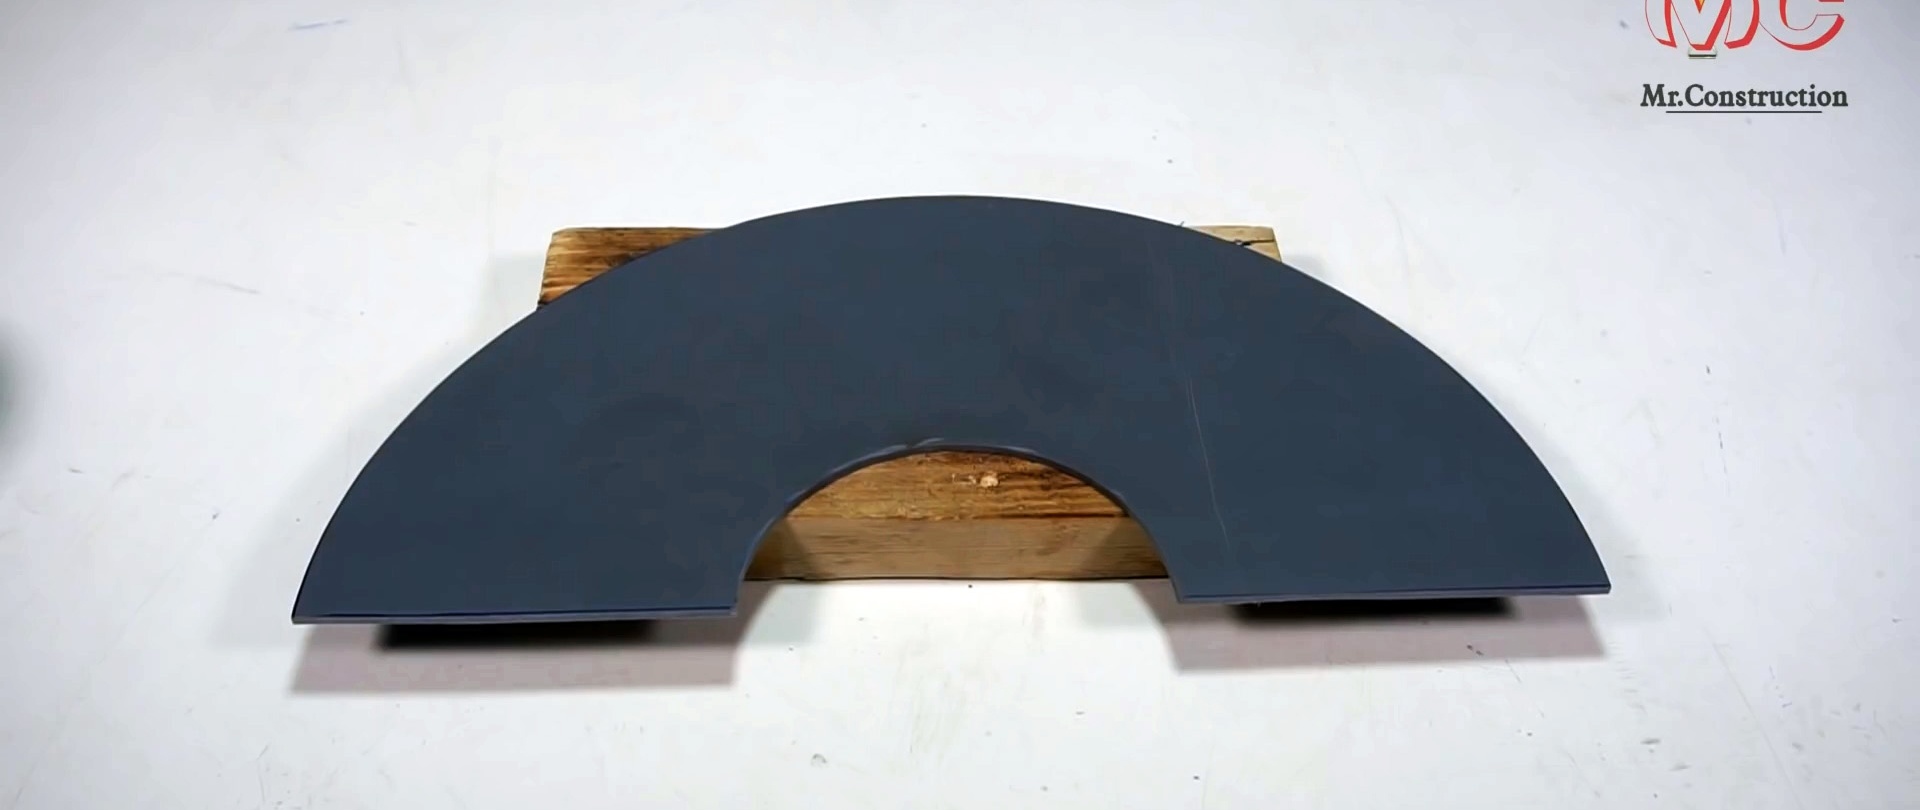
Using a cardboard template in the form of a half ring with an outer radius of 136 mm and an inner radius of 45 mm, we cut out six blanks for future blades for hydraulic turbines from a PVC sheet.

We heat the blanks with the flame of a gas burner or the heat of a hairdryer, give them the necessary hydrodynamic shape and glue three blanks in turn to the seal for PVC pipes at an angle along a spiral line.

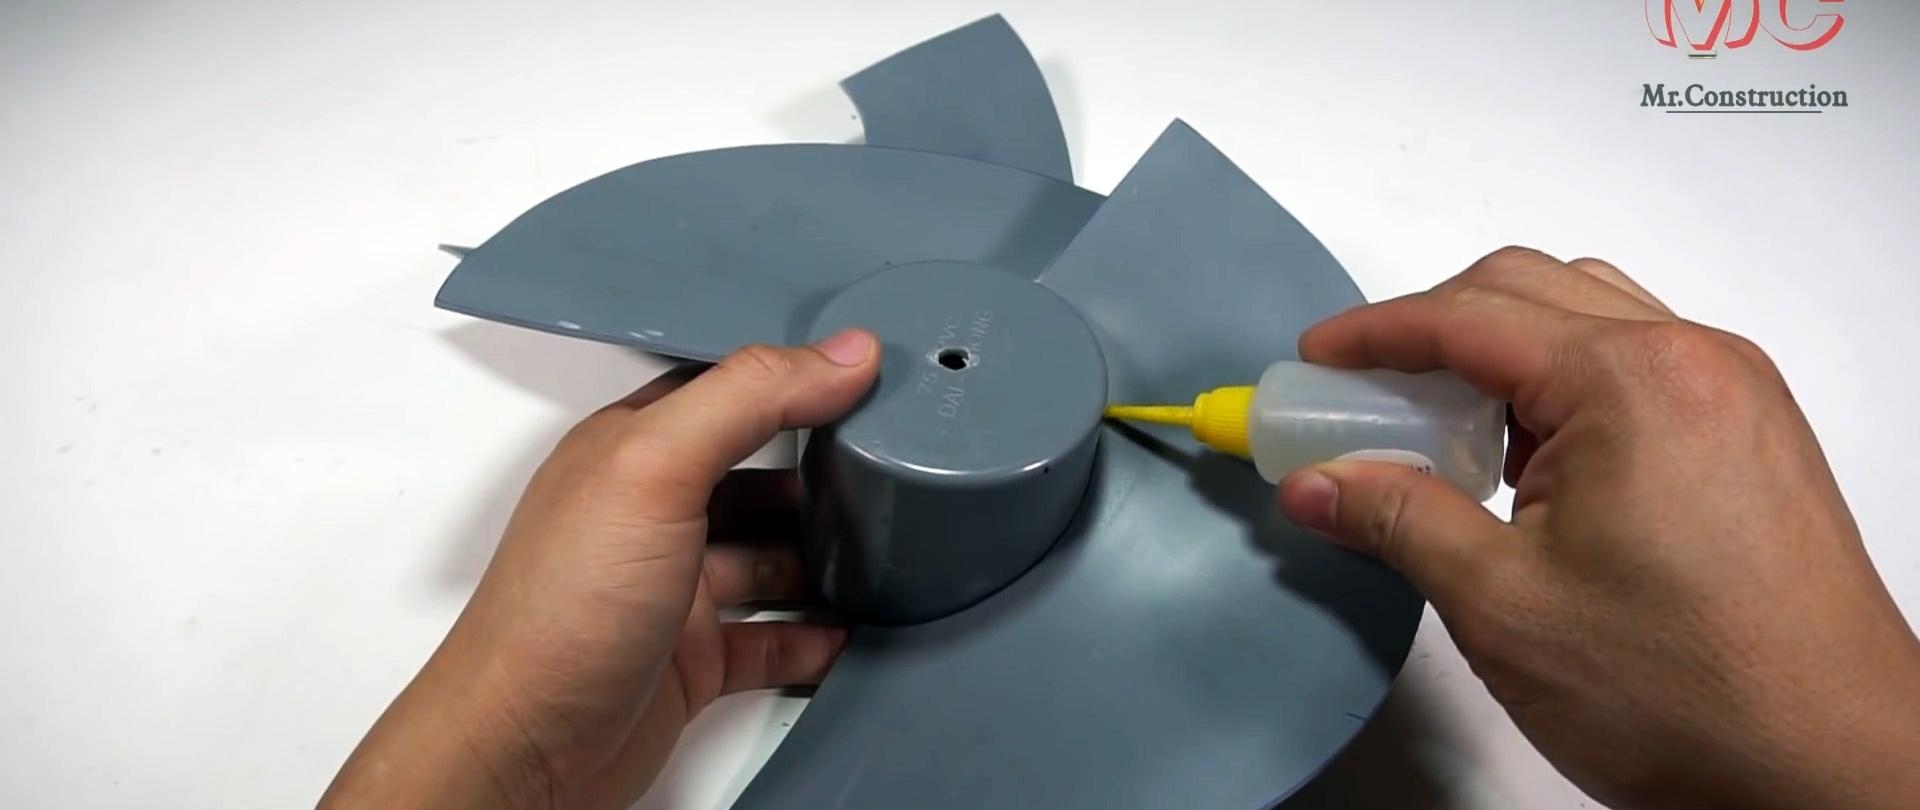
We cover the gaps between the parts with liquid plastic.
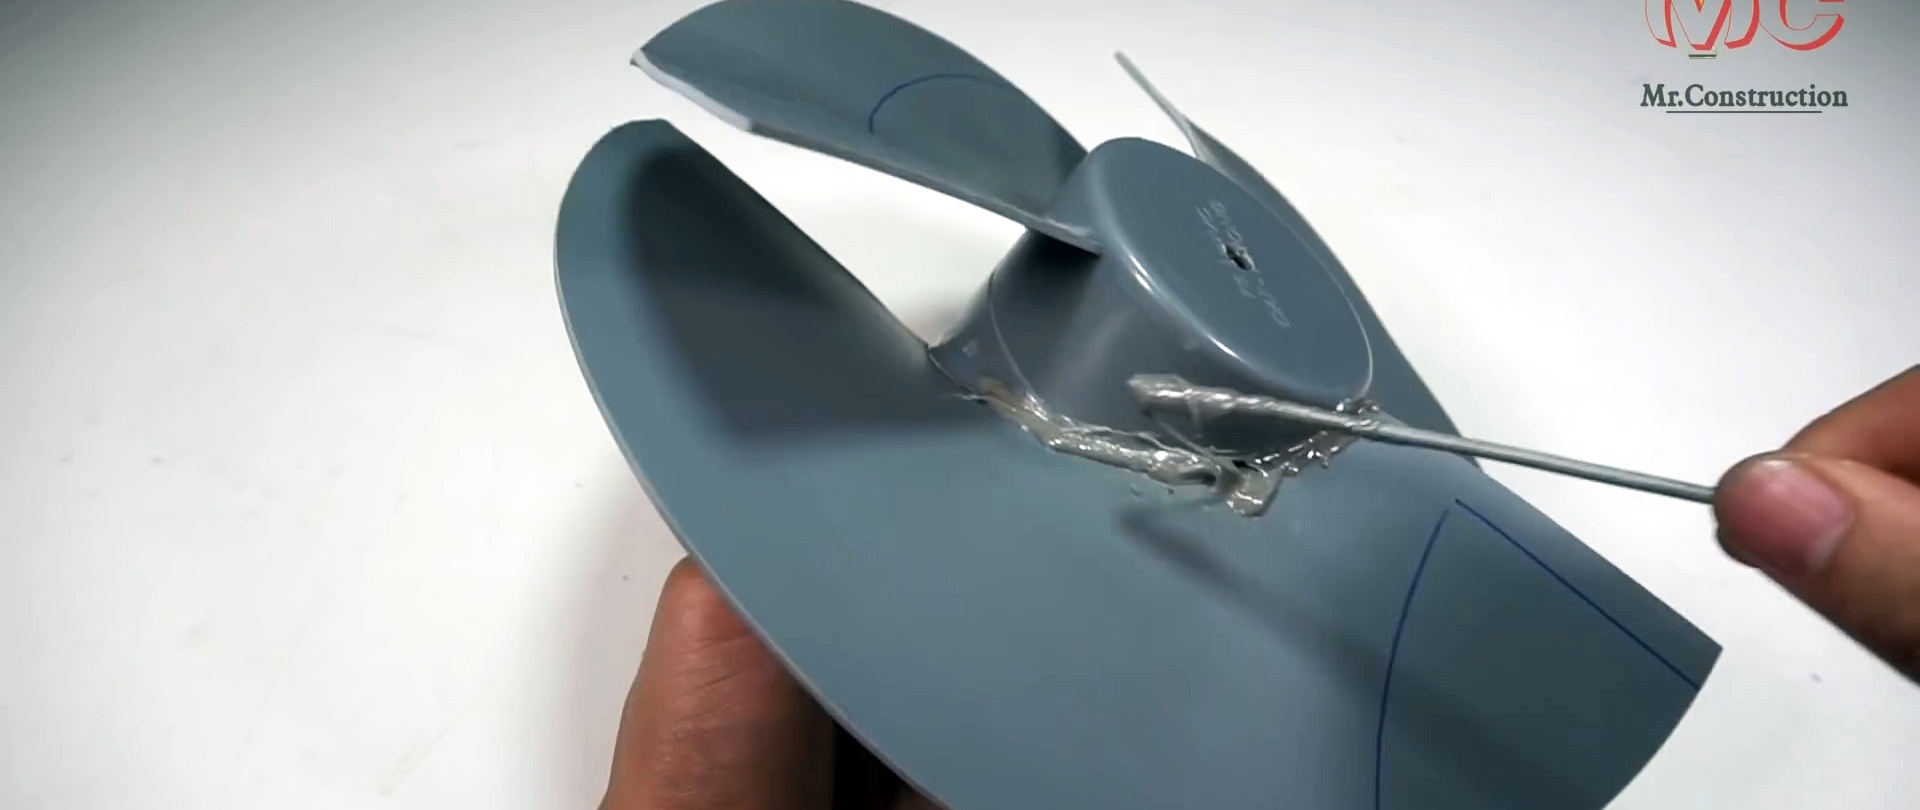
We heat the blades again with a gas burner and give them their final shape. After waiting for them to cool and completely harden, we apply spray paint.

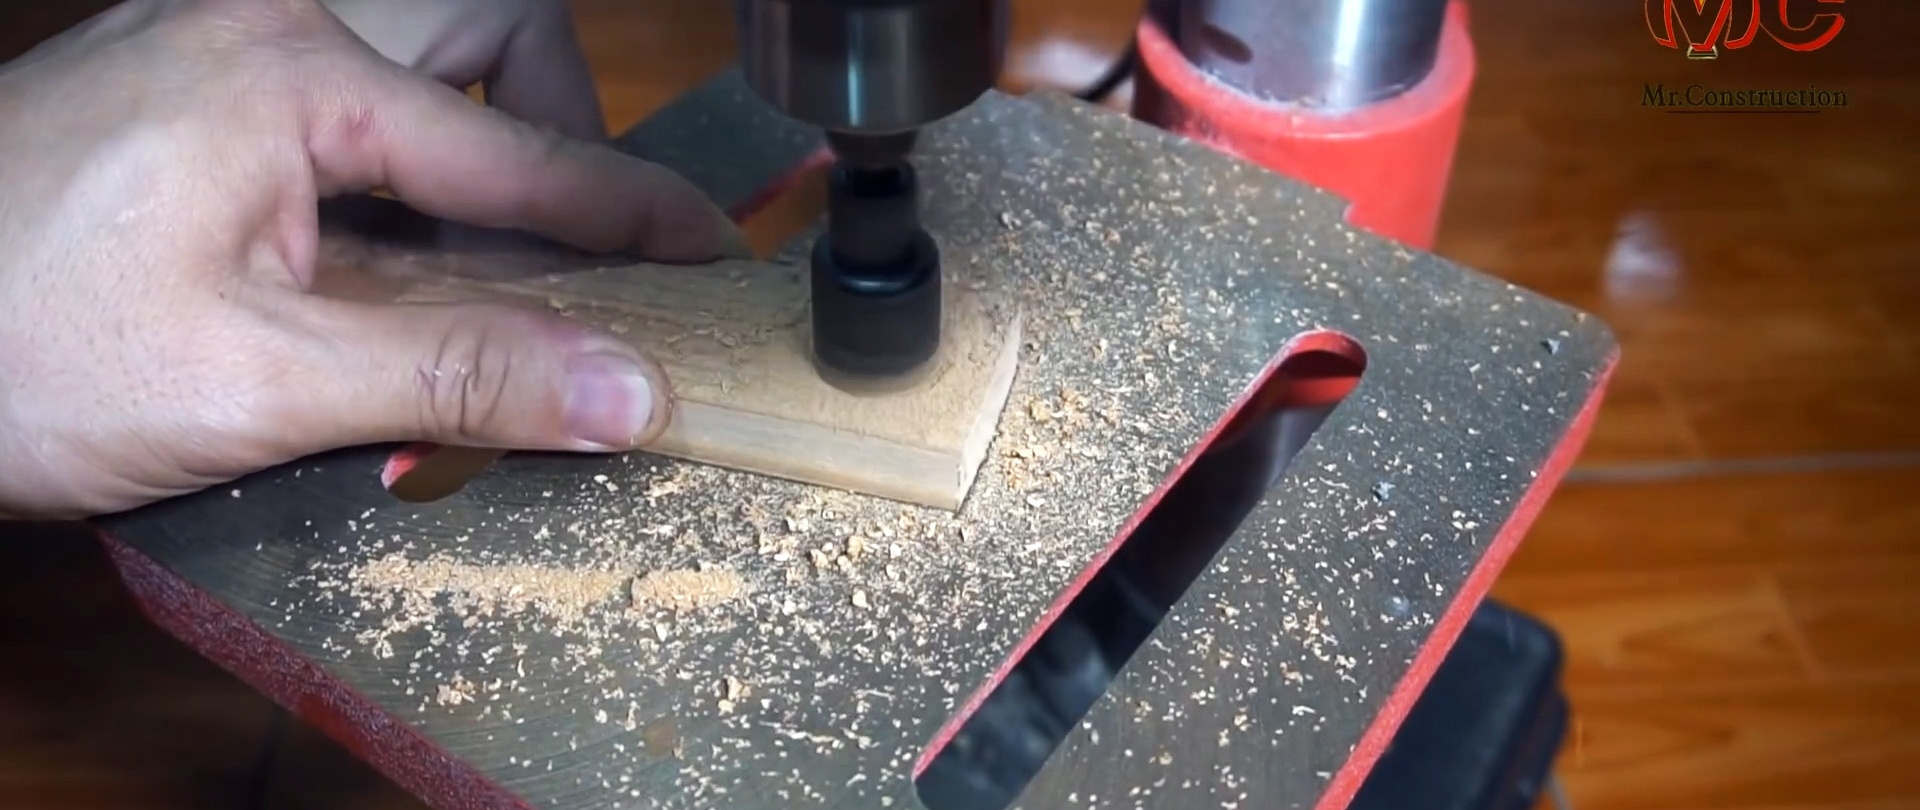
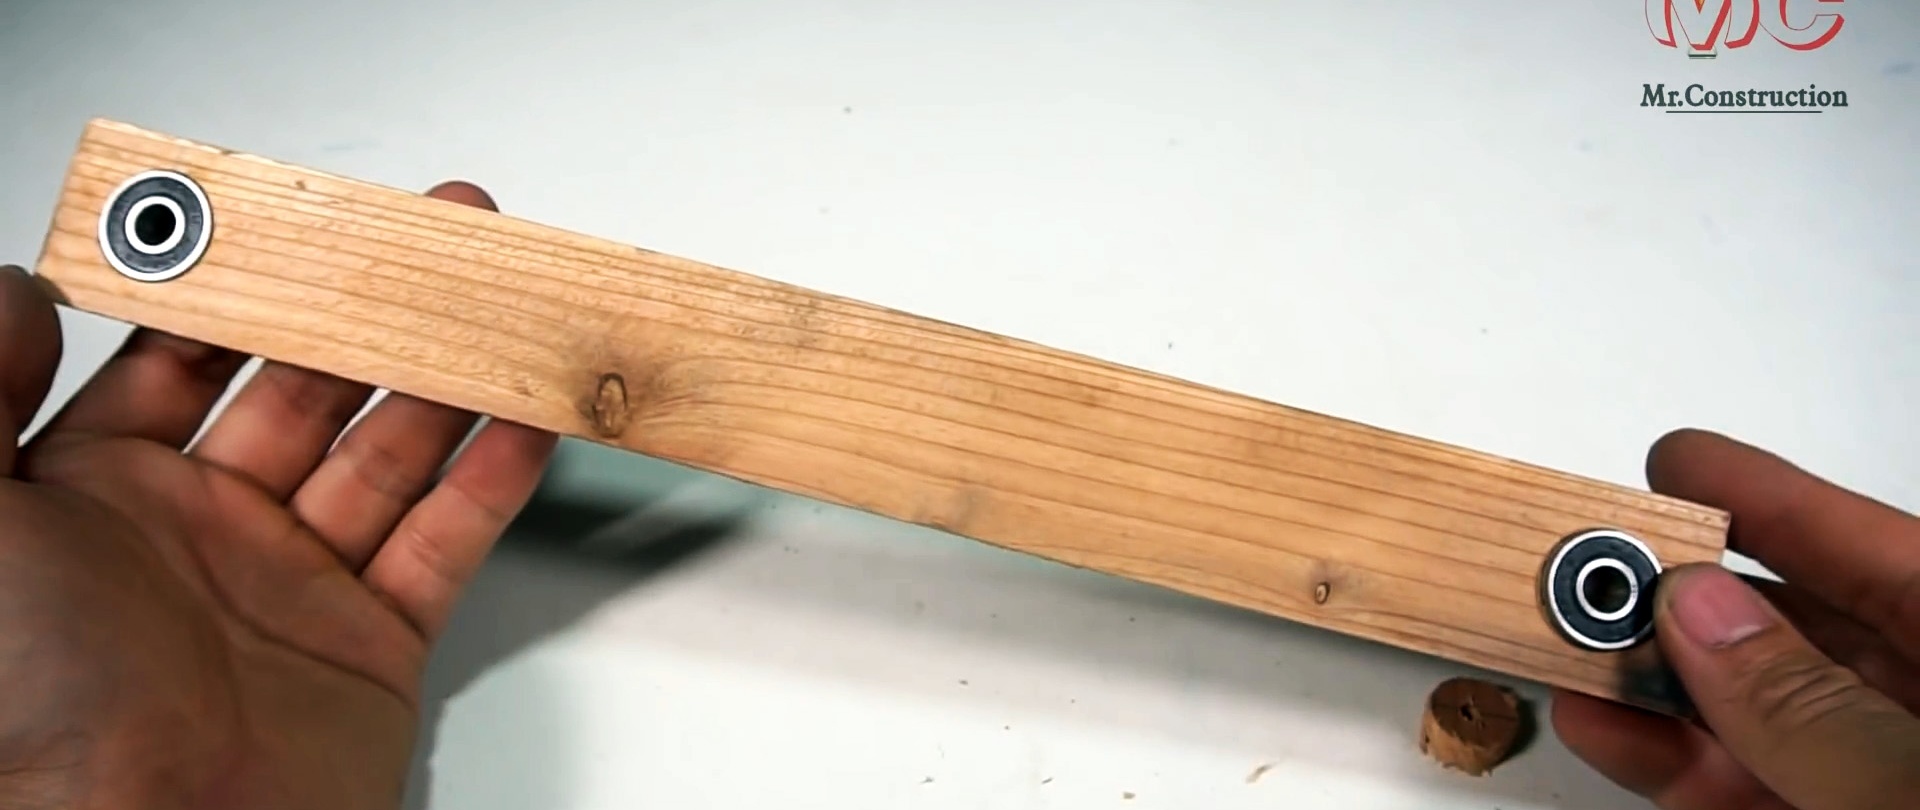
At the ends of the wooden block we drill out sockets for installing bearings and press them there.
We cover the top of the frame made of square pipes with boards with the necessary cutouts and secure them with screws. To one pair of vertical posts from the outside in the transverse direction, strictly horizontally, we attach a wooden block with bearings pressed into the ends.

We lay the frame on its side and insert the ends of the studs with the attached blade turbines into the bearing holes. We put a second block with bearings on top of the ends of the studs and secure the block to the posts.
We return the frame to its original position and put toothed disks of the estimated diameter and number of teeth on the studs. Rotating the studs along the threads of the disc nuts, move them until they stop against the block.

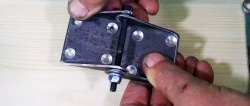
We assemble a parallelepiped from short wooden blocks. We drill a hole in it and fasten flange bearings on both sides with screws. Then we glue the resulting knot to the board in the center so that their sides coincide.

Next to the parallelepiped, we place the electric motor between two wooden blocks and secure it to the board with a half-band clamp and screws.In front we place another block transverse to the other two.

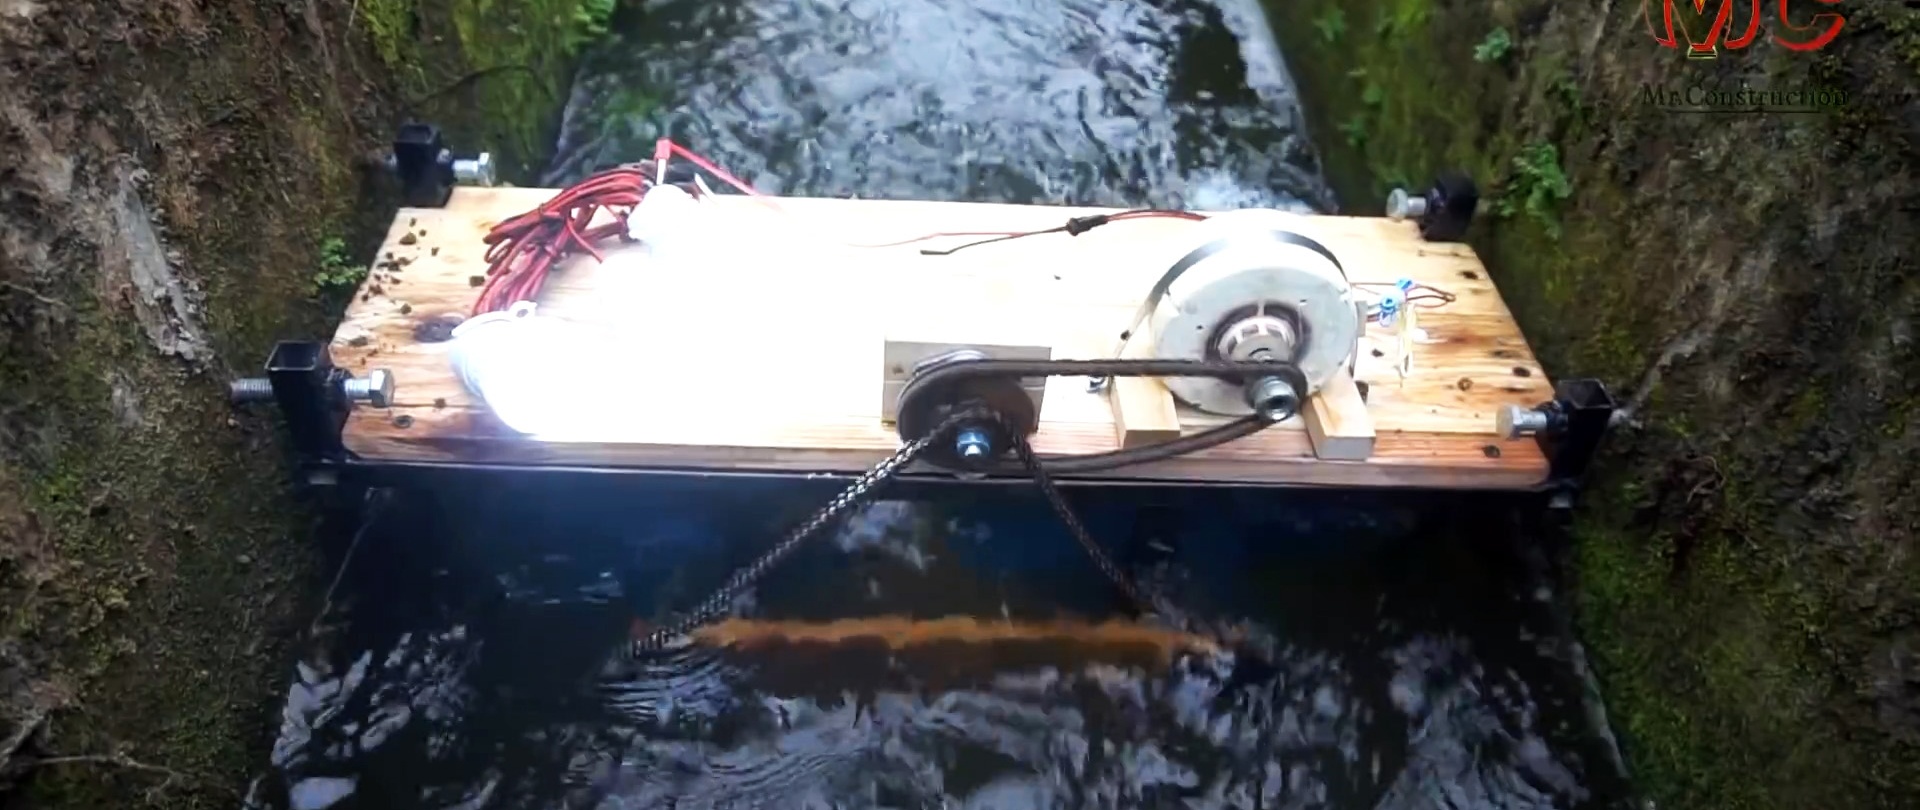
We place the axle with the large and small sprockets into the holes of the flange bearings and connect the large sprocket with the sprocket on the motor shaft with a transmission chain. We also connect the small sprocket with the two sprockets of the blade turbines using a transmission chain of appropriate length.

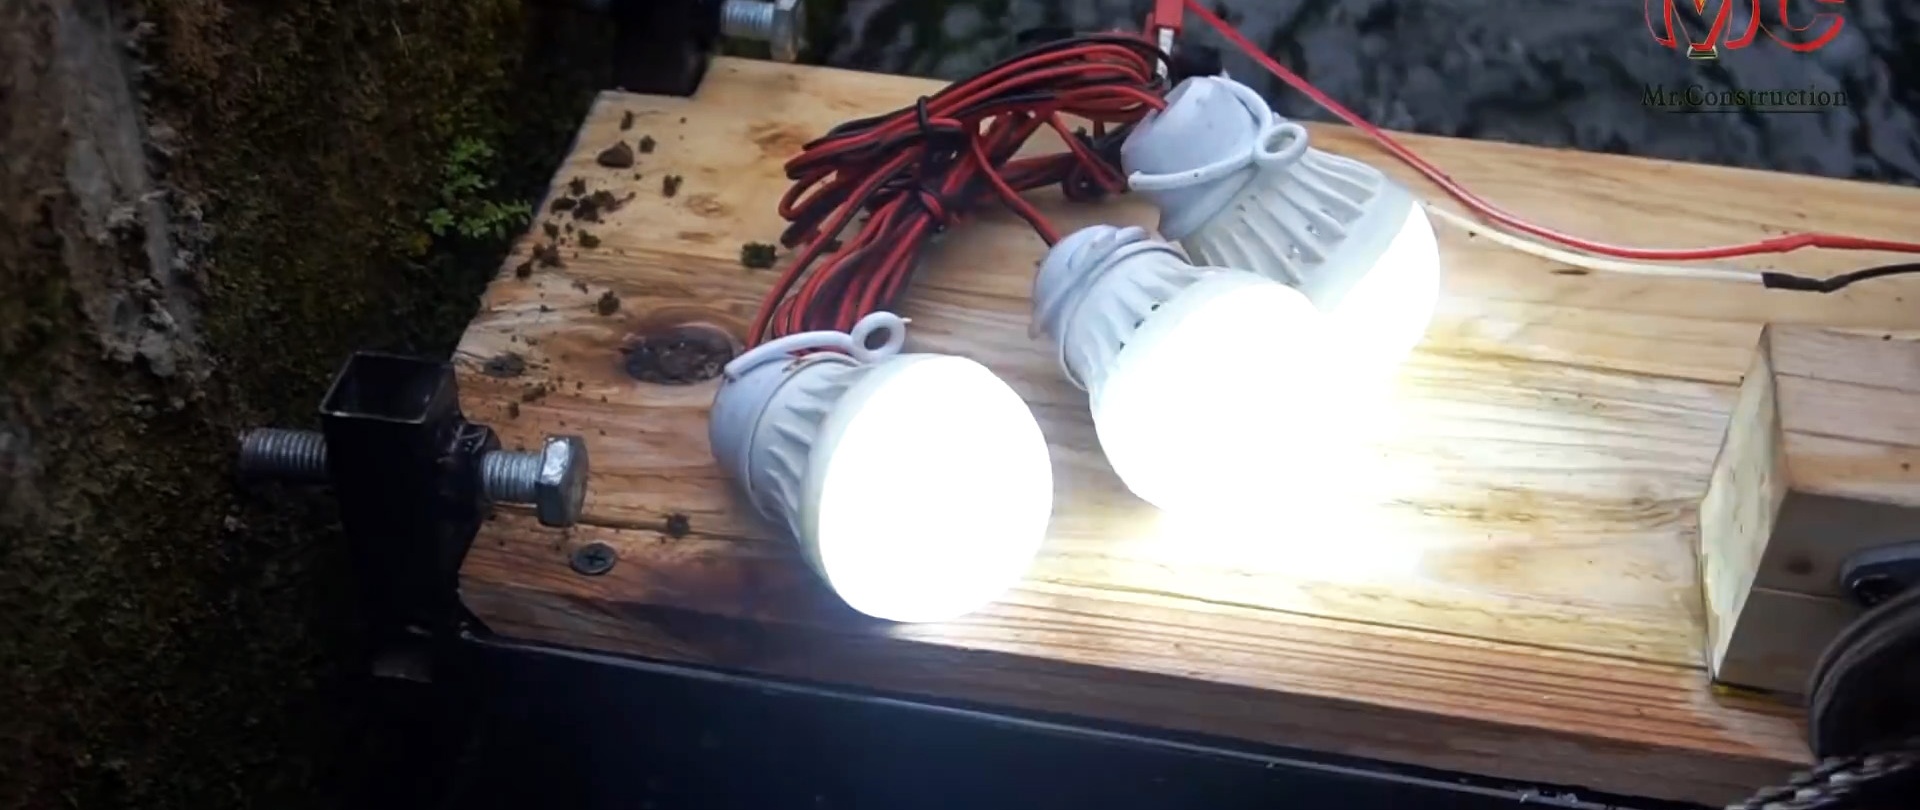
We place the resulting unit in a water stream of rectangular cross-section, secure it with spacer bolts between the side walls of the channel. We connect LED lamps to the electric motor wires, which immediately flash brightly.
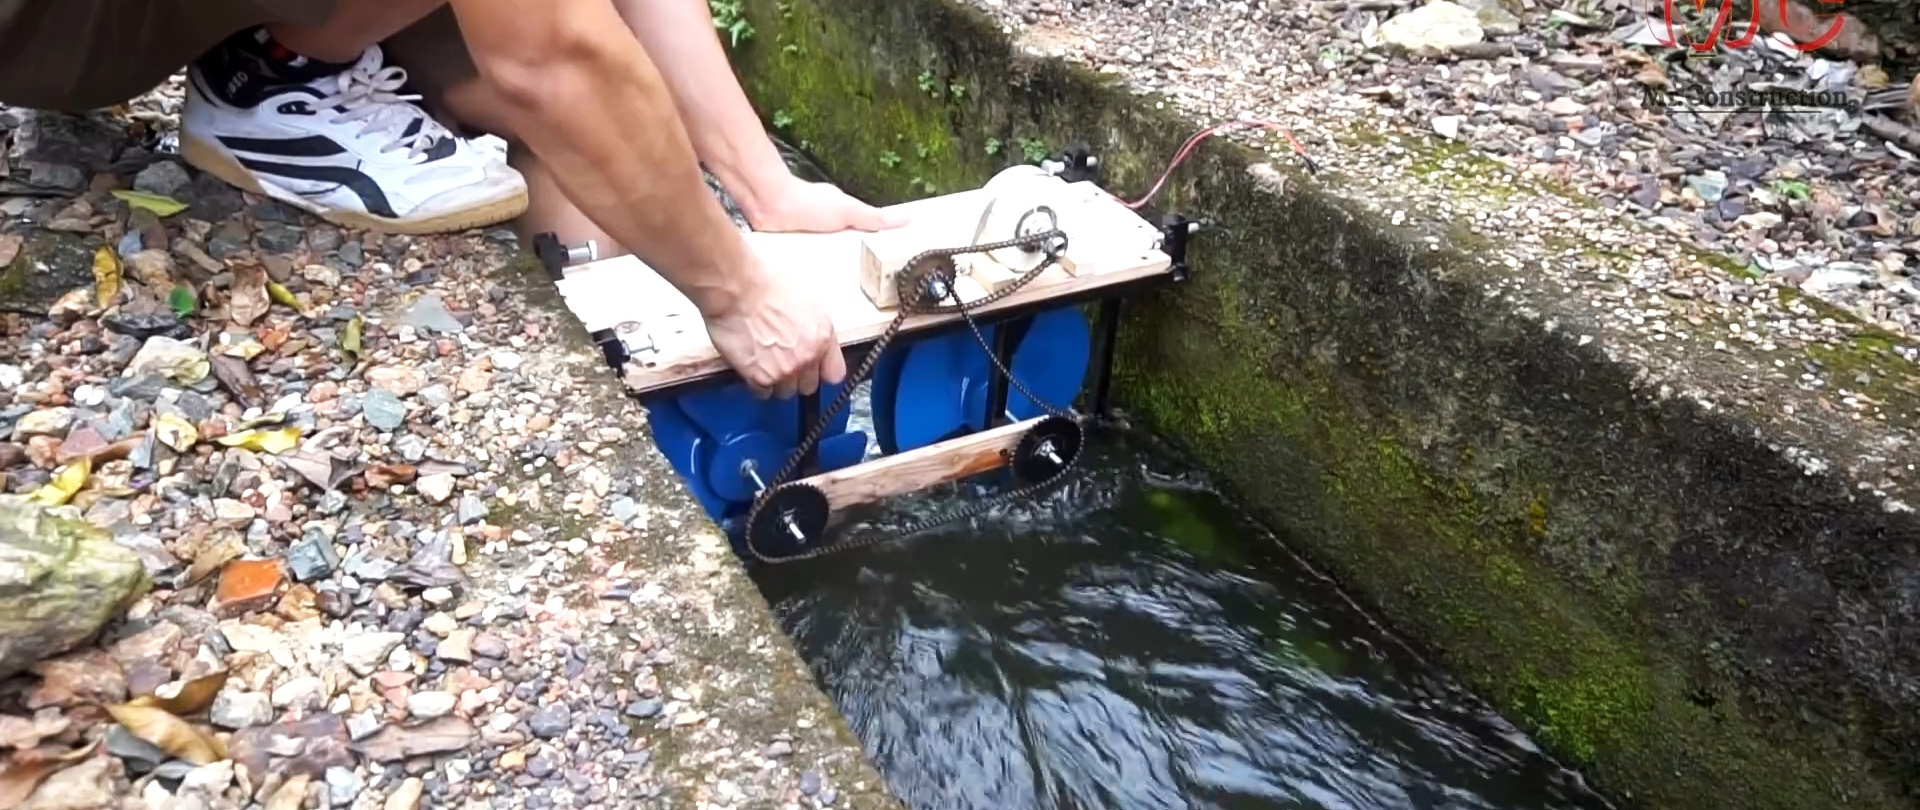
This happens because the water flow rotates the turbine blades and the rotation through a system of sprockets and transmission chains with a multiplicative effect is transmitted to the electric motor rotor, resulting in the generation of an electric current that can be recorded with a multimeter.