House flowers and garden plants need regular watering. If this is not done, they will grow poorly, will not bear fruit, or may even die. What if you won’t be able to care for the plants for several days? In this case, you can make a drip irrigation system based on ordinary PET bottles. Such work can be done not only by an adult, but also by a high school student.
Will need
Materials:
- PET bottles;
- PET bottle caps;
- PVC pipe;
- adjustable drip tap;
- silicone glue.
Tools: ruler, marker, hacksaw, sandpaper, hair dryer, drill.
The manufacturing process of a plant watering system based on PET bottles
From the ends of a PVC pipe with a diameter of 30 mm, measure 40 mm and draw circles. Between them we draw lines along generatrices located strictly on opposite sides of the plastic pipe.
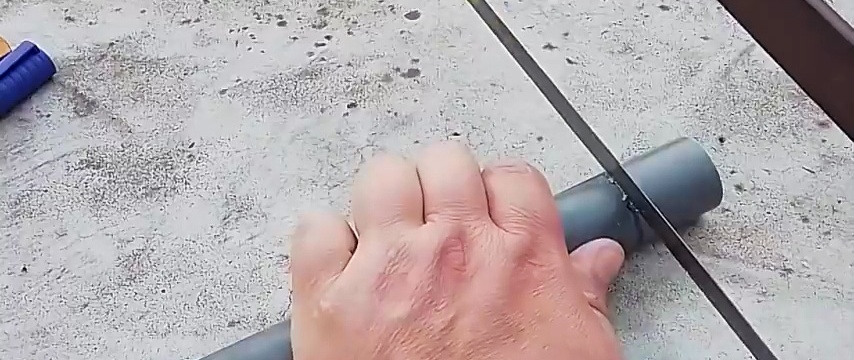
Along the marked circles, we cut into half the pipe from its opposite sides. We also do this along the intended generators. As a result, we get two symmetrical blanks.
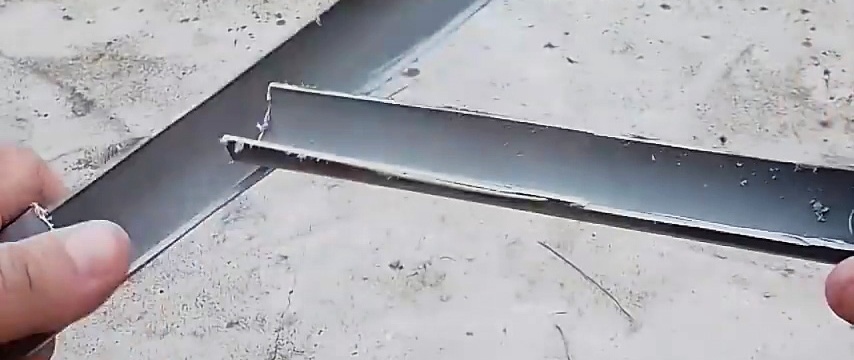
We narrow parts of the parts in the form of semicircles in cross-section to the free end and grind them using sandpaper.
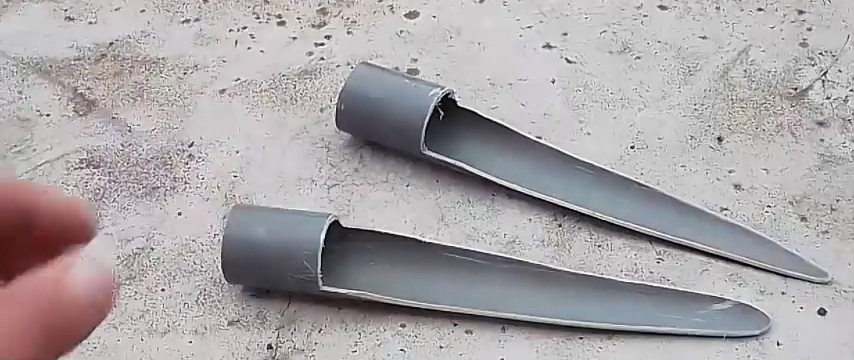
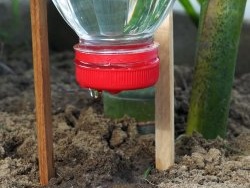
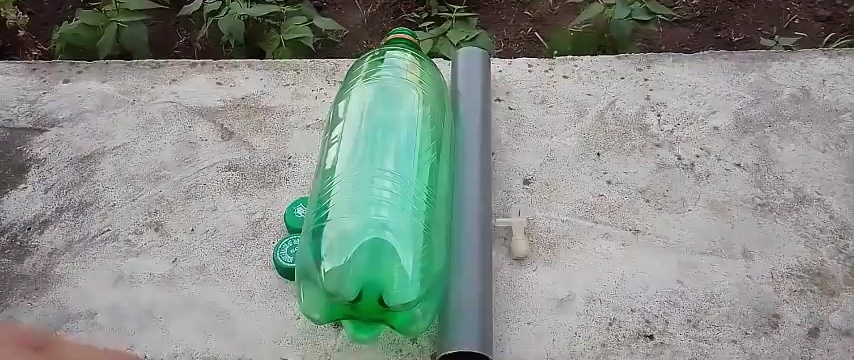
We heat the outer end of the cylindrical part of the part with a hairdryer until it becomes plastic and insert the cap from a PET bottle, bottom first. We repeat the same with the second cover, installing it on the other side of the tubular part of the part.


We make a hole in the cover from the outside of the part using a drill and knife.

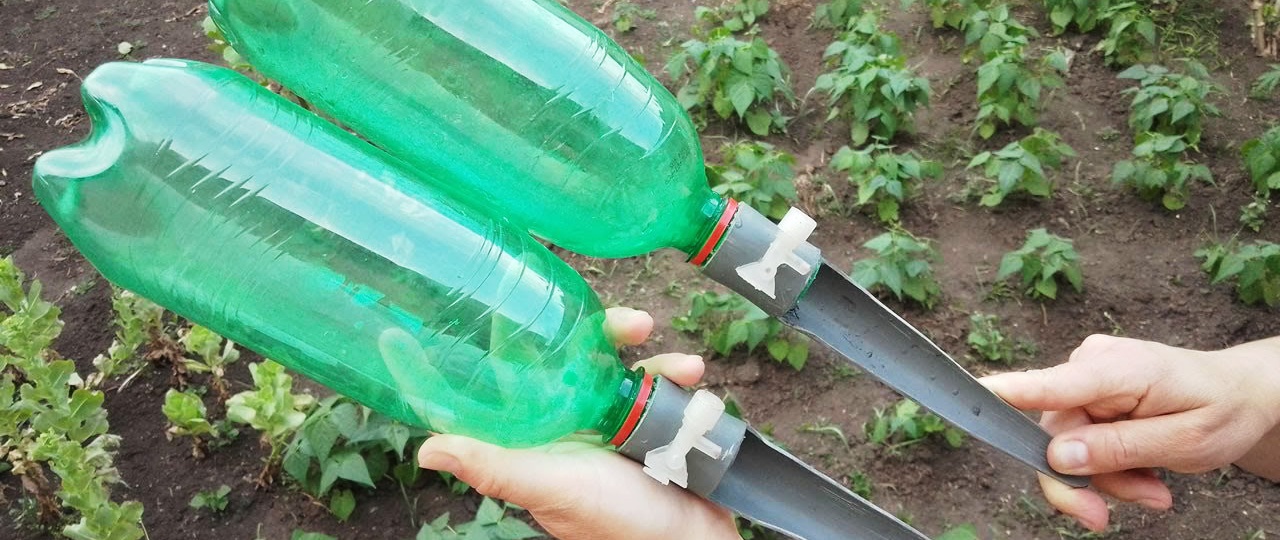
We install the covers in place using silicone glue. In the tubular part of the part between the two covers, we drill a hole in the radial direction into which we insert the inlet pipe adjustable drip tap.

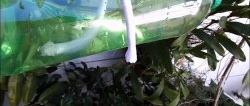
We make a small hole in the bottom of the bottles through which atmospheric air will flow into the bottle as water is consumed to prevent discharge and deformation of the bottle.

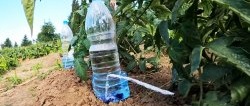
Covering the bottom hole, pour water into a plastic container and screw a cap with a hole onto the neck of the bottle, which is glued into the tubular part of the assembly with adjustable drip tap.
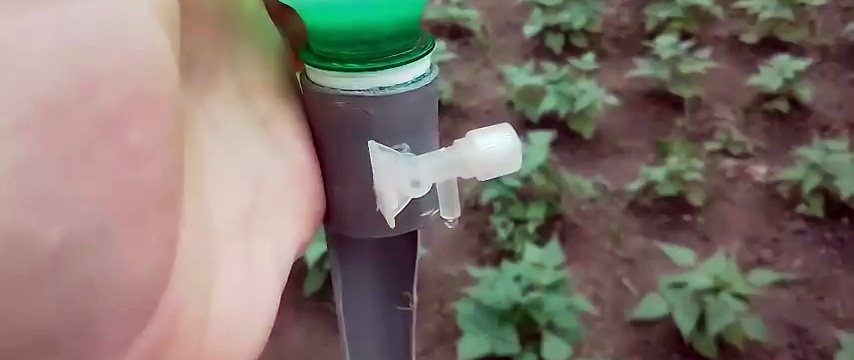
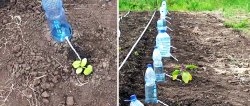
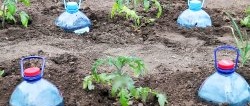
We stick the pointed part of our homemade product into the ground next to the plant that needs to be watered, adjust the intensity of the drip, and we can safely leave our plant unattended for some time, estimated from one day to a whole month.