When working with sheet metal, you often have to cut several strips of the same width from a large sheet. This is usually done by marking and then cutting off each strip. The proposed device will significantly speed up this process and increase the dimensional accuracy of the width of the cut elements. High accuracy of the “geometry” of each strip is achieved by installing one, rigidly fixed size on the attachment.
Materials and tools
To make the console you will need:
- sheet of steel grade St.3, 3 mm thick;
- a narrow sheet of steel of the same grade, 5 mm thick;
- steel bar, diameter 14 mm;
- two M12 nuts;
- electrodes for welding (3 mm);
- welding table or workbench;
- vice;
- grinder" with a disc for steel;
- clamp;
- welding machine;
- oil can with oil for lubricating the drill;
- drill press or drill with a 6 mm drill bit.
High-quality and durable drills on AliExpress at a discount - http://alii.pub/5zwmxz
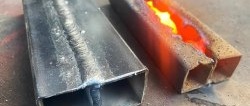
You can use steel 4 mm thick, but then the attachment will be heavy, and using a smaller thickness will not give the device the necessary rigidity.
The dimensions of the sheet are determined by the size of the angle grinder for which the device is created.
The length of the base plate of the attachment should be equal to the length of the grinder, plus 15 cm on each side.
Description of the manufacturing process of an angle grinder attachment
We prepare the base plate of the attachment. Having secured a large sheet of steel well on a workbench, we cut out a smaller sheet from it using a grinder, according to the dimensions chosen to create the slab. We process the slab with a grinding wheel.

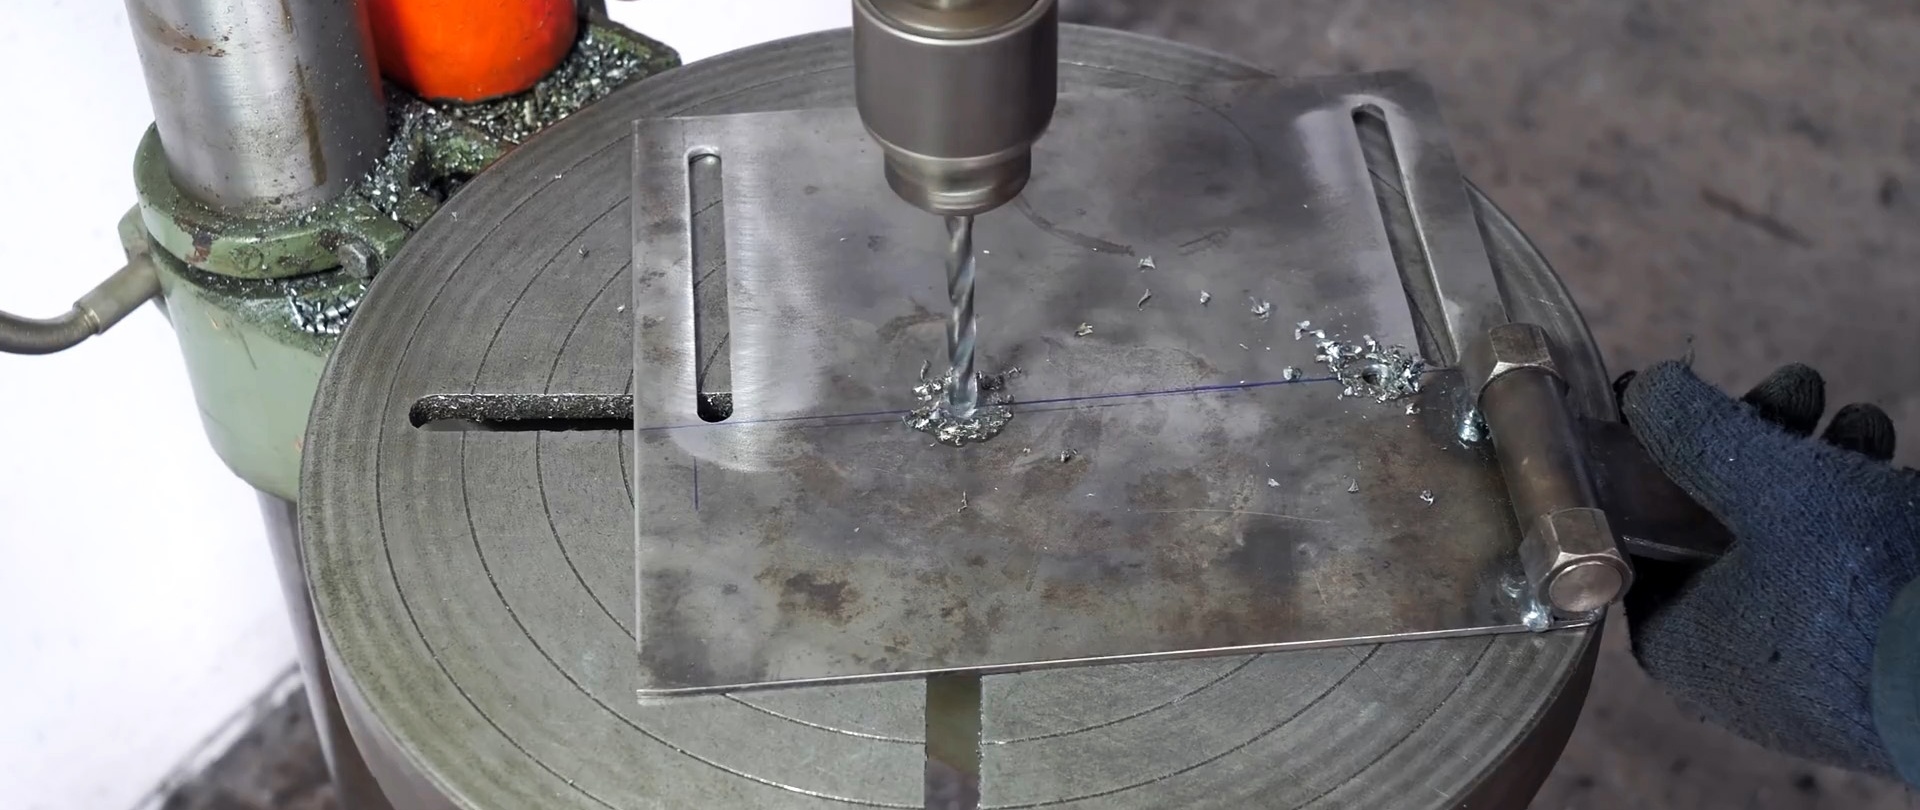
Having divided the slab widthwise into three parts, on two parts of them we mark the slots for the future thrust strip. Stepping back 5 cm from the edge of the slab, we mark one of the four holes with a core. We take a size equal to the distance from the side edge of the slab to the cored point. We put the same size on the border of the second third of the width of the slab, and mark the second point. We do the same on the second side of the slab.


Drill the marked holes. Using lines transverse to the length of the attachment, we connect both holes so that we get a marking of slots with rounded edges. Using a grinder, we cut through the metal along the drawn lines. Clamping the plate in a vice, we refine the resulting slots with a flat file.
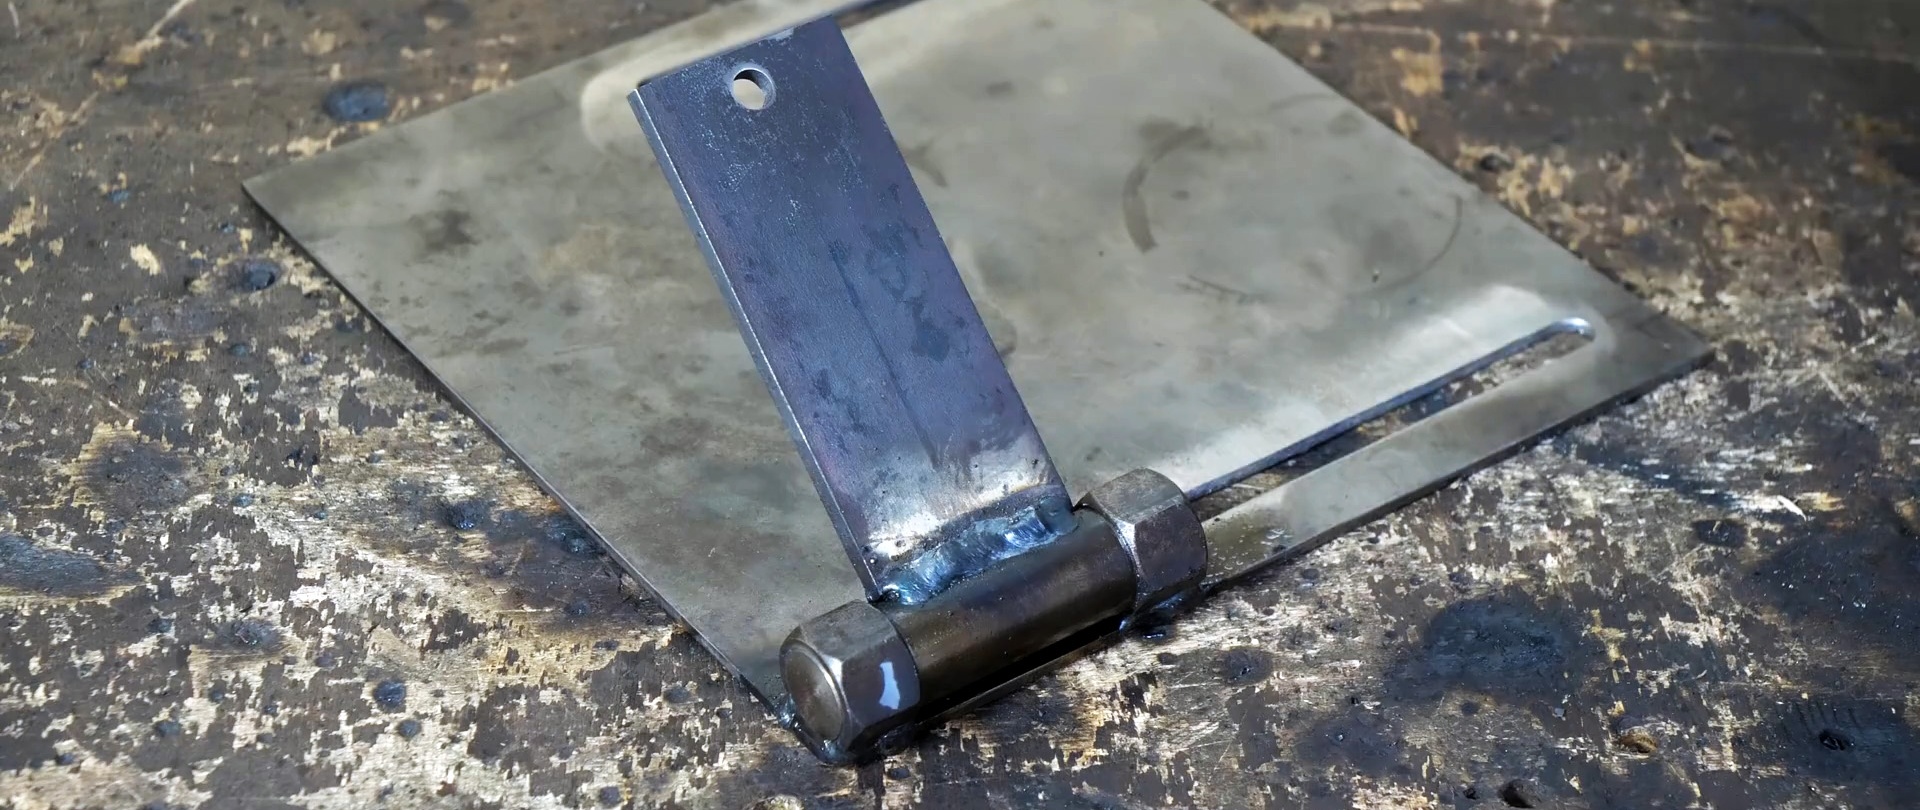
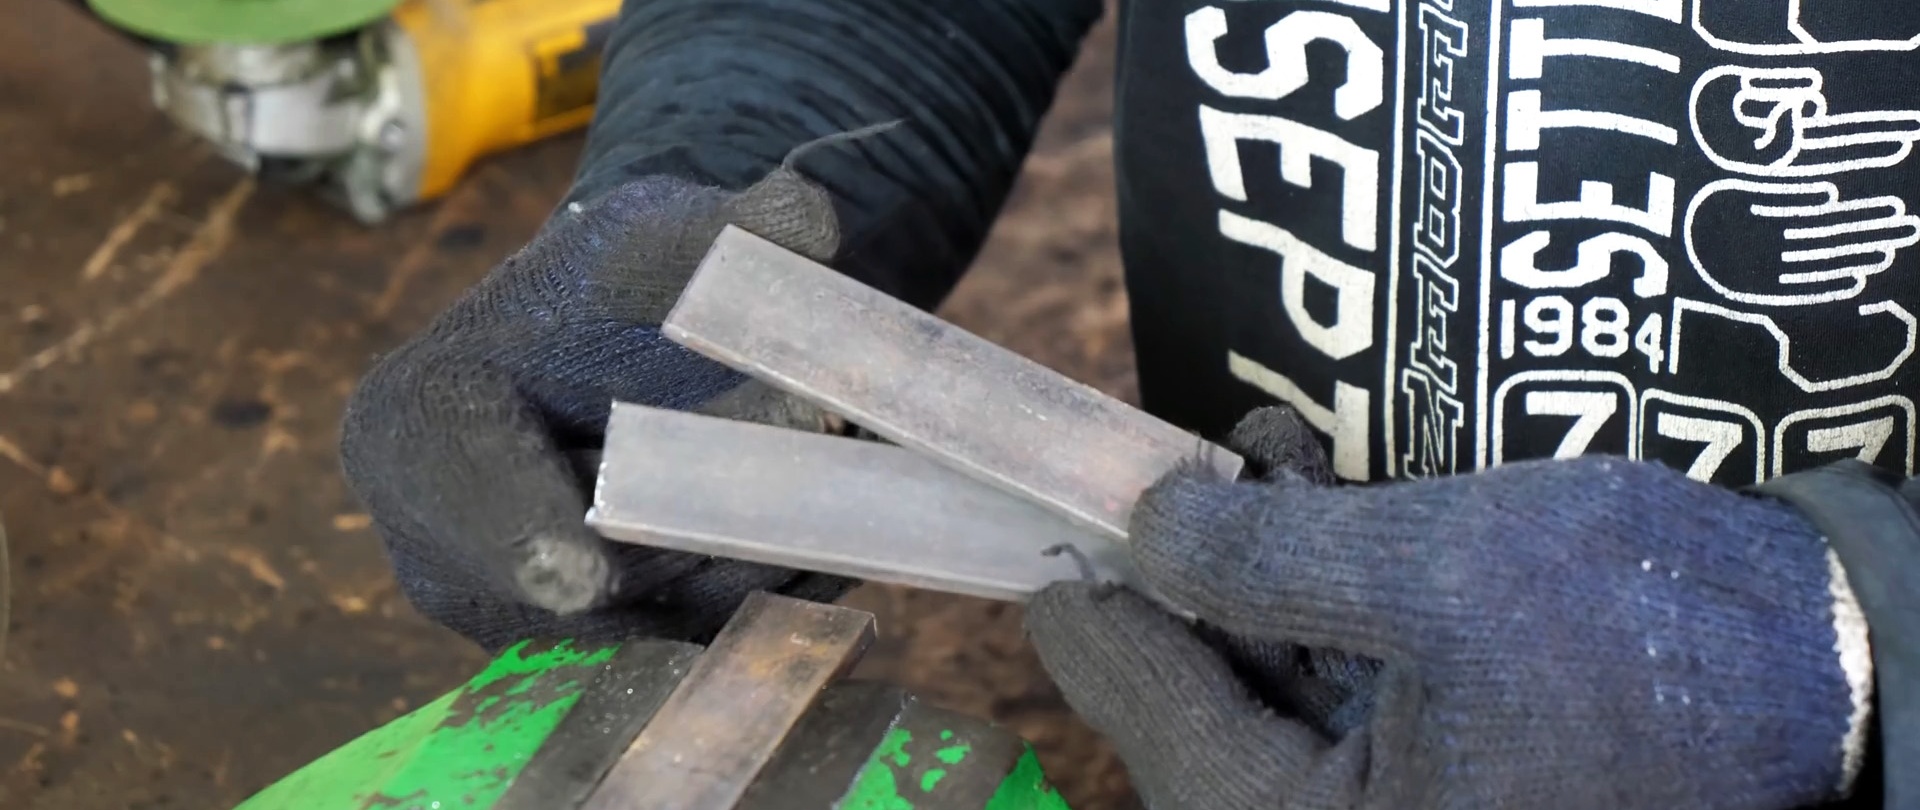
Having bored M12 nuts on a machine or selected suitable bushings, we make support posts for the hinge of the working plate of the attachment. Using the obtained internal diameter of the nuts, on the same machine, we grind the hinge shaft, which will rotate in these nuts.


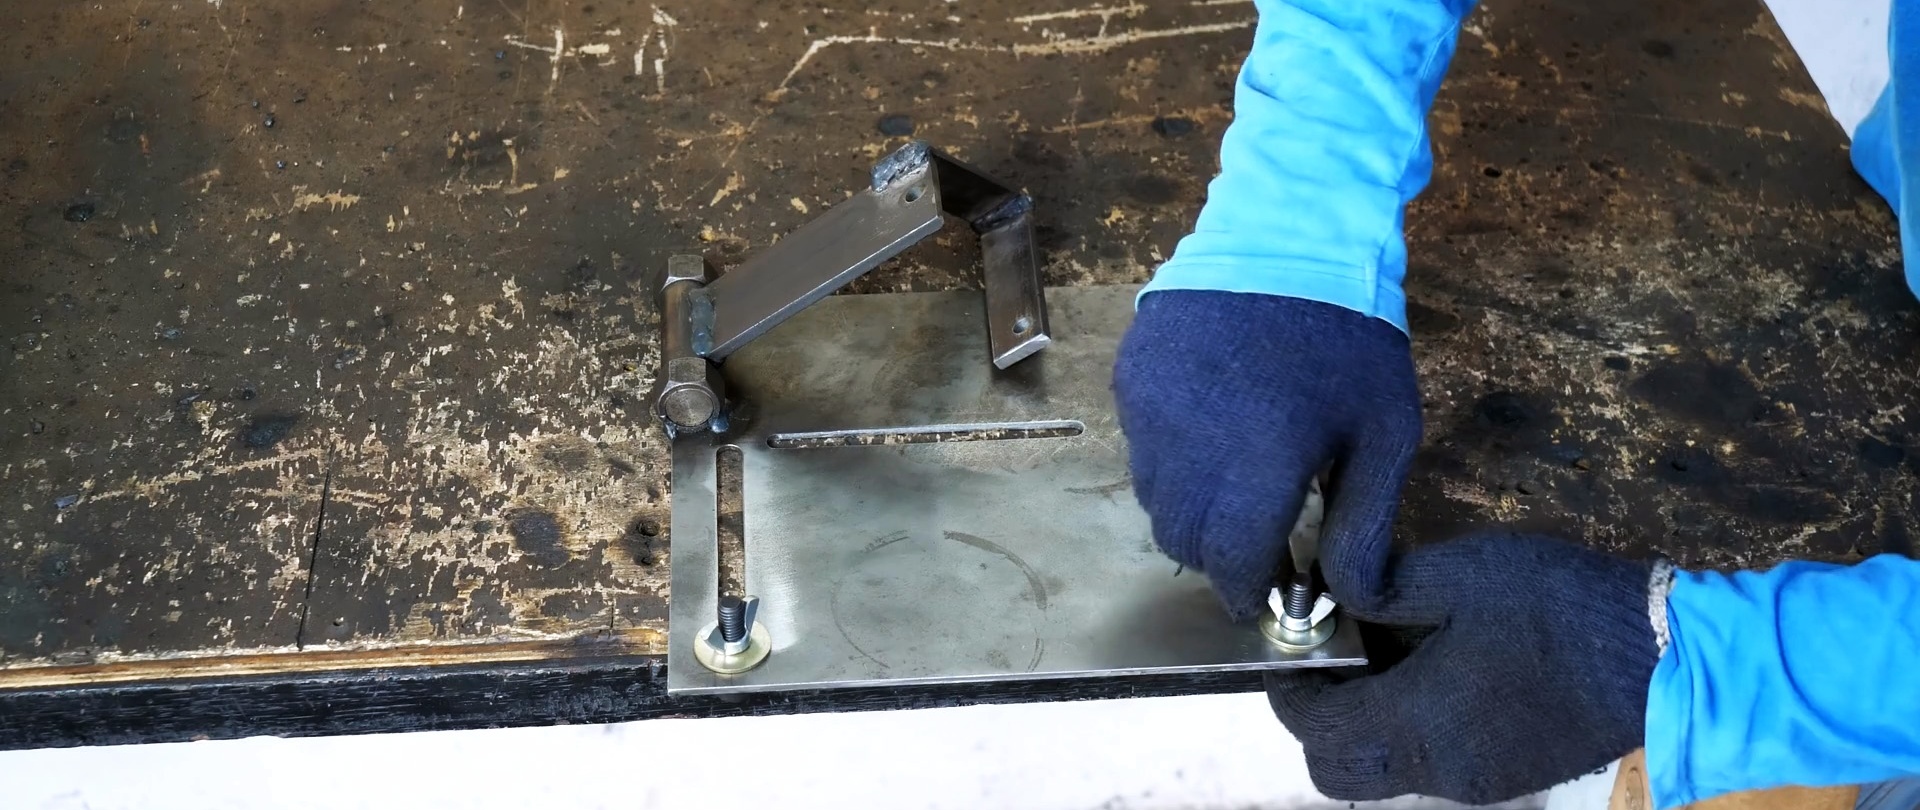
Having installed the shaft with nuts on the edge of the remaining 1/3 of the plate, we weld the nuts to the plate so that the hinge shaft is perpendicular to its long side.

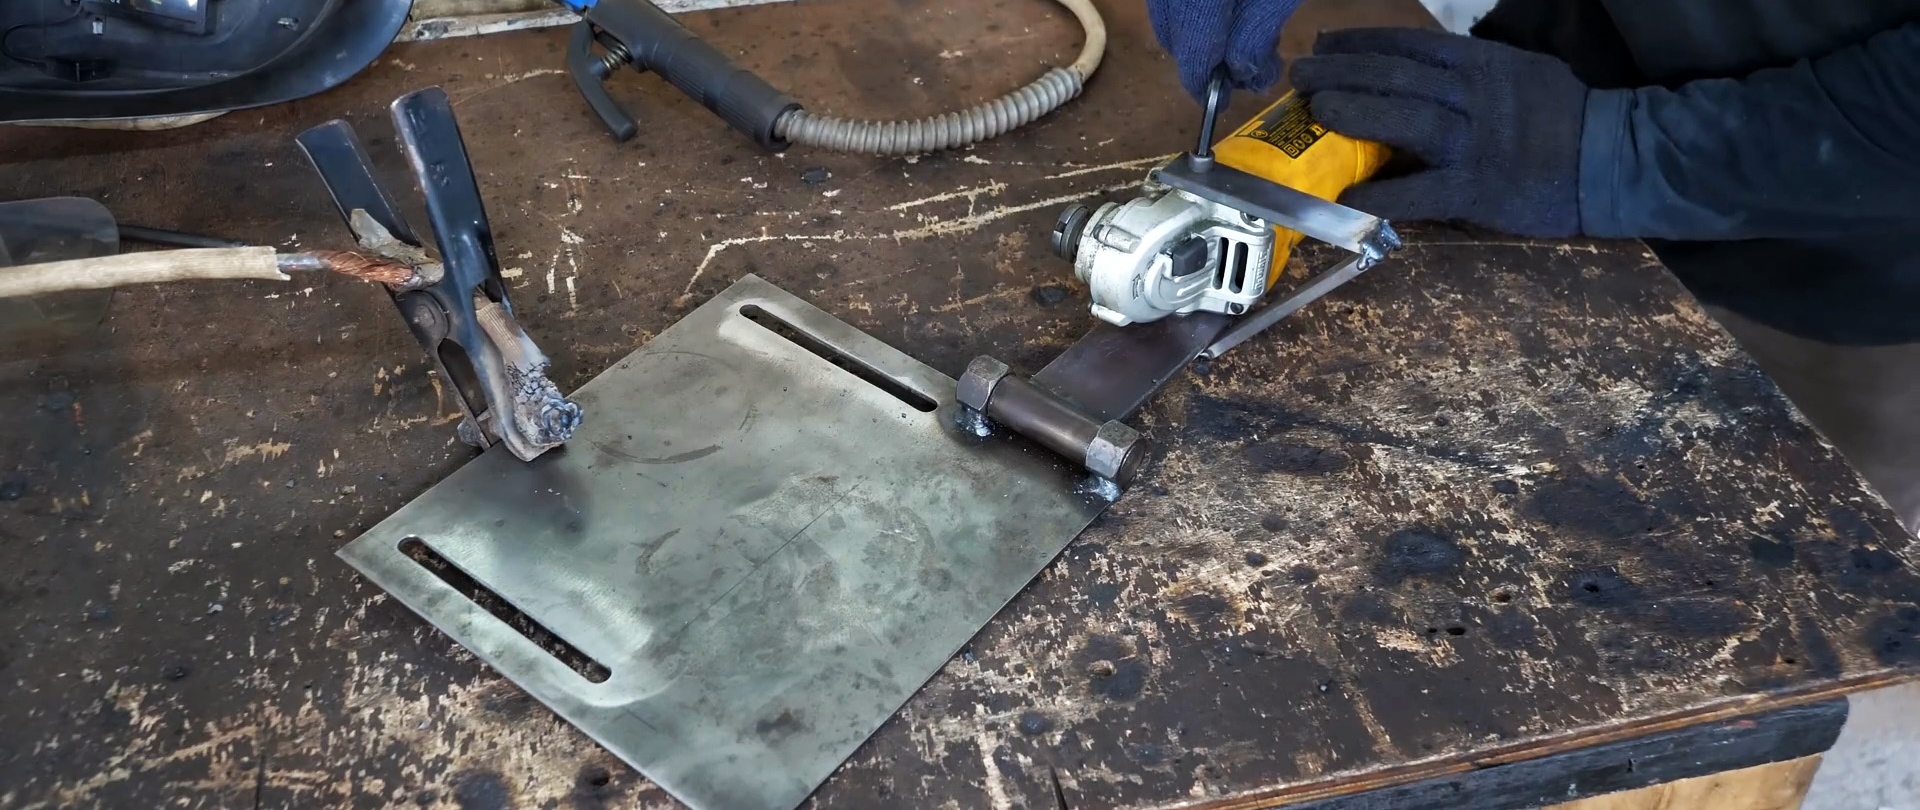
We cut a piece from a narrow sheet of steel, the length of which is equal to the distance from the hinge shaft to the center of the plate. Stepping back from one edge, on the narrow side, 3 cm, along the central axis along the segment, we mark and drill a hole.The diameter of the hole must correspond to the size of the bolt that secures the side handle to the angle grinder. Using the edge opposite the hole, we weld the work plate to the hinge shaft.
We cut another piece from a narrow sheet of steel, the length of which should allow us to make a side console for attaching the angle grinder to the opposite hole on its body. To do this, divide the resulting segment into two parts. Stepping back from the edge of one of them, mark and drill a hole similar to the one made on the work plate. We attach the section with the hole to the angle grinder so that it is perpendicular to the angle grinder and protrudes beyond it by 10-11 cm, on the side opposite to the slots on the supporting plate. We apply the second section with one end to the work plate, and the other to the protruding end of the first section. We “grab” all the joints with several welding points and remove the angle grinder. After which we boil all the compounds well.
Having again installed the “grinder” with a new circle in the manufactured mount, we lower the circle onto the supporting plate. Based on the size of the grinder circle, we mark the working groove of the attachment. We remove the angle grinder, cut and process the edges of the working groove. The width of the working groove must be at least three times the thickness of the new cutting wheel, and its length must exceed the diameter of the wheel by at least 30%.


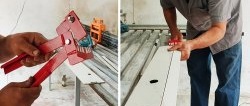
From a narrow sheet of steel, we cut off a thrust strip, the length of which is equal to the length of the supporting plate. The width of the strip should correspond to a size equal to the diameter of the bolts used, multiplied by 3. We mark the middle axis along the strip and, attaching it to the supporting plate, mark the mounting holes. We install bolts into the holes of the strip, head down, and insert their protruding parts into the slots on the supporting plate. On top of the plate, install washers on the bolts, and screw on the wing nuts.

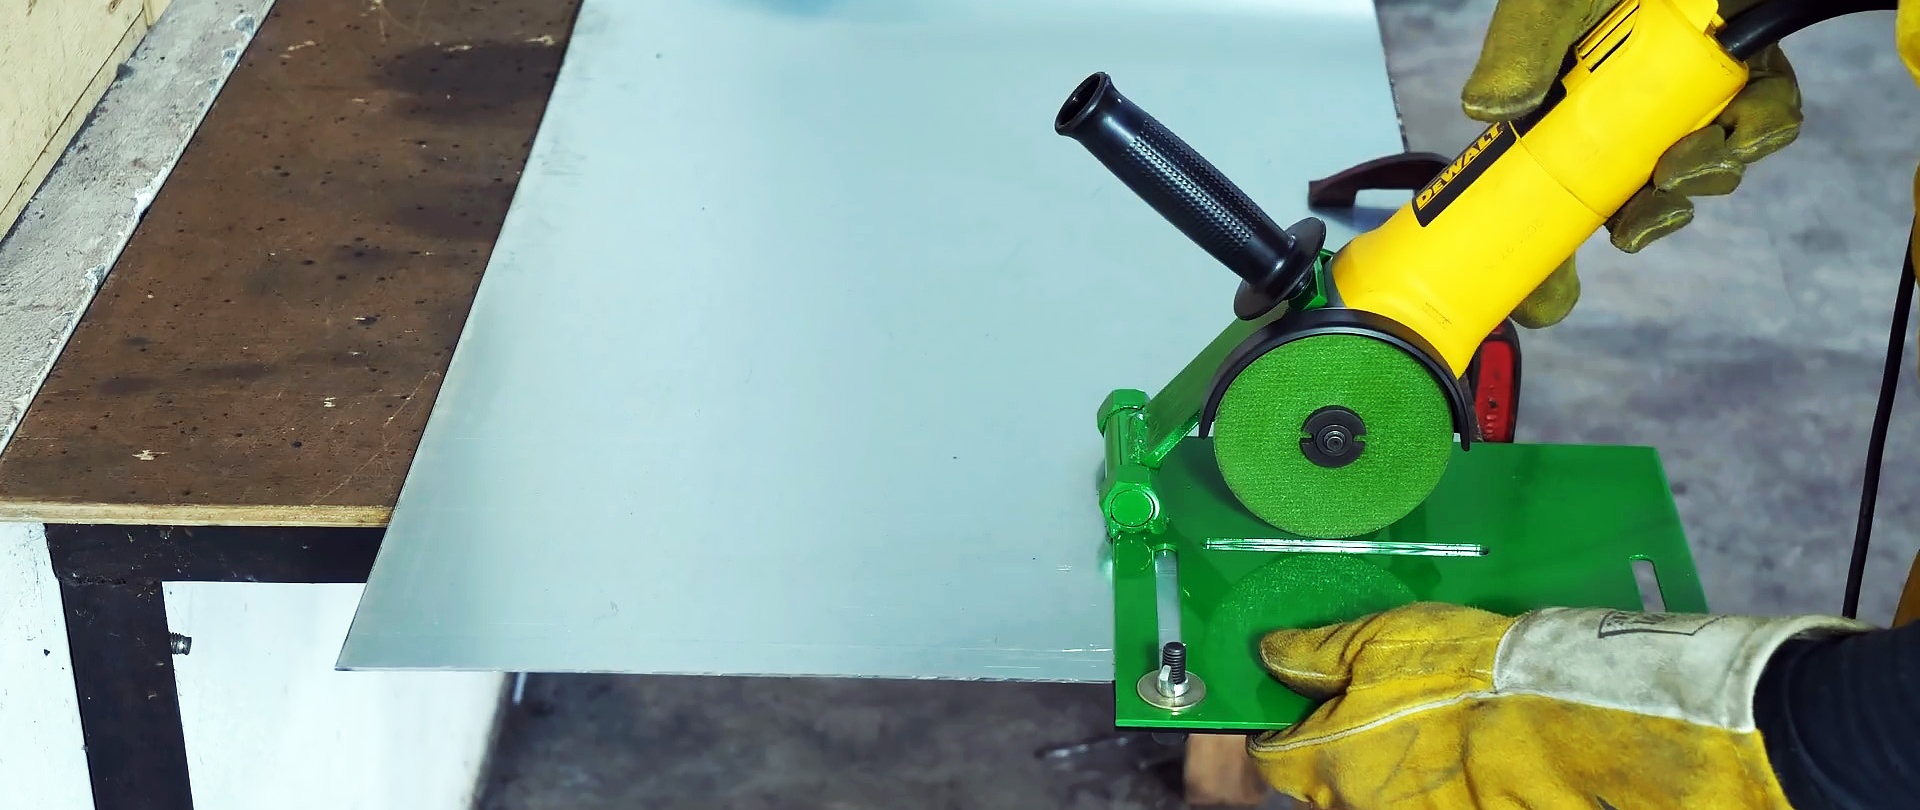
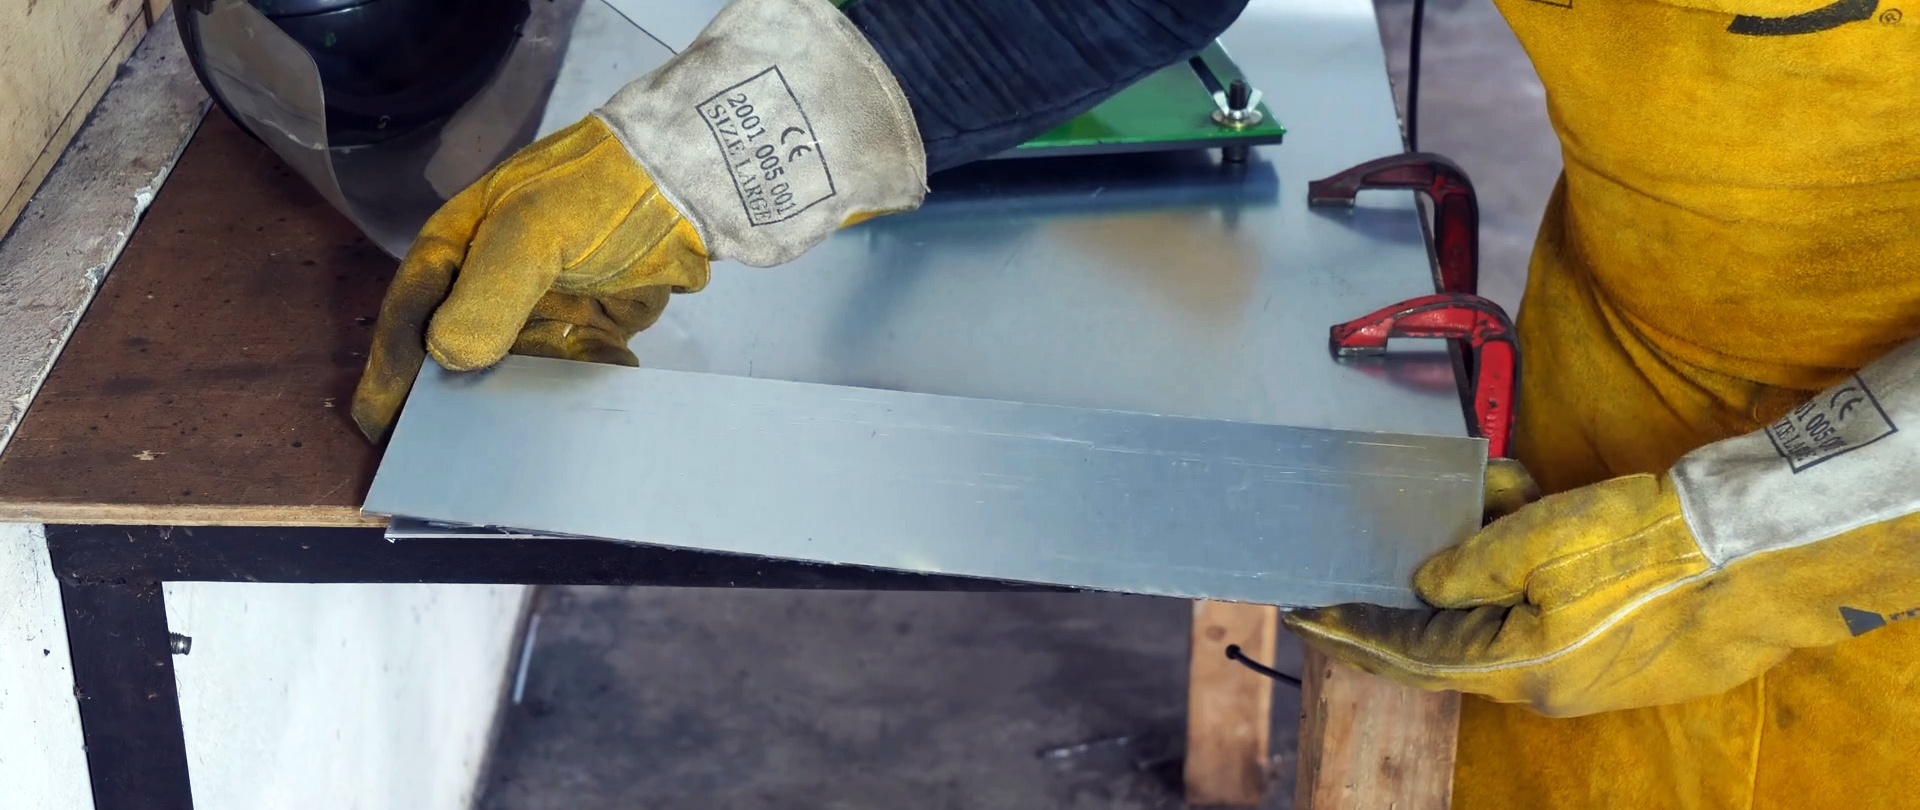
We install the angle grinder on the attachment, set the stop strip to the selected size of the sheet of metal that needs to be cut and, securing it with “wings”, make a test cut. If any shortcomings arise, we eliminate them and, having removed the “lambs”, paint the console.

Long-lasting discs for angle grinders on AliExpress at a discount - http://alii.pub/61bjly