It is necessary to spend a lot of time, effort and energy to find and buy in stores or on the market a ready-made mosquito net on a frame of a suitable size and color. A finished net with a frame costs an average of 1,000 rubles, while 1 square meter of mosquito net will cost no more than 200 rubles. You will also have to pay a technician to install a mesh on the window sash from the outside.

Moreover, to install the mosquito net, specialists will drill holes in the window frame for its fastening, which will not at all decorate the window opening from the outside. Having built mosquito net with your own hands, you will not only be able to significantly save the family budget, but also not spoil the external aesthetics of the window opening.
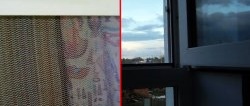
How to cheaply make a frameless mosquito net
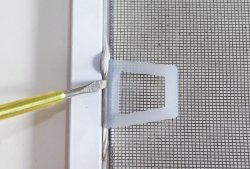
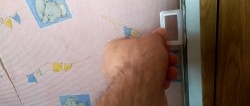
To work, we will need, in fact, the mosquito net itself, a hand screwdriver with a flat blade, ordinary scissors and, possibly, glue suitable for these materials.First, we need to remove the sealing harness from the groove around the perimeter of the window sash into which we are going to install the mosquito net.

The seal may consist of several pieces and the beginning of each of them may be glued for reliability. For this reason, when removing the sealing harness, it is necessary to be extremely careful not to overstretch the sealing harness in order to make it easier to reinstall it in the sash groove later.
We cut in advance mosquito net to the size of the window sash, but with some guaranteed margin in length and width, and install it from the room side into the window sash.

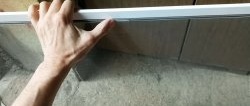
On top of the mosquito net, insert the old or new sealing harness into the corresponding groove, helping yourself in some places with the end of a flat-head screwdriver.


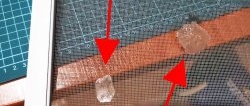
As the sealing harness is installed, the mosquito net is gradually tightened, since some of its part is pressed into the groove by the sealant.
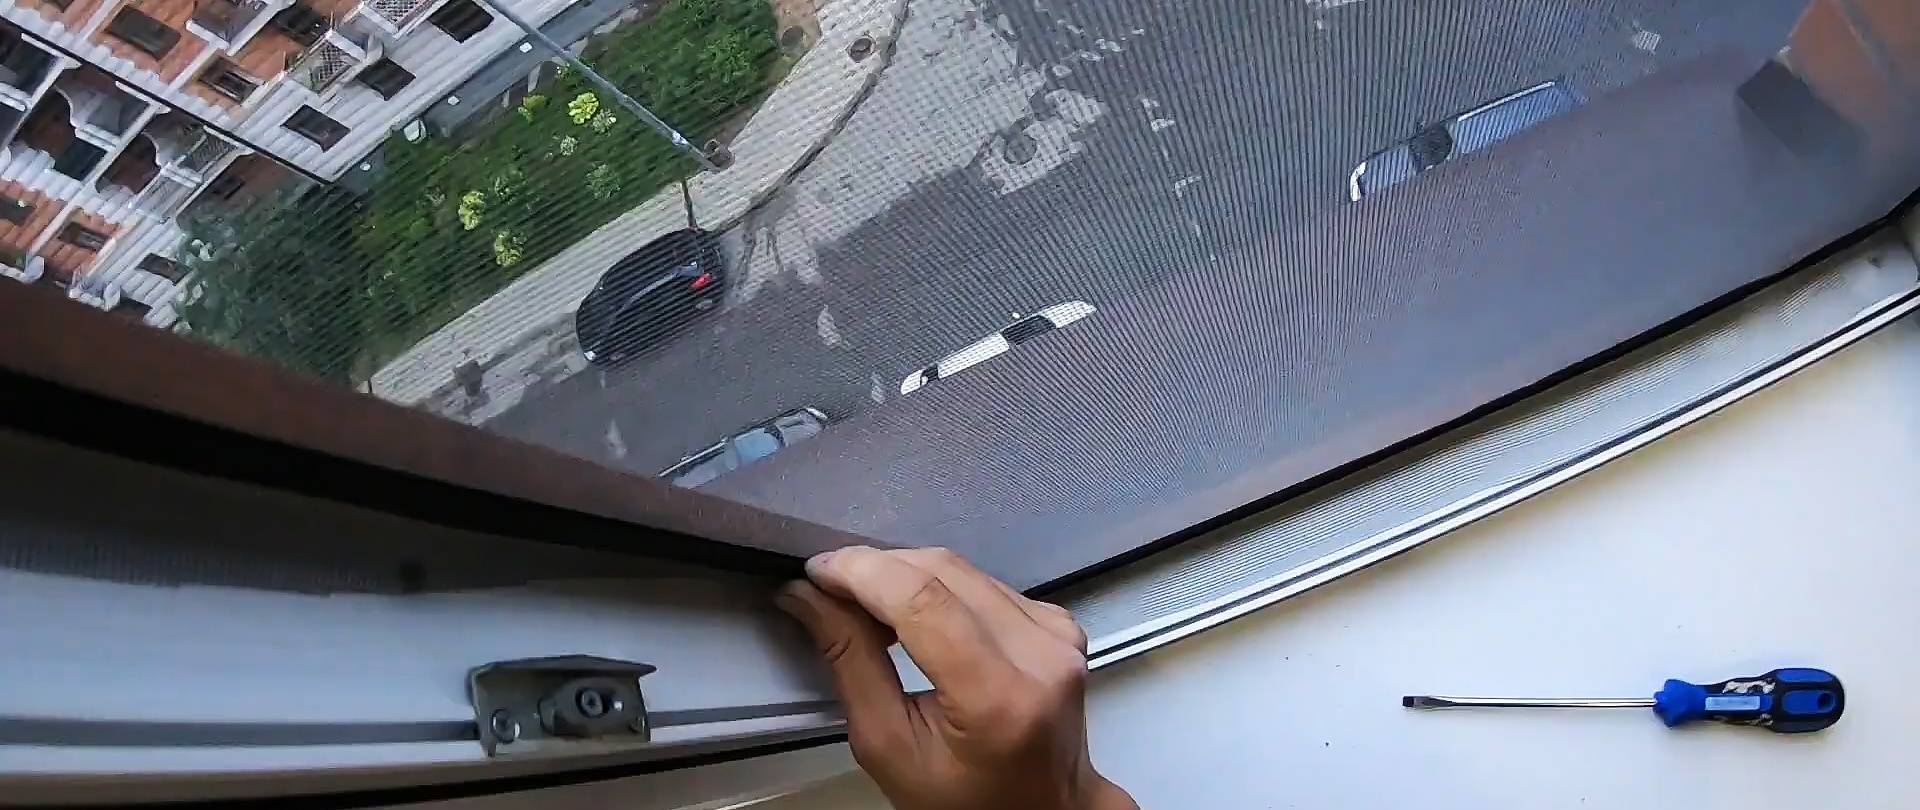

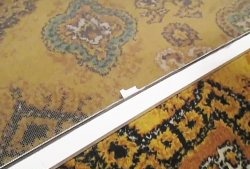
It is possible that some parts of the sealing harness nevertheless stretched during the removal process, so excess parts form in the corners, which are then simply cut off with scissors. For greater reliability, it is advisable to strengthen the ends of the seal with suitable glue. We cut off the excess mosquito net around the perimeter of the sash with a construction knife. Now the window opening from the street side looks extremely attractive, since there is no mosquito net frame or fastening elements. You also save money, which is important.