Sockets falling out of the wall are a common household problem that can be seen in every third apartment. And this does not mean at all that the owner of the apartment is an armless lazy person. It’s just that the seat in the wall no longer allows the socket to be fixed. This is more often observed in old Khrushchev buildings, where the sockets are metal or absent altogether. Many people simply ignore this problem, especially if the socket that has fallen out is not regularly used. This approach is fundamentally wrong. And now we will tell you about a simple way to fix this problem. Without the use of special construction tools and devices. Just a screwdriver and a wood saw.

How and with what to secure a fallen socket
Attention! The voltage of a household electrical network of 220 Volts is dangerous to life. Therefore, it is necessary to turn off electricity in the repair work area.
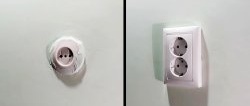
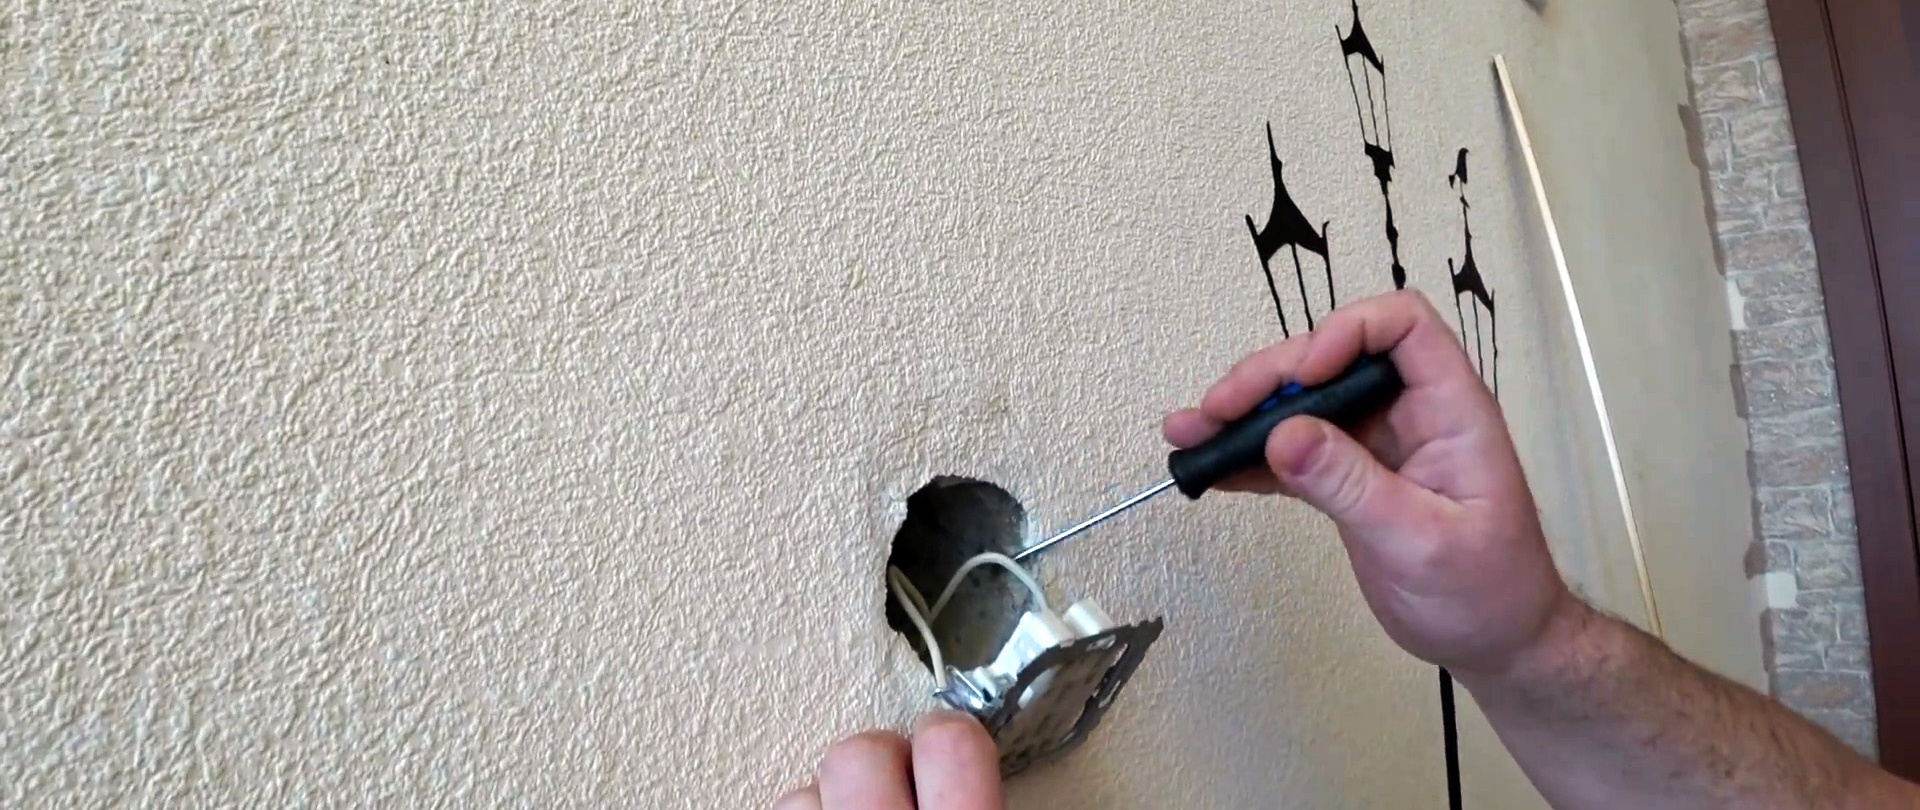
Use a screwdriver to unscrew the front panel of the socket and remove it. It is usually secured with one screw. It is not tightened too much, there will be no problems with unscrewing it.

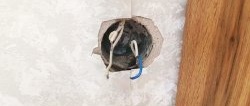
Having removed the panel, you can immediately see the cause of the problem - the fixing tabs of the socket do not reach the socket.Or there is no socket box at all, and the edges of the hole for the socket are already severely ground off. Attempts to tighten or bend the fixing tabs lead to nothing. The socket doesn't stay in place. What to do?

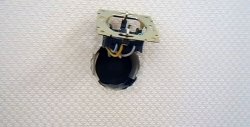
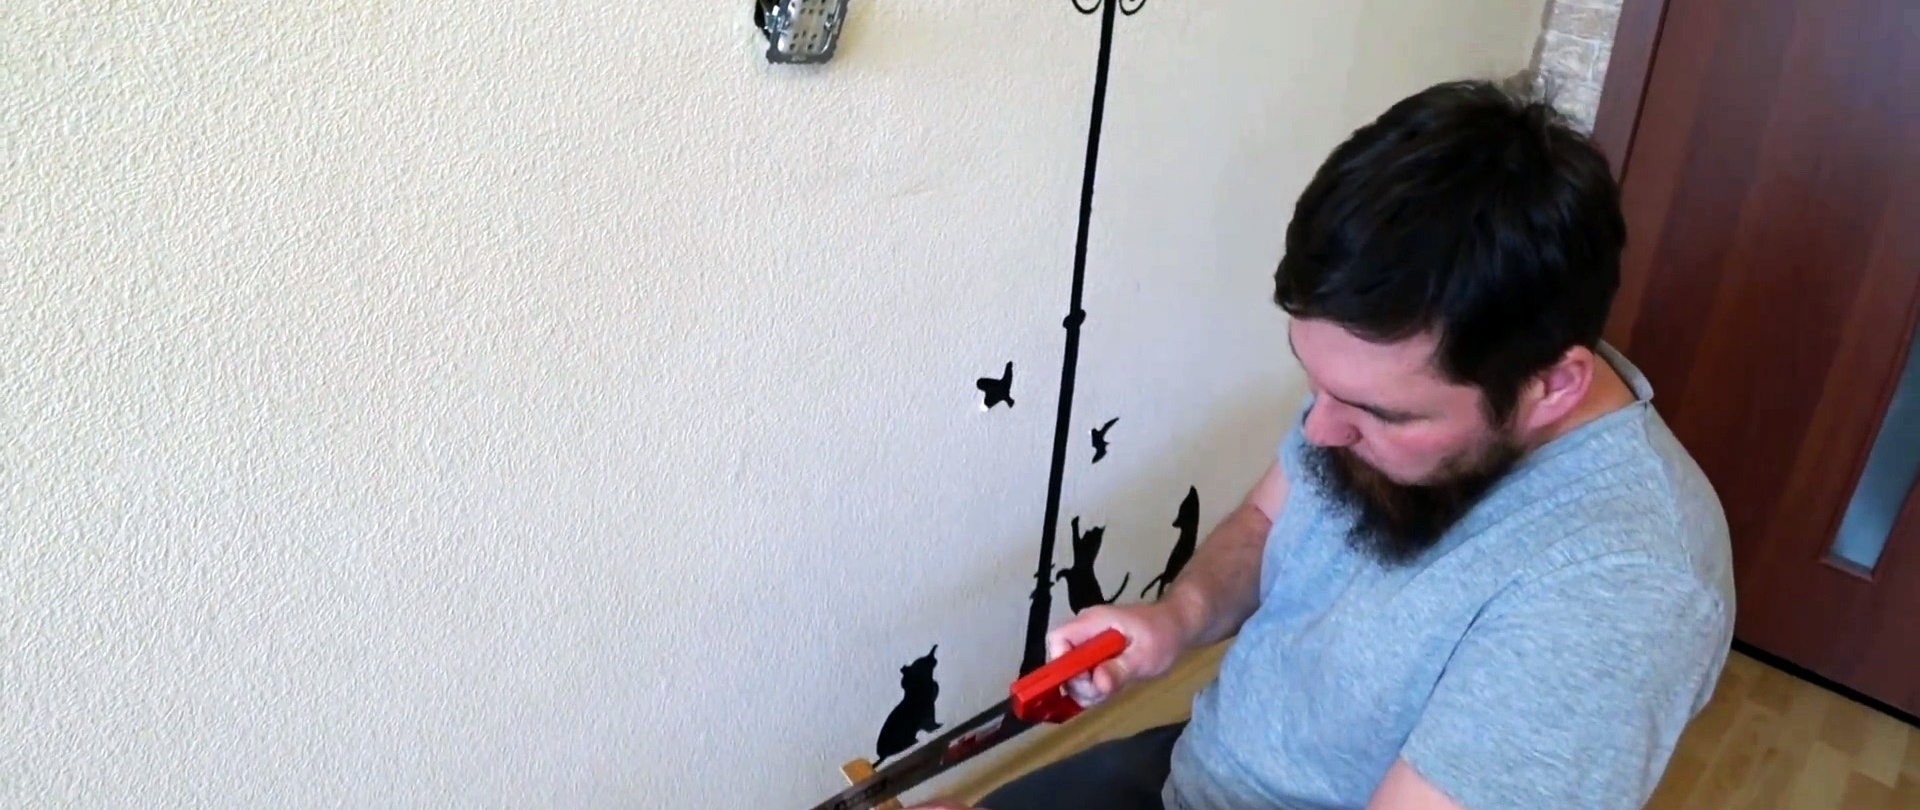
Need a wooden slats. Not big. An old Soviet wooden ruler will do. Or her likeness. Pieces are cut off from it and then inserted along the edges of the socket. It is not recommended to use cardboard or newspaper folded several times instead of wood. These repair options are not durable. The socket will fly out of the wall very quickly.
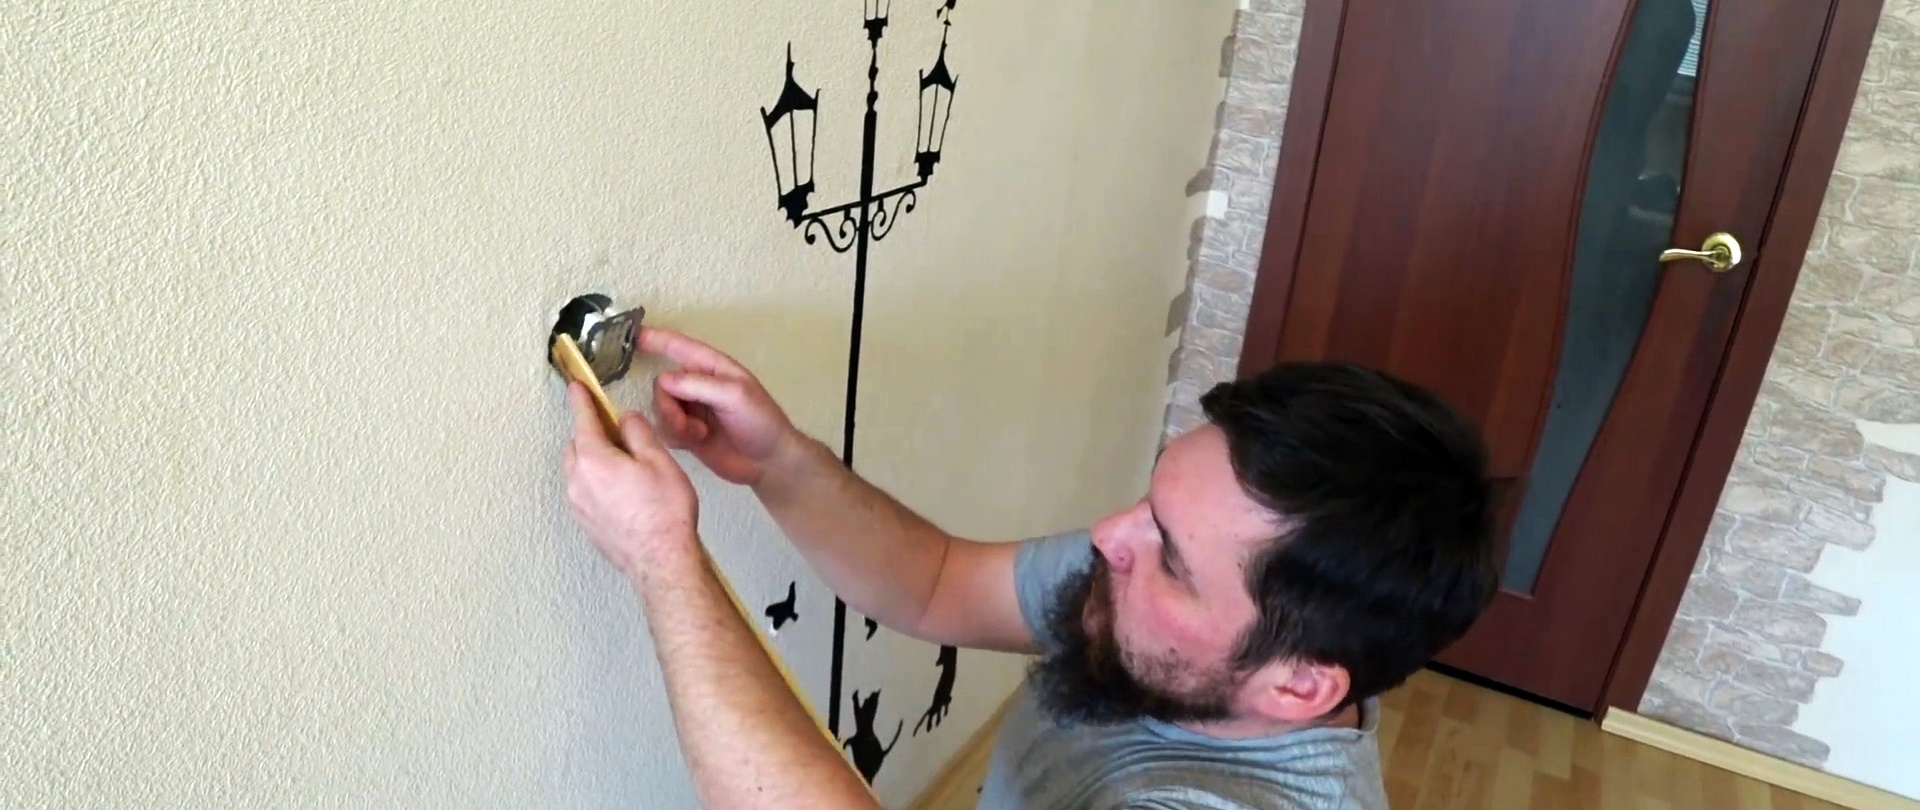
Cut pieces of wooden slats are inserted into the socket box.
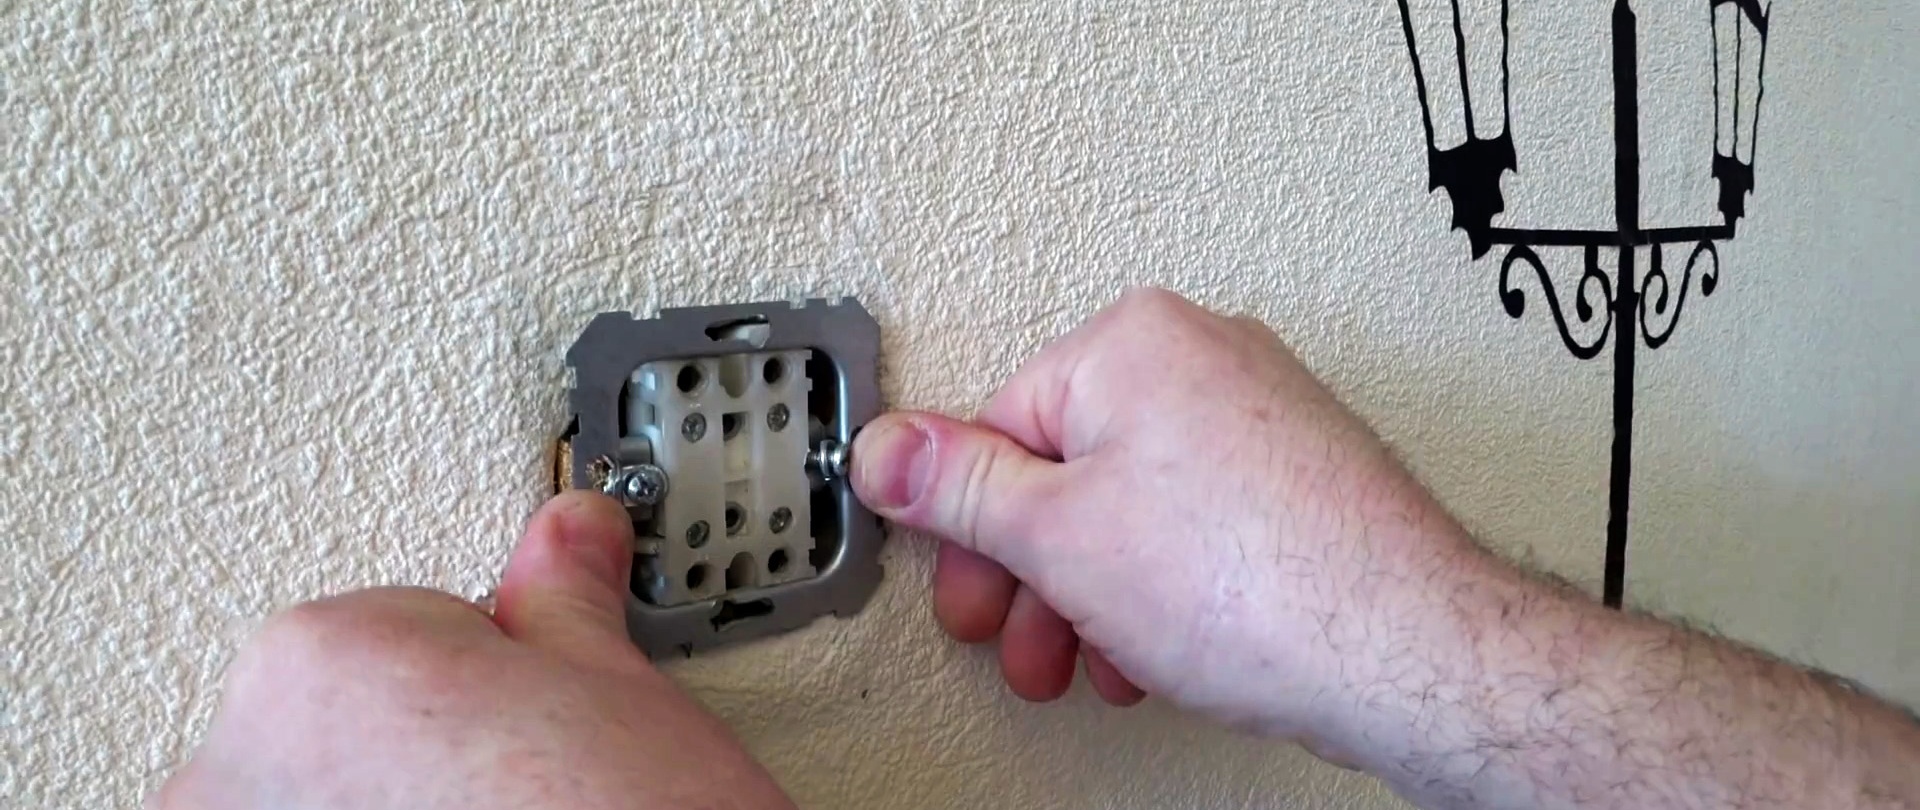
The installed socket already fits very tightly, you don’t even have to tighten the tabs. They dug into the wood and securely held the socket in the wall. But they still need to be tightened. Only without fanaticism, measuring the effort.

After this, the front panel of the socket is also carefully screwed on. Here you need to act even more carefully - it’s easy to break the plastic panel.

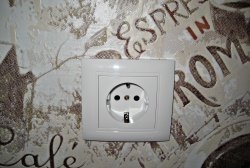
The repair has been completed. The socket is securely fastened.