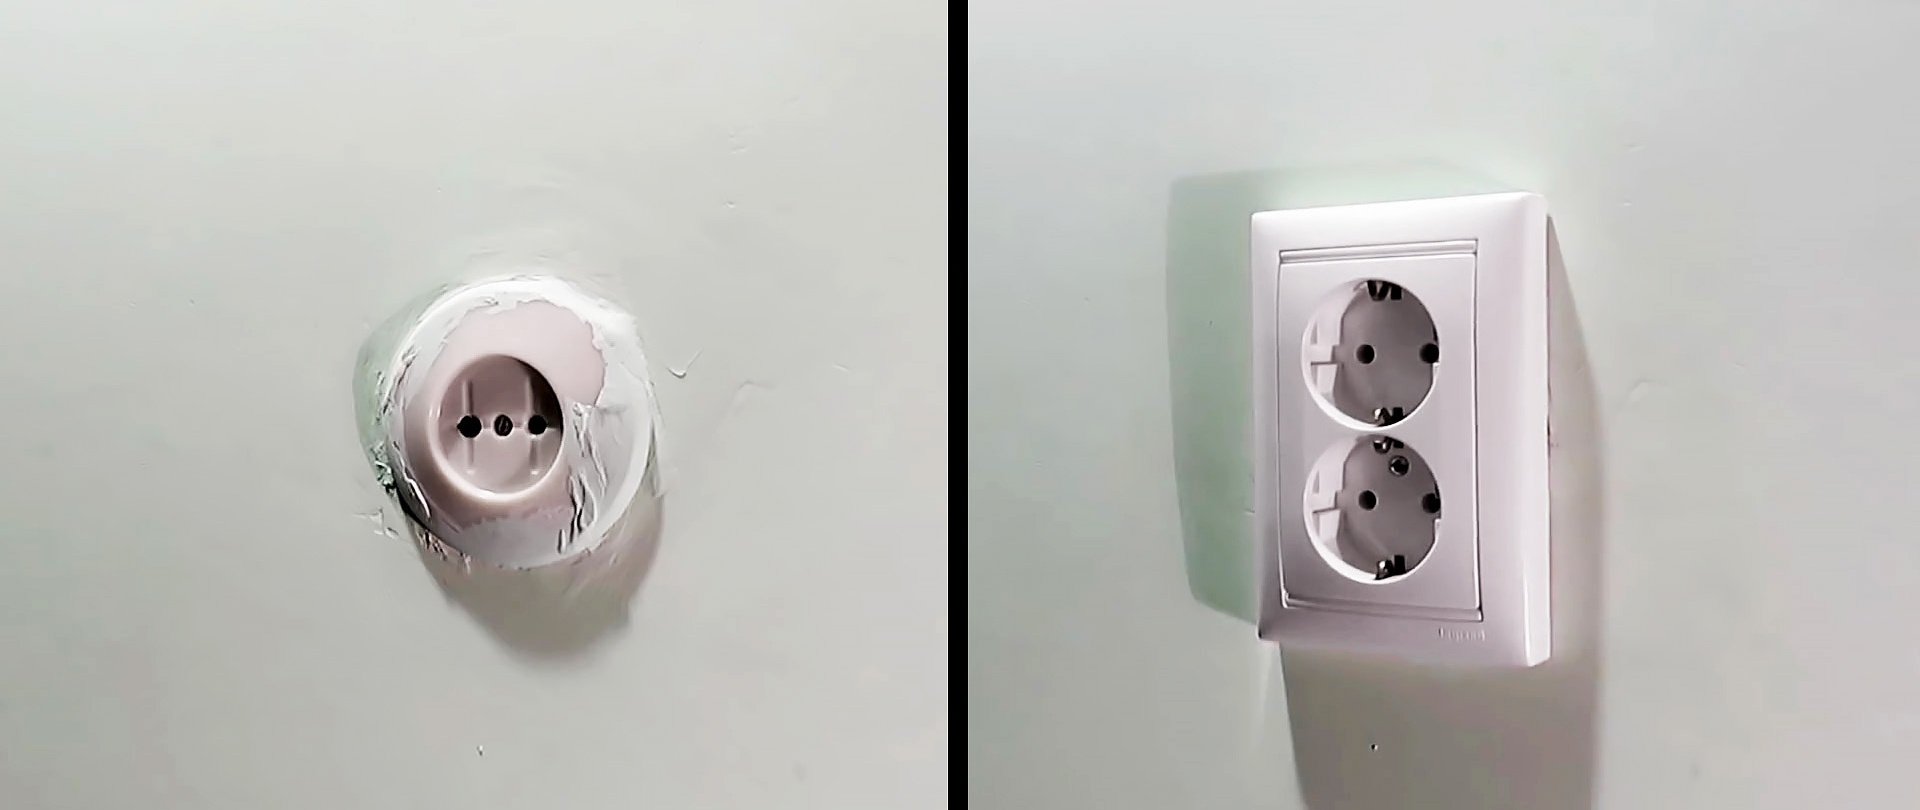
Soviet sockets are capable of serving for about half a century, but development dictates its own rules and modern plugs are no longer suitable for them. There is no point in modifying an already old outlet.
In addition, combustion and swinging of the socket in the socket are quite common problems of long-term operation, but fortunately you can fix them yourself! Just half an hour - you have a new outlet that is safe and convenient to use. No complicated knowledge or expensive professional tools, everything is simple and fast!
You will need
Prepare the necessary tools and materials immediately so that everything is at hand. To replace a burnt wire or fix a falling out socket, you will need: Tools:- Indicator screwdriver or phase tester - http://alii.pub/64bk4x
- screwdriver;
- screwdriver;
- stationery knife, plastic side cutter or scissors;
- flashlight - a telephone flashlight will do to illuminate the socket inside the glass.
- new socket;
- a plastic socket box for the type of walls you have (concrete, brick, etc.);
- terminal blocks, if you need to extend or replace the wire – 2 pcs - http://alii.pub/64bl3q
- pieces of copper wire with a cross-section of 2.5 sq. mm, 10 cm is enough;
- self-tapping screws with press washers – 2 pcs.
Step-by-step instructions on how to change or repair an outlet
The first step will be to turn off the circuit breaker, i.e. unplug the outlet.
So, when everything is ready and the power is turned off, we begin the repair or replacement process. First, we check with an indicator screwdriver or a phase tester whether there is voltage.
Important! This check is mandatory, even if the socket is de-energized on the electrical panel, it can be powered from another wire, for example, from neighbors!
If you don’t have an indicator screwdriver or tester in your arsenal, you can determine where zero and phase are using a regular multimeter - https://enn.washerhouse.com/8242-kak-opredelit-gde-nol-i-faza-pri-pomoschi-multimetra.html
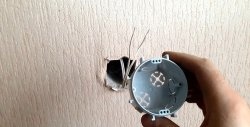
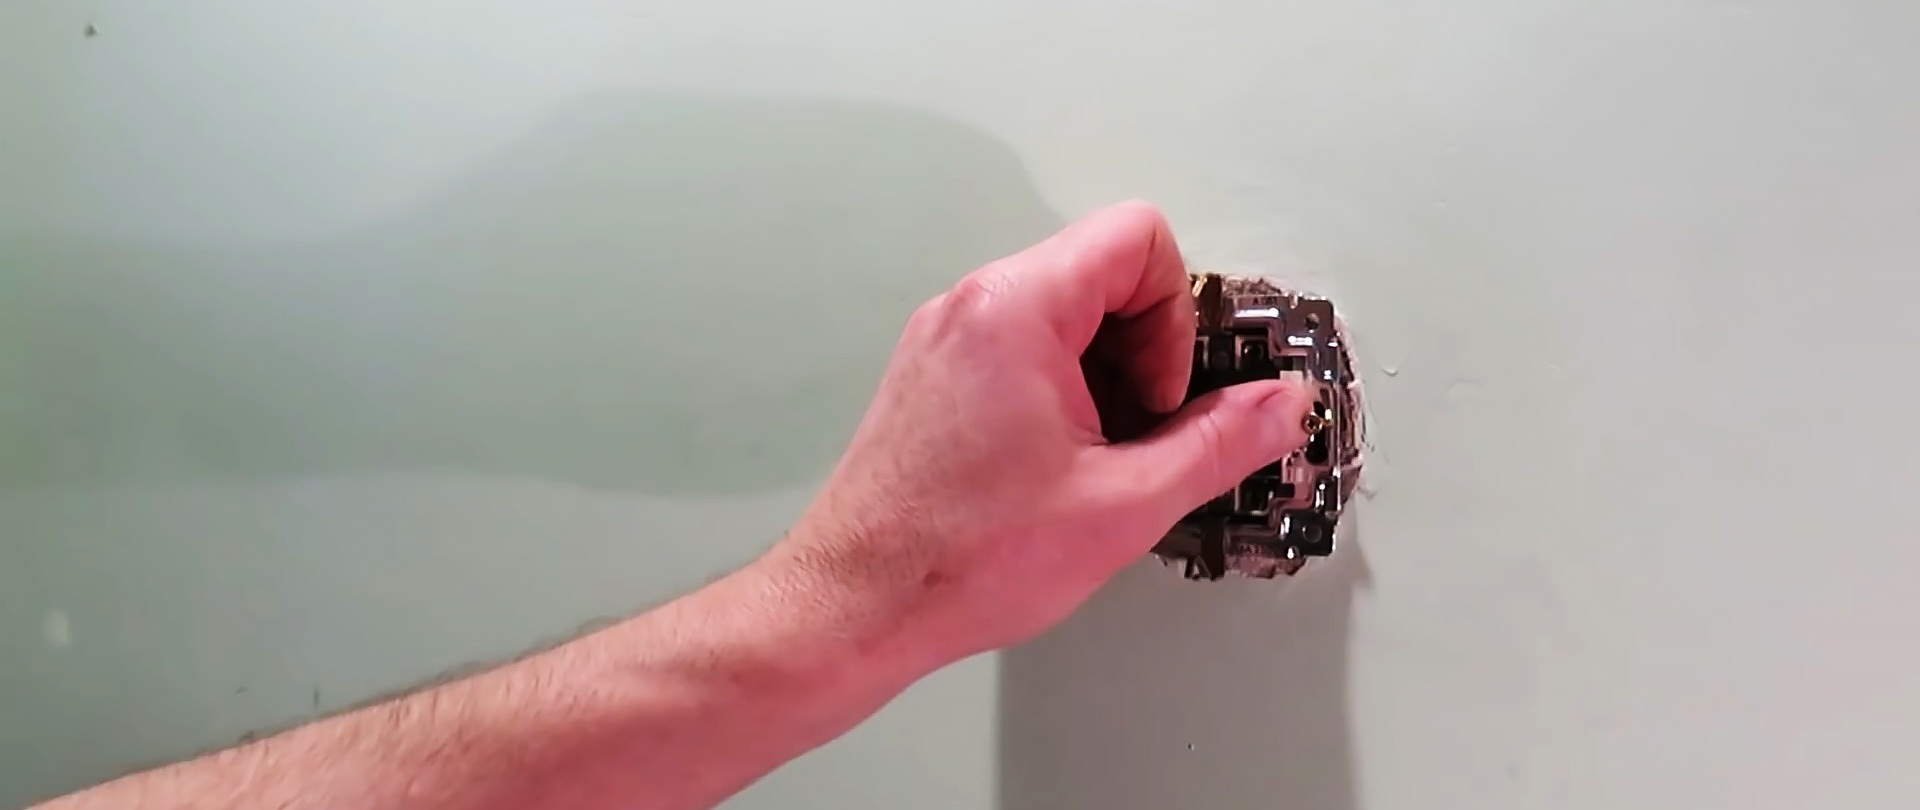
Next, remove the old socket:
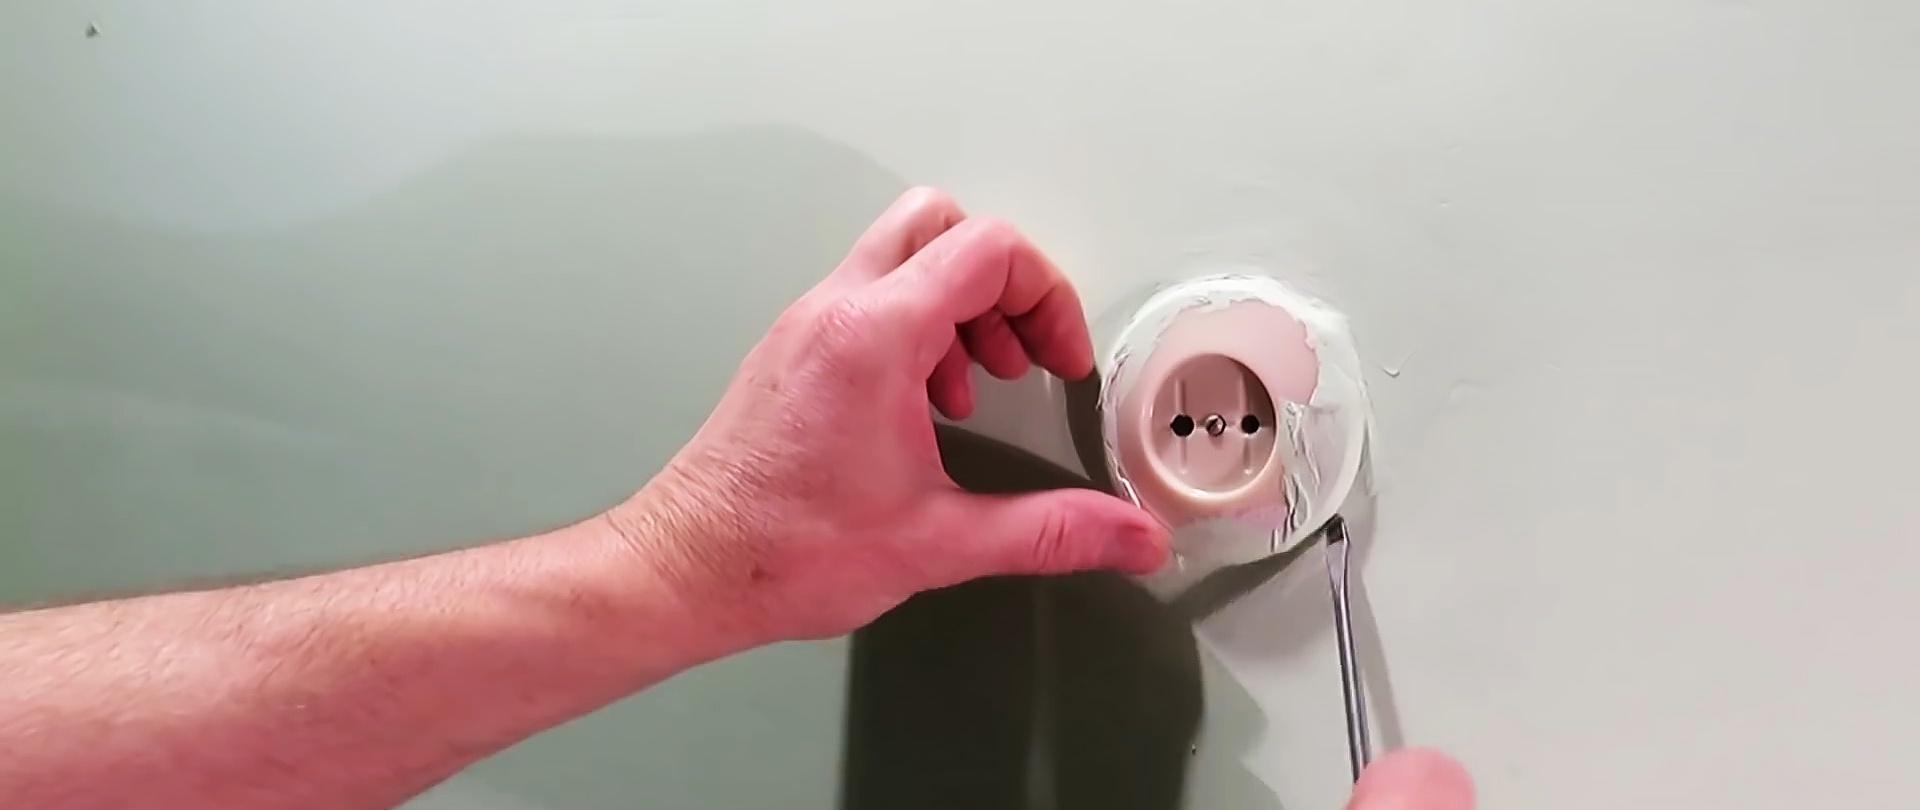
Using a screwdriver, remove the central mounting bolt and dismantle the outer plastic part of the socket.
We unscrew the screws of the socket box spacers, loosen the contact fastening (the screw that presses the wire);
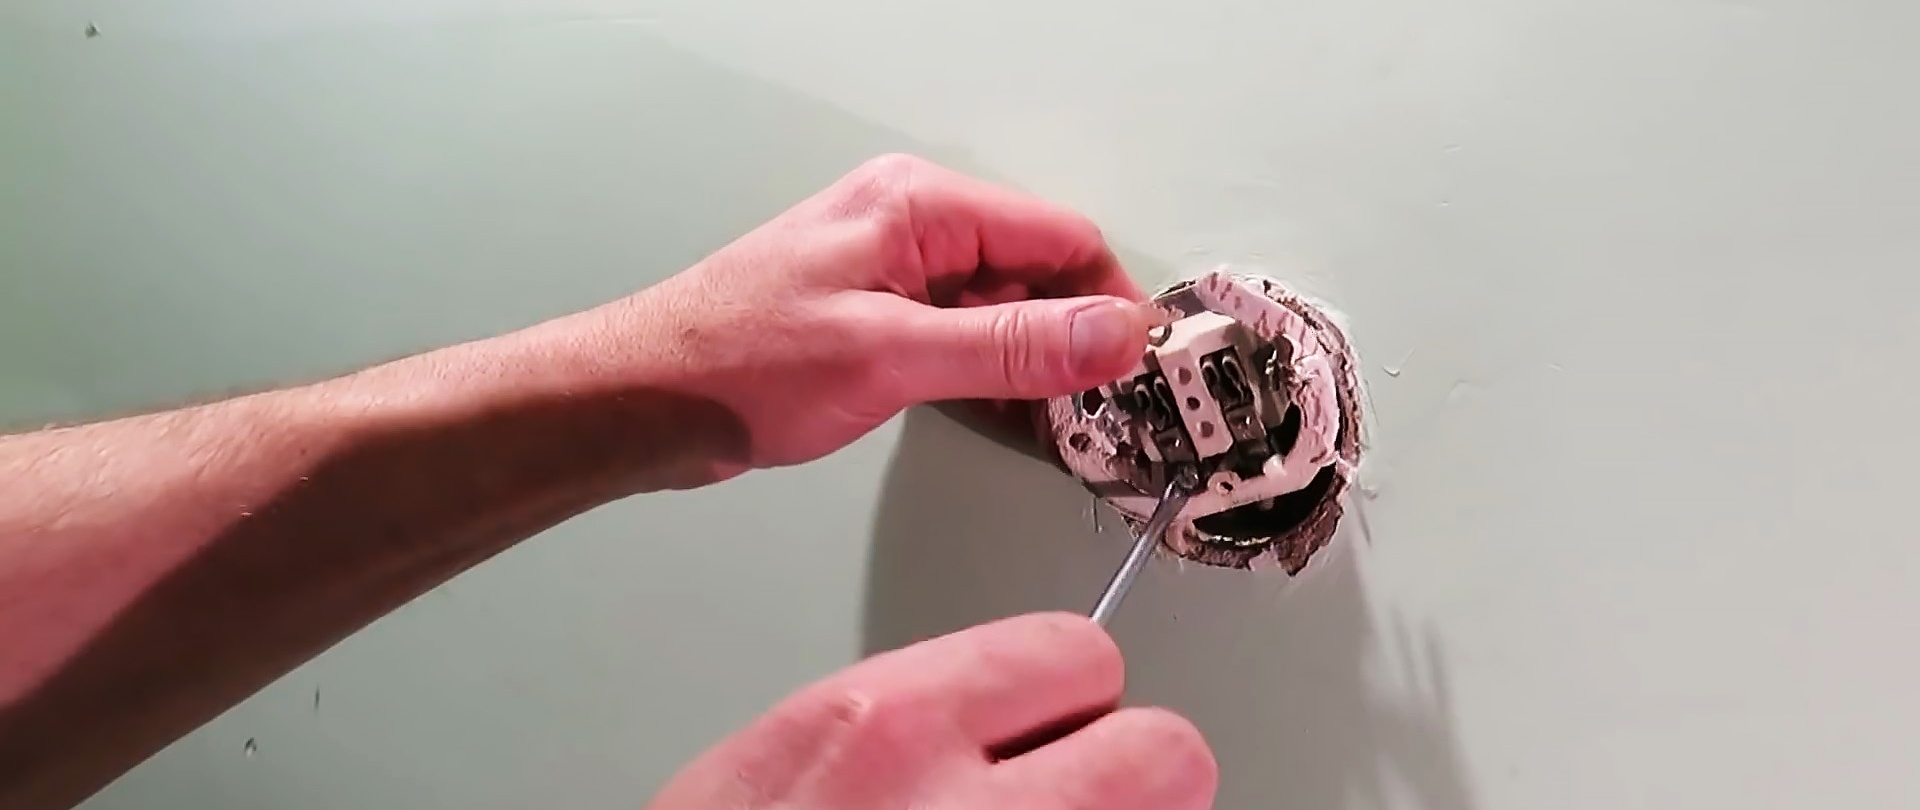
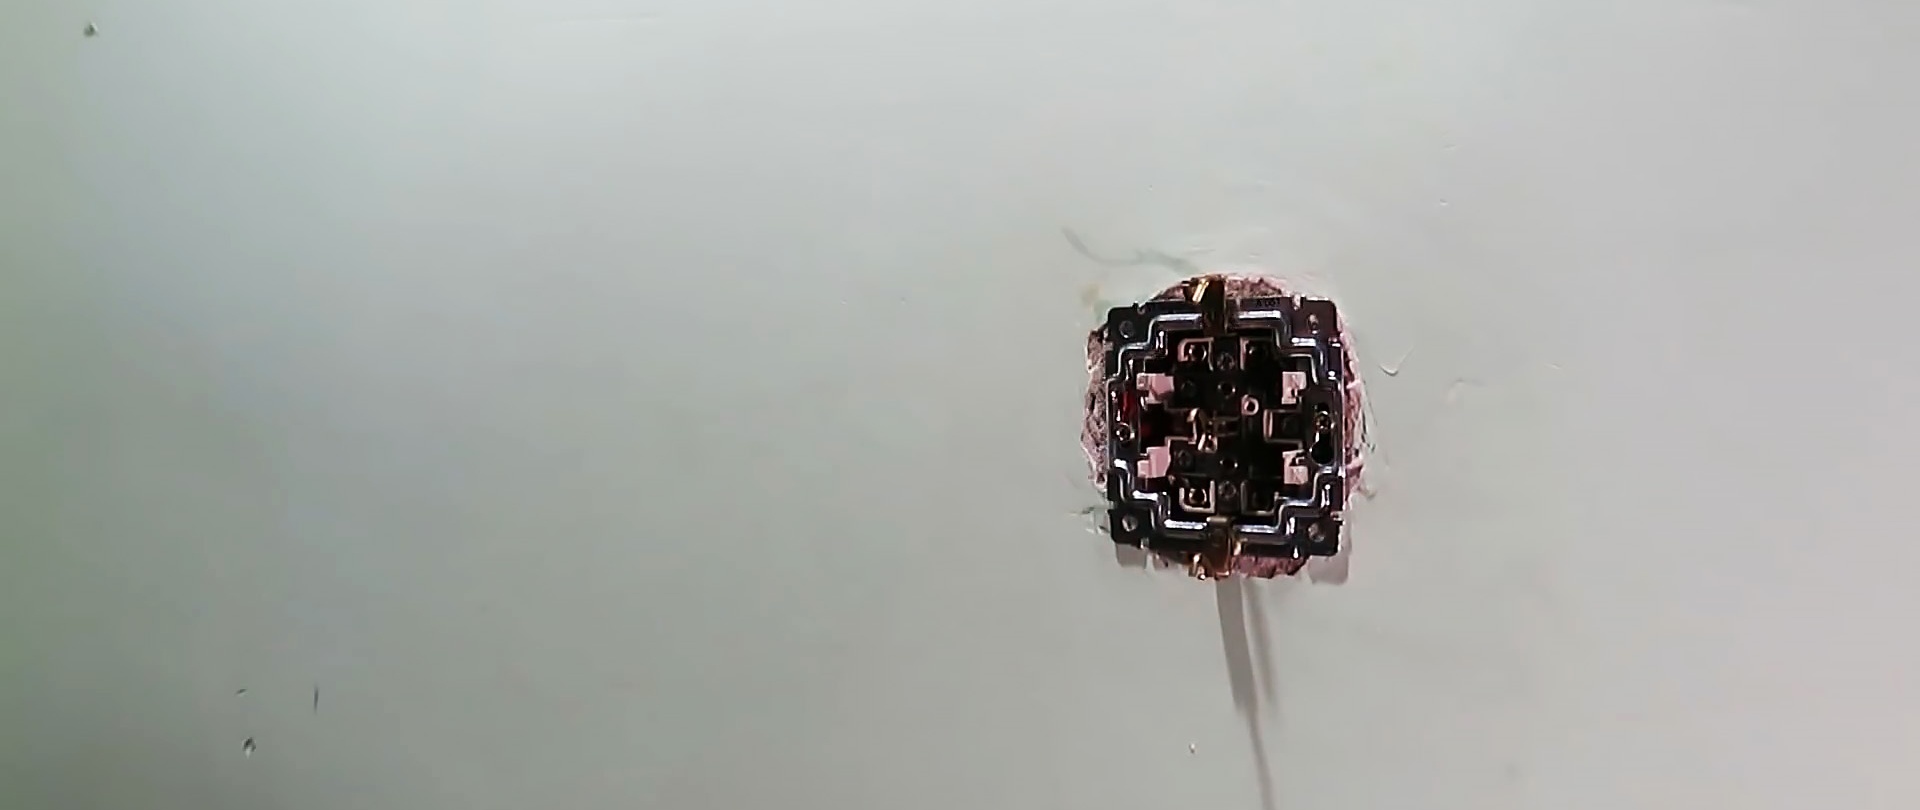
We take out the socket.

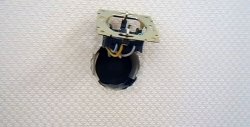
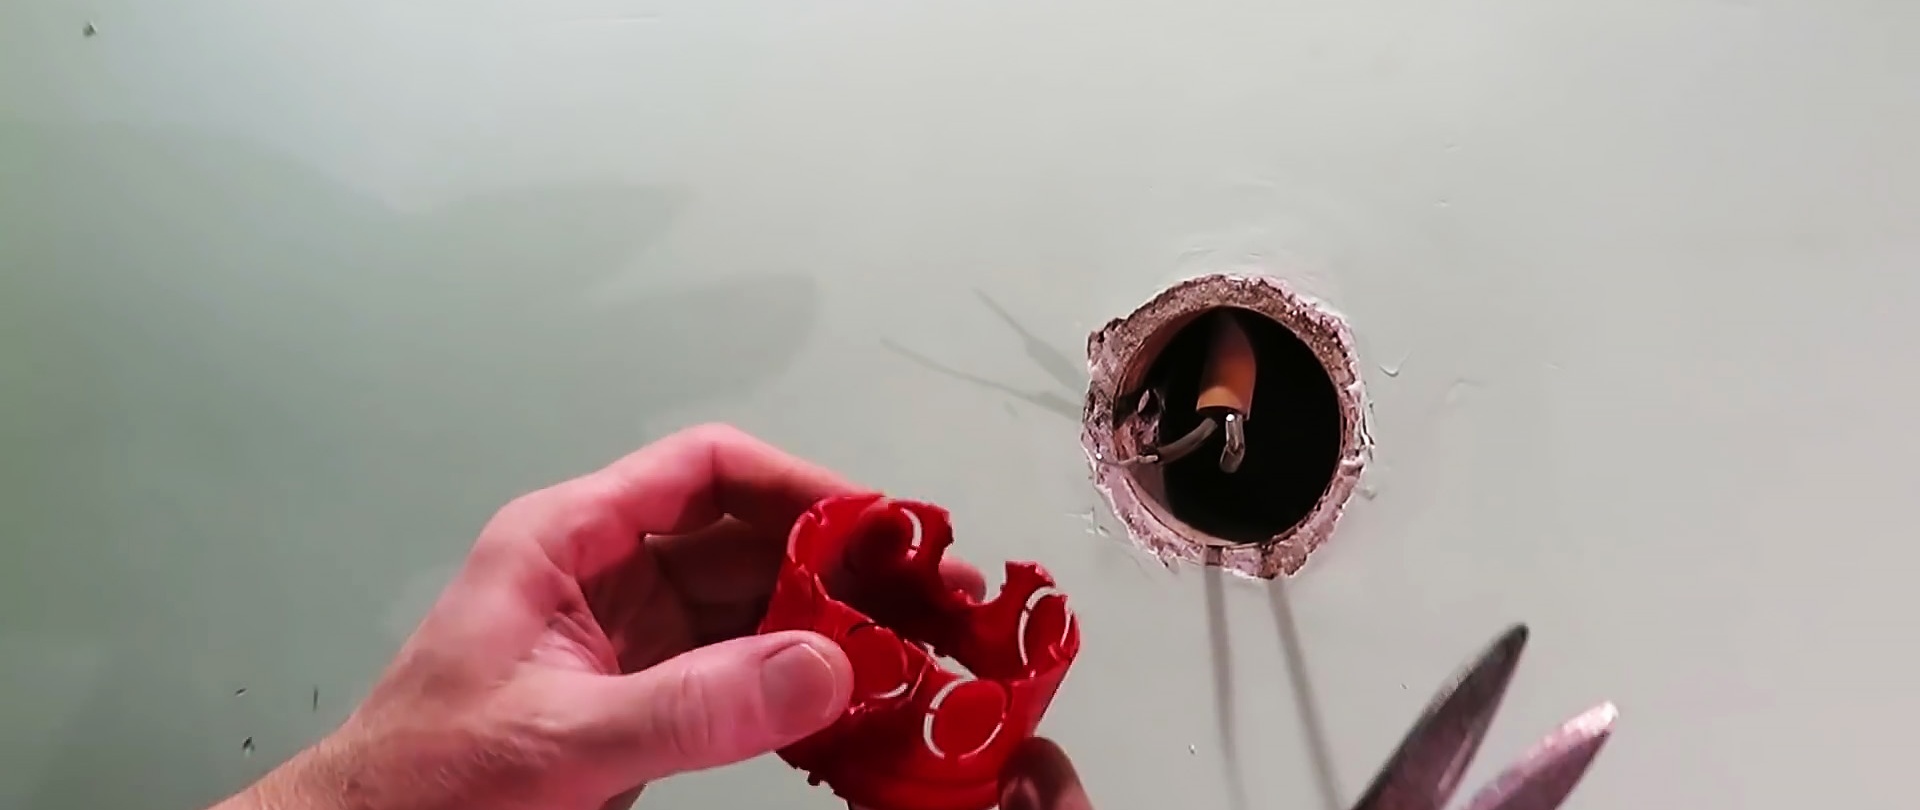
The old socket has been removed! At the same time, you can clean the area around the outlet, where the plastic plug is located: remove the old wallpaper, remove any remaining whitewash and paint so that the new outlet fits in without gaps. This way it will hold tighter and will not fall out if accidentally pulled.
Next we work on installing a new outlet:
We insert the plastic socket box into the metal cup - if it does not fit in size (does not fit), you can trim it with a side cutter or a stationery knife, modify the hole for the wire, the main thing is to make sure that there are no parts sticking out.

Advice! When inserting the socket box, pay attention to the location of the mounting bolts for the internal spacer!
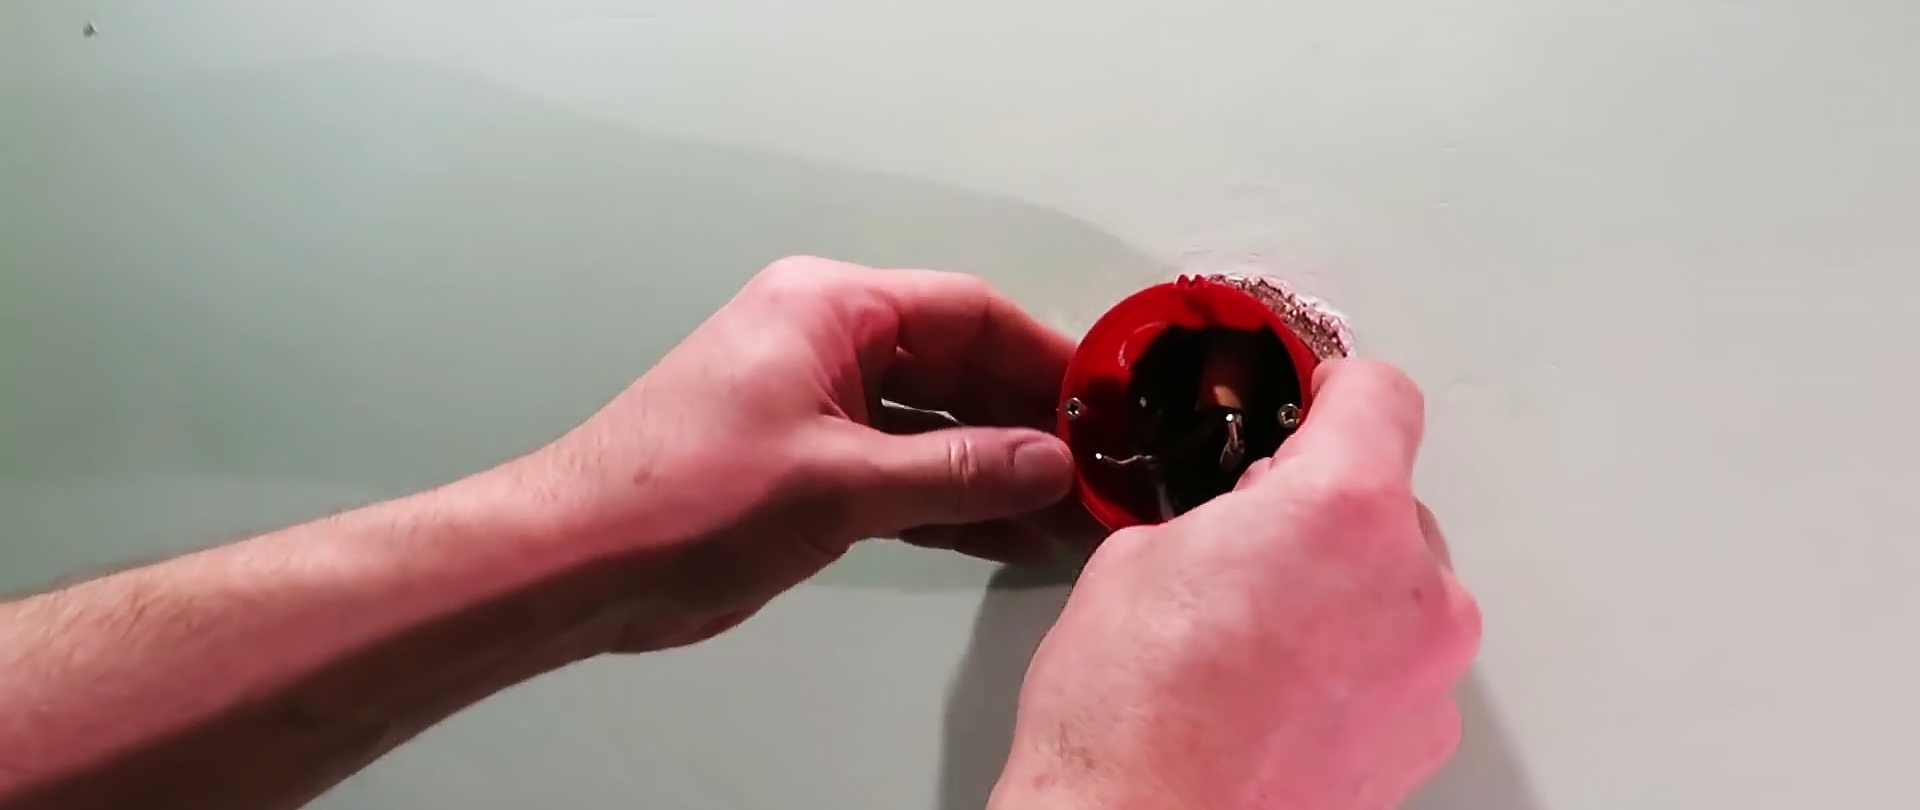
We secure the socket box with self-tapping screws and a press washer.

By the way! at this moment you can lengthen (increase) the wires; if they are short, substitute part of the copper wiring so that there is no oxidation using two terminal blocks!


We screw the wire to the terminals of the new socket, twist them a little with an accordion (if they are long).

We insert a new socket and secure it with a self-tapping screw.
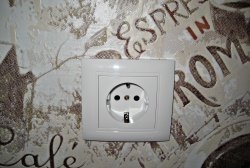
Finally, install the front panel.

New outlet installed!
What is important to know when repairing or replacing an outlet!
Replacing or extending wires should be done very carefully! First, strip the new copper wire on both sides (10-12 mm is enough), then insert it into the terminal block. Do the same with the old wire - strip the tip, insert it into the terminal block.
Please note during installation:
- a part of the wire with insulation enters the terminal block;
- The wire supplying current should not touch or be close to the mounting screws.
Now you will have a new good and, most importantly, safe outlet!