A ready-made front door in a store costs several thousand rubles. If you use old floorboards and leftover extruded polystyrene foam, you can make a door almost free of charge, not counting the fittings.
Will need
Materials:
- old floorboards;
- polyurethane foam;
- extruded polystyrene foam;
- tile adhesive;
- blue plaster mesh;
- deep penetration primer;
- polymer putty;
- black color;
- mortise lock;
- acrylic latex paint;
- universal protective varnish;
- door fittings, etc.
Tools: circular saw, thicknesser, drill, hand jointer, toothed smoother, paint roller, spatula, sandpaper P180, sander, spray gun, gas torch, etc.
The process of making a door from old floorboards and foam residues
We unravel it on a circular saw and pass the old floorboards through a surface planer to obtain blanks for the frame of the front door, which we assemble using polyurethane foam and self-tapping screws.
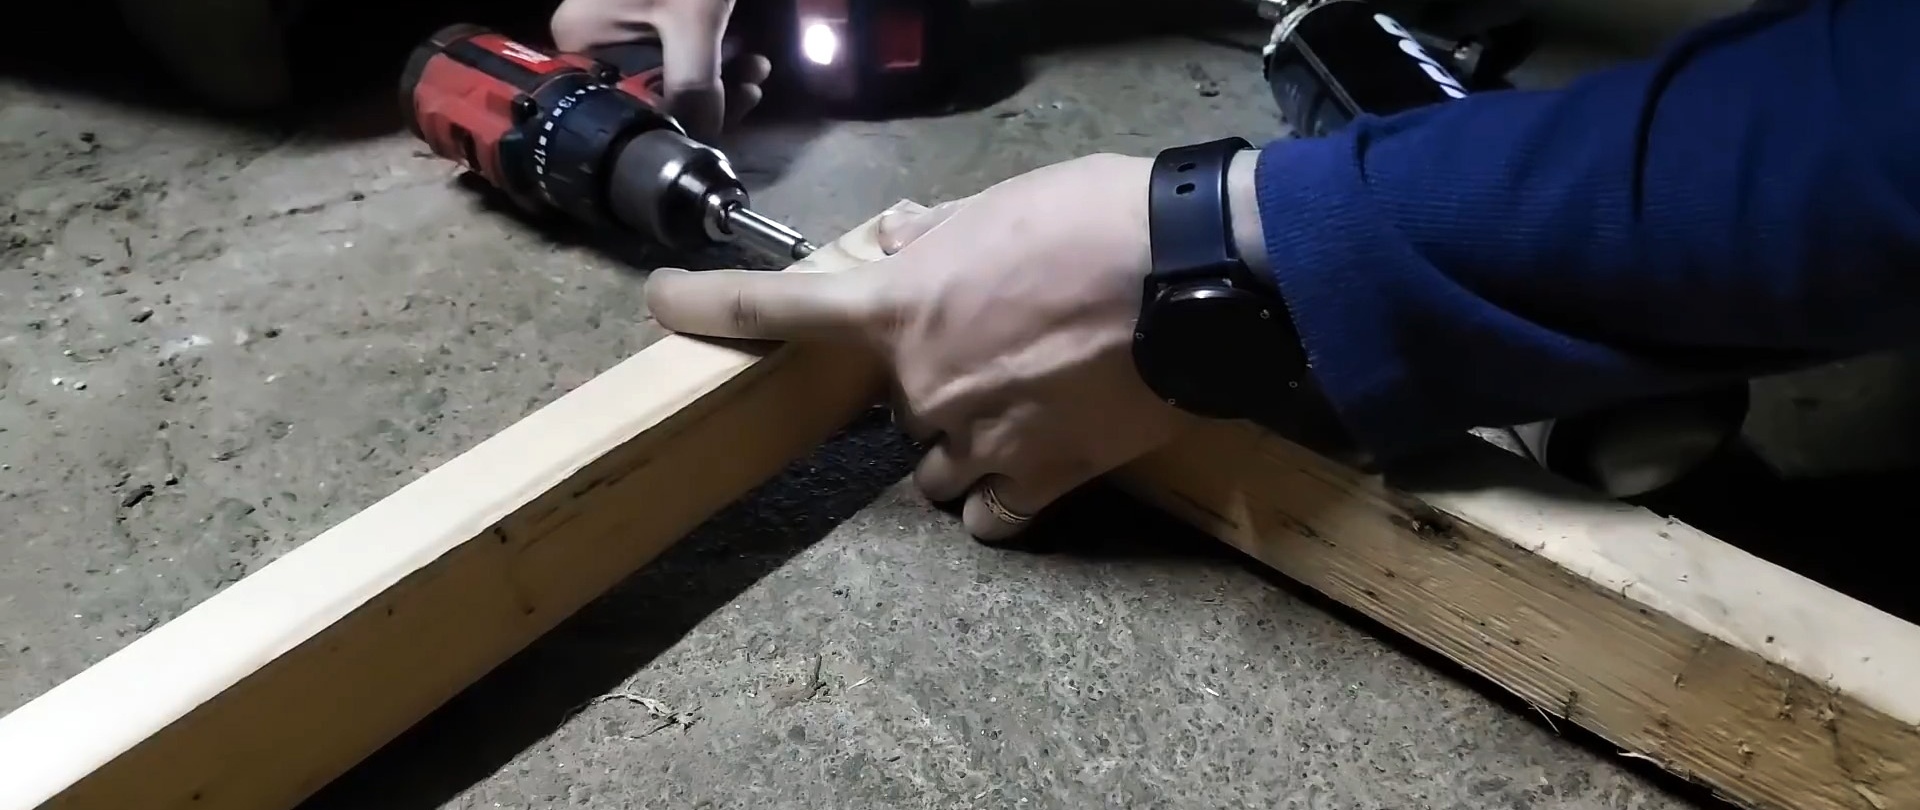
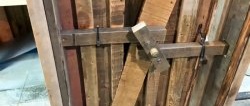
From the same bars we assemble a mortgage for a mortise lock.
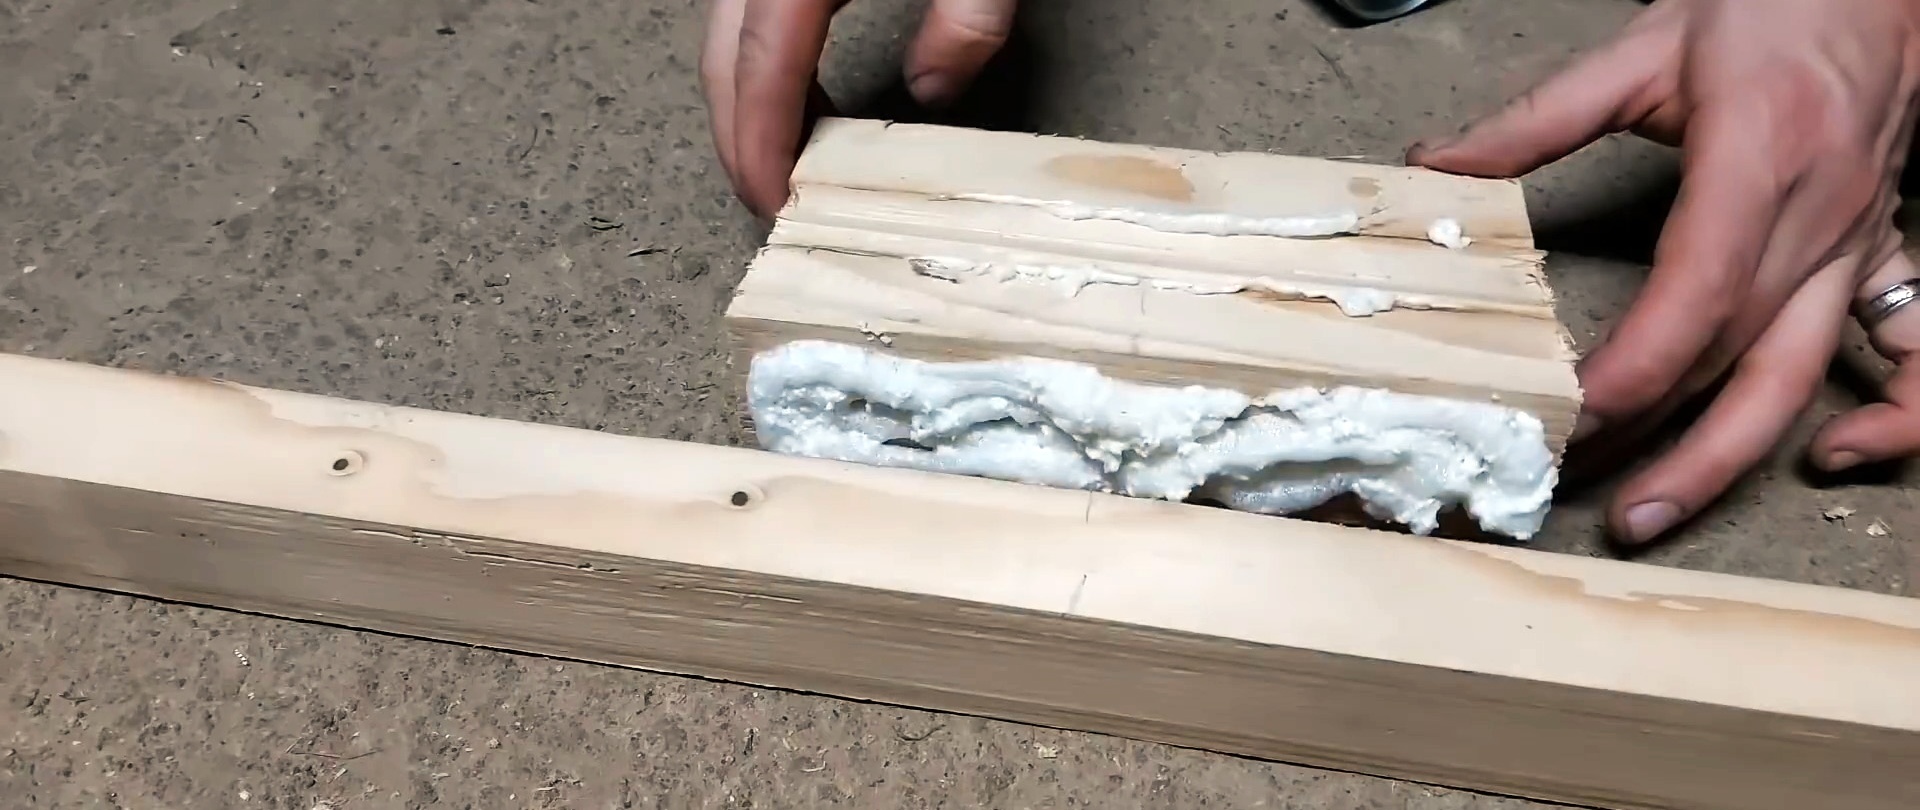
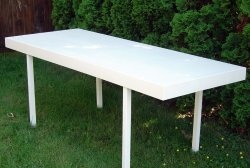
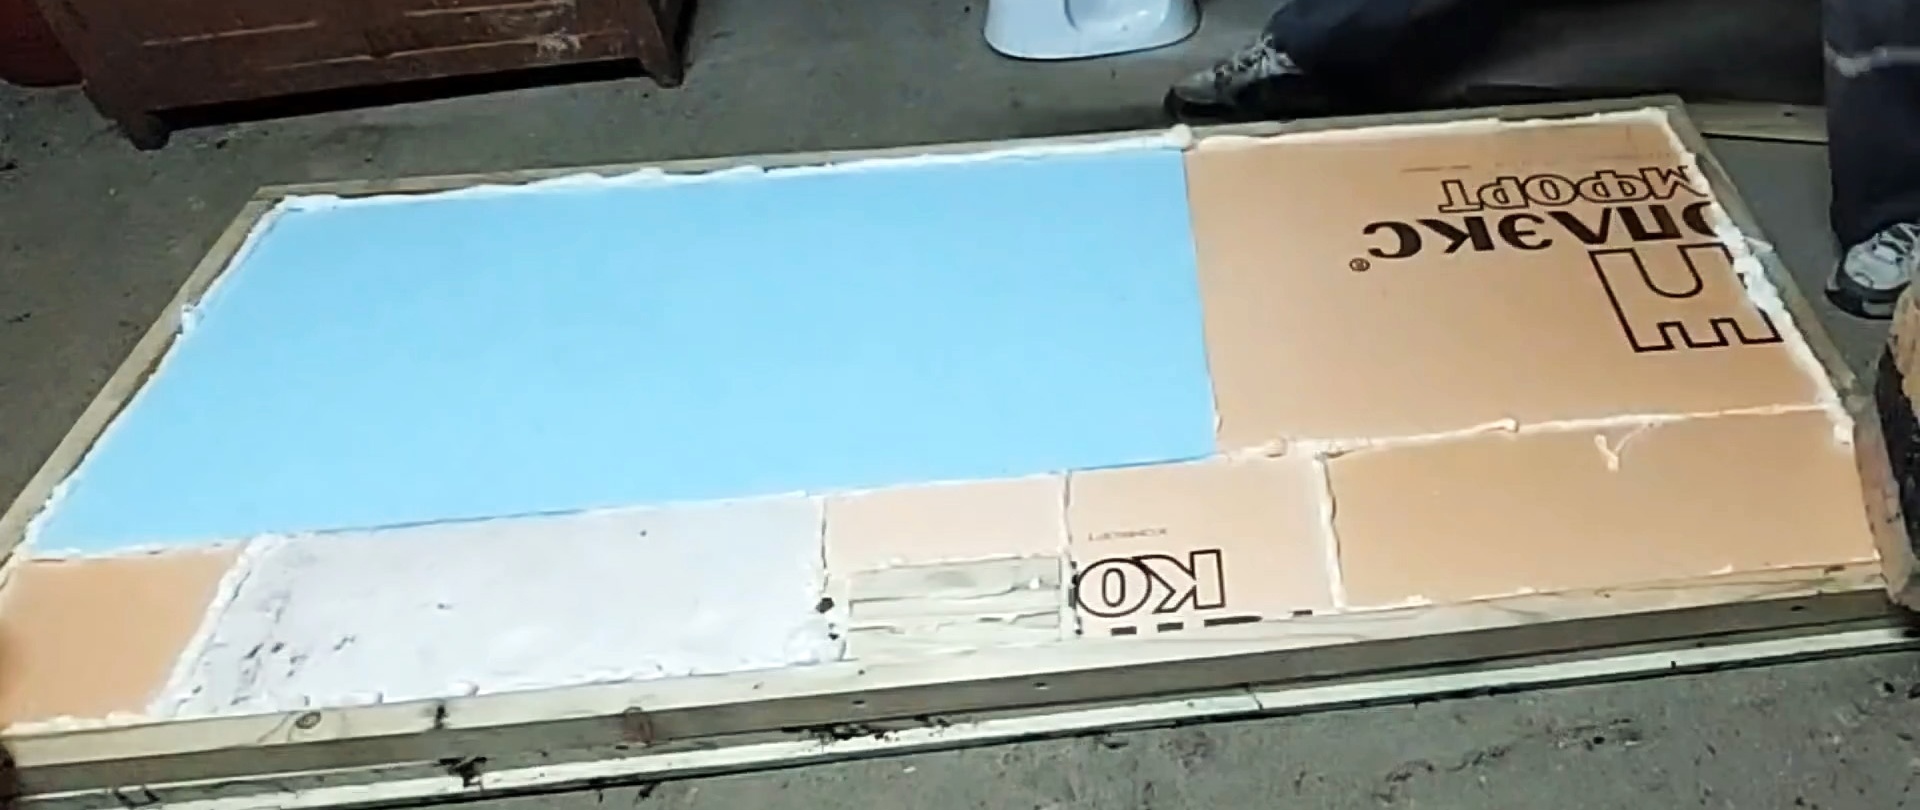
To fill and insulate the door, we use 3 cm thick extruded polystyrene foam, which is not inferior in thermal conductivity to 18 cm thick timber. We fill the gaps with polyurethane foam, which, when hardened, expands, tightly pressing and securely gluing the insulation parts to each other.
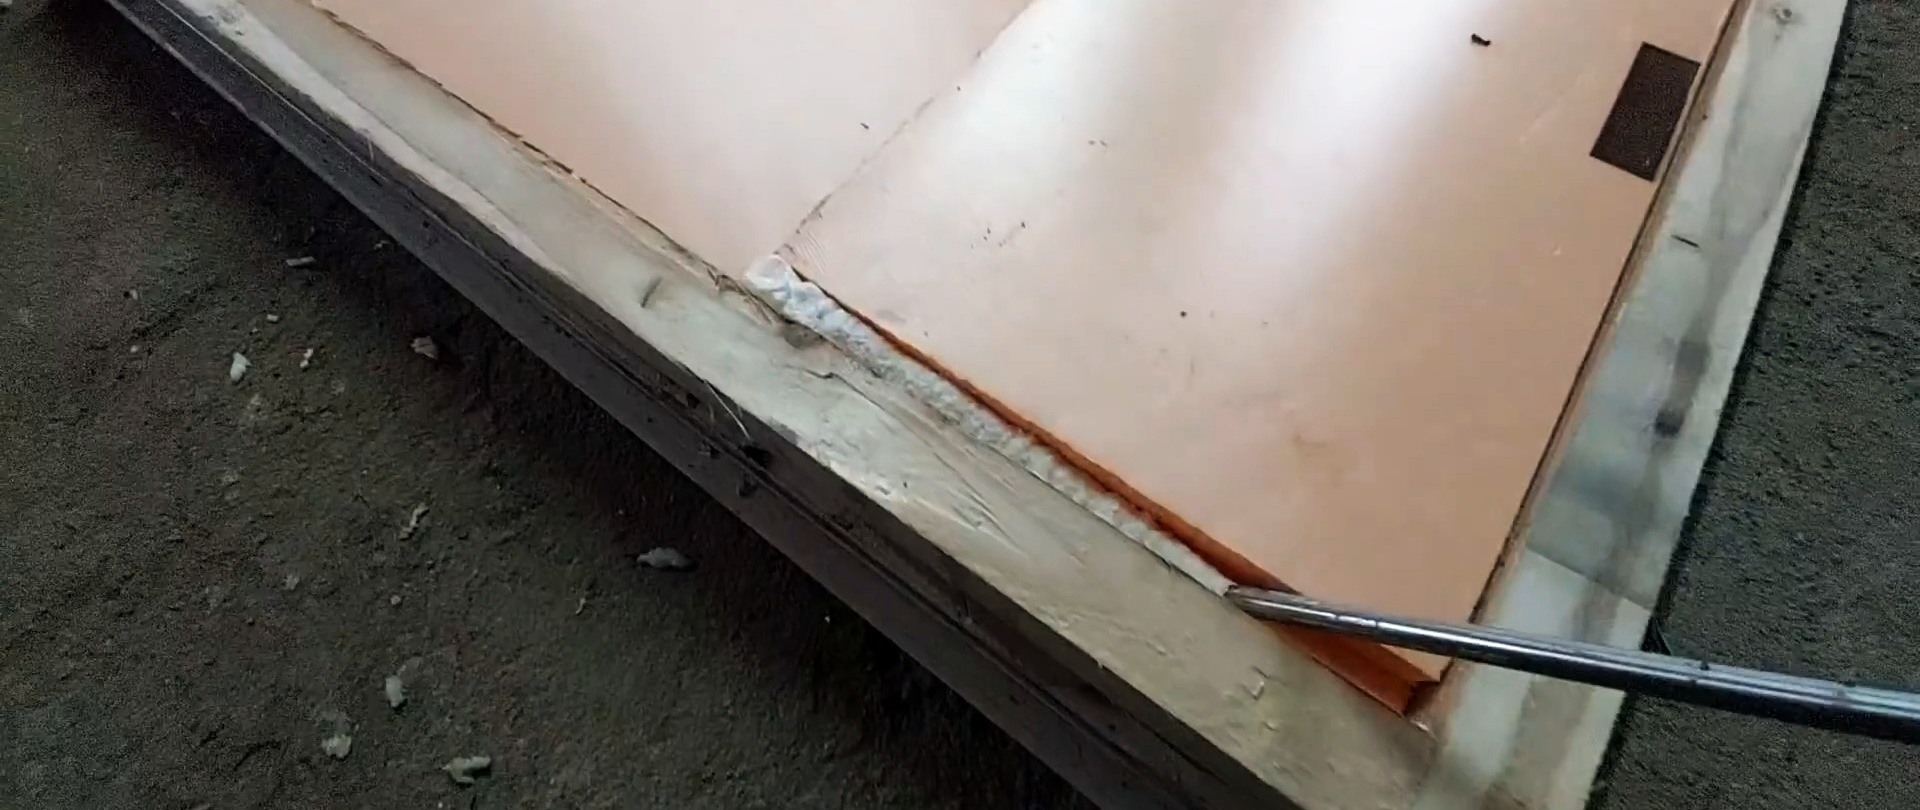
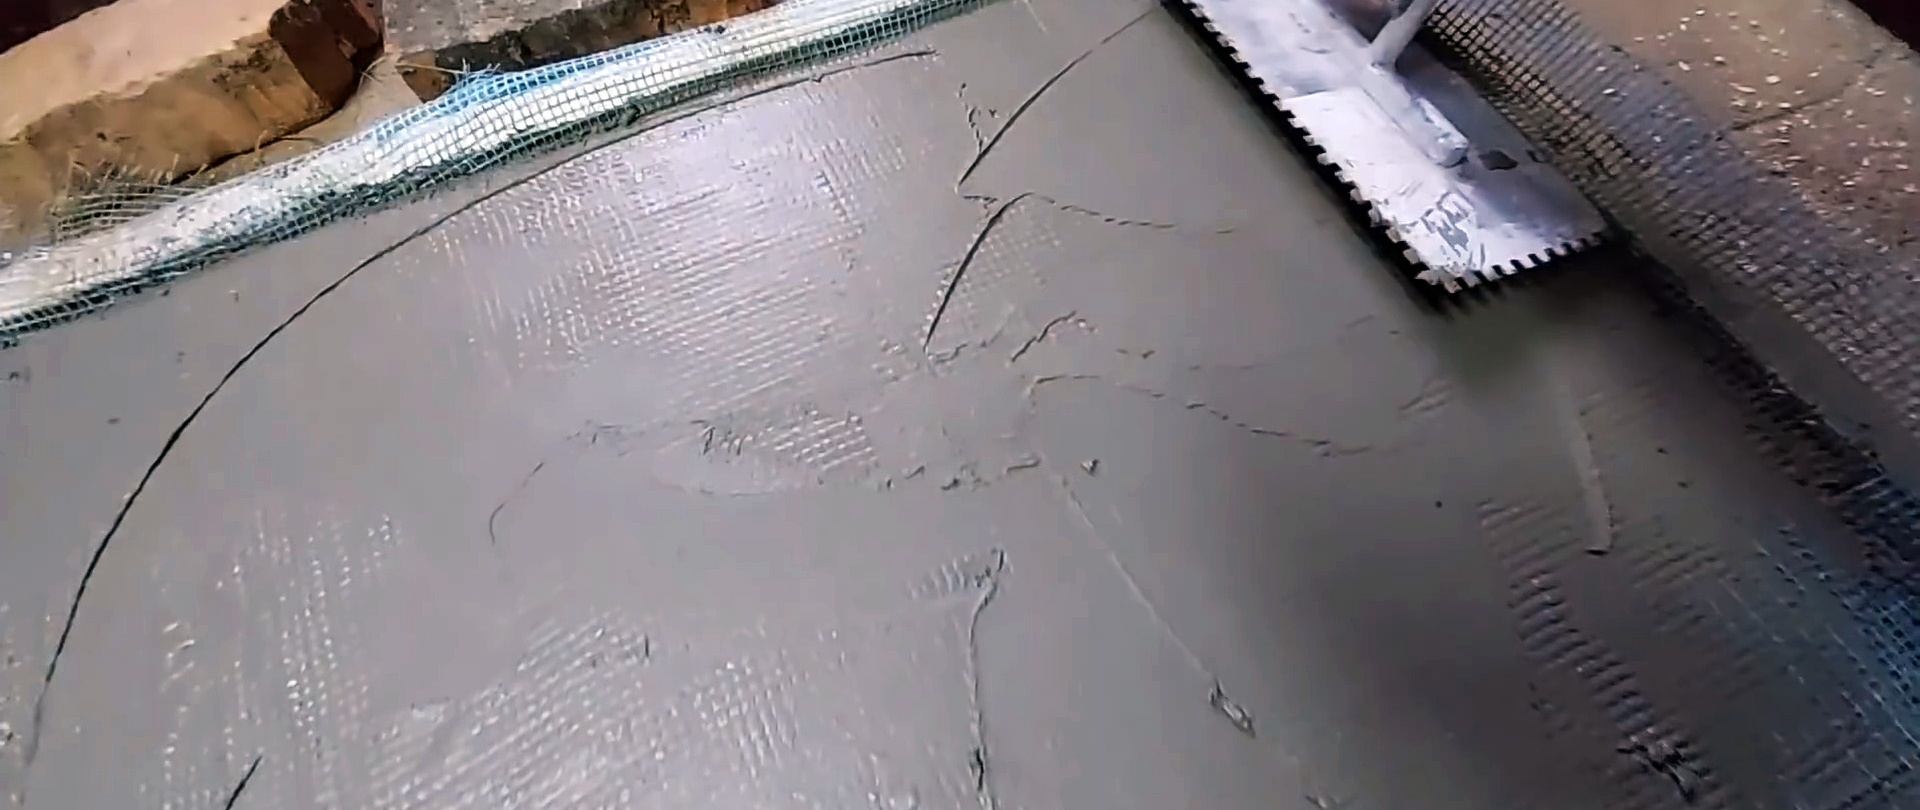
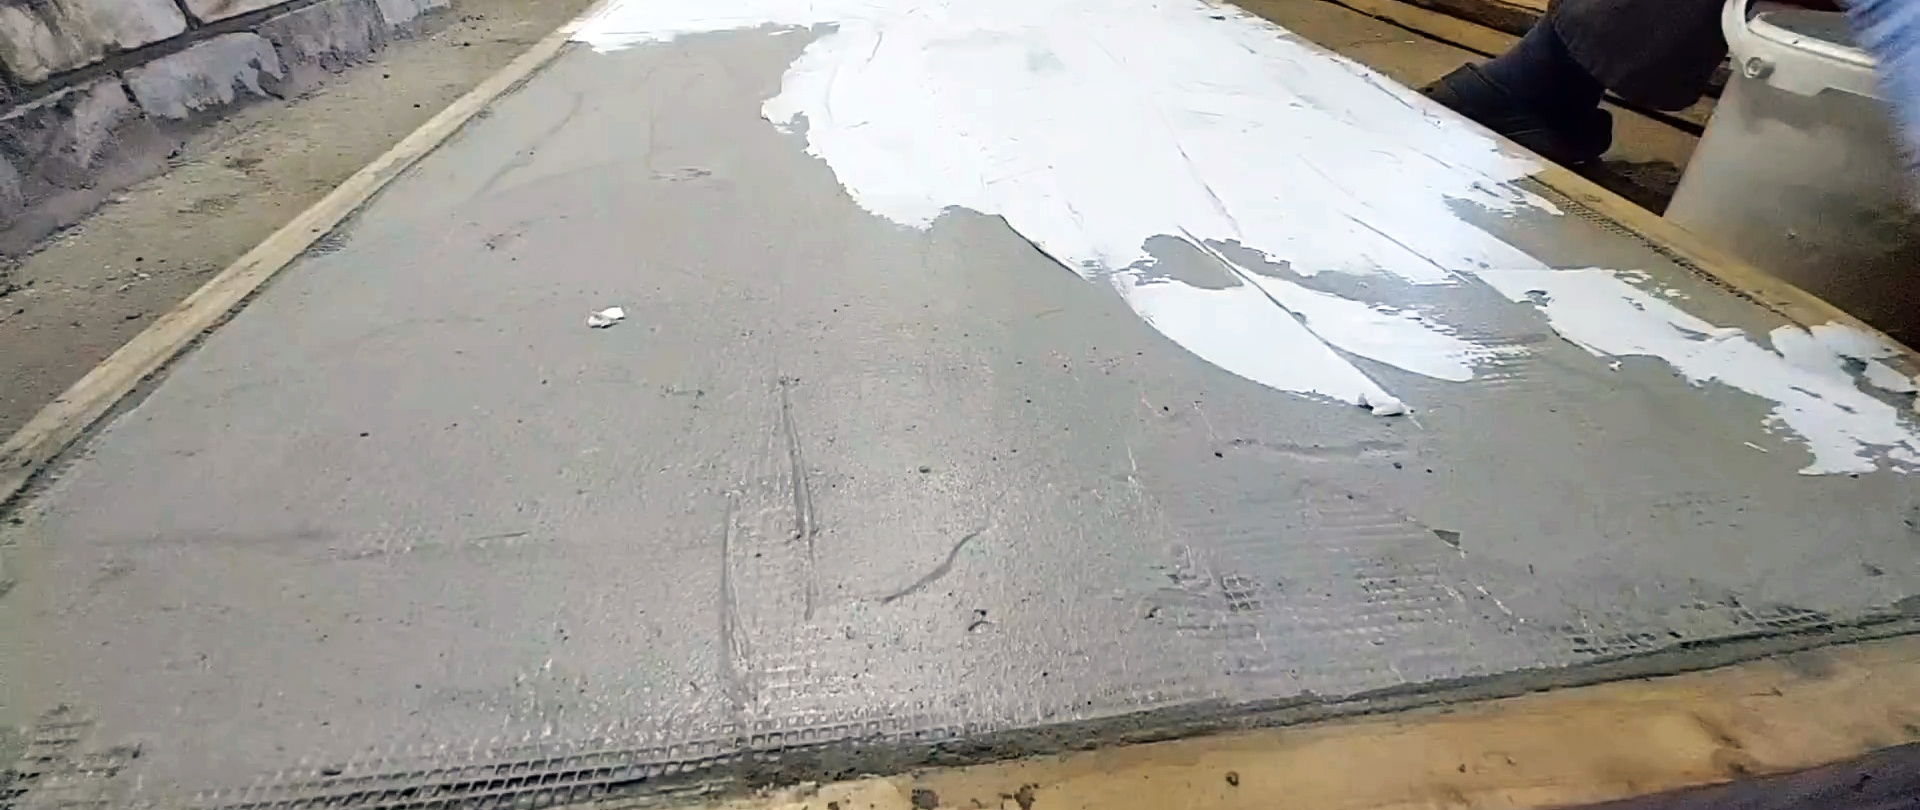
To harden the polyurethane foam and turn the pieces of insulation into a monolith, we press them through wooden blocks with bricks and stones. We also place the load on 4 corners and leave it for a while. Remove excess hardened polyurethane foam with a knife. We roughen the surface of the insulation with a wire brush to improve adhesion to the tile adhesive, which is evenly applied to the insulation.
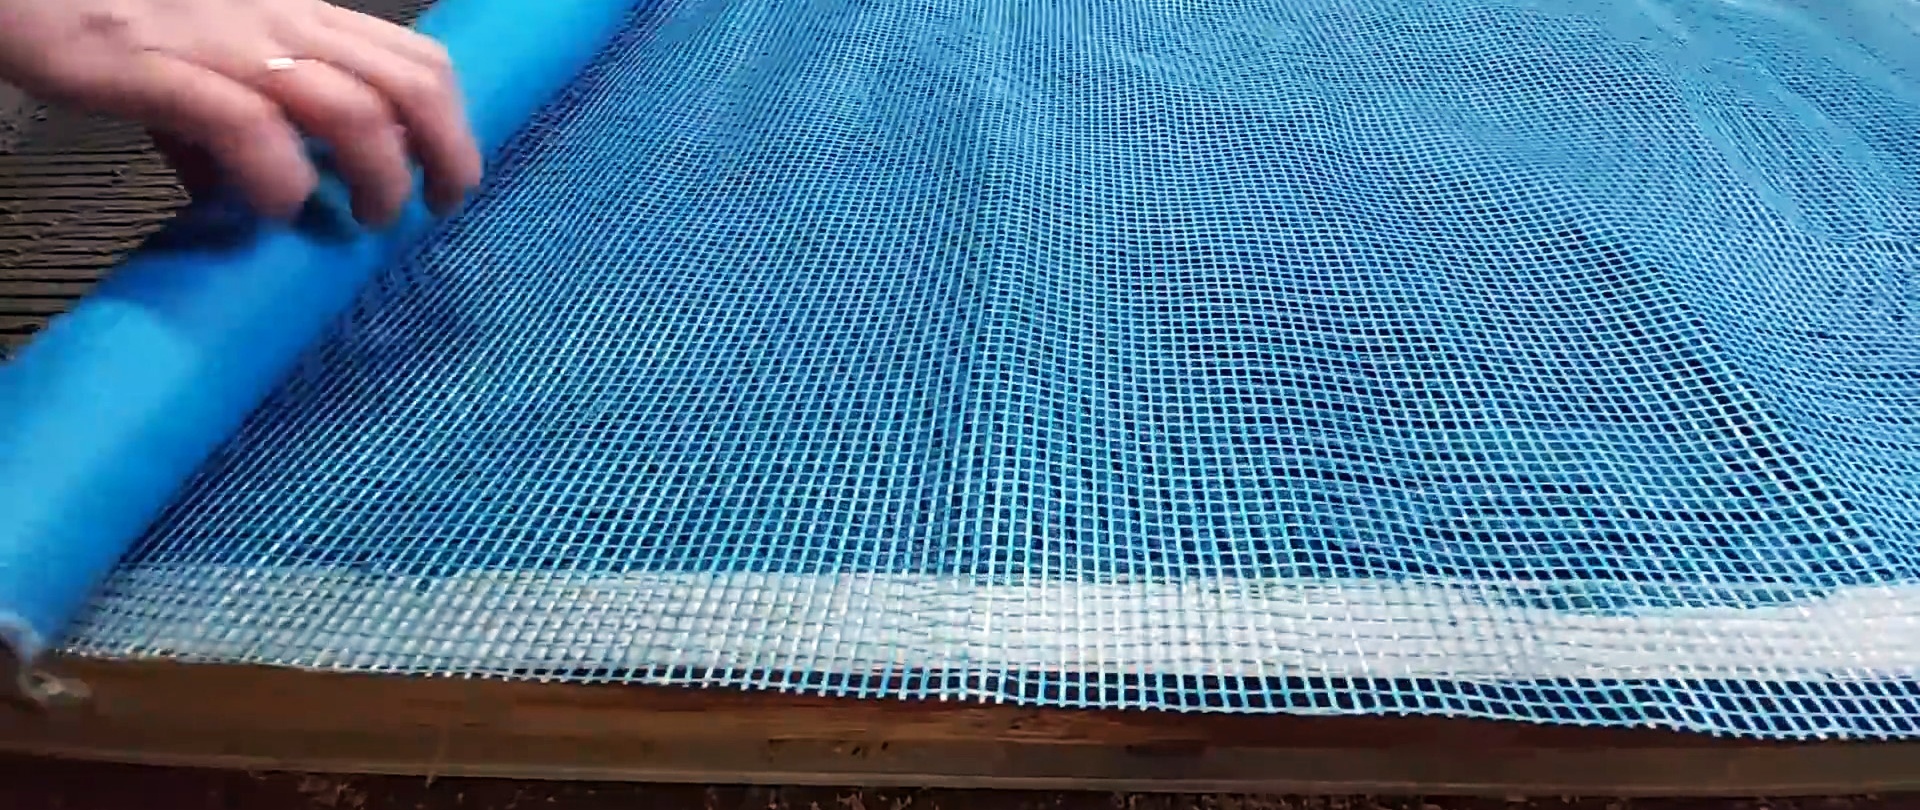
To prevent the structure from falling apart and to gain the strength of a monolithic slab, we cover it with a blue plaster mesh and plaster it with the same tile adhesive. To allow the glue to harden, leave the structure alone for a number of days. Cut off the remaining mesh with a knife.

We turn the door over to the other side and repeat all the procedures as with the first side. Apply a deep penetration primer to both sides of the canvas using a roller.
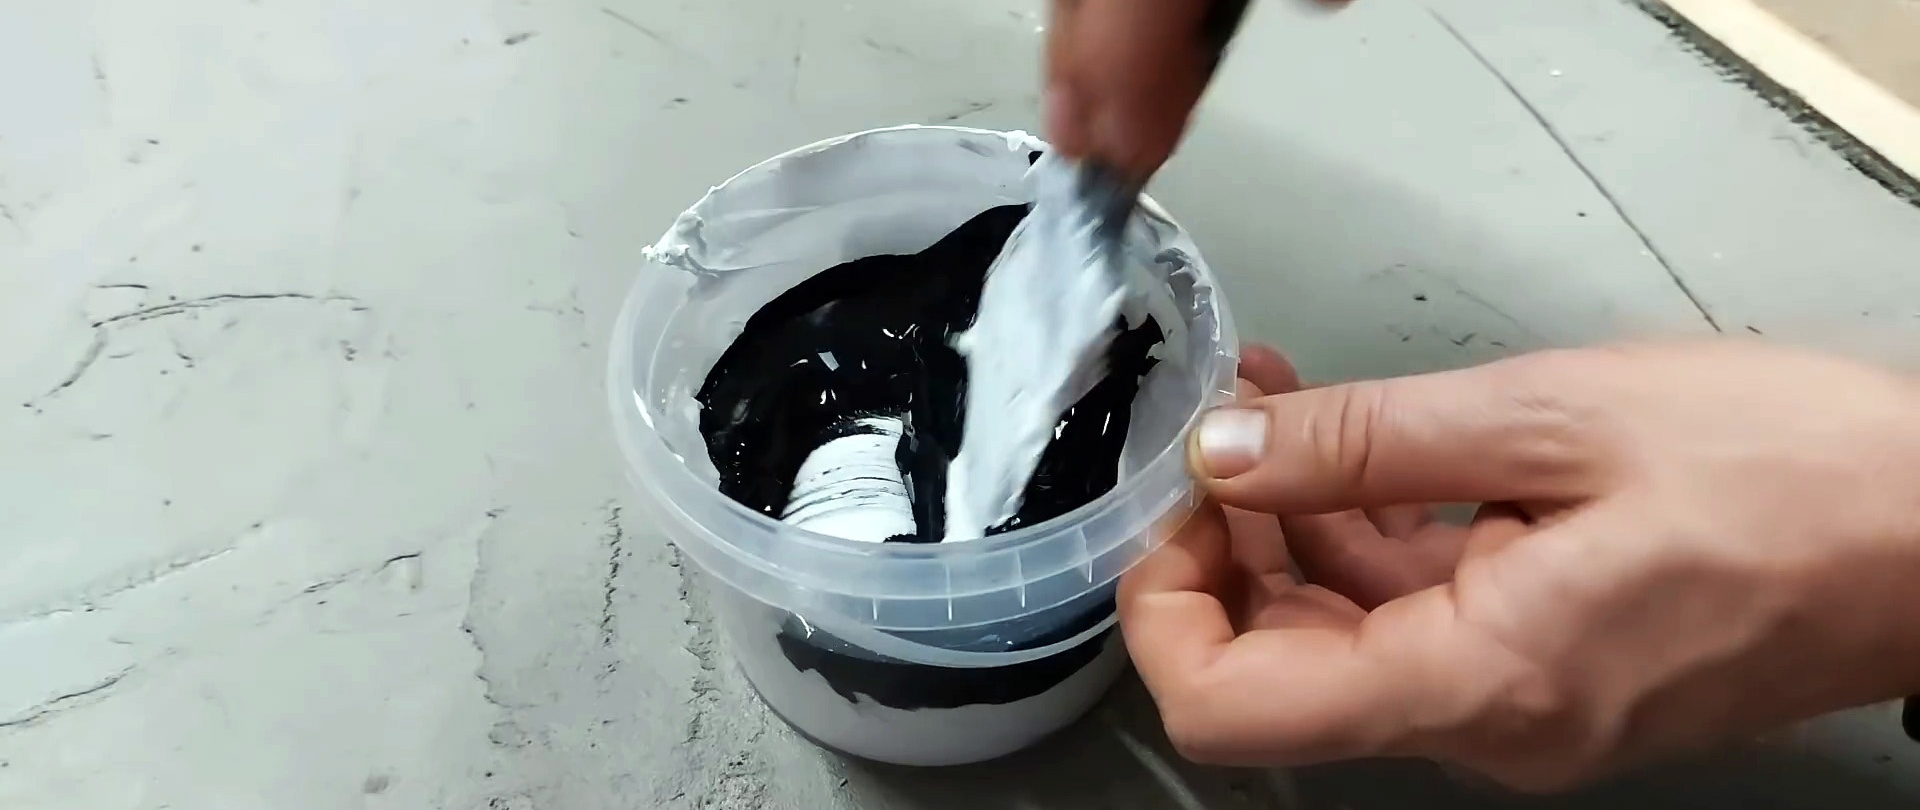
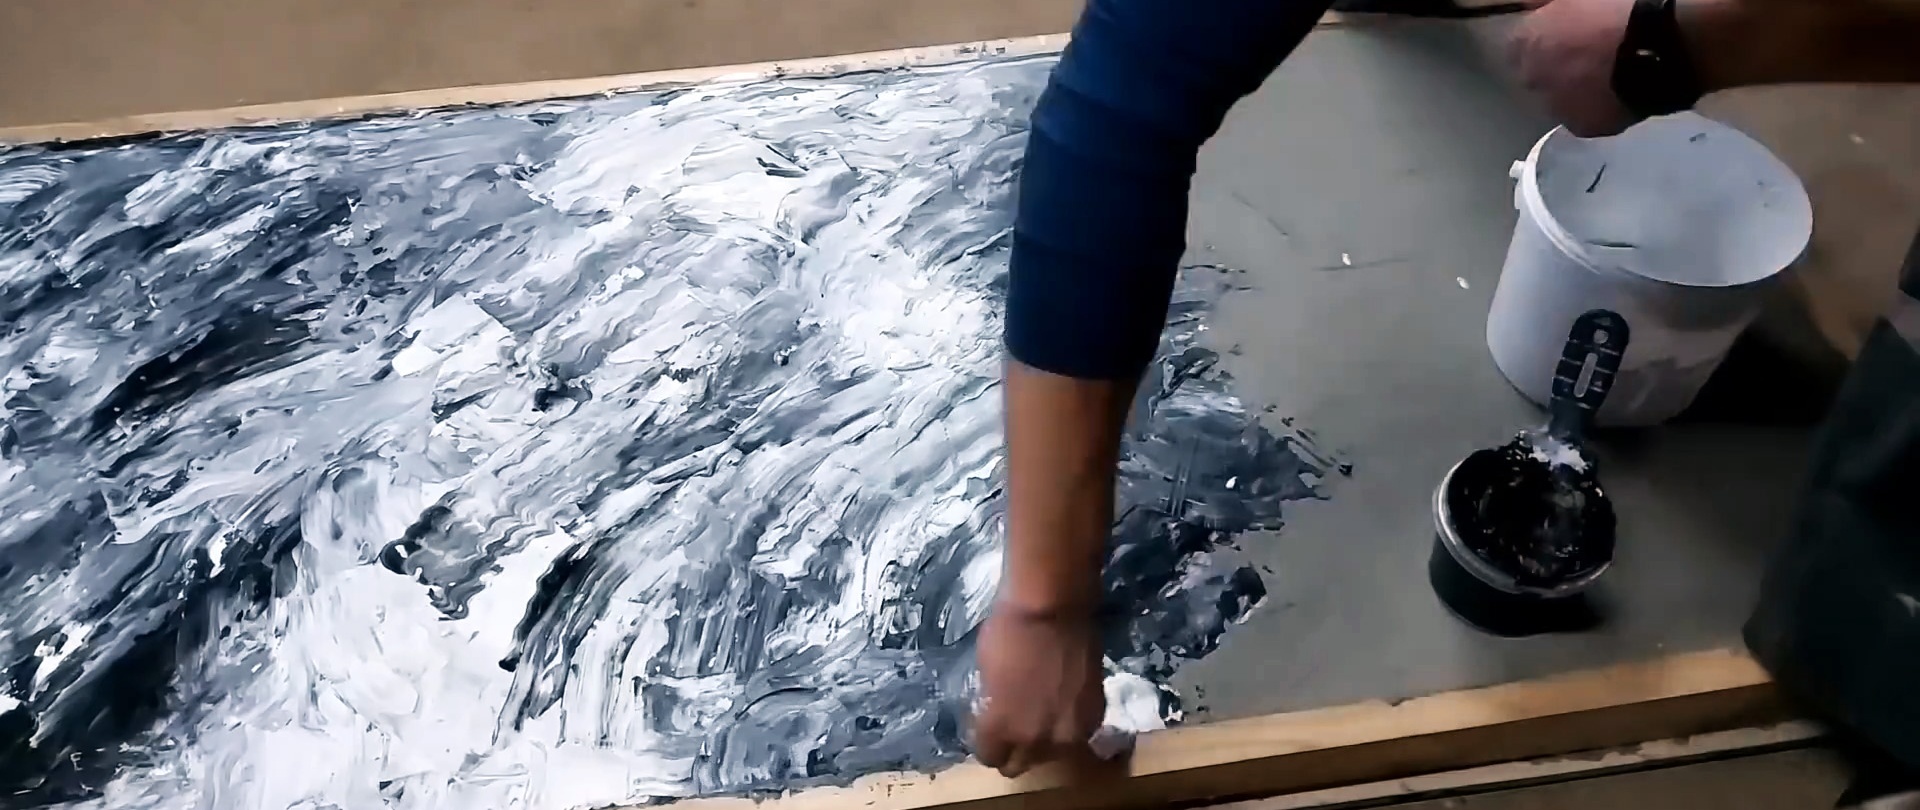
After the primer has dried, we begin decorating the door leaf. To do this, mix part of the polymer putty with black color. Add a little black putty to a spatula with white putty and apply the resulting mixture to the door leaf using the “shaking hand” technique. As a result, the surface acquires a black and white chaotic color.

After the putty has dried, sand the surface with P180 sandpaper. Use a brush to sweep away the dust and prime it so that the color appears more clearly.
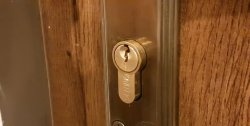
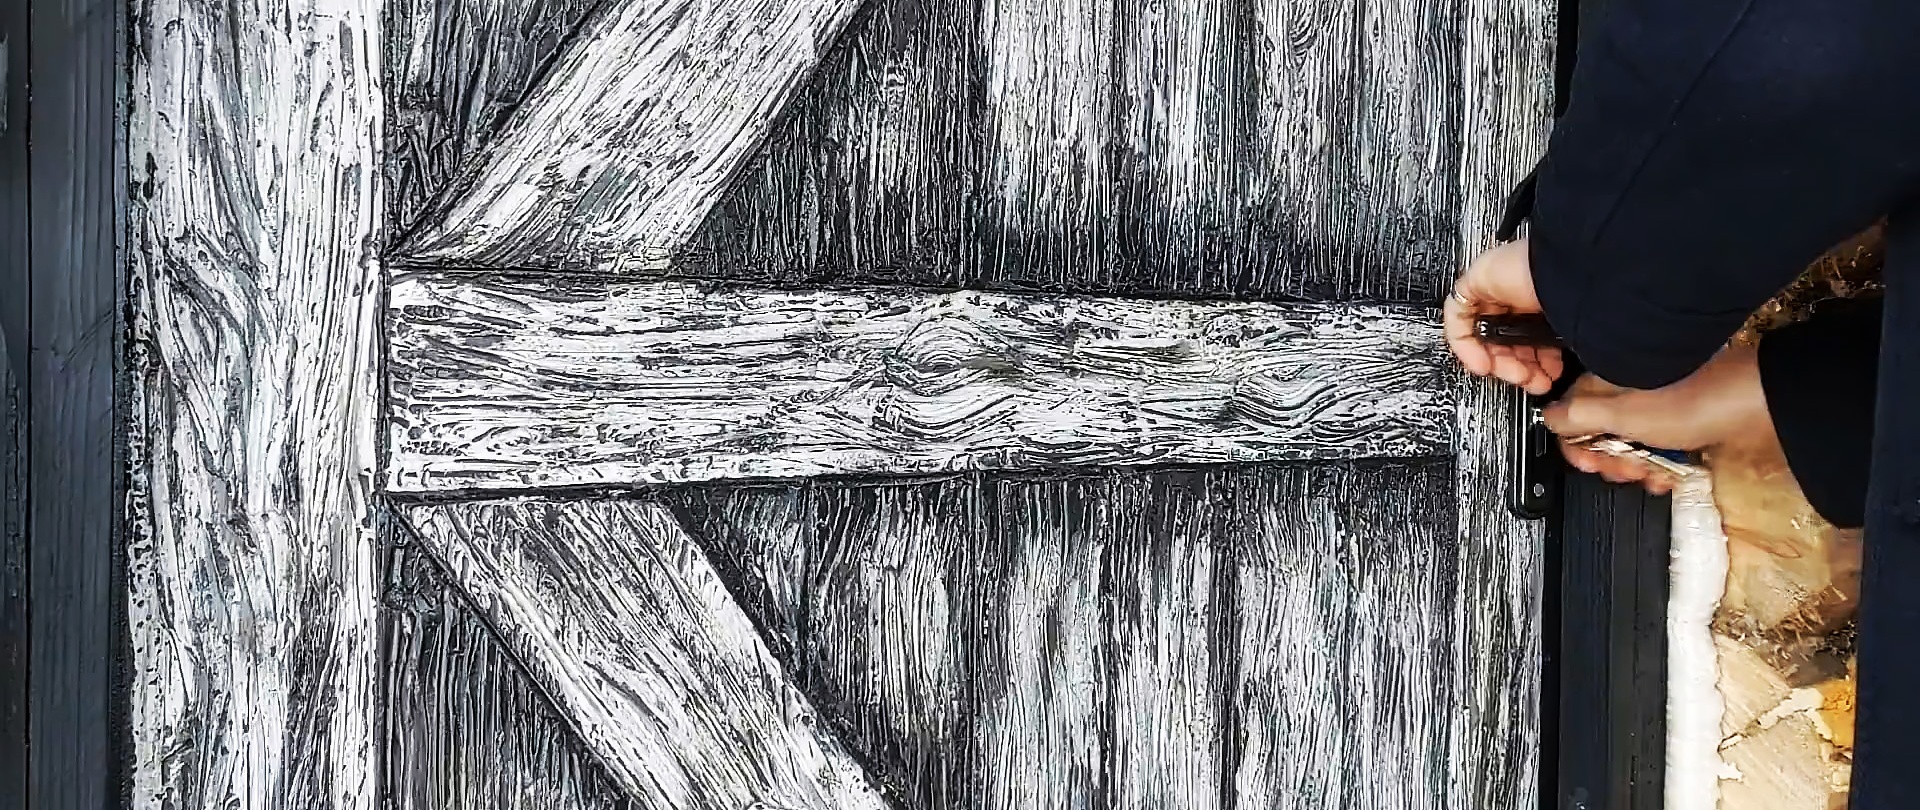
Next, we cut the lock over the mortgage.To do this, select the material for the lock and drill holes of the desired shape and size in the transverse direction. Let's start decorating the second side of the door to look like wood. To do this, cover the entire surface with white putty, and use plastic container lids to make spatulas with various teeth.
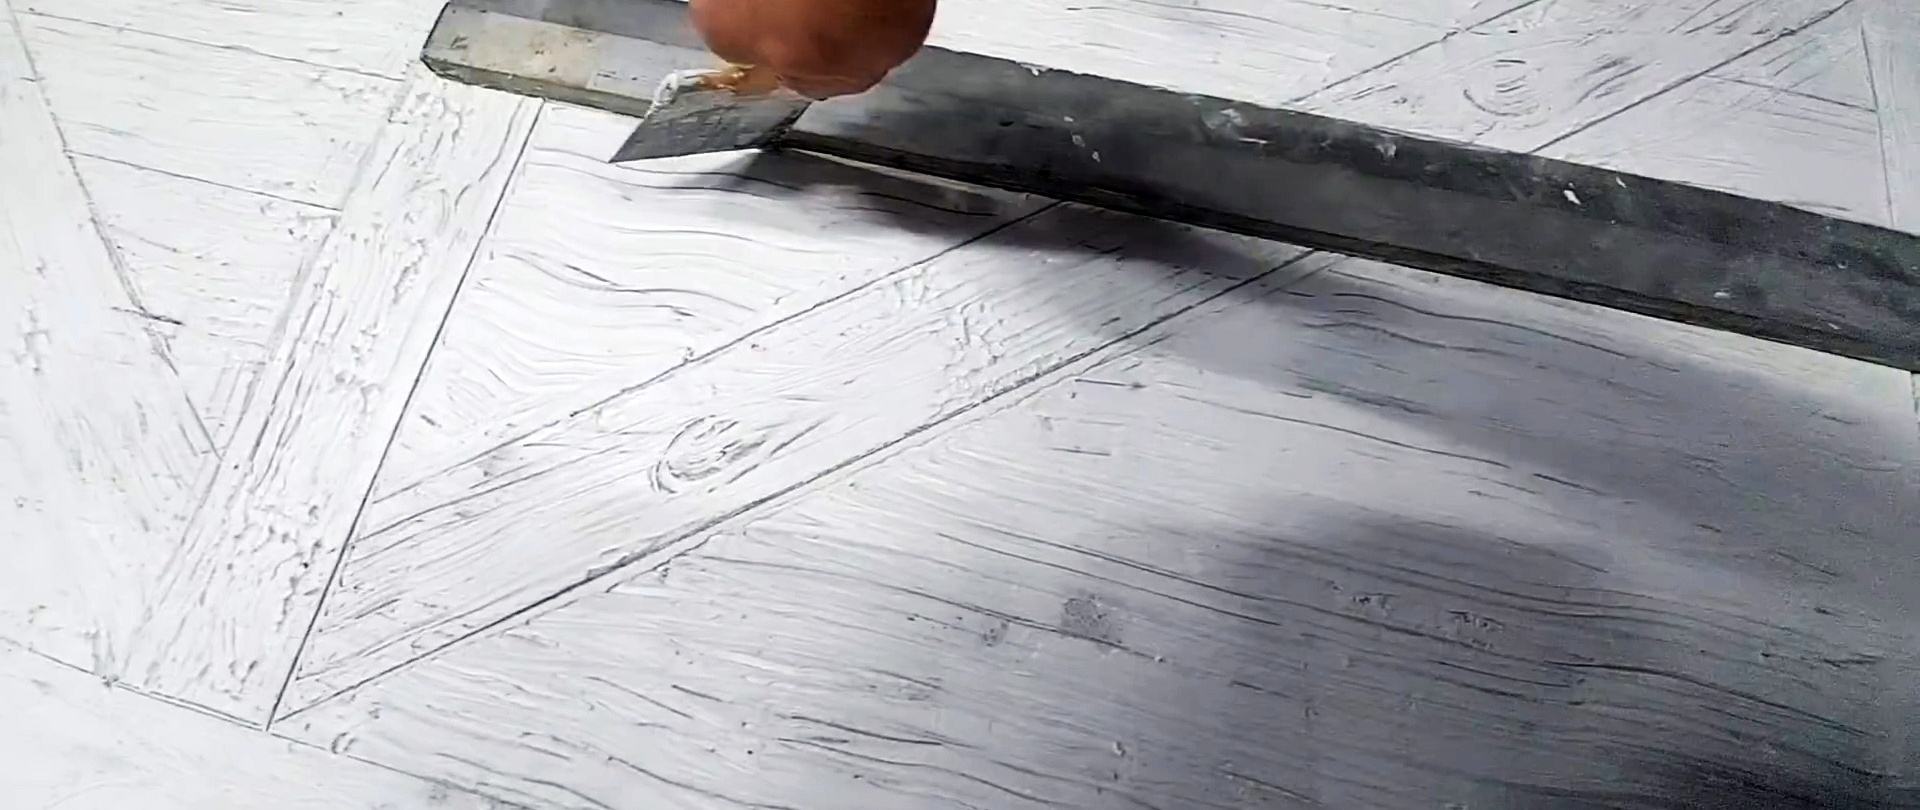
Using the rule as a template, we apply the edges of the door trim boards. Then we create the texture with longitudinal movements of homemade spatulas. Next, we continue to draw the contours of the boards using the already proven method. We remove defects formed on the surface of the putty.
After the putty has dried, we cut many of the lines again so that they are more clearly visible. We sweep away dust and pieces of putty with a broom, and treat the frame of the door leaf with a sanding head.
Next, using 180-grit sandpaper, using longitudinal movements along the induced fibers without pressing, we sand the surface of the door. Sweep away the resulting dust with a brush. It can be seen that the texture has become more natural.
We continue sanding the door frame and, after cleaning the surface, prime it, which gives the surface an even more natural and attractive look.
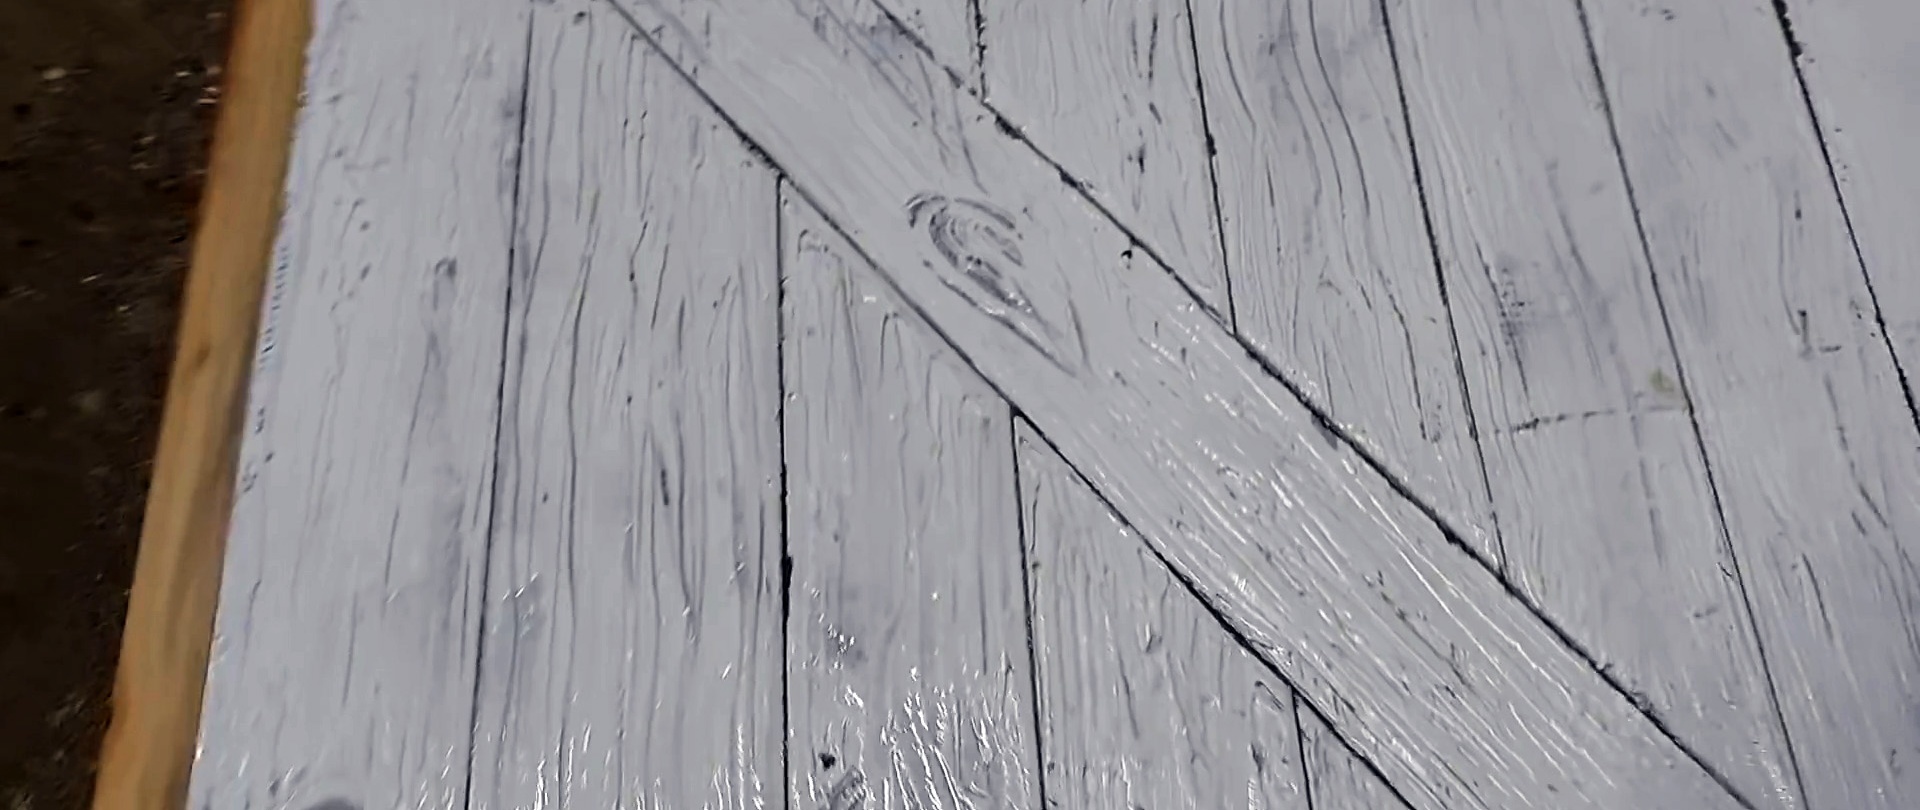
We add black pigment to white acrylic latex paint to obtain dark gray paint, which we apply to the decorated door leaf. We save the rest of the paint, we will need it later.
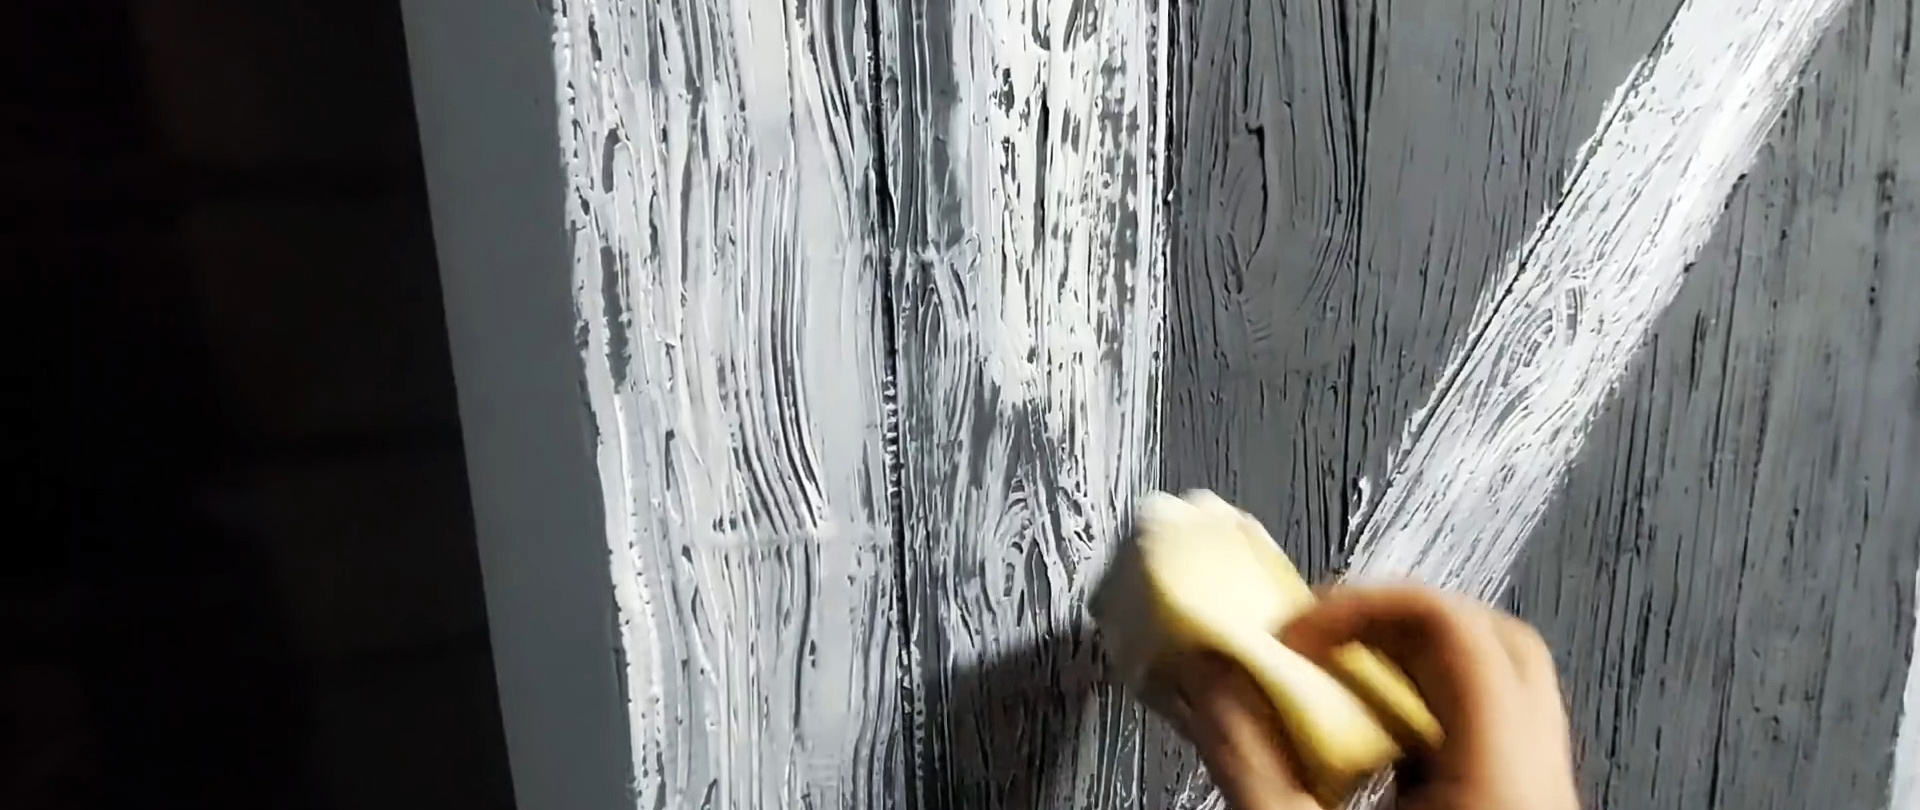
After the dark gray paint has dried, apply white paint to the top of the boards with a piece of foam rubber. Make the remaining boards a little lighter in the middle and darker at the edges. At the same time, we touch the surface with foam rubber only lightly. Give the paint time to dry. Use the remaining black paint to shade the boards, making them more prominent.
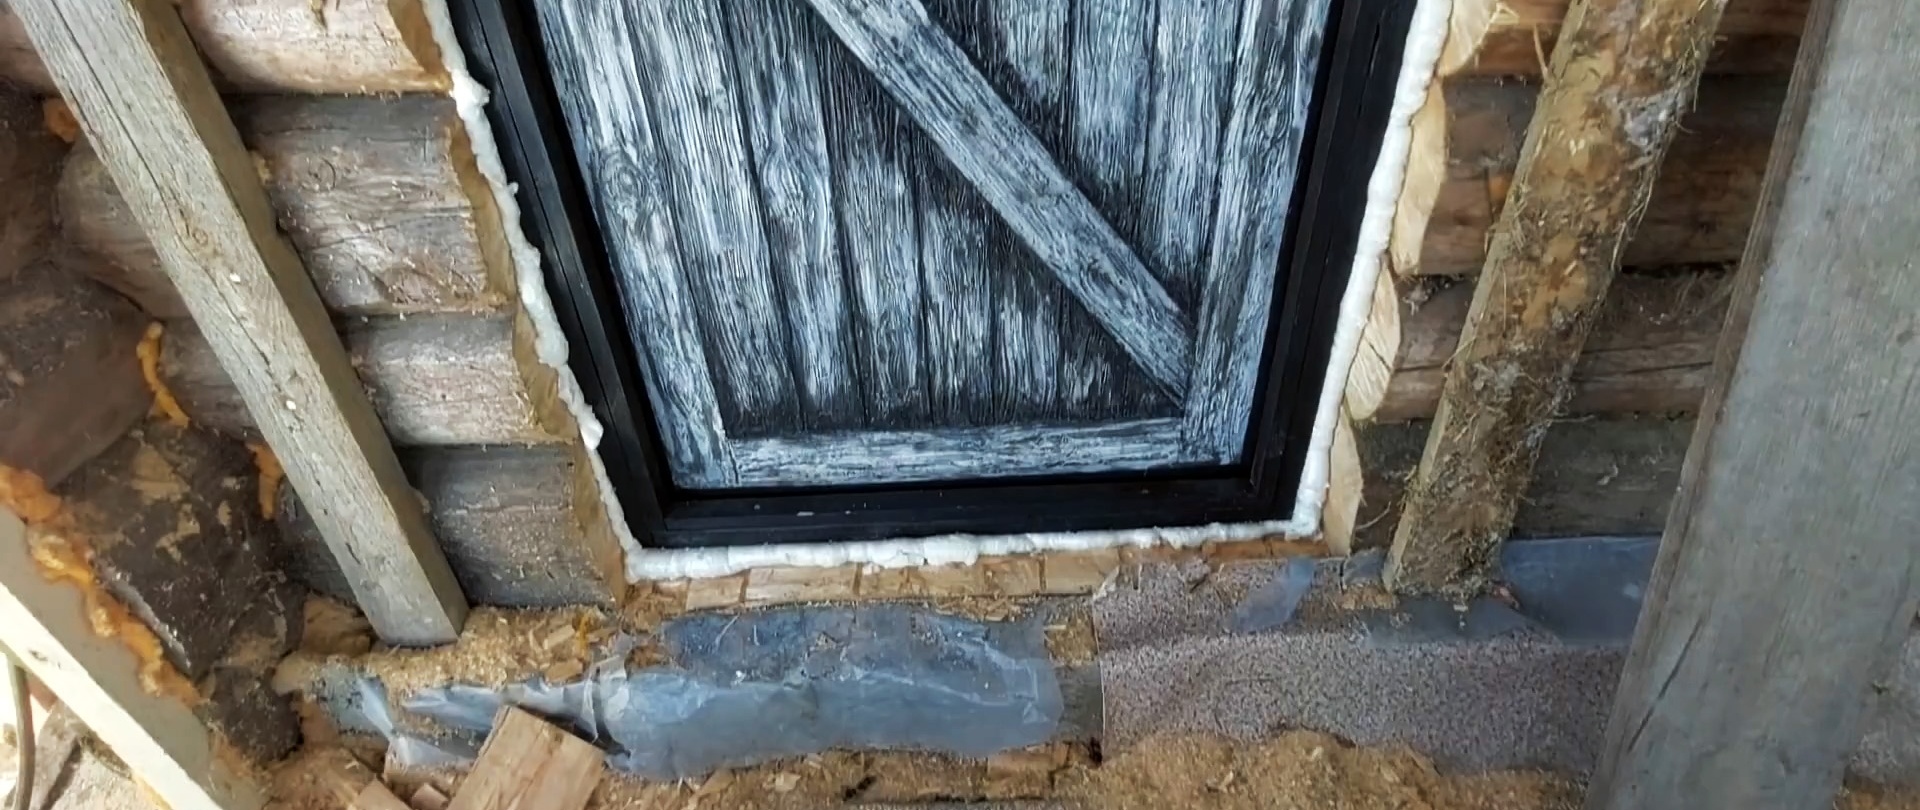
We stick a strip around the perimeter under the door frame with masking tape and paint the frame with a short-nap roller with black paint.After the paint has dried, remove the tape. We coat the door on both sides with a protective universal varnish. It creates the effect of wet stone.
From the remaining boards we assemble a box. To do this, we cut the blanks according to size and pass them through a thicknesser. If after this the boards are not perfect, they can be burned with a gas torch. But before that you need sanding with sandpaper.
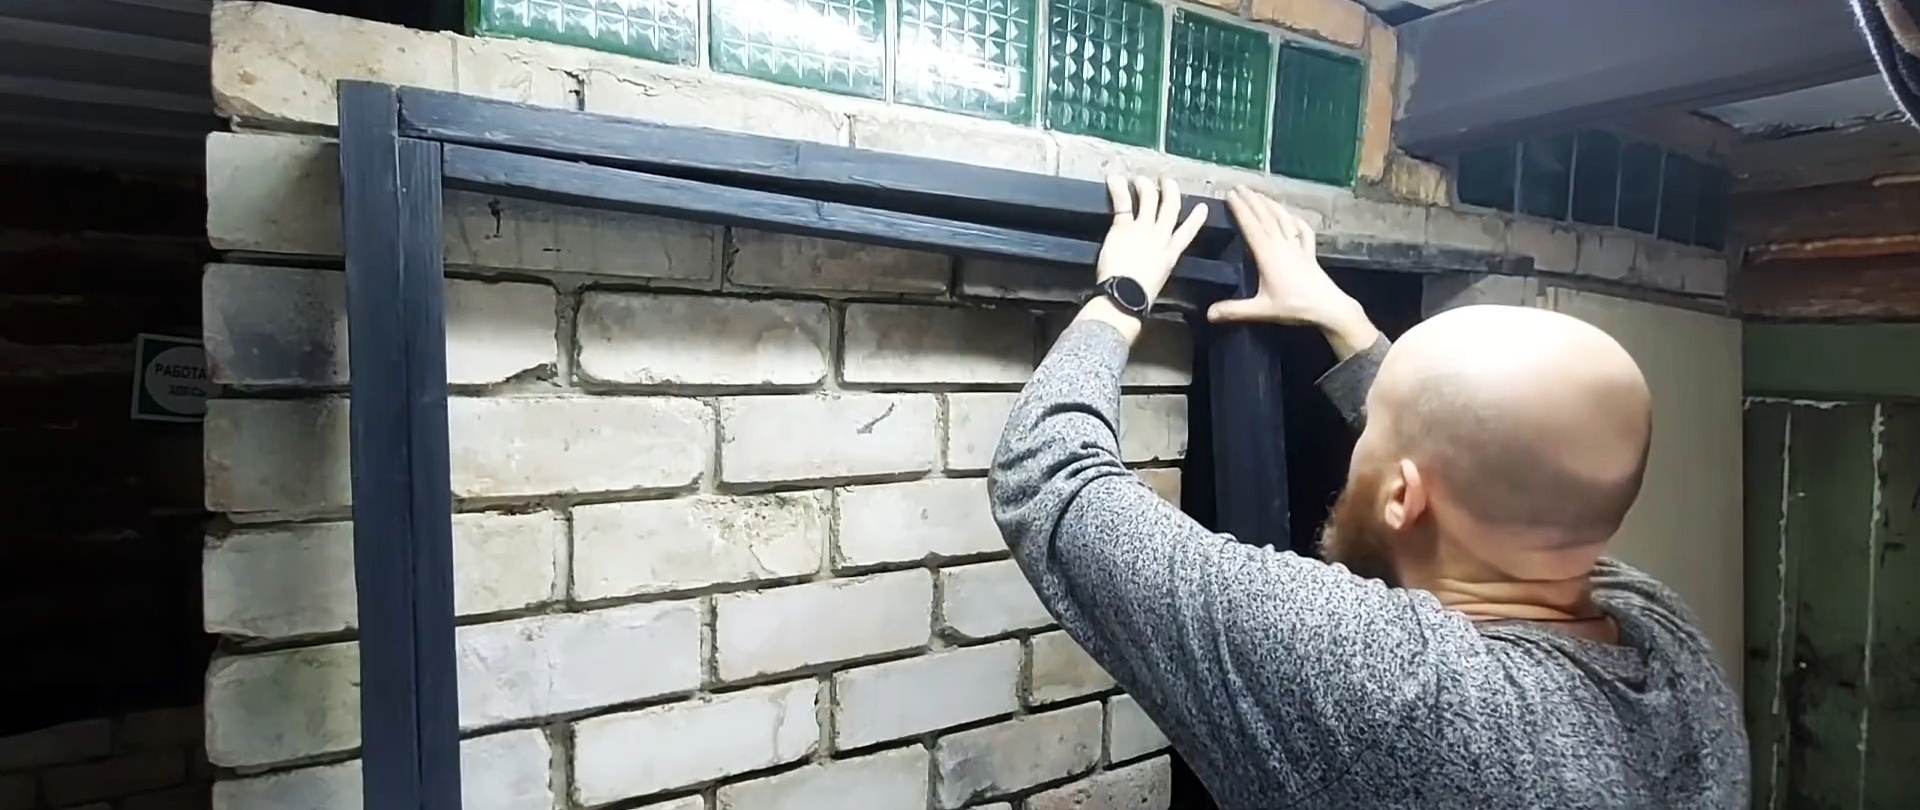
Next, we prime the elements of the box and paint them black before assembling them. After the paint has dried, coat the box blanks with acrylic varnish. We assemble the box using self-tapping screws, screwing 2 pieces into each corner.
In order not to select quarters, since the thickness of the blanks does not allow, we additionally screw in bars that will be a stop for the door leaf.
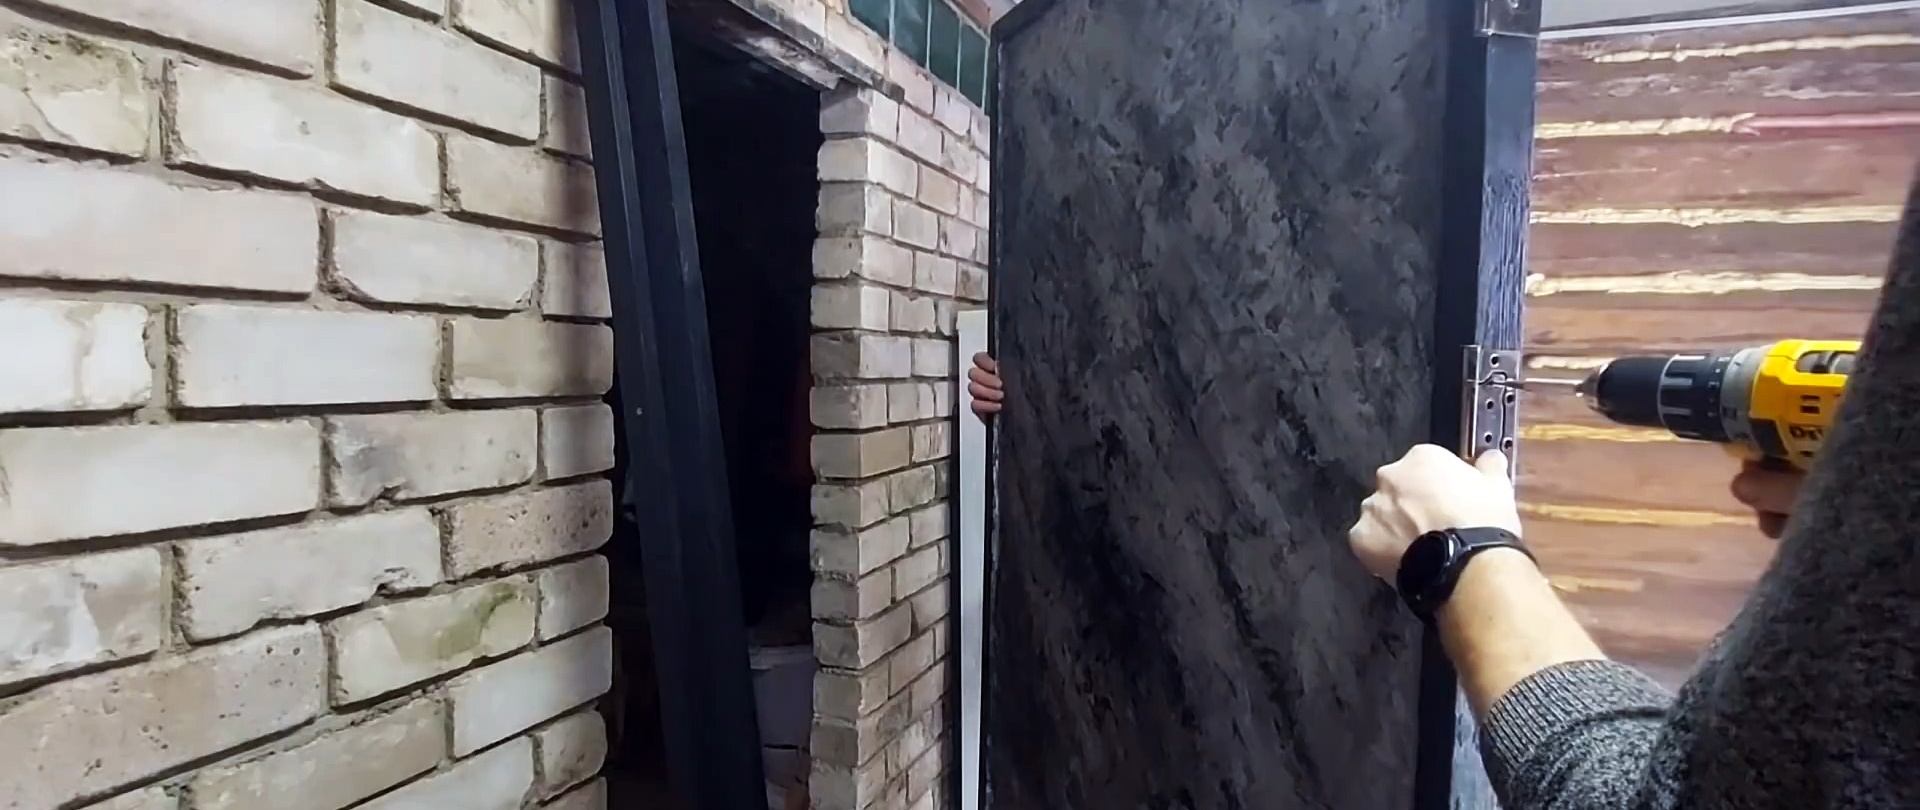
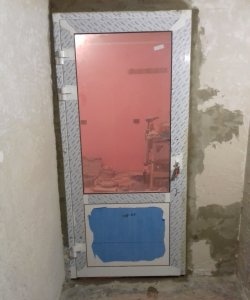
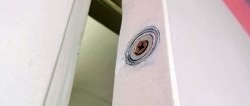
We install the door leaf into the frame, connect it with door hinges, install the handles and our door is ready for installation in the opening intended for it.