Typically, round and conical rods are turned on expensive lathes. But not everyone can afford to buy it for their home workshop. By making a simple adaptation to a circular saw from available materials, such work can be done without a lathe.
Will need
Materials:
- laminate;
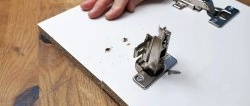
- mortise hinges;
- unedged board;
- aluminum U-shaped profile;
- rolling bearings;
- bushings long and short;
- bolts, studs, washers, nuts of various types;
- furniture driven nut, wing nuts;
- screws, studs, screws, etc.
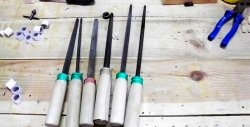
Tools: circular and miter saw, jointer, milling and drilling machines, grinder, grinder, hammer drill, clamps, wrenches, etc.
The process of manufacturing a fixture for a circular saw for turning round and conical rods
We cut laminate parts on a circular saw, c. including a bar according to the size of the groove in the saw table. We glue the joints with superglue. We remove external locks.


We carry out the work using stationary and hand-held circular saws, as well as a jointing machine, and blanks from unedged boards.

In two long pieces of board, we make two longitudinal slots in the center for U-shaped aluminum profiles.

Closer to one edge of these blanks, we mill through slots slightly shorter than their length and process them with a hand-held grinding machine.

In one short piece of wood, in the center on both sides, we make two transverse recesses for U-shaped aluminum profiles.
In two wooden blanks, we make blind recesses in the center on both sides, and a smaller hole in the lintel.

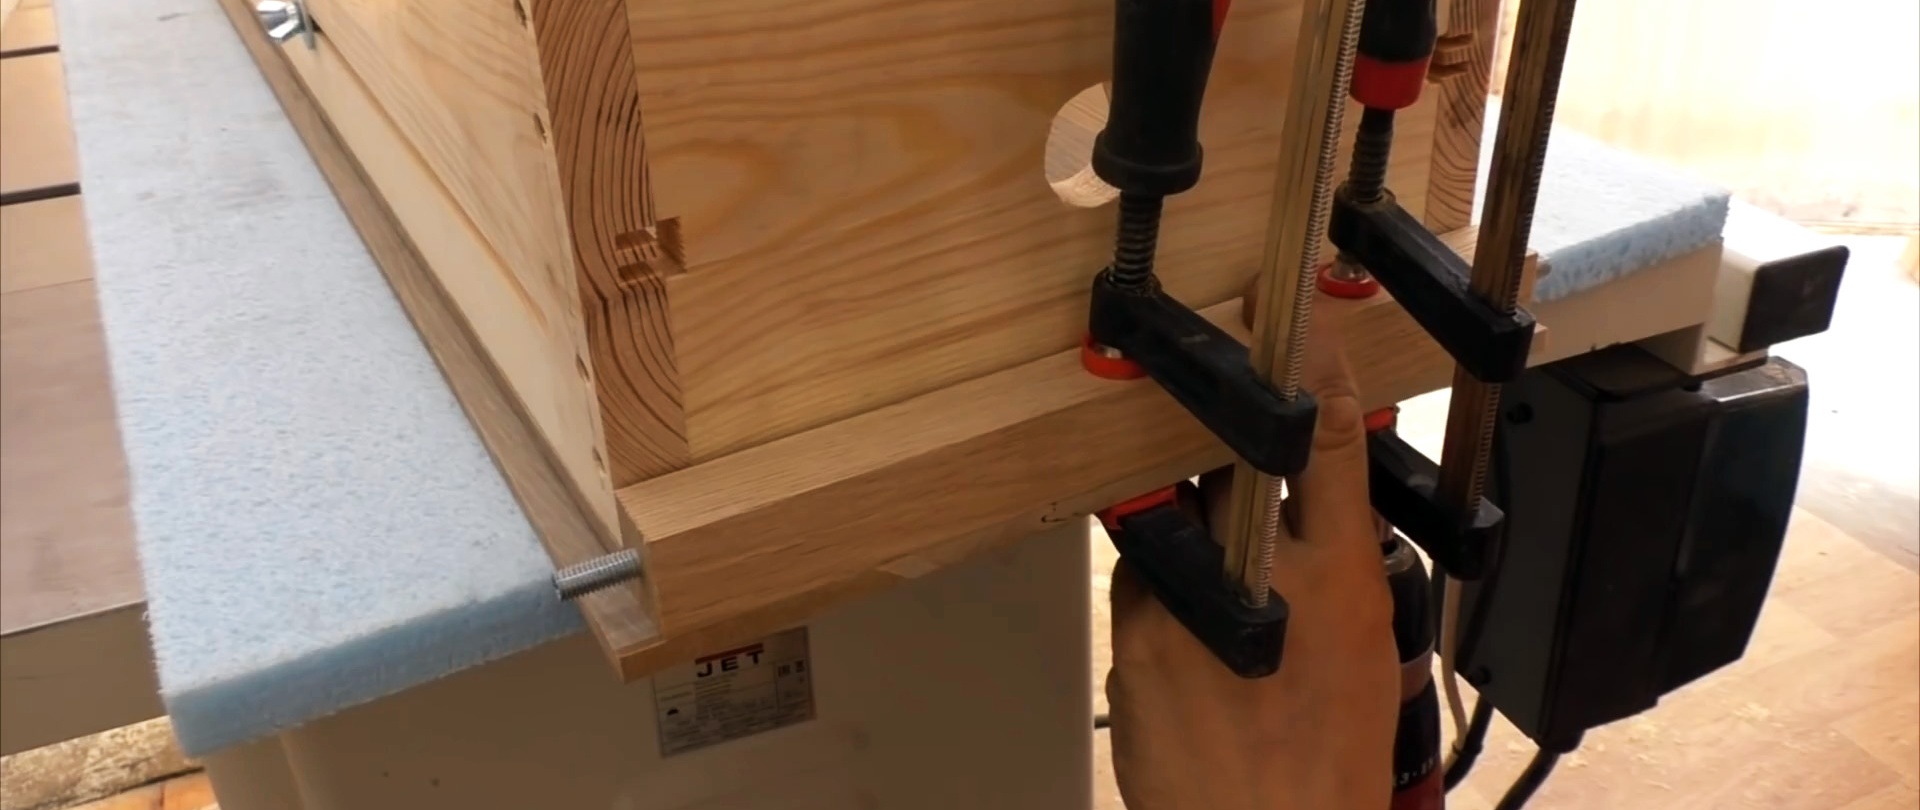
We place rolling bearings in the recesses, and elongated bushings in them.
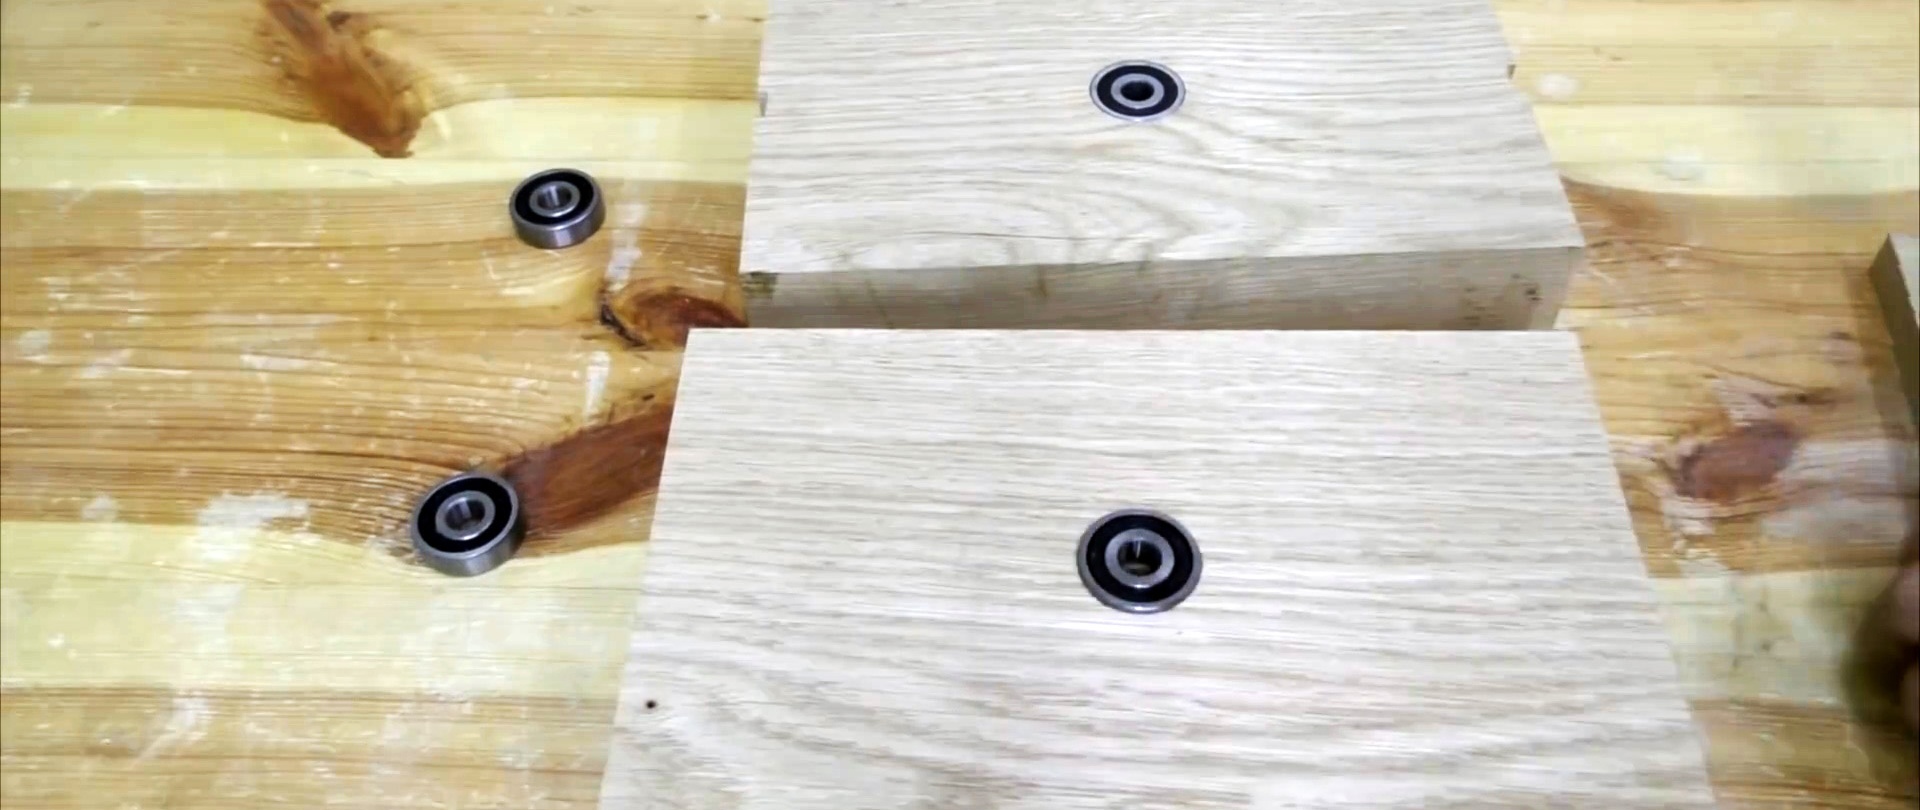
We insert the studs into the bushings, put on the washers and screw two high nuts on one side and one high nut on the other. From the side of one nut on one workpiece, screw the driven nut onto the stud.

In U-shaped profiles, we drill two holes in the center of the back and screw them to the grooves of the workpiece without a driving nut.
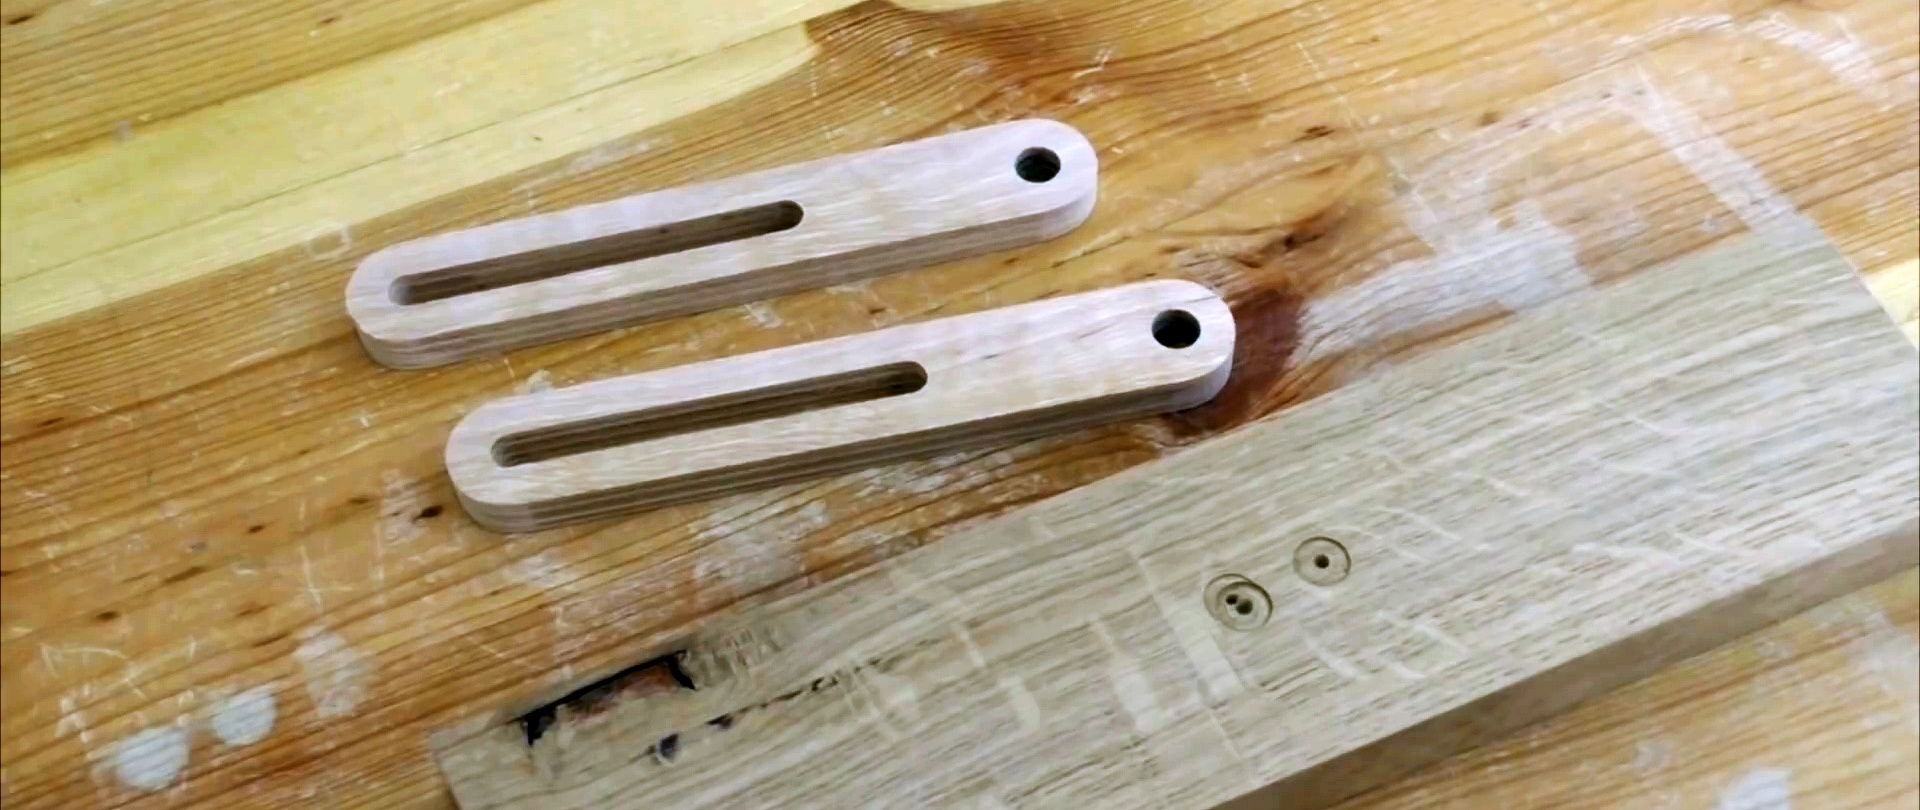
In the laminate plank, we drill three holes in two sections and perform milling between two adjacent ones.

As a result, we get two similar parts with rounded corners. Insert short bushings into the remaining holes.

We drill holes along the contour of the laminate array and at the narrow ends of the wood blanks.
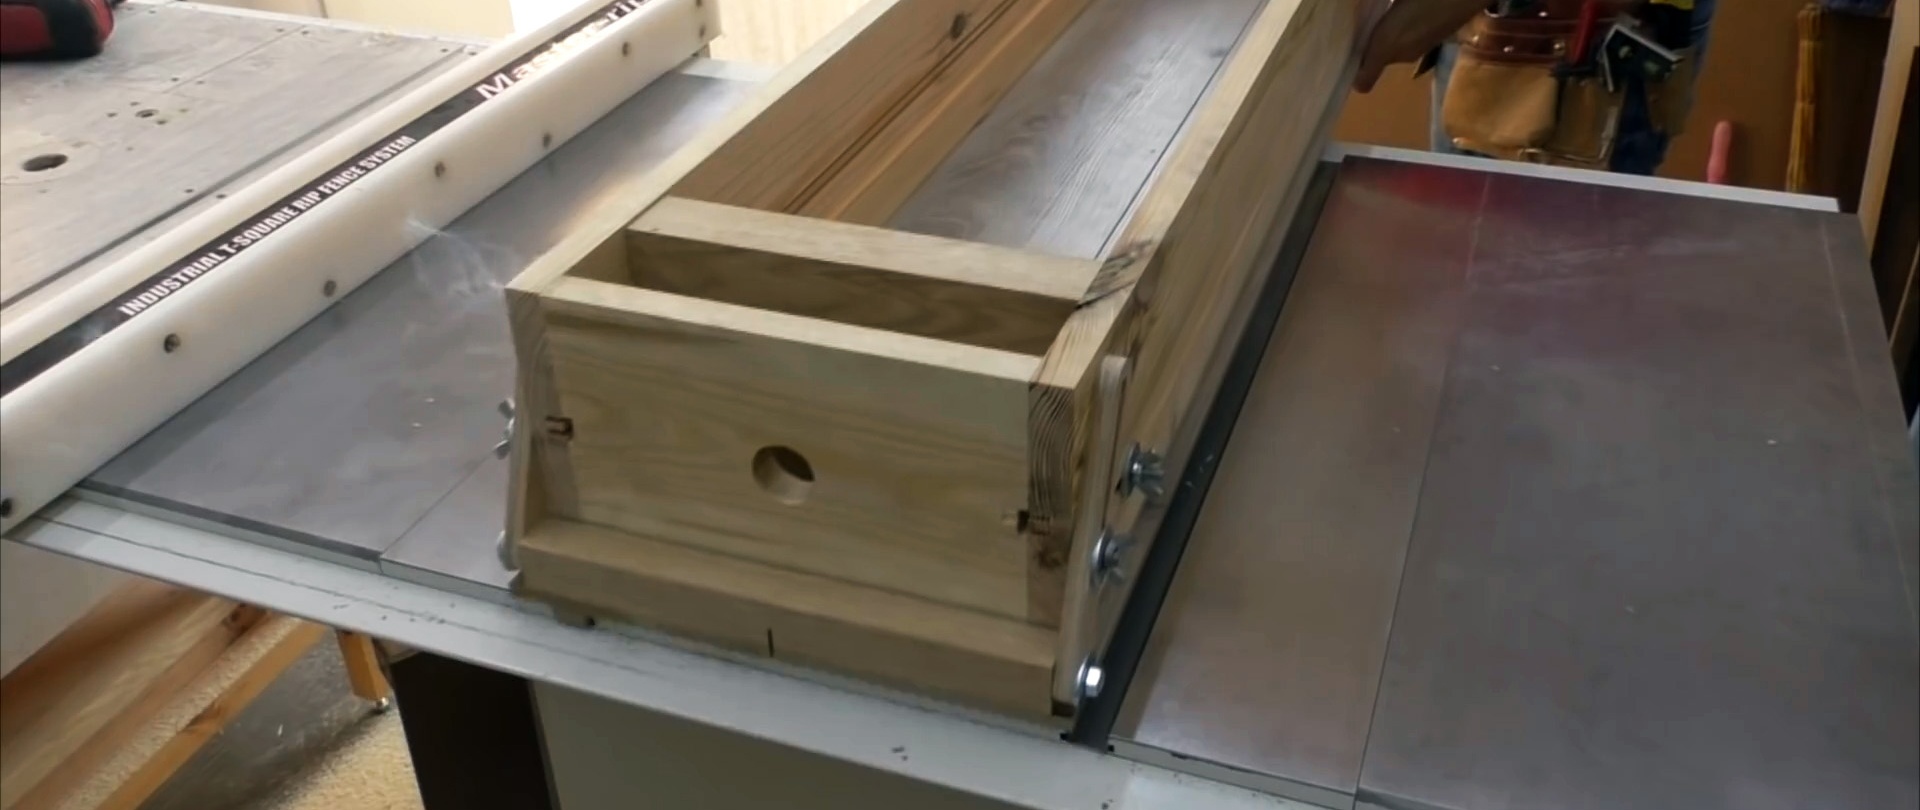
We screw an array of laminate to a long wooden blank from the side of the longitudinal groove with short blanks secured at the edges.

We fasten a third short piece with U-shaped profiles across the assembled assembly, and screw a second long piece of wood with a longitudinal groove at the bottom to the side.


We drill holes in the U-shaped profiles through the longitudinal grooves, screw in the stud screws and screw the wing nuts onto them through washers.

We attach mortise hinges to the part of the laminate bottom protruding from under the box. Along the edge of the laminate base we glue the strips transversely and also attach the free wings of the loops to them.

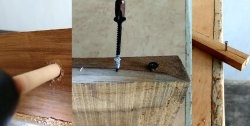
To the other end of the base we attach a beam transversely with screws-studs screwed into the ends. Higher, diagonally in relation to the studs of the timber, we screw the same stud screws into the corners of the box.
We put the strips on the studs so that the top ones are inside the milling bits and secure them. This allows you to change the position of the box, and therefore the longitudinal axis of the workpiece.

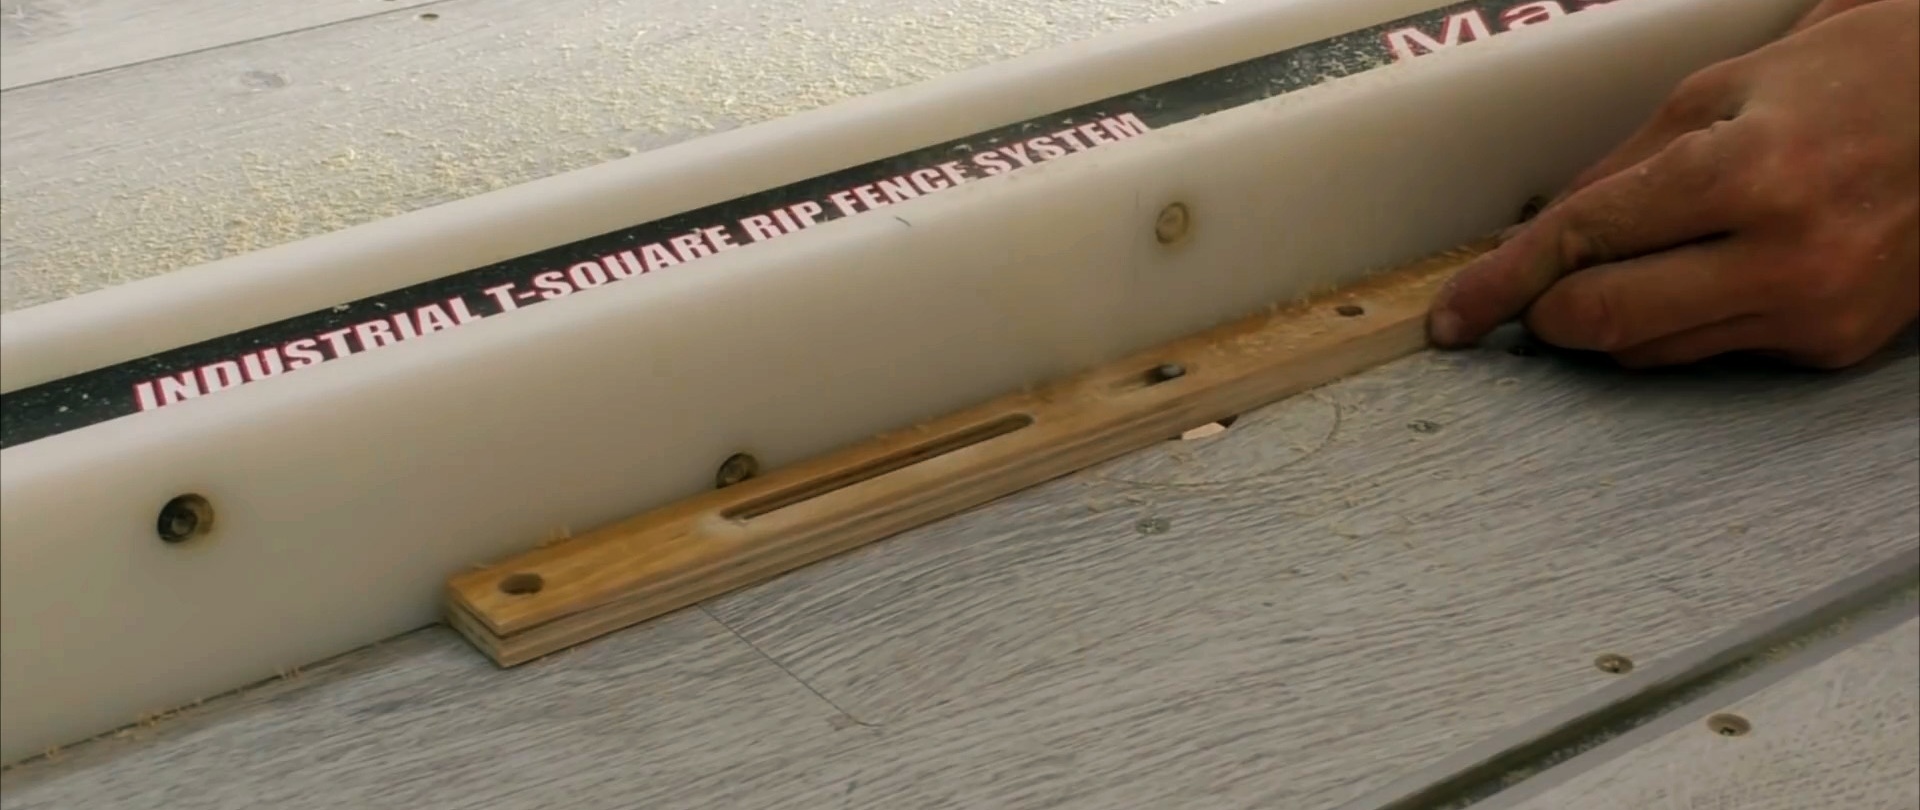
We place the laminate strip in the groove of the table with washers so that its top coincides with the surface of the table. We attach the plank with superglue to the base of the box, aligning their outer edges. Having turned the box over, we strengthen the bar with screws.

Rub the base of the candle box and rub it with a napkin for better sliding of the circular on the table.
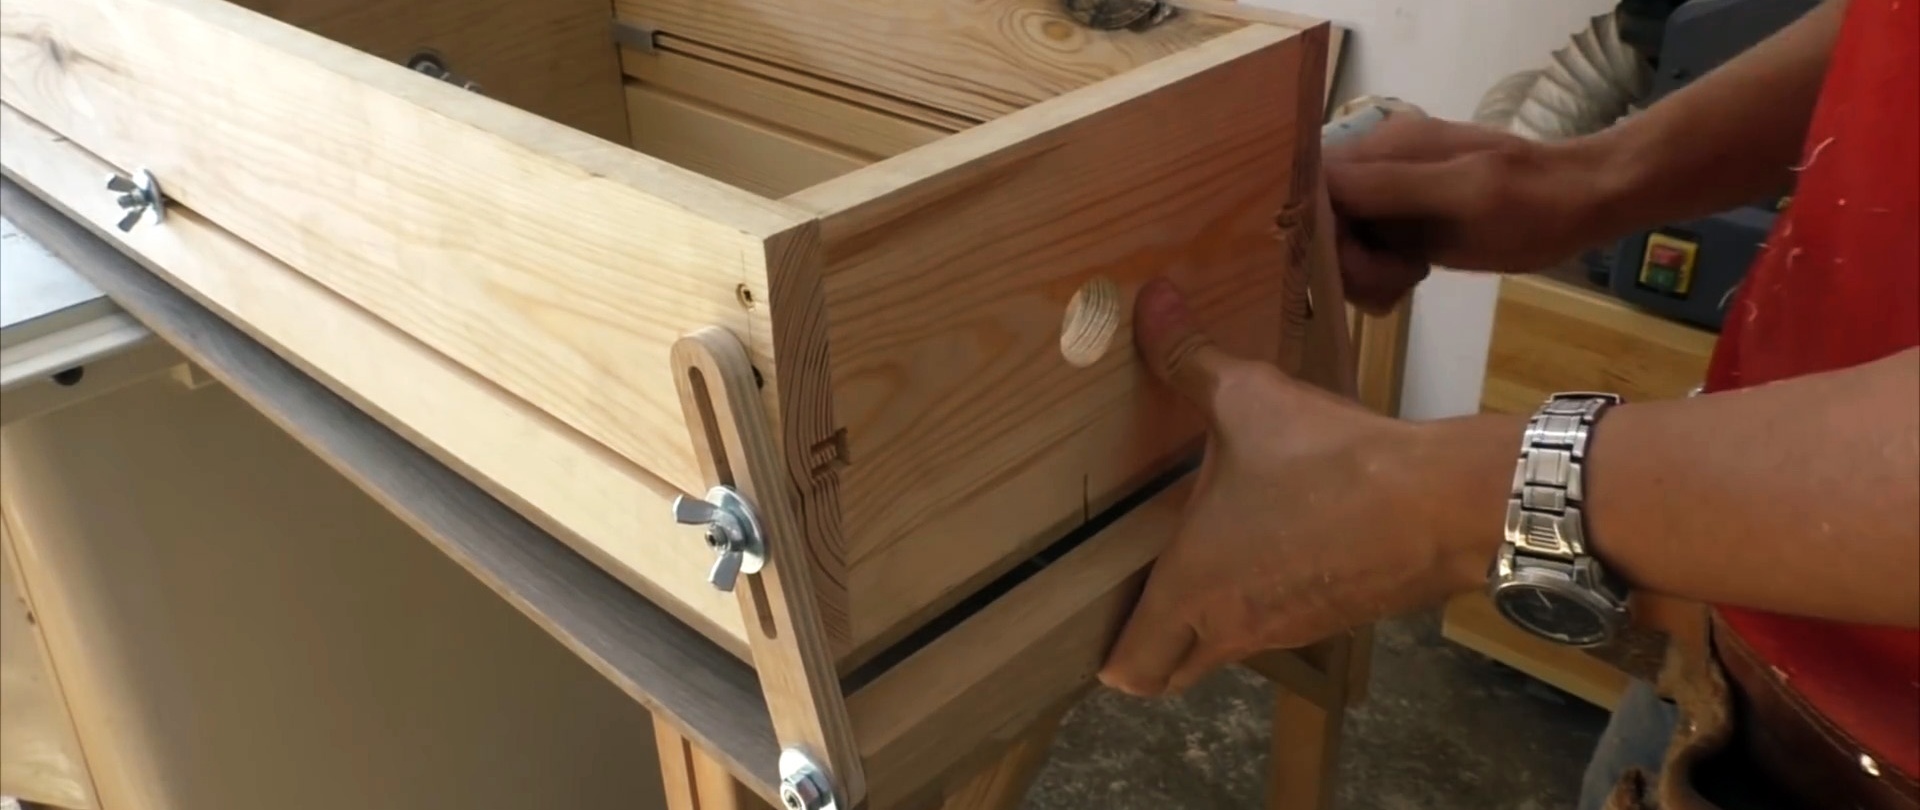
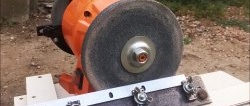
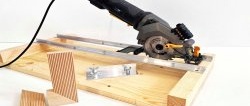
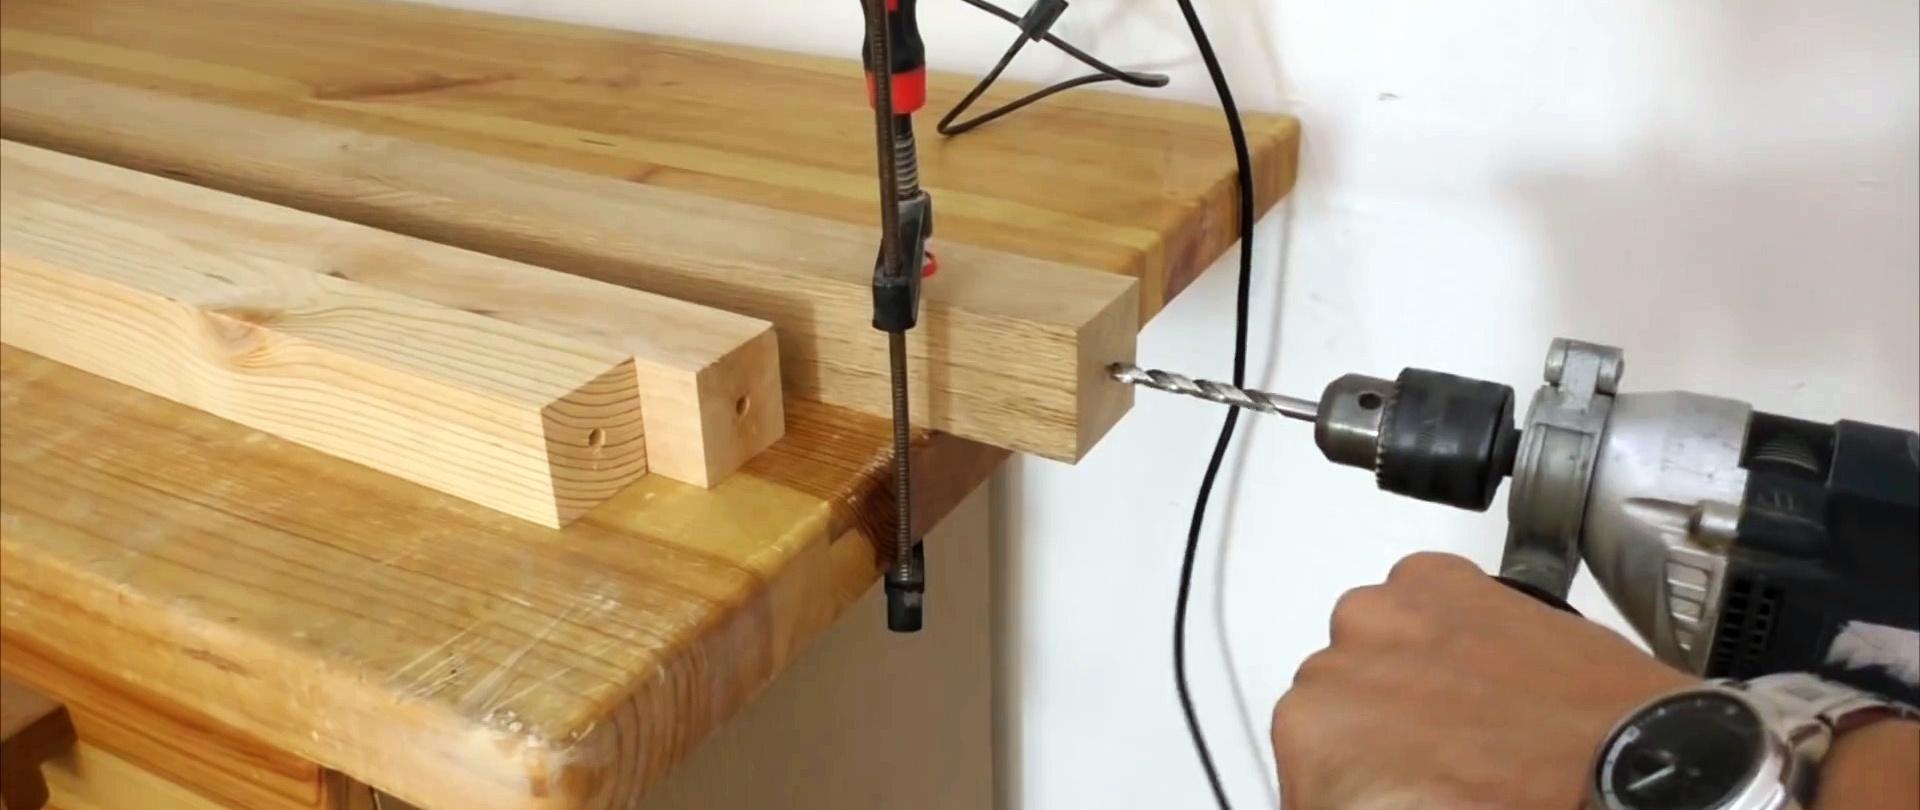
We place the bar on the base of the box in the groove of the table, turn on the saw and make a slot in the base, bottom and beam almost to the wall of the box. Behind the circular table we place a support for a box made of a pipe and two racks. We drill blind holes in the ends of the square block and fasten it to the studs of the bearing units.
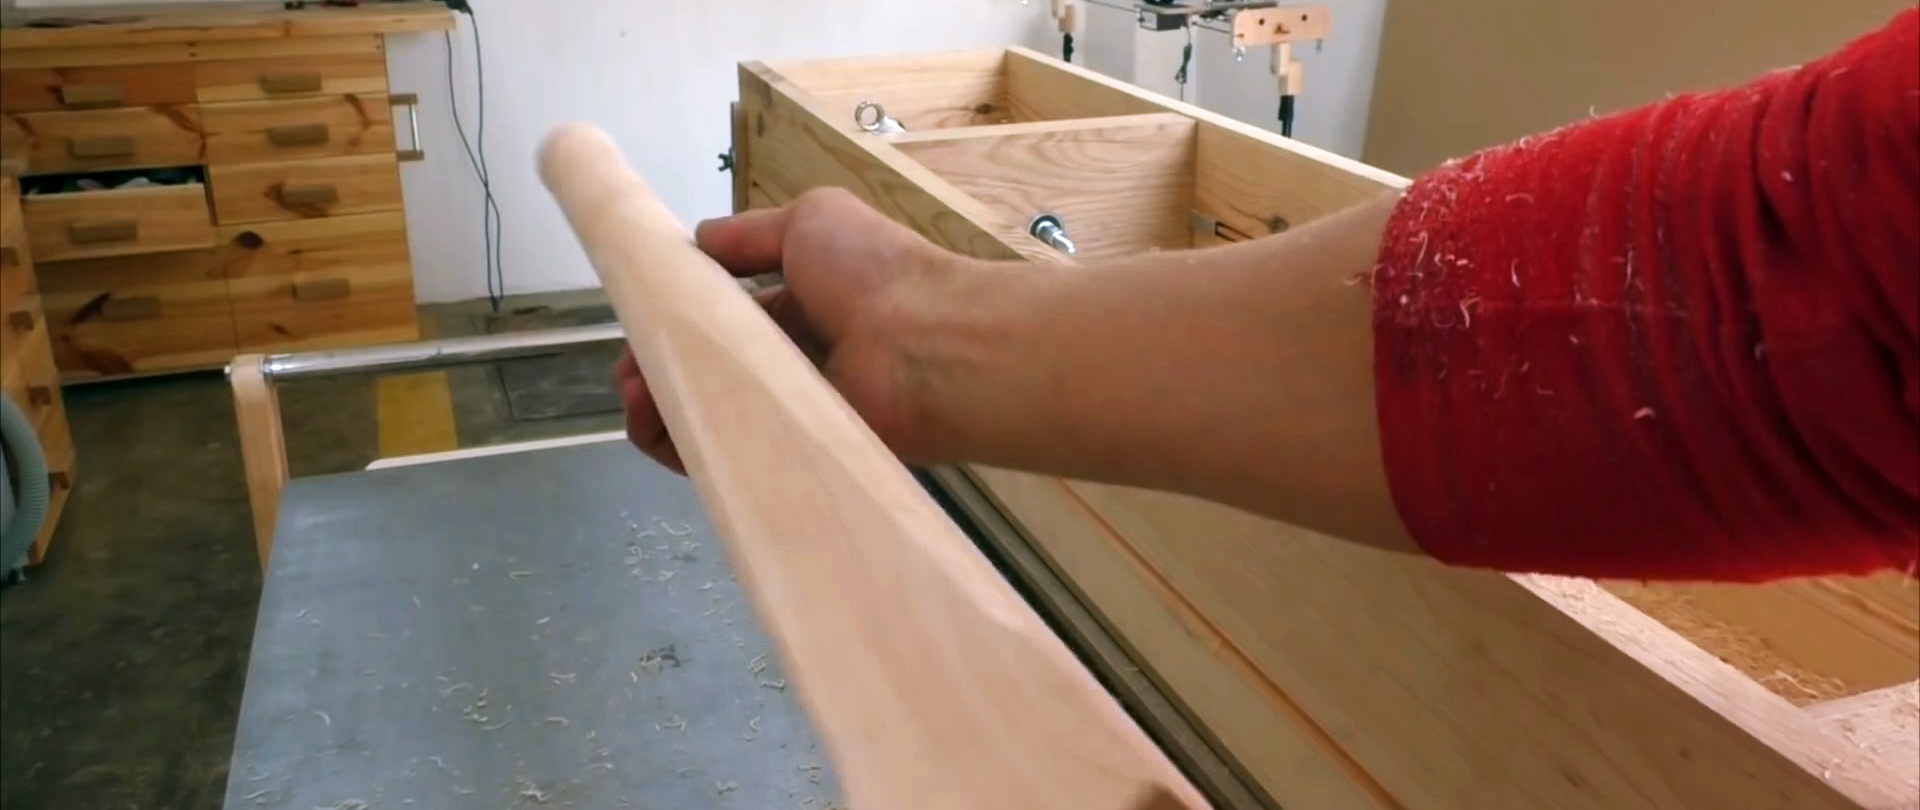
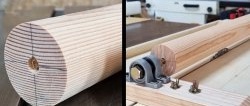
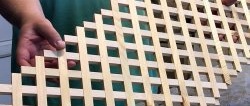
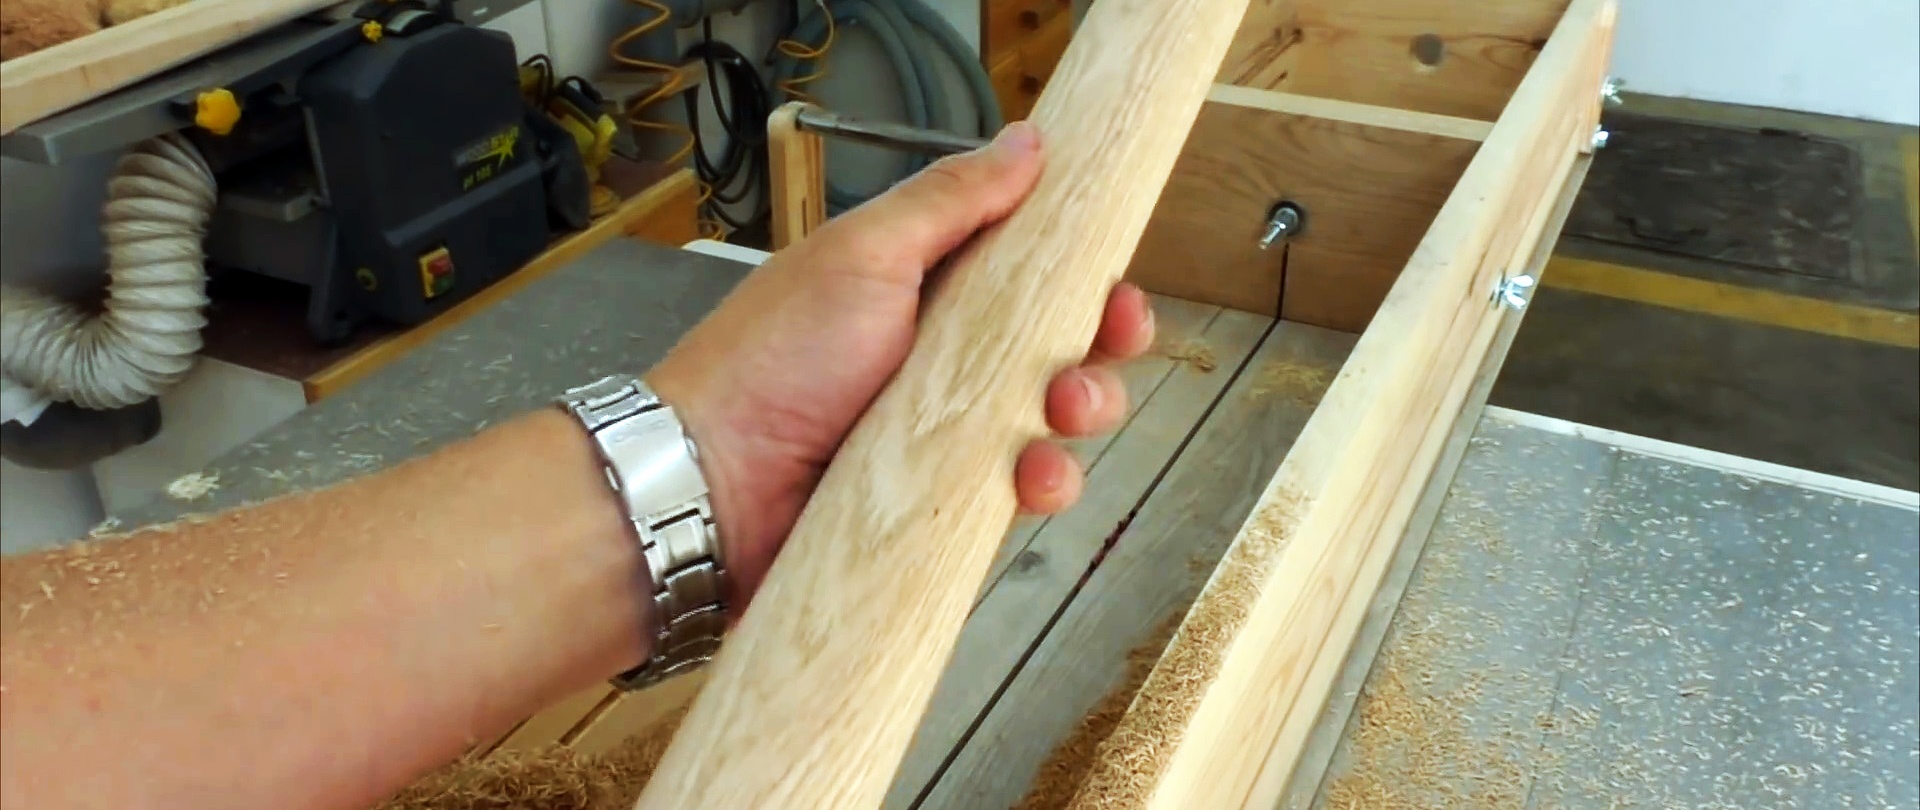
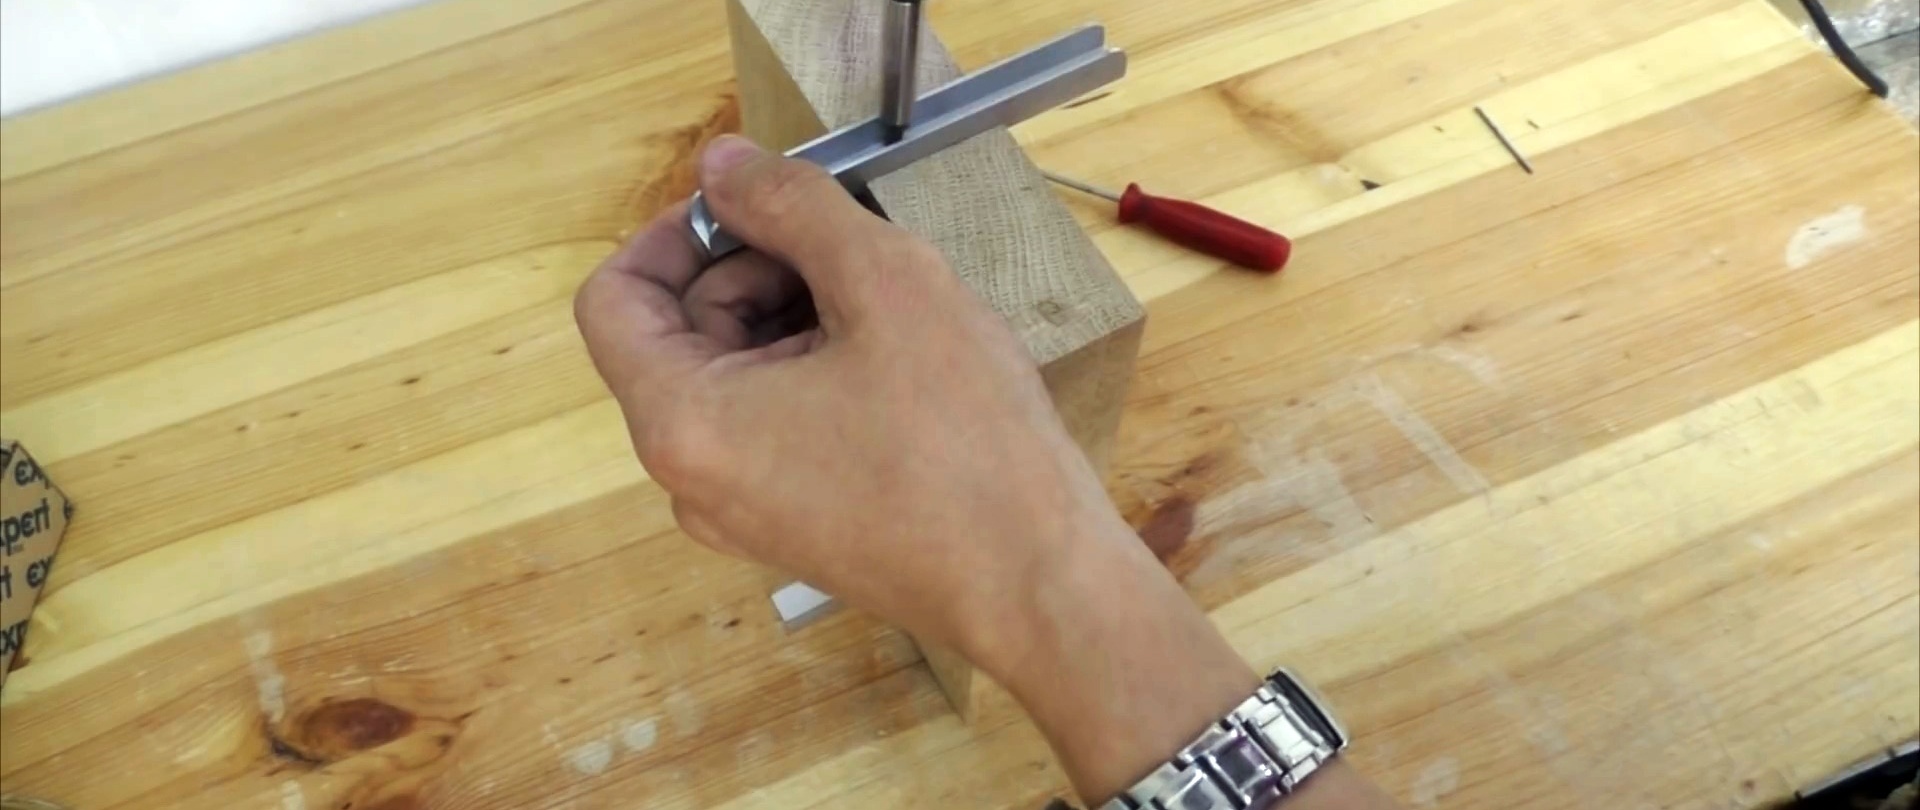
We place the saw blade at the beginning of the workpiece, turn on the circular saw and begin to rotate the beam with a drill, while pushing the box towards the saw blade. In a series of passes we turn the square into a round rod.

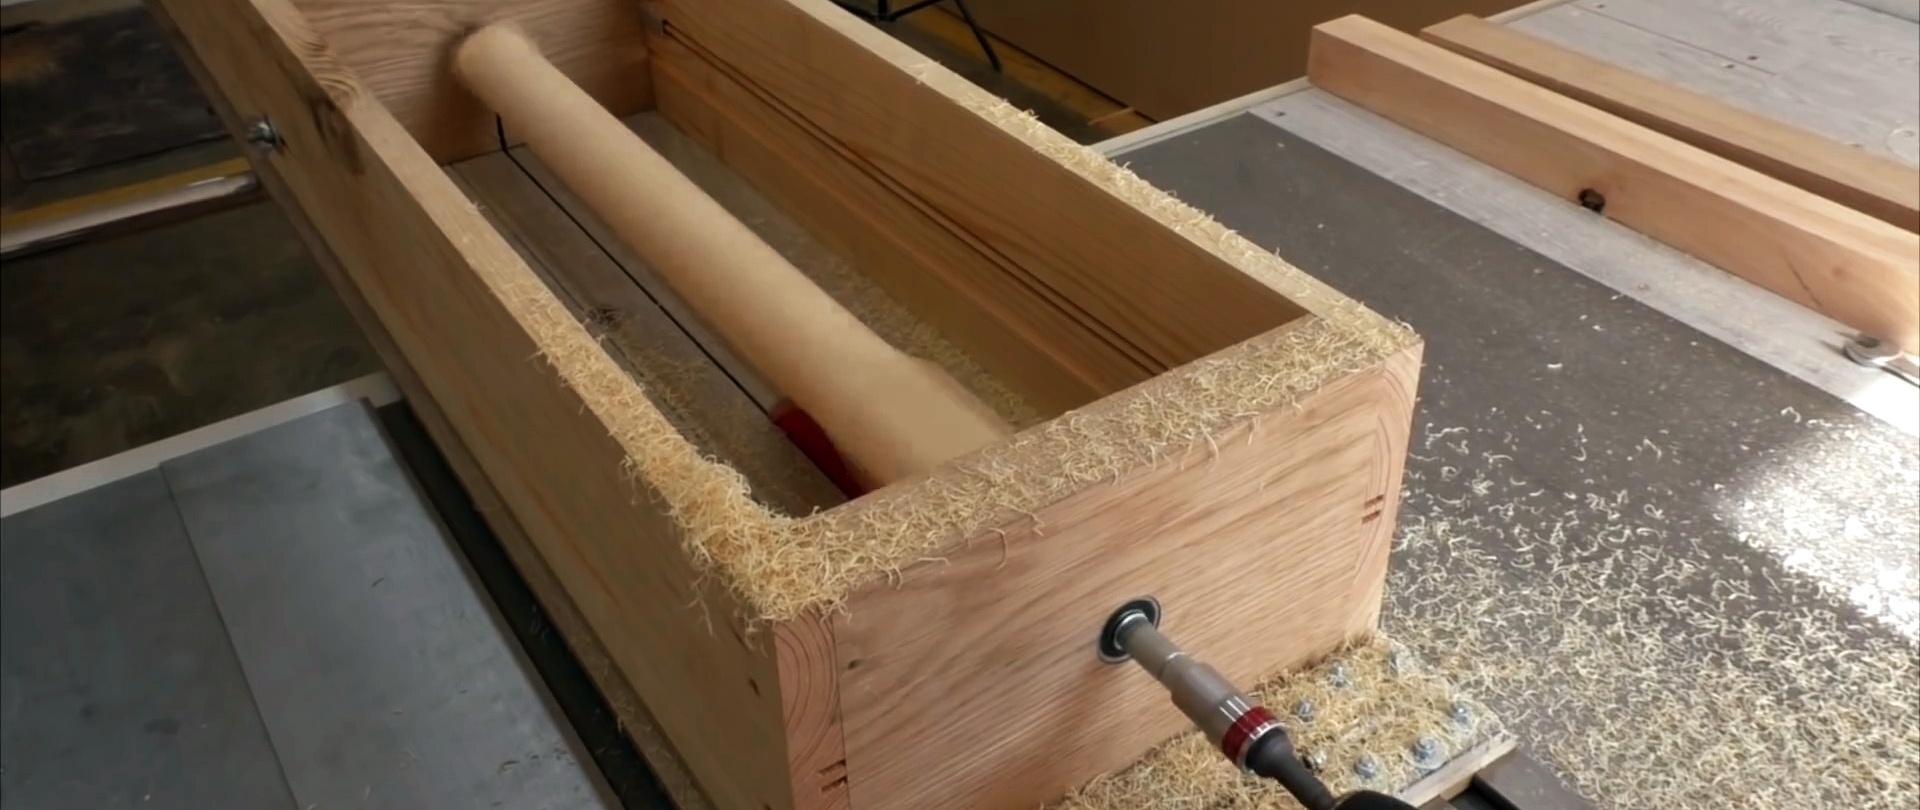
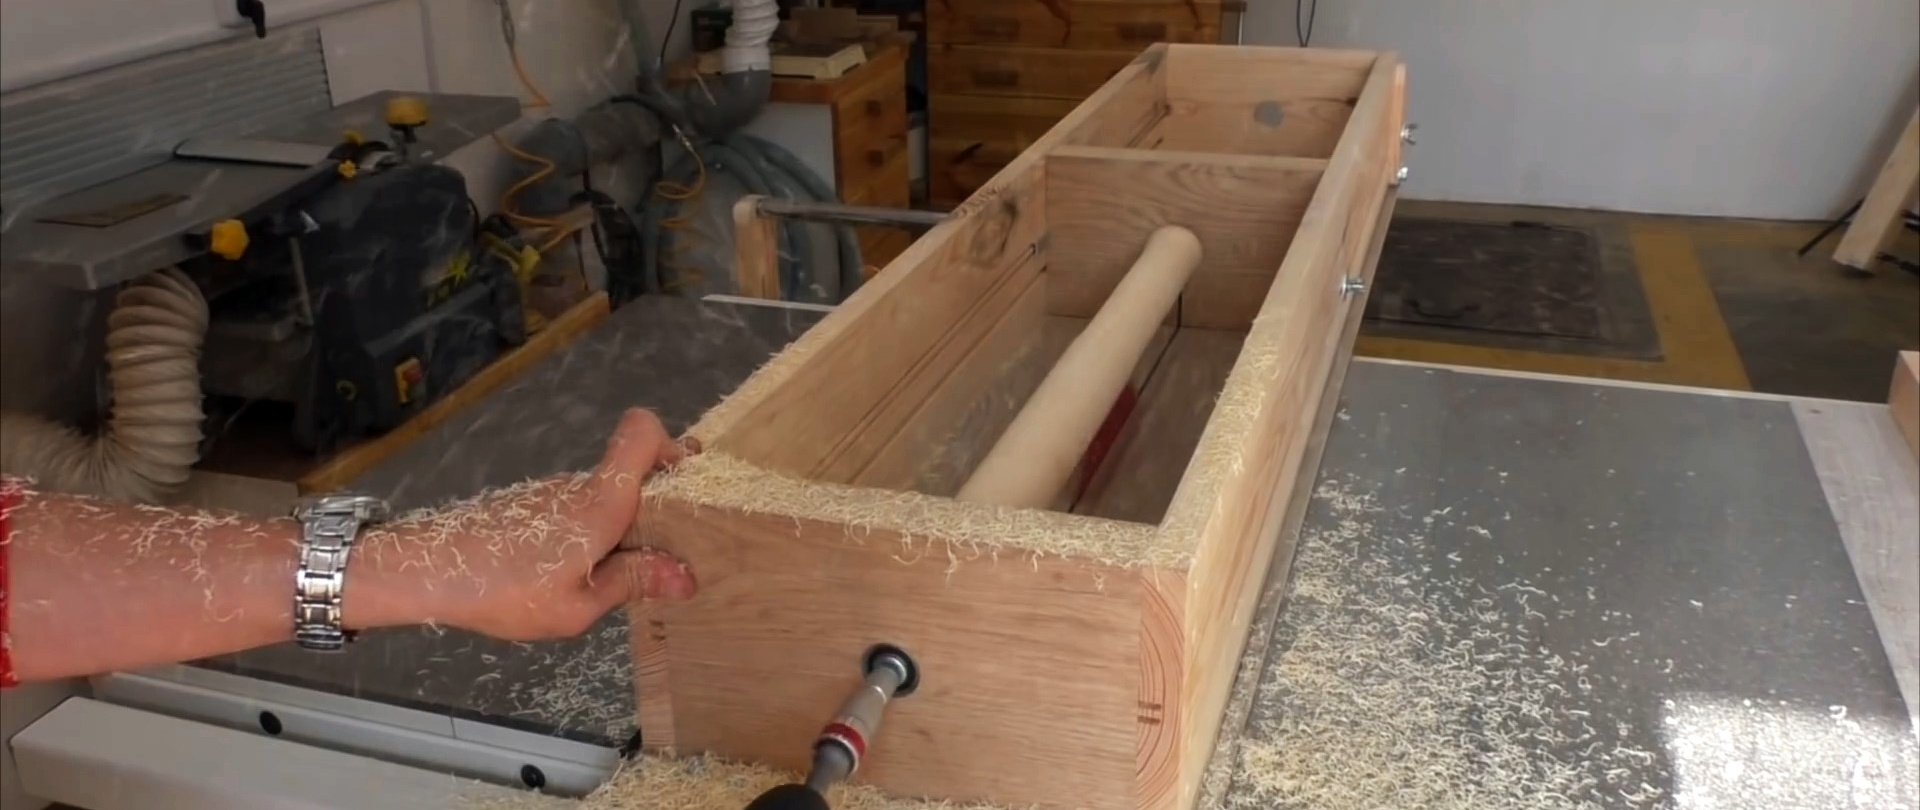
Raise the edge of the box and secure it with wing nuts. We fasten the timber and begin processing. Since the axis of rotation of the workpiece is located at an angle, we obtain a conical rod.