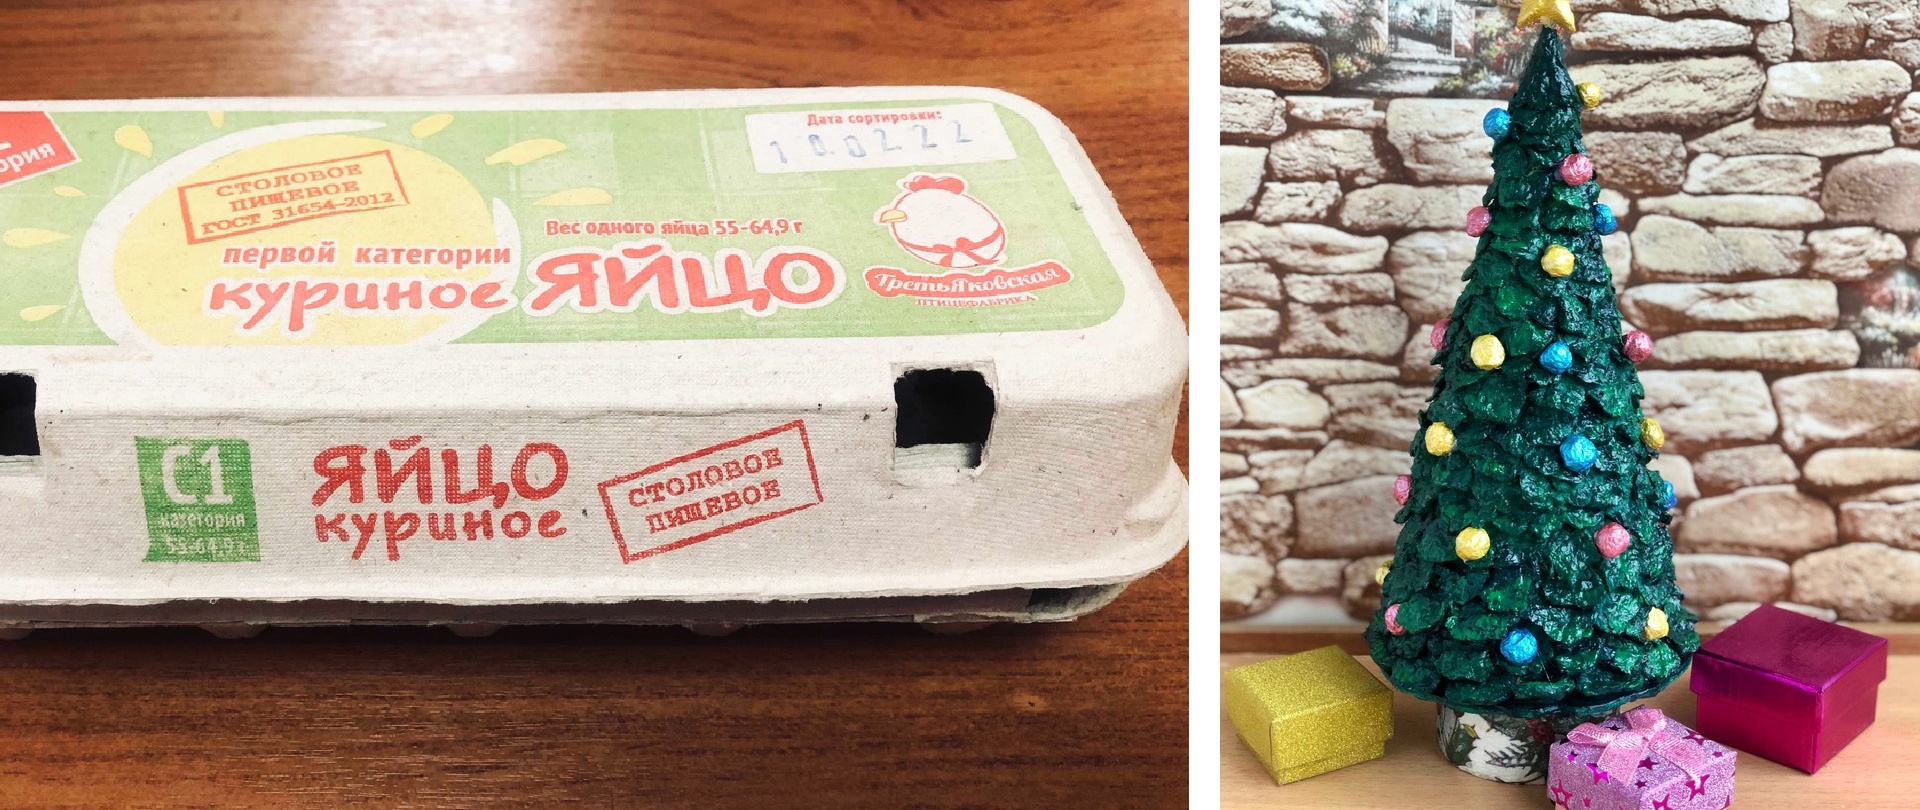
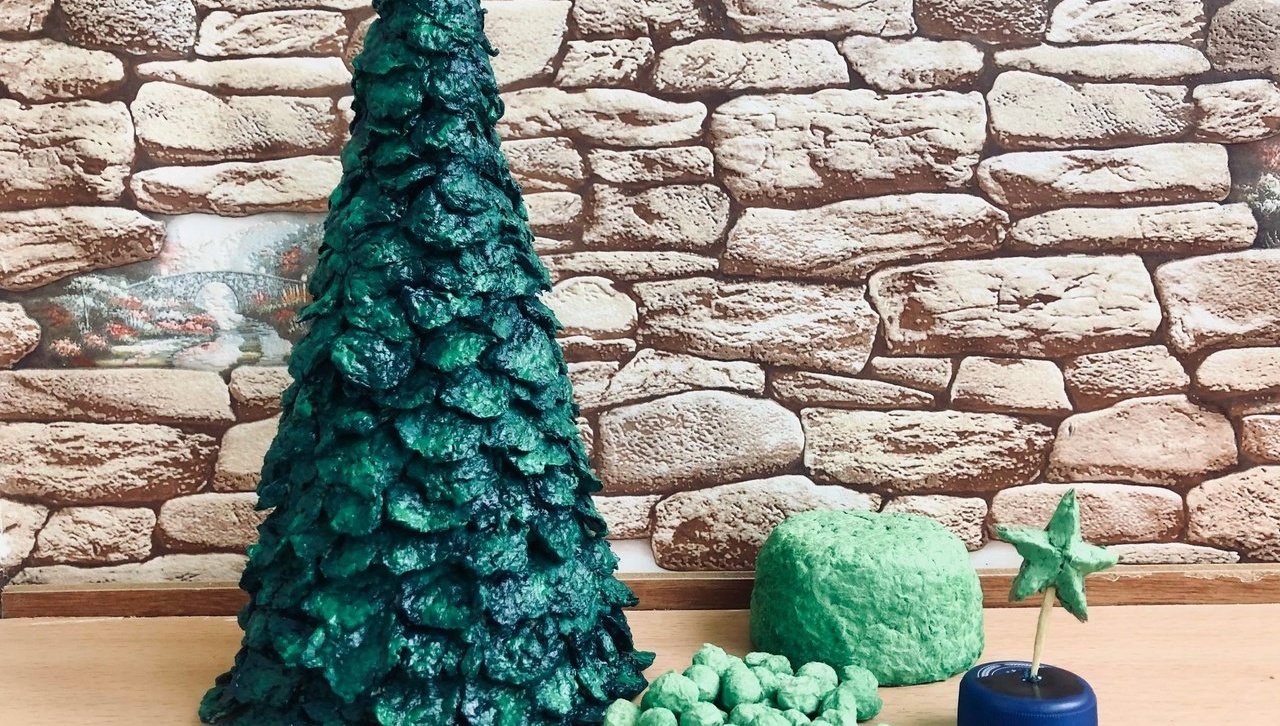
Christmas tree from papier mache will decorate a windowsill, bedside table, desk and help create a pre-holiday New Year's atmosphere.
To make it you will need:
- an egg carton (one container was not enough, it is better to take at least two dozen);
- PVA glue (or, alternatively, paste, wallpaper glue);
- a sheet of thick paper (whatman paper, cardboard) in A4 format;
- a jar of soy sauce from the set with rolls to create a stand for the Christmas tree;
- cardboard measuring 10x10 cm for making the base of the tree;
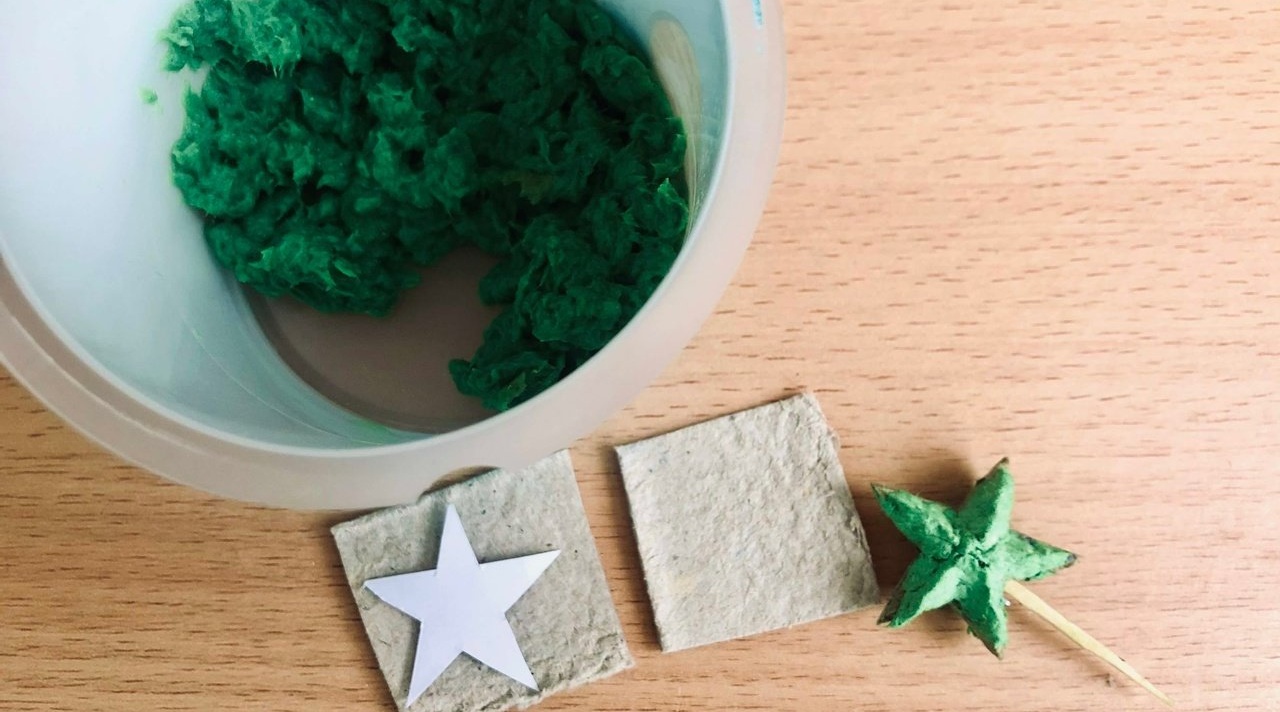
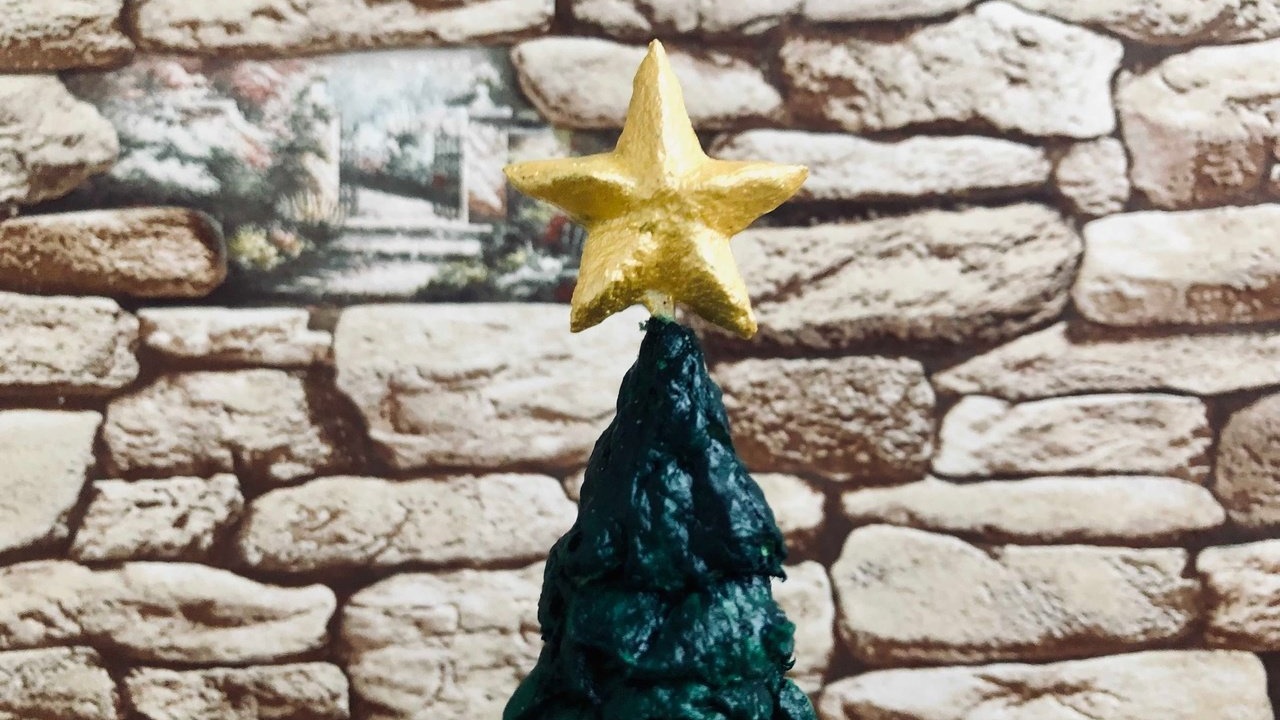
- match and cardboard 8x4 cm for the star;
- green paint of 1-2 colors (you can use one color, but if you paint the details in a different shade, the Christmas tree will be more voluminous and more interesting in appearance);
- yellow, blue and red paint for coloring Christmas tree decorations and stars;
- brushes with synthetic bristles;
- varnish
It is advisable to use acrylic paints and varnish: they dry well, do not smear, and are durable.
Making a Christmas tree using papier-mâché technique
1. Prepare a mass of papier-mâché. Tear the cardboard cells into small pieces and pour boiling water over them. Boil for 10 minutes. Allow the paper to cool.Drain off the excess water and grind the paper itself with an immersion blender until it is relatively homogeneous. Add PVA at the rate of 1 tablespoon of glue per 1 cardboard package.
2. Roll a sheet of paper into a cone and secure the shape with a stapler or glue.

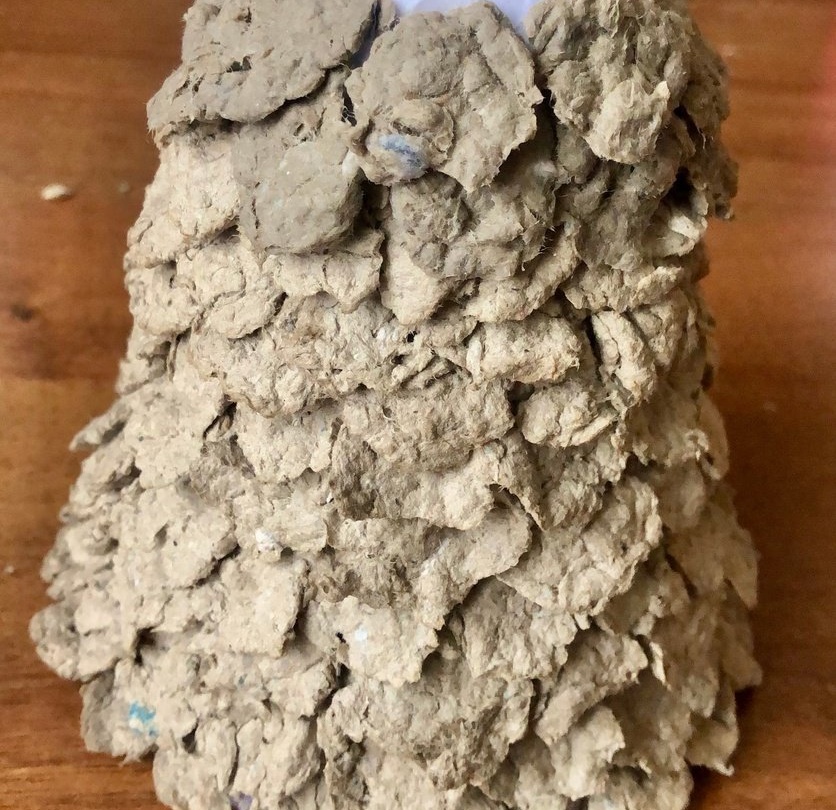
3. Glue “scales” from the previously obtained paper-glue mixture onto the cone. They will imitate the tips of spruce paws. Glue the scales onto PVA, starting from the bottom, 2-3 rows at a time. Then let the papier-mâché dry and make 2-3 rows again.

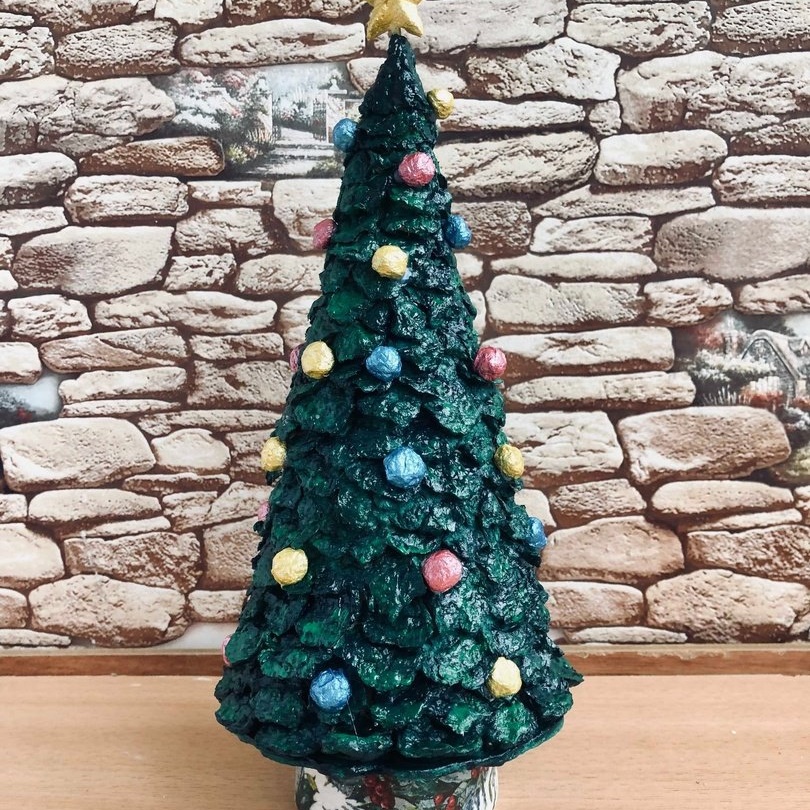
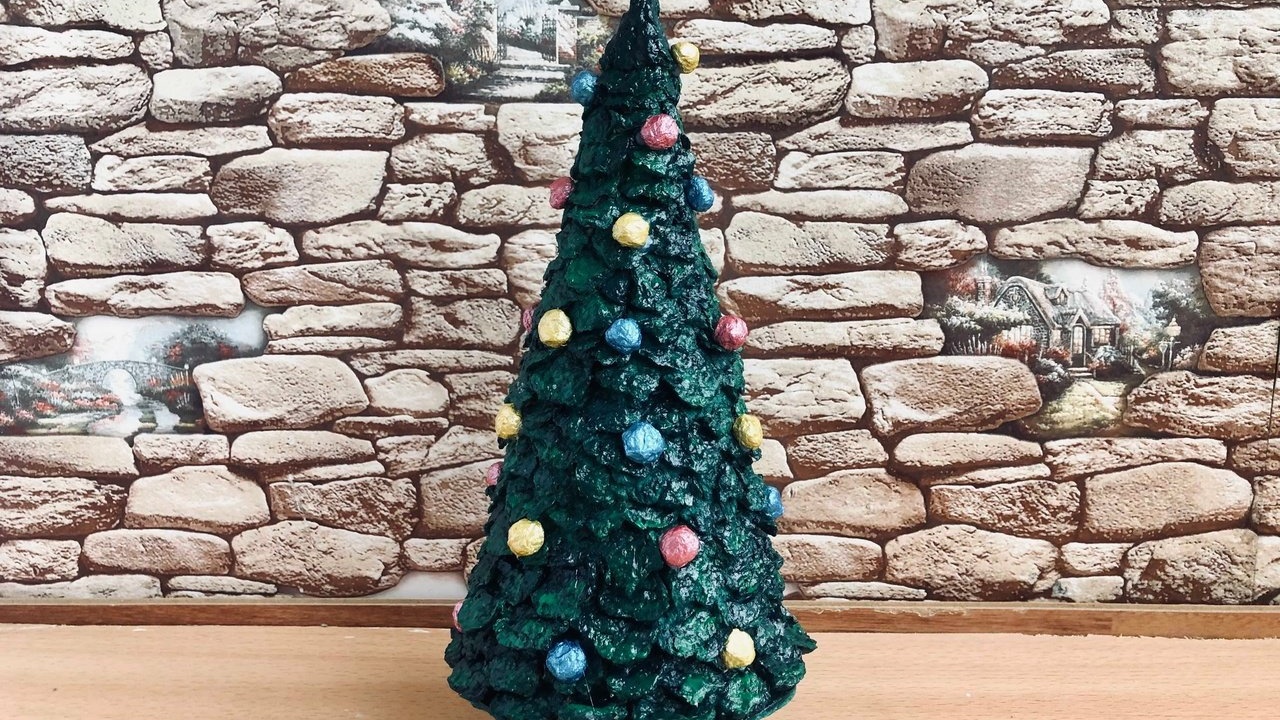
4. Paint the dried Christmas tree with acrylic paint.


It is recommended to use two shades of green paint to create a more voluminous, interesting look. To do this, the product is first coated with dark paint, allowed to dry, and then the tips of the scales are coated with lighter paint with light strokes.
5. Make New Year’s balls for the Christmas tree and star from papier-mâché. Making balls is as easy as shelling pears: pinch off a small piece of paper pulp, roll it into a ball and dry it. In total, approximately 10 balls of three colors are required. To make a star, cut out two identical blanks from cardboard and glue them together, holding the end of a pointed match between them. To make the star voluminous, glue pieces of papier-mâché onto it as in the photo.
6. Make the base of the Christmas tree and a stand for it. Cut the base to the shape of the bottom of the tree and paint it green.

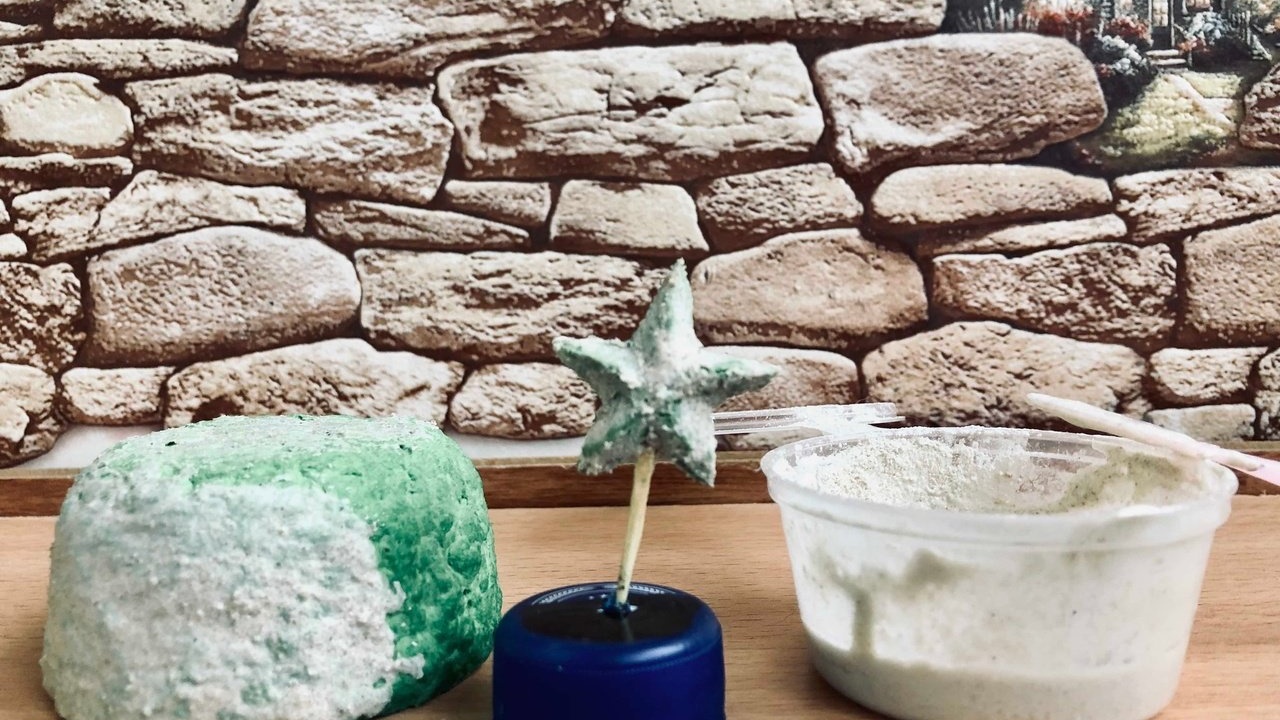
The stand can be made from a soy sauce jar, which is usually placed with sushi and rolls. Cover this jar with papier-mâché and dry it.
7. Putty the stand and star if you have at least a couple of spoons of putty at home.
8. Paint the balls, star and stand.A tree stand can be decorated with a napkin with a New Year’s motif using the “decoupage».

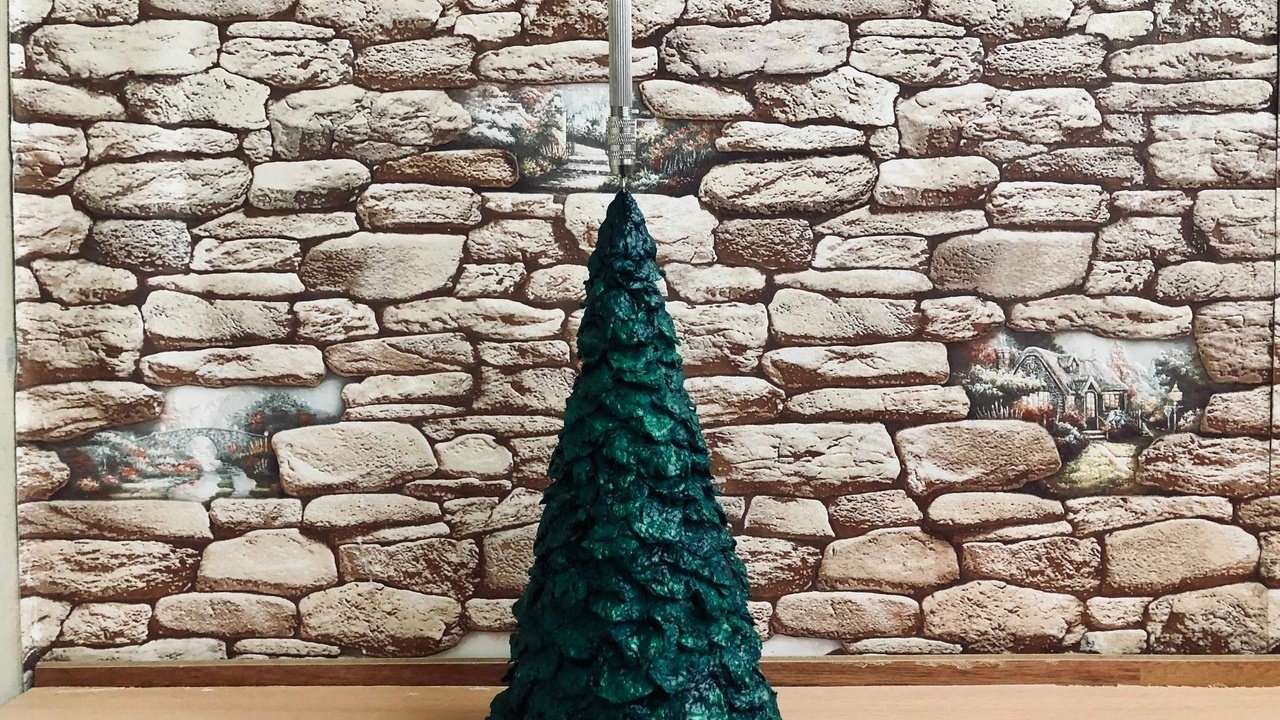
9. In the top of the tree, using a hand-held craft drill or an ordinary awl, make a hole with a diameter equal to the diameter of a match. “Put” a star on the top of the New Year’s beauty.
10. Glue the balls onto the Christmas tree using a hot glue gun.