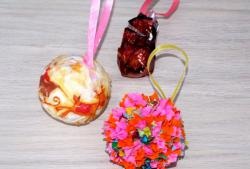
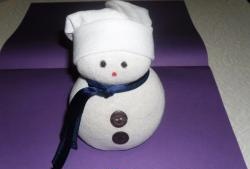
A beautiful handmade New Year's toy is not cheap, but you can make it yourself. When combining technology papier mache and the technique of decoupaging products with napkins, you get quite decent Christmas tree decorations even with no experience. This does not require capital investments. If there is a child in the house, then there will probably be brushes and paints. PVA glue can successfully replace bustilate, wallpaper glue or traditional paste. And an analogue of special acrylic varnish and primer for creative work can be found among the building materials left over by you or your friends after renovation.

Required:
For papier-mâché:
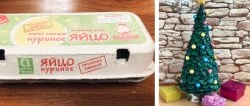
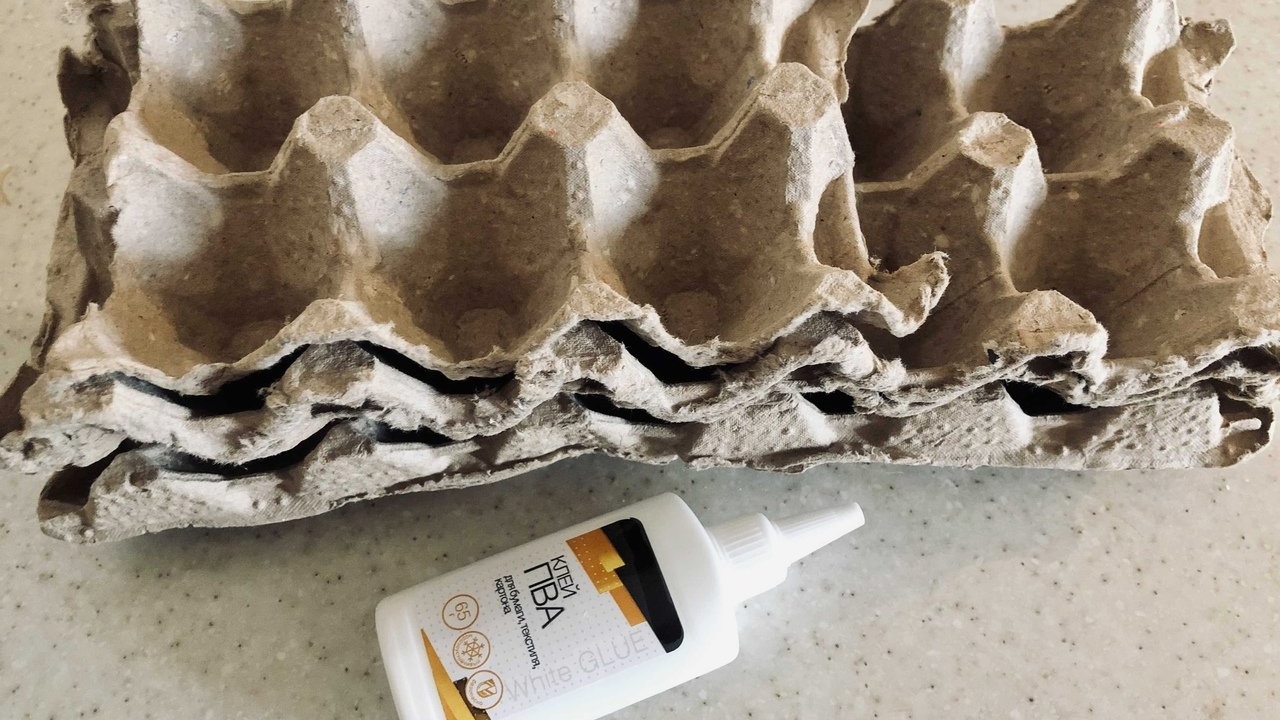
- cardboard cells from two dozen eggs (paper napkins, toilet paper);
- PVA glue;
- water;
- putty;
- sandpaper with fine and very fine grains for sanding;
- a ball-shaped blank (round bottle, tennis ball, etc.);
- a couple of drops of vegetable oil;
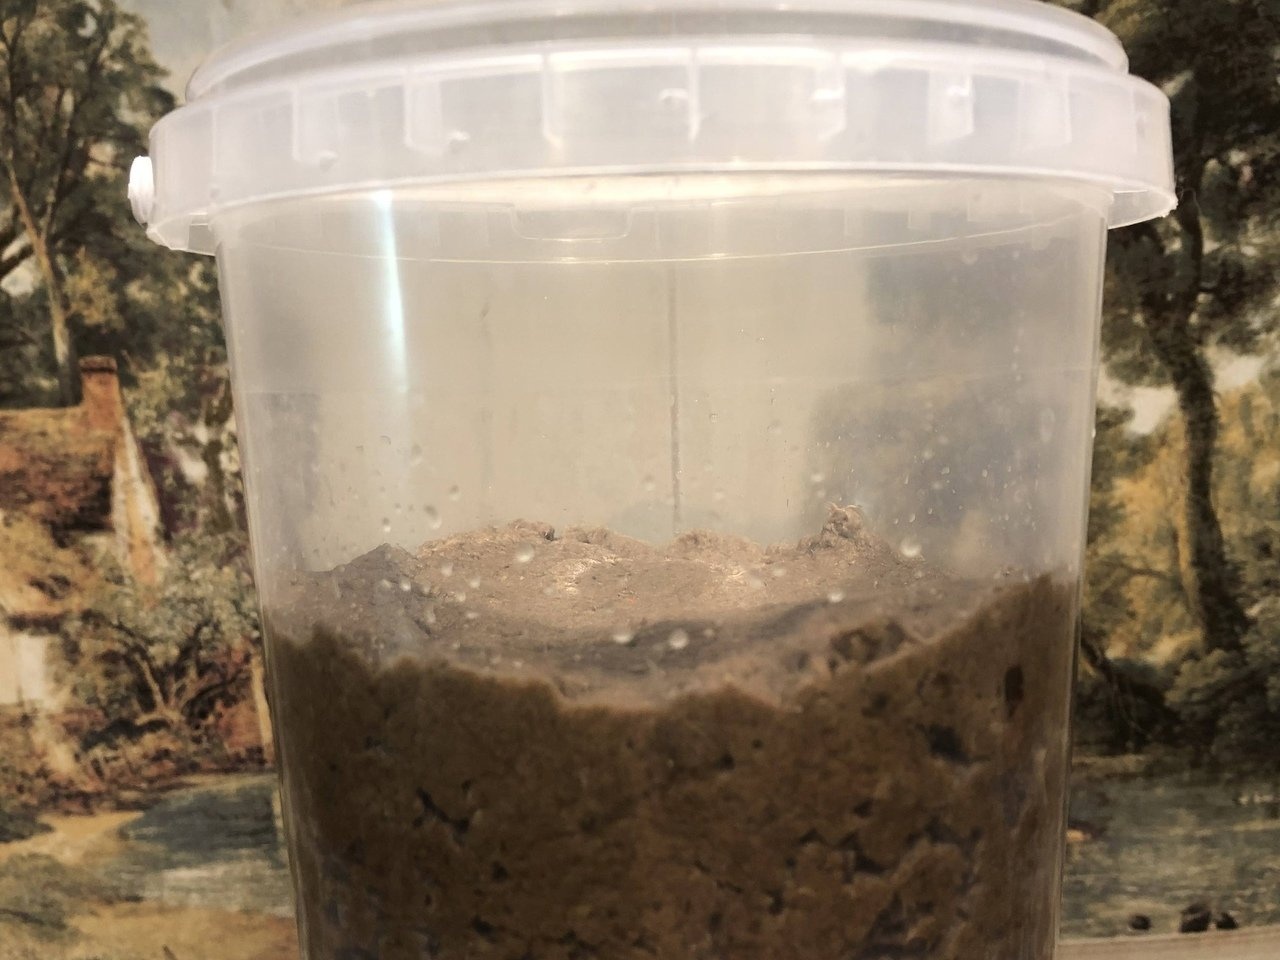
- container with a lid for storing modeling mass.
For decoupage:
- napkin with a New Year's motif;
- brushes with synthetic bristles;
- acrylic primer;
- acrylic varnish for artwork or construction;
- acrylic paints to create a background and draw an image (as a last resort, gouache will do, but it will be more difficult to carefully coat with varnish).
You will also need an immersion blender for grinding the paper until a homogeneous mass is obtained and 25 cm of satin ribbon or cord for making a loop for attaching the ball to the Christmas tree.
Stages of making a Christmas ball
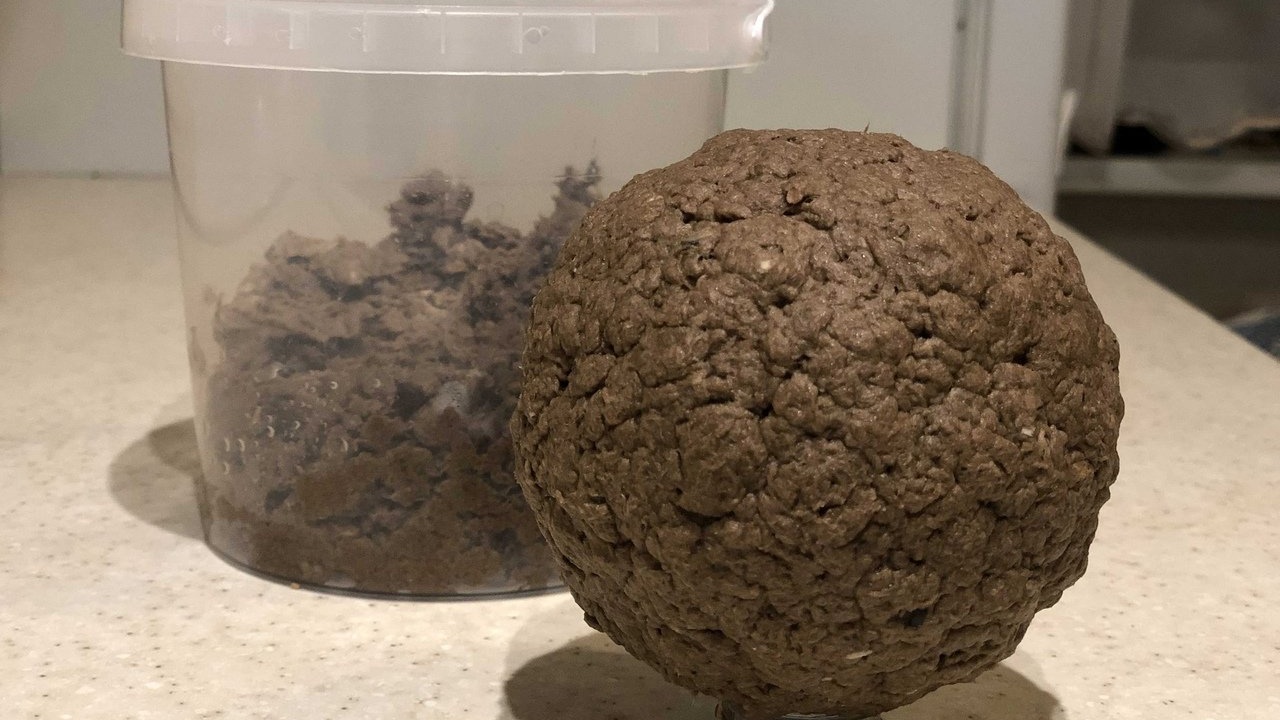
1. Prepare the mass for modeling. To do this, tear the cardboard cells (paper) into small pieces and pour boiling water over them.

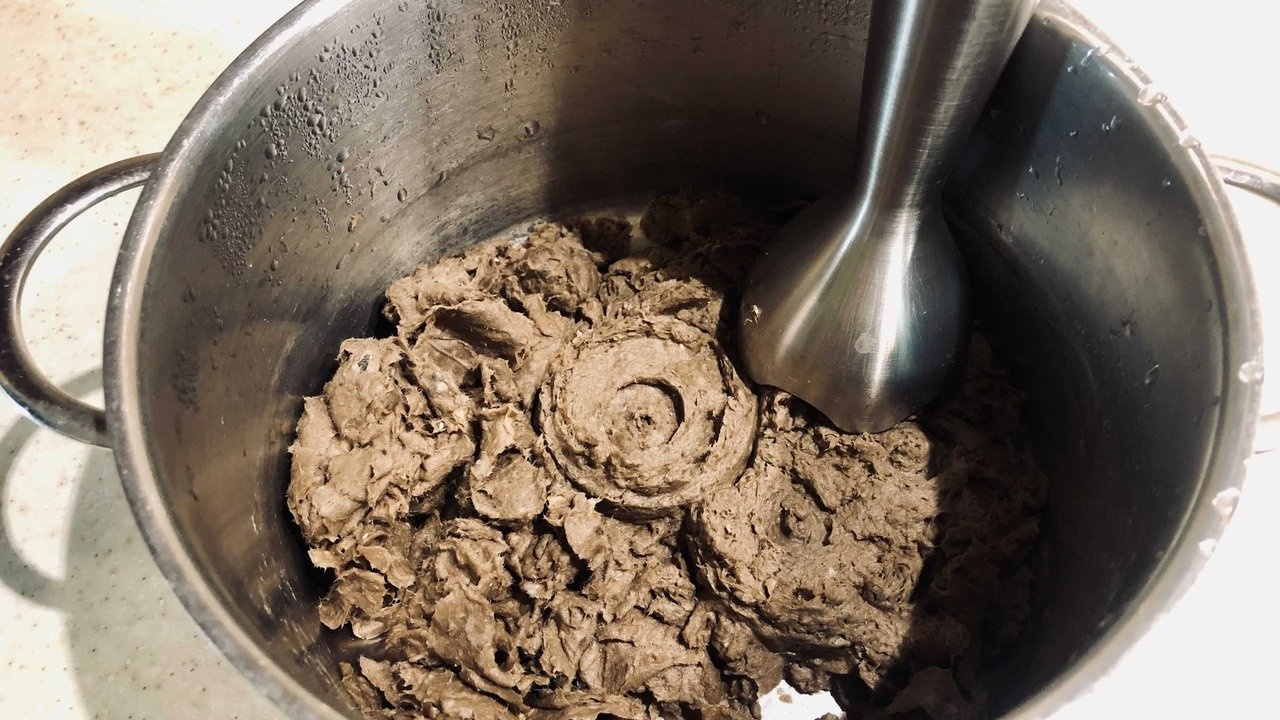
Soak the paper in water for a day and grind with a blender.

If you don’t have that much time, then boil the paper for about 20 minutes so that it swells and becomes loose. Pour PVA glue into the ground mass (about 1 tbsp per half liter bucket), mix. Keep refrigerated.
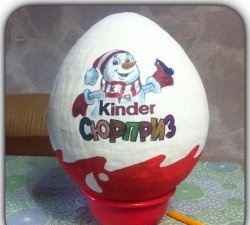
2. Grease the mold that will serve as the basis for the papier-mâché.

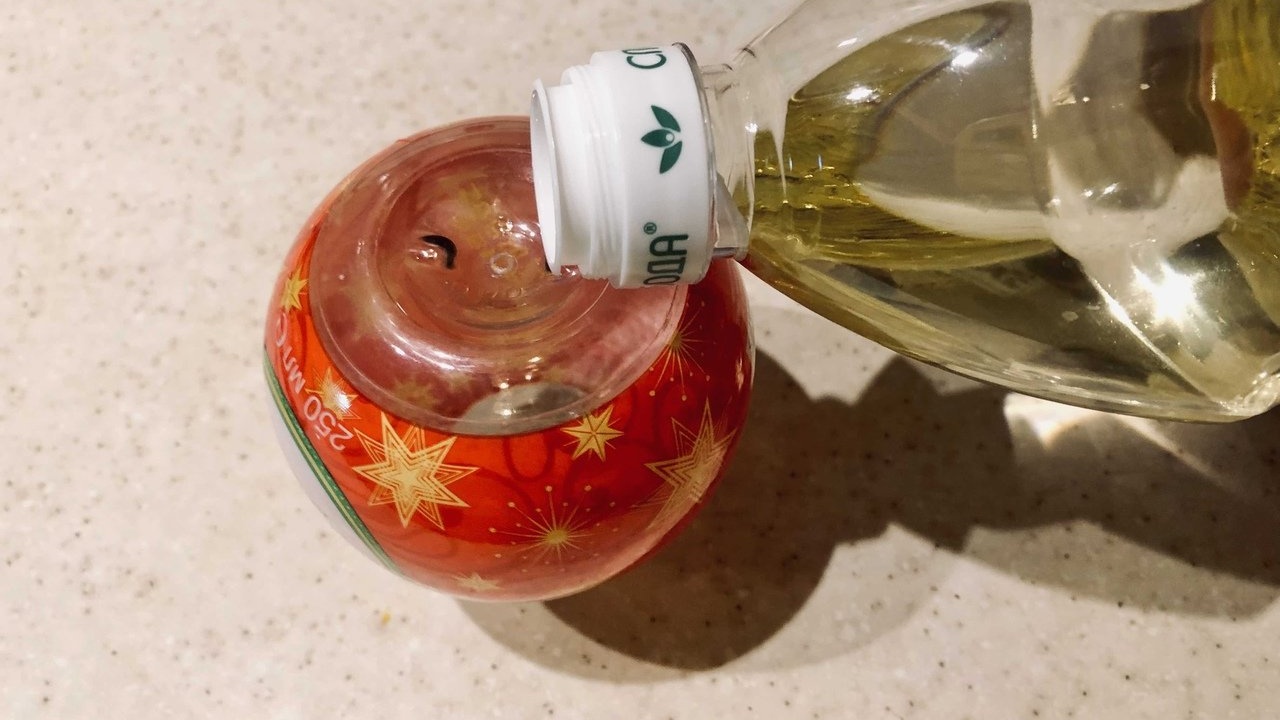
This will greatly facilitate the process of removing the paper blanks of the future ball from it in the future.
3. Cover the mold with paper-glue mixture, kneading it well and pressing the pieces of paper against each other. Dry the workpiece on the radiator for about a day.

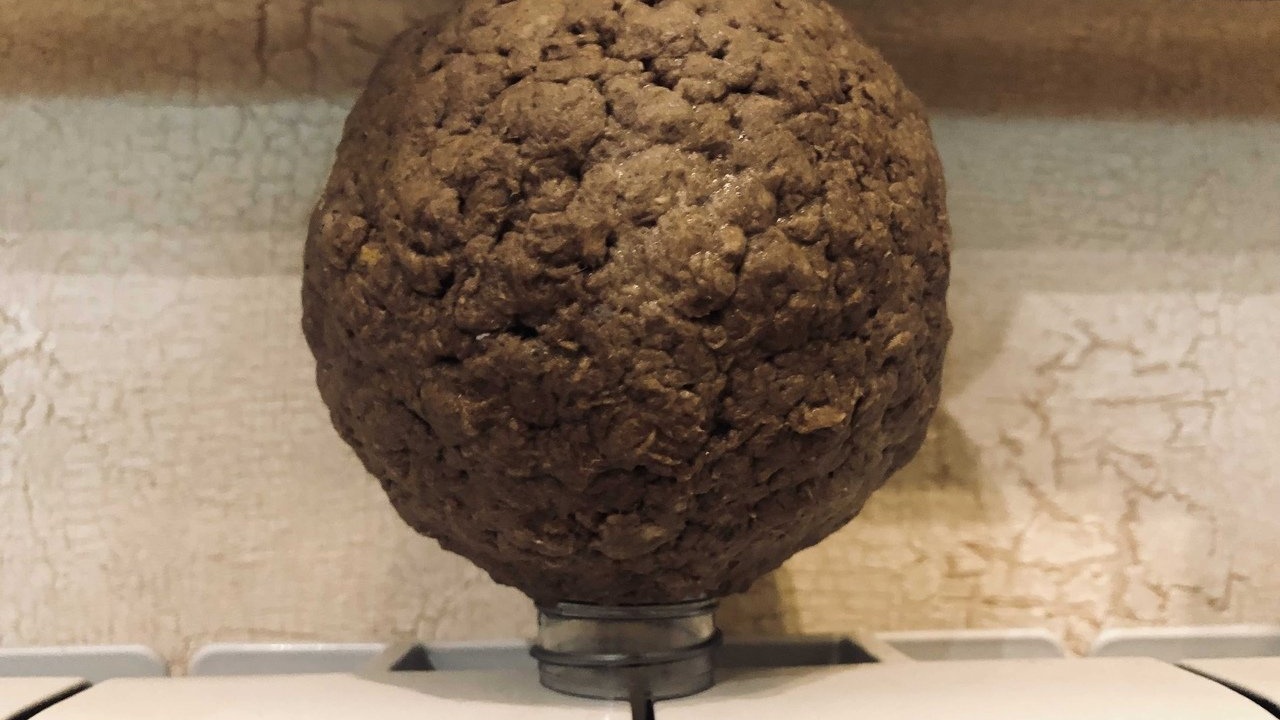
Then apply another layer of paper, having previously coated the first layer with glue, and dry again for 24 hours.


4. Remove the workpiece from the mold. To do this, use a stationery knife to cut the layer of dried mass approximately in the center.
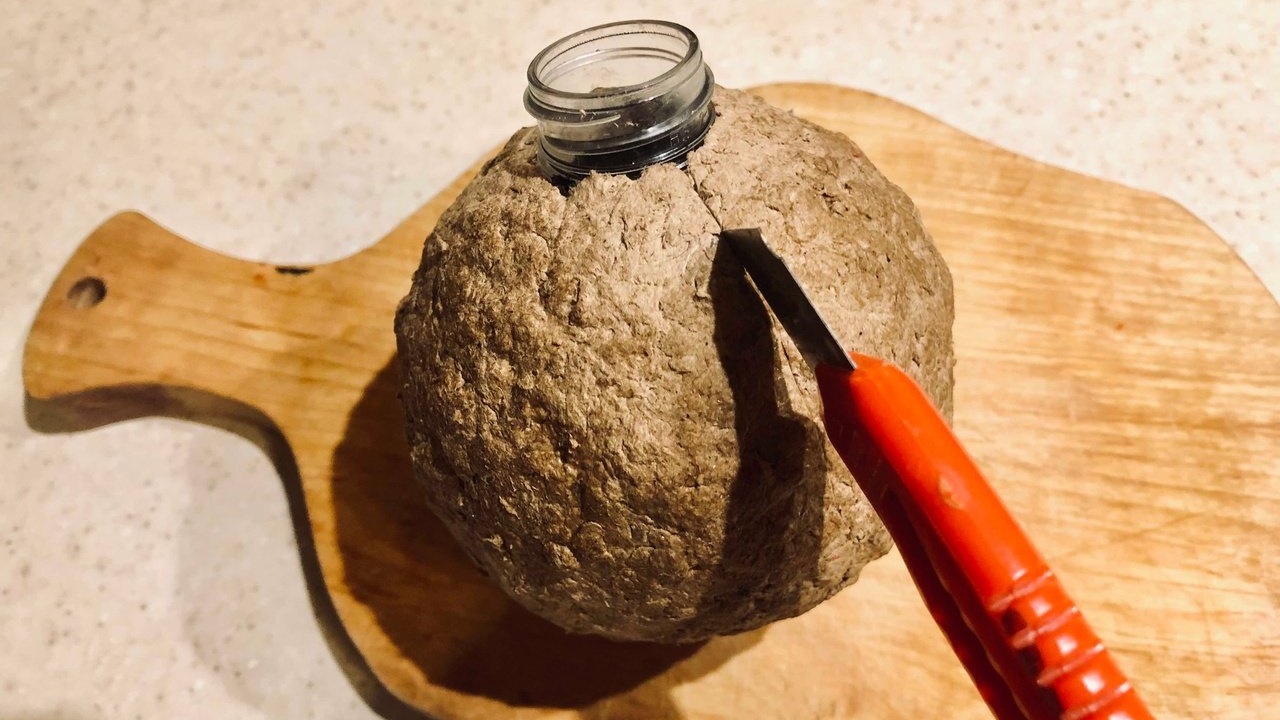

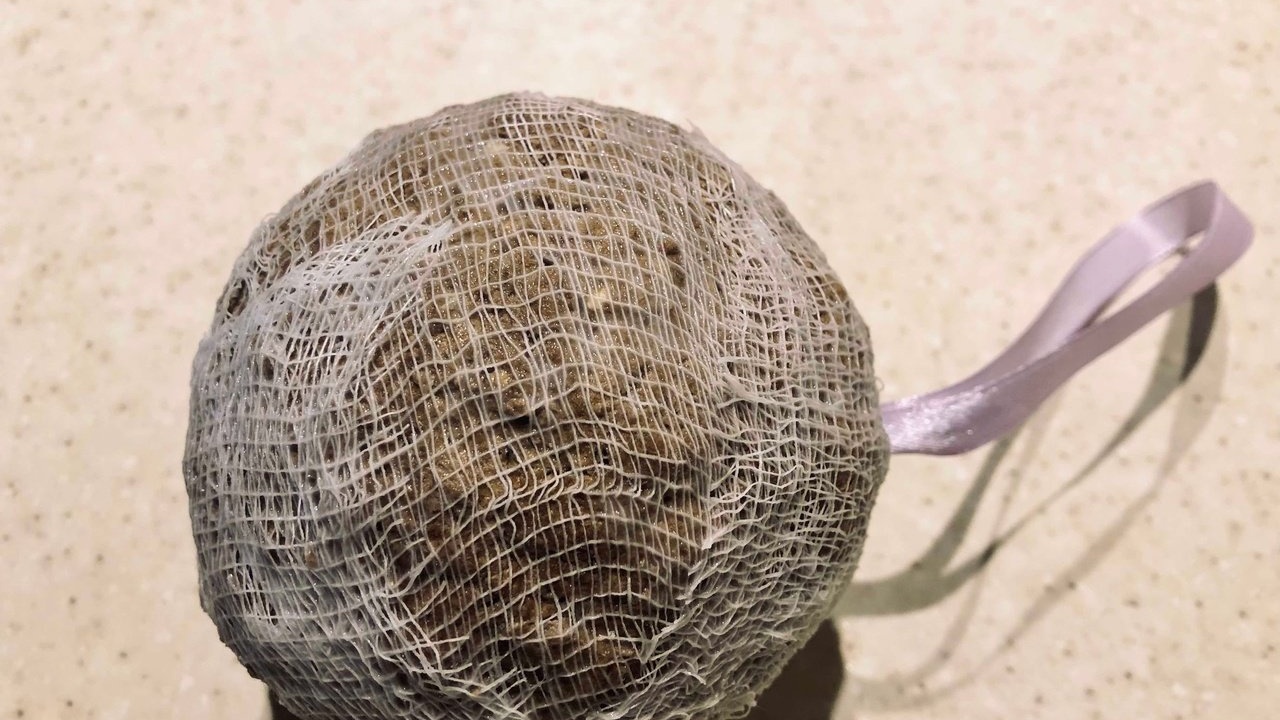
Glue the resulting halves together. Place a reinforcing tape of gauze bandage around the ball on a layer of PVA.

Before gluing, do not forget to insert inside the knotted ends of the ribbon or cord, forming a loop for attaching the toy to the Christmas tree.
5. Apply the third layer of paper-adhesive mass. Leave the items to dry again for 24 hours.
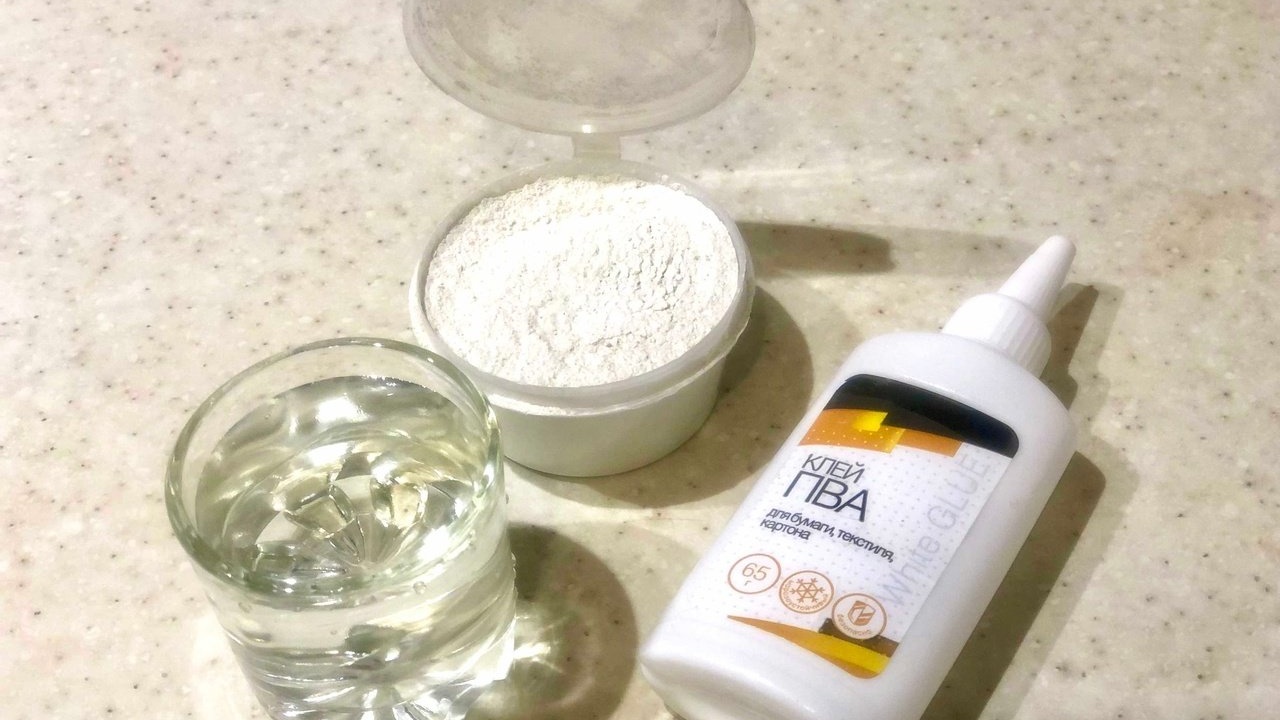
6. Putty the ball.There are noticeable irregularities on the surface of the papier-mâché ball, which must be smoothed out using putty (putty) so that during the decoupage process, the pattern with the napkin will lay flat. You can use ready-made putty, or apply it yourself: take a little dry construction mixture, dilute it with water and drop a little PVA glue. Mix. After a few minutes, apply a thin layer of the thickened mass using a palette knife, brush or stack from the set with children's plasticine.


7. Sand the product. Sand the completely dry layer of putty (putty) with medium-grit sandpaper.

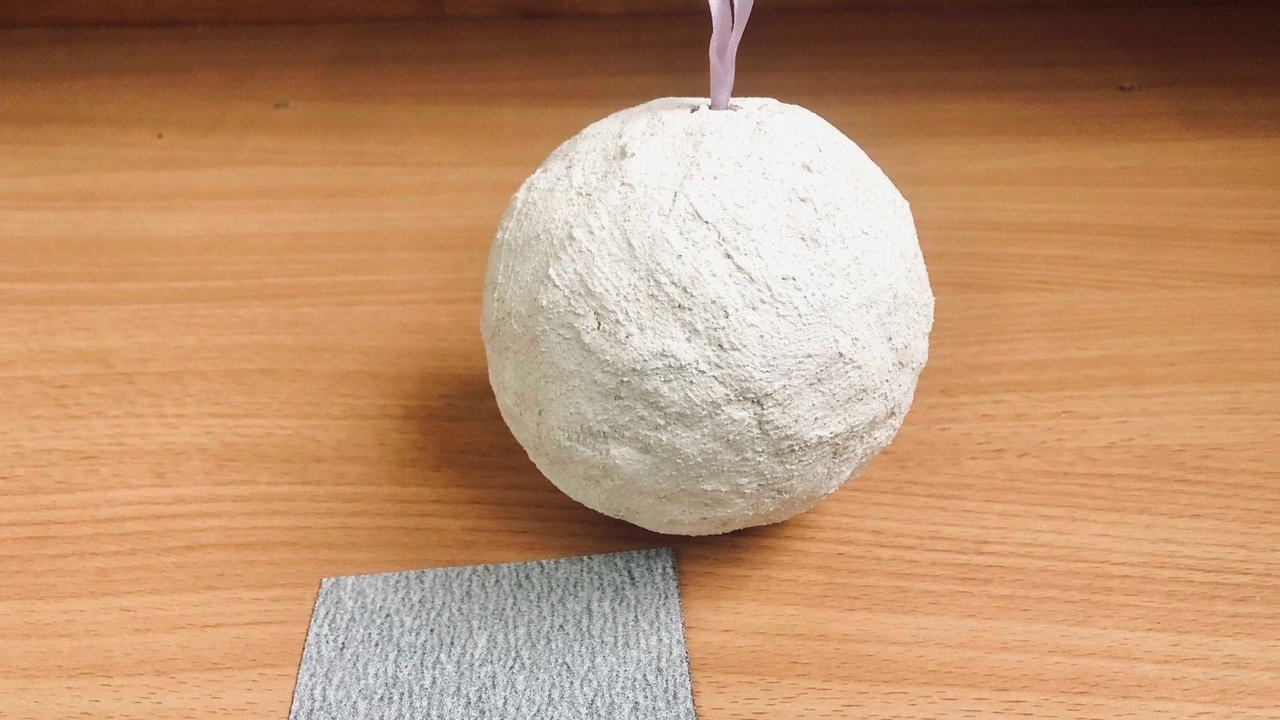
Apply a new thin layer of putty, dry again, and smooth the surface again with sandpaper. Apply 2-3 thin layers in this manner.
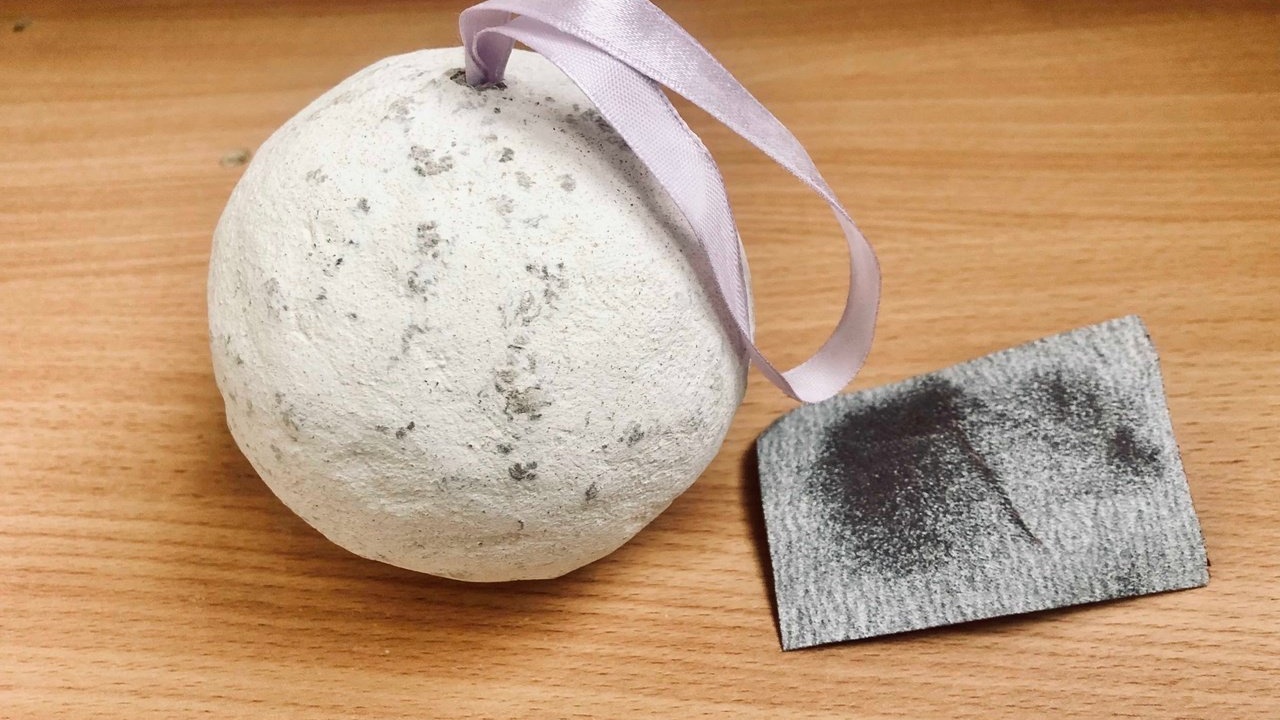

Sand the final layer with the finest grain sandpaper.


In some places, after sanding, unplastered areas remained visible - they will help in creating a toy with a worn-out “antique” effect.
8. Coat the ball with primer. An acrylic primer applied in two layers to the surface of the Christmas tree toy blank will help fill the pores in the putty, fix it and reduce paint consumption.
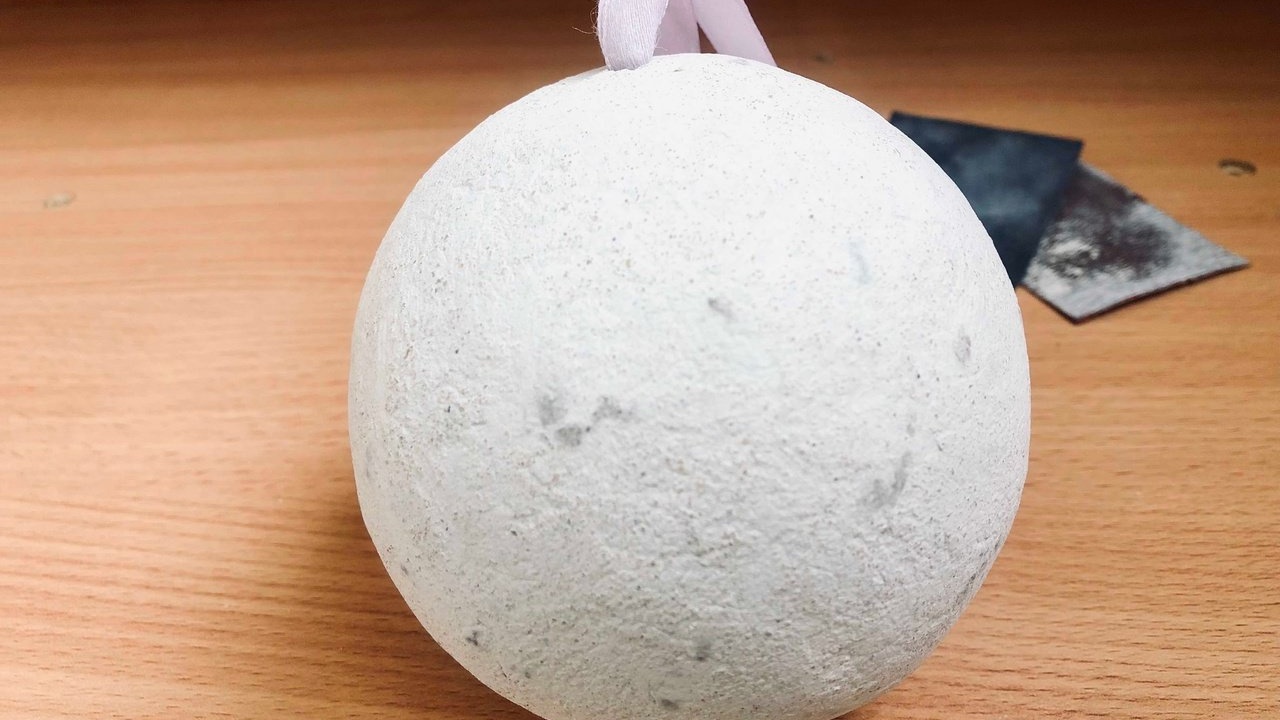

9. Apply a coat of paint. Using a synthetic bristle brush, evenly cover the entire workpiece with acrylic paint. Dry the product. If necessary, re-paint.

10. Prepare materials for decoupage. Cut out fragments of the design from the napkin (experienced craftsmen say that it is better not to cut out the design, but to carefully tear it out so that the transition at the junction of the napkin and the product is less noticeable).

For further work, you will need acrylic glue for creativity, or PVA glue, diluted with water approximately twice to the consistency of thick cream, and a brush.

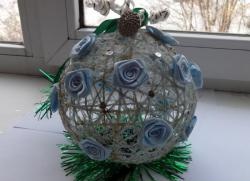
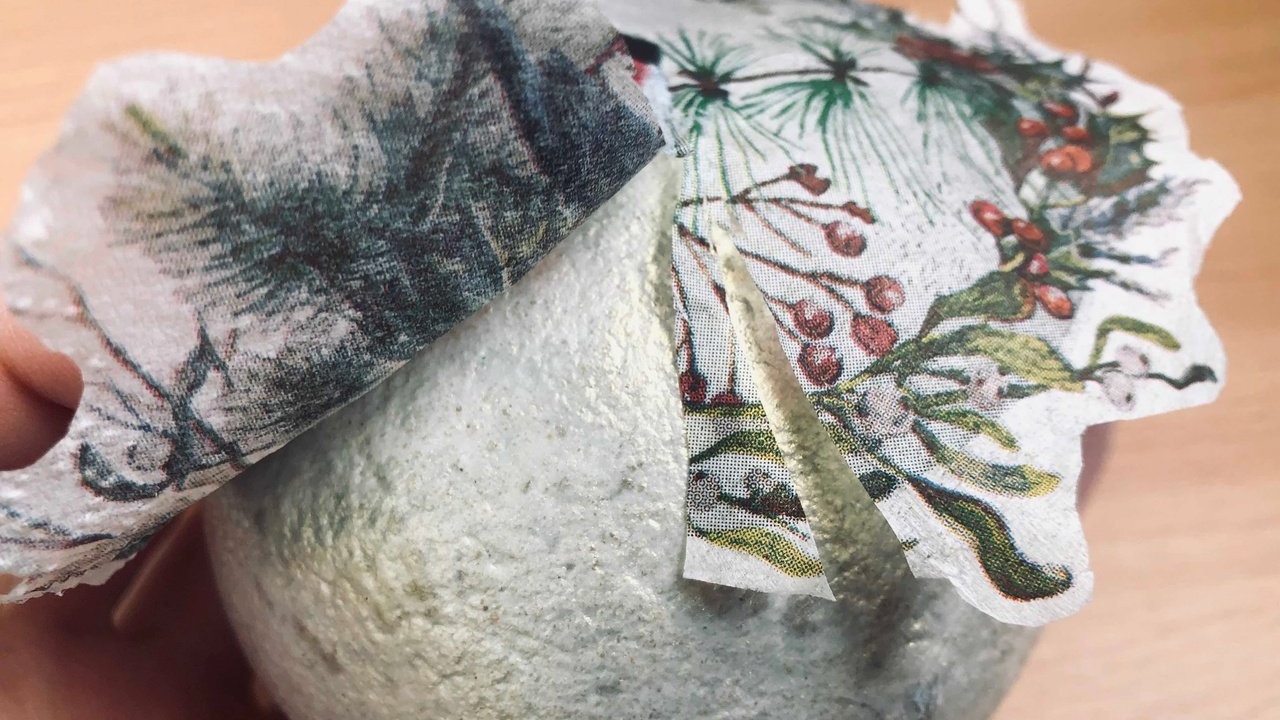
11. Decorate the ball using the technique decoupage. Separate the top layer of paint from the napkin (the bottom two are not required). Attach the drawing to the ball to determine its exact location. If the area of the design is large, then it is almost impossible to lay it on a convex surface without folds and cuts. In this case, you will have to make cuts somewhere (in inconspicuous places), and somewhere you will have to carefully stretch the paper.

You need to glue the napkin from the center, applying glue on top of the design, and using a brush and fingers to expel the air from under the paper.
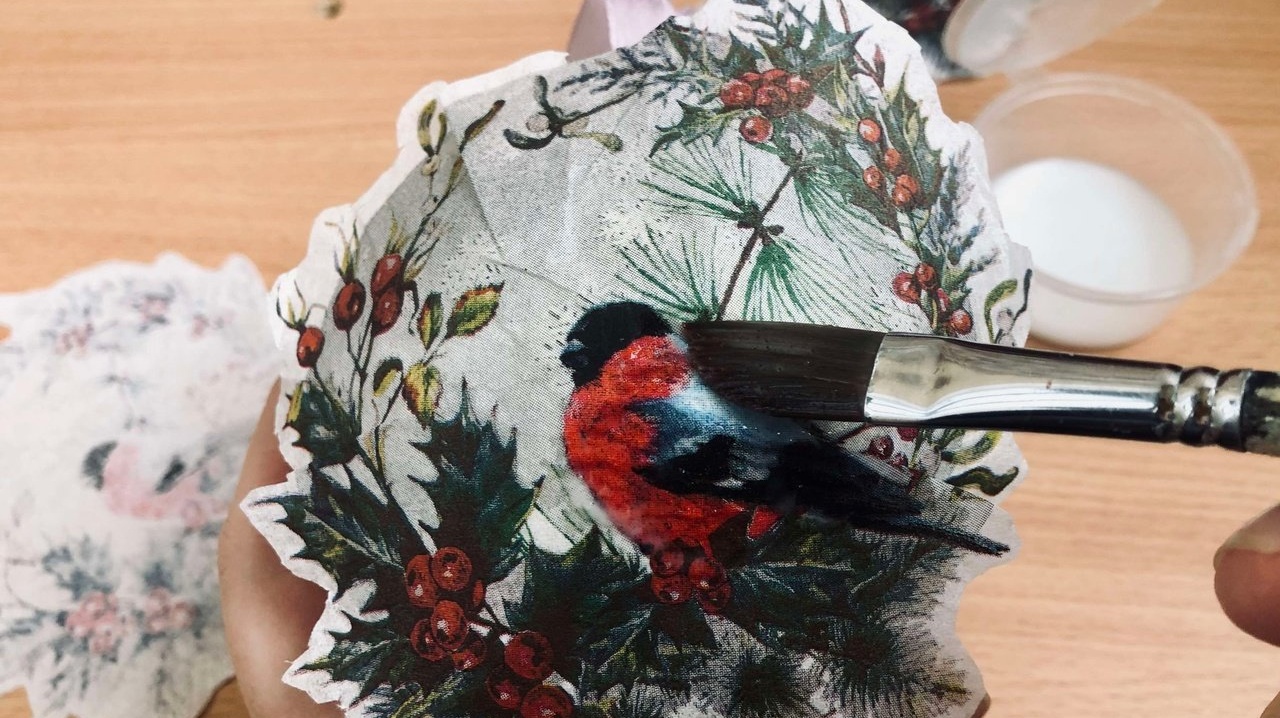

12. Tint the product. This is required in those places where the napkin flows into the main background. Applying paint around the perimeter of the design will make this transition invisible.

13. Coat the ball with varnish. A brush with soft, long synthetic bristles is most suitable for the job.

Apply the varnish in a thin layer several times, always waiting until the previous layer has completely dried. Applying the varnish step by step will avoid the formation of drips and cracking.
14. Decorate the base of the ball holder loop.