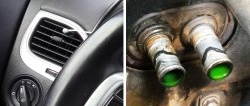
In winter, the thermal output of a car heater or stove is of no small importance. Especially so that it quickly warms up the interior in the morning after a frosty night and maintains the optimal temperature throughout the trip. One way to achieve maximum performance from your car's heater is to install an additional pump in the interior heater circuit.

Will need
Materials:
- electric booster pump;
- four-pin relay;
- two-position button;
- 2 plastic corners;
- pipes and clamps;
- wires and lugs.
The process of installing an additional pump in the car interior heating system
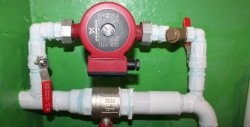
Inserting an additional boost pump into the interior heater circuit significantly increases the efficiency of the heater radiator. To avoid problems in the future, the pump must be checked for leaks and, if necessary, the gaskets must be replaced with new ones.

To extend service life additional pump We will turn it on using a button from the interior when it is needed, i.e. only while the car is warming up.This will increase its service life by several years.
Installing an additional pump
According to many drivers who use an additional pump, it is better to embed it into the heater return line so that the pump does not increase the pressure in the stove and damage it. This also extends the life of the bushings and bearings.
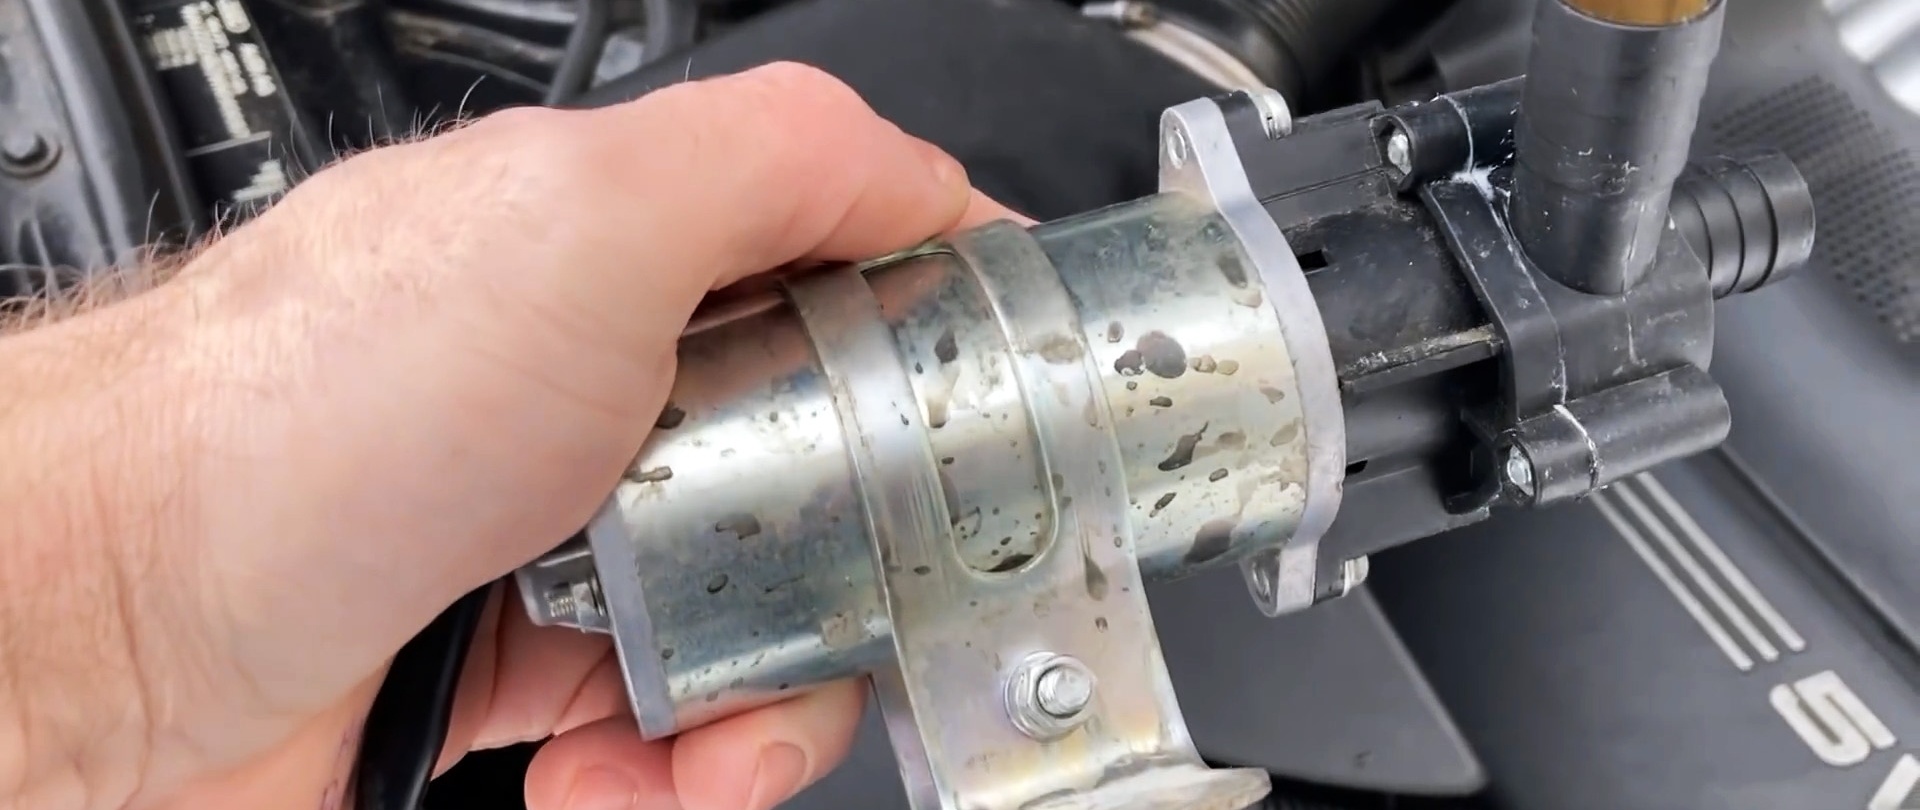
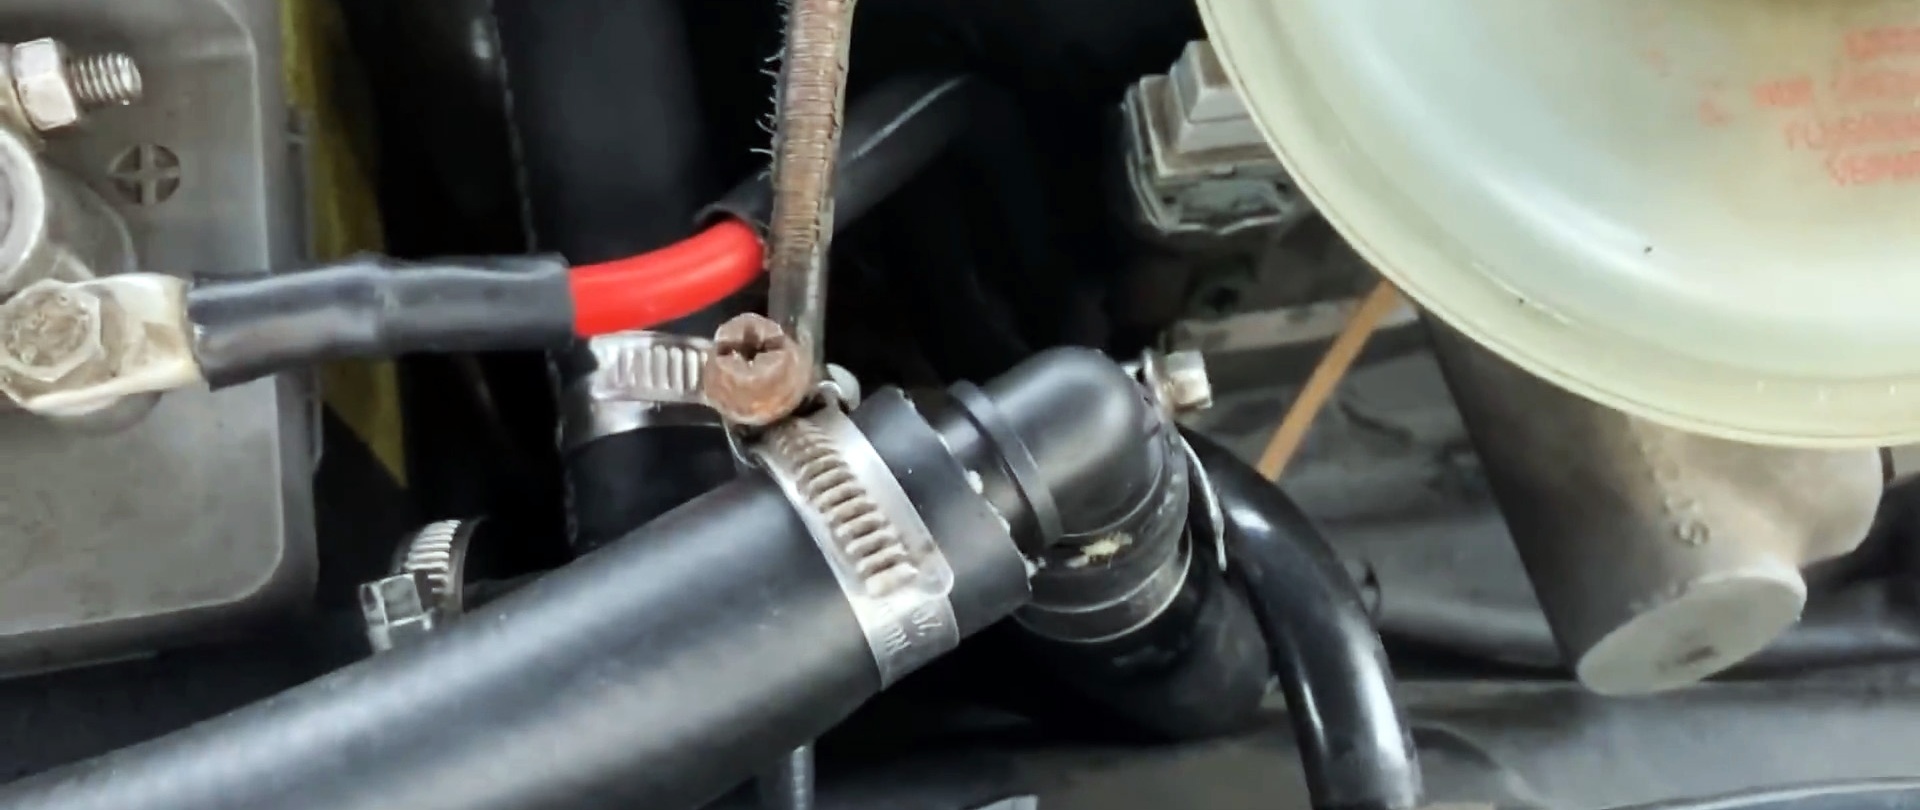
The most suitable place to locate the pump on an Audi would be the battery area. We connect the pump and the heater using the latter's pipes. Since this is a temporary structure, we will do without cutting the standard pipes.

We remove the return line and use a 20 mm angle to connect the stove to the inlet additional pump. We connect the output to the return line leading to the engine. We do not attach the pump separately, because it stays well in place due to the pipes.
We install electrics

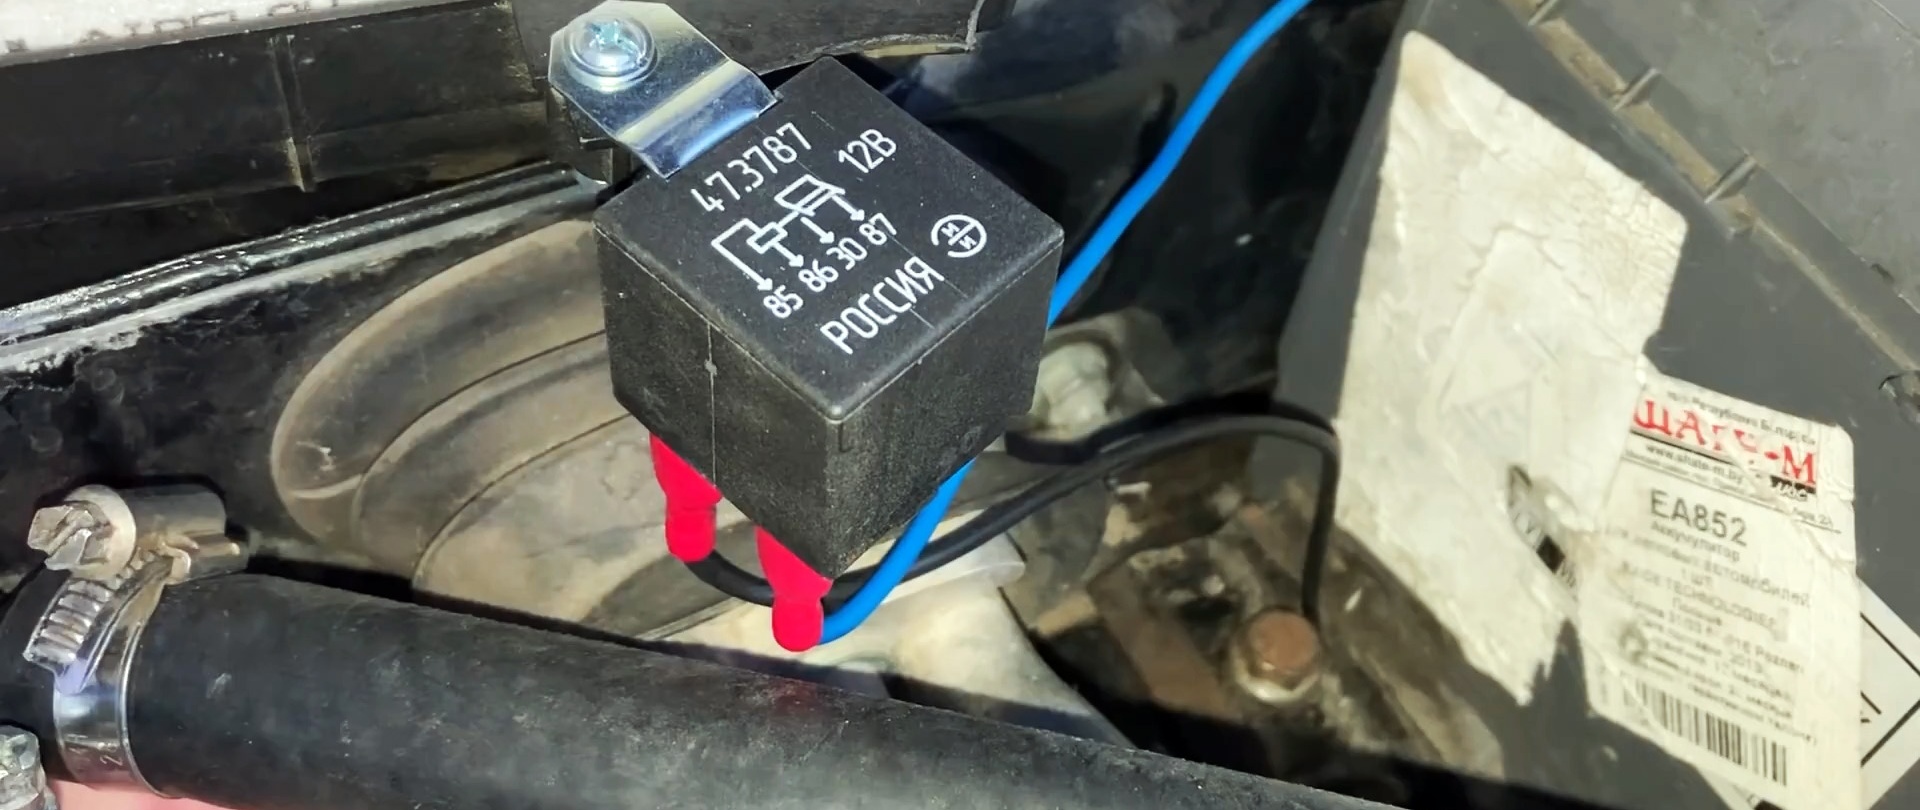
We connect the four-pin relay so that the pump is triggered by a button in the cabin. In Audi, it is most convenient to mount the relay on the cabin filter housing. Contacts 86 and 85 are the relay winding, which means we connect one negative contact to ground, and connect the second “plus” contact to the button into the interior.
We stretch the wire to the button in the place where the ECU wiring harness goes. In principle, under the steering column you can find a “plus”, which appears after turning on the ignition. But if you don’t want to take anything apart, you can run the “plus” directly from the battery.
Using the tips, we connect the button and check the operation of the relay winding. In this case, contacts 30 and 87 are closed, so we connect an additional pump to them, preferably through a fuse.
We stretch the “plus” from the battery to the 87th contact, and from the 30th contact we throw a wire to the additional pump. We also do not forget that the pump housing must also be connected to the ground of the car body.
Now, after closing the button in the cabin, the relay winding is activated, through which contacts 30 and 87 are closed, and a power circuit is created for the additional pump.
"Afterburner" of the heater
We check the functionality of the circuit, add coolant, evaluate the reliability of the clamps, bleed the air and find out how much better the interior heater will heat.
We check the efficiency of the additional pump on a warm car and an outside temperature of about 0 degrees Celsius. The climate control shows 55-60 degrees depending on which damper is operating.
After turning on the additional pump, the temperature immediately rises to 60-62 degrees and rises up to 68 degrees. This is the limit on the Audi that the additional pump gives.

If you disable electric pump, then the temperature of the liquid begins to fall and quickly drops to 62 degrees. That is, inserting an additional pump gives an increase of 6-8 degrees, which is not very much. But this will still help to heat up the interior faster in the morning, and then we just turn it off.