Plastic lids may be needed for various purposes: tightly sealing containers, closing technological or structural openings in machine tools, various mechanisms, vehicles, etc. Any adult or even a high school student can make them.

How to make a plastic lid according to a sample
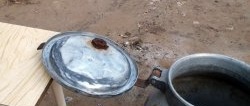
As a sample or template, we use an unusable plastic lid with a partially broken apron, and we will try to make a silicone mold using it. It is more convenient, quick and economical to cast such covers from liquid plastic or two-component epoxy resin.
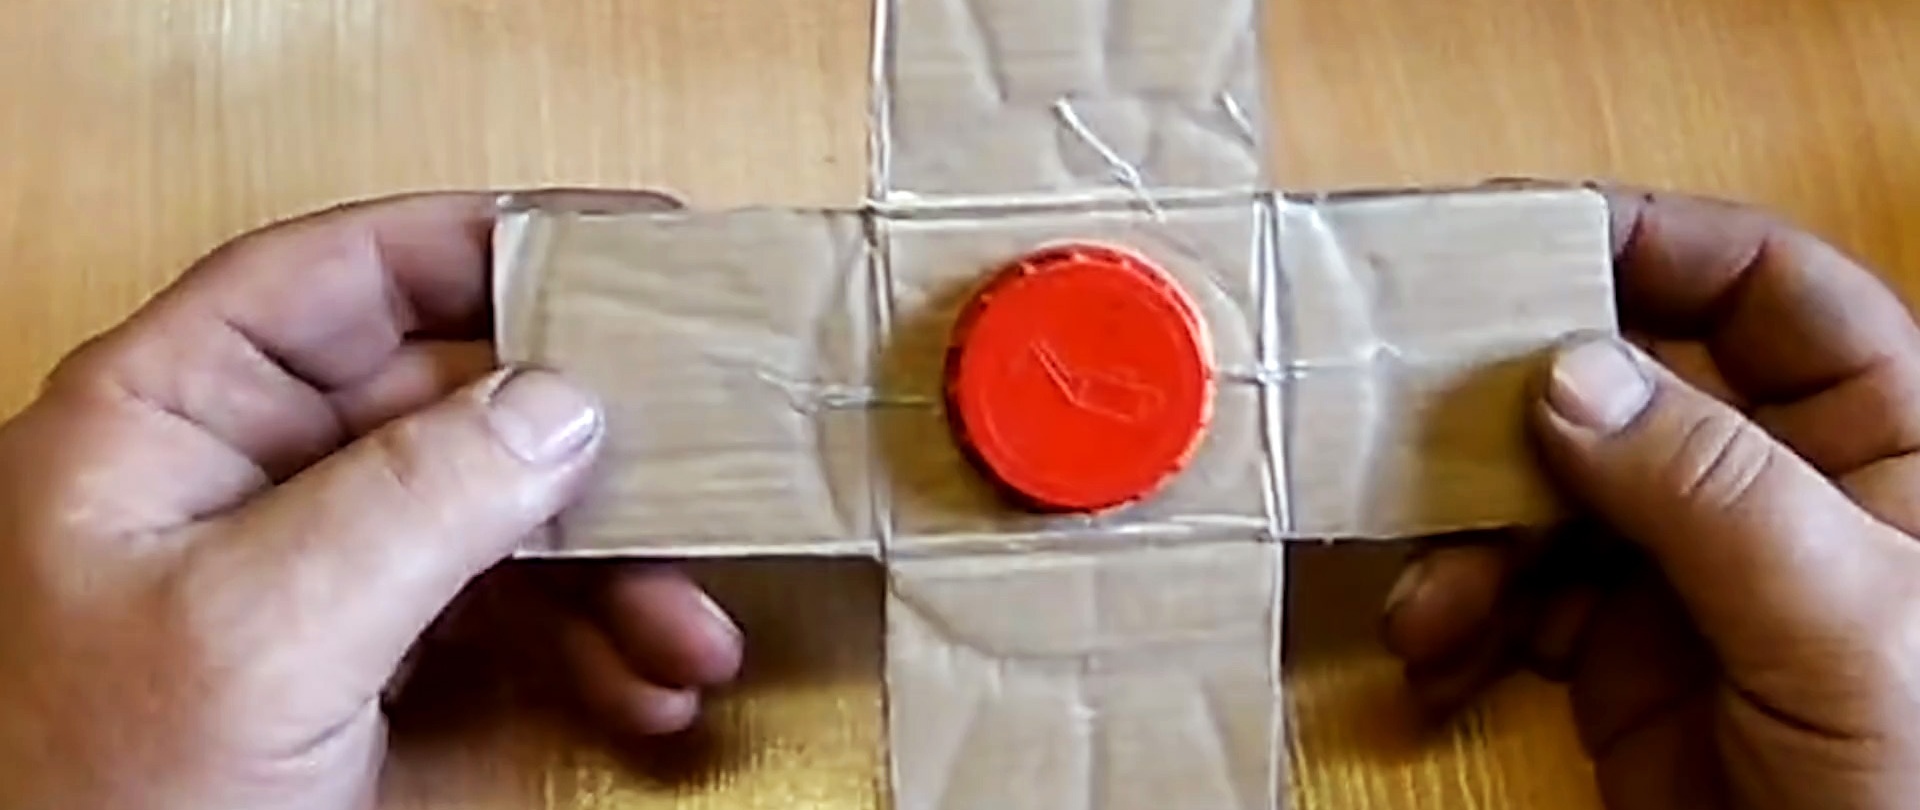
Using ordinary thick cardboard, we make a complete development of the box of the required dimensions, but without the top flap. We make a hole in its bottom for a template cover and secure it on the inside and outside with ordinary children's plasticine. We carefully cover the inside of the cardboard with tape so that the silicone does not stick during molding and hardening.

We also restore the broken skirt using plasticine. We carefully rub the tape and lid with wax several times and polish it each time. We also tape the outside of the box together.Pour liquid silicone into a box with a plastic lid. After the silicone has hardened, cut and remove the cardboard box, as well as the plasticine outside and inside.

In the center of the plastic lid we make a plug from plasticine and restore the missing side. We use toothpicks with pieces of plasticine on the tip. We reassemble the cardboard box using tape.
In accordance with the manufacturer's instructions, we dilute the silicone and, if possible, degas it. Pour liquid silicone into the box and, after hardening, take it apart again. Separate the upper part of the mold from the bottom, remove the toothpicks and trim off the flash and excess material with scissors.

We connect the lower and upper parts of the silicone mold using four protrusions and corresponding recesses located in the corners.
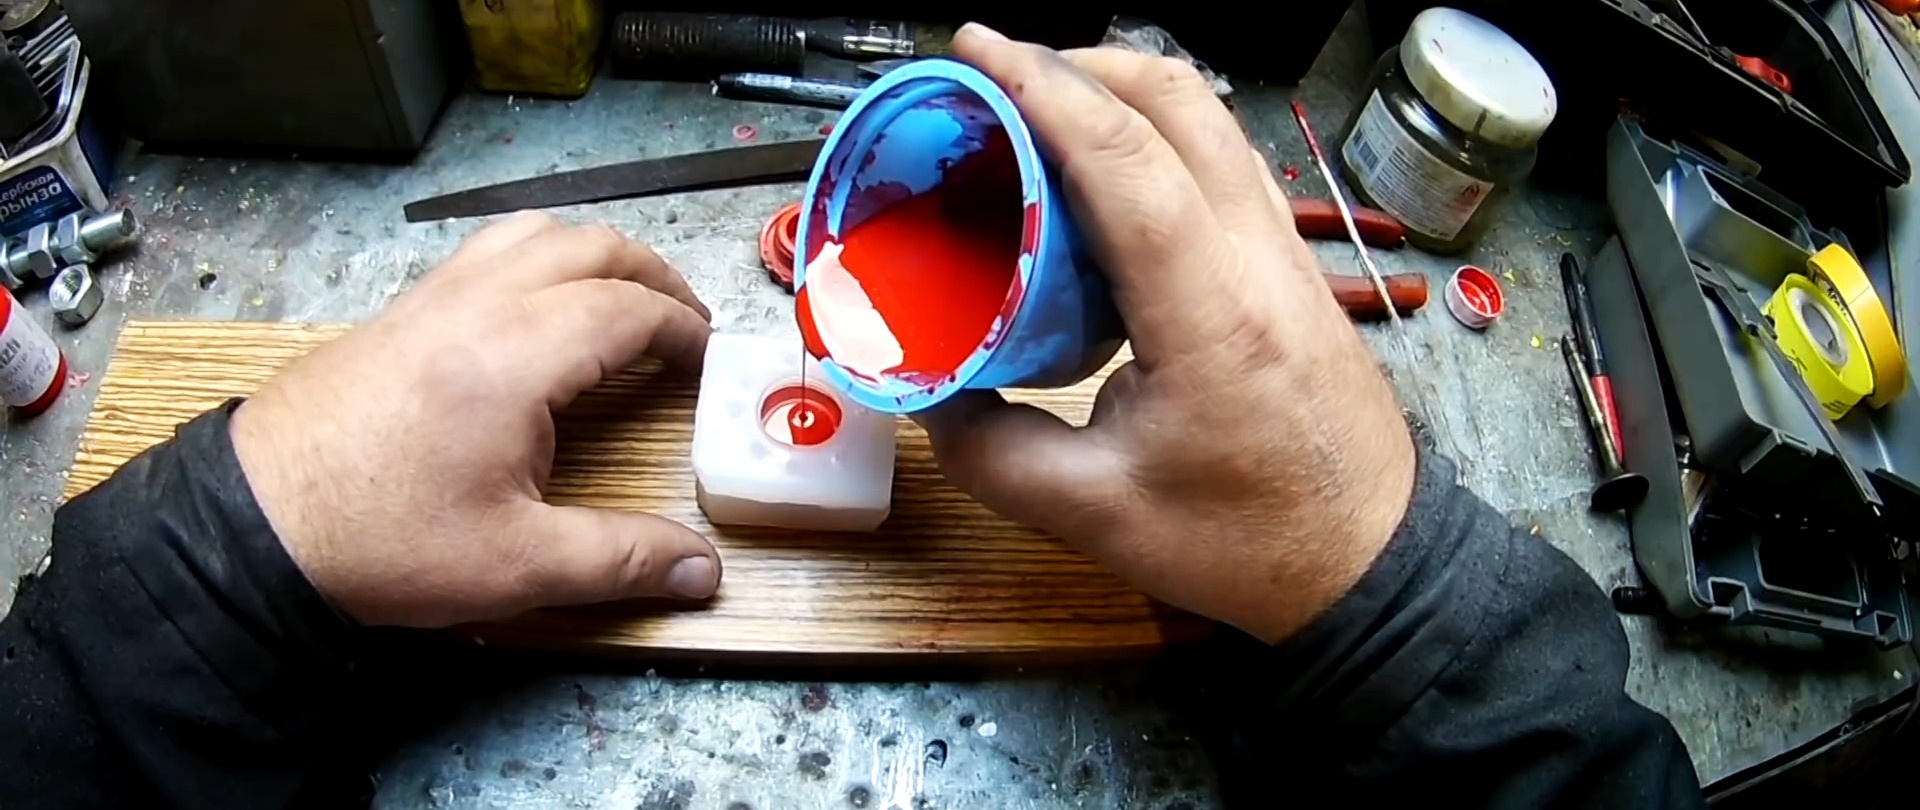
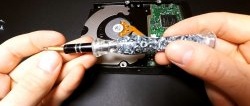
We pour two-component epoxy resin or liquid plastic into the mold in a thin stream so as not to capture atmospheric air, shake the mold a little and mix its contents with the end of a wire both to compact the mass and to remove air that accidentally gets into the molded material.

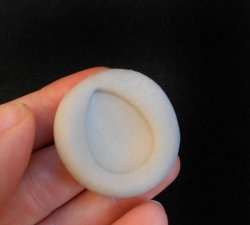
We wait for the liquid plastic or two-component epoxy resin to harden and disassemble the silicone mold. We cut the rods and cut off the flash. As a result, we get lids identical to the real one.