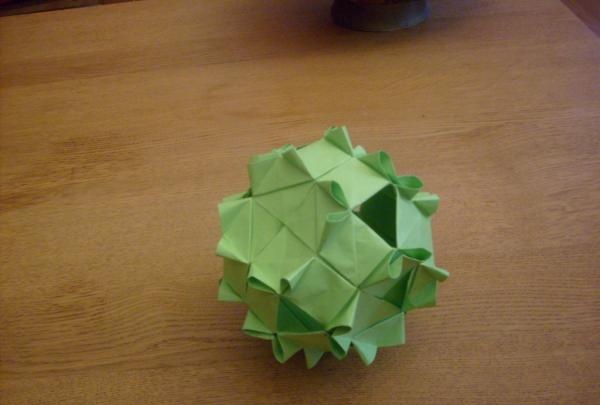
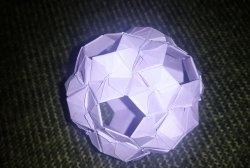
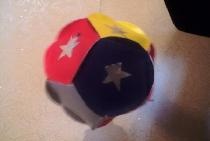
We present to your attention a classic kusudama called “Triple Pancake”. This model received such a strange name from the name of the folding method. Kusudama is not as complicated as it seems at first glance, you just need to be more careful in the order of manipulations and carefully follow the instructions. The clarity of the folds is also of great importance for the appearance. For kusudama you will need six identical square sheets of paper with a side of at least 21 cm. A smaller square will not be folded beautifully, since you need to make a lot of folds. The thickness of the paper is also important, ideally the same as that of office paper. Kusudama made from paper of the same color looks beautiful, but squares of different colors also look beautiful and original. .
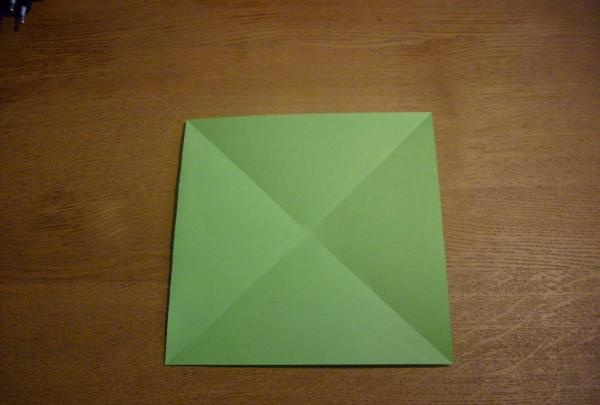
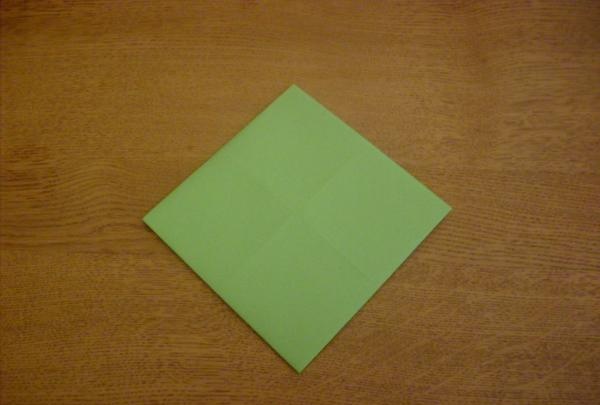
1.Fold the square diagonally to mark the auxiliary lines.
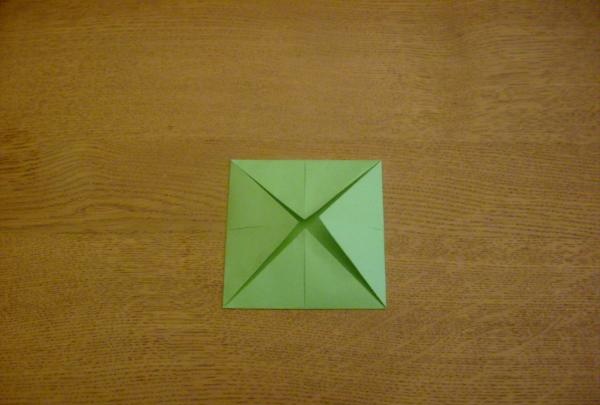
2. Fold all corners to the center point (the intersection of the lines).

3. Turn the workpiece over to the reverse side.
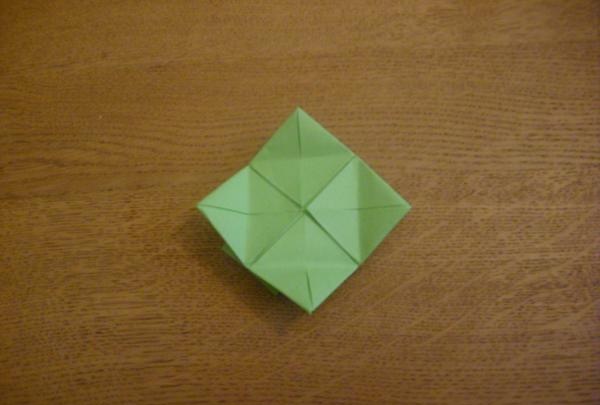
4. Now you need to bend all the corners to the middle again.
5. Turn the workpiece over again and repeat the previous manipulation again.
6. Repeat the previous step.
7. Turn the workpiece over to the reverse side.
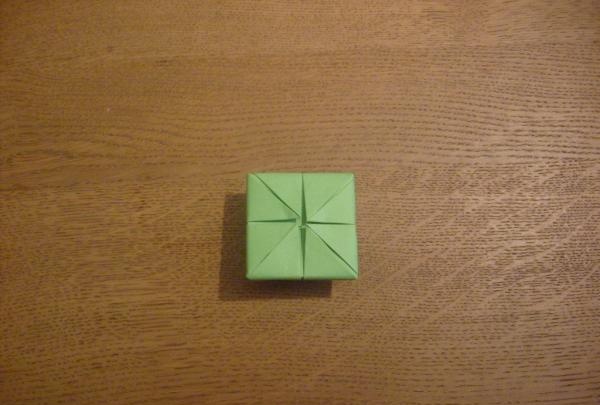
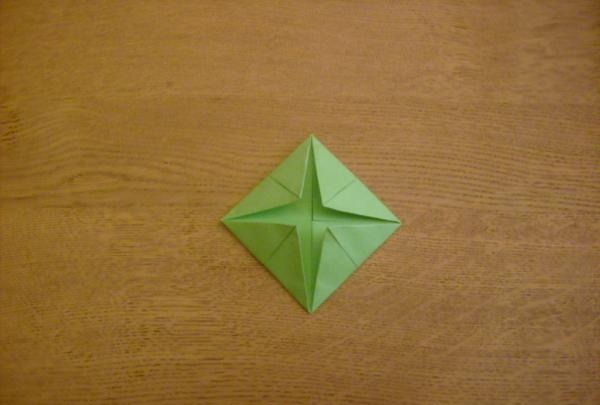
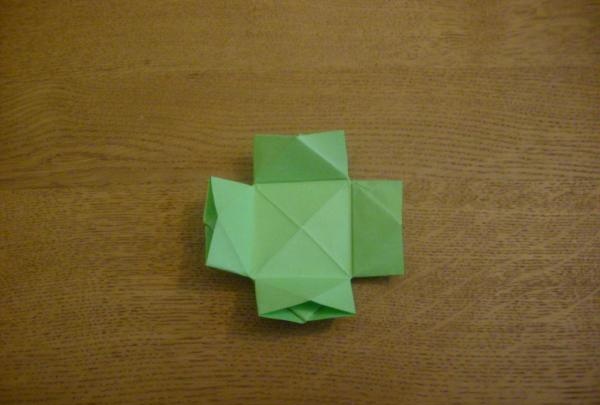
8. Open the pockets using your fingers. Compare your workpiece with the sample in the photo; all lines and folds should be the same.
9. Turn the workpiece over again.
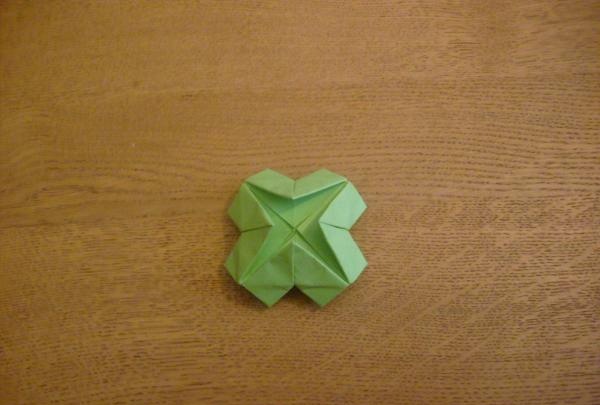
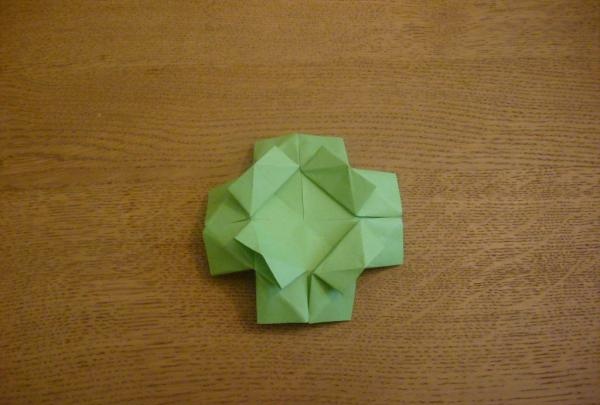
10. Lower the corners.
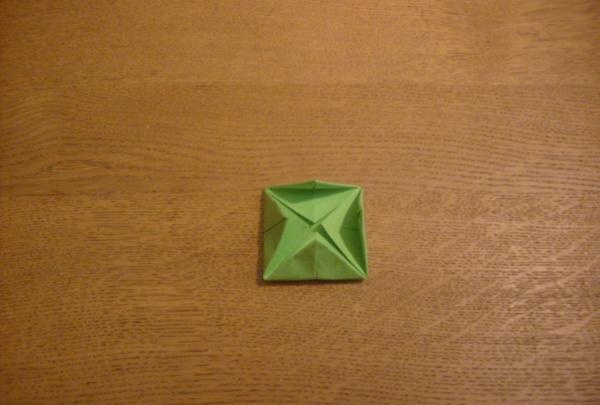
11. Open the pockets. Test yourself, compare your work with what is in the photo. All fold lines must match.
12. Turn the workpiece over.
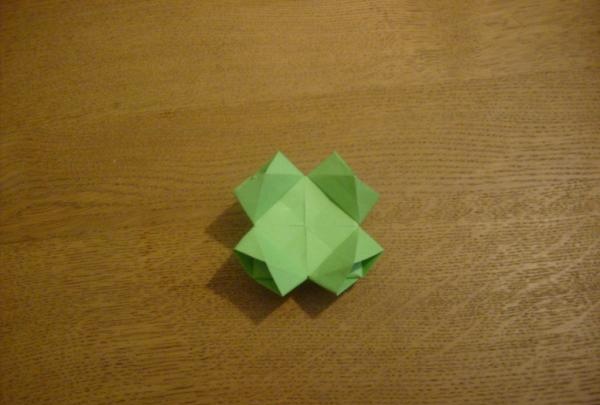
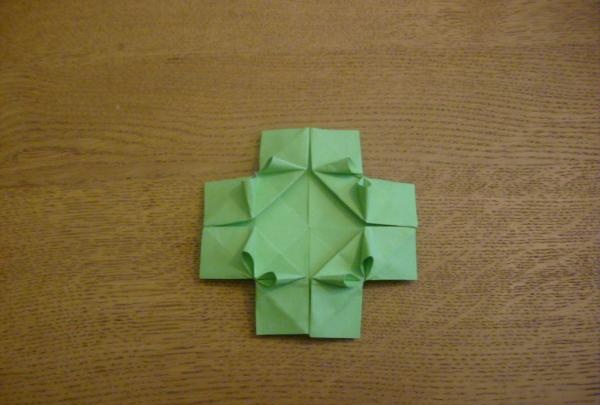
13. Bend and open 8 triangles. It’s better not to bend them all the way, this way the kusudama will look more voluminous and more beautiful.
14. To make the kusudama look more lacy, you can slightly bend the central corners or twist them upward using a pencil.
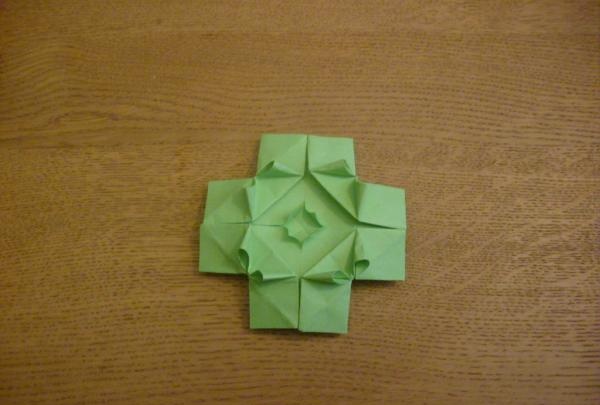
15. The last stage is assembling the model. Assemble kusudama by inserting modules into each other.
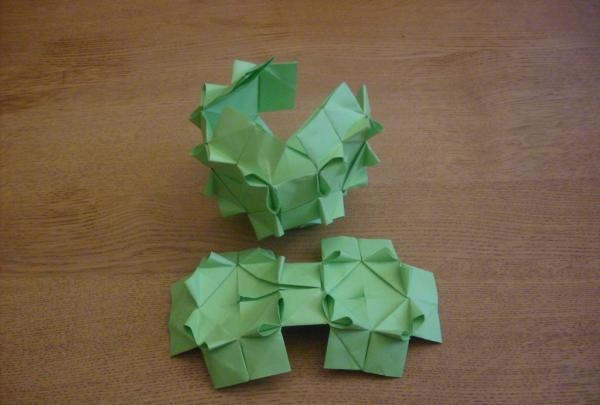
Kusudama is ready. It does not need additional decorations, but if you really want to, you can add multi-colored braided thread cords.