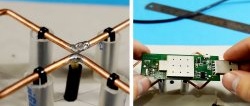
How to assemble a simple but very effective antenna for receiving a Wi-Fi signal at a great distance from the source is always a pressing question, especially from what is at hand. This will be a kind of hybrid of two well-known popular designs: a wave channel and a “pouch” antenna (strip antenna).

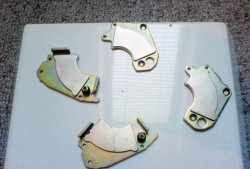
Typically, sheets of metal are used in manufacturing, from which antenna elements are cut. But let's go a different way. We will cut tin lids for preservation. Moreover, the size completely matches the size of the reflector and they are easy to get. They are easily processed with simple scissors.
Making a simple and powerful Wi-Fi antenna with your own hands


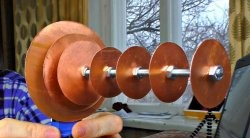
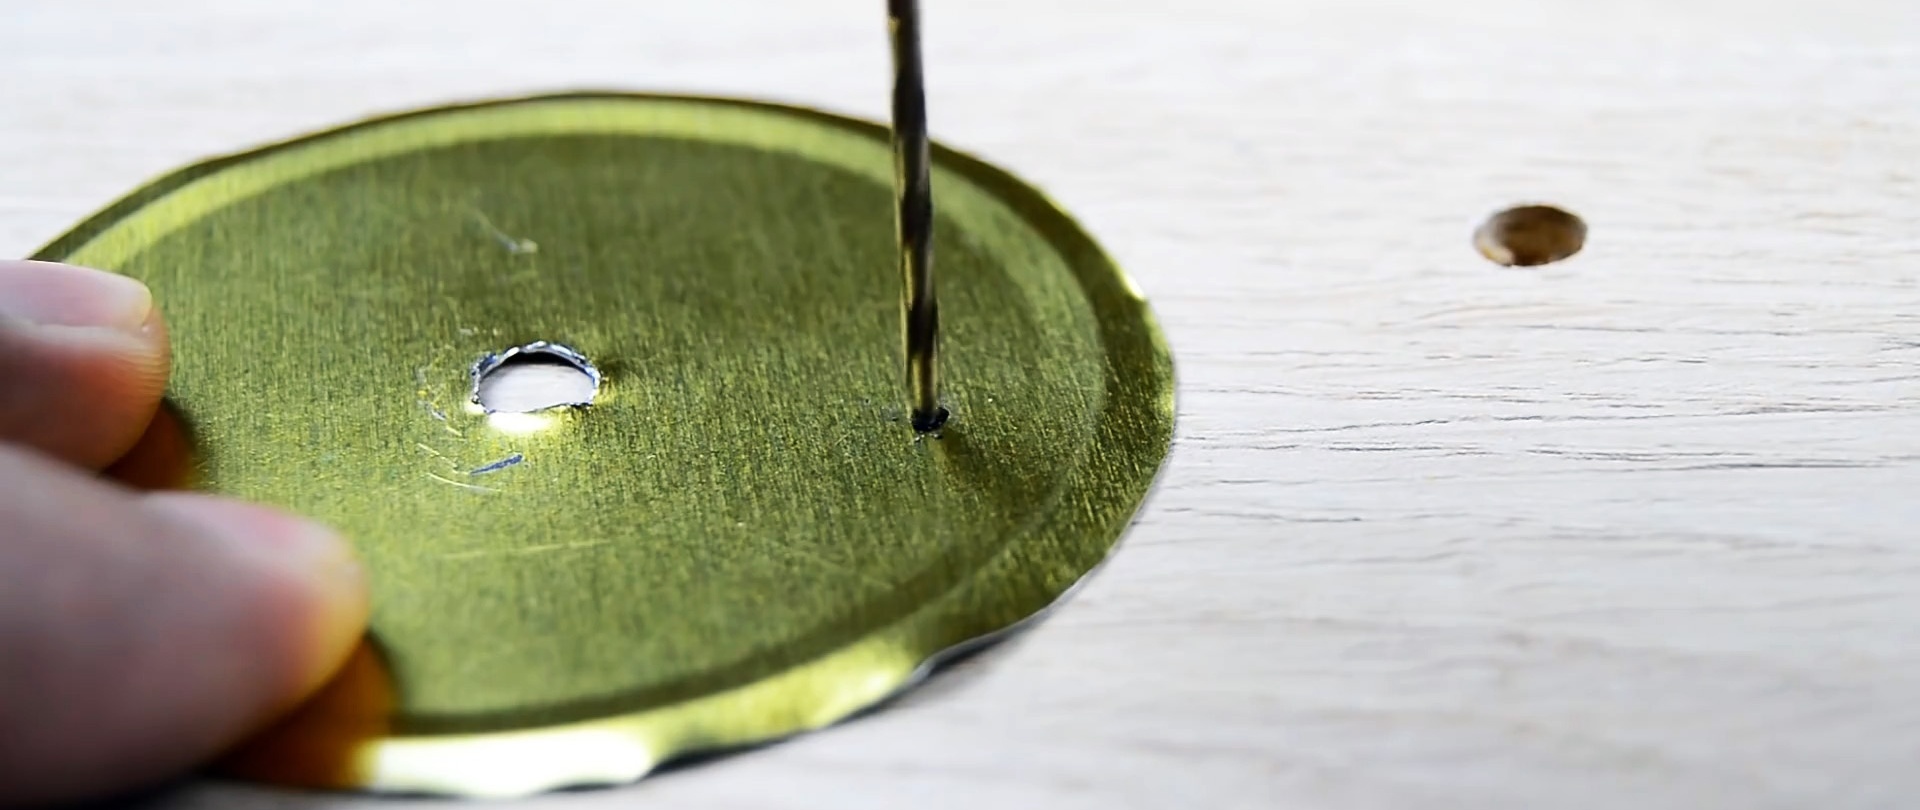
You will need 6 caps. Carefully mark the holes in the center. If the drill moves slightly to the side, the element will be damaged. The homemade product will be assembled on a metal pin 15 cm long. Its diameter is not of fundamental importance.

It can be anything, just like the thickness of the material for the antenna elements.But the dimensions of the cut disks must be strictly observed: 3 pieces of 4 cm, and one of 5 cm, 7 cm and one whole cover of 8.9 cm.
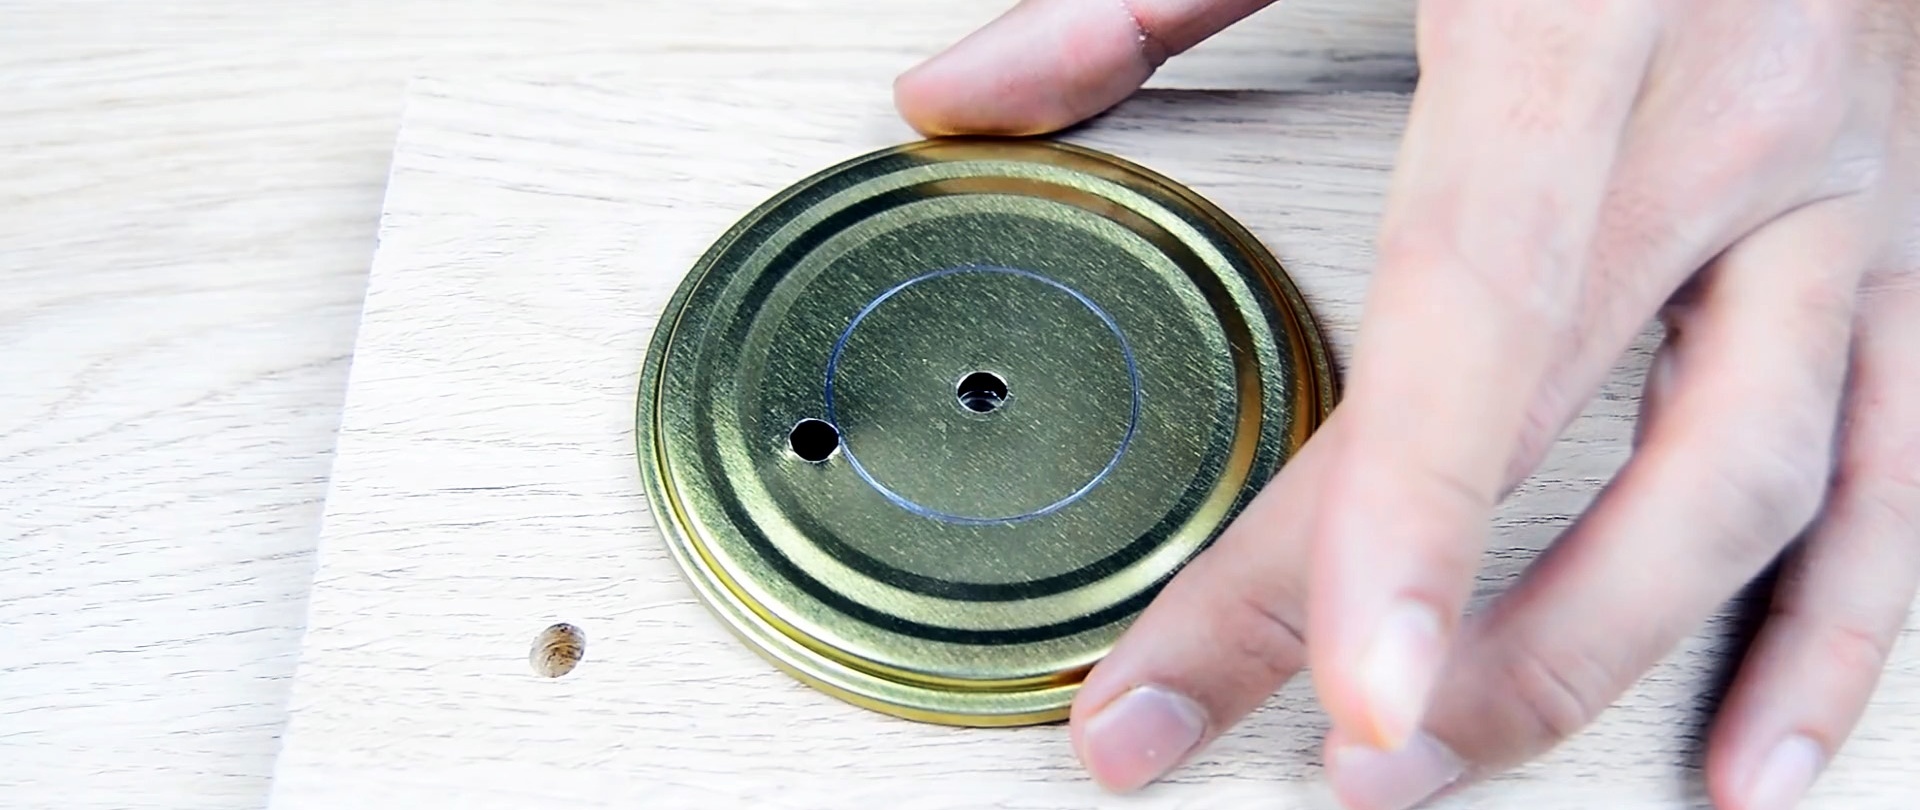
Additional holes should be drilled 7 cm in the whole cover and the workpiece to connect the reduction cable.
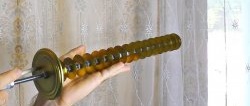
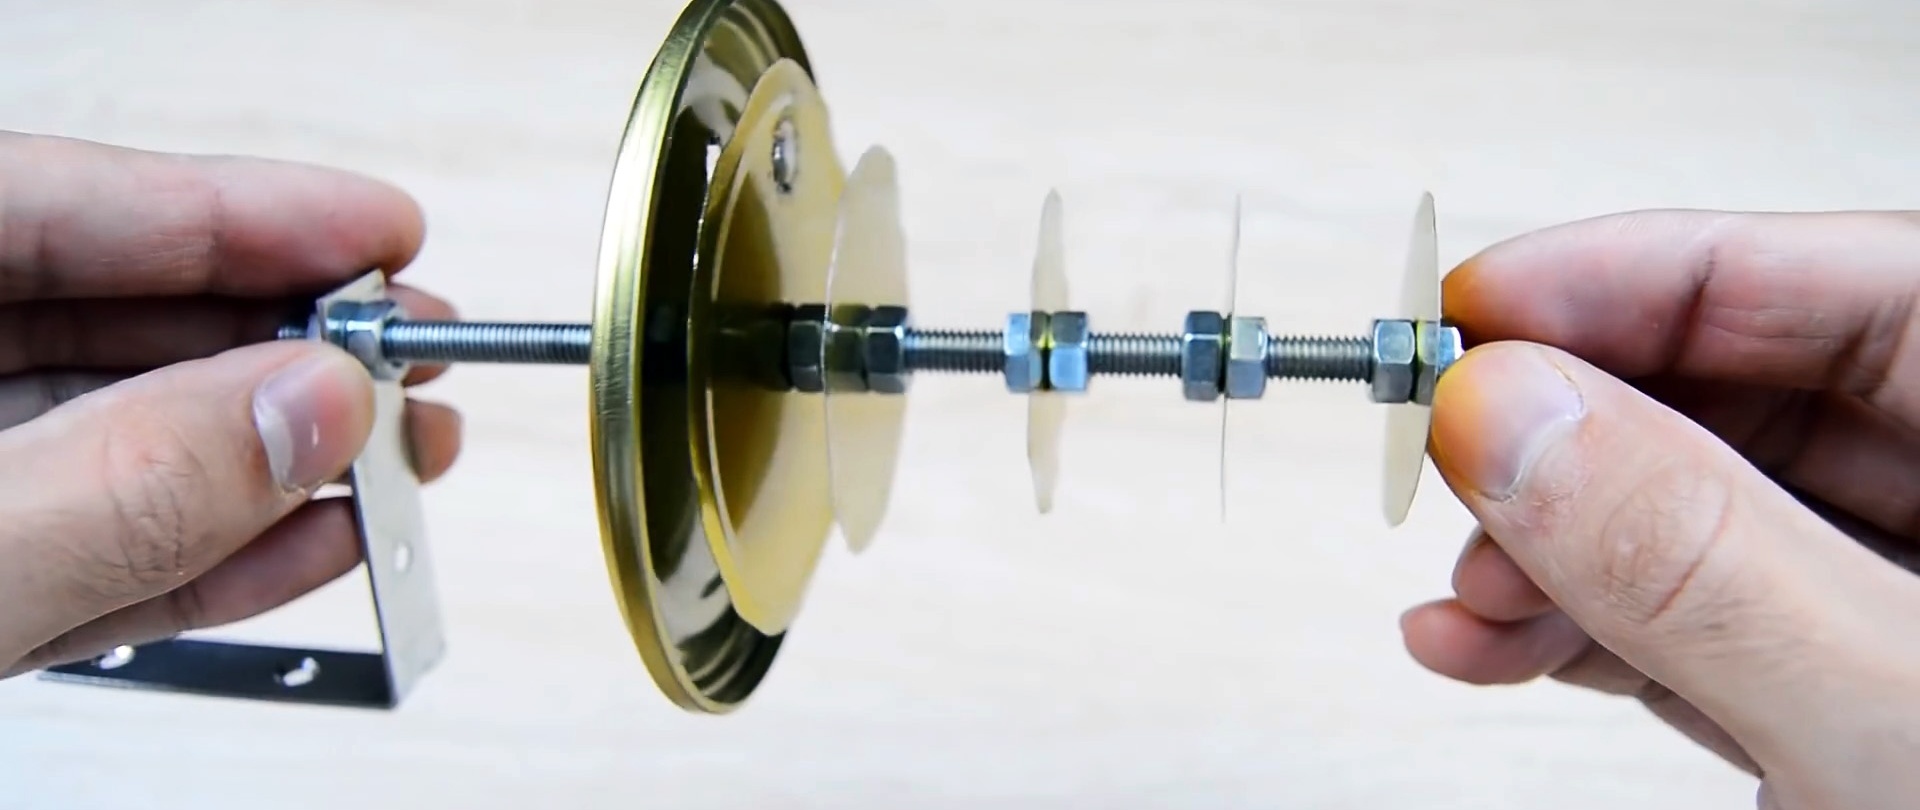
Next we proceed to assembly.

To fix the antenna elements on the stud, we use nuts. Here it is also important to maintain the distance between the disks. The step between the 4 cm circles and up to the 5 cm disc is the same - 2.3 cm. The next one is 1.1 cm. And the last one is 1 cm.
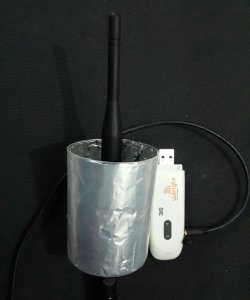
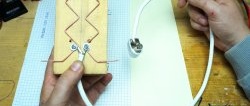
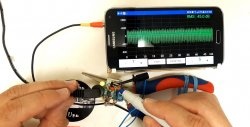
Now you need to worry about how to connect it to the modem. To do this, carefully disassemble the antenna from the Wi-Fi router.
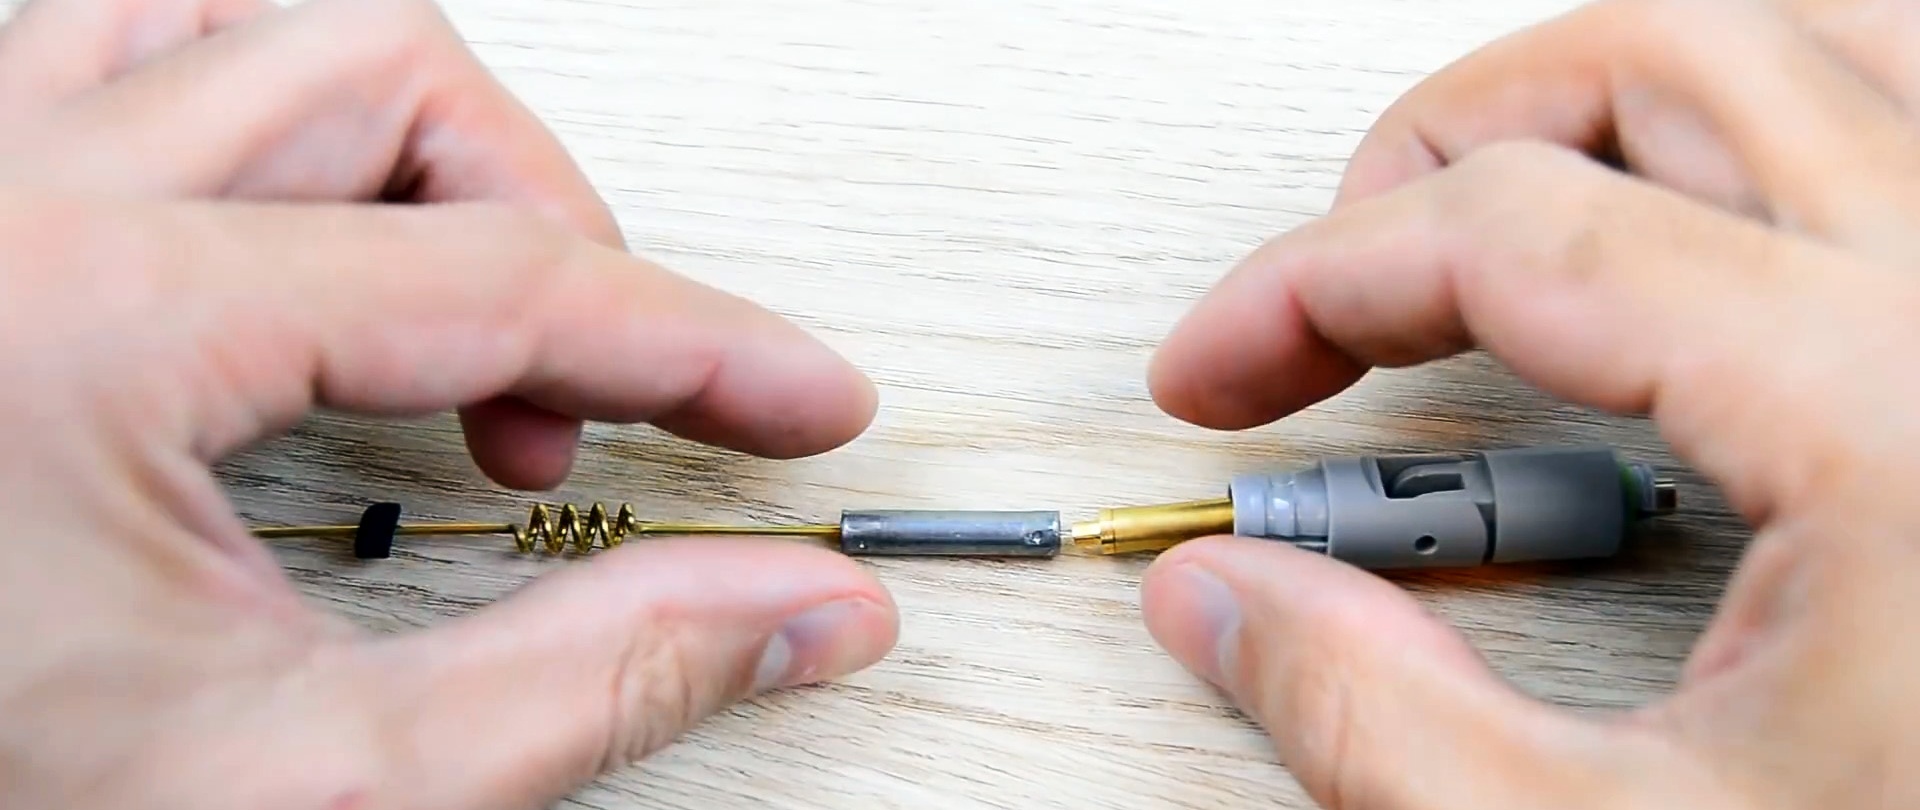
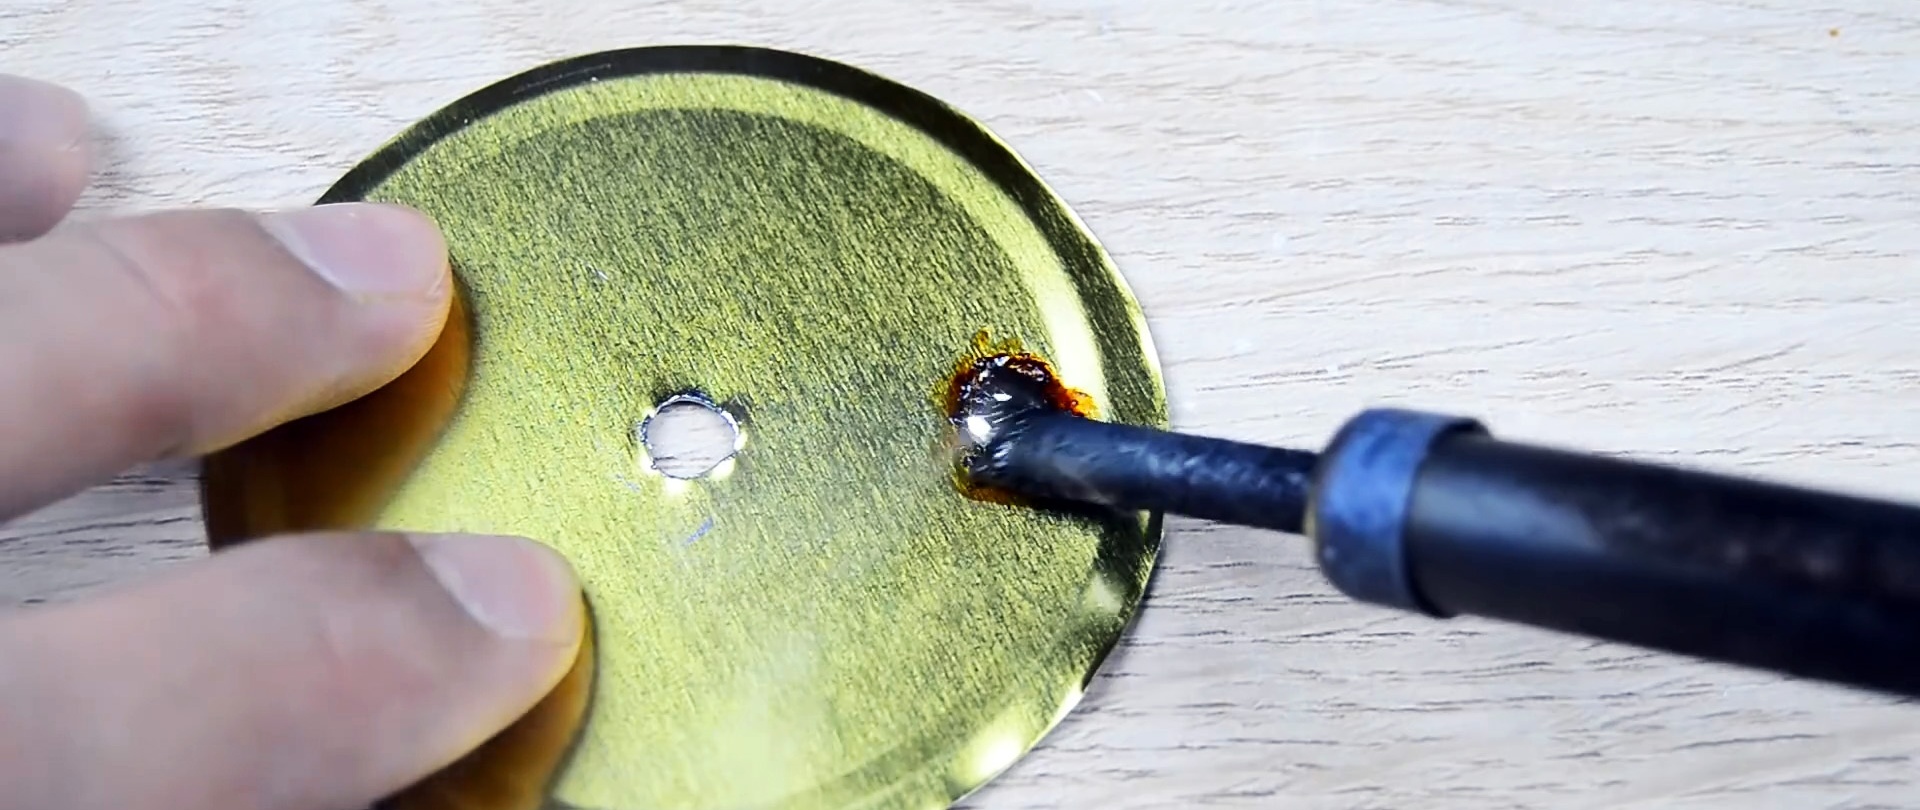
We measure the cable of the required length and solder the central core and braid to the disassembled connector. We fix the second end of the cable to the antenna. To do this, we previously made additional holes in the two cut circles. We connect the braid to the outermost intact cover, and the central core to the one next to it.

To make it easier to place the antenna, you can install a suitable bracket on the stud.