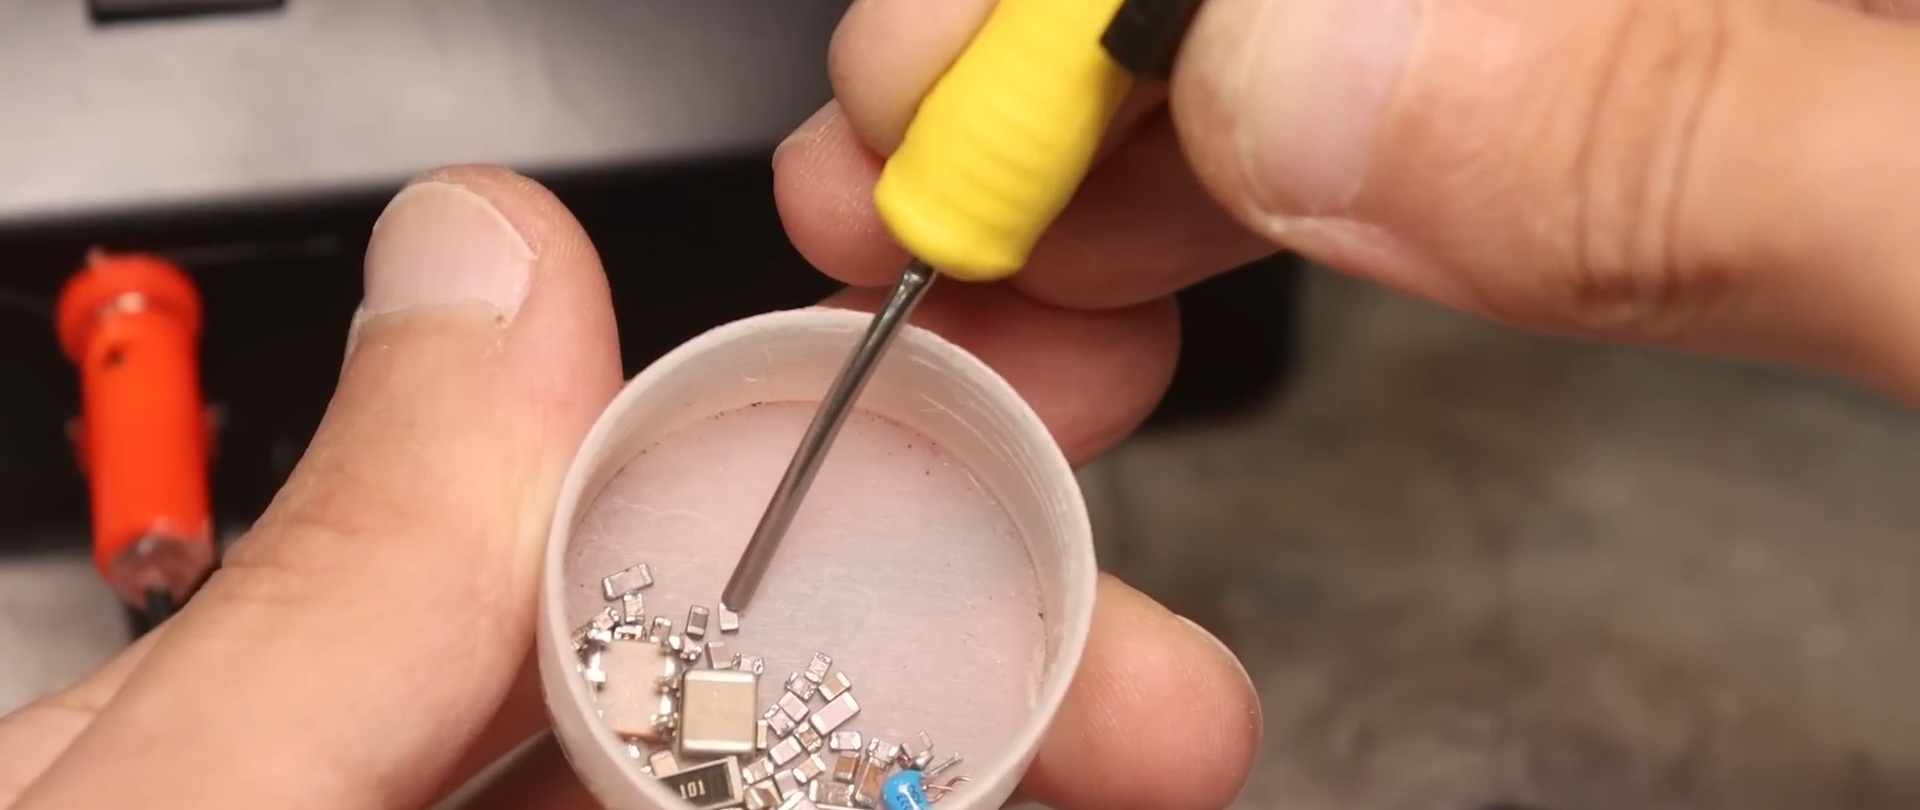
Anyone who works with SMD elements knows that installing them on a board with ordinary tweezers is not always convenient. They are small and your hand gets tired if you work with a large number of components. There are so-called vacuum tweezers with a mechanical (manual) drive. And although they are inexpensive, the tool is not universal and not for all tasks. And certainly not as versatile as homemade vacuum tweezers.

What will you need?
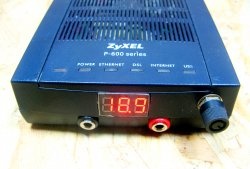
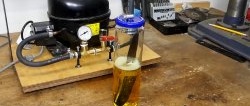
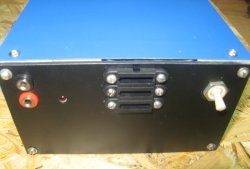
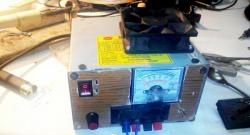
The device is based on an old power supply in a plastic case. On the front panel there is a variable resistor, a power button, a connector - everything that is needed. Has also been used Chinese 12 Volt compressor with two holes for air inlet and outlet.

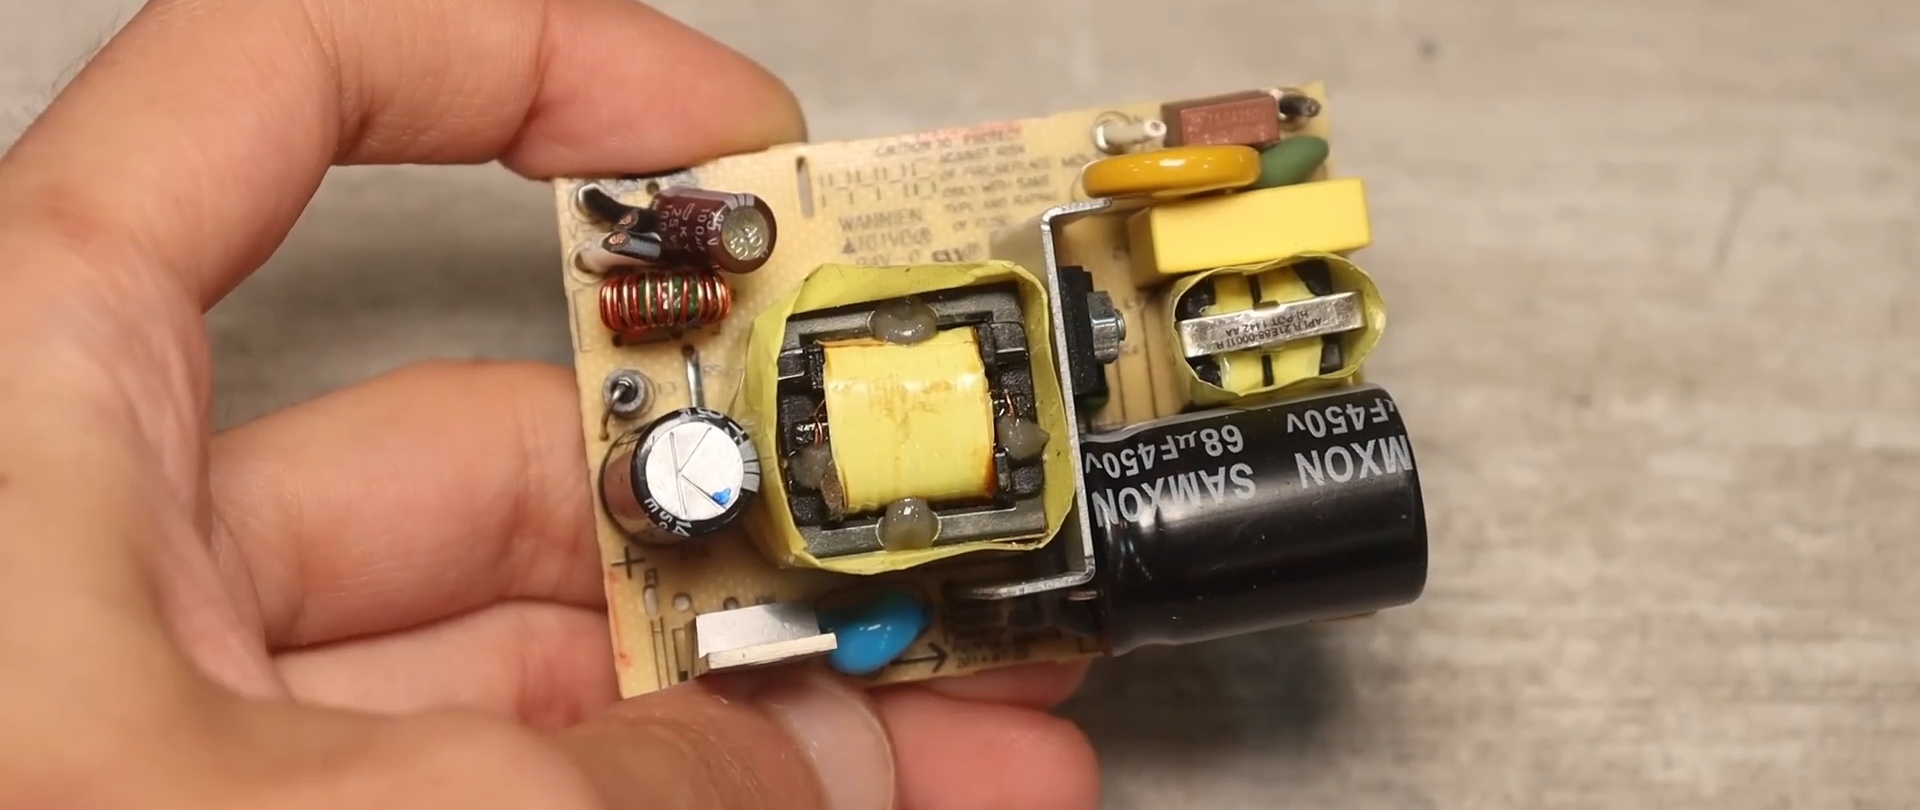
We use as a source 15 volt switching power supply, stuffed with all kinds of protections and filters. It quietly produces 2 Amperes for a long time, has stabilization and a surge protector.
The speed regulator will be a homemade PWM controller based on a 555 timer that controls a high-power field-effect transistor. This circuit works without straining with currents up to 10 Amperes, i.e. with a large margin.

The regulator itself is powered by a 12-volt stabilizer, and the power supply goes directly to the field device, bypassing the stabilizer.

Manufacturing vacuum tweezers for SMD components
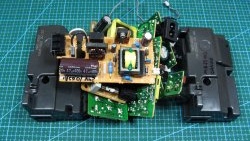
We start assembly from the body. After washing and sanding, we painted it. In a beautiful black color. There is more than enough space inside to place control boards. They are fixed with ties and insulated.


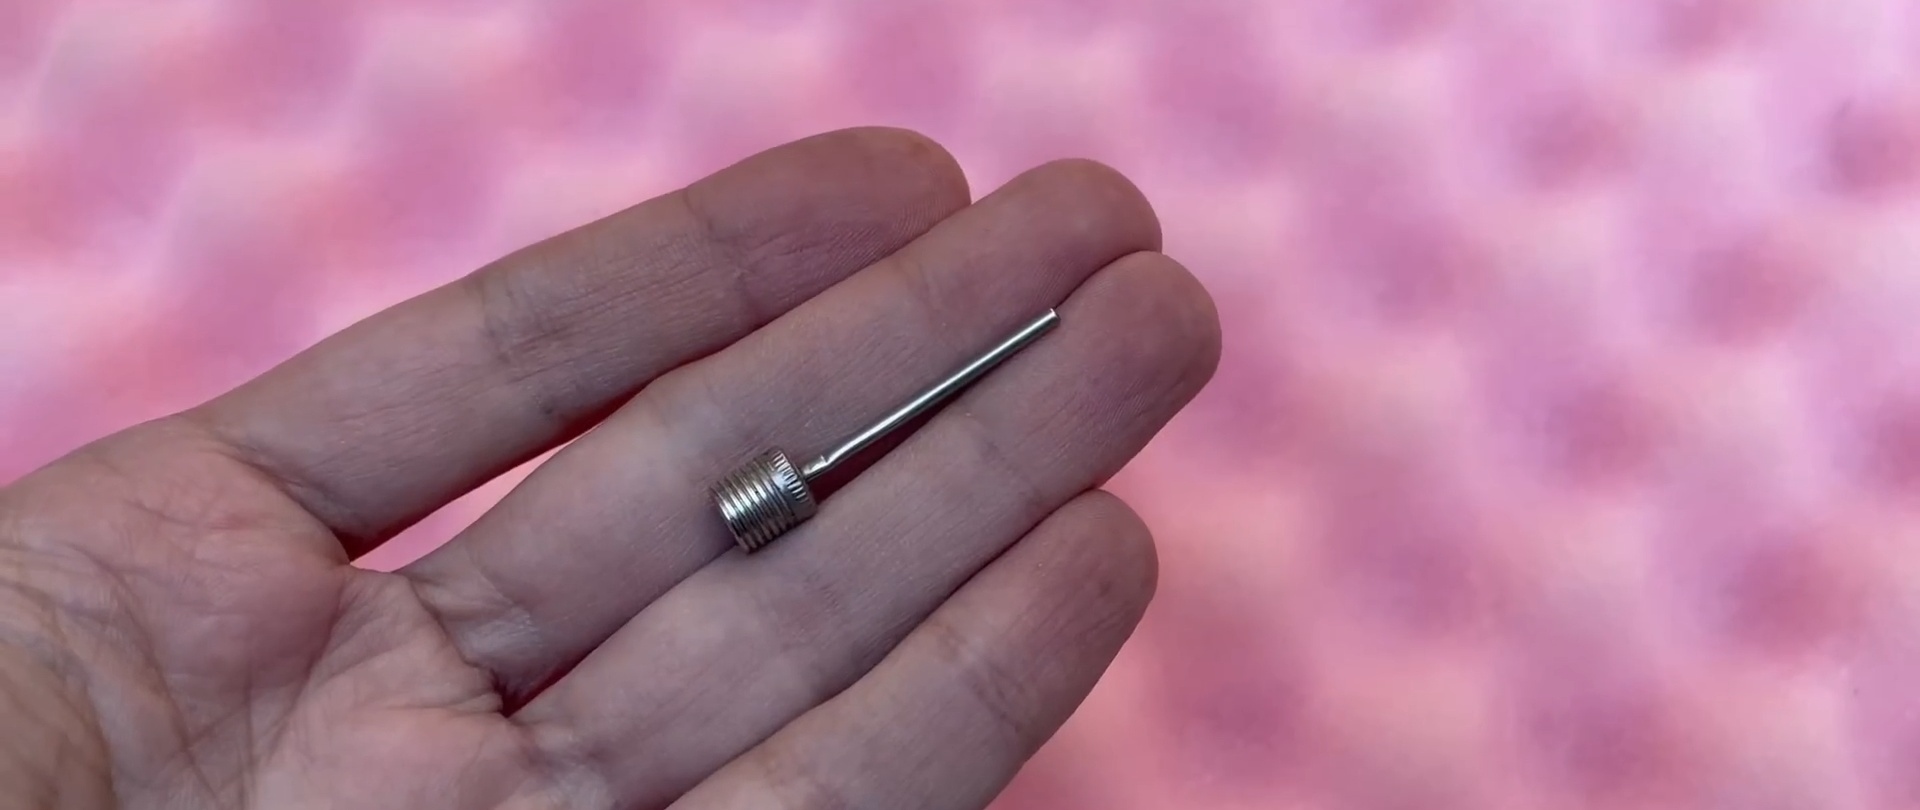
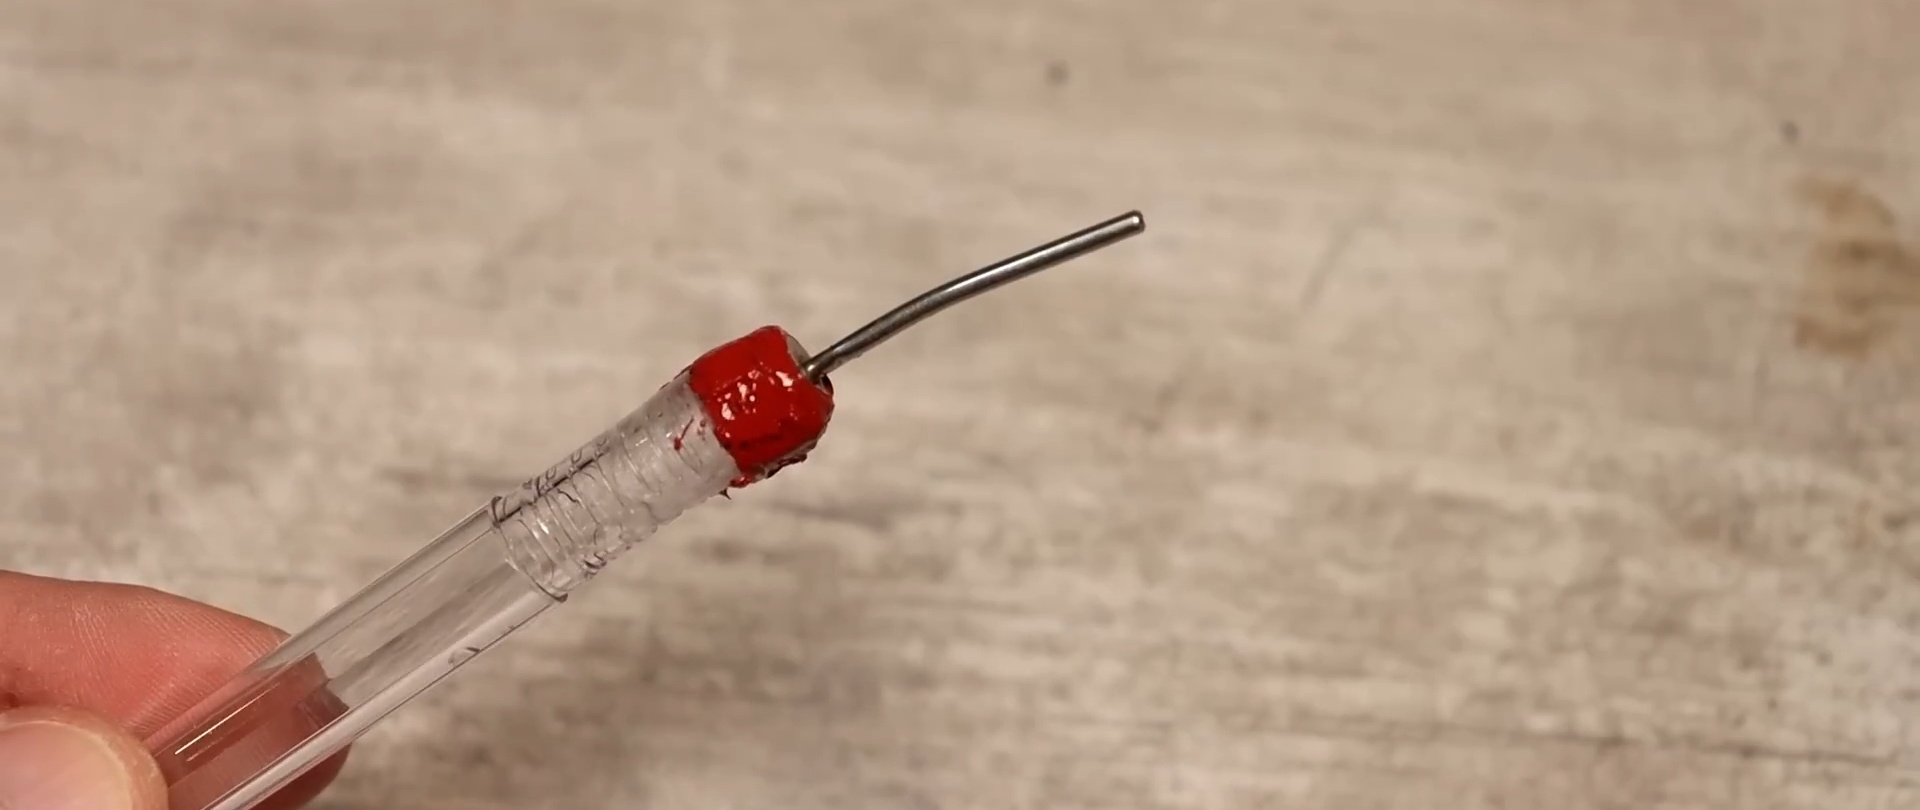
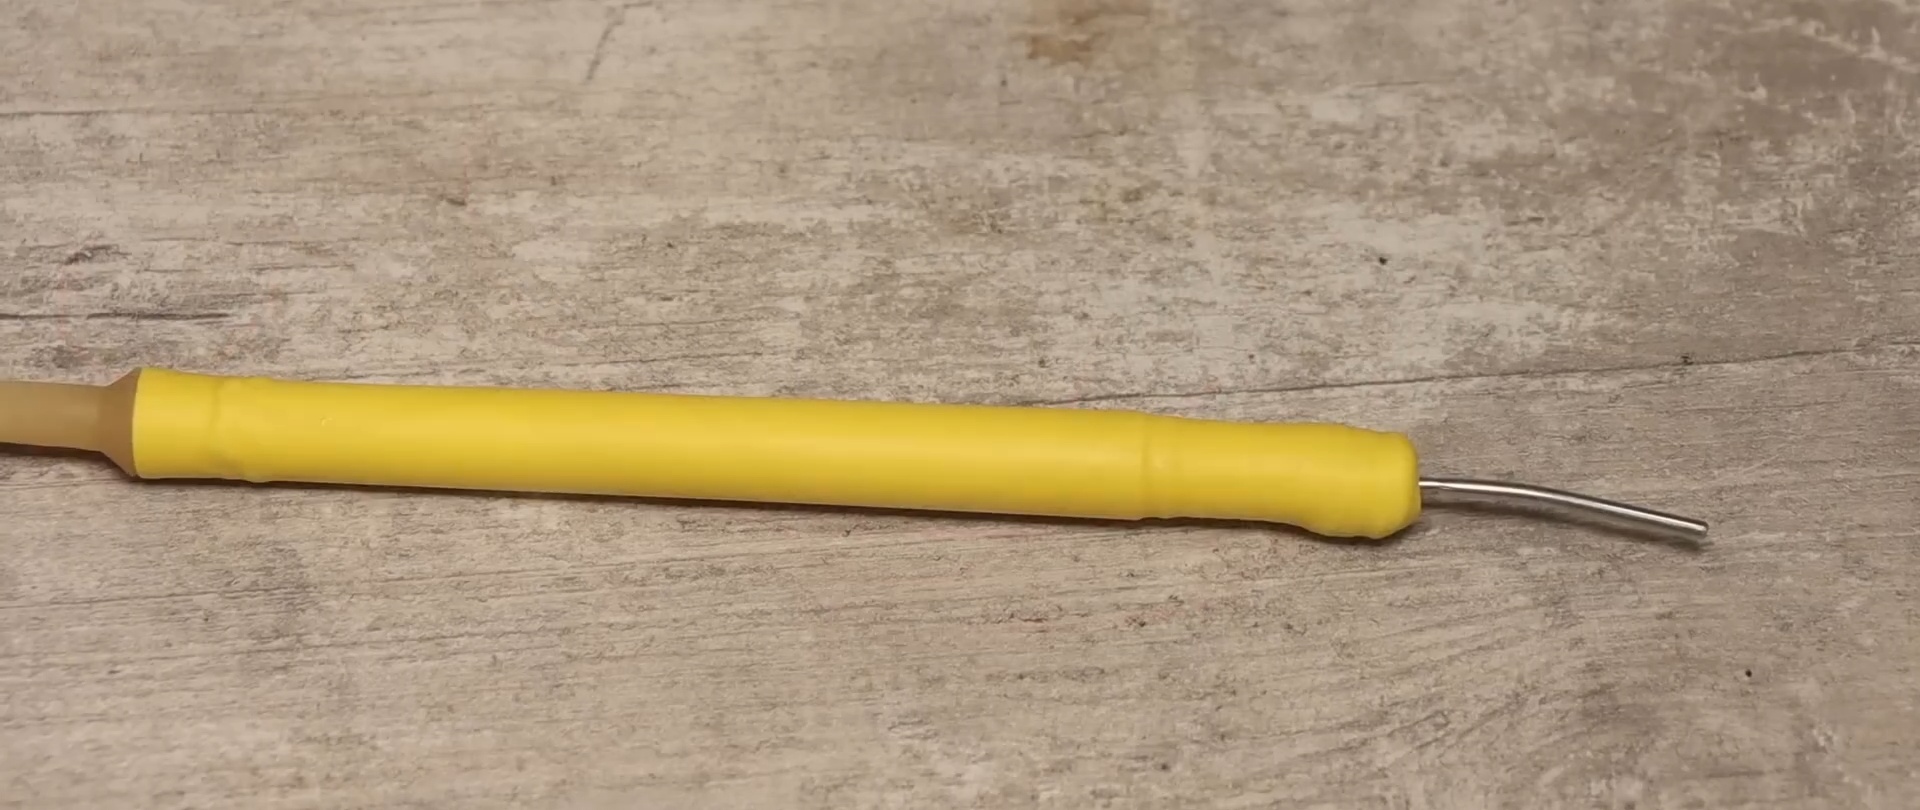
Now about the tweezers themselves. We will make its handle from an ordinary ballpoint pen, and we will take the hose from the dropper. The tip is a needle from a ball pump. Sold in sporting goods stores. It is metal, if desired, you can bend it and use different suction cup tips.
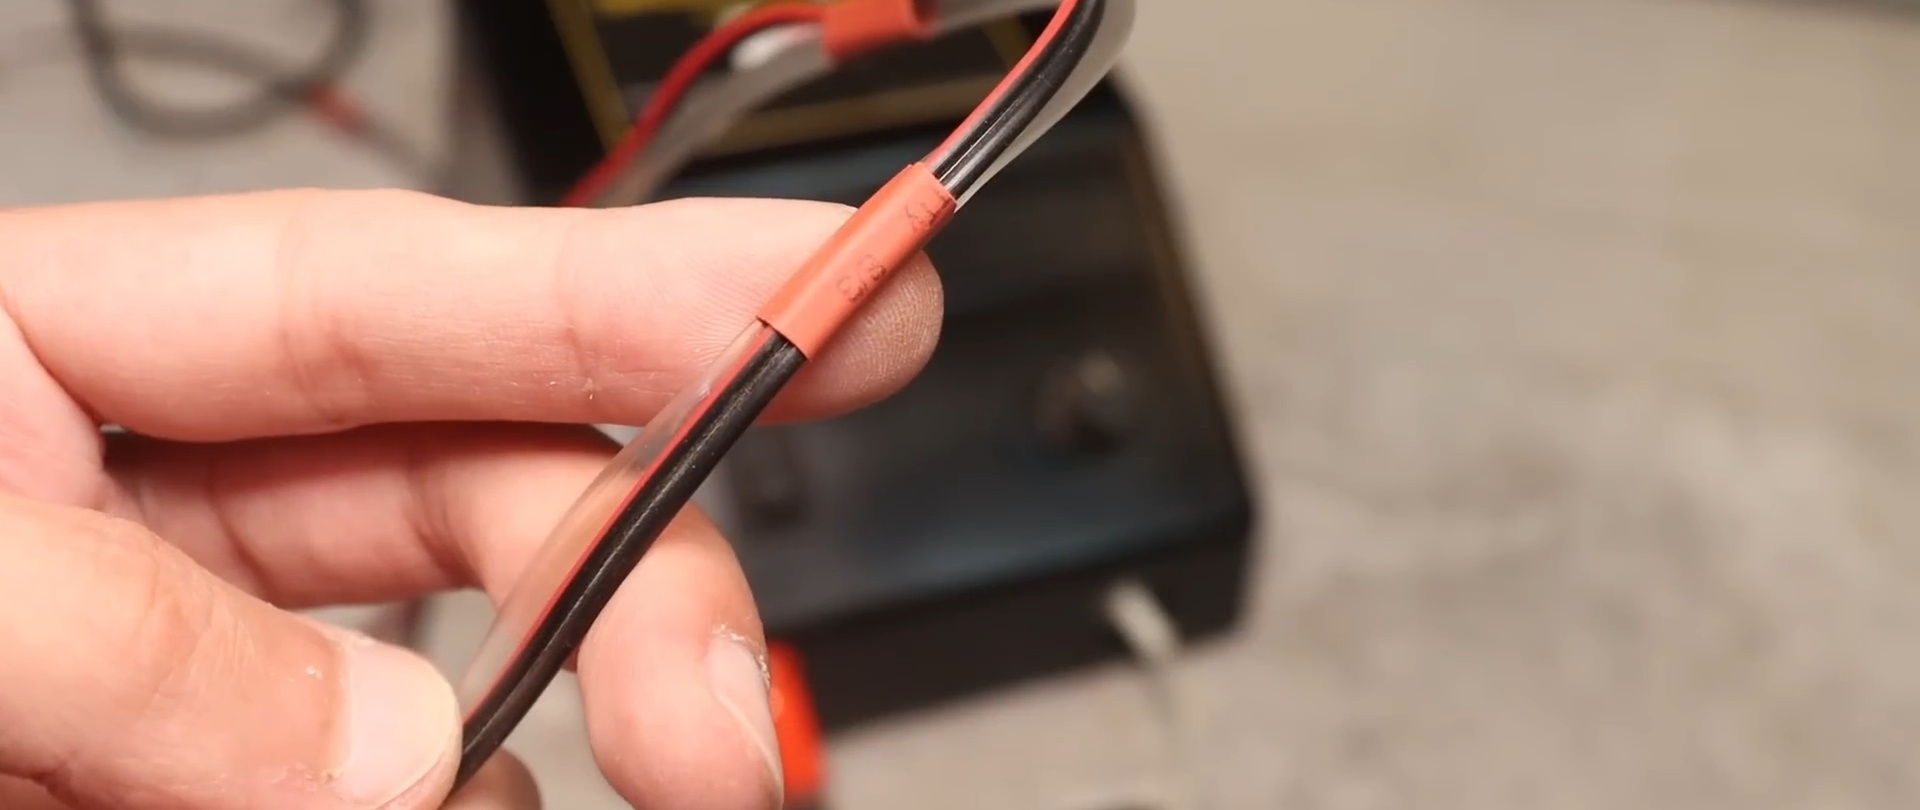
There is a button on the handle. It simply supplies voltage from the source. When the button is released, PWM controller With compressor de-energized. Wire from tweezers to power supply It’s better to use a flexible one, like MGTF. However, we didn’t have such a thing and took the usual one in vinyl.
The hose from the dropper goes into the top of the handle. A tight connection is ensured by an additional elastic band coated with glue.
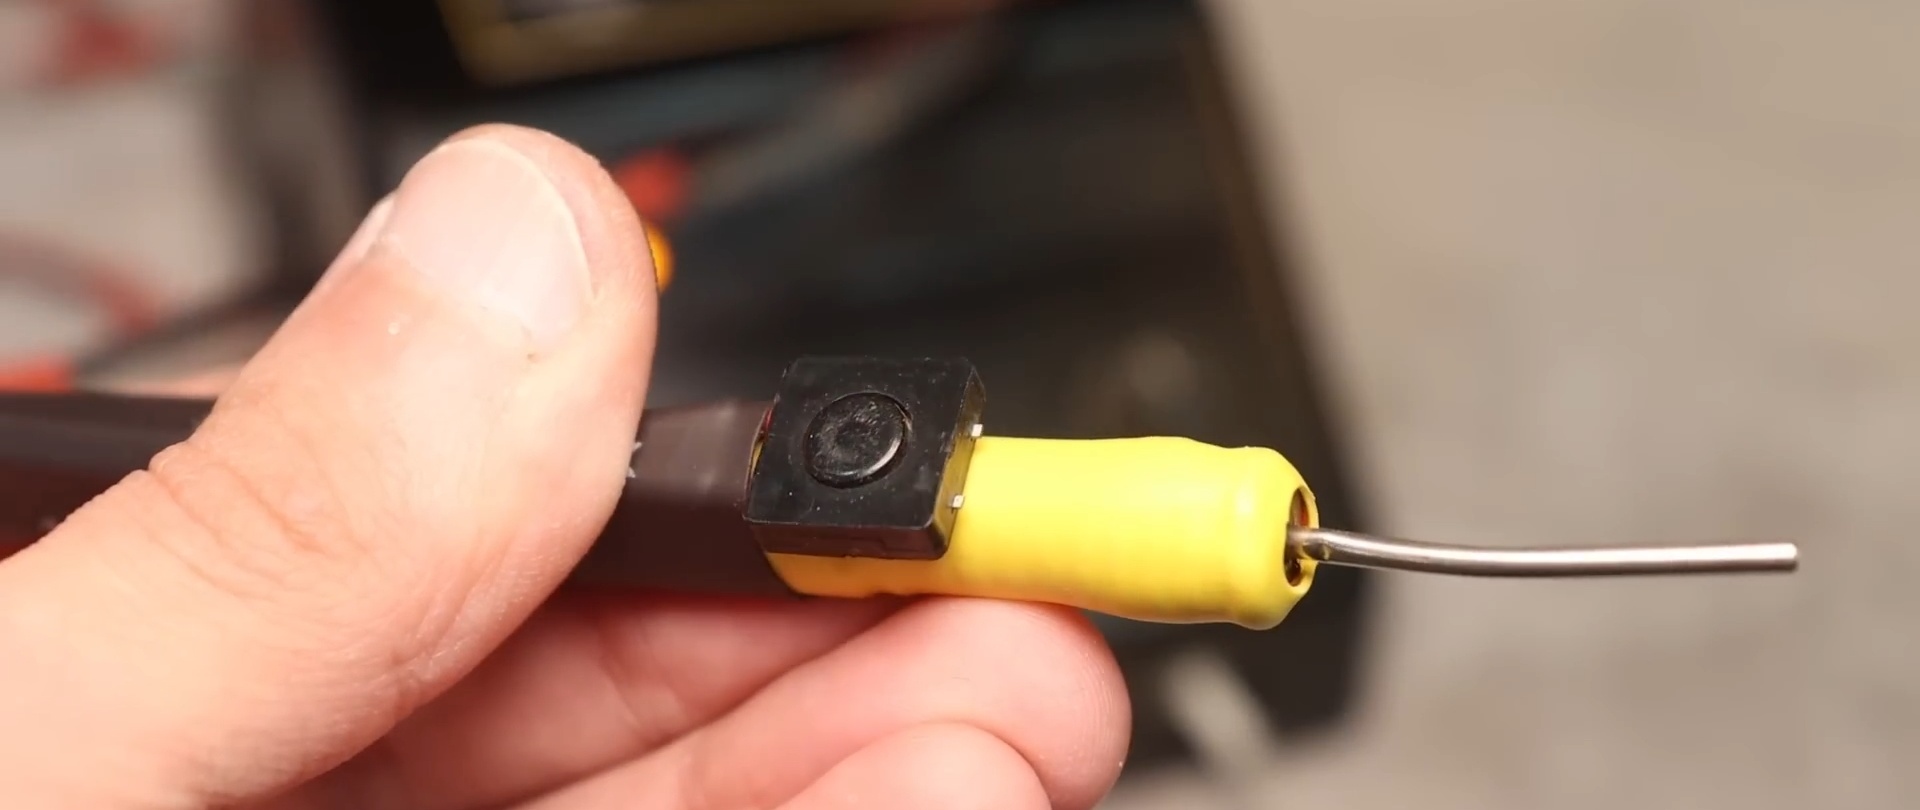
To install the needle, the hole had to be slightly widened using a drill. The needle itself is also installed with additional fixation with sealant. A piece of foam rubber was placed inside the handle body as a filter against dust, solder, and pieces of debris.
The design of the handle turned out to be non-separable. But if necessary, it can still be disassembled, and damaged parts can be easily replaced with new ones.
It is very pleasant to work with such a device. The handle is light, the hand does not get tired, and there is no danger that a component, even the smallest one, will come off. You can clearly position them on the board. With suction cups it is suitable for dismantling even large components; there is enough power. You can make suction cups yourself, for example, from heat-resistant sealant.
Flaws.After several days of fairly active use, only one drawback was noticed - for such a pump, the hose from the standard dropper is too thin. Therefore, in some places the walls are compressed. It is worth using thicker hoses, preferably made of soft rubber.
Advantages. The device can actually be assembled in half a day at minimal cost. It saves you a lot of nerves and speeds up the pace of work when soldering SMDs significantly. We recommend.