Sometimes, in the evening after work, sitting in a chair watching TV, after drinking hot tea with herbs, I begin to feel sleepy. A pleasant drowsiness spreads through your body, and you SO don’t want to get up to press the wall light switch. And so at this time you regret that your remote control does not have such a function. But this is a fixable matter. The remote control, of course, will be separate, but you won’t have to drag your butt to the switch, which, as luck would have it, is located at the opposite end of the room.
A relay receiver and a remote control for it will help us in this matter. The signal in these two devices is radio wave, and not infrared as in conventional remote controls. This is convenient, since the radio waves from the remote control signal can easily reach the receiver at a distance of about 50 meters, even through walls. The remote control is small, miniature - you can attach it to your keys like a keychain. It is very convenient, when approaching your house or apartment, to turn on the light in the hallway in advance, so as not to trip over your shoes or cat in the dark while you feel for the wall switch. In addition, installing this thing will in no way affect the operation of a regular wall switch - it can be used as before.
Will need
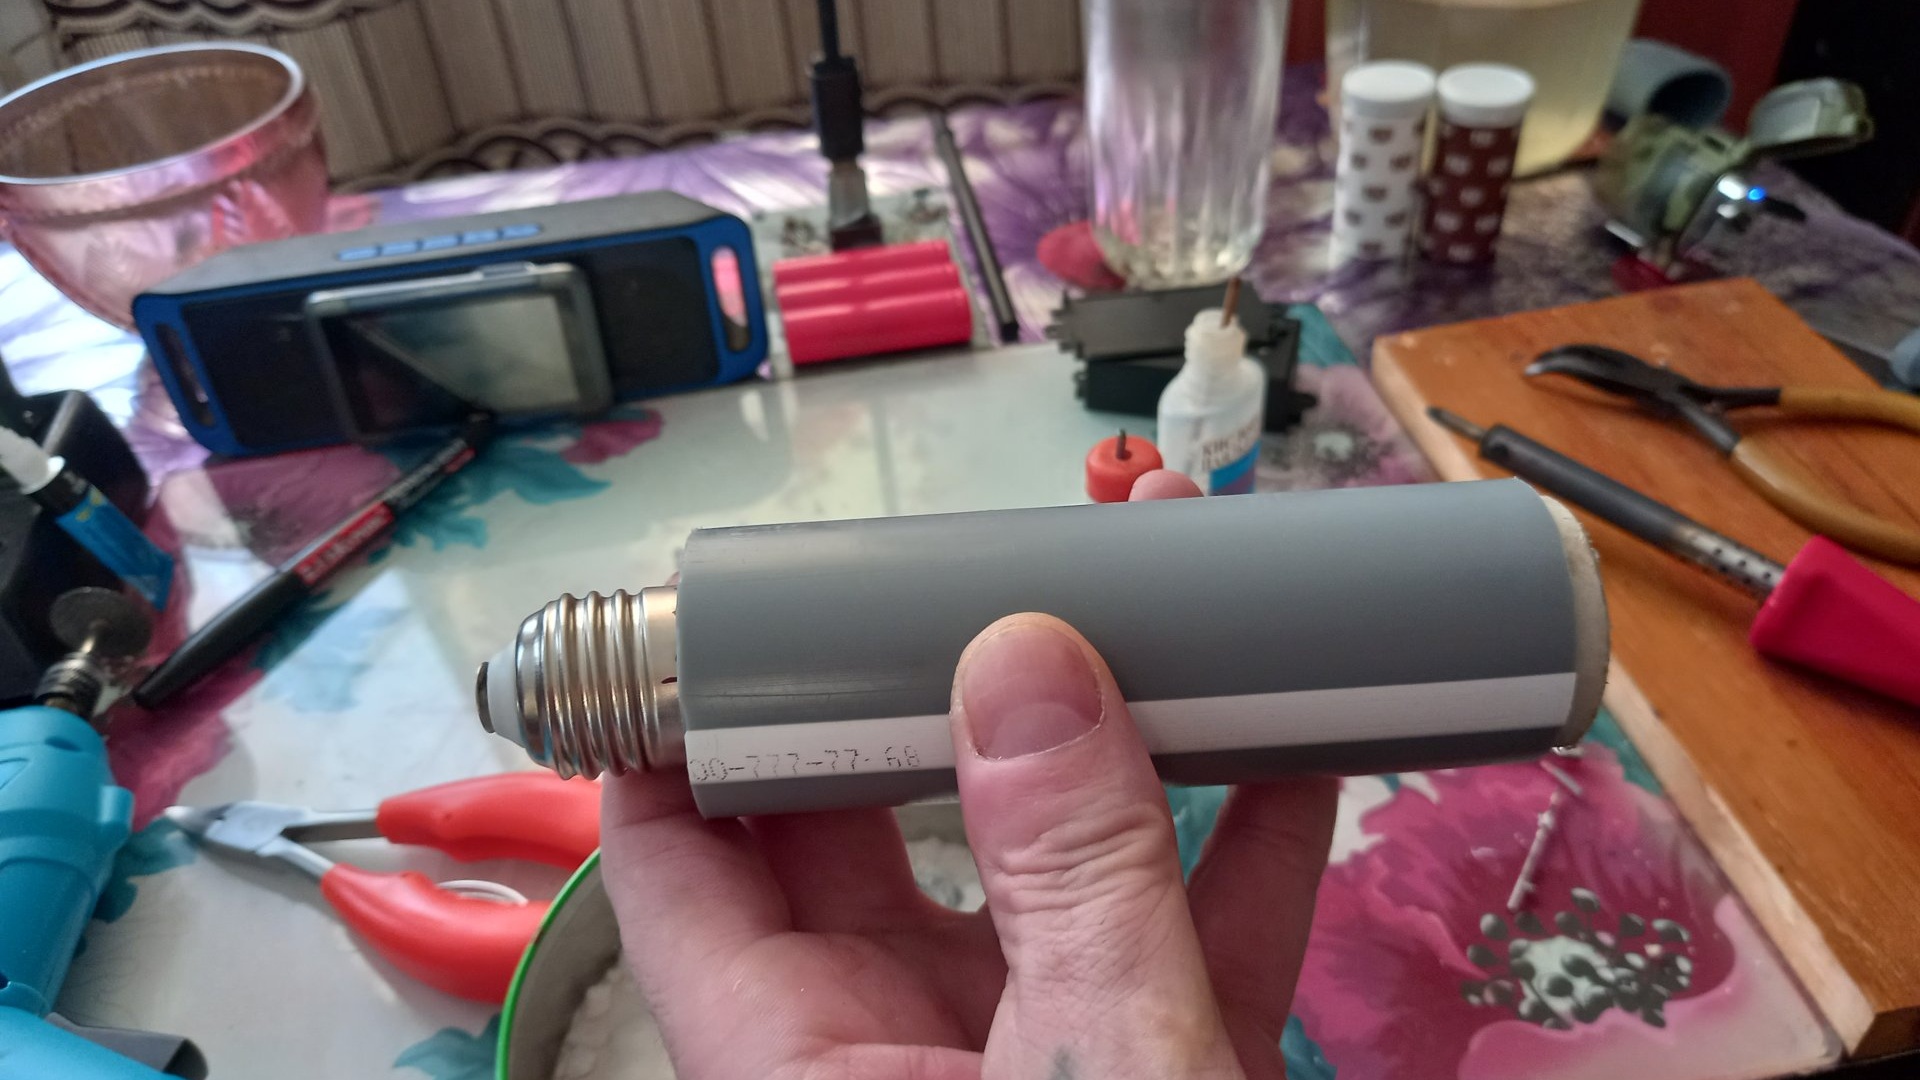
- Plastic tube with a diameter of 32mm and a length of 10cm.
- Relay receiver 433 MHz, 220 volts, and remote control for it.
- Base E 27, from a broken or unnecessary light bulb.
- Cartridge, for base E 27.
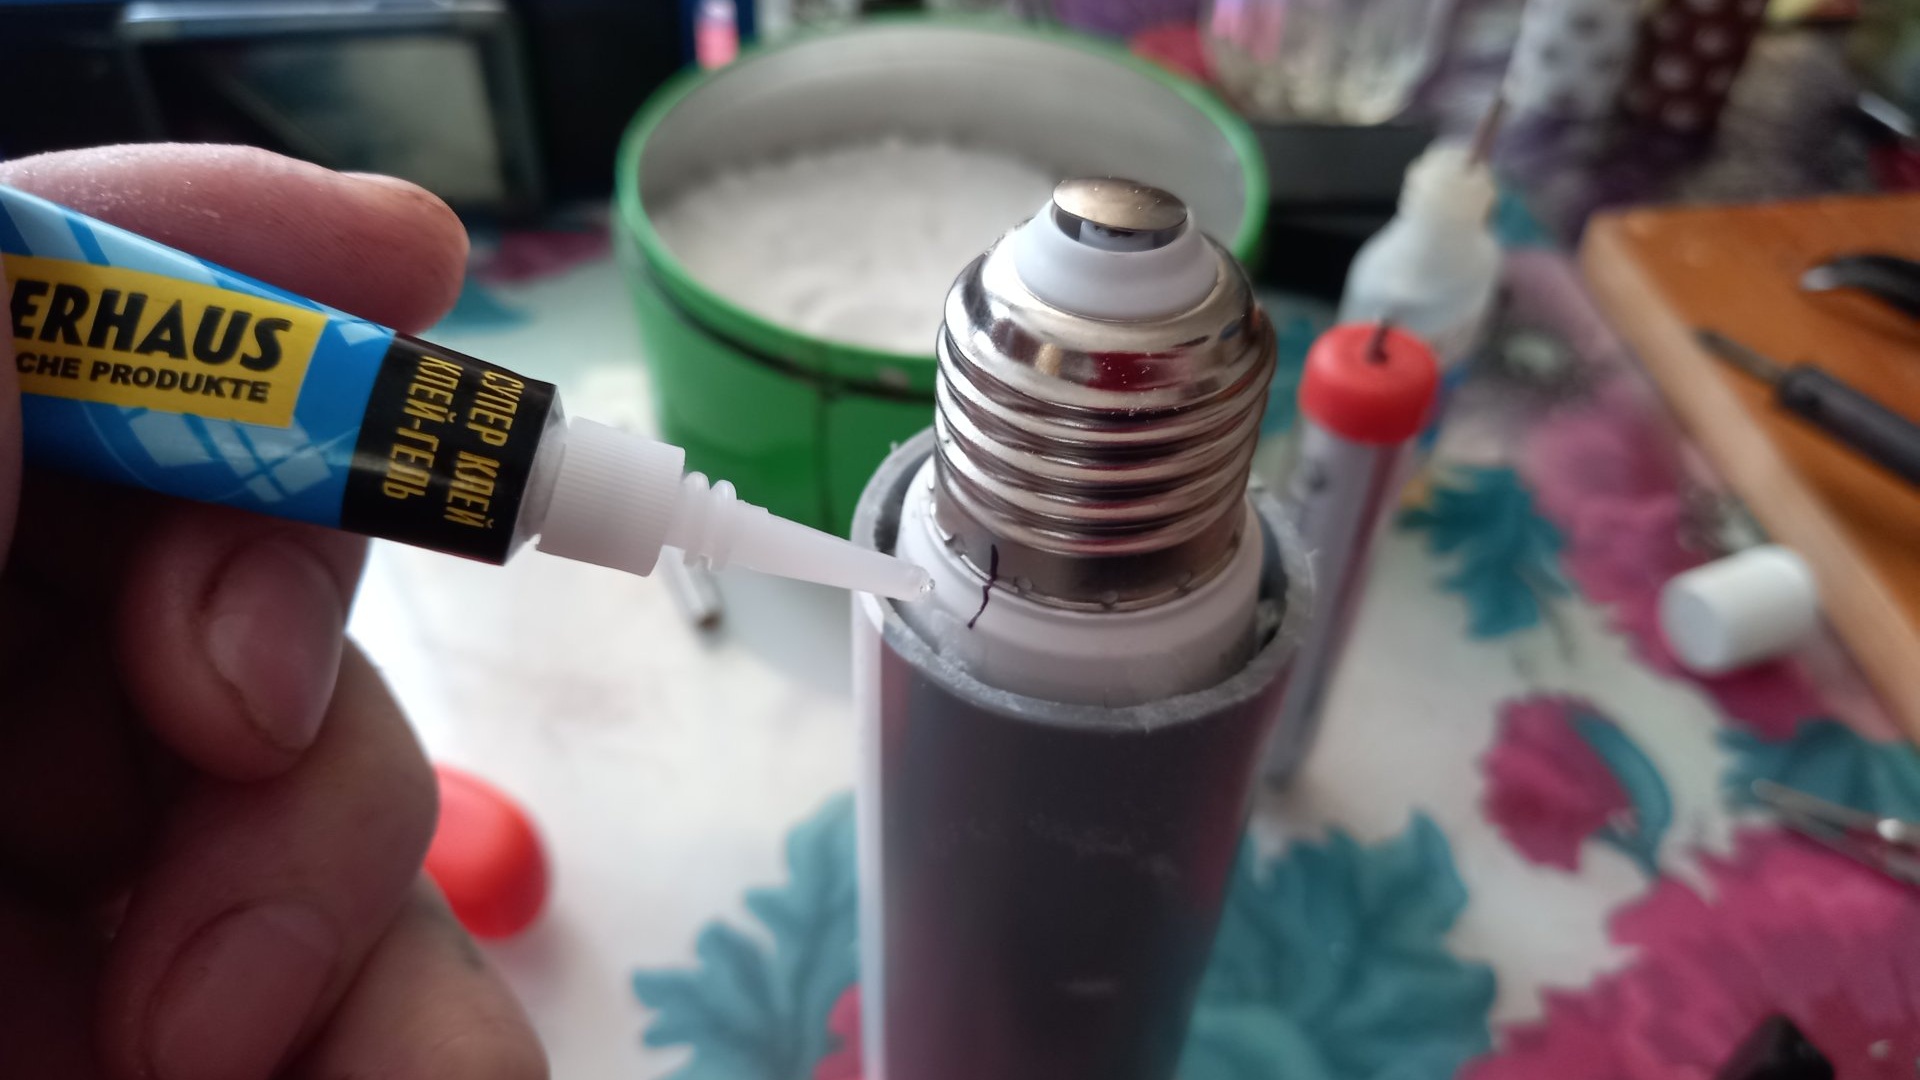
- Secondary glue.
- Two component glue.
- Engraver with cutting disc and 1.5mm drill.
- Soldering iron with tin and flux.
- Insulating tape.
- Wire cutters.
- Knife.
- Phillips screwdriver, thin.
- Wire 220 volts, 10 cm.
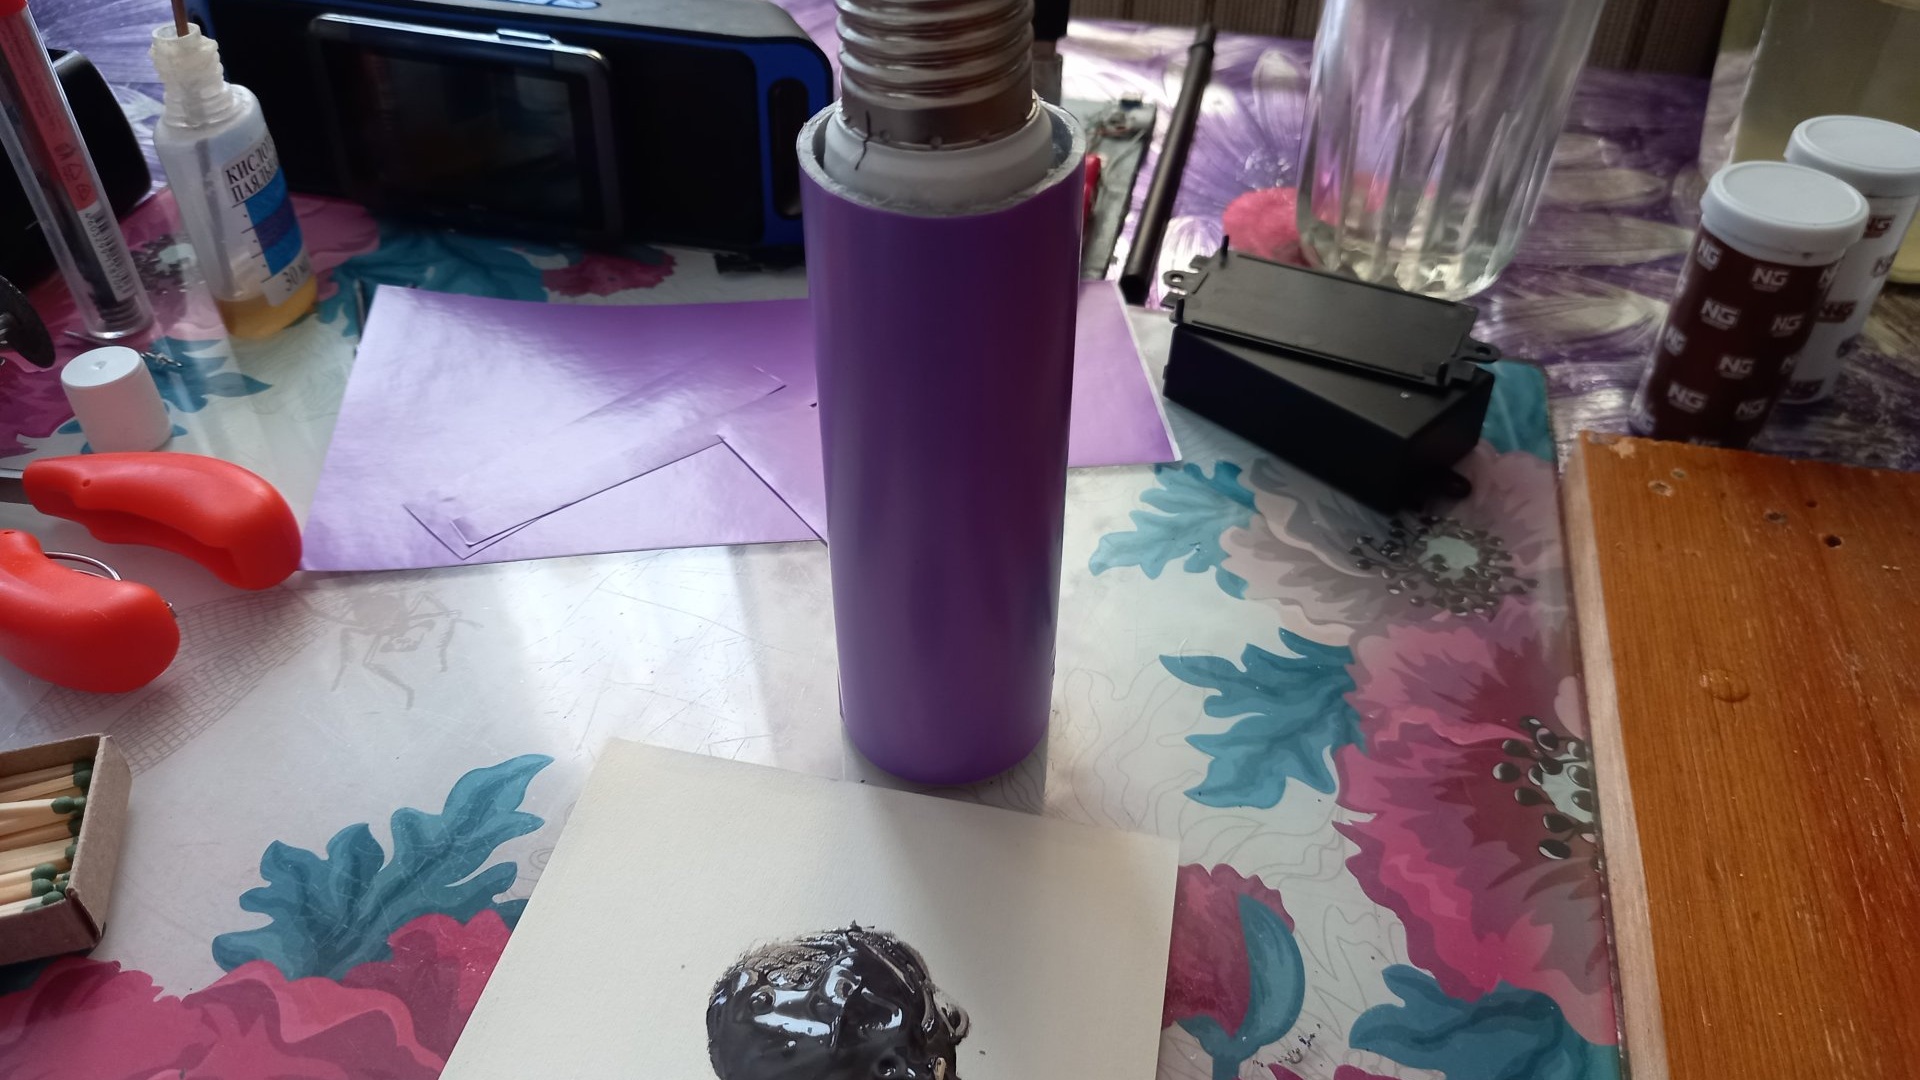
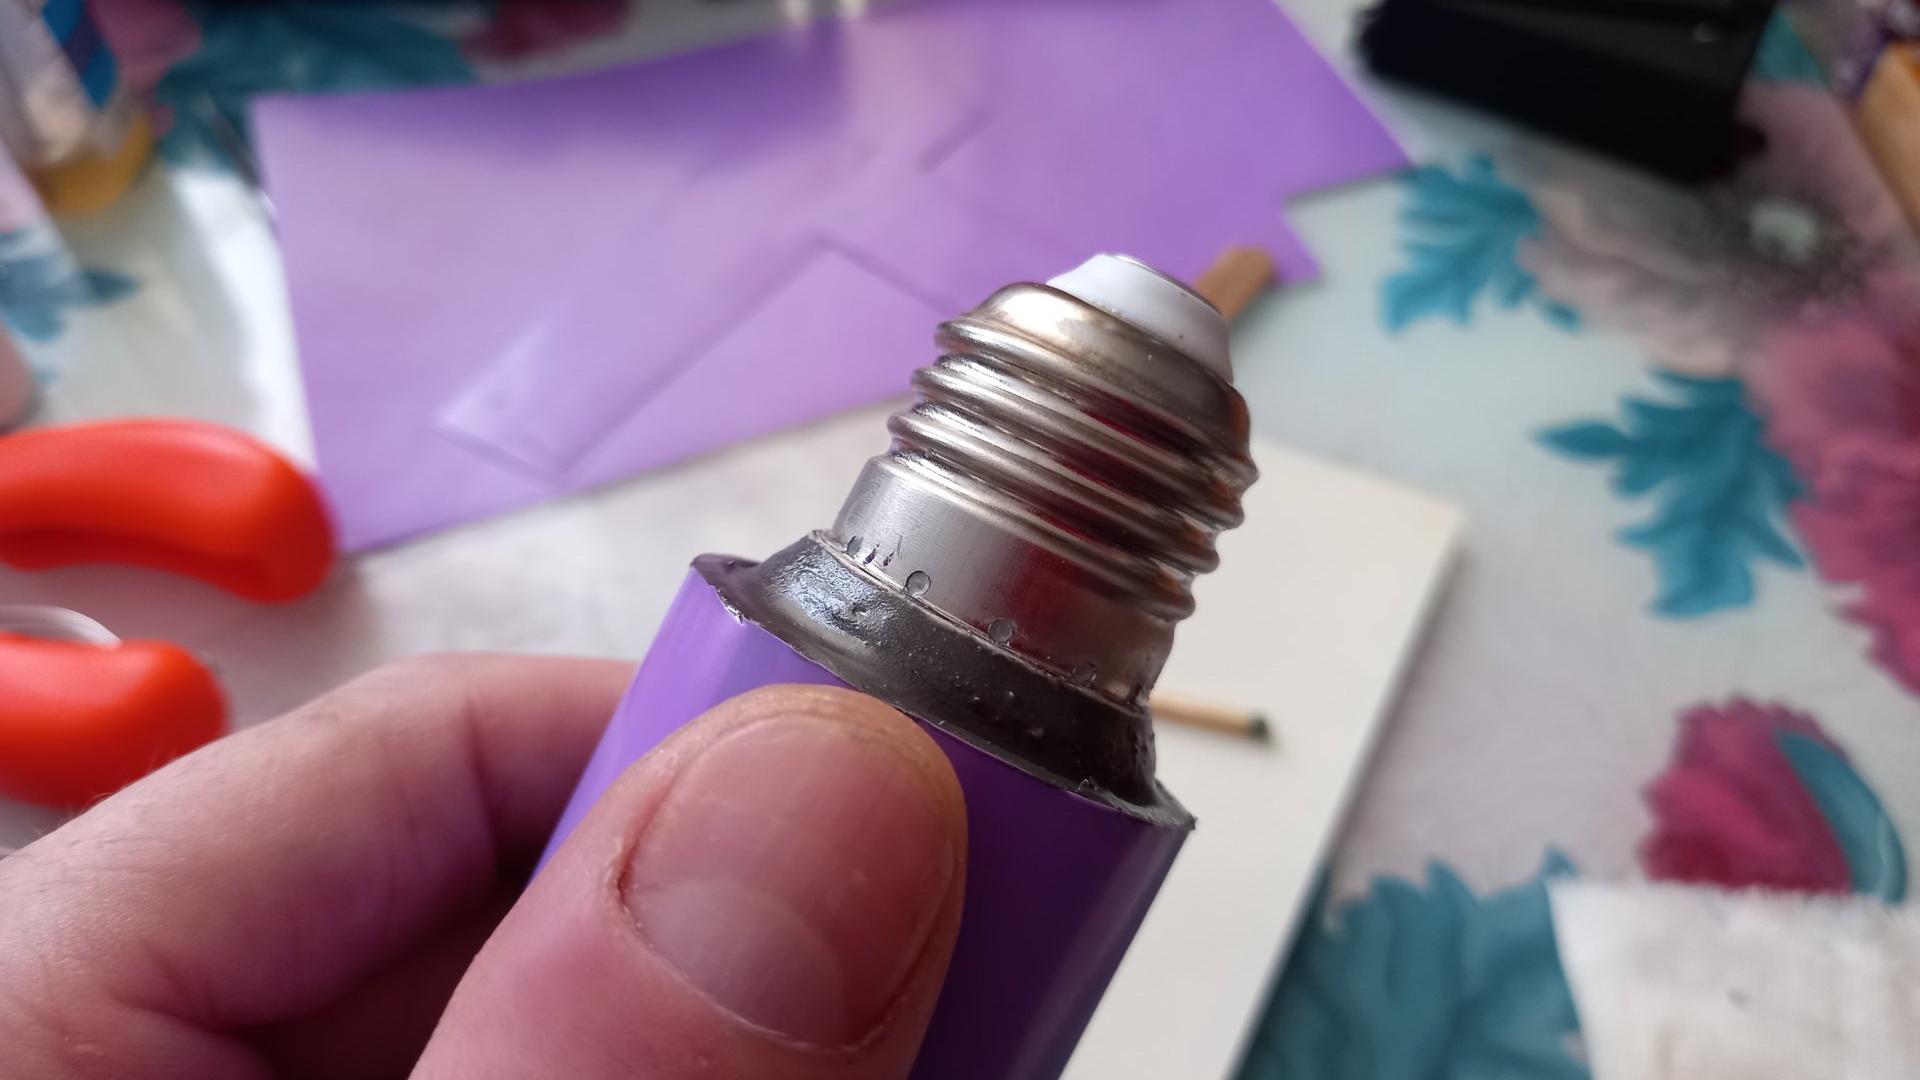
- Self-adhesive film, in the color you need, for decorating the finished product.

Assembly of a cartridge with 220 Volt remote control
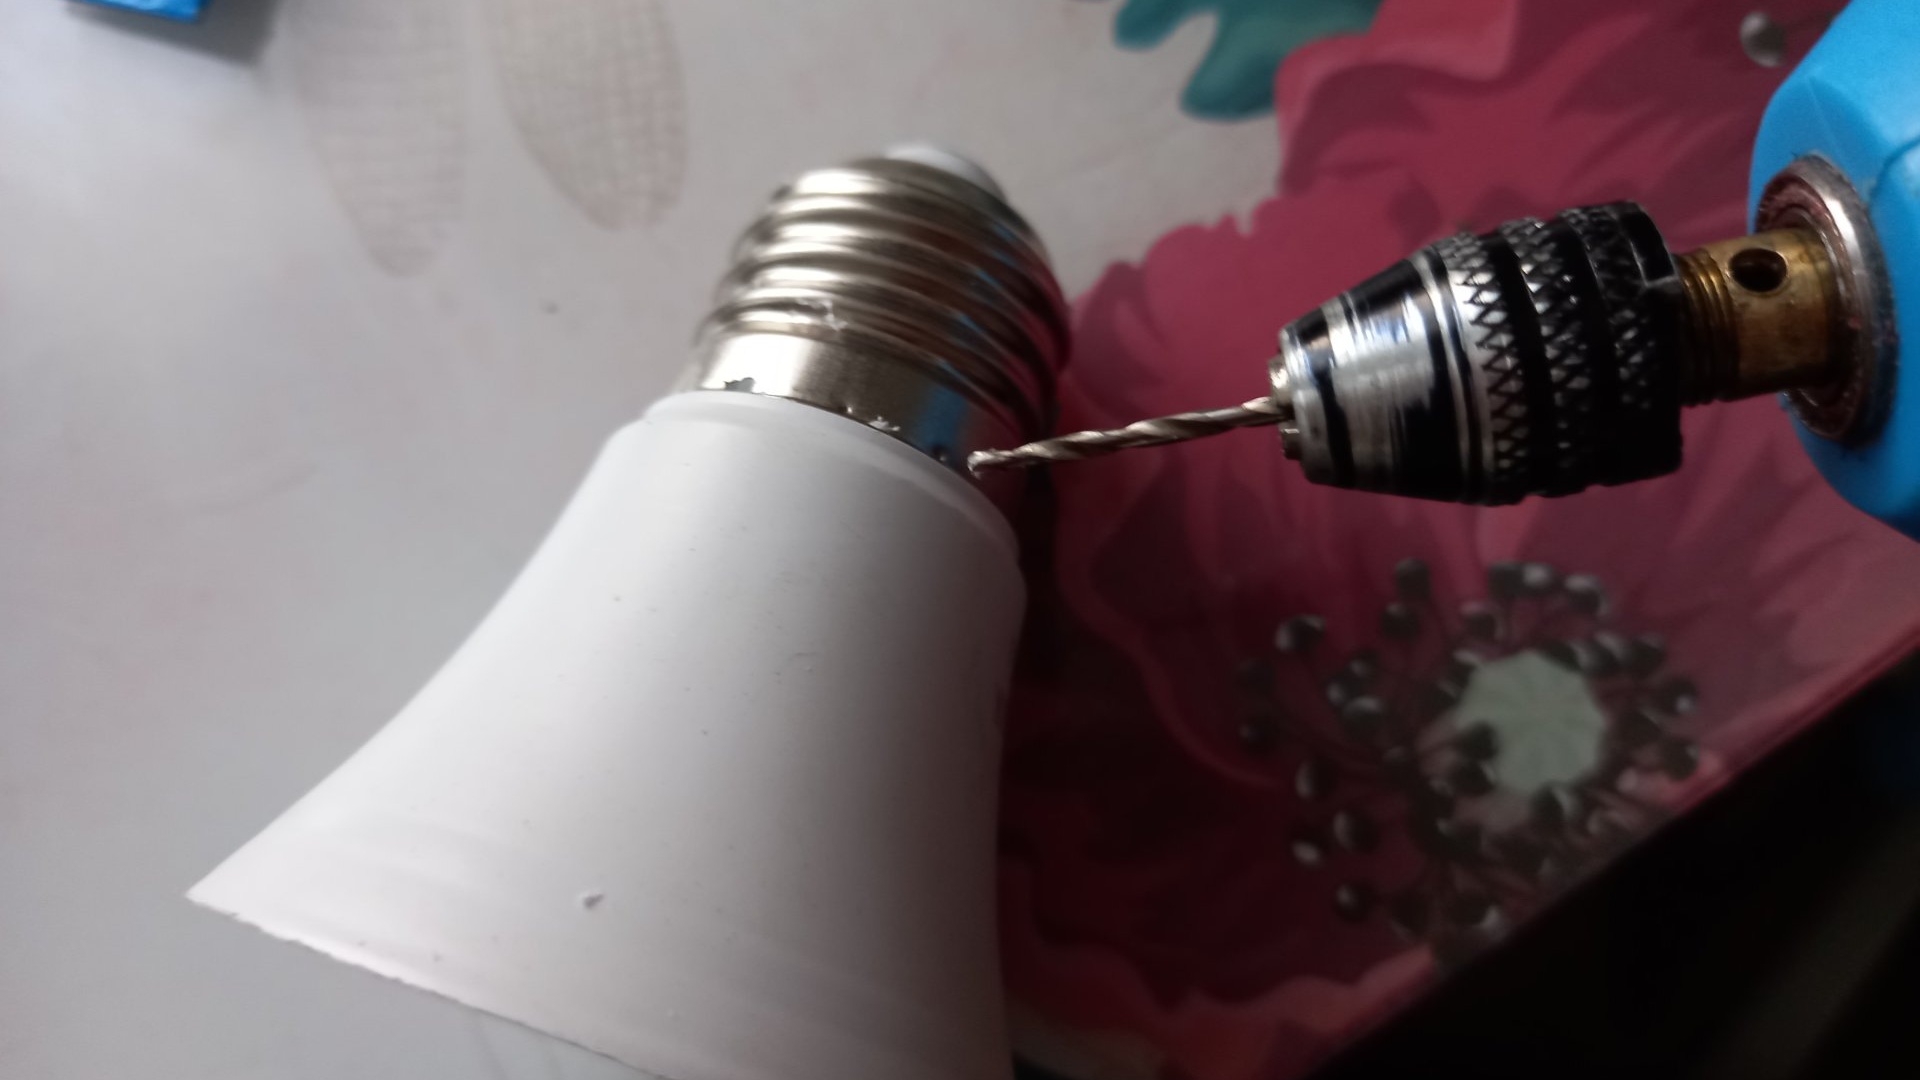
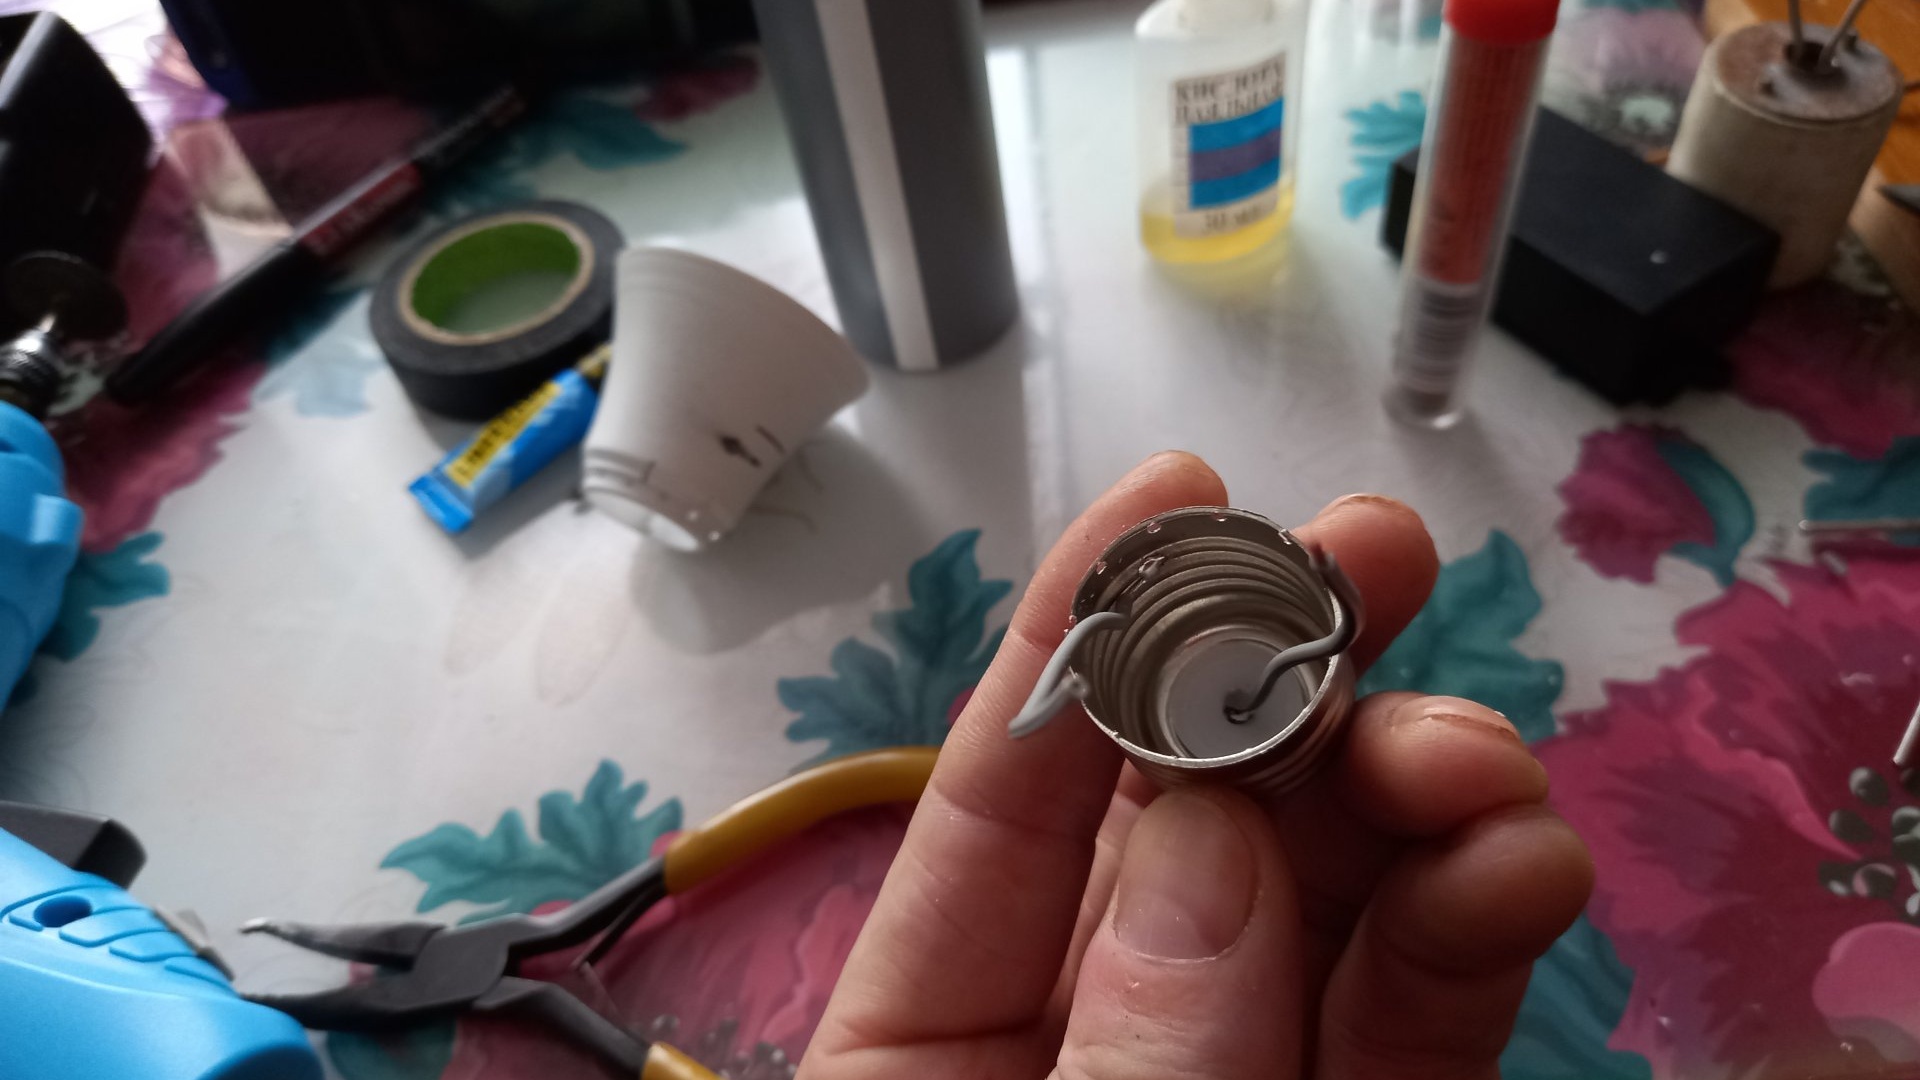
First of all, let's prepare the base. You will need a standard one - E 27. If you do not find a broken or unnecessary energy-saving lamp, you can buy the cheapest lamp. I would not recommend disassembling a glass incandescent lamp - it is unsafe. So, in order to carefully remove the thread of the base without crushing or damaging it, using a drill, or engraver, and a 1.5 mm drill, we drill out pinpoint dents in the base that hold the metal threads on the plastic case.
We make a mark on the body and threads with a marker so that later, during assembly, the holes match. Remove the threads from the body.

We solder short 220 volt wires to the thread contacts.
We take the prepared 32mm plastic tube and try on the lamp body for it. We cut off the body so that the threaded section fits into the pipe.

Glue the thread with the soldered wiring back to the body segment.
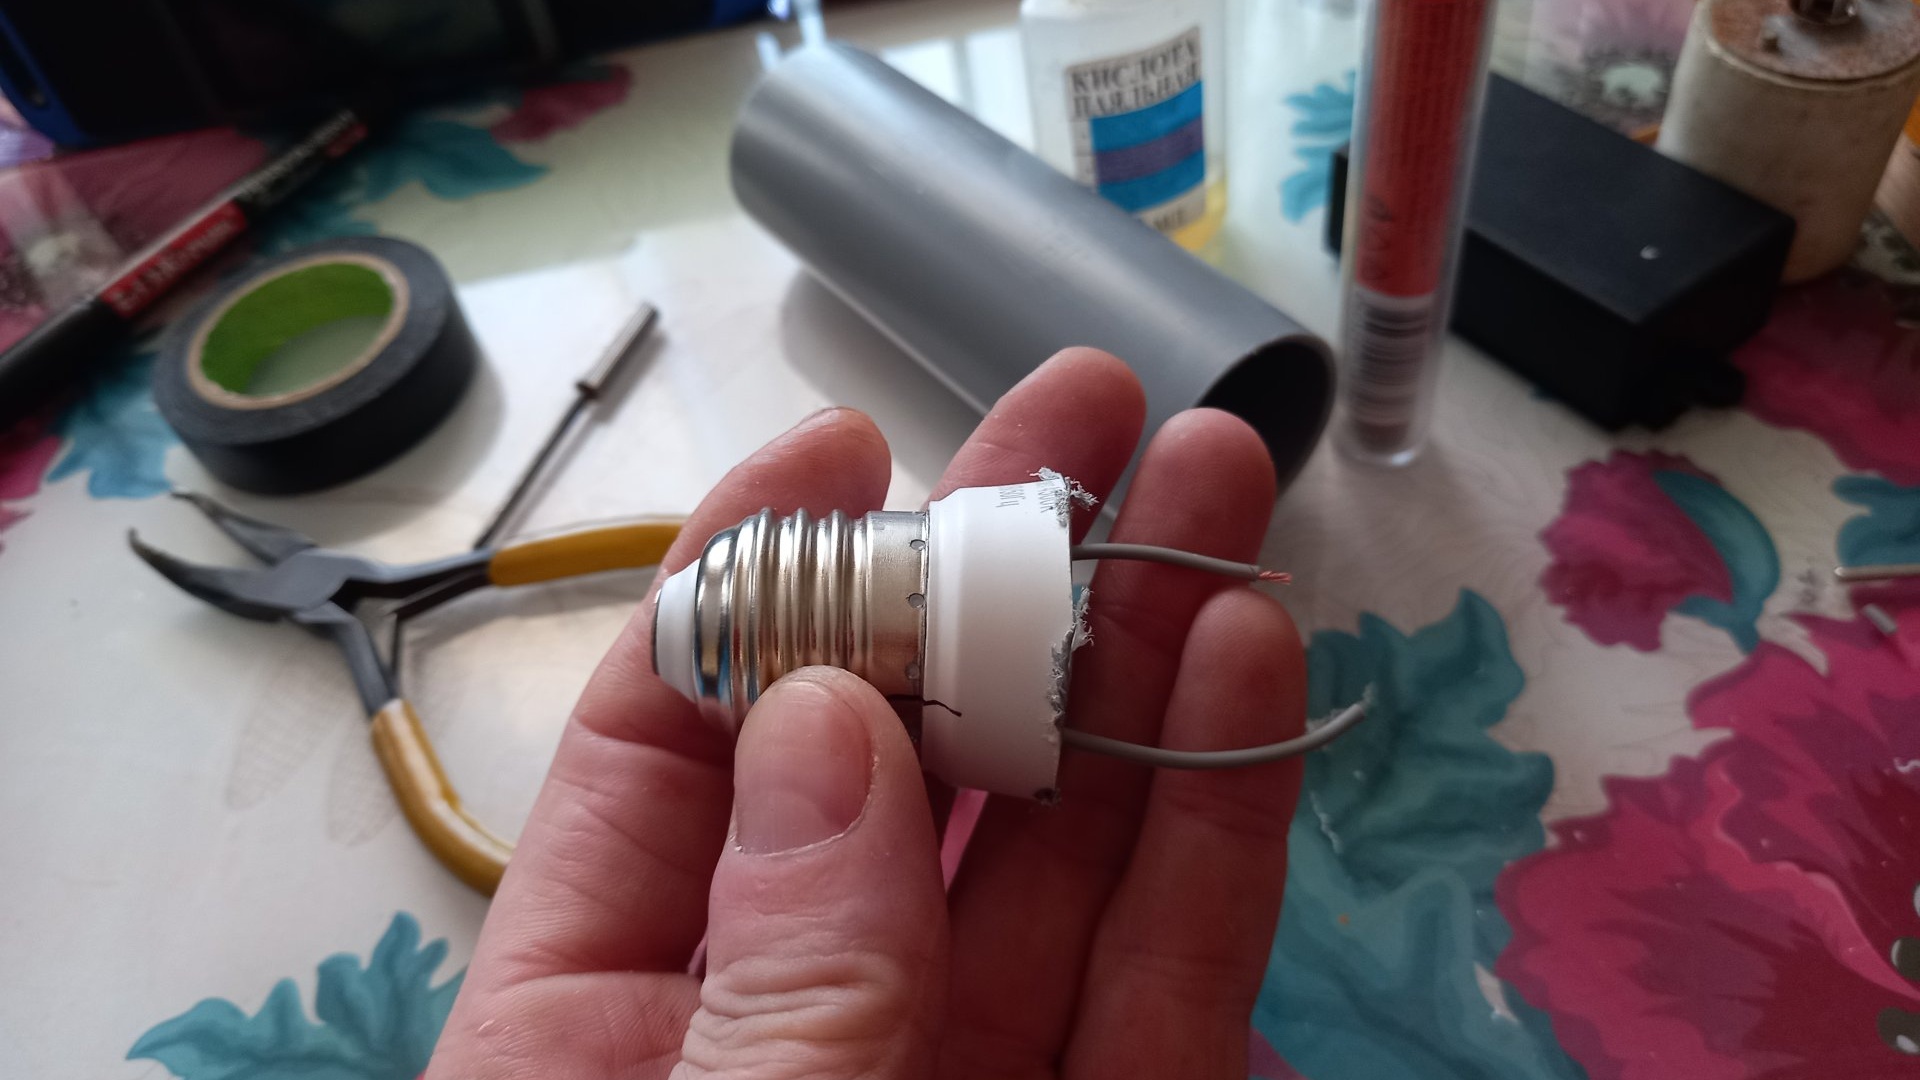
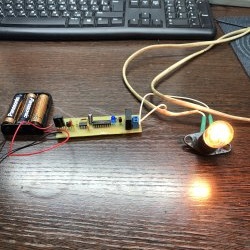
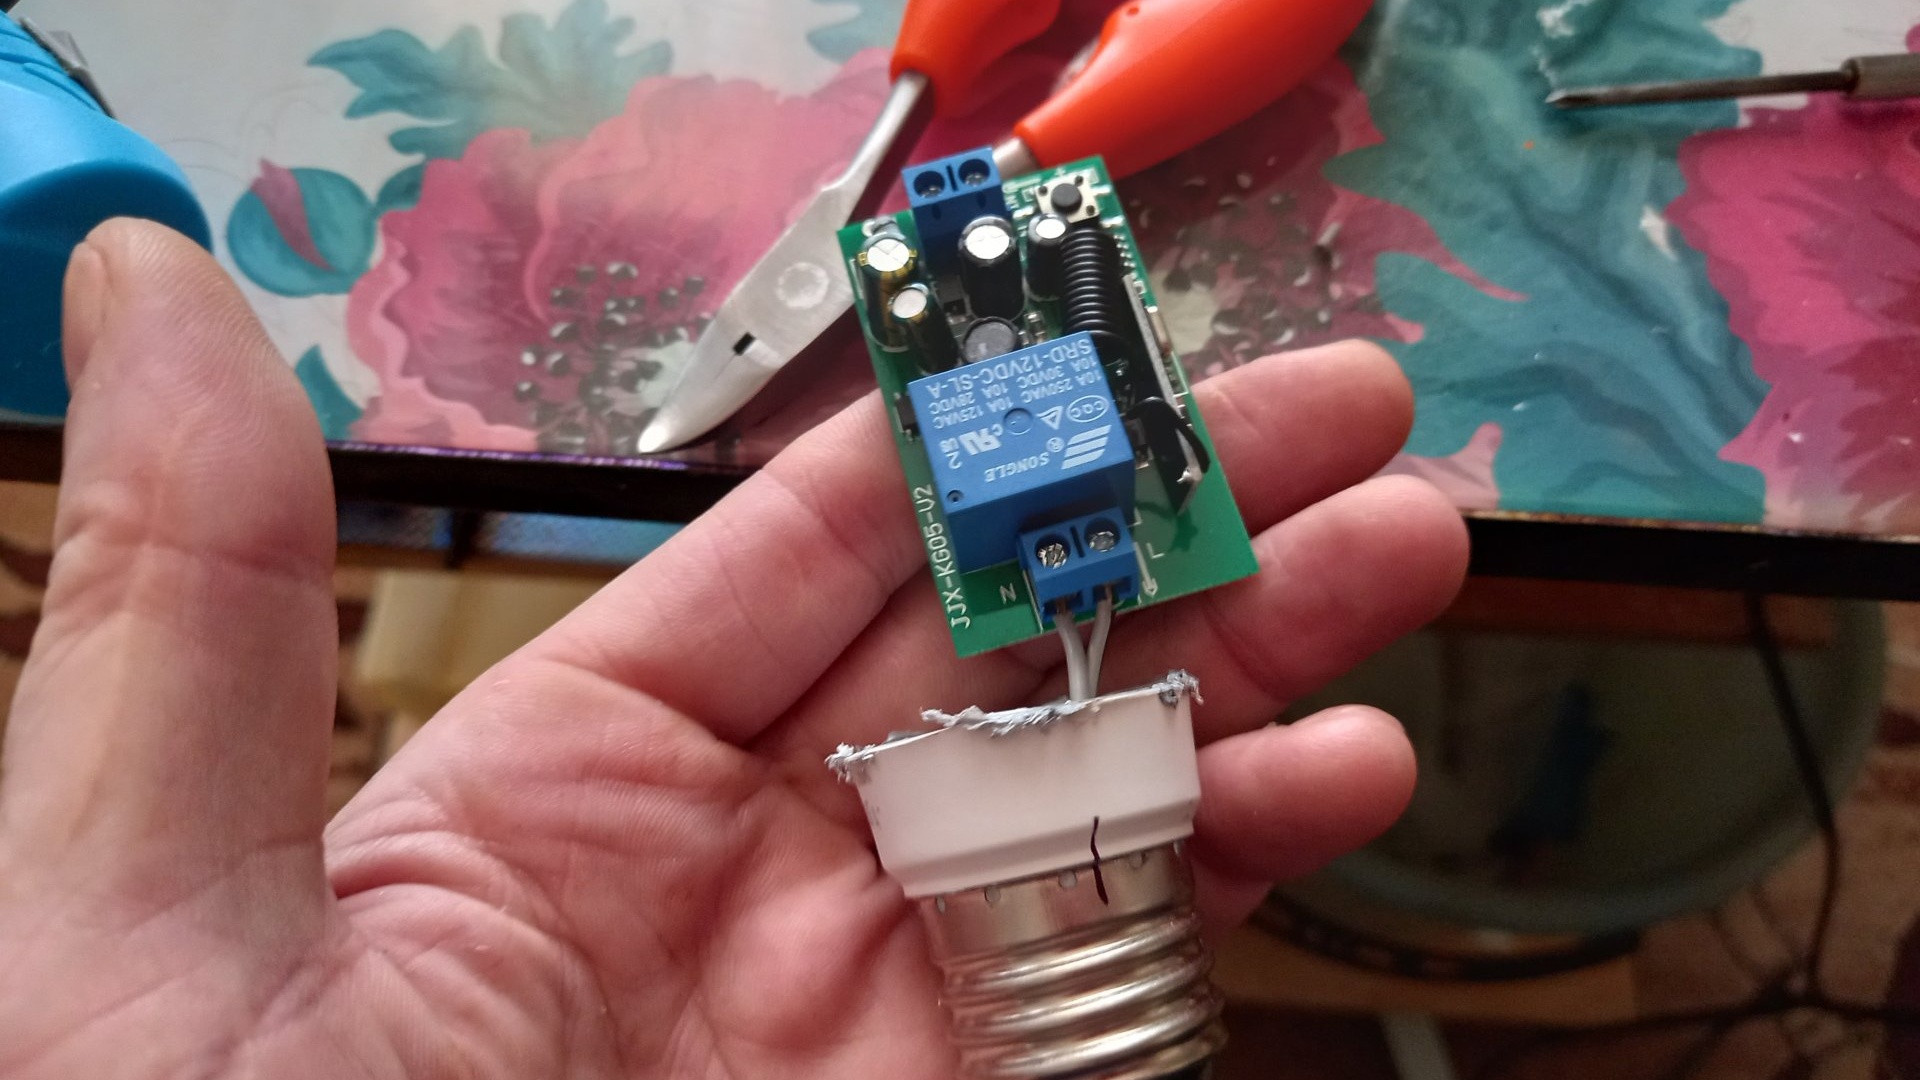
We tin the free ends of the wiring from the base with tin and, using a thin Phillips screwdriver, according to the polarity, install them on the INPUT contacts of the relay receiver.
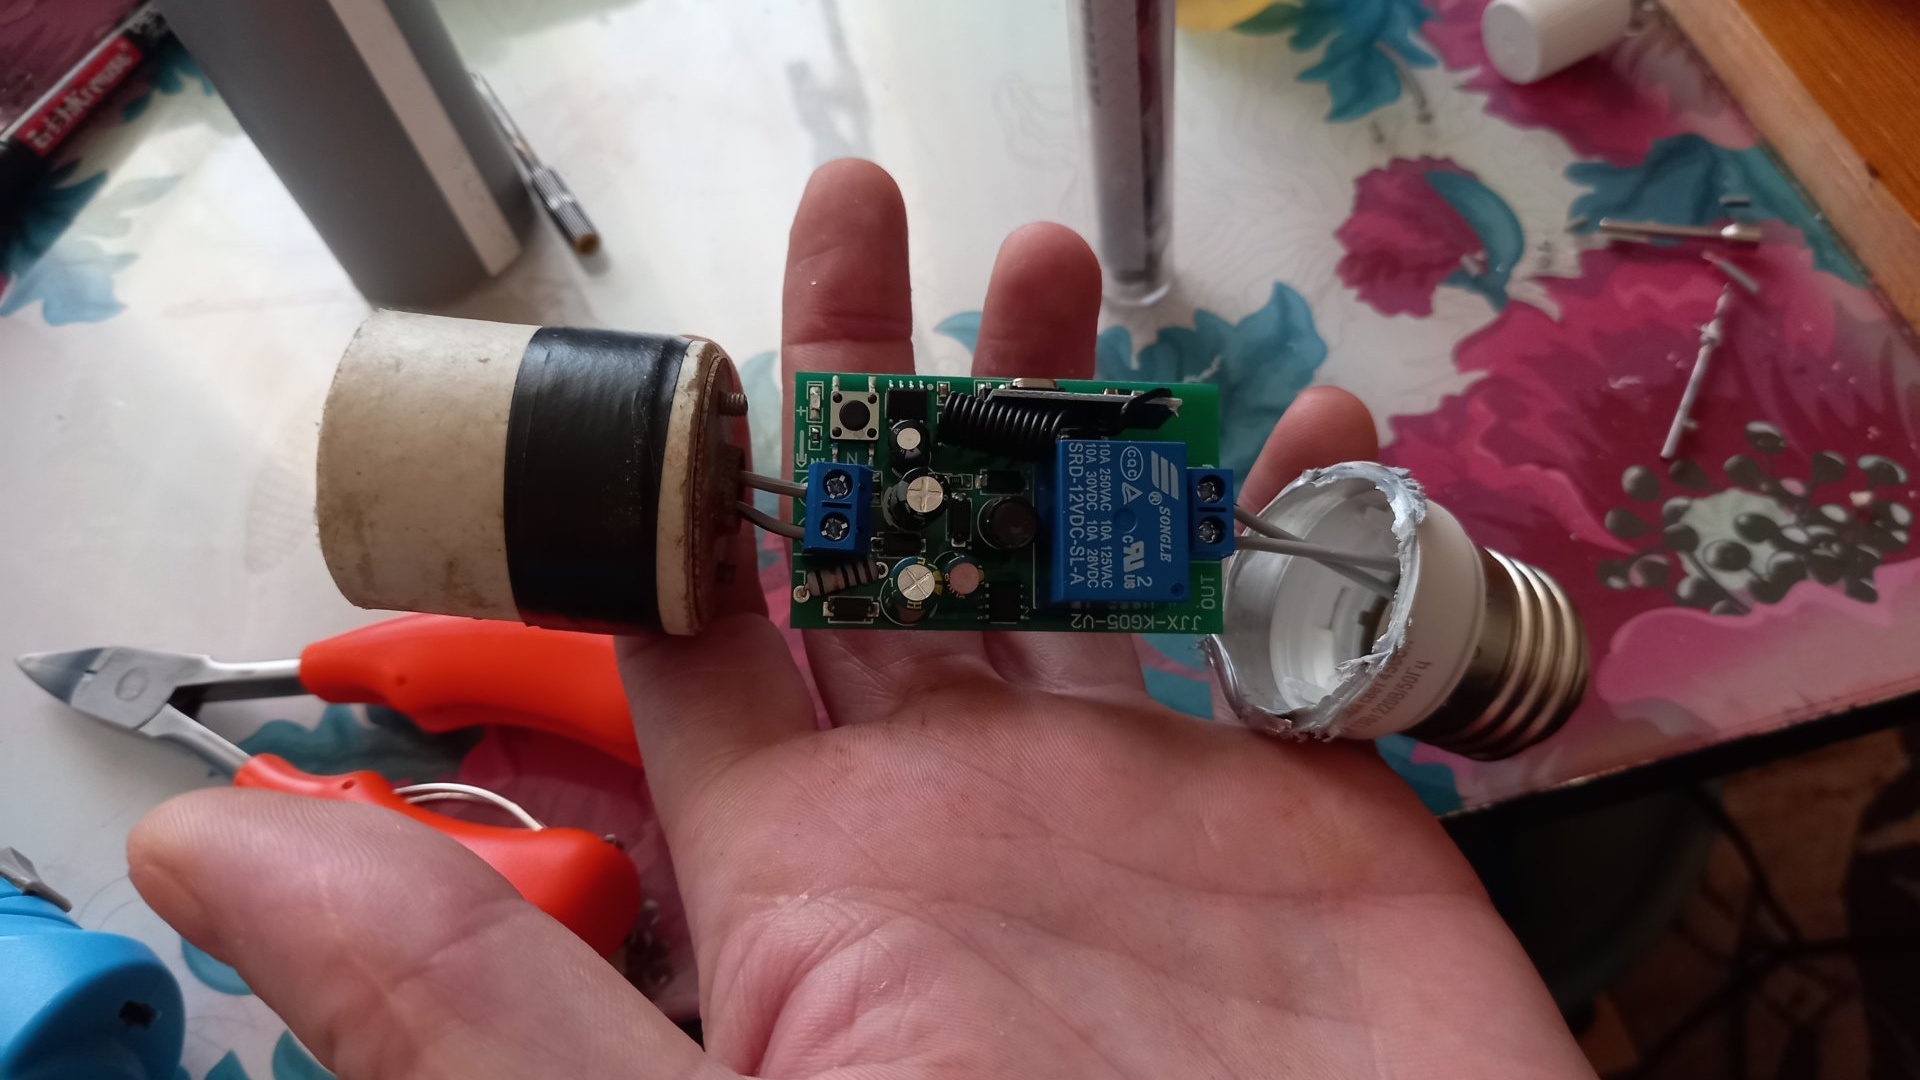
Next, we check how the cartridge fits into the opposite end of the pipe. If the cartridge is loose, add a few turns of electrical tape to it until it reaches the desired diameter.

We also tin the wiring from the cartridge and install it on the OUTPUT contacts of the relay receiver.
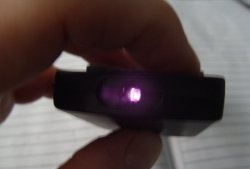
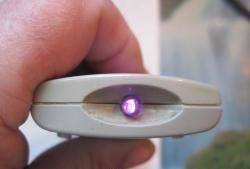
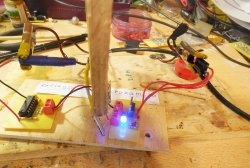
And most importantly, do not forget to synchronize between the receiver and the remote control before walling up the whole thing in a tube housing! It will be very disappointing to then disassemble your creation in order to finish what was forgotten. Synchronization occurs as follows: press the learning key on the receiver eight times in a row. After this procedure, a kind of formatting occurs - all information from the receiver chip that was saved there after a control check by the manufacturer is deleted. Light-emitting diode flashes twice, it means everything was successful. Next, press the learning key on the receiver twice, wait until Light-emitting diode will blink twice again. After this, press the key we need on the radio remote control once. One long beep LED will indicate that the synchronization was successful. You can use it.

By the way, this 433 MHz radio remote control, universal. It can also be synchronized with smaller receivers, at 3.7-30 volts. Of course, with the same frequency. For example, I use 7 out of 8 keys on the remote control. Two 220-volt receivers are connected - to the chandelier and to the fan, and the rest to 12-volt devices - a night light, a table lamp, a clock light and other low-consumer small items. Simply, when purchasing additional receivers, you need to make sure that the frequency and code of the receiver and the remote control match. It is not difficult. Now you can mount the entire assembly into the housing.
We attach the base and cartridge in the body with second glue.
When the glue has more or less fixed all the parts, you can carry out a control check until everything is firmly fixed.If everything works as expected, we cover the resulting product with a self-adhesive film of the color you need, so that it has a more decent appearance.


Next, you need to thoroughly record everything. Two-component epoxy glue will help us here. According to the instructions, we dilute the amount of glue we need and cover all the remaining gaps in the structure with it.
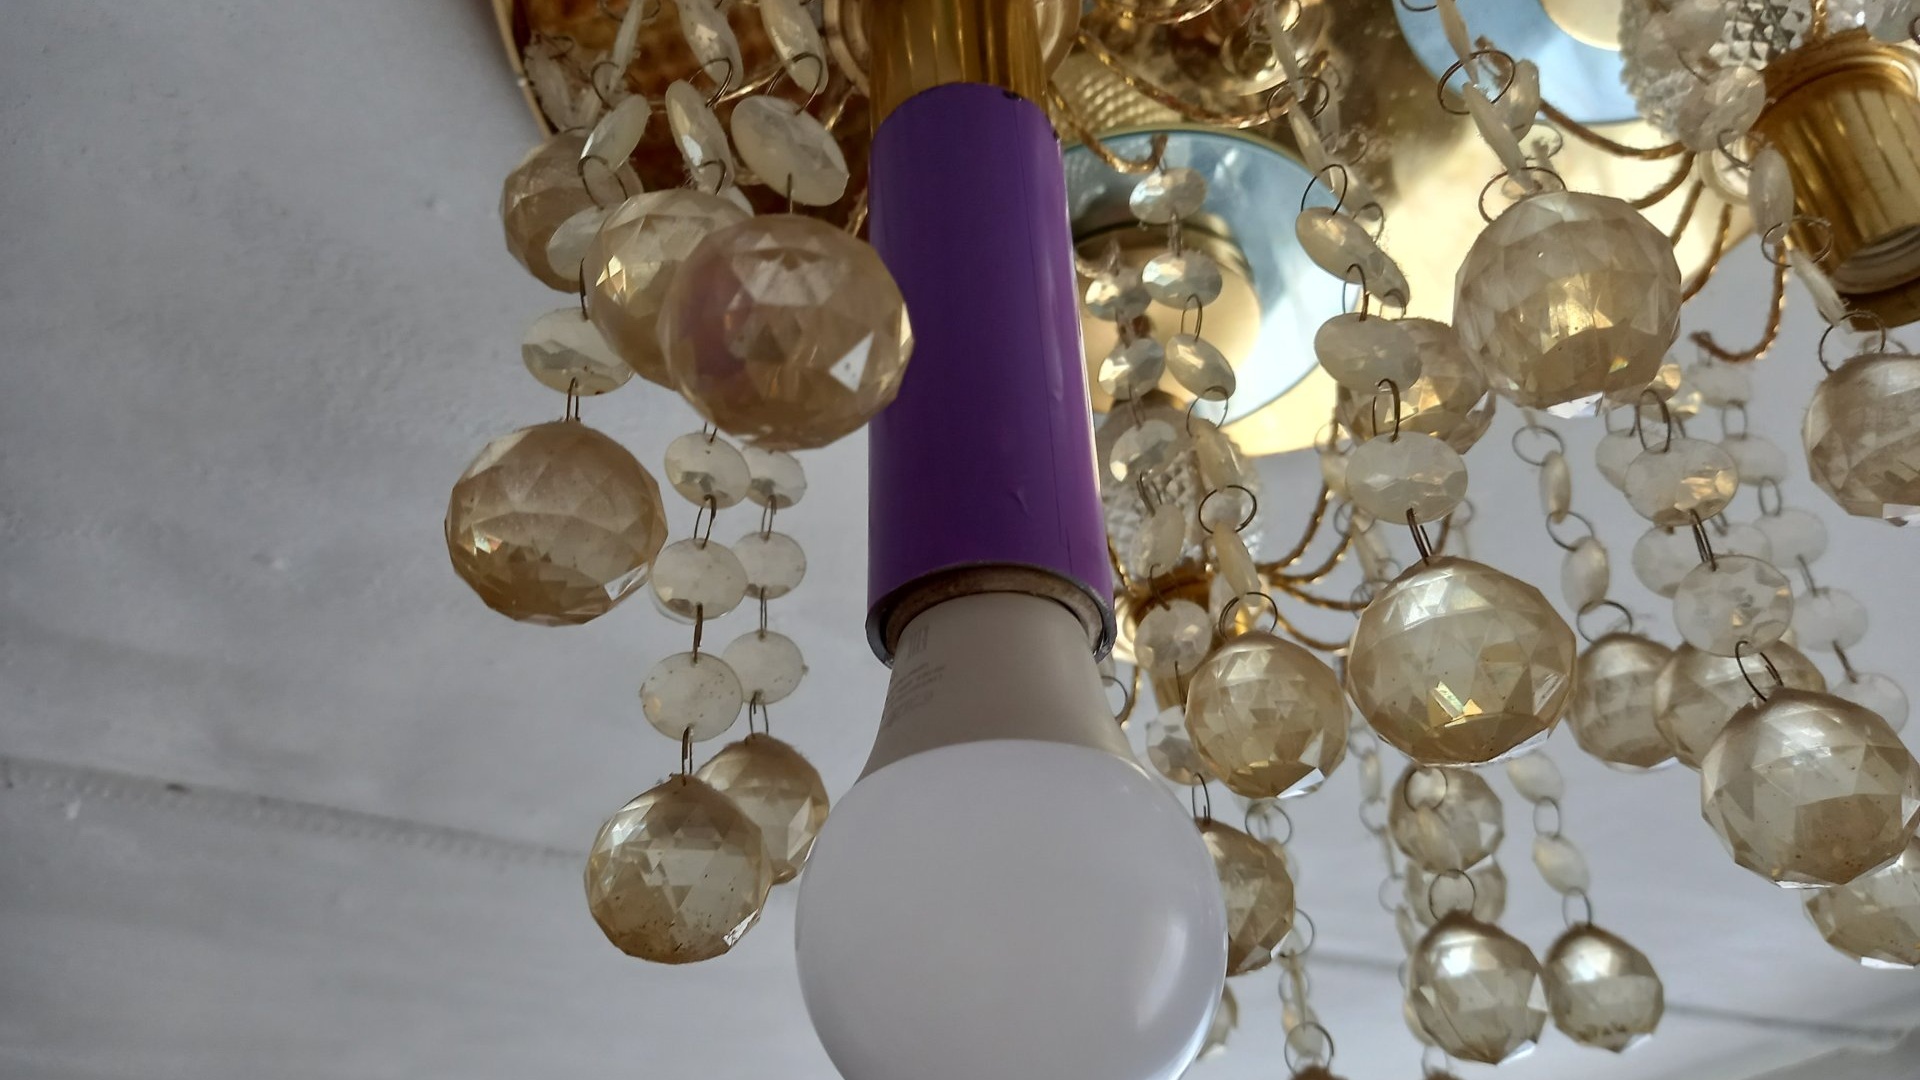
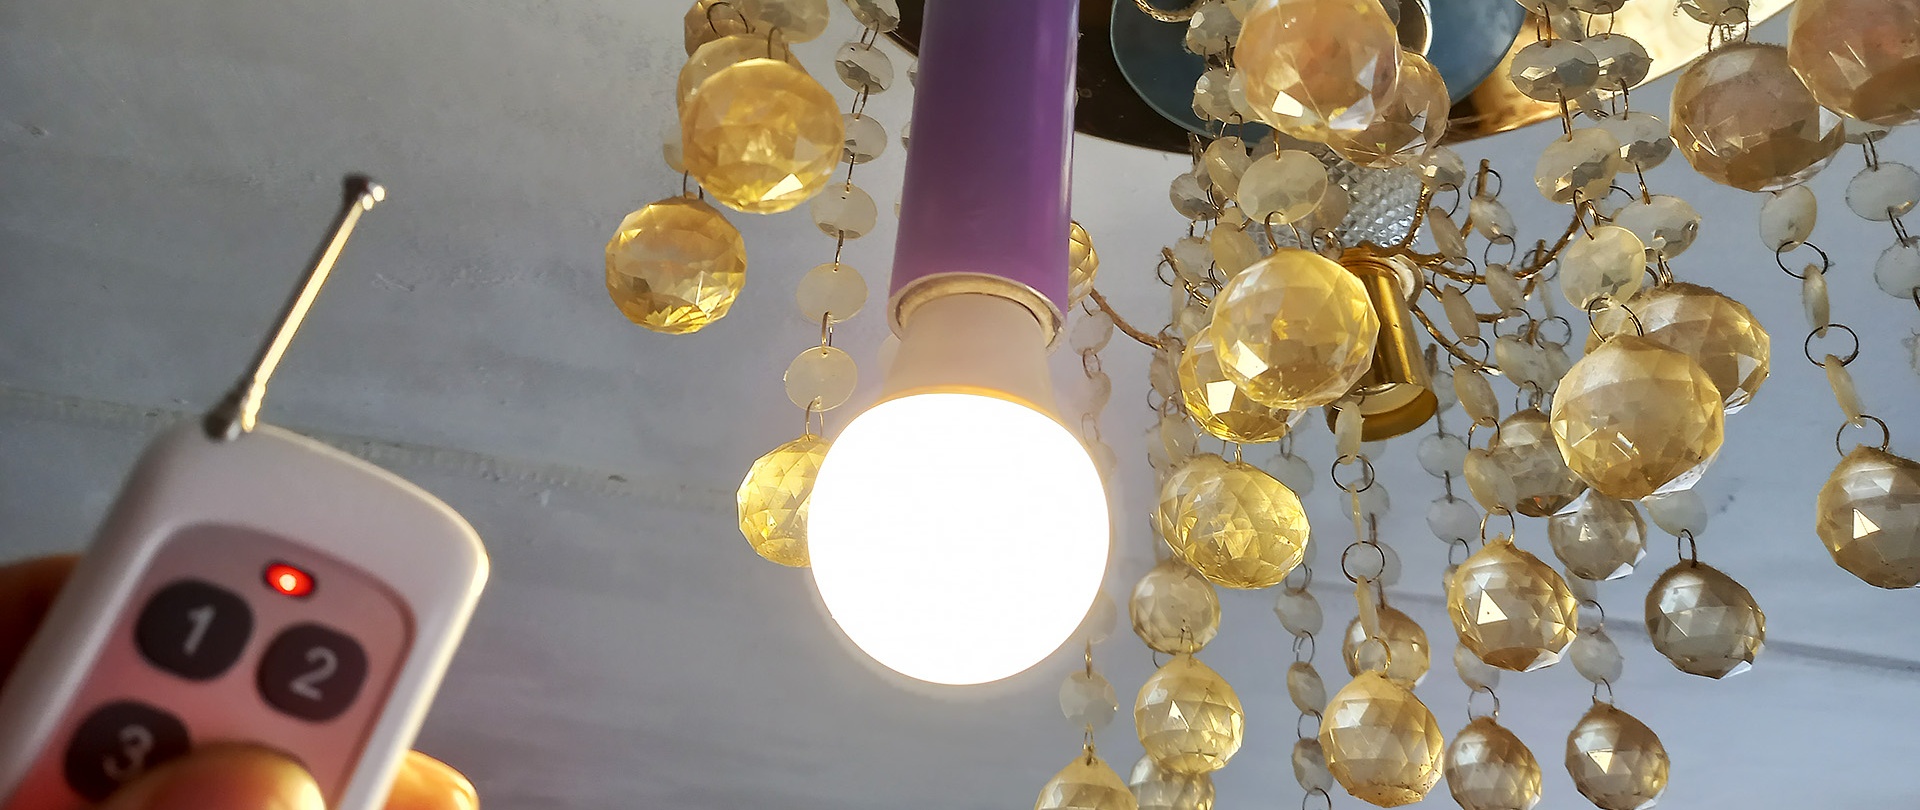
Let the epoxy glue set thoroughly, install the resulting product in the chandelier, and enjoy it to your health!