A very simple and powerful regulator without PWM and microcircuits can be assembled with your own hands using transistors. This device is suitable for regulating direct current up to 20 Amperes at voltages up to 55 Volts. This circuit can be successfully used in chargers, filament regulators, etc.
Details:
- Transistor IRF3205 - 4 pcs. - http://alii.pub/68qqw8
- Transistor IRFZ44N - http://alii.pub/5ct567
- Stabilizer L7812CV - http://alii.pub/68qr7p
- Resistors 10 kOhm, 22 kOhm - http://alii.pub/5h6ouv
- Variable resistor 10 kOhm - 2 pcs. - http://alii.pub/5o27v2
- Fan DC 12 V 0.07 A - http://alii.pub/68qraf
- Thermistor NTC10K - http://alii.pub/68qqvn
Making a Simple DC Regulator
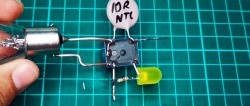
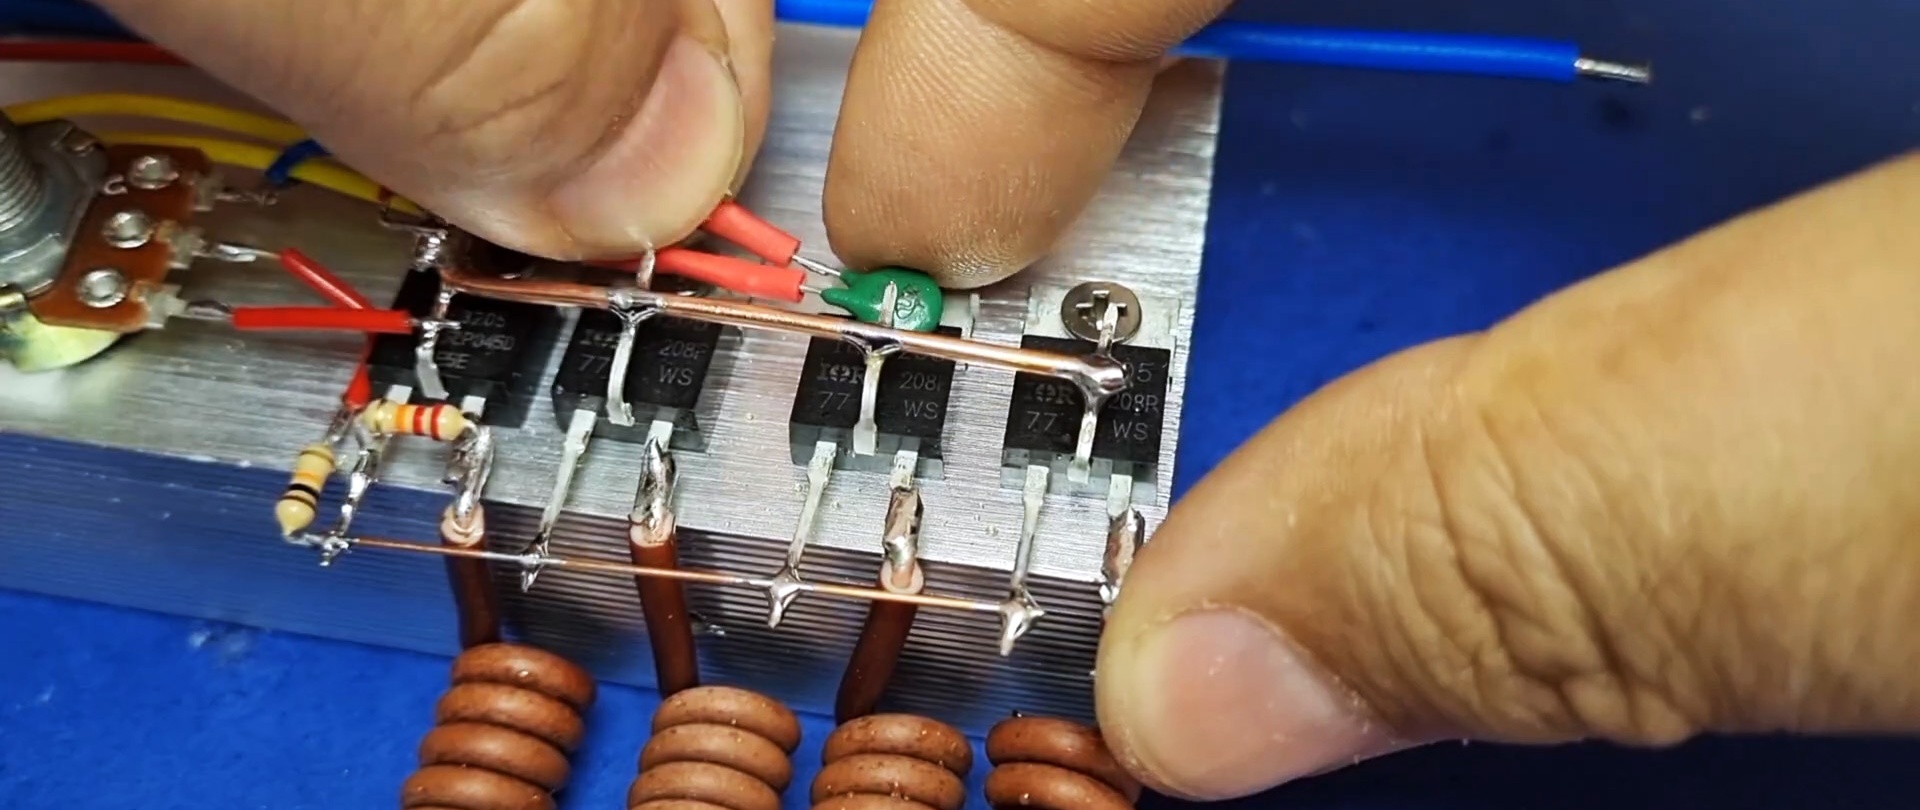
The circuit is based on 4 N-channel HEXFET power CMOS transistors with a freewheeling diode, which have low active resistance and high switching speed.
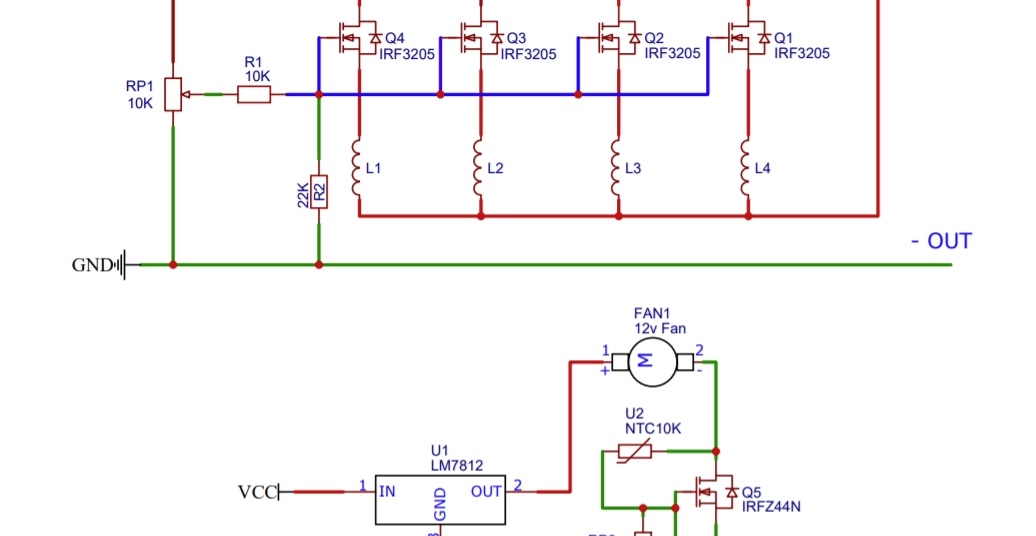
You can install lm317, IRF3205N or IRF1405N into it (if finances allow).These field devices have high power dissipation and increased operating temperature of the junction (up to 175 degrees Celsius), so for normal operation of the device it is necessary to take care of a good radiator in advance.

Having found a suitable plate for cooling, we attach mosfets to it (you can use thermal paste). For ease of further assembly, it is better to place them close to each other.
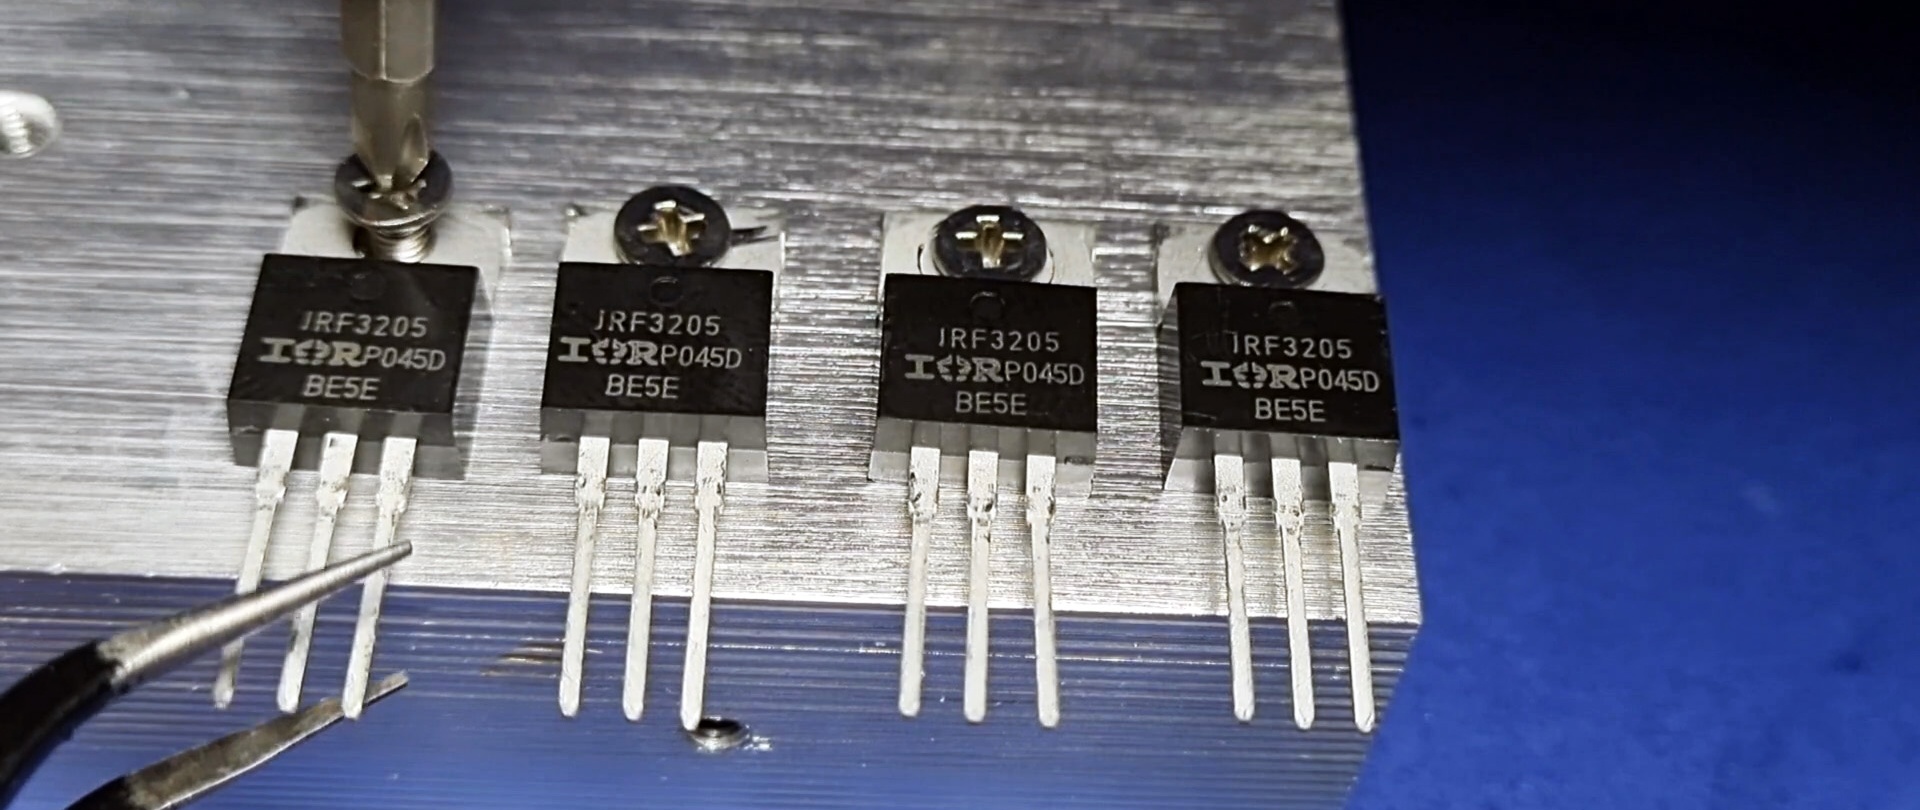
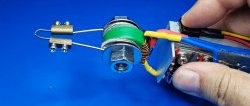
Next, we solder the buffer loads at the sources of the transistors. To do this, you can use ready-made 11 W 0.1 Ohm resistors or wind the coils yourself with thick wire, as shown in the picture.

The other ends of the loads are connected to each other by a common busbar.

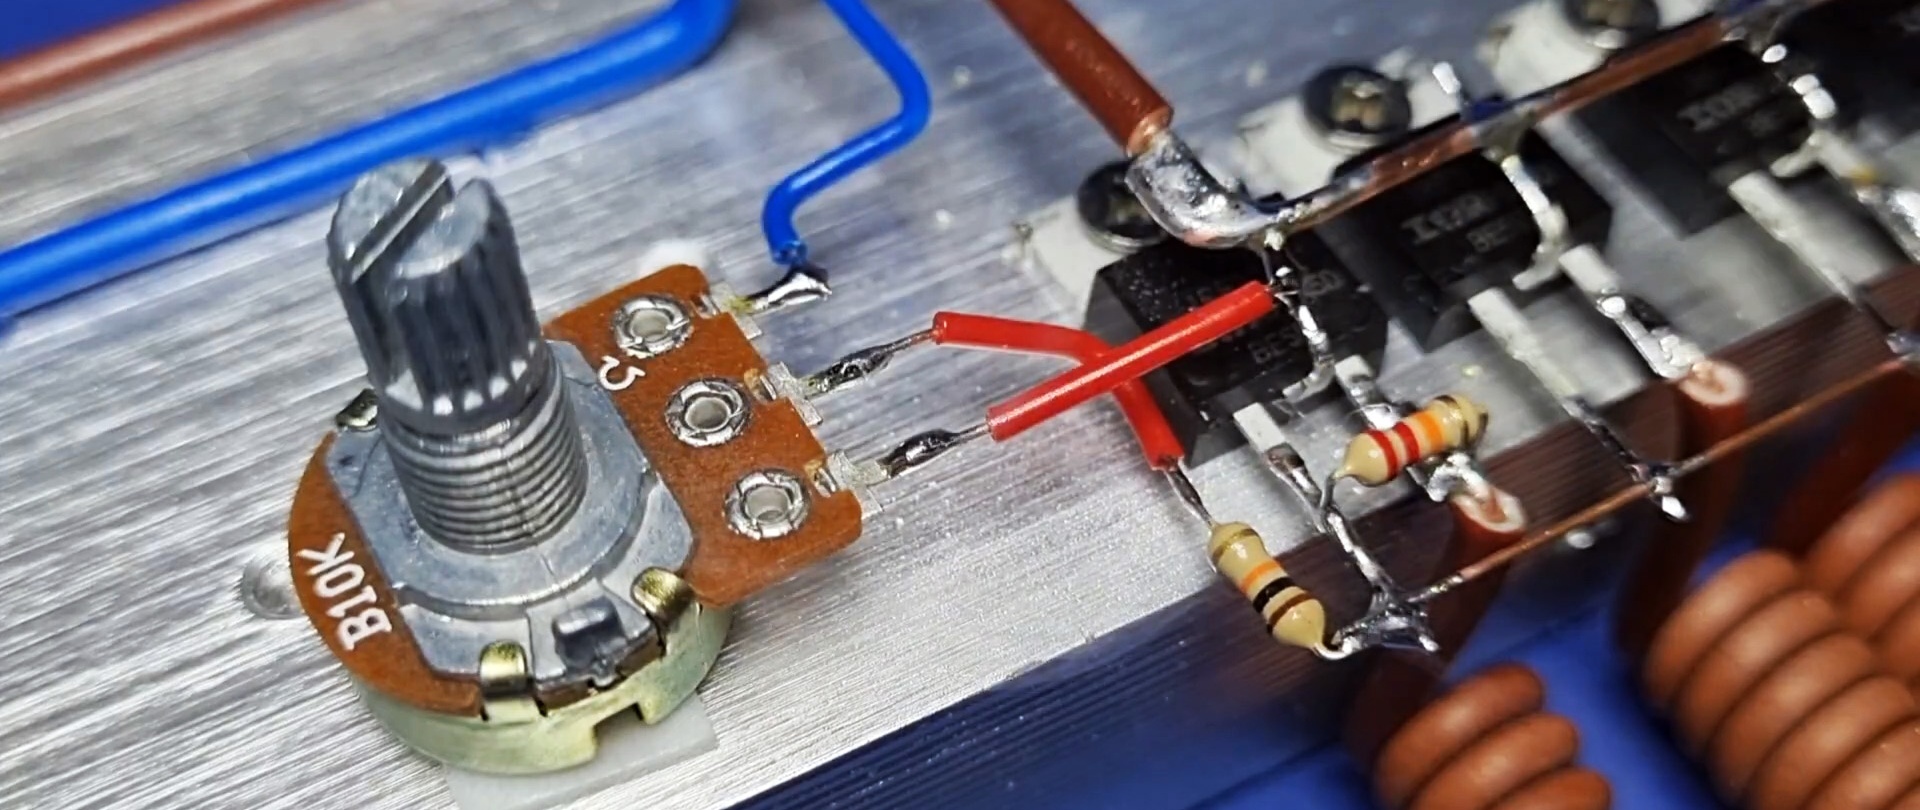
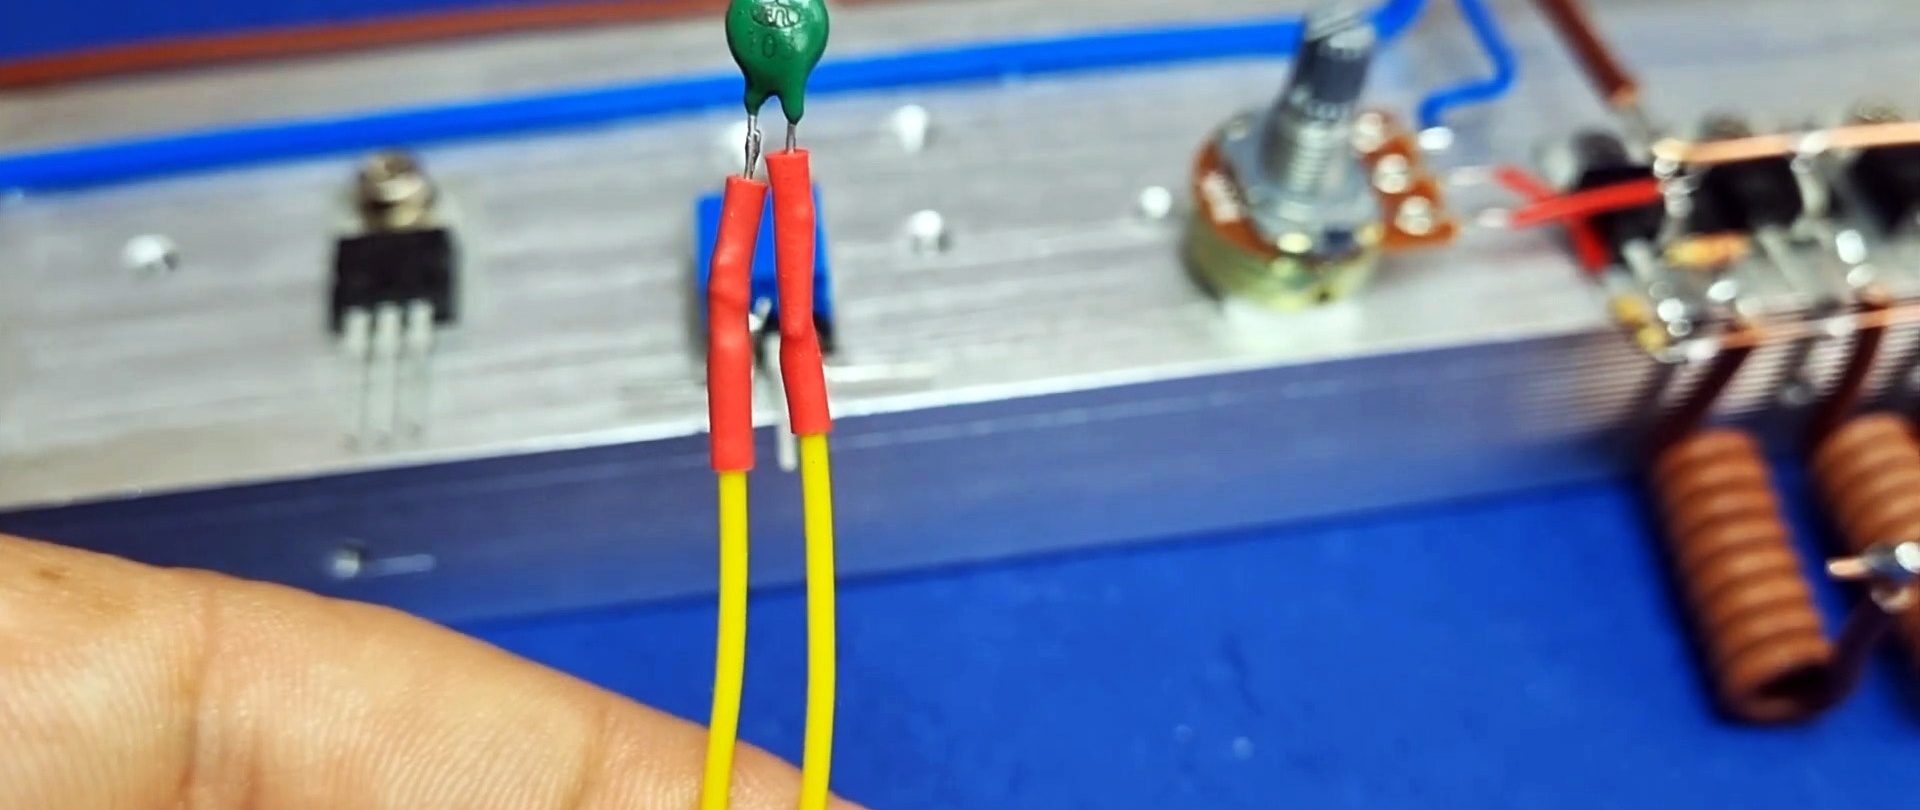
Similarly, we connect the drains and gates of the field workers with separate buses. In this case, we place a 22 kOhm resistor between the source and gate of the first transistor. We connect two wires to the edge of the radiator substrate: one red from the drains of the transistors (connected directly), the second blue from their gates (connected through a 10 kOhm resistor and a WL 10 K potentiometer). They can be glued to the radiator with superglue.
We solder the bus from the drains to the left leg (input) of the variable resistor, from the gates through the resistance to the central leg (output). We connect the wire from its right leg to the blue tap. The potentiometer itself can also be glued to the radiator, but isolating its body from the plate.
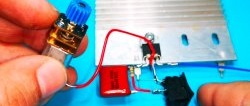
Now we attach a 12 V voltage stabilizer (L7812CV) and another field-effect transistor (IRFZ44N) to the radiator. We carefully isolate both components from the substrate (preferably several gaskets!).

We solder a 10 kOhm trimmer resistor (W103) to the field device. We attach its second and third legs to the gate of the transistor, the first to the source.

We place a 10 kOhm thermistor between the gate and drain of the IRFZ44N.Then it can be “laid on the body of one of the mosfets.”
We connect the blue bus to the “ground” (in this case, the middle leg) of the L7812CV stabilizer and the source of the IRFZ44N. We solder the red bus to the L7812CV input. Next, take a 12 V cooler (for example, DC 12 V 0.07 A) and connect its red wire to the output of the L7812CV stabilizer, the black wire to the drain of the IRFZ44N.
By supplying power (12-25 V) to the red and blue buses, we make sure that the fan is working, and its rotation speed is regulated by resistor W103.

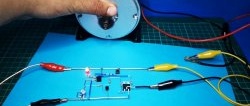
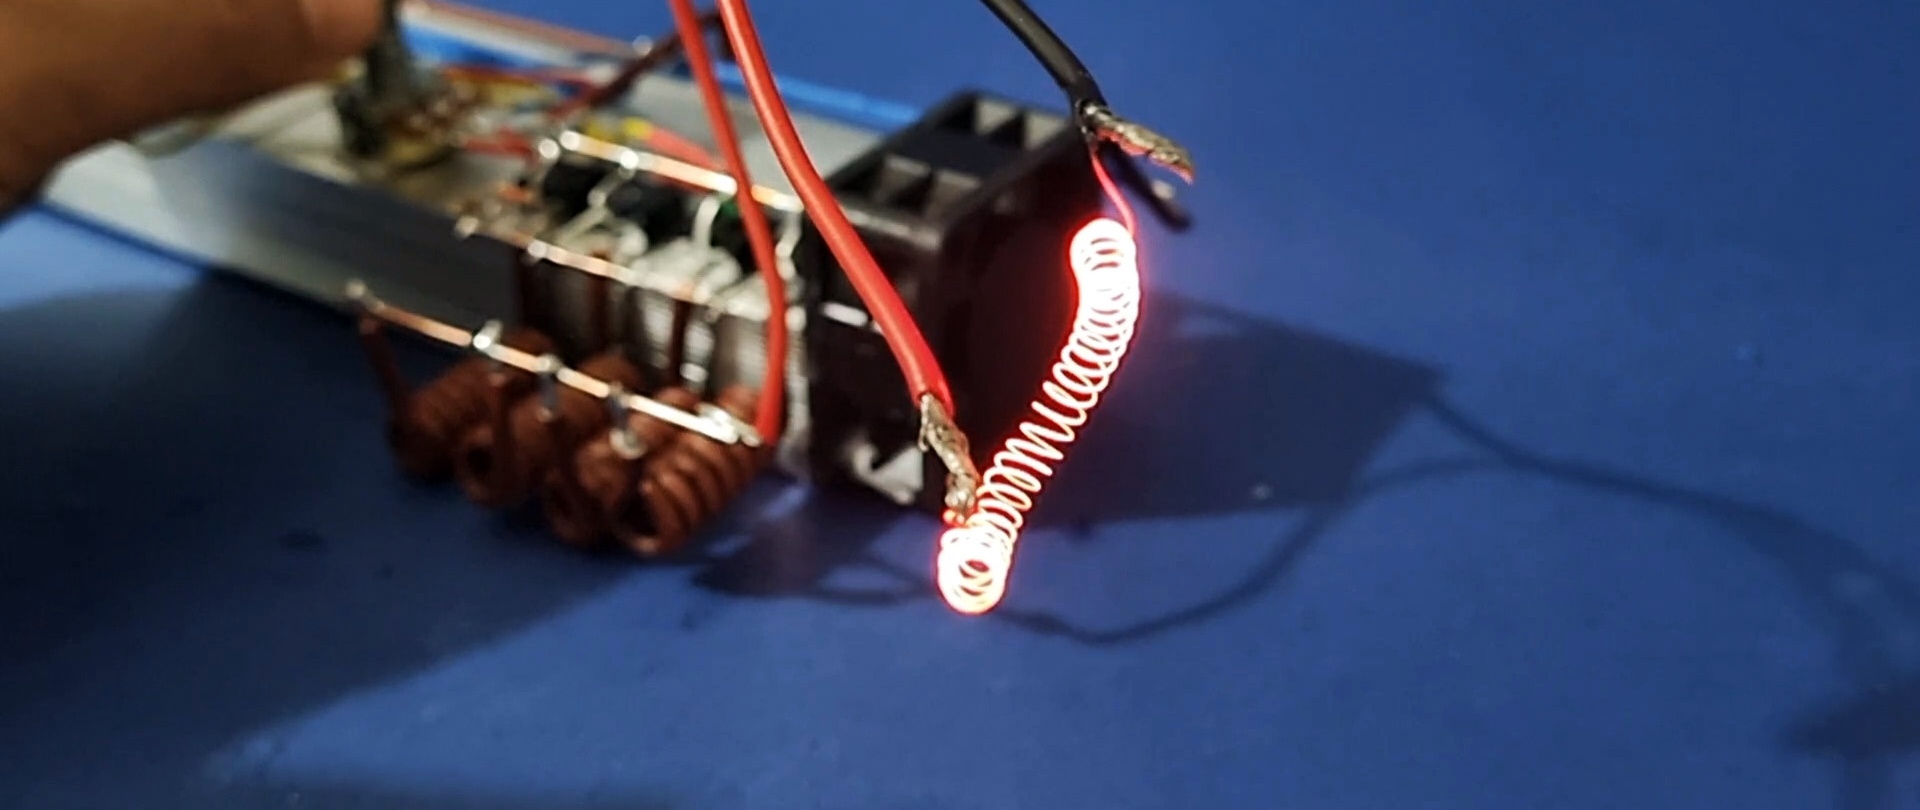
We attach the fan to the edge of the base of the radiator, and between the blue bus and the IRF3205N source bus we turn on the “load” (five 12 V / 21 W car light bulbs connected in parallel).

Having supplied 22 V power to the red and blue buses, we see that the light bulbs light up. Their brightness can be adjusted using a potentiometer.

When the power increases, the fan turns on. When 12V decreases to the short circuit position, the fan stops.
To prevent the field lights from burning during prolonged operation of the device, you can add a 330-500 Ohm resistor between the potentiometer and the negative line. You can also install simple short circuit protection on the relay.