When hiking, fishing or hunting, especially in inclement, chilly weather, you want to warm your hands, heat the inside of the tent, and warm up your food. To do this, you need a heat source, preferably from available materials. It must also be compact, easy to manufacture, safe and reliable in operation. You can make such a heat source from the simplest materials, and any adult can do it.

How to make a stove from cans

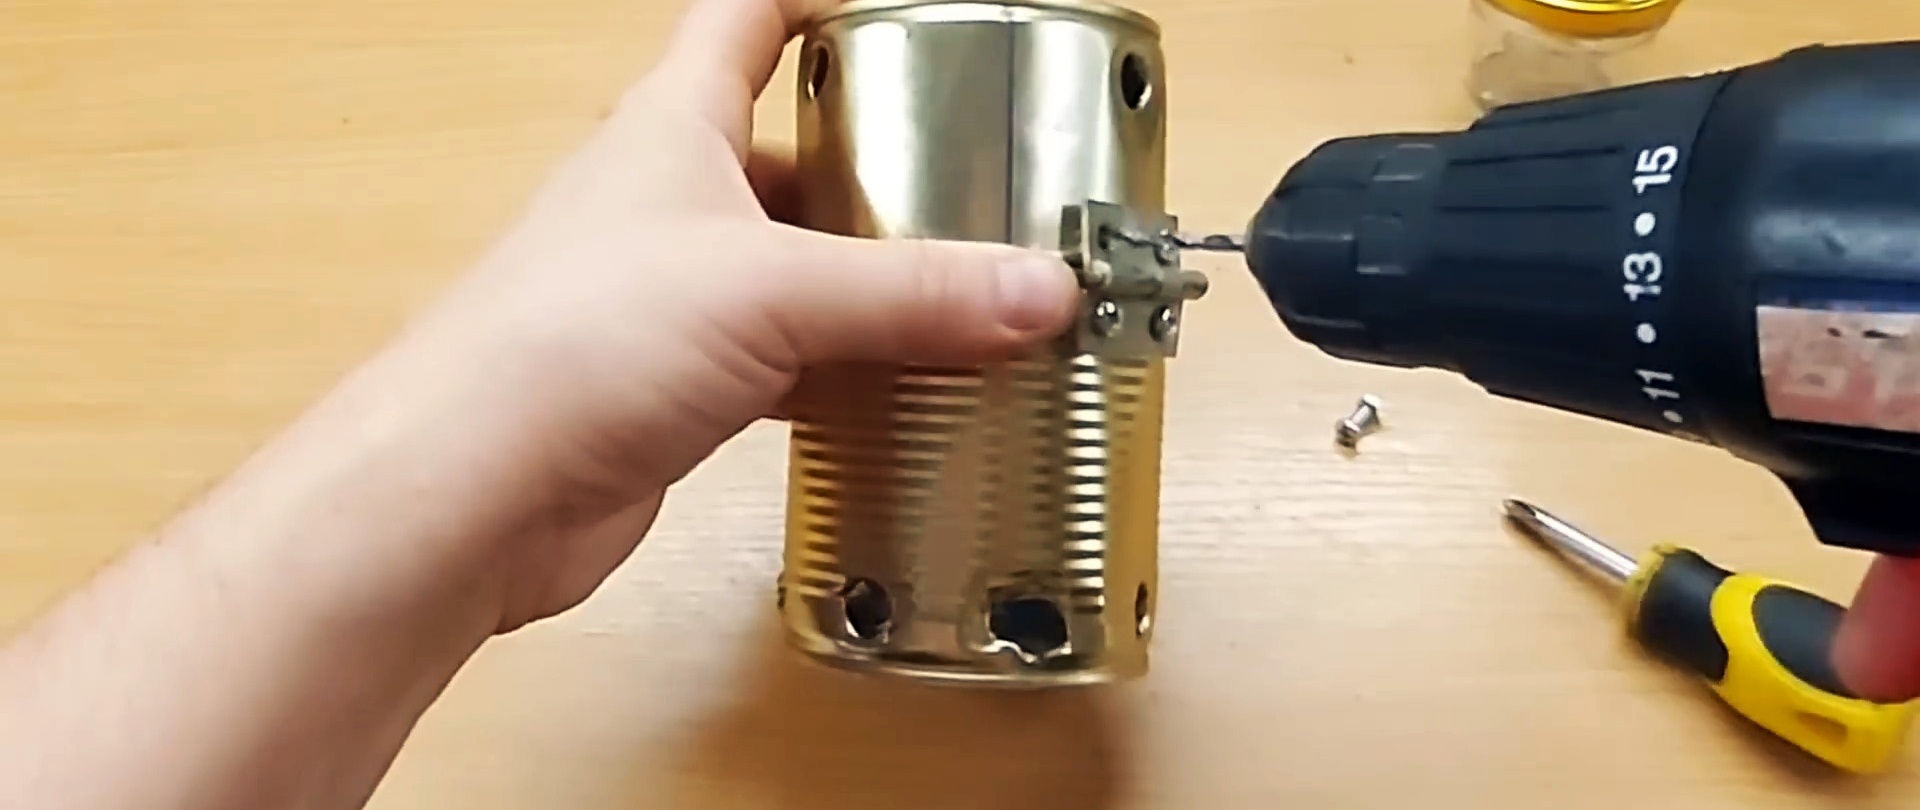
We remove the labels from two empty cans so that they do not ignite when the heat source is operating. In the lower parts of the cans we drill holes in a circle with a large drill, there should be 3 of them in one, and more in the other. They are needed to remove heat from the cans during operation and to supply air from the atmosphere to support combustion.

Drill one small hole in the center of the metal lid of the glass jar. Then we connect two tin cans with a furniture hinge using bolts and nuts so that one covers the other. Also, the loop will allow you to fold back the top can if necessary.
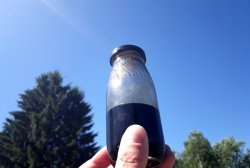
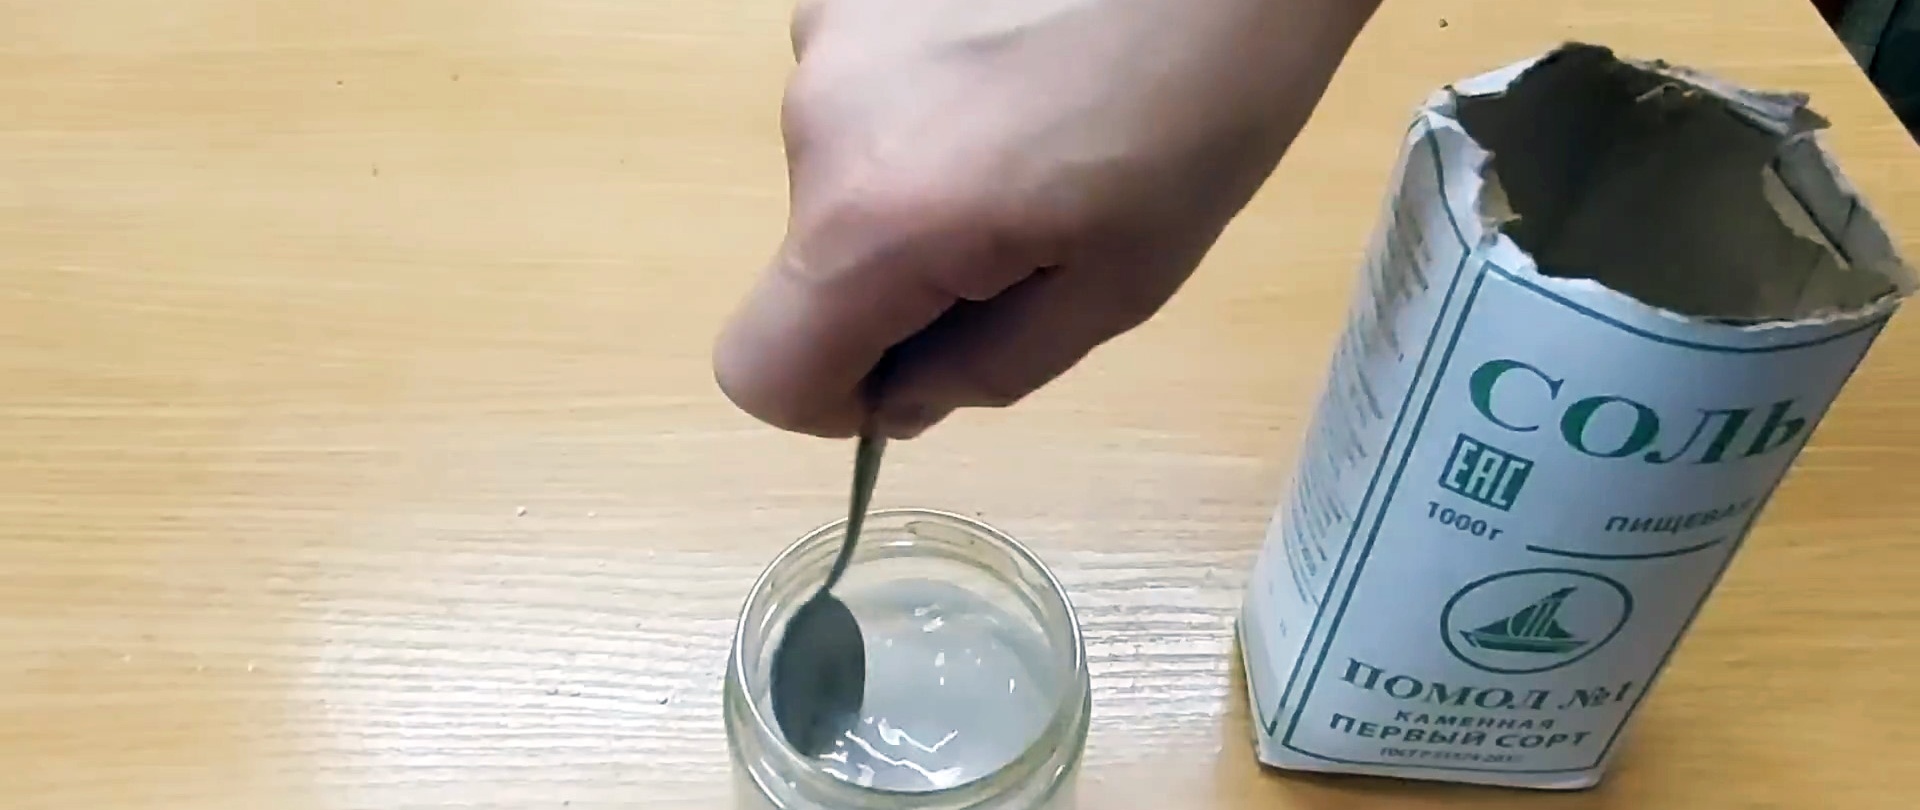
Pour two teaspoons of table salt into a glass jar, add a small amount of hot water and dissolve the salt in the water, stirring with a spoon. After such preparations, place a non-synthetic rope in a saline solution and soak it for 5-10 minutes.

After the specified time has passed, remove the rope from the saline solution and dry it on the radiator. Next, we insert the end of the rope from the inside into the hole in the lid of the glass jar and from the outside of the lid we put a nut of a suitable size on the rope, leaving a small tail. The tighter the rope fits into the nut, the better.

We tighten the nut to the cover by pulling the free end of the rope. We cut off the excess part of the rope, leaving a small piece. The cut piece of rope should reach the bottom of the jar when the lid is screwed on.

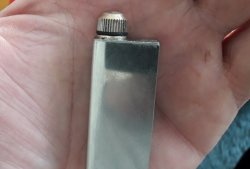
Fill the glass jar with sunflower oil, but not to the brim. We screw the lid with a rope onto the jar. The result was something similar to a lamp. If necessary, adjust the wick.

To speed up the impregnation of the wick with oil, moisten it on top using a wooden skewer. Everything is ready to test our miniature stove in action. To do this, we fold the top tin can thanks to the loop and install the lamp in the lower can with three holes.
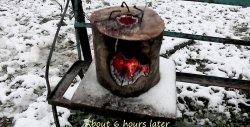
Light the wick and let it burn. The salt on the rope stabilizes the wick during the burning process and prevents it from burning quickly. After 2 minutes the fire will flare up and stop smoking. Now you can close the top jar.

The upper part of the stove heats up quickly, the lower part is slightly warm.

Of course, you shouldn’t expect powerful heat, but if you put a tin can with the contents on it in advance, it will warm up in 2 hours.