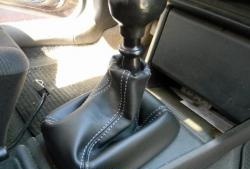
Not every chainsaw comes with a protective bar cover. Whether it's a gasoline or cordless tool. And this case is an extremely necessary thing. Primarily to protect other objects that the saw may come into contact with during transportation. Of course, if, say, the cordless saw somehow turns on during transportation or carrying, then no case will help. It will simply crumble into dust! But I think few people would think of transporting an electric saw with batteries attached. But, for example, a saw can easily damage a backpack with a sharp chain even when it’s turned off, as I was personally convinced of during an extreme trip into the forest. Buying a case is, of course, not a problem. It costs a penny. But there is not always a case available for a certain model, as in my case. For such files, the cover can only be ordered in the online store. At least I haven't found any in local stores.

But ordering what you need on the Internet is a very long story, and I didn’t want to wait any longer, nor tolerate damage to my things.Moreover, making such a thing with your own hands will not be difficult and will not take much time.
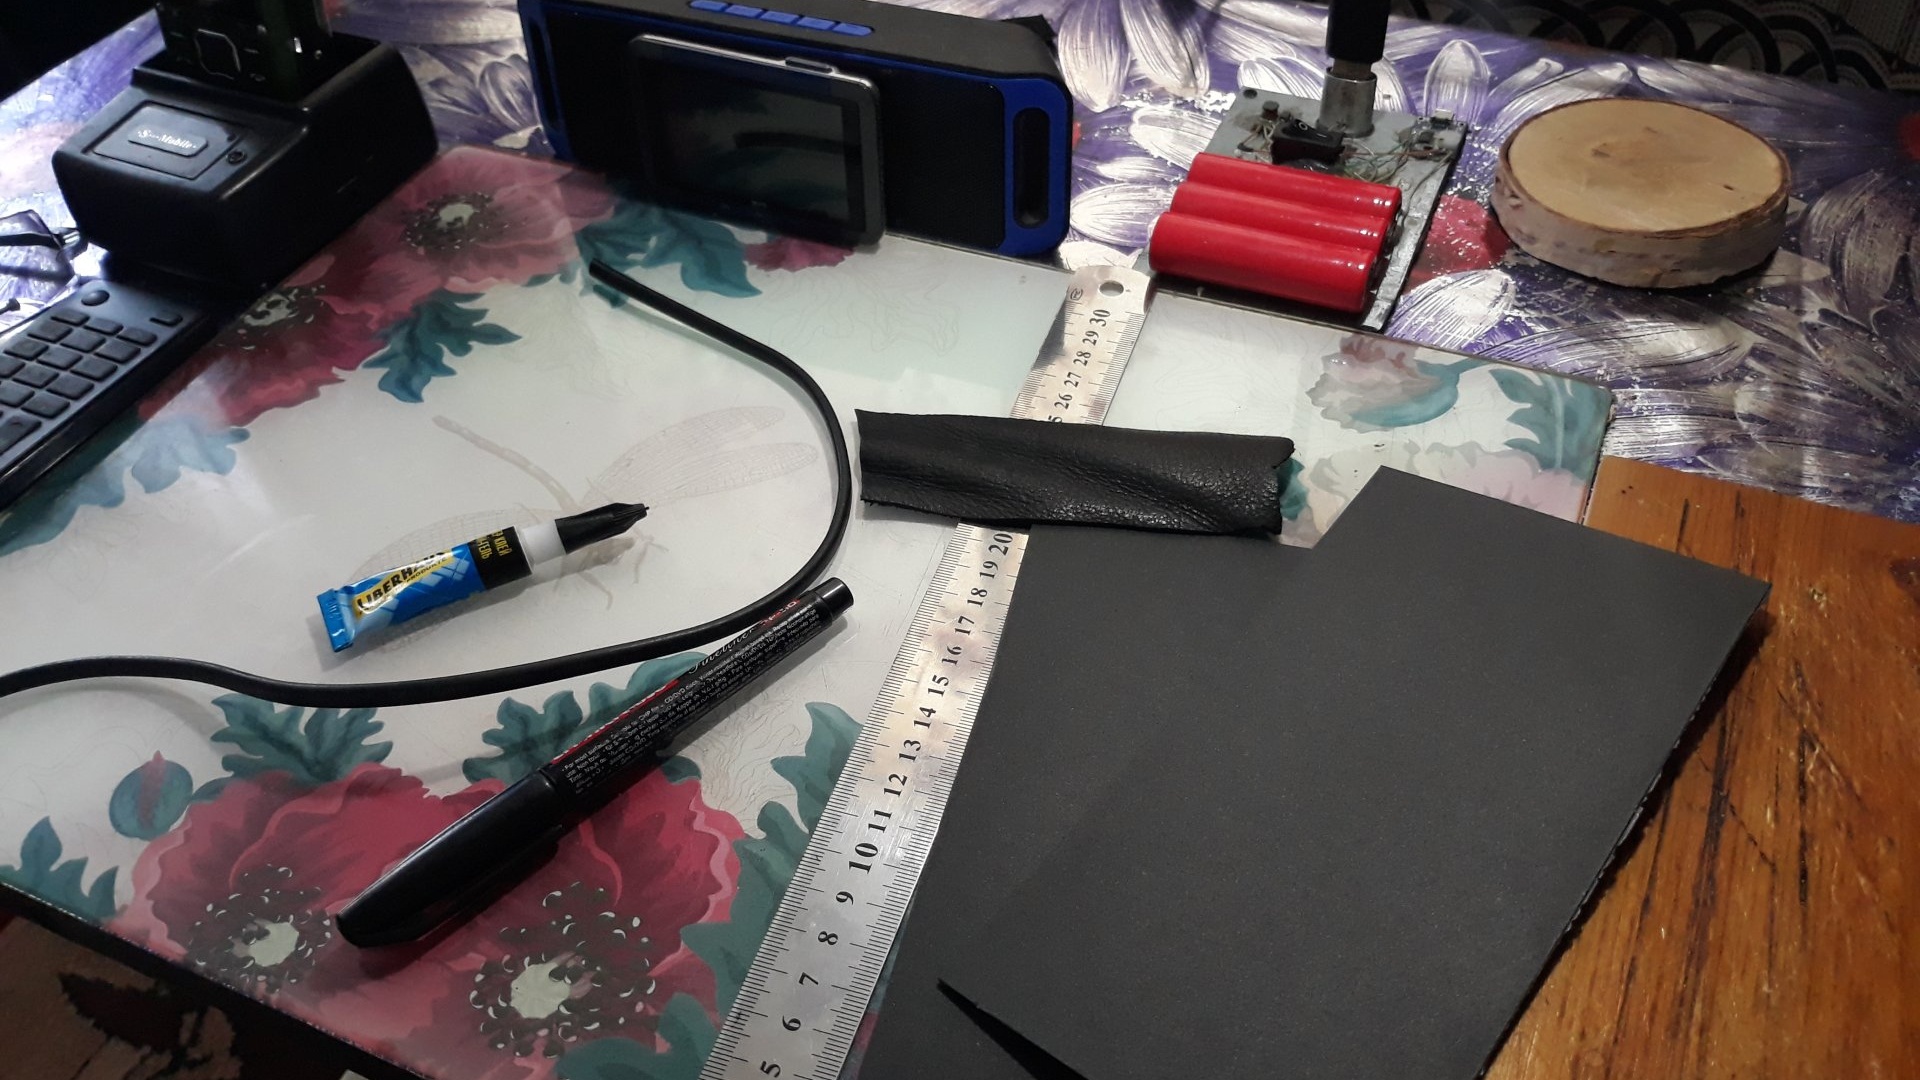
Will need
- A sheet of plastic, 1-1.5 mm thick (the area of the plastic sheet will be required based on the parameters of your tire).
- Ruler.
- Marker.
- Secondary glue, preferably gel-based.
- A piece of cable for the end partition (we also select the thickness and length based on the size of the bus).
- A piece of leather, approximately 50x50 mm.
- Scissors.
- Knife.
- Insulating tape.
- Sandpaper.
Making a protective case
First, of course, you need to remove the parameters from the bus. With a chain on it.
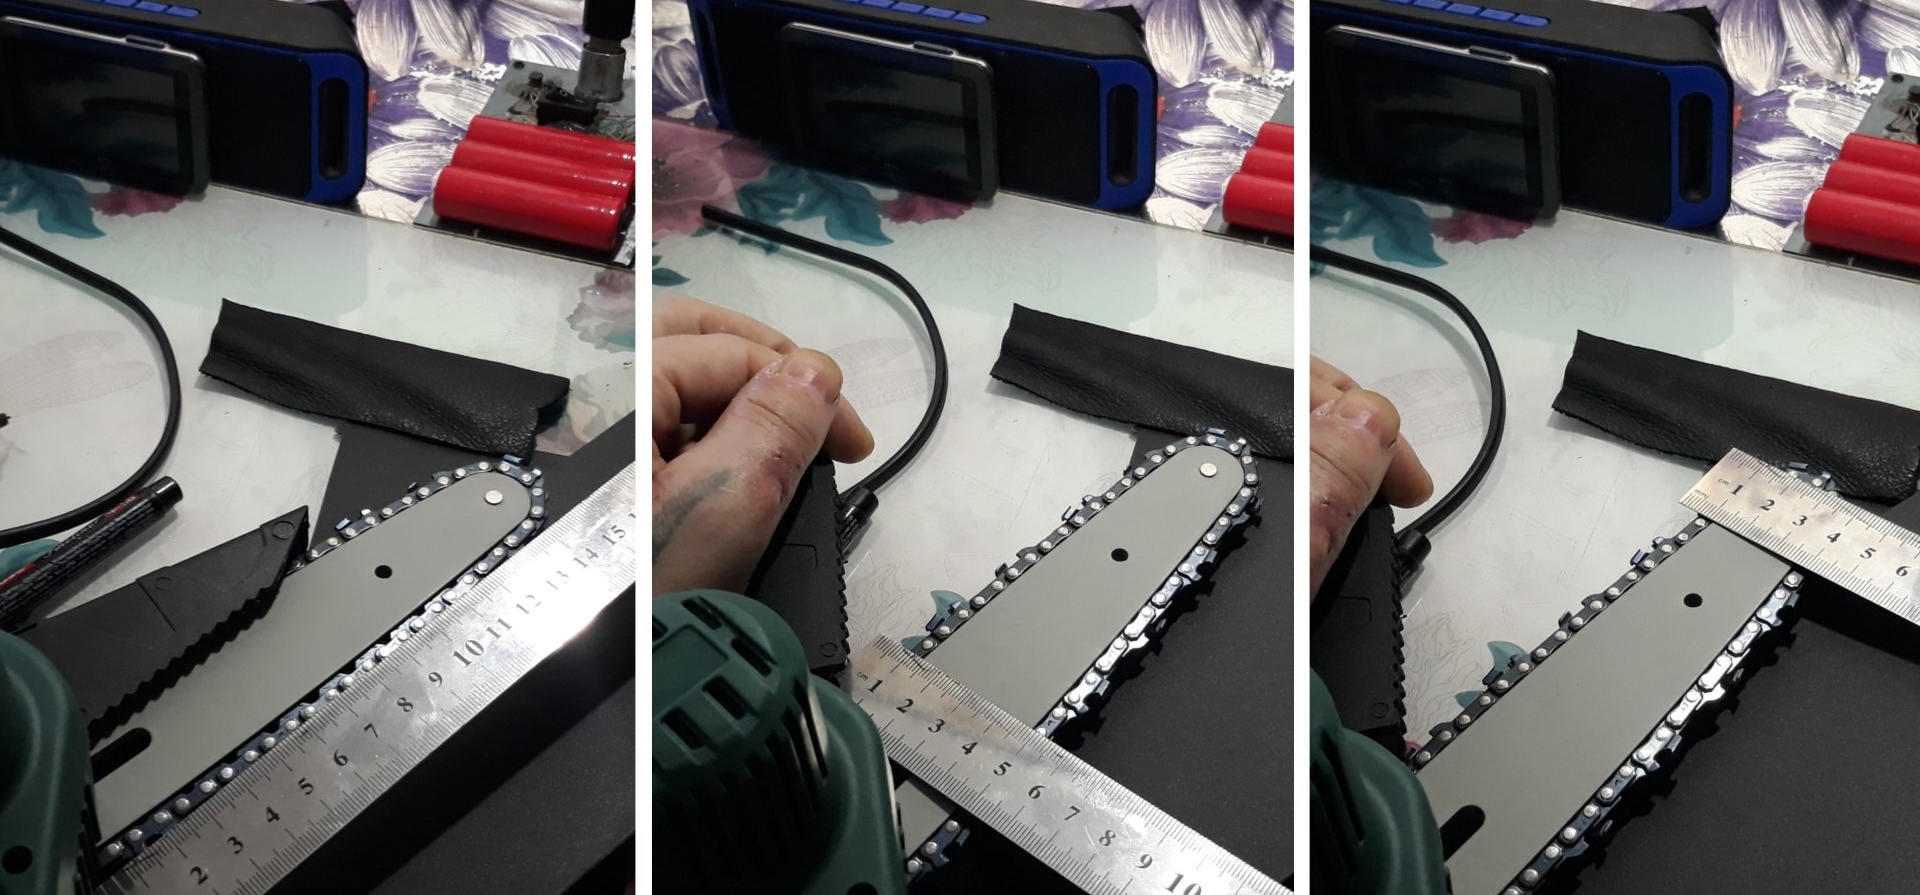
Based on these parameters, we estimate how much area of material we will need. After all, everyone's tires are different. Plastic can be taken from some case, unnecessary trays, and similar junk. As a last resort, if you have a really huge tire, like on a Ural chainsaw, you can take a sheet of thin fiberboard. I have a miniature tire for cutting boards and branches, so a couple of boxes of old DVDs were enough for me. So, let's transfer the parameters to plastic.

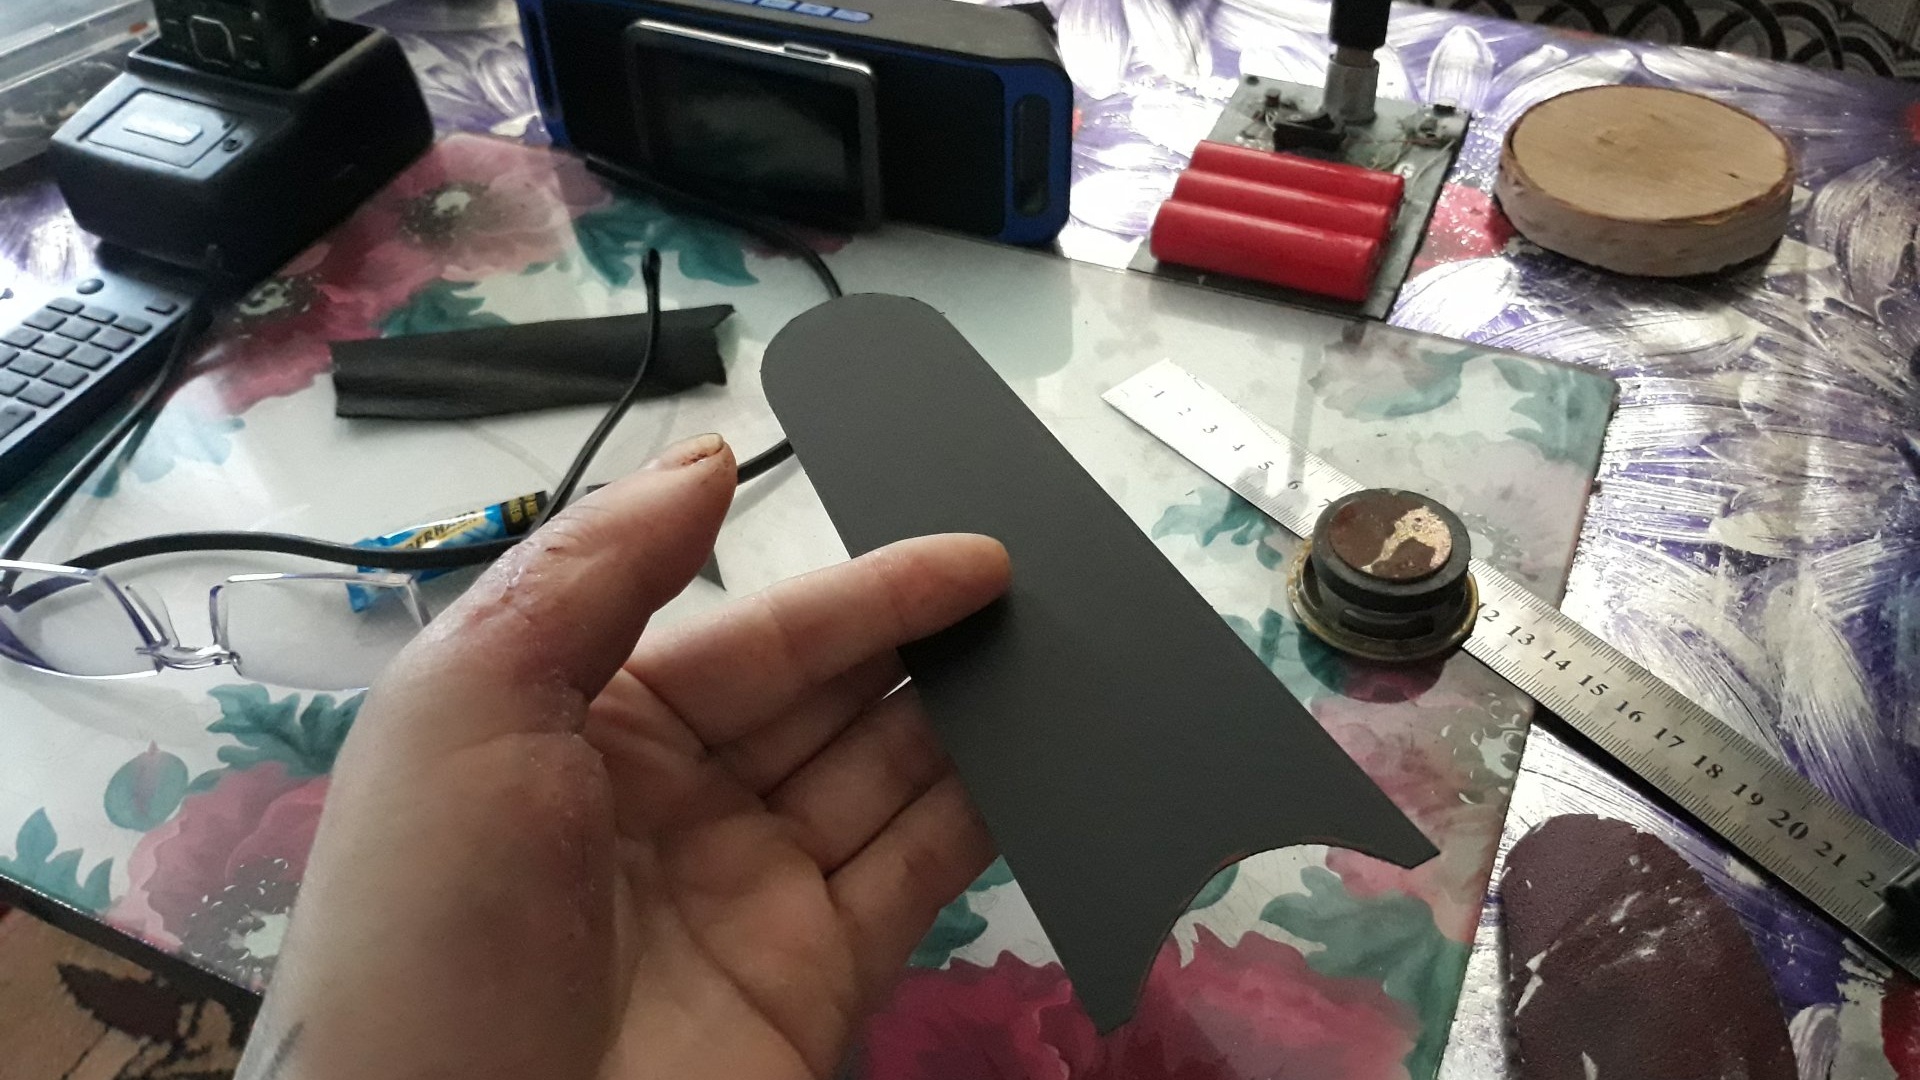
Don't forget about the reserve for the ends. This is the thickness of the cable, plus a couple of millimeters. In the end, it is never easy to cut off or grind off the excess. We cut out the outline and finish the edges with sandpaper.

Next, you need to cut a notch in the root of the workpiece for the saw body. So that in the future everything fits together with the smallest gaps. We apply the workpiece to the tire and draw approximate contours.

In the future, if necessary, briefly adjust the accuracy with a file. Cut out the workpiece.
We try it on the tire with the chain on. If everything is smooth, then cut out the second half using this template.
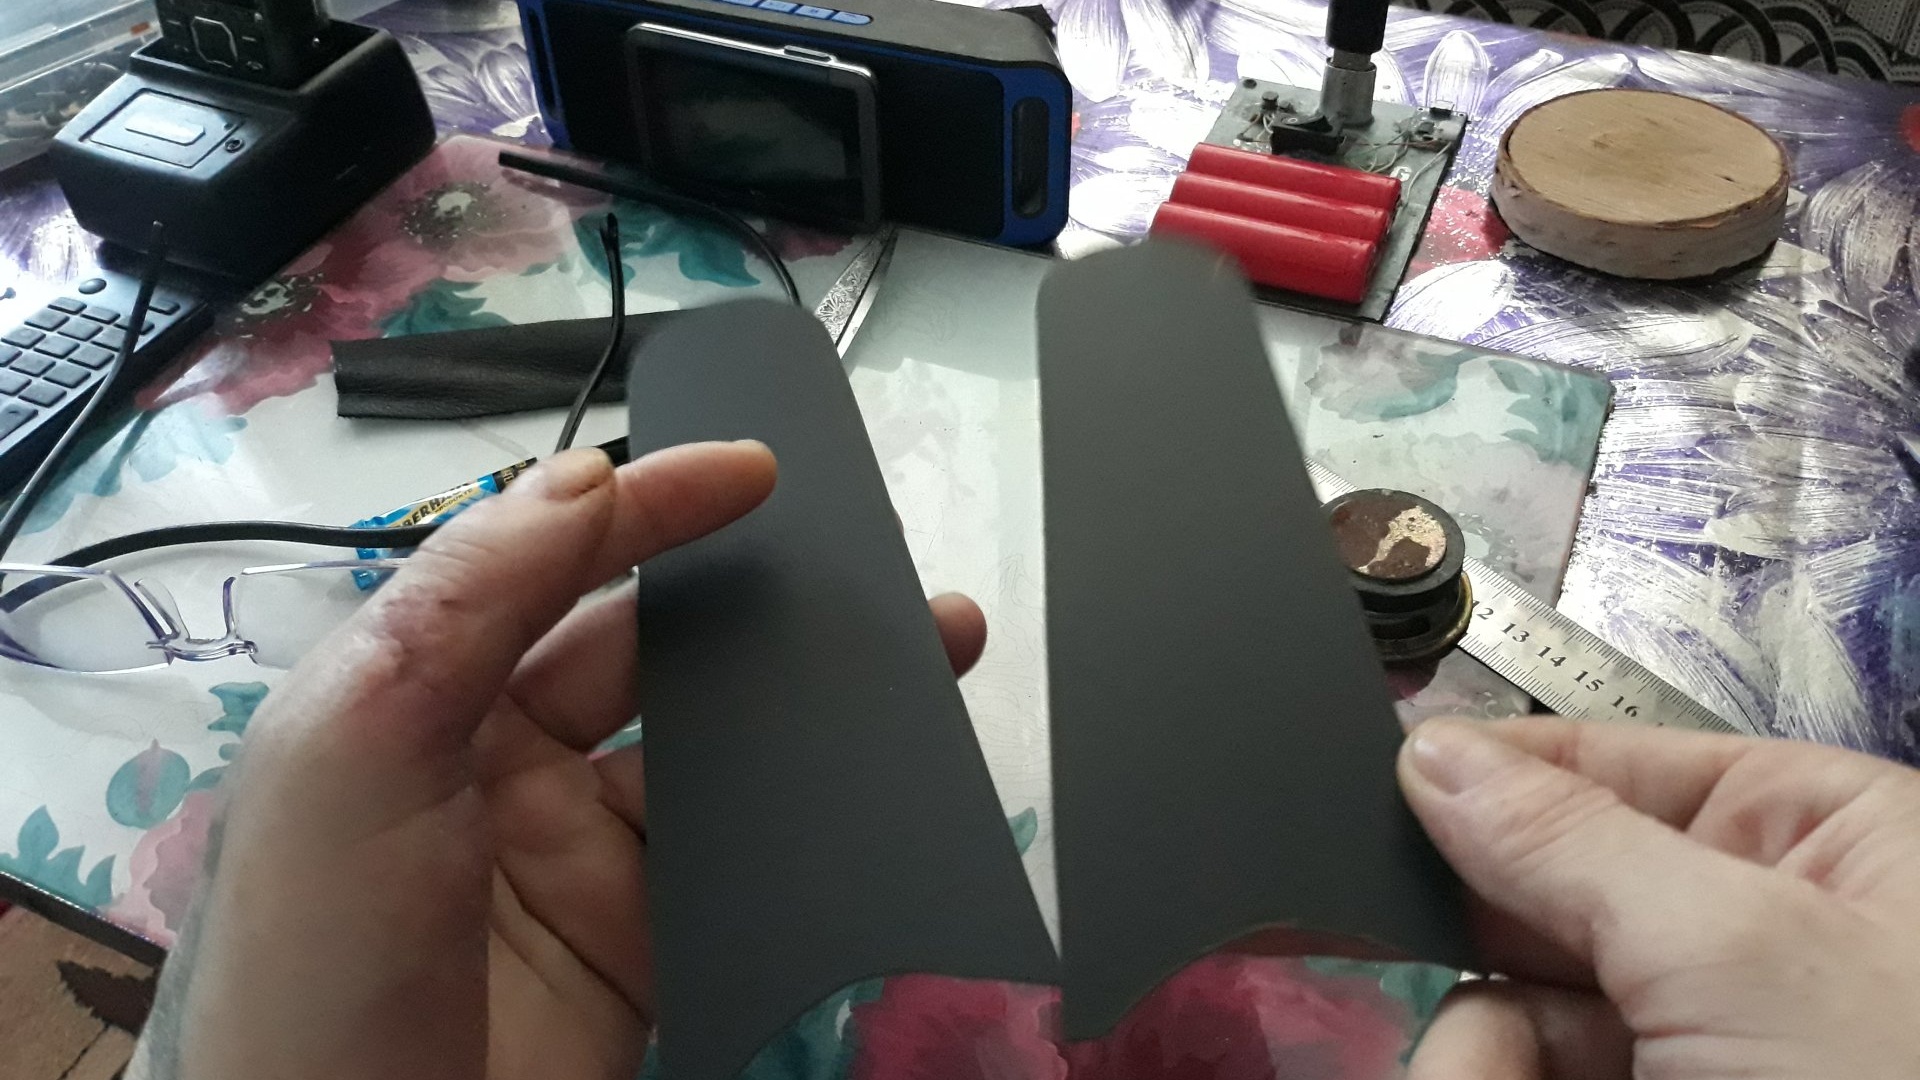
Again, leaning the halves against each other, we finish with sandpaper.So that they are completely similar, like a mirror image. Next, we mark the inner sides of the blanks with a marker so that there is no confusion in the future, and sand the edges of the inner sides with sandpaper for better adhesion to the glue.
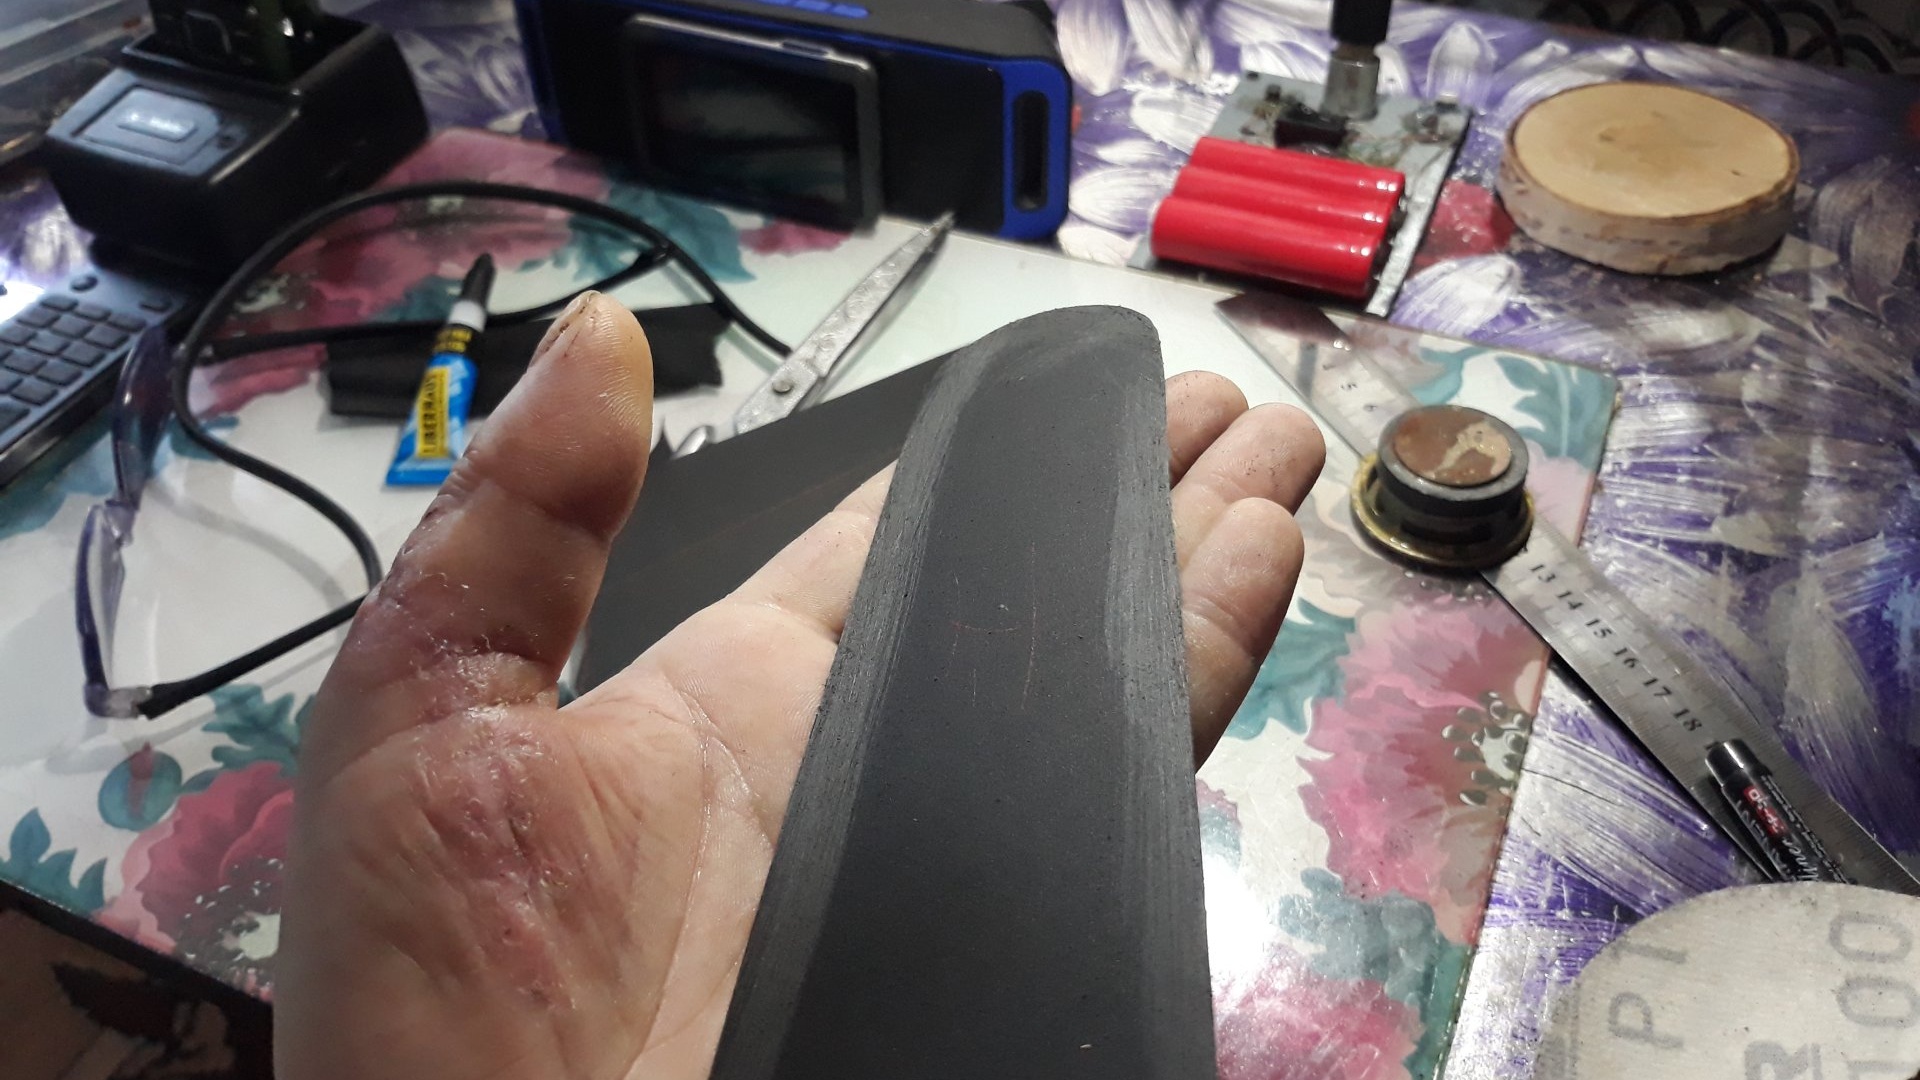
Now carefully, strictly along the edge, so that there is no excess sticking out, glue the cable.
The cable should also be selected based on the thickness of your tire, with the chain on. You can, of course, use a strip of cut out flexible plastic for the end instead of a cable, but why torture yourself when you have a ready-made blank at hand - cut it and glue it! And another piece of advice; It is better to choose gel glue for this purpose. It does not dry out as quickly as usual and does not spread, and this will not lead to excessive and unnecessary haste, and everything will turn out smooth and neat. Next, a small piece of leather should be glued to each of the inner sides. Rough side inward.
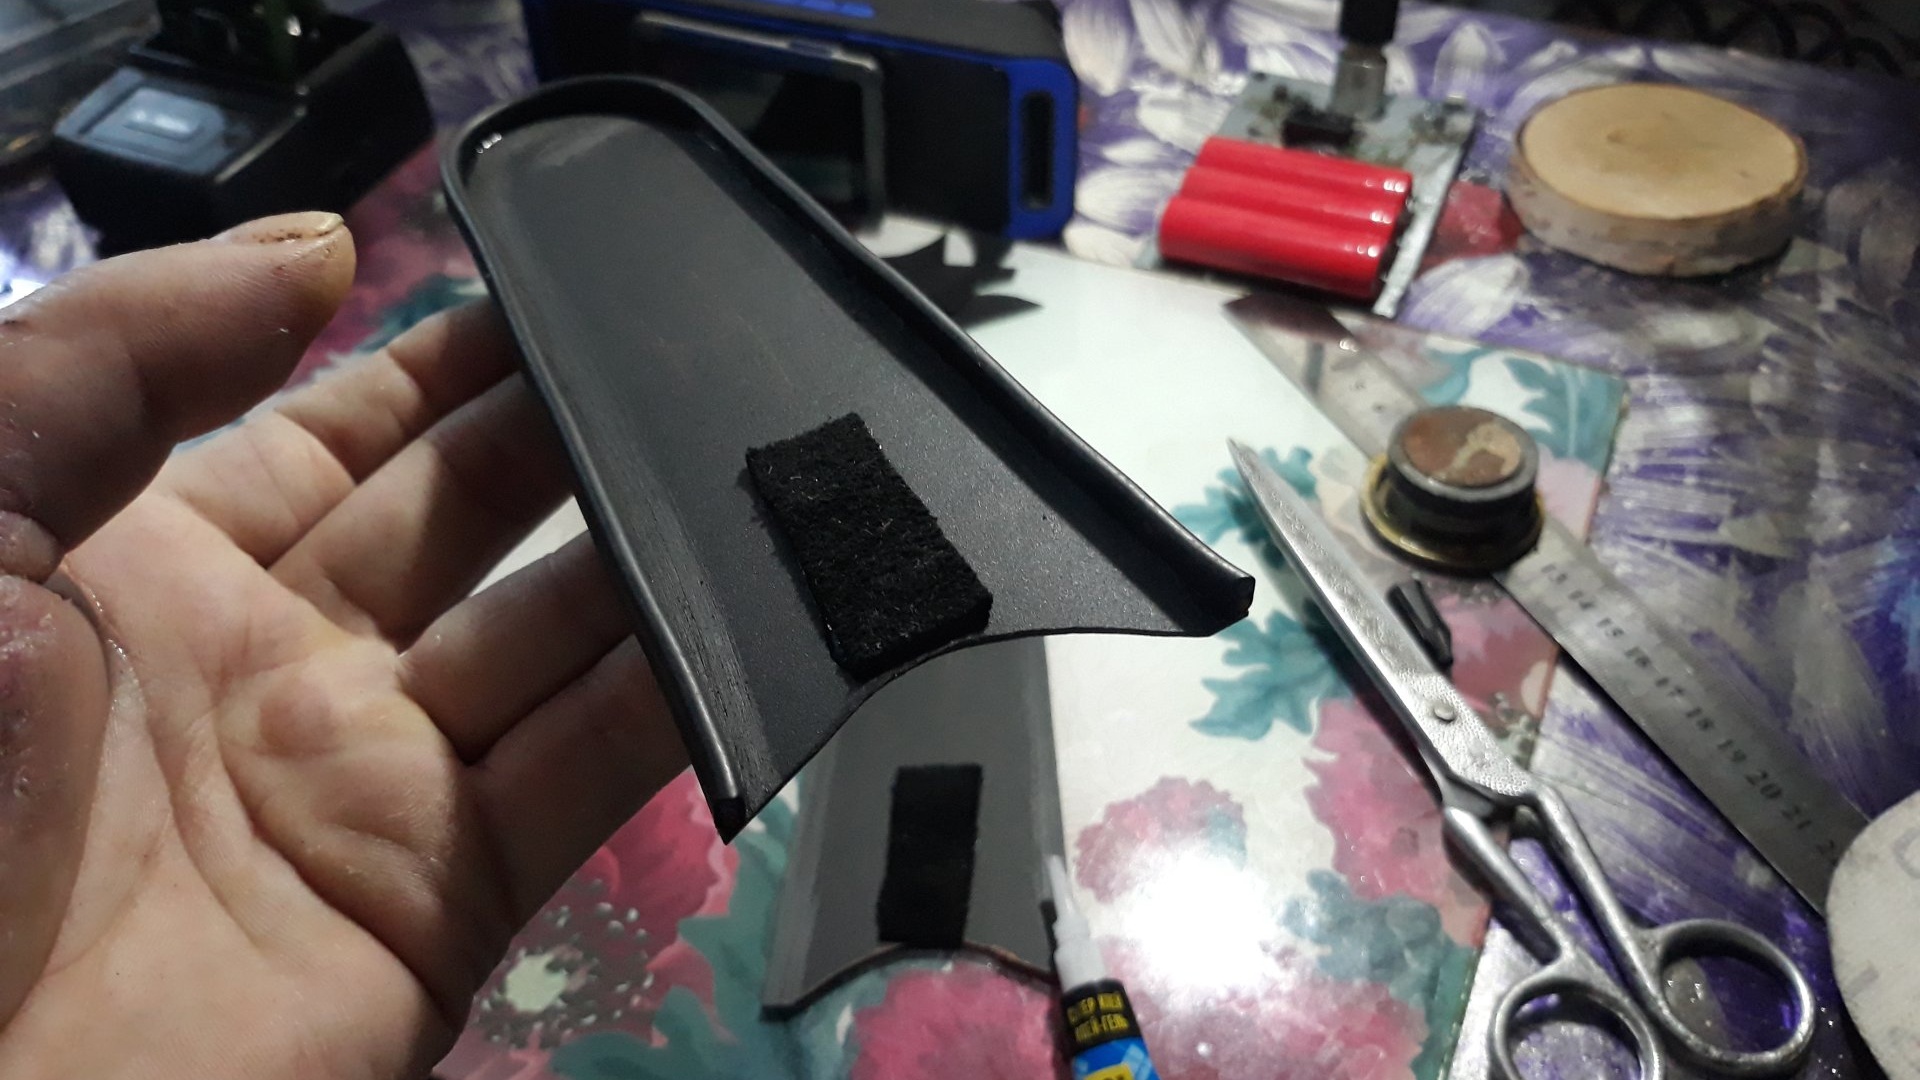
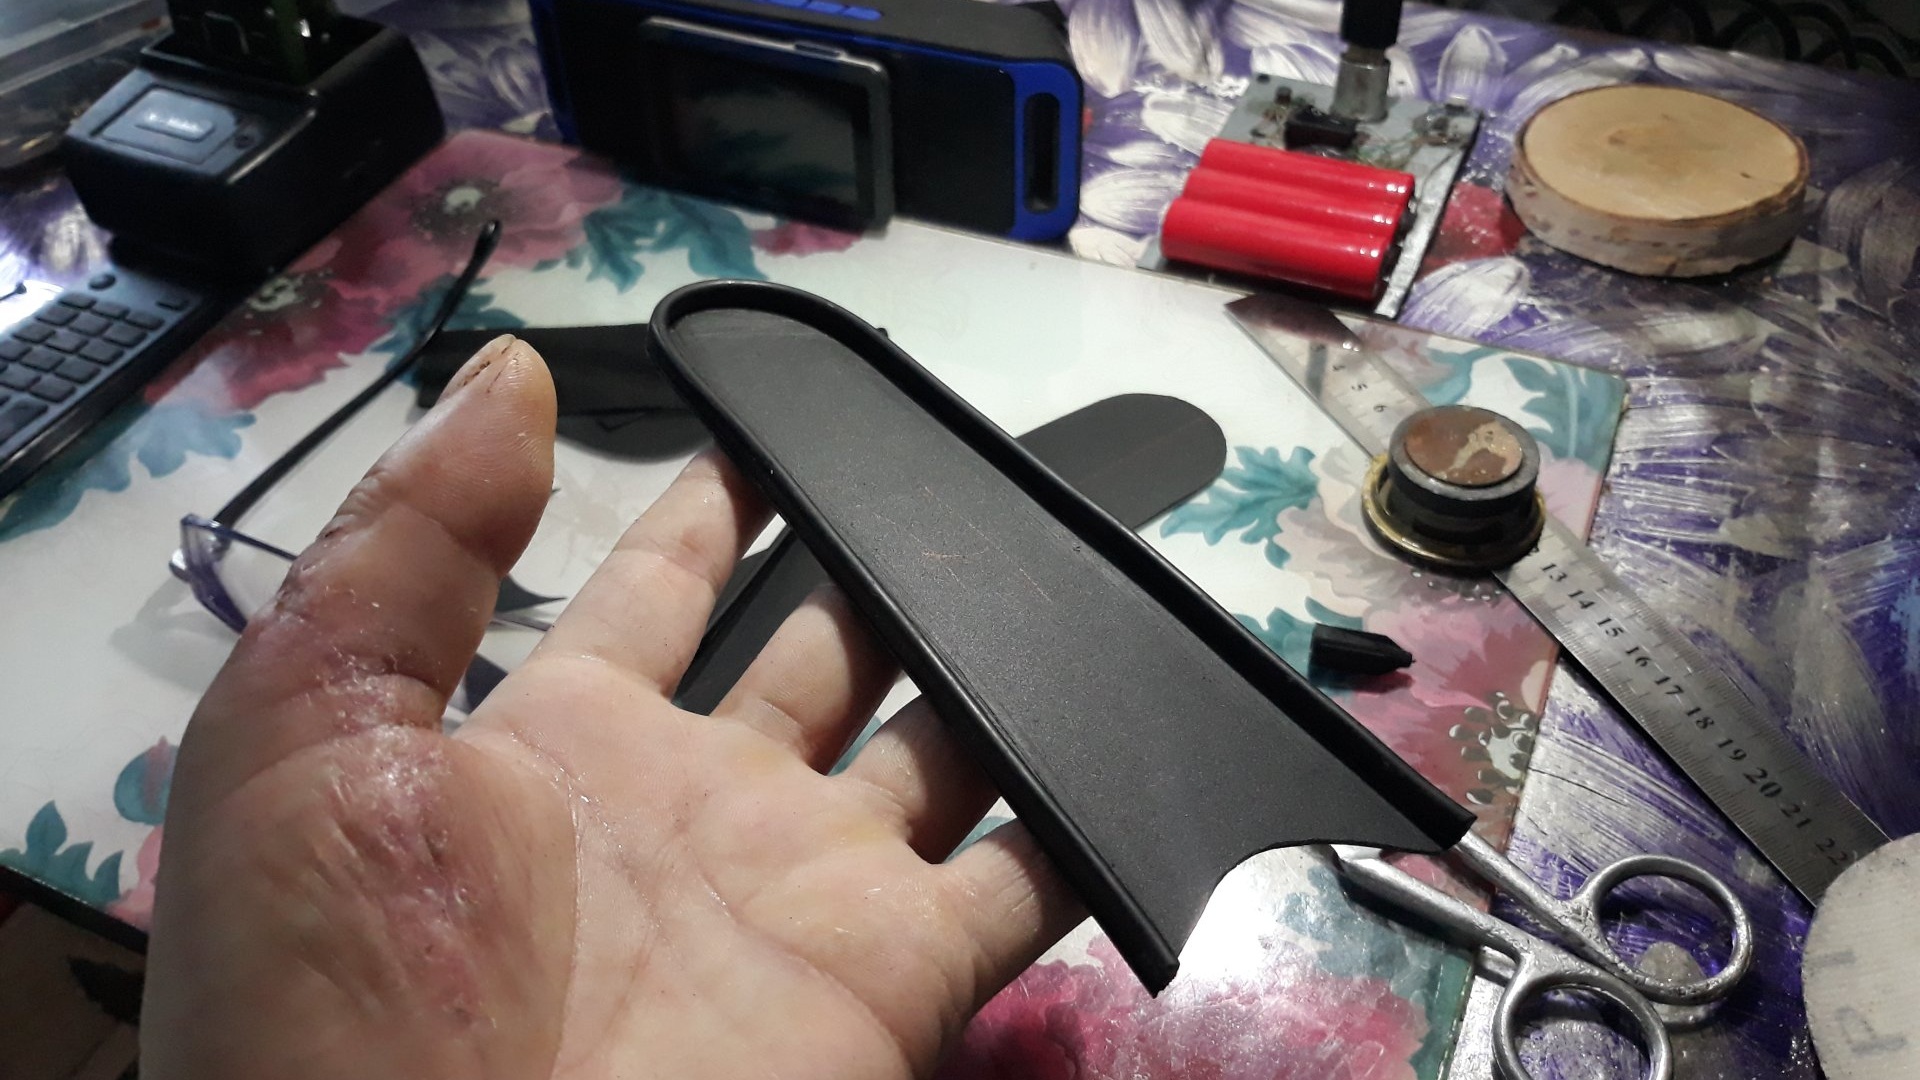
This is necessary so that the cover does not dangle on the tire and does not rattle during transportation, but fits like a glove. Well, if everything turned out smooth and neat, glue the second half to the end (cable).

Don’t forget to first sand the edges where the glue will be applied. Well, to give the case a more decent look, you can cover the end with a strip of leather or electrical tape to match the color of the plastic. I took the simple route and chose duct tape. Apply glue to the end and glue it on.

We cut off the excess that protrudes at the edges with a sharp knife or razor.

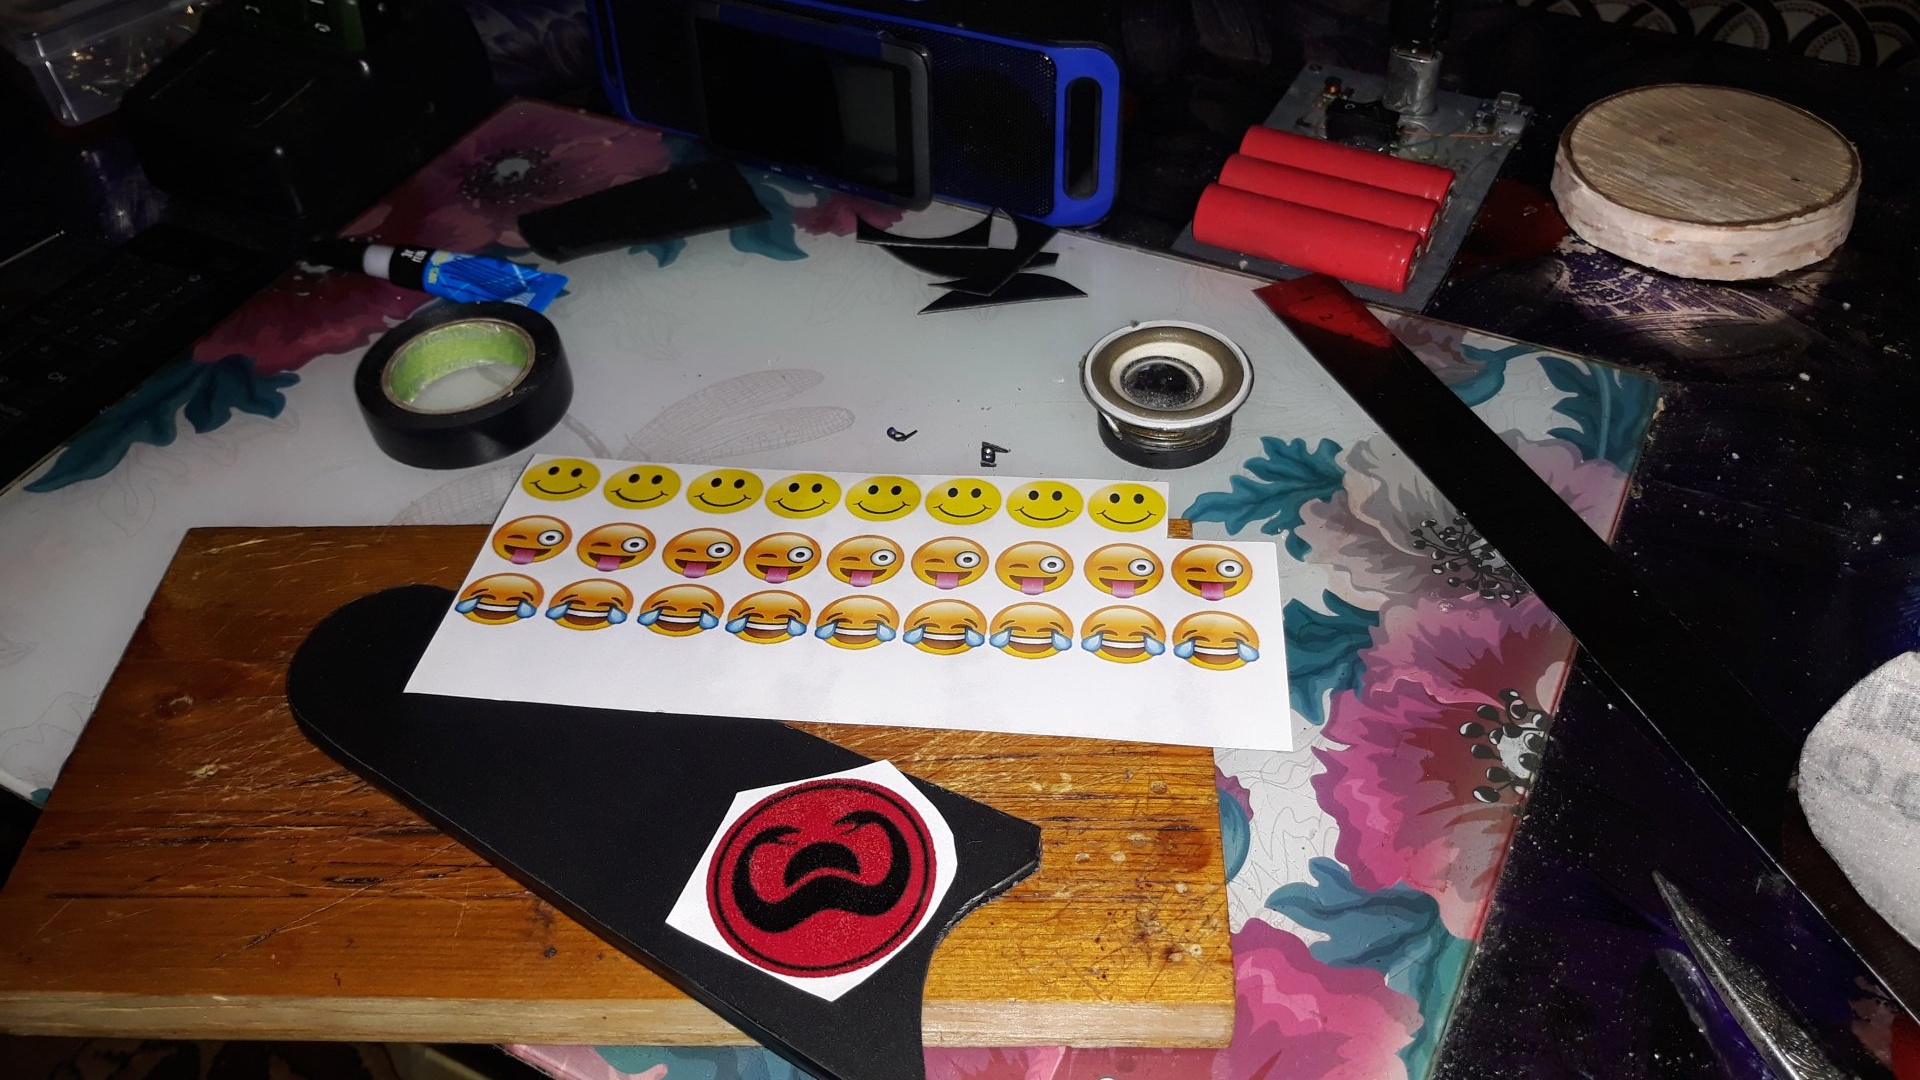
For decoration, you can stick a couple of stickers.
But, this is not for everyone. As a result, we got this cover:
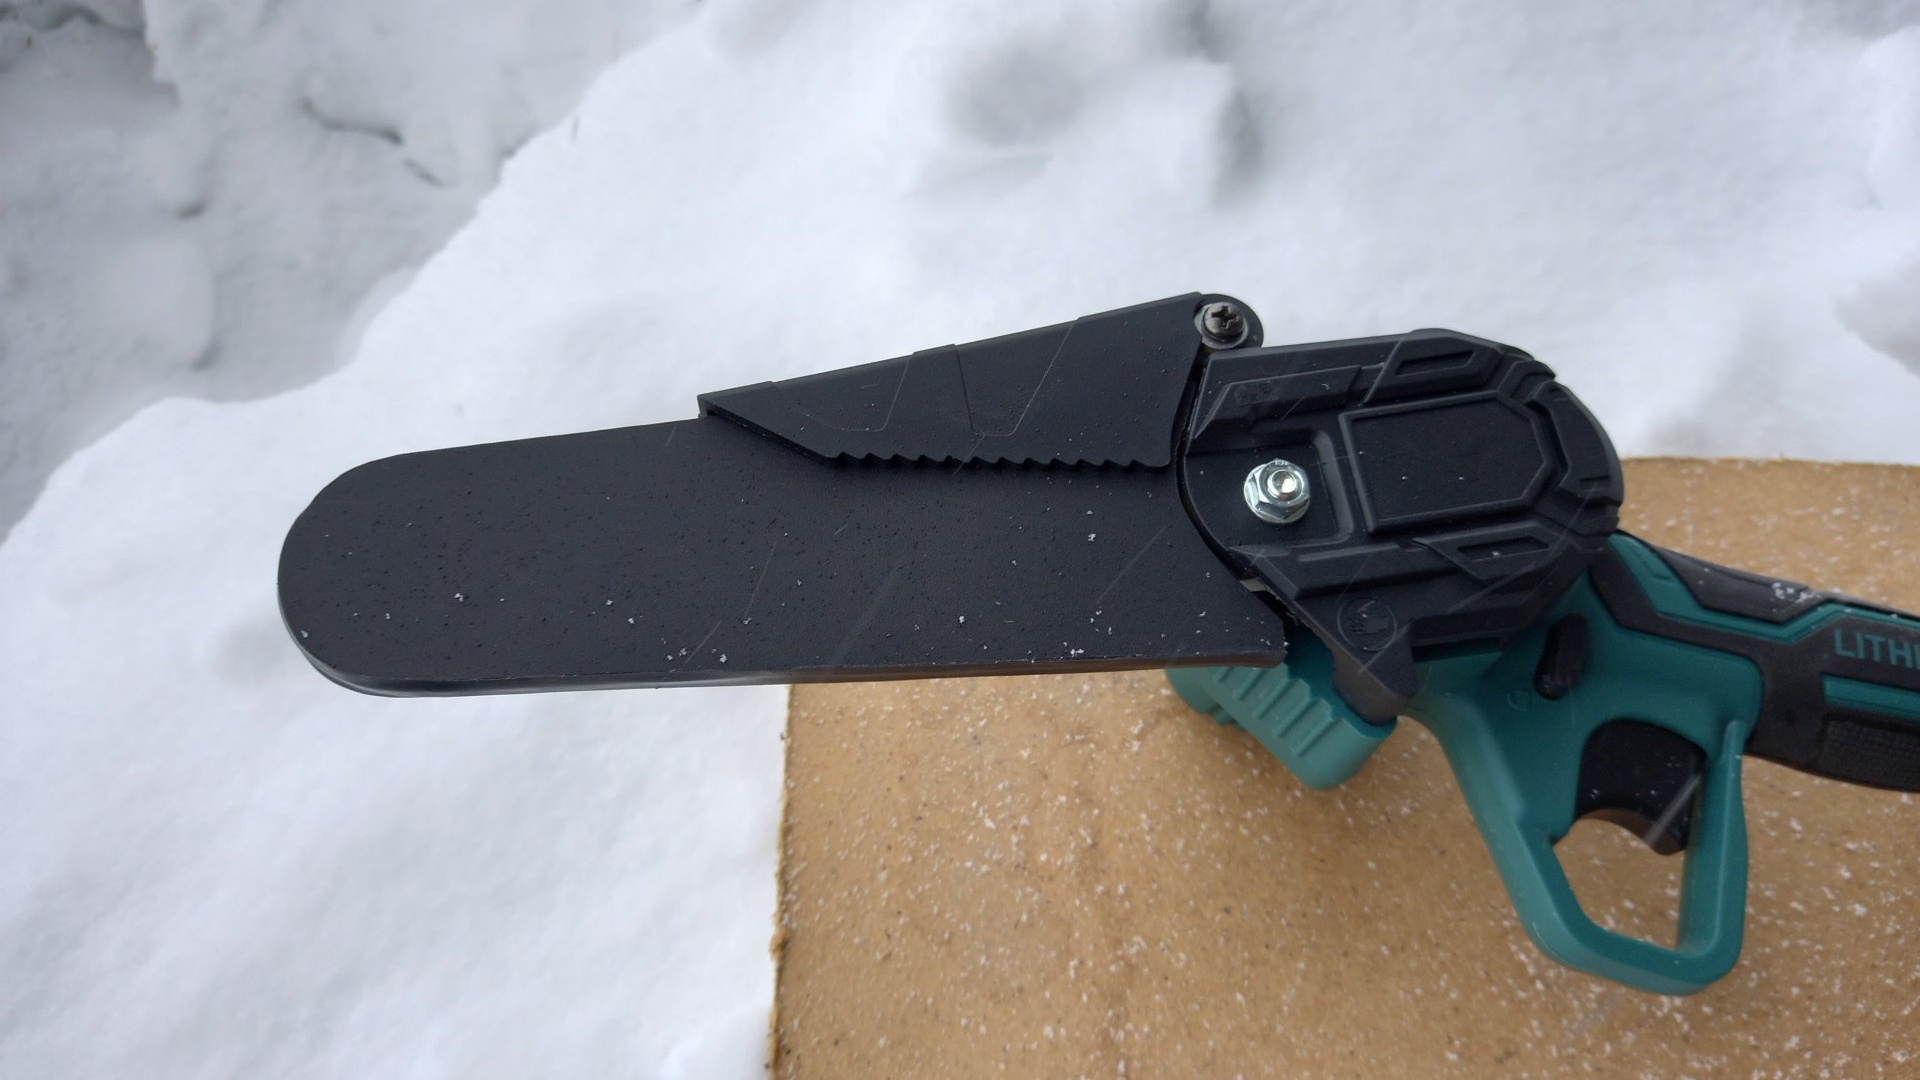
It will fulfill its main function in full - it will protect other things from scratches and damage by a sharp chain.By the same principle, by the way, you can make a case for an ordinary hand hacksaw, as well as for a machete, and similar tools.