Having a regular laser printer at your disposal, it will not be difficult to transfer the images printed by the printer onto any wooden surface without the slightest distortion.
How to transfer an image onto a wooden surface
We will prepare 2 pieces of plywood of the given sizes with a front side without flaws and a back side where there may be various defects, including fallen knots, which we fill with PVA glue.

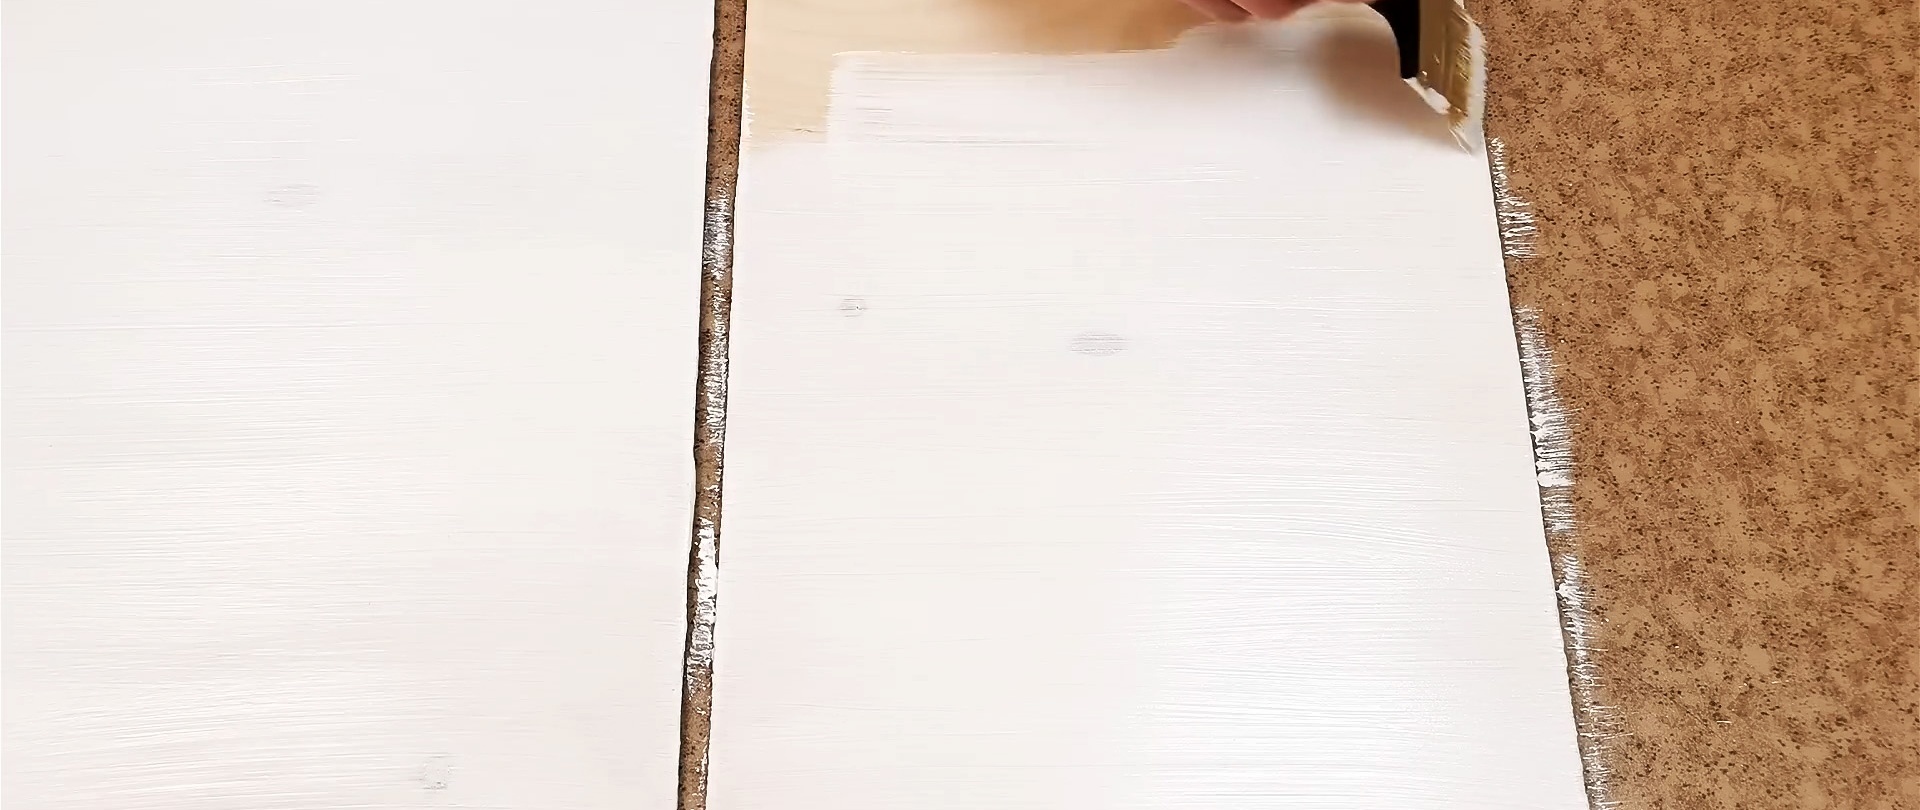
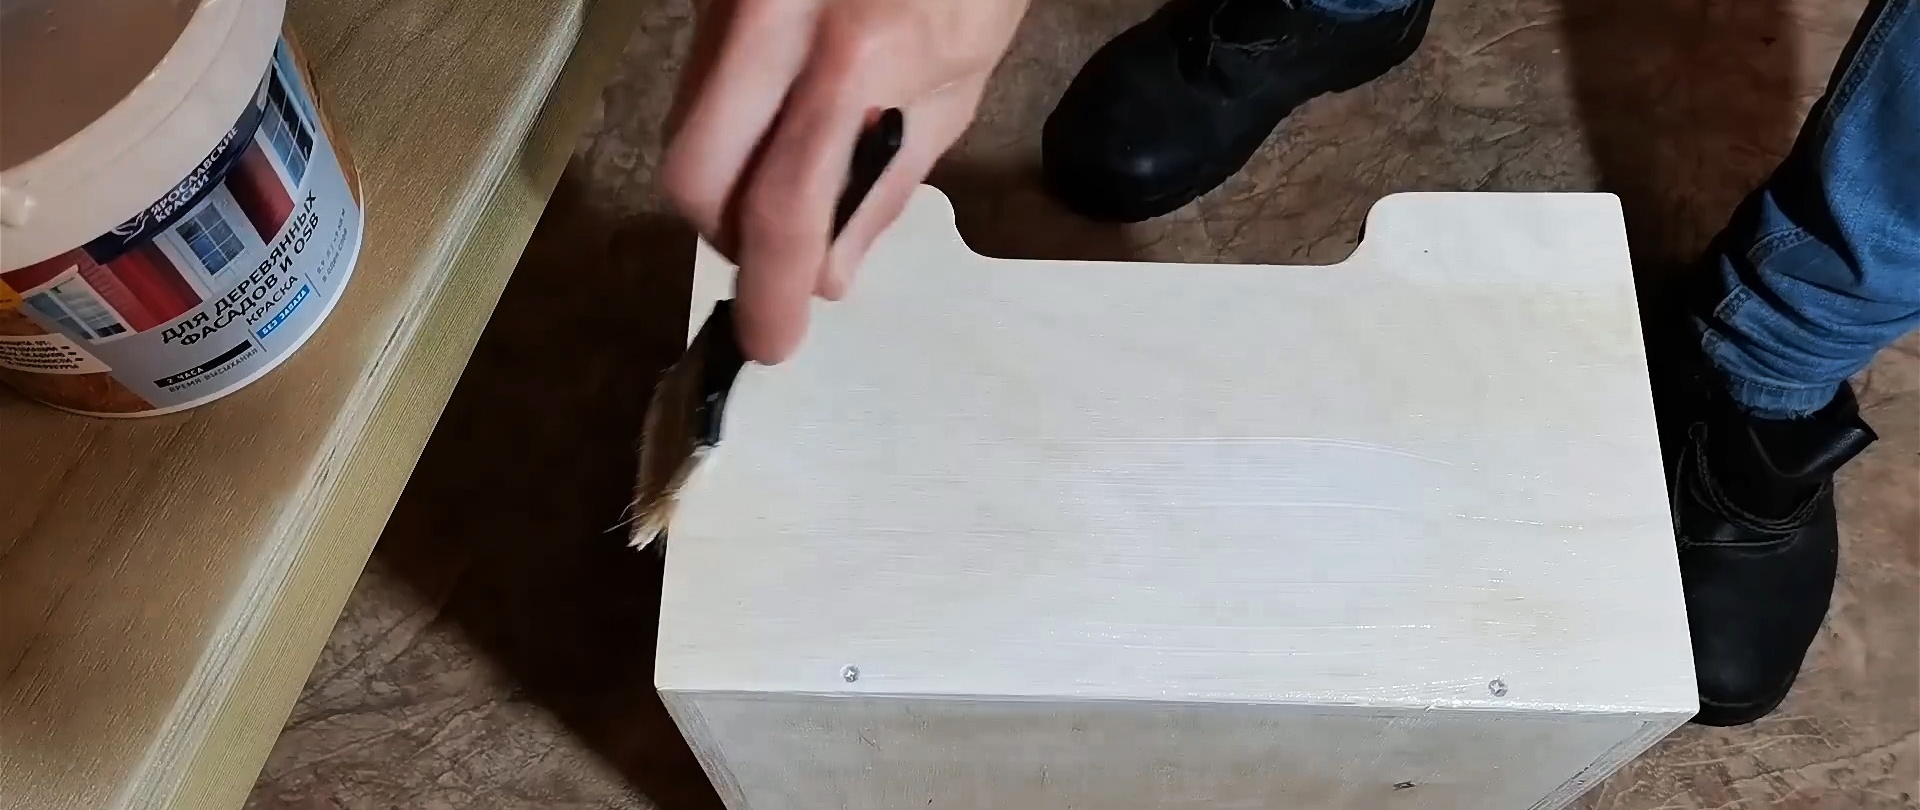
Then we sand both sides and coat only the reverse side with ordinary water-dispersion paint.
Next, print out the images to transfer to plywood.
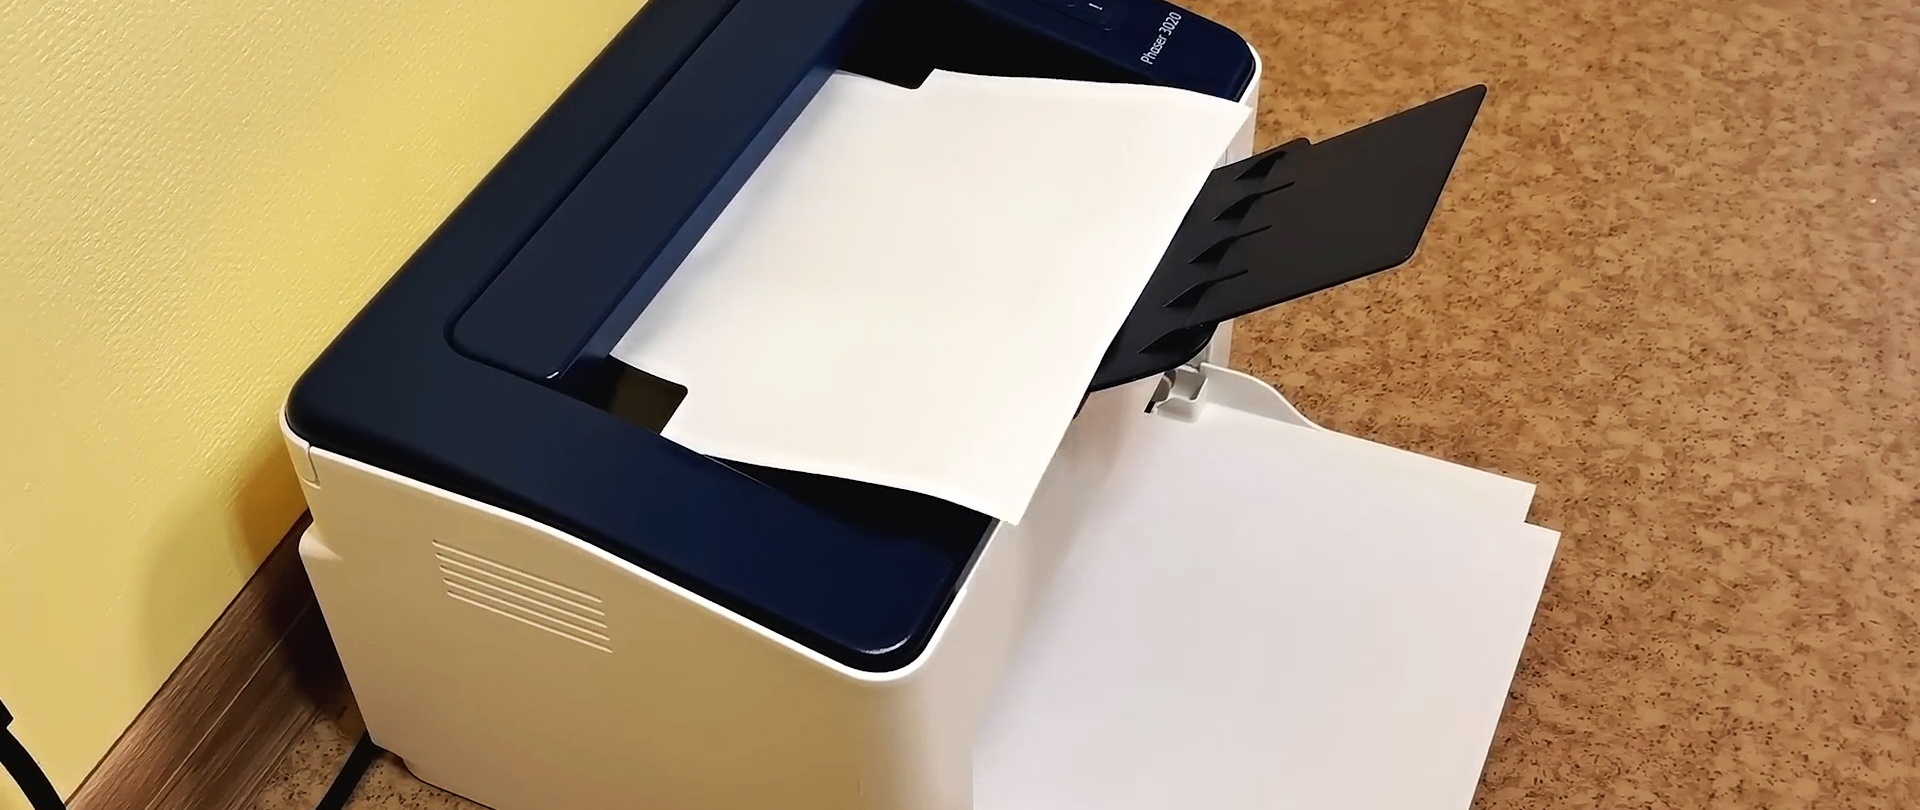
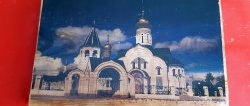
This can be a personal photo, a photo from the Internet, or any other picture made in any graphic editor. The laser printer does its job by printing images onto plain paper.
We apply paint to half the canvas, since the picture is large and will have to be done in parts. While the paint on the plywood has not dried, apply it to the front side of the print, turn the sheet over and apply the painted side to the painted part of the canvas, i.e.paint on paint.

Carefully smooth the sheet, achieving better adhesion of the sheet.

We do the same with the second part of the image. We wait for the paint to dry completely, which will take 5 hours if the work is done in a warm and dry room.
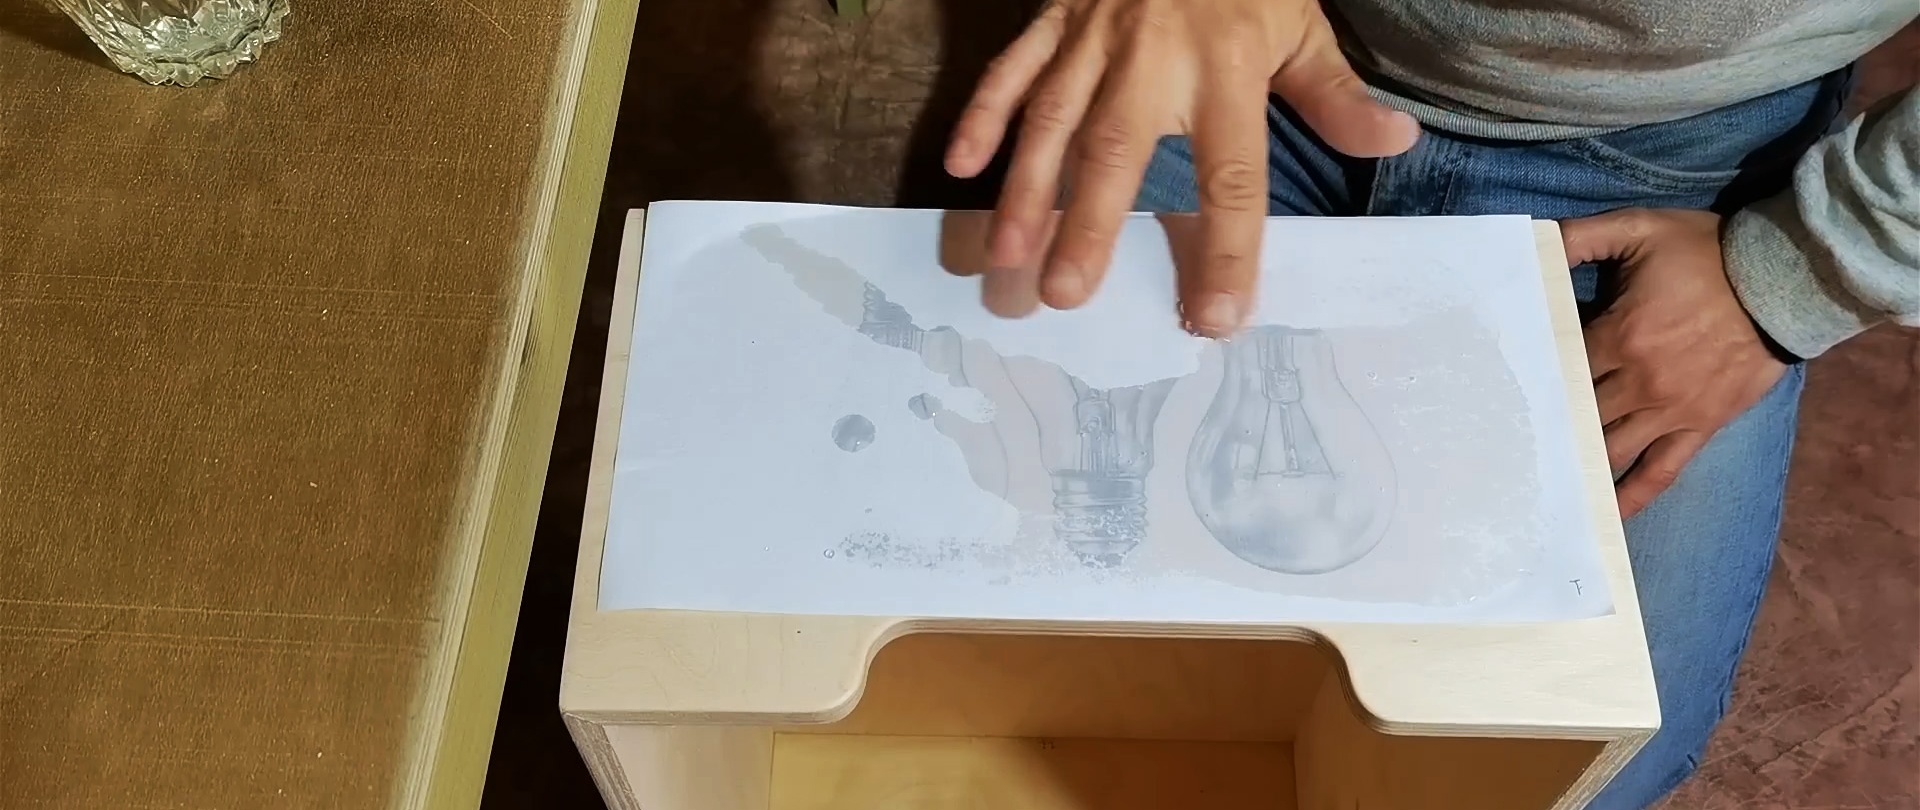
Apply water evenly onto completely dry paper with a brush to develop the image.
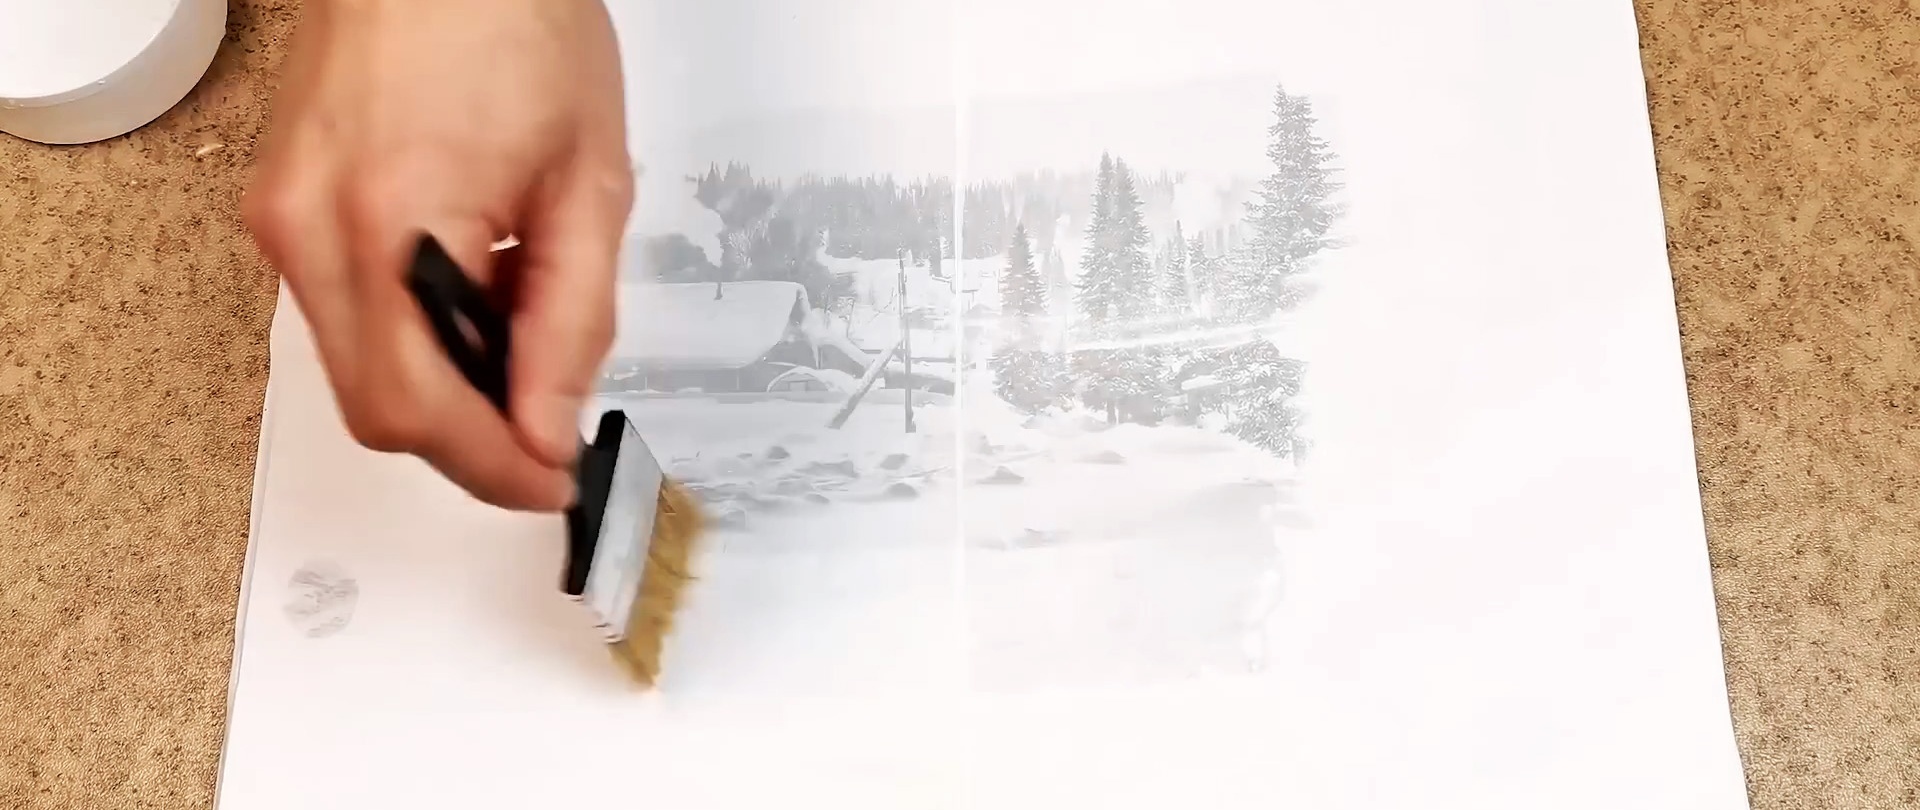
We begin to tear off the paper with careful finger movements, starting from the middle of the picture and gradually moving to the edges.


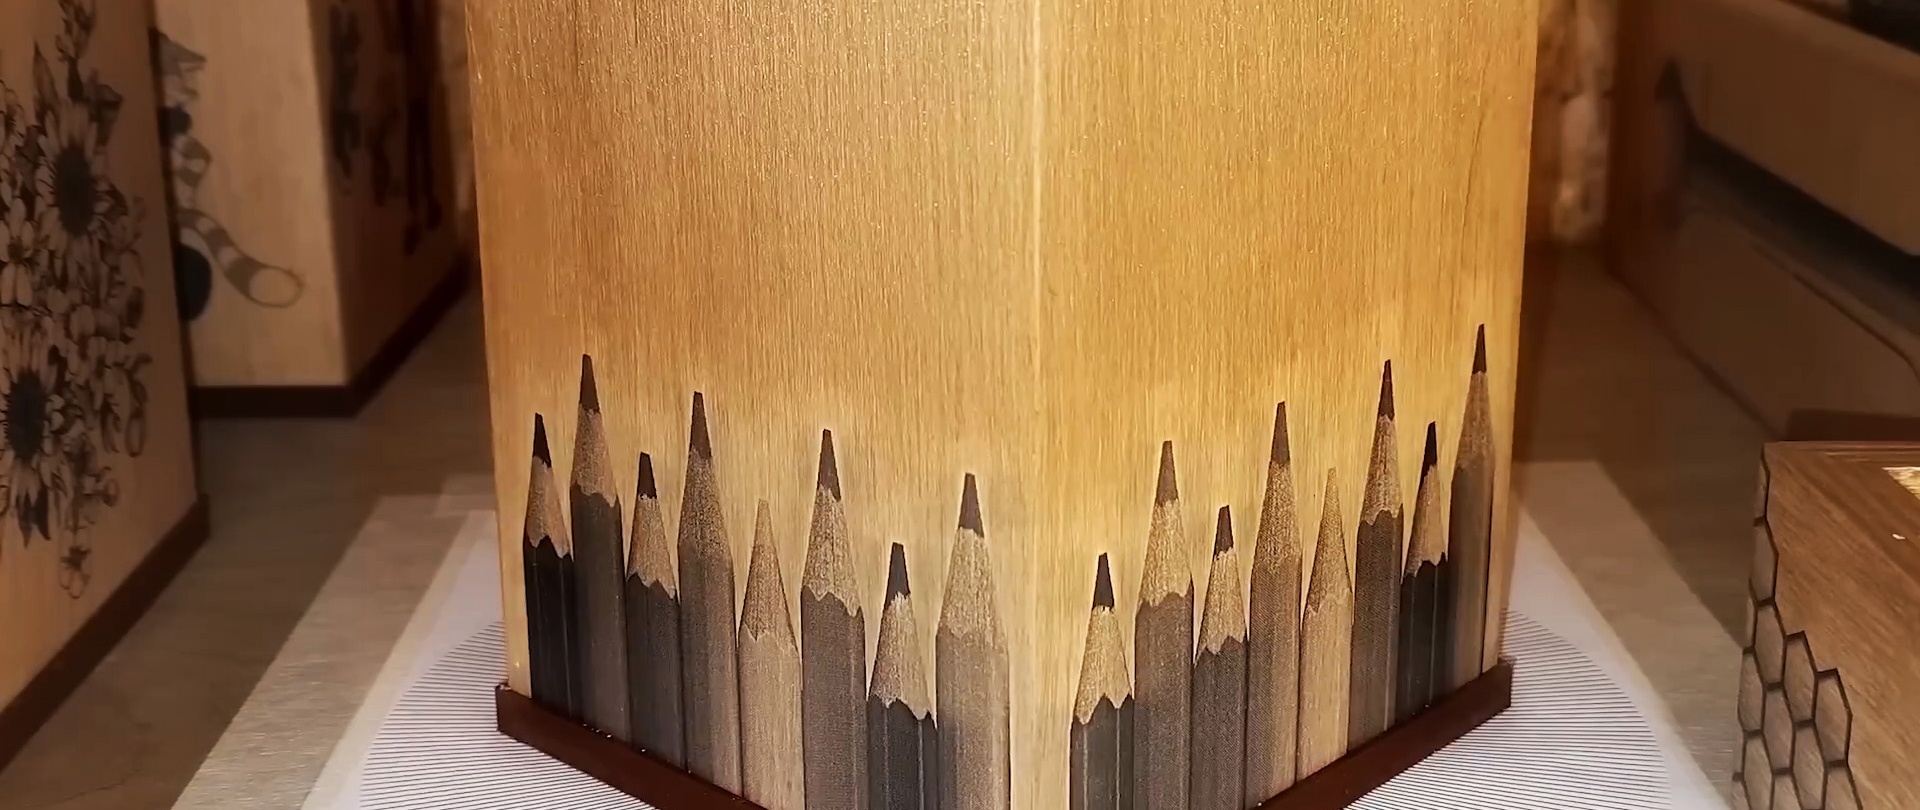
This method of transferring an image from paper to wood has one drawback: the paint completely hides the structure of the wood. Therefore, to preserve it we use a special colorless water-dispersion paint.
Another variant
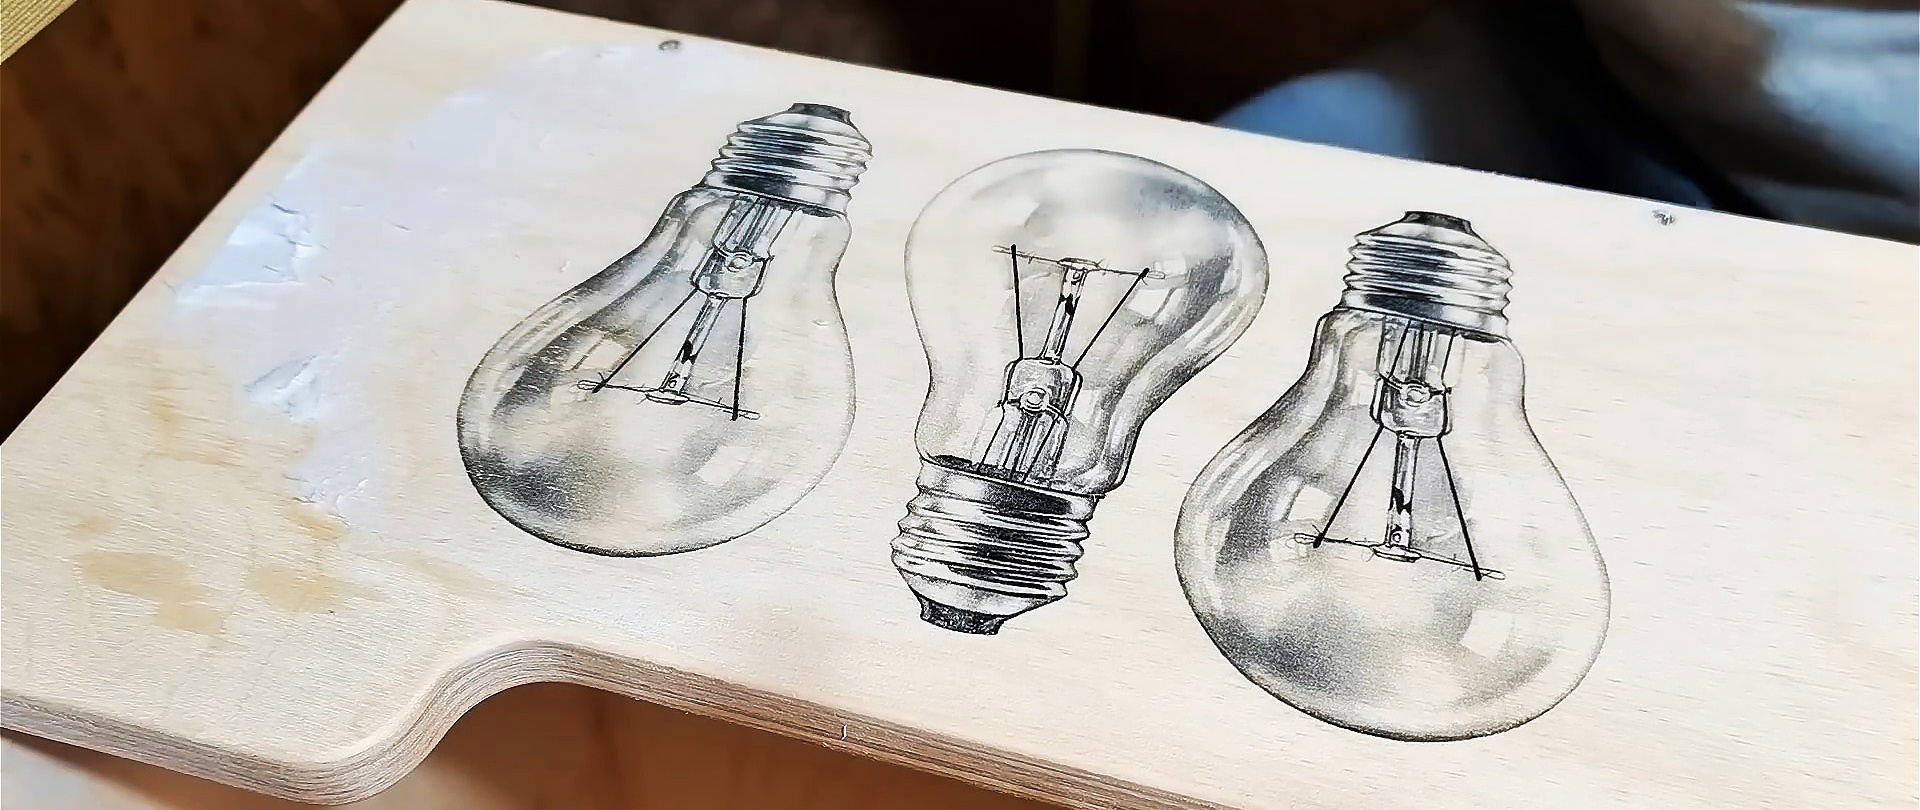
For the best result, we apply it to both the wooden surface and the paper, and not to the entire surface of the sheet, but only to the image.
Let us take into account that when all the paper appears to be removed, a thin layer remains, invisible due to the presence of moisture. If it is not removed, then after the picture dries, it will appear whitish and the image will be dim. During the removal process, the paper may dry out and will need to be moistened periodically.

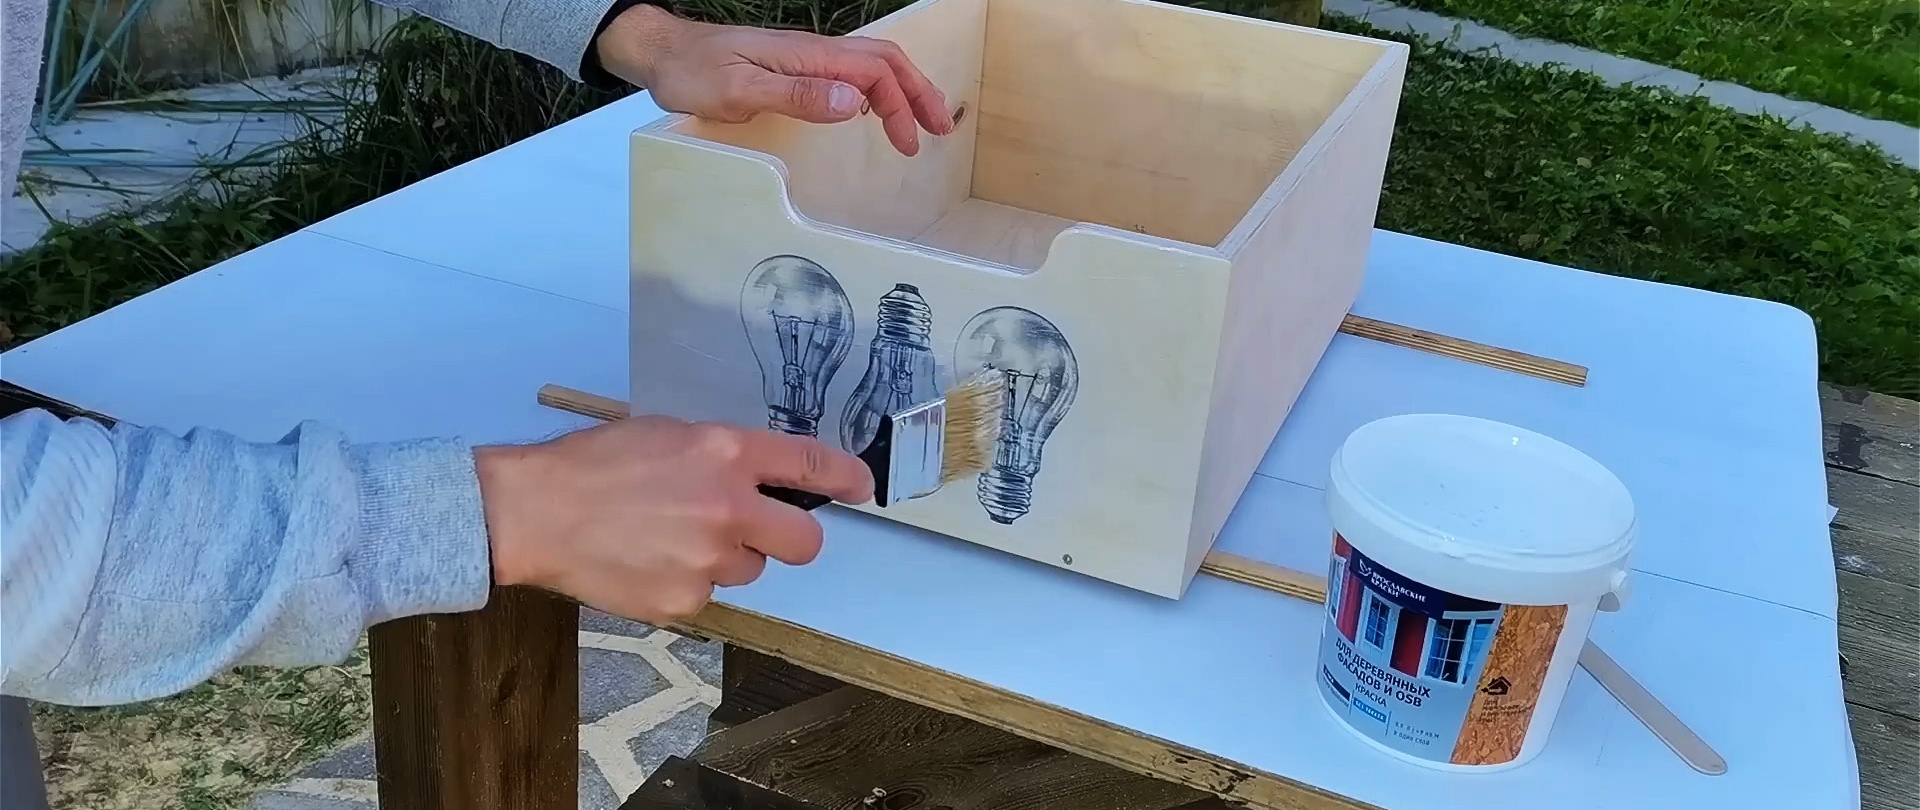
We remove excess paint around the edges of the picture, since even colorless paint with a large thickness loses its transparency.
To do this, use coarse sandpaper, then fine sandpaper.

To protect the transferred image onto wood, we cover it with the same colorless paint or furniture varnish.
To obtain a high-quality image when transferring a design from paper to wood, we use slow-drying paints. To prevent the paper with the image from tearing when smoothing, we perform this action through a dry sheet of paper.
Often when paper gets wet, it stretches and accurately aligning all the details of the image becomes difficult.There are also problems with the visibility of connecting lines.
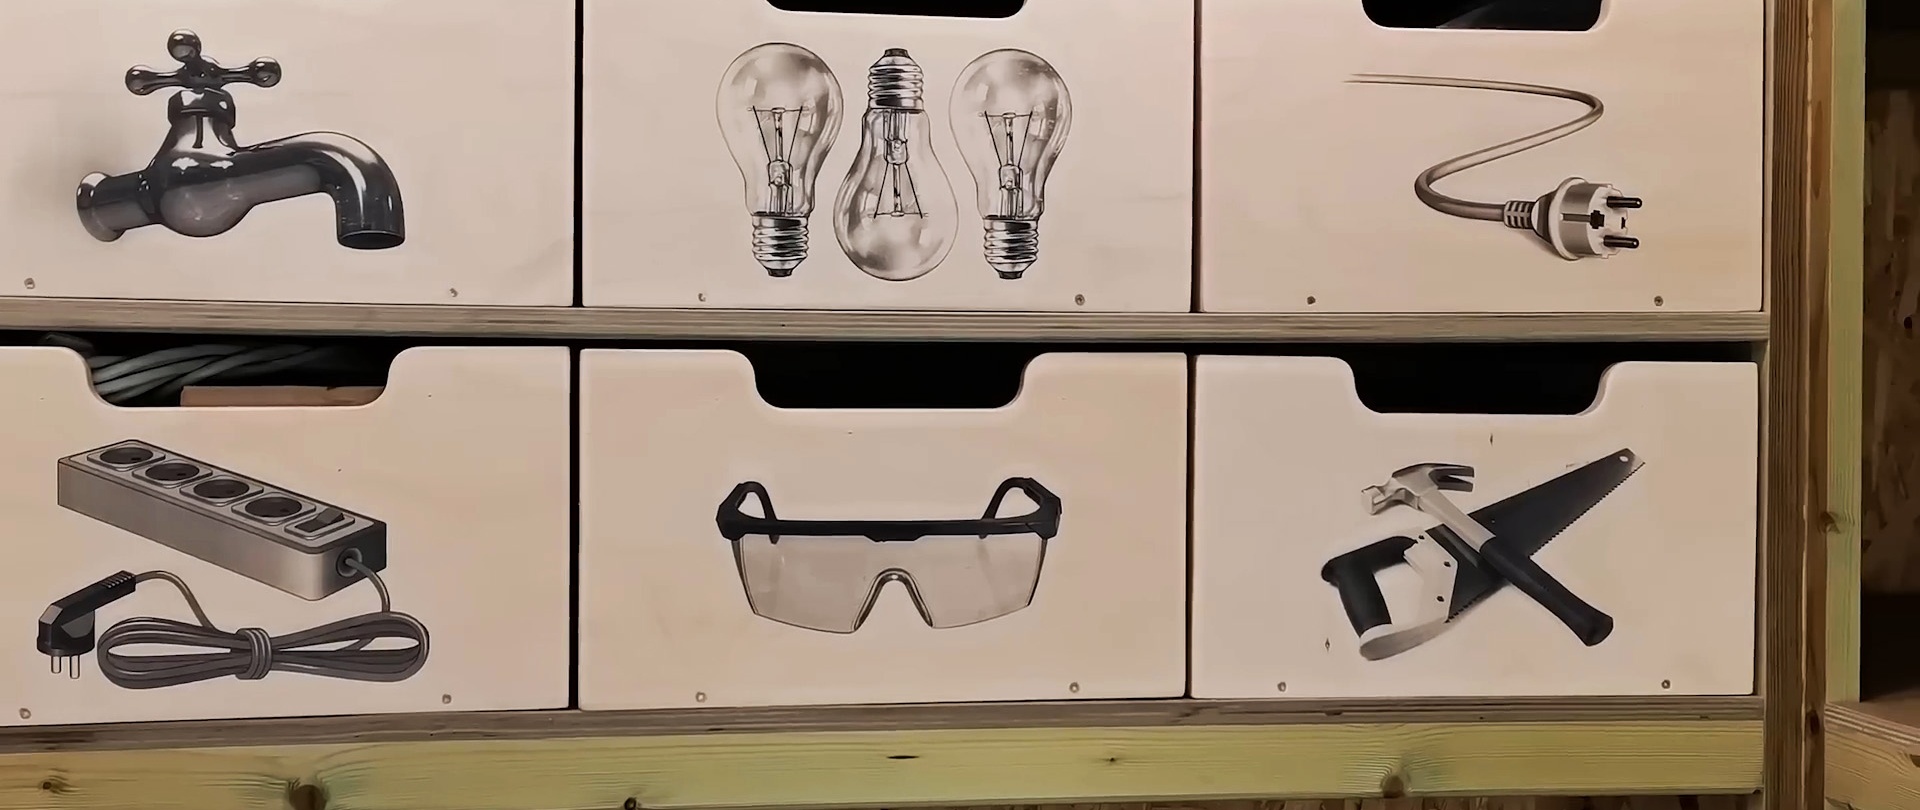
Excellent quality is obtained when using small pictures placed on one sheet. It is better to apply paint both to the base and to the paper. It is preferable to use paint that is colorless and does not dry too quickly. A layer of paint or varnish over the design protects it and adds brightness.