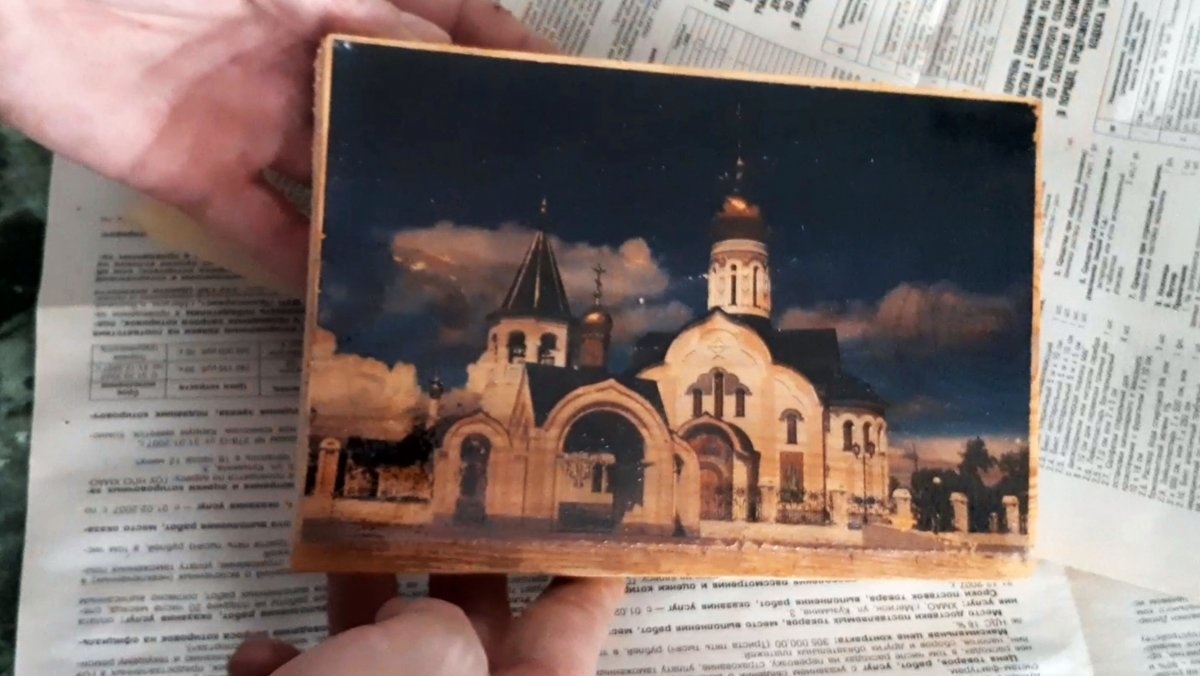
In the near future, the February and March holidays are coming, and make an original present Friends or relatives, in our technologically advanced age, which is overflowing with a variety of goods, can sometimes be very difficult. Now it’s difficult to surprise anyone with anything. Souvenirs and handmade things have been valued at all times. And it’s doubly nice when you know that a handmade souvenir exists in a single copy, and no one else has it. However, in this case there is one “but” - not everyone can make a high-quality and beautiful thing. Some people, like me, for example, have no artistic skills at all. Not only can I draw something, but I can’t even draw it properly... But there is always a way out, if you think carefully and spend half an hour on the Internet. You can do some pretty decent stuff with a computer. More precisely, a computer, a printer and a simple set of tools. We will talk about transferring an image from a sheet of paper onto a wooden base (plate), which can later be stylized as a painting.

I have done such things before both for myself and for other people, and they are still pleasing to the eye to this day.
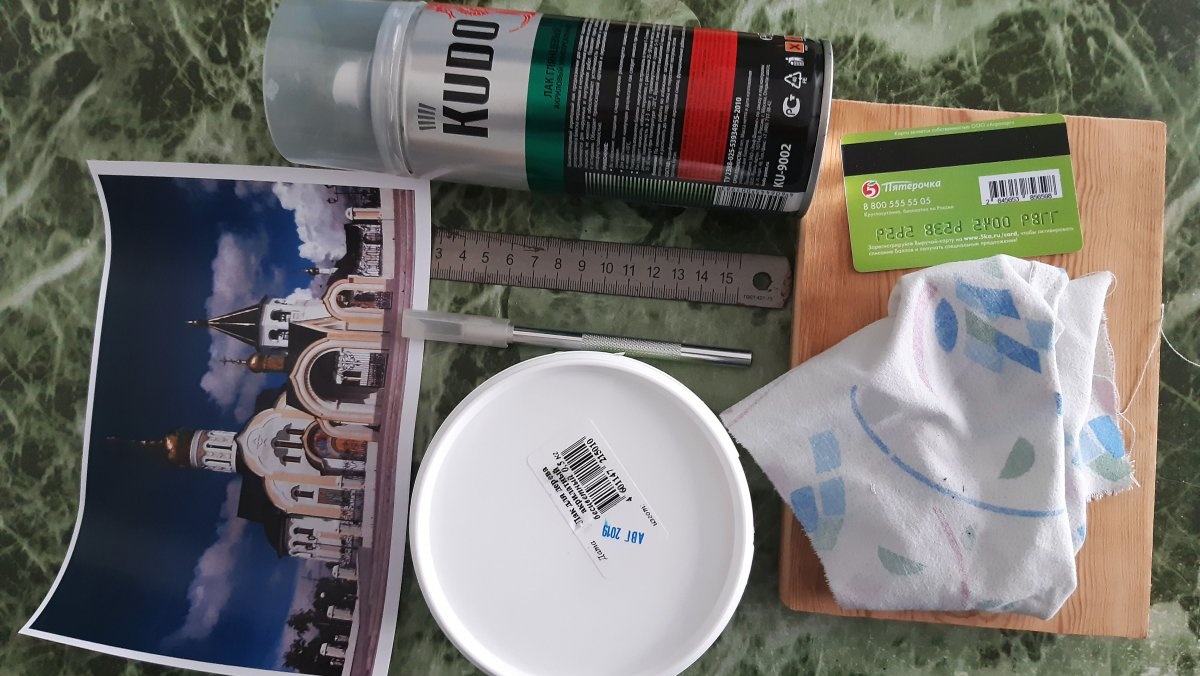
Will need
- Printed on a laser printer, the image you need.
- A piece of smooth, sanded board or plywood.
- Ruler.
- A stationery knife, or a technical scalpel.
- Acrylic varnish, regular and in a can.
- Brush for applying varnish.
- Plastic card or small spatula.
- A clean and soft cotton cloth.
- Water sprayer.
Transferring an image from paper to wood
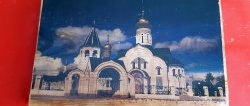
The first step, of course, is to select the image that you would like to see on a wooden piece and print it on a printer.
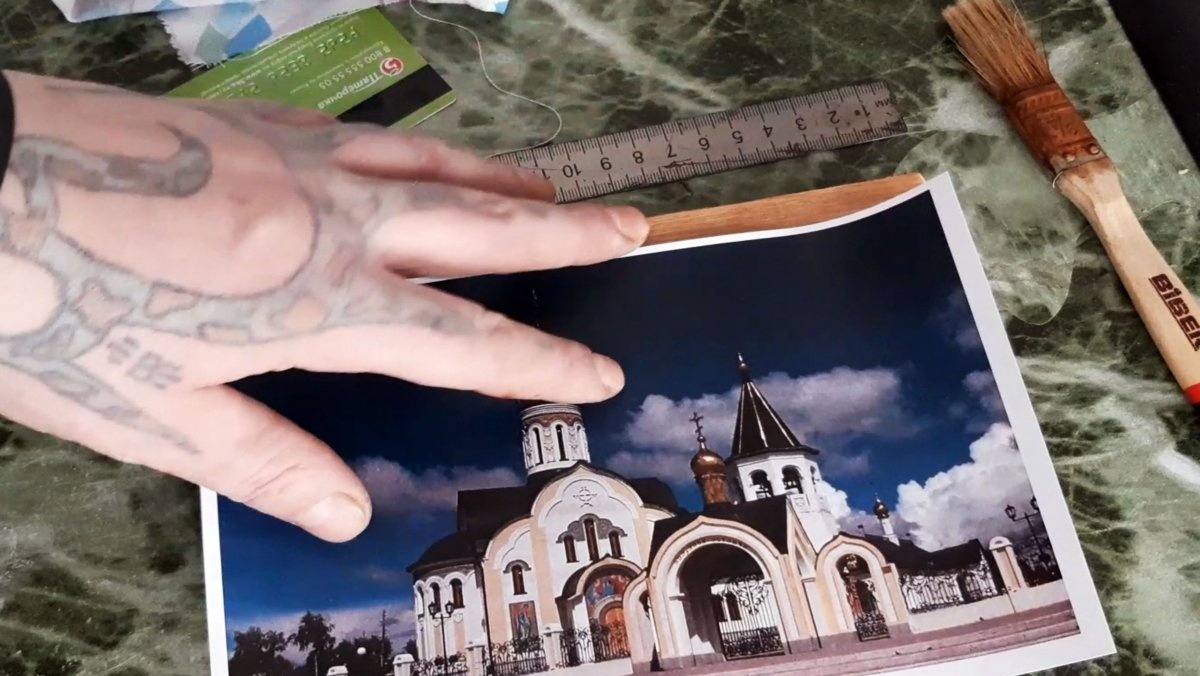
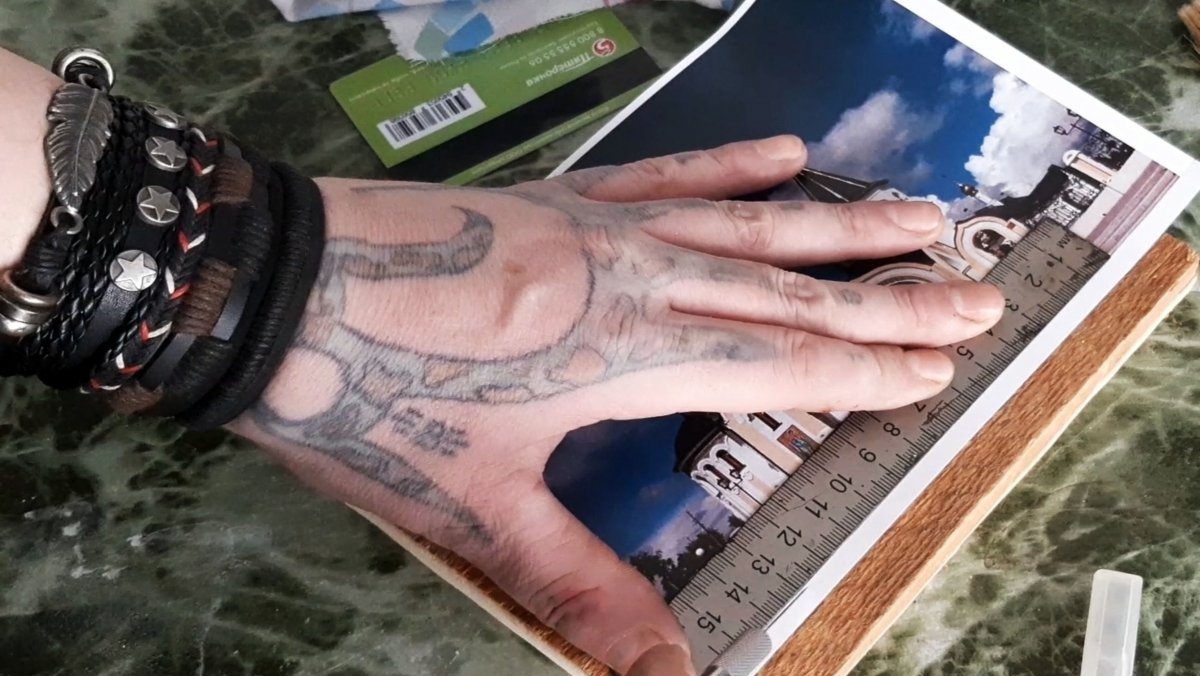
Then you need to delete all fields. At all. So that not a millimeter remains.
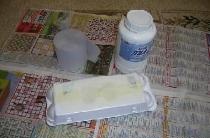
Next we need acrylic varnish.

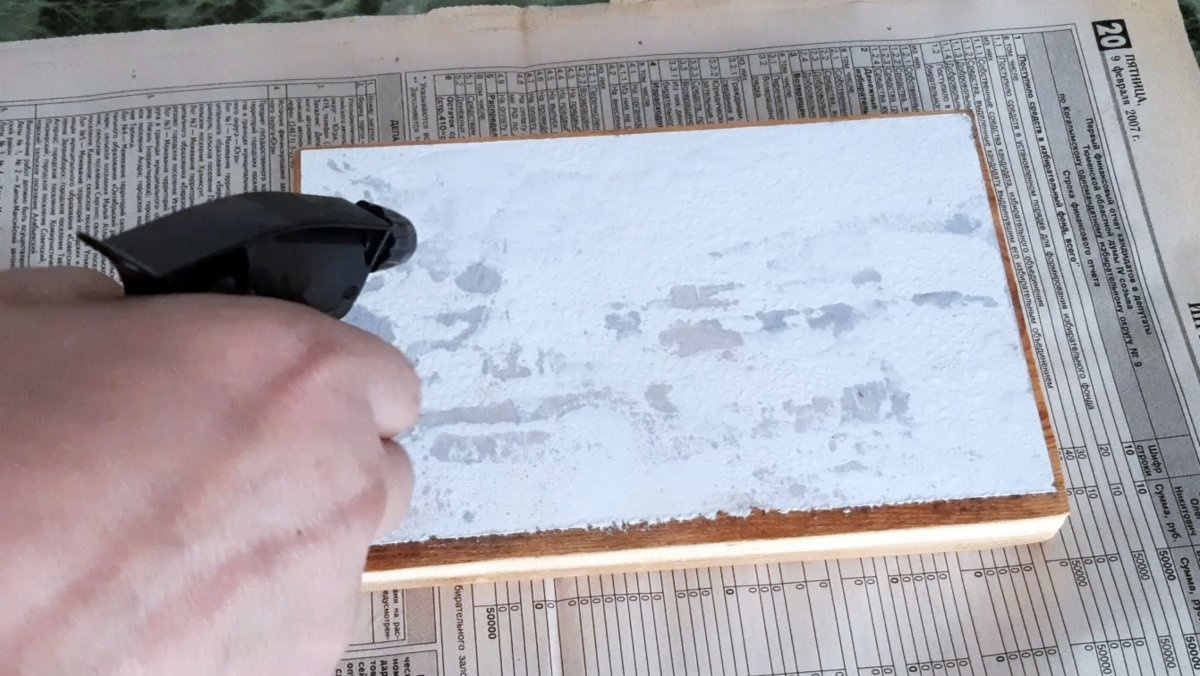
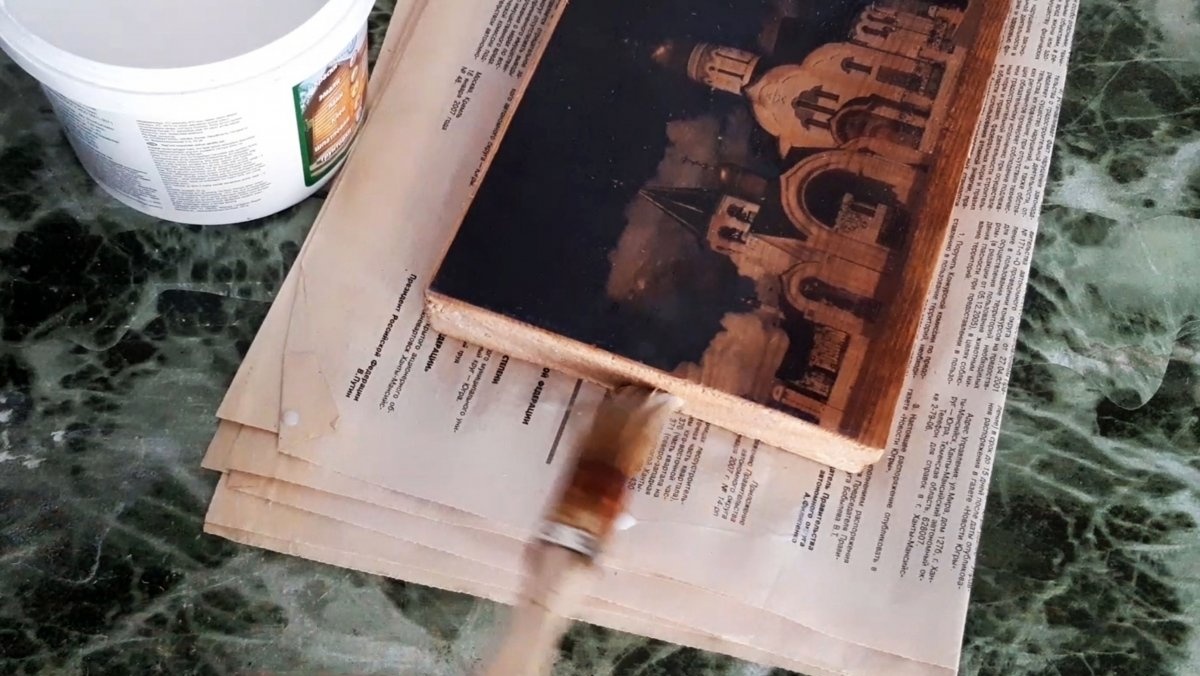
We cover it with a board or plywood selected and adjusted to the size of the image. We don’t skimp on the varnish and cover the board with a thick layer!

Acrylic varnish takes quite a long time to dry, so you can take your time and slowly work on the image. We also cover it with a thick layer of varnish, as you probably already understood, from the FRONT side. That is, directly on the image itself.
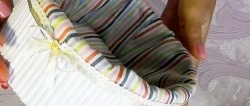
Now, as carefully as possible, because paper wet with varnish can easily tear, we apply the paper to the board, the sides coated with varnish facing each other.

Align. Thanks to the thick layer of varnish between the paper and the wood, you can straighten the whole thing if it’s placed crookedly without any problems. Once the edges are aligned, take a plastic card or small spatula and carefully push out the excess glue and air bubbles from under the paper.

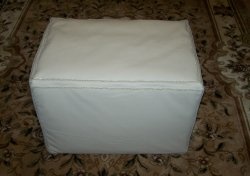
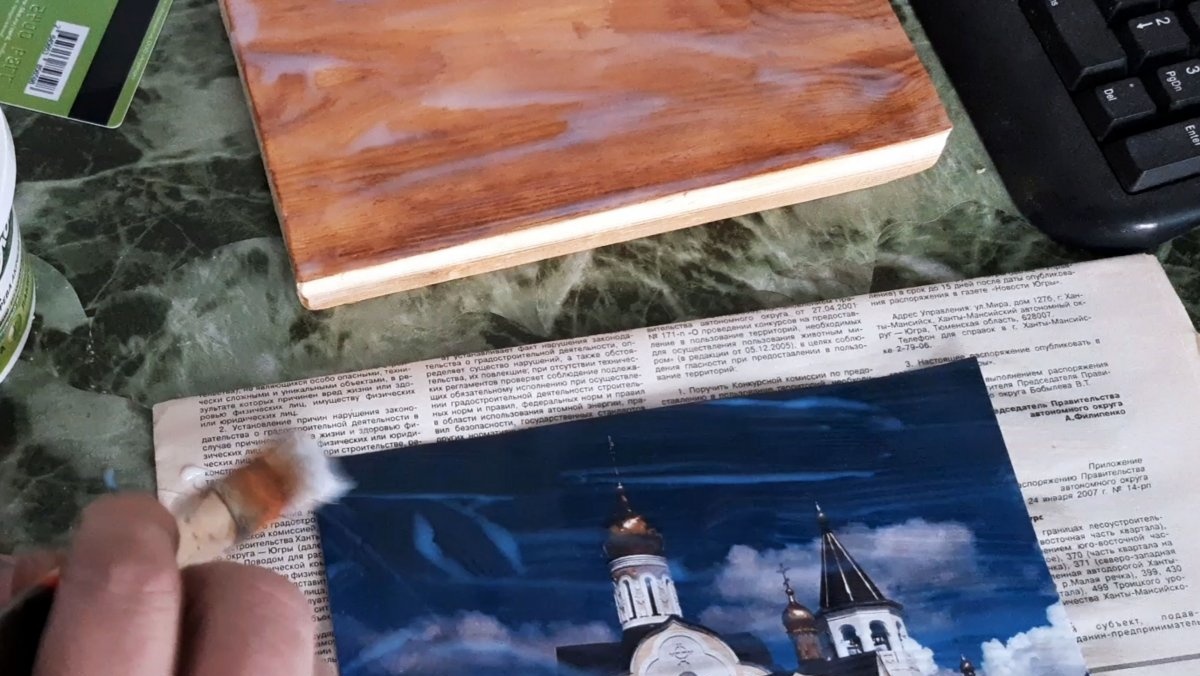
There is no need to press hard so as not to damage the wet paper.As soon as the varnish and air are expelled from under the paper, and the paper itself stops sliding on the wooden surface, you can wipe the edges with a clean soft cloth and put the workpiece in a warm place for 2 hours. After the specified time has passed, we take out the workpiece and begin to remove the paper from the varnished board. To do this, you can use a spray bottle or the same cloth.
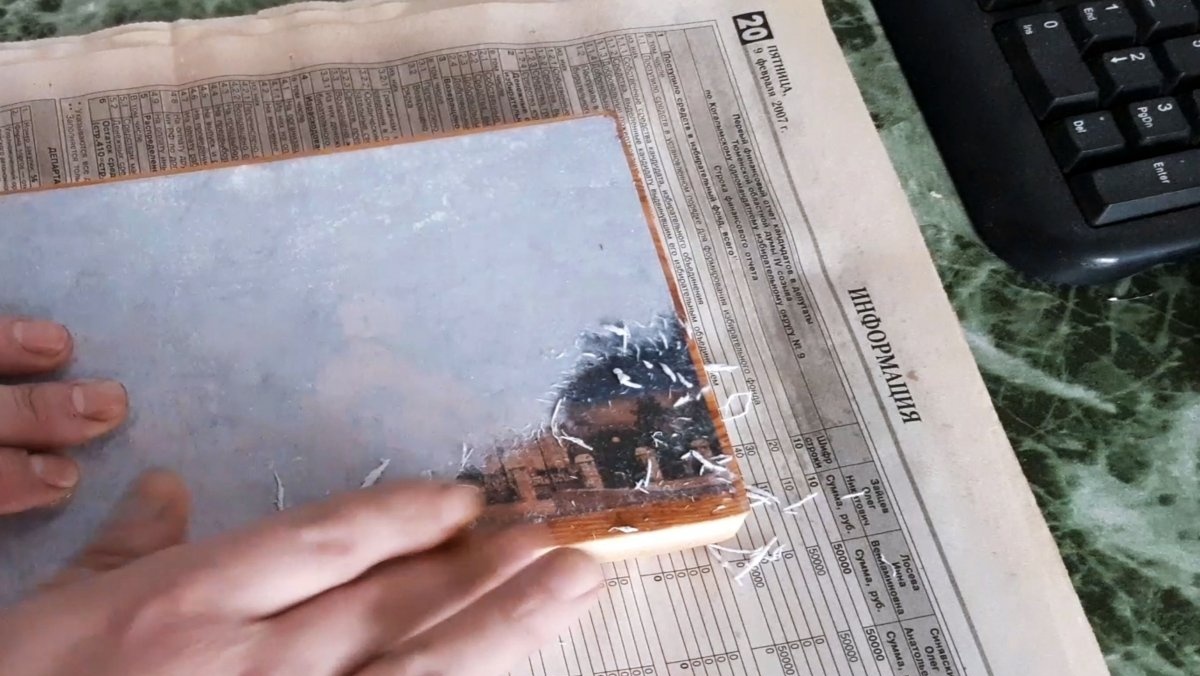
You should roll it up carefully, without putting too much pressure on the workpiece, so as not to tear off the image itself, which, together with the varnish, should remain on the wood. After rolling the paper, let the workpiece dry. Do not rush to be upset when, after the picture dries, it becomes covered with white spots that look like plaque.
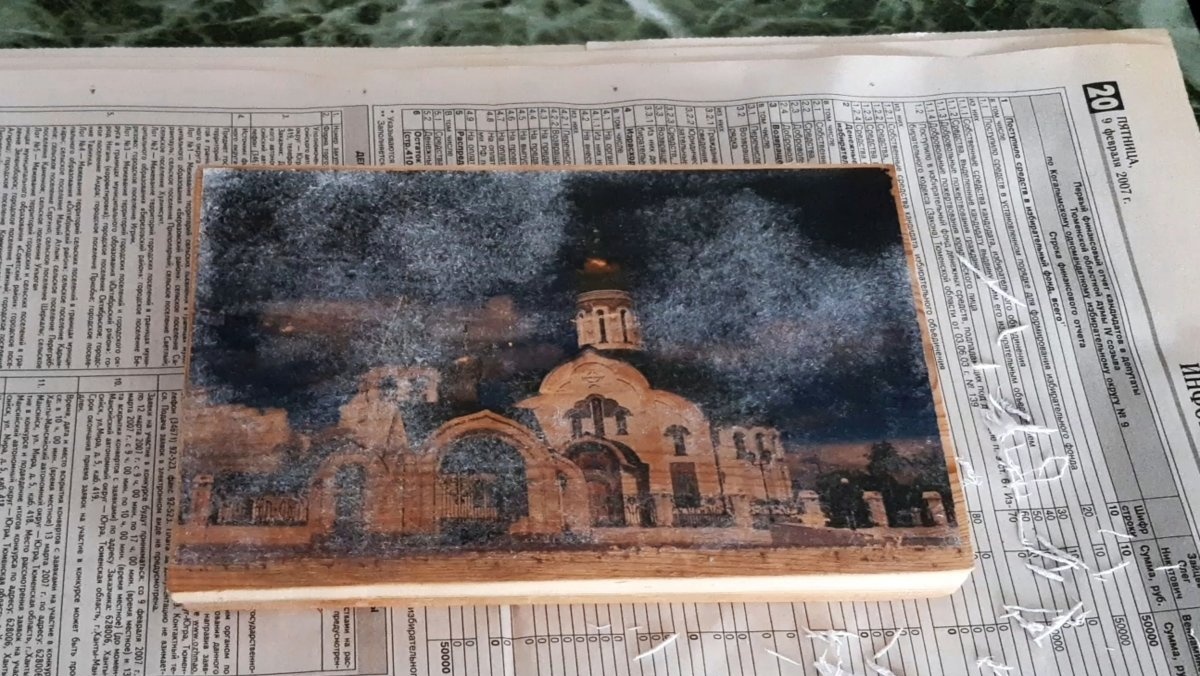
These are dried remains of paper fibers. They will disappear immediately after we spray the image with clear acrylic varnish from a spray can.
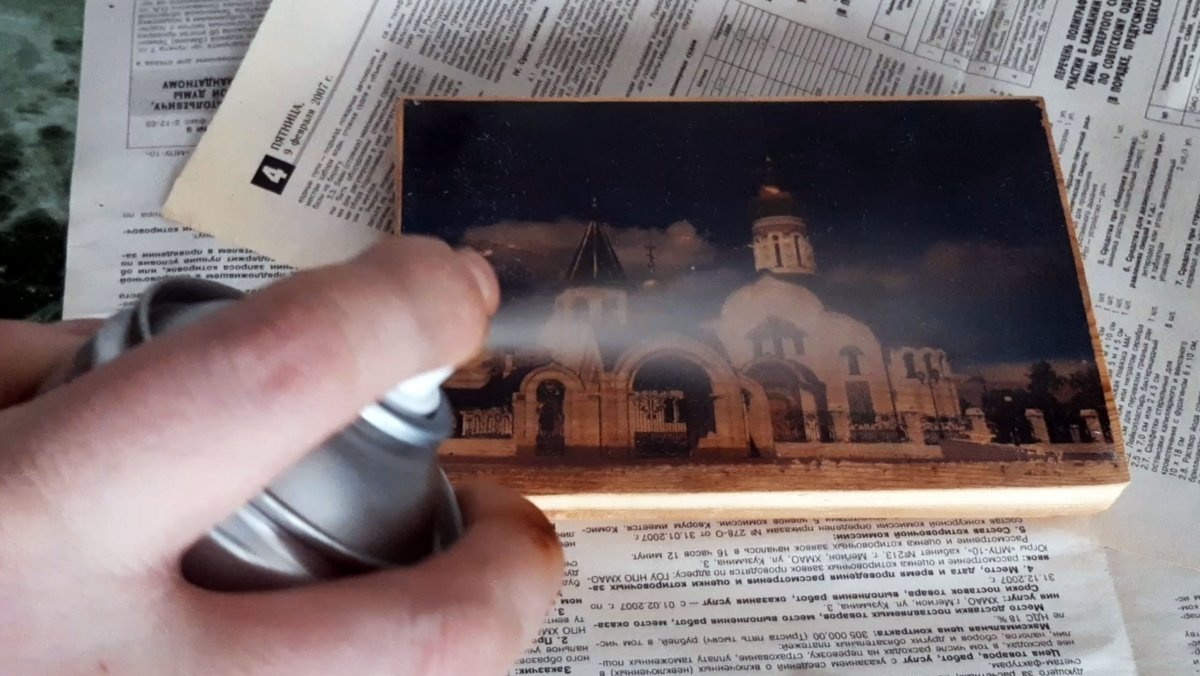
Again, let the applied varnish dry. Next, you can varnish the ends of the wooden base of the picture.
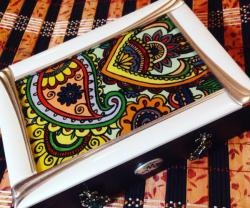
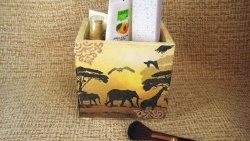
By and large, that's all. All that remains is to decorate the edges of the picture. Within the framework, or leave it that way – it’s up to everyone to decide for themselves.

There are a couple more small tricks. If your picture does not have clear boundaries, like a PNG, you can make the edges of the picture the same.

To do this, you just need to rub harder along the edges while rolling the paper. Then the paint of the drawing will come off along with the paper. The smoothness of the transition will depend on the intensity and force of friction. On the bottom of my work, you can see such a transition.And one moment; if you do not want the natural texture of the wood (that is, its rings) to show through your image, you can mask the wooden surface before applying the design. And what - it already depends on the color scheme of your image. If there are more dark tones there, then it is better to cover the wood with a dark stain. And if the pattern is lighter, then you can treat the workpiece with a white primer. I didn’t cover the blanks with anything, because I like it when the texture of the wood slightly appears against the light background of the picture.