This option for decorating walls does not require the performer to have special skills in the field of construction and repair; it is simple and, most importantly, does not require large expenses, i.e., it is economical. Moreover, all the necessary materials can be found in a simple department store, and silhouette pictures can be downloaded on the Internet.
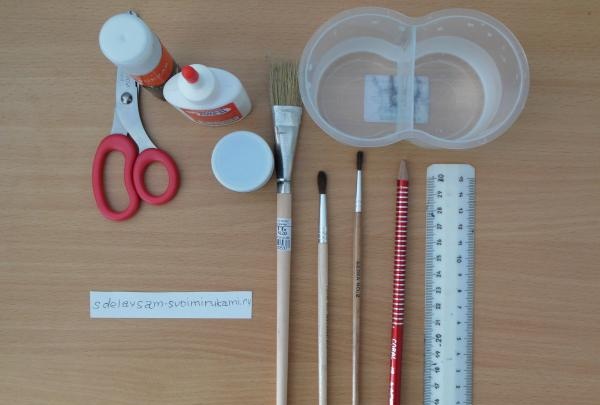
Choose plain wallpaper (1 tube) without a printed pattern. The tone should go well with the main color of the walls. In our master class it will be white wallpaper. Next, we arm ourselves with glue (you will need wallpaper or PVA, as well as a glue stick). Let's visit the department with paints and brushes. Let's buy black mascara and two brushes of different sizes (thin and thick). Instead of mascara, you can use ordinary gouache, but then the color will not be as rich.The rest - a pencil, a ruler, scissors and a glass of water - can be found in every home.

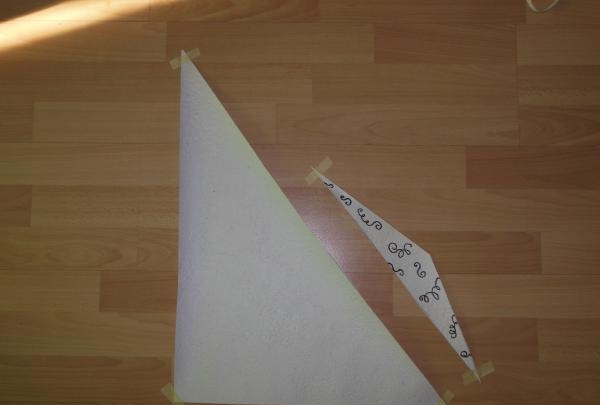
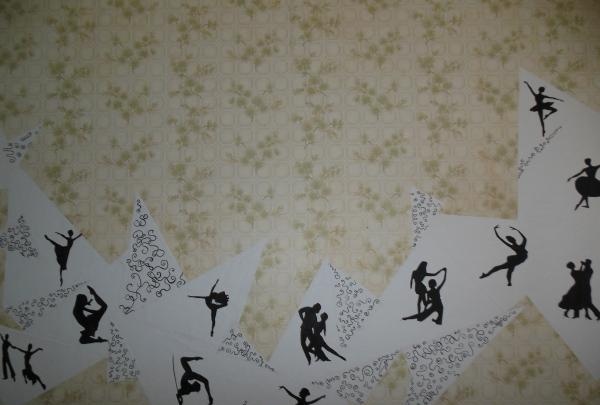
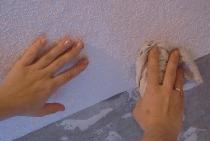
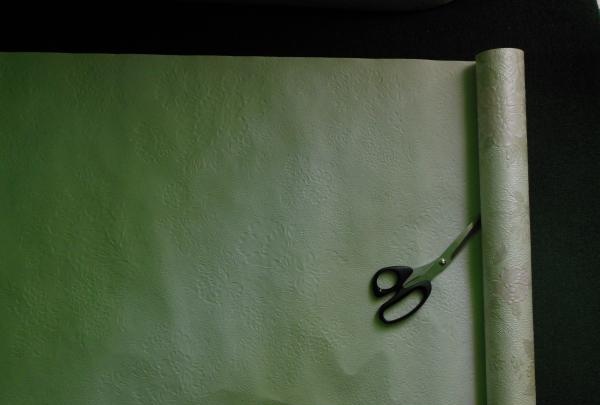
Let's start making the base from the wallpaper chosen in the store. Using a ruler and pencil, draw triangles of different lengths, sizes and shapes. Cut with scissors or a paper knife and leave under the press for a while to allow the surface to straighten. Next, we selectively apply abstract drawings in black ink to some of the figures that have a small volume.

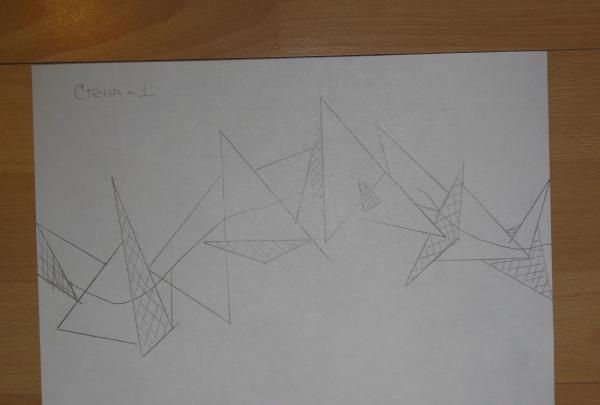
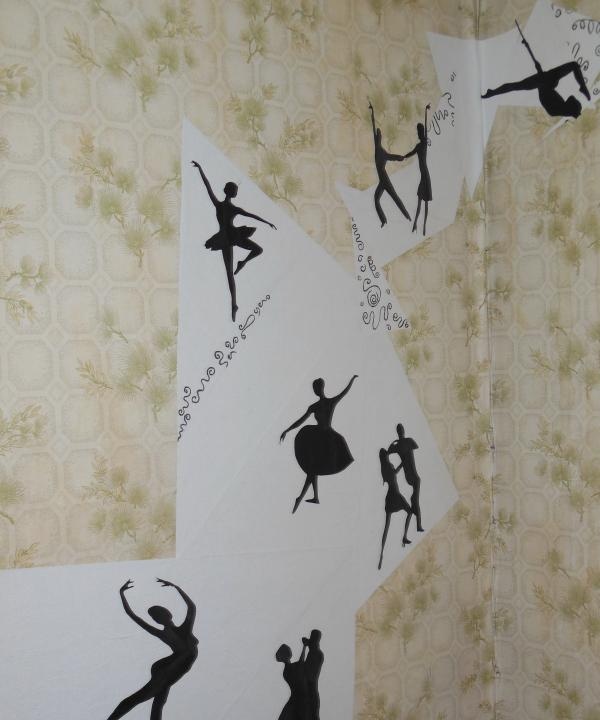
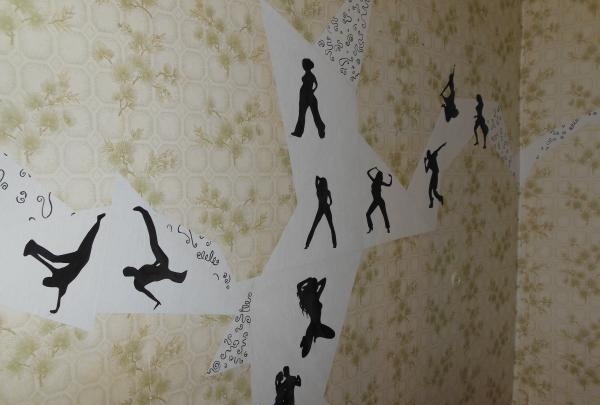
We are preparing a preliminary sketch on which we display what position our triangles should take on the wall. We take as a basis a curved line on which we string the figures. We lay them out on the floor in a pre-selected order, then stick them on the wall. To prevent the appearance of bubbles, smooth the triangles with a cloth. We leave it for a day, making sure that there is no draft in the room.
Having finished with the triangles, we begin to make pictures for our new walls.
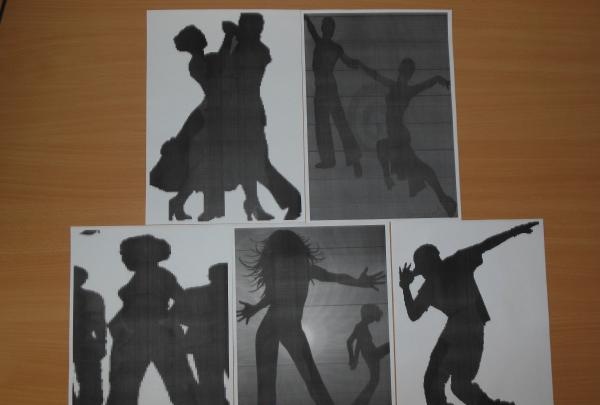
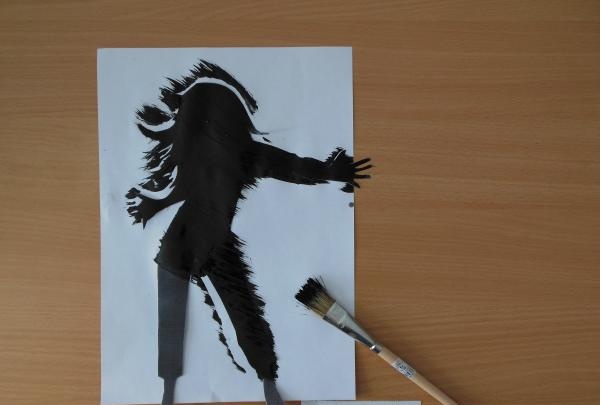
This stage of work will require perseverance and the ability to find material on the Internet. It is necessary to select silhouette pictures, in our case it was the theme “Dancing People”. We place the selected drawings in a Word document and make the necessary adjustments (size the drawing to fit the entire A4 sheet format, shading, contours). The result should be a clear, maximally saturated dark silhouette.
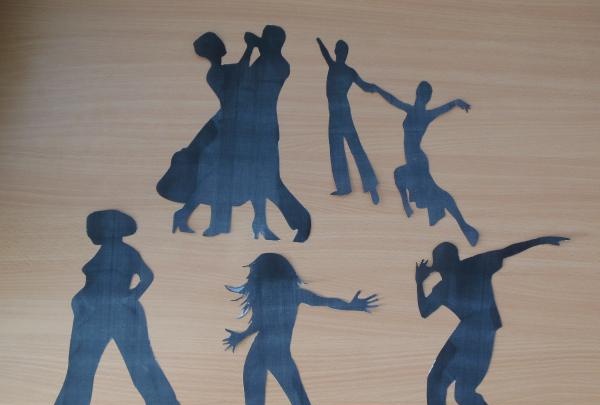
We send the finished pictures to print, cut them out and stretch them with black ink. We perform this operation twice.
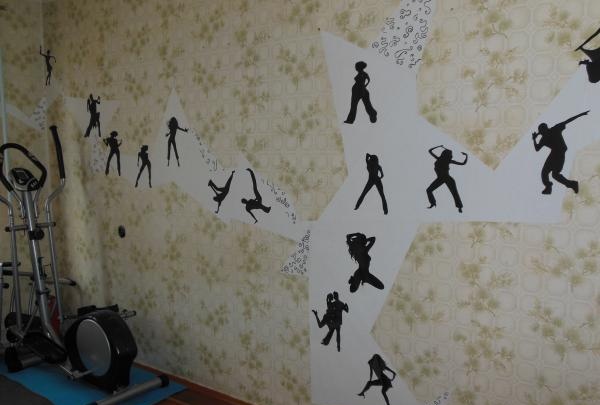
We attach the silhouette pictures using a glue stick to our line of triangles. We monitor their even distribution. If you are afraid of ruining your work, it is recommended to “try it on” first, securing the drawings with double-sided tape.And - voila! – you have a new renovation. The room looks completely different, and you spent very little time and money.